| Obtainable Skills/Blueprints |
|---|
| Diplomat, Tough Guy, Quick Reload |
| # | Mission Task | Mandatory/Optional |
|---|---|---|
| 1 | Secured the Honey Bee. | Mandatory |
| 2 | Eliminated the Skulls. | Optional |
| 3 | Secured the Honey Bee with its ammunition intact. | Optional |
| 4 | Extracted the prisoner who cannot speak. | Optional |
| 5 | Extracted 2 snipers at the Mountain Relay Base. | Optional |
| 6 | Eliminated the gunship. | Optional |
There’s only one landing zone here and it’s quite a distance away from the target area. Your objective in this mission is to retrieve the Honey Bee weapon from a base, but you will first need to locate it. If you follow the road south of where you landed, you will end up going through a few guardposts, as well as the Mountain Relay Base.
Scout the area from afar to see how many enemies you can mark, but you will notice one particular spot where some guys are roughing up a prisoner (will be marked with a green icon). As Kaz mentioned in your briefing, the Honey Bee was being guarded by the Hamids, but they were all wiped out, except for one survivor. It’s possible that this prisoner could be that survivor, but the base is heavily guarded, so continue on your merry way for now, paying attention to the guards that take him away in a vehicle.
If you wish to fulfill the objective for the prisoner, it is best to rescue him here because as soon as he is taken away, the task becomes much more difficult. You can simply try to snipe all the soldiers from afar or run in and knock them out. Alternatively, wait until they’ve loaded into the vehicle and shoot them all then. Extract the prisoner once it is safe to do so.
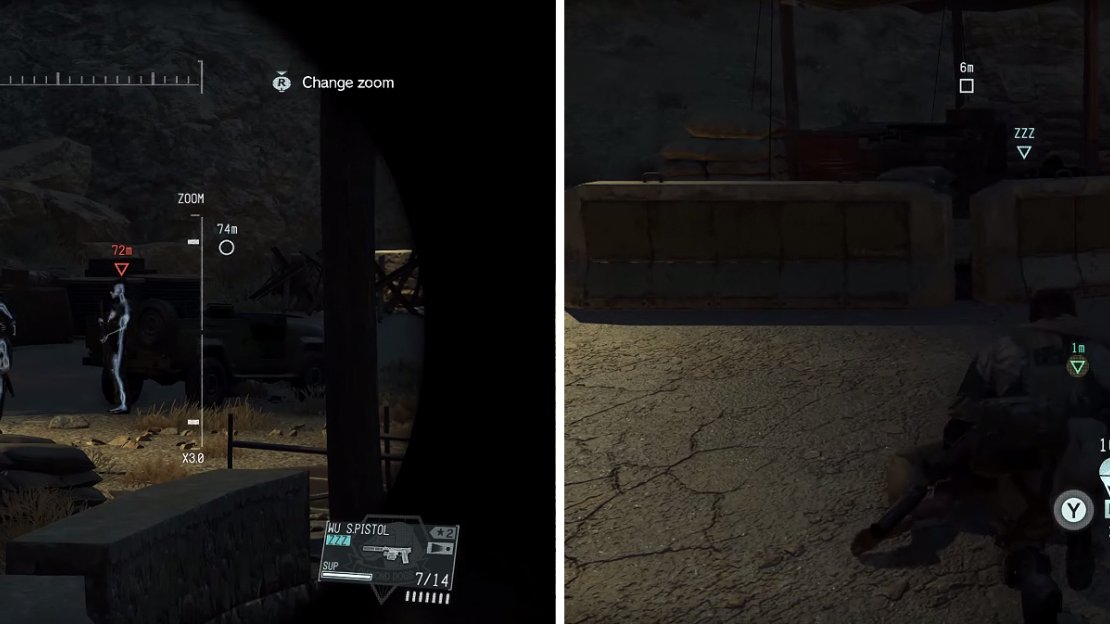
If you zoom in with your binoculars you can highlight the prisoner (left). You must take out all the soldiers nearby before you can extract him (right).
There’s not much else you can do here, so try to get to the opposite side of the base and continue following the road, being careful of the guardposts or any wandering enemies. Near the second guardpost, there will be an enemy gunship flying around, so you’ll need to be extra careful not to get spotted by it, or else you are going to die…painfully.
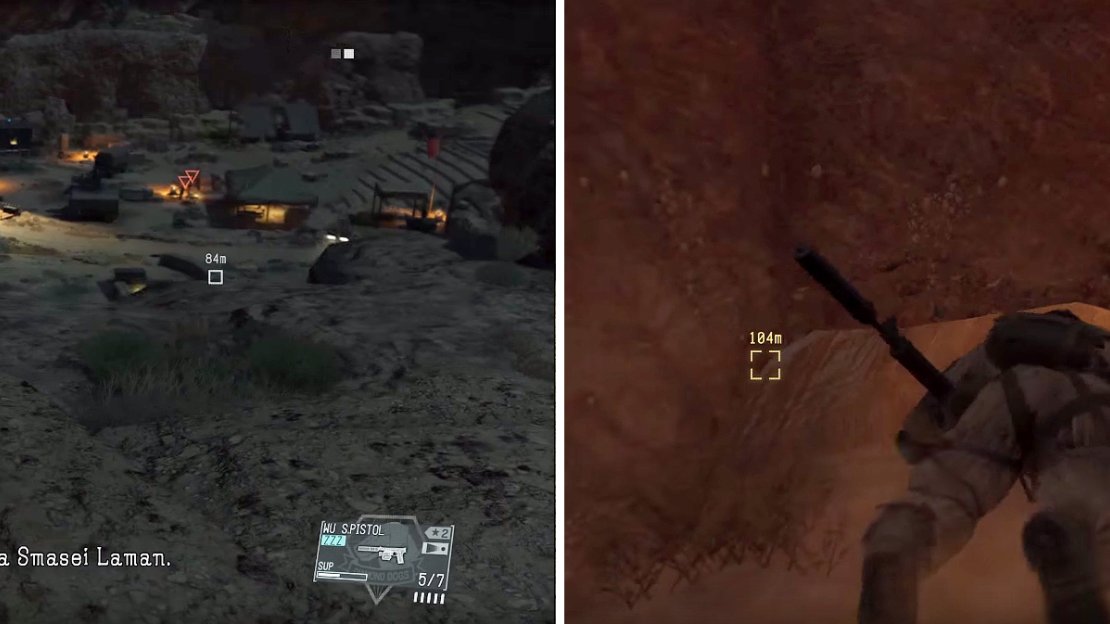
Upon arriving at the cliff overlooking the place, you will see that the prisoner you saw before is now in front of the fort’s entrance, with some enemies guarding him. Before dropping down, mark as many enemies as possible, so you know where they are located. You don’t really need to subdue anyone if you don’t want, as you will be dropping down and crawling along the edge of this area, slowly edging your way towards the entrance.
When you get close enough, the enemies will take the prisoner inside, so follow them, noting that there are more enemies inside. Keep following them, taking any alternative paths if you can and watching for more guards. Should they stop, drop to the ground and lay prone until they start moving again. If you wish to save the prisoner, then you’ll need to act fast and silently.
Once you pass the second guard inside of the fort, then you can start to slowly creep behind the three of them and grab them one by one, waiting for a few seconds before choking them unconscious. It’s important to know that they will stop twice and check their surroundings, so you can wait until after that to subdue them. If you time it right, you will likely subdue the last enemy in a large room with water and a hole in the ceiling.
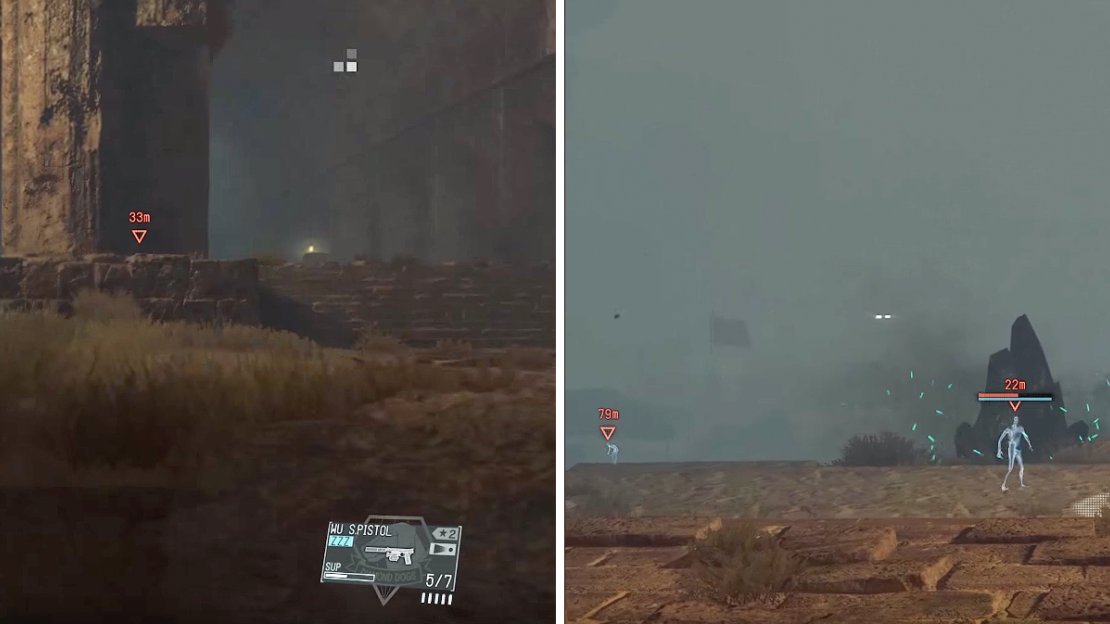
The fortress is large (left) and the Honey Bee is located after a network of tunnels. Look for a crawl space (right) to gain access to the weapon.
After subduing the three of them, go and untie the prisoner and extract him through the hole in the ceiling. With him in your custody, you will find the location of the Honey Bee, so go and retrieve it. The weapon is now in your possession, so you can leave. Lucky for you, there’s a tunnel that will lead you straight out to the big, open area in front of the fort, but once you get there, something will happen…
Remember those things with the blue eyes and weird mist that came after you earlier? Well, they are back and you will need to fight them now. Unfortunately, they are very quick and conventional weapons don’t do anything, so you’ll need to break out the Honey Bee. Prime the weapon like any other, wait for the lock on and then fire. Do this for all of the Skulls until they are finished, then get to the helicopter for extraction.
Do note that by using the Honey Bee however, you will automatically fail the objective to return the Honey Bee with full ammo. You can simply outrun the Skulls or fight them to avoid this. From where you start after the cutscene, turn around and sprint into the little doorway. Stand behind the pillar and you can simply shoot the Skulls (in the head) and throw grenades at them from a distance. Killing the Skulls rewards you with massive bonus points for the mission.
When you regain control, turn around and sprint up here (left). From this position, you can simply pick off the Skulls with grenades (right).
Mission Task 2
You only need to defeat one of the Skulls to fulfill this objective. You can forfeit the Honey Bee optional task by using it to easily defeat one Skull, or wait until you have better weapons later on in the game.
Mission Task 3
Despite what the task says, it appears you can use the Honey Bee a little bit, just as long as you don’t use all of its ammunition. However, to be on the safe side, it’s better to not use it at all in your battle with the Skulls.
Mission Task 4
The prisoner who cannot speak is the one that they take away from Mountain Relay Base and to Smasei Fort. You can either rescue him from/near the Relay Base or wait until they bring him to Smasei. Note that there is a hole in the ceiling of the underground cave in the fort, in the area with the pool of water. The enemies will eventually kill the prisoner, so you will need to be quick.
Mission Task 5
To give you enough time to search for the snipers at the Relay Base, it’s best to quickly move through and stop the enemies from moving the prisoner to Smasei. The snipers are easily distinguishable, as they are wearing black beanies on their head, plus it should be pretty simple to spot a sniper rifle amongst the assault rifles. They should both be on the path above.
Mission Task 6
The gunship will be around Smasei Fort whenever you arrive there. You’ll need your own rocket launcher for this, unless you want to use the Honey Bee.


No Comments