
This page will give a walkthrough for The Lava Caves level of Kao the Kangaroo.
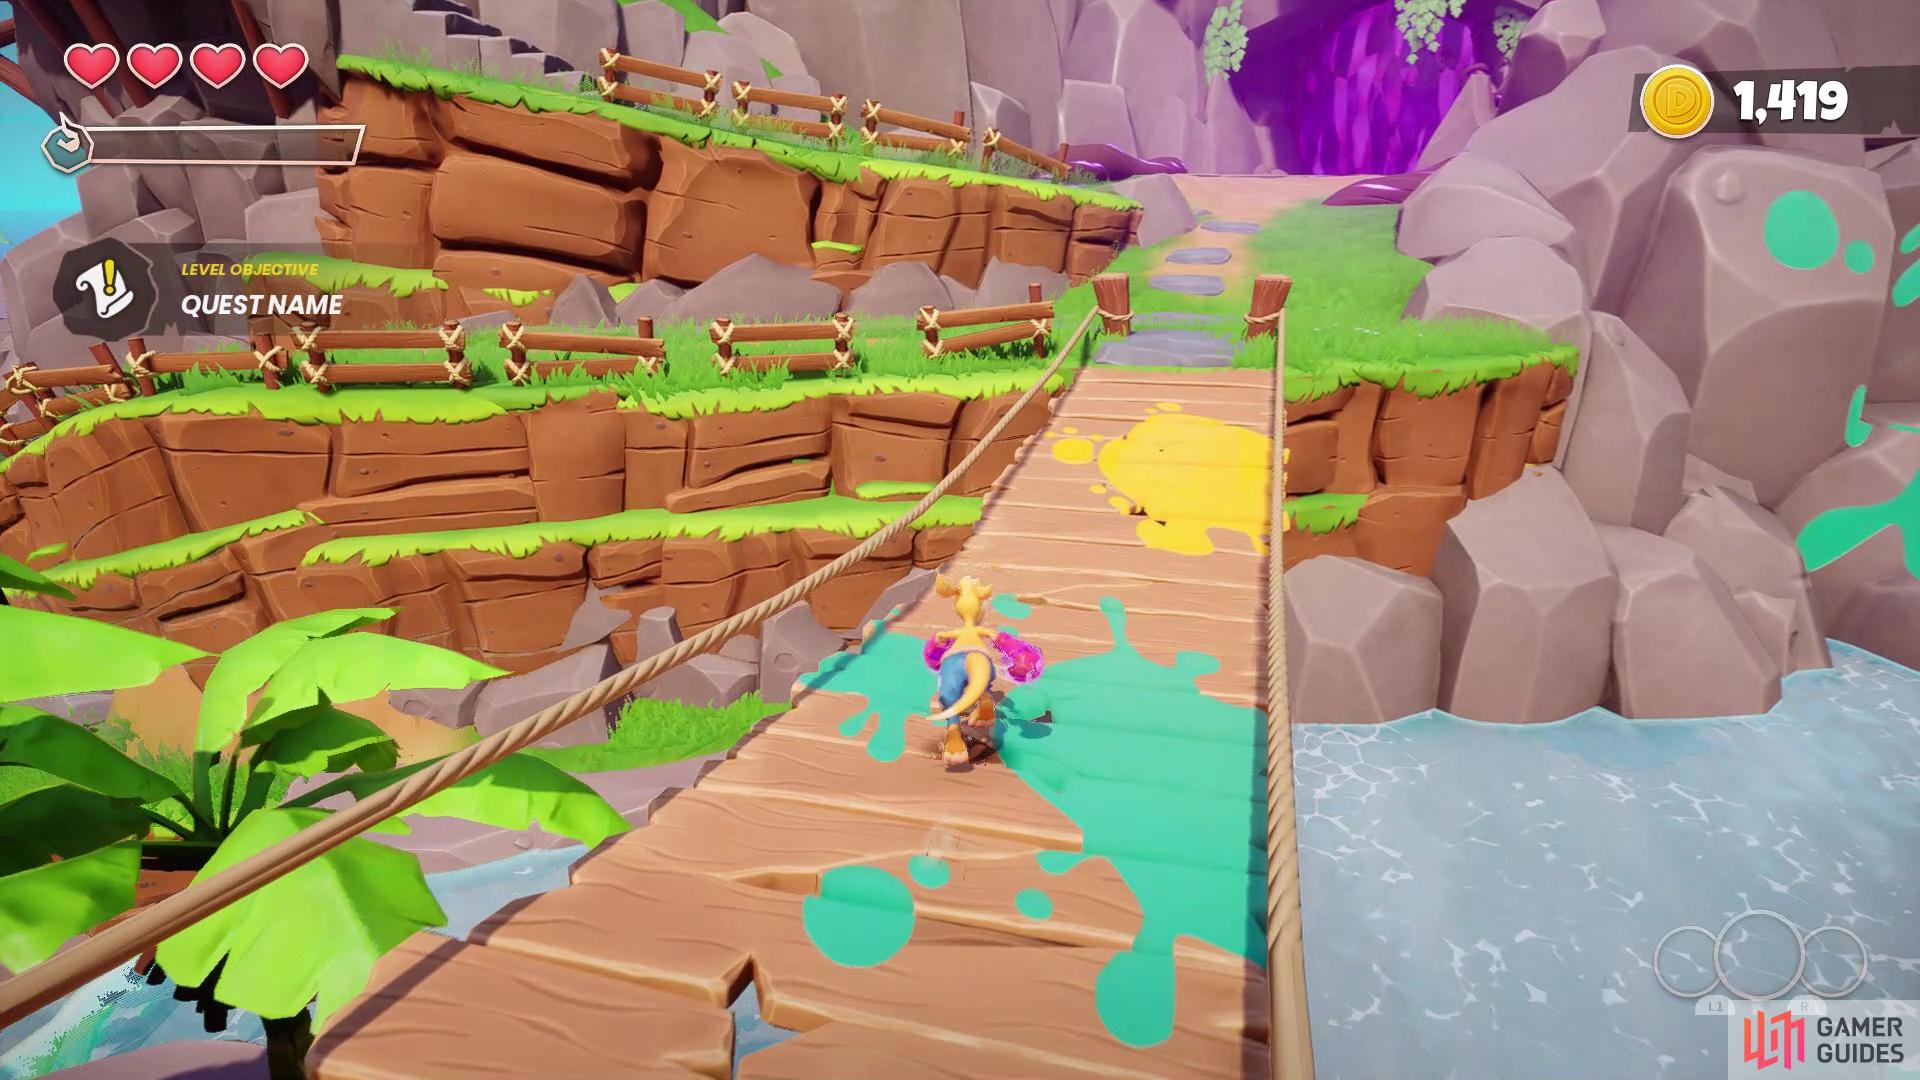
The Lava Caves will be across the bridge with the paint on it
| Runes | Crystals | Scrolls | Eternal Wells | Heart Pieces |
|---|---|---|---|---|
| 4 | 5 | 1 | 1 | 3 |
Where to Find The Lava Caves
First and foremost, you will need a total of eight Runes in order to unlock The Lava Caves, which is all of the Runes up to this point. If you need help pinpointing the locations of those Runes, then go to these pages:
Note that after finishing The Dark Forest and defeating Terror, there will be two additional Runes to find in Hopalloo Island, which will bring your counter to eight. Once you have collected them all, you just need to find the entrance to The Lava Caves. Thankfully, it’s not too far from where Gadget and his boat is located. Simply locate the path leading up to where you could see the windmill and the entrance will be along the way.
The Lava Caves Walkthrough
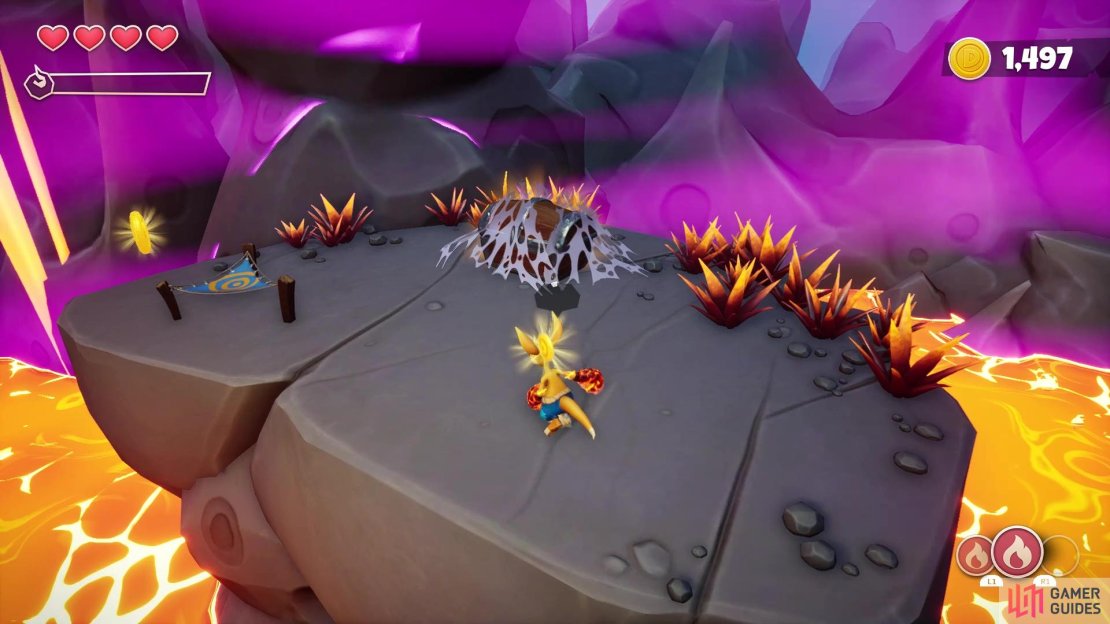
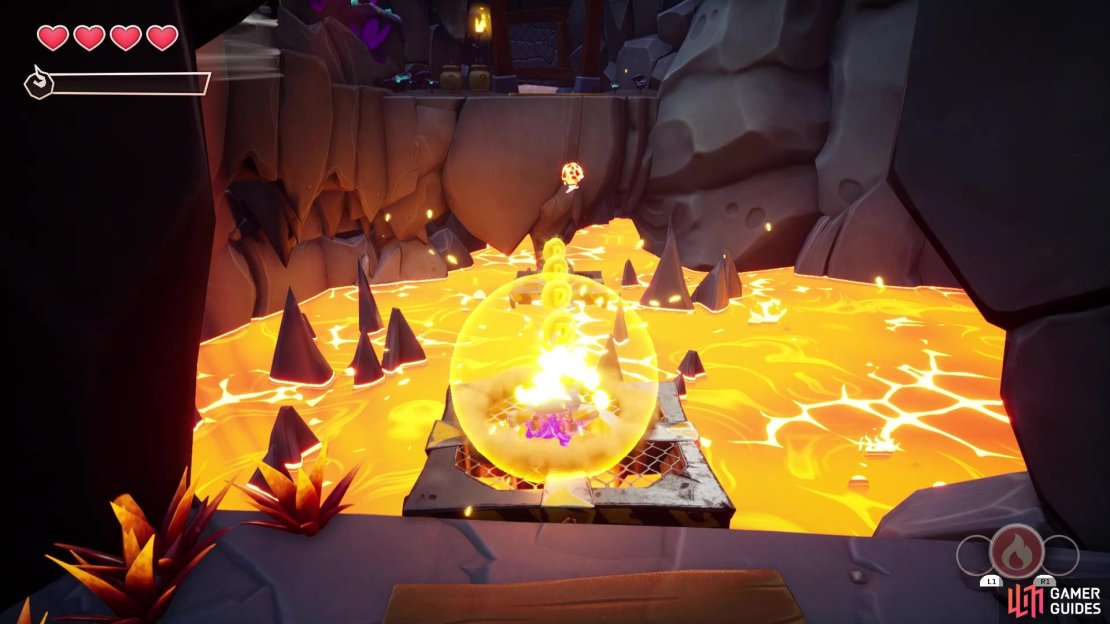
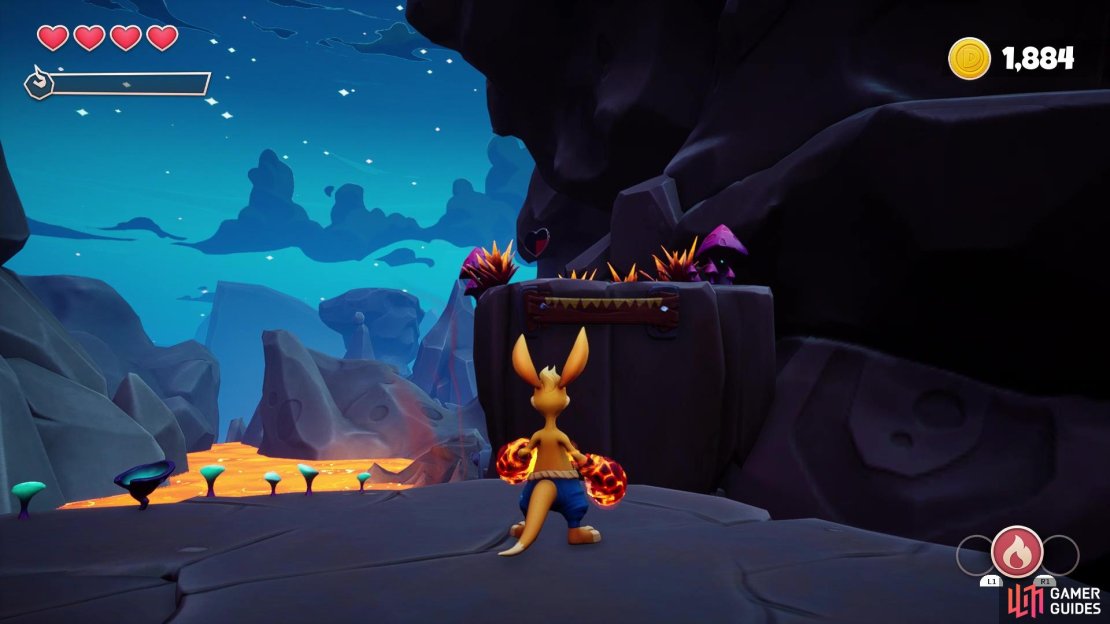
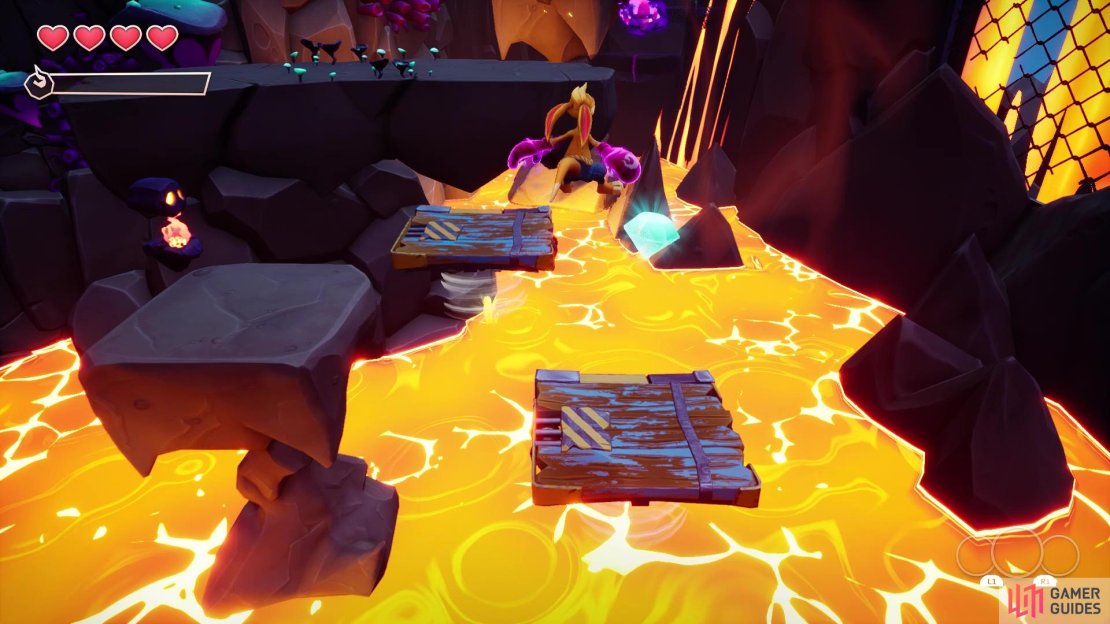
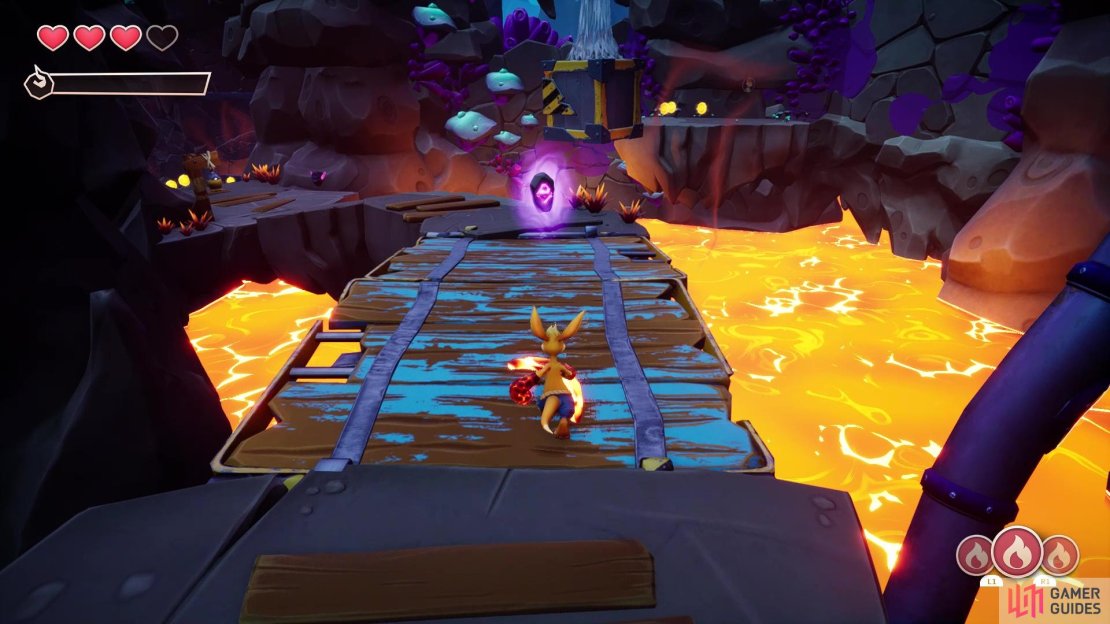
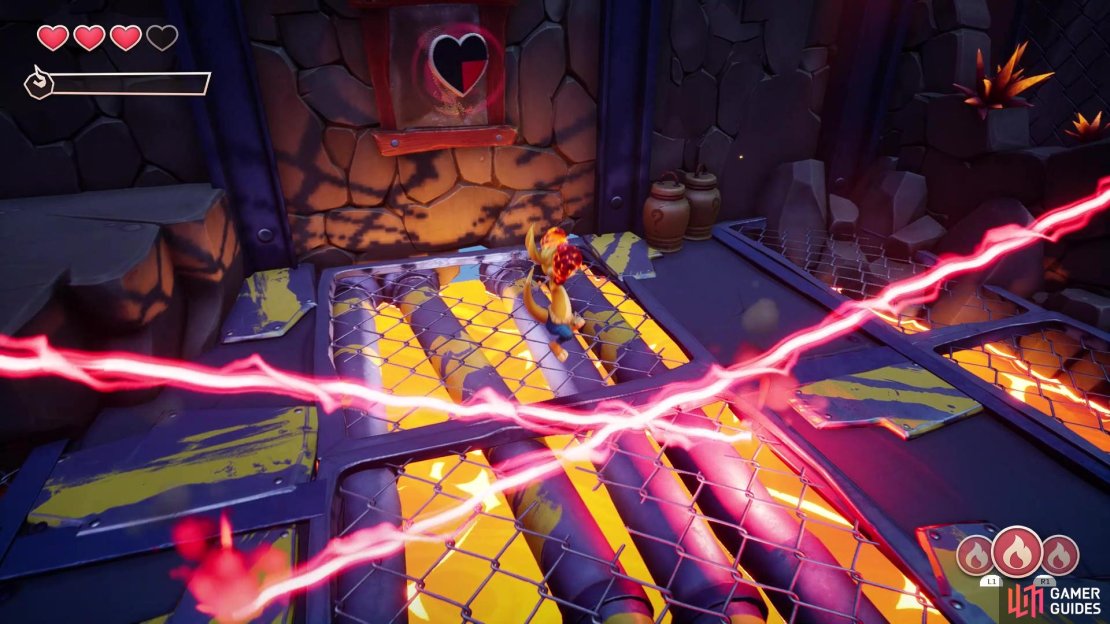
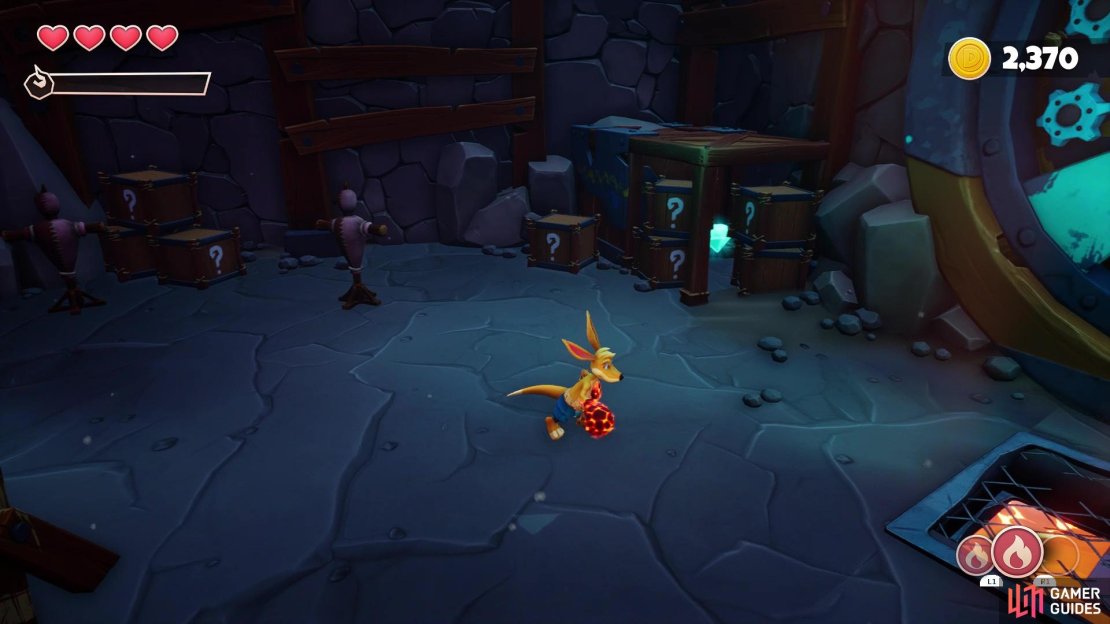
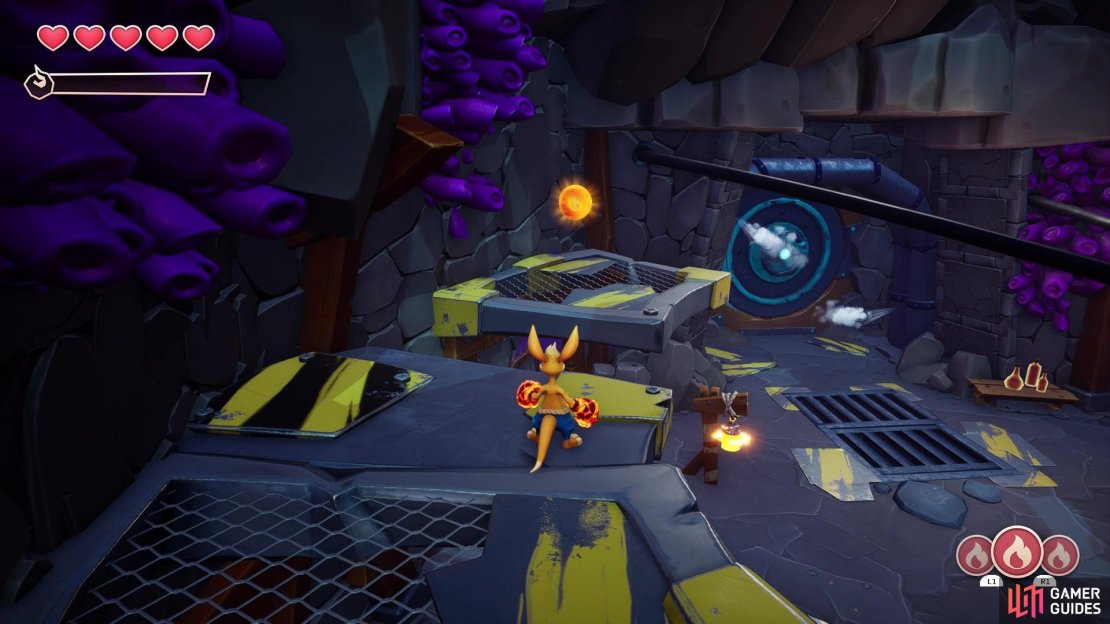
As the name suggests, you will be seeing a lot of lava throughout this stage, which acts similarly to the deep water you’ve already encountered, so you won’t immediately be losing a life by falling into the lava. Upon starting the stage, move towards the elevator and pull the lever to go down, where you will unlock the Fire Gloves ability. Basically, the little fire orbs will be found throughout the levels, and collecting them will get you a Fire Charge. These charges will be in the bottom right corner and you can only hold three at a time. These will be needed to either activate objects or burn through obstacles; the charges are only used whenever you actually activate/destroy something, so just normal fighting/breaking pots/barrels will not use the charges.
(1 of 3) The little orbs will give you a Fire Charge
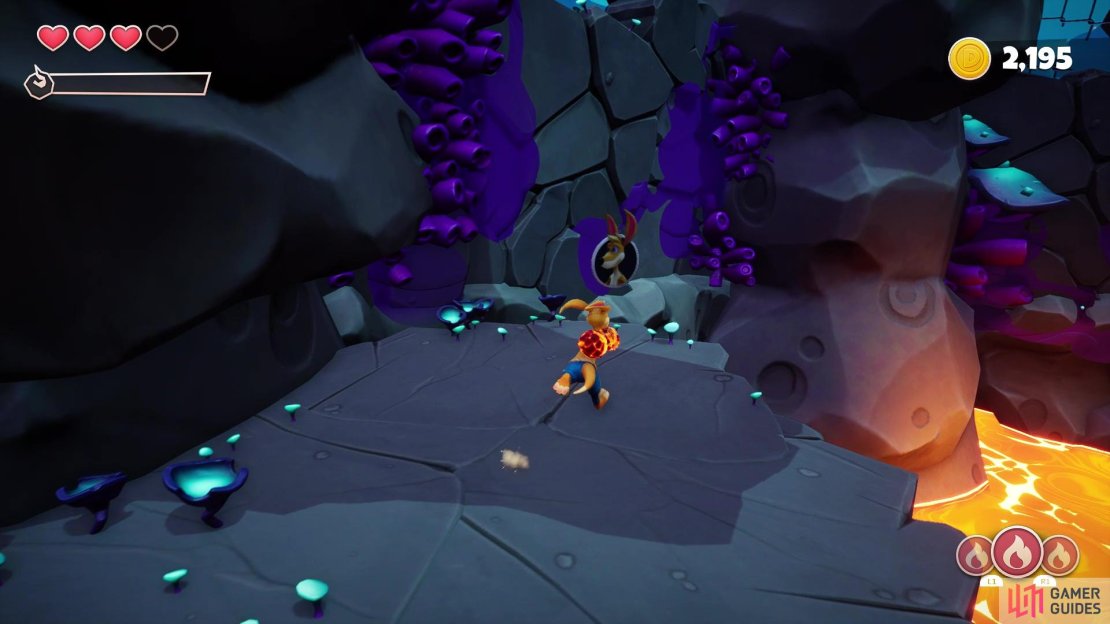
So, collect the Fire Orb and punch the plank of wood holding the gate shut ahead to open it up. Just past the gate, you will see some spider webs on alternate paths, which are blocking your way for right now. Since there is only a single path to take right now, go ahead and jump on the platforms to collect the two Fire Charges. With these, you can burn the two spider webs, allowing access to those areas. The narrower path leads to a chest with Ducats, which is covered in webs, but there is another Fire Charge right next to it. Back to the other web, this will allow you to go further into the level.
The next little bit you will learn is that your fire power can also activate some objects. The platforms ahead have a little fire icon above them, indicating you need to use a Fire Charge on them to make them move. In the instance of these platforms, you will need to perform a Ground Slam. Do this to get across the lava pit, then take the side path to more platforms that lead to another chest with Ducats. Return to the main path and roll under the wall ahead to find some Frogsters waiting for you, including a Range Frogster, who will be in the back tossing spears at you.

Once the coast is clear, go around the area and collect the Fire Charges, then look for the side path that leads to another web-covered chest with Ducats. You should still have a single charge left, so double back to where you found the tutorial crab and strike the Boomerang Stand with your fists. This will transfer the fire power over to the boomerang, allowing you to pick it up and throw it at the web holding up the crate. Hop across the crate and you will finally pick up your first collectible here, a Rune (1/4). Jump up to the ledge above, via the handholds, and look for the lower path of the two presented (opposite where you’re supposed to go). This will lead to a platform that contains a Heart Piece (1/3).
Eternal Well #3
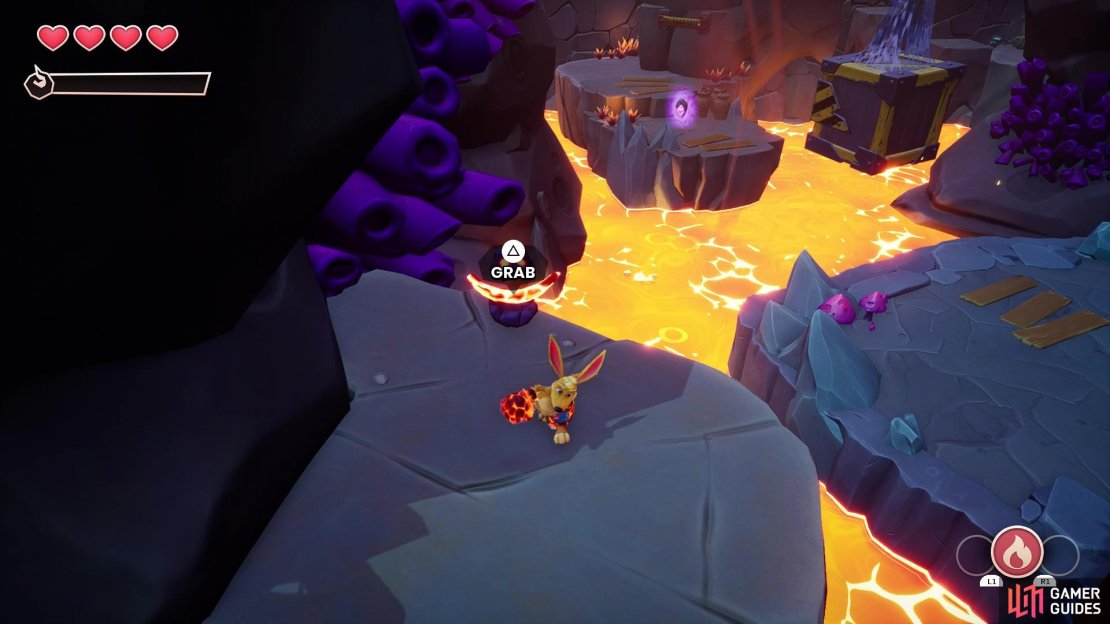
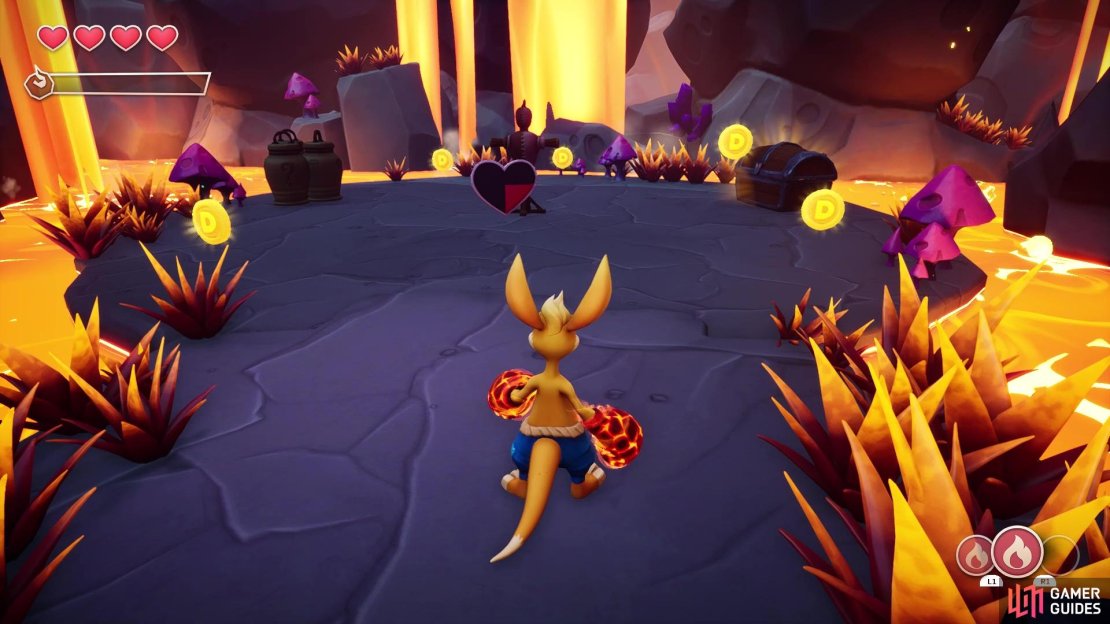
Head back and take the other path, stopping very shortly in and dropping to the platform below you, where you should see another web covering an opening. You should still have a charge left, so scorch the web and go inside to find the lone Eternal Well (1/1) in this level. This Eternal Well will be an obstacle course, which is going to be a little more challenging than the last one you did. The goal is to make it to the end, and there are only two Crystals in this Eternal Well, one of which is a bit hidden compared to the second. Follow the trail of Ducats and jump to the first platform, which will have a spiked log moving up and down next to it. Stop here and look to the side to see another platform you can jump to, so do that, then hop up to grab the first Crystal.


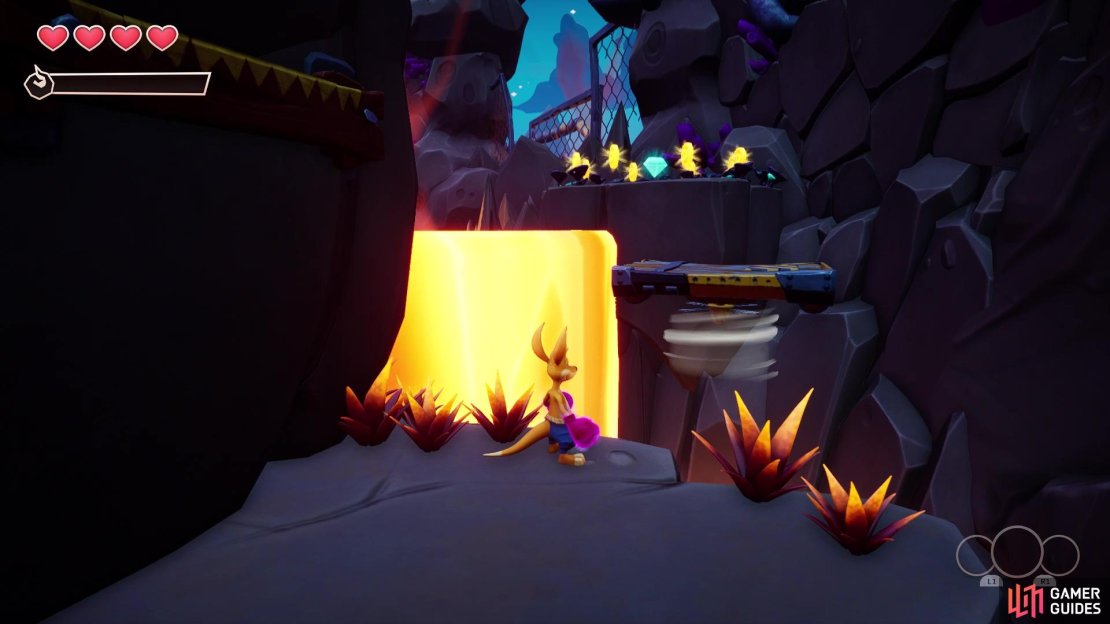
(1 of 4) Look for this little spot in the level with the webbing
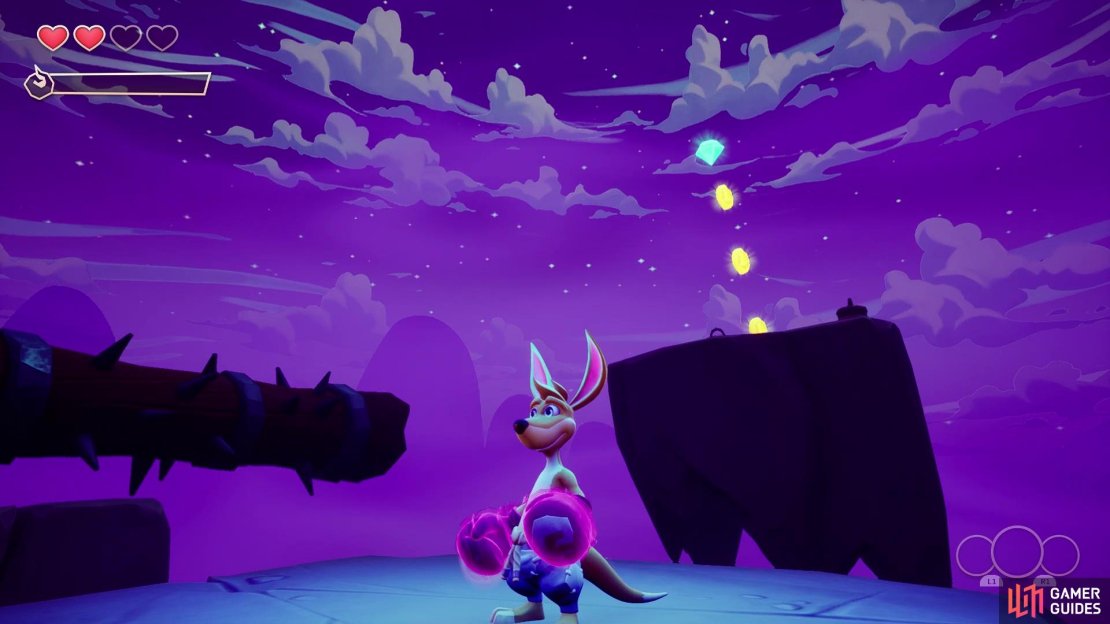
Get back to the main path and just follow it, until you start climbing a wall with spikes on it. The other Crystal will be here, above the board that you have to shimmy across to the next wall. Continue to the top, then jump through the next spiked logs. At the very top, you will see a long row of coins and as soon as you start moving across, the spiked traps on either side will begin collapsing onto the walkway. If you keep moving, then the spikes shouldn’t hit you at all. At the end, collect the big coin, then exit the Eternal Well.
Back in the main area, find the next ledge you can jump to and look off the side there for a moving platform. Use this to reach another platform off to the side, where you should find the first Crystal (1/5). Return to the previous platform and climb up to the next spot, then peek to the side to find a Fire Charge. While you’re down there, you should look back at the platform you jumped off of to see a well-hidden chest on the lower lip, so loot it for its Ducats, then hop back up. Activate the one platform with your fire, then just continue along the main path (you only get a few Ducats with the other moving platforms here).
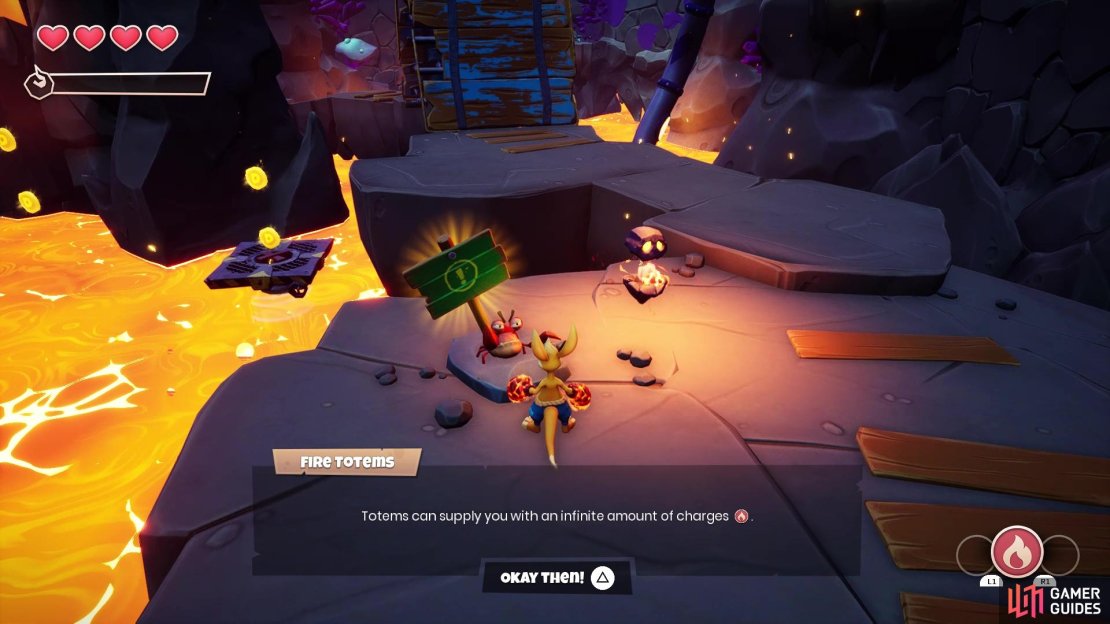
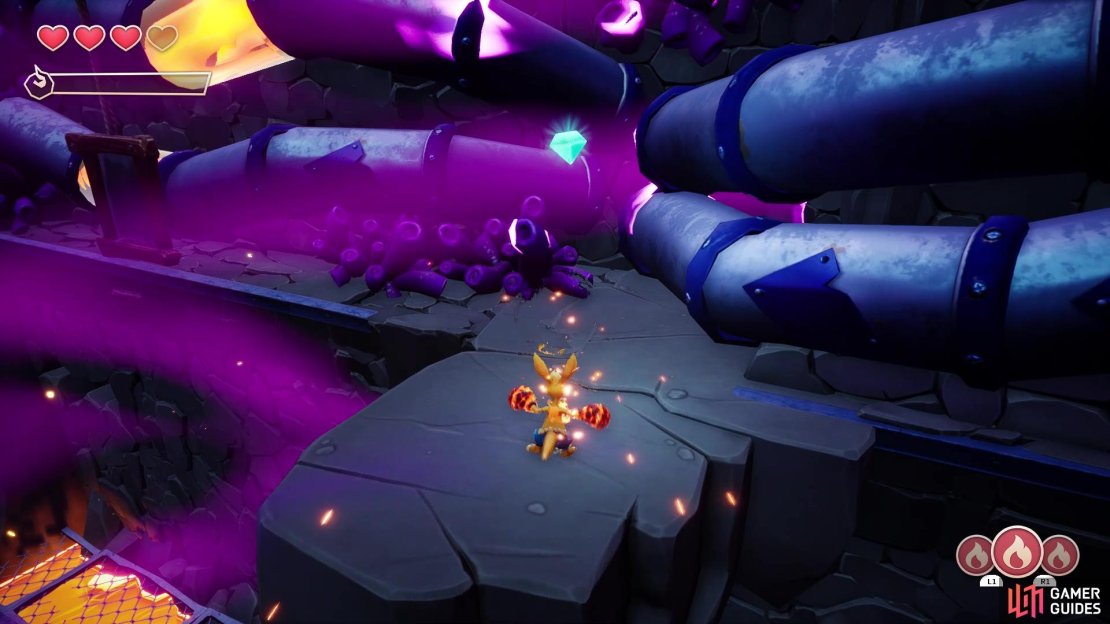
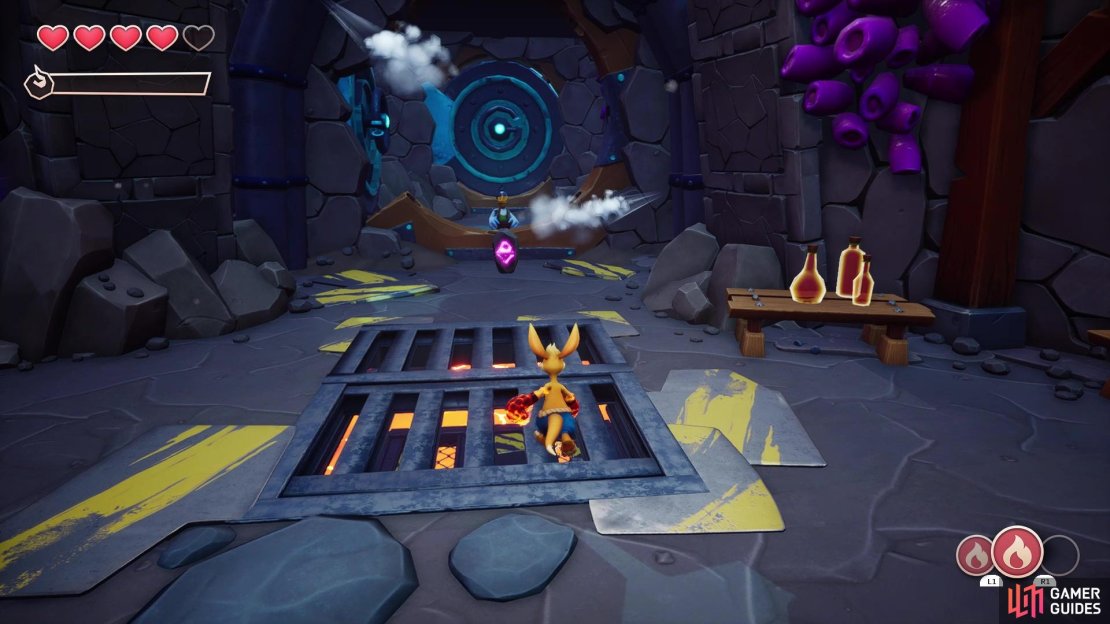
The next tutorial crab teaches you about Fire Totems, which can provide you with unlimited Fire Charges. Basically, standing close to them will have the totems just spit out charges, so fill up your three slots before moving forward. There will be a raised bridge ahead, blocking your progress, so you will need to venture via the platforms off to the side. These need to be activated with your charges, so do that and reach the checkpoint. Just beyond that, there will be a platform with another Fire Totem, as well as a Crystal (2/5) suspended in the air above one of the moving platforms.
(1 of 7) Look for this moving platform after the Eternal Well to find the first Crystal
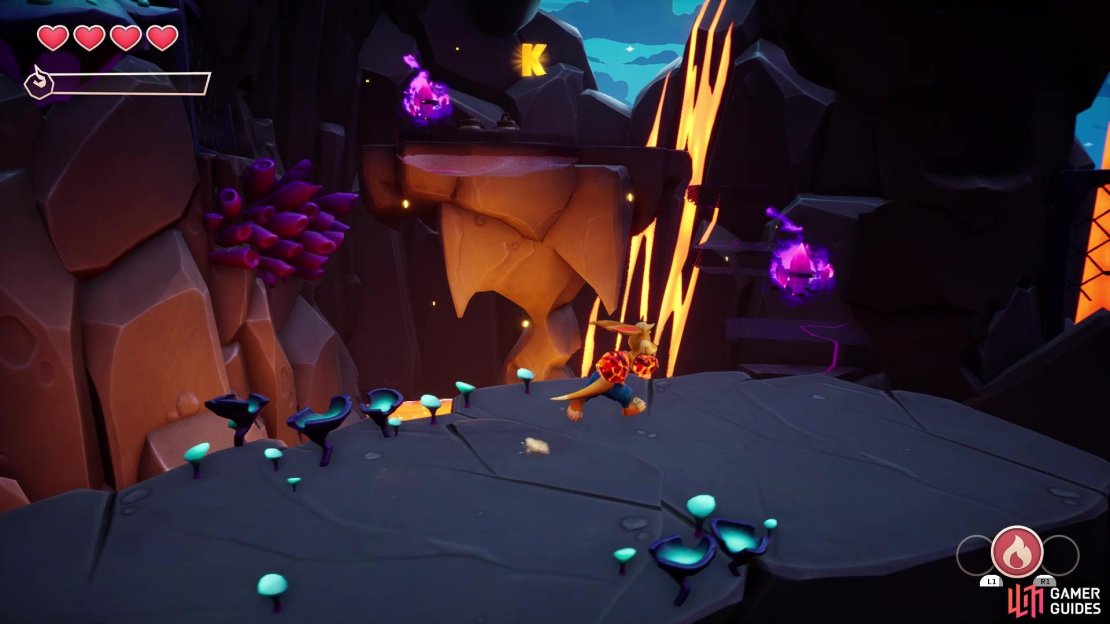
Upon reaching the next ledge, there will be two ways to go, one of which involves some dark crystals. Head that route first to reach a platform that is holding the K Letter, so grab it and backtrack the little bit to get to the other path. Activate the platform here, then jump and spin attack to dissipate the web blocking your way. Hit the Boomerang Stand with your fists to ignite it, then use the flaming boomerang to hit the furnace on the other side of the cavern, dropping the bridge you saw earlier. Make sure you grab another boomerang before jumping down from the Boomerang Stand. On the bridge will be the second Rune (2/4) of the level.
The Lava Caves Continued
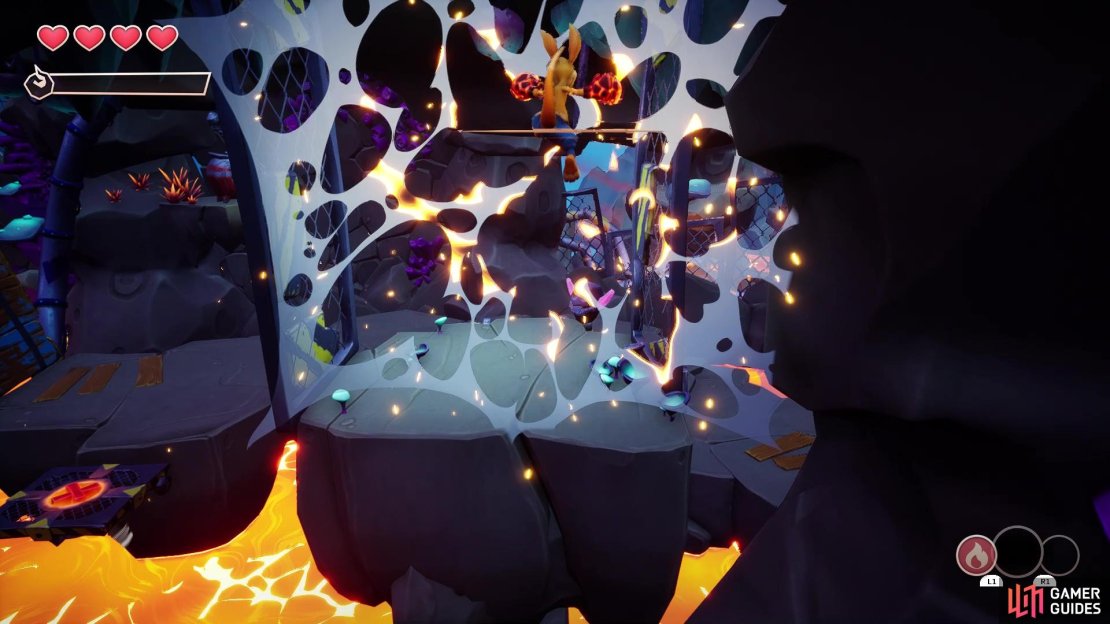
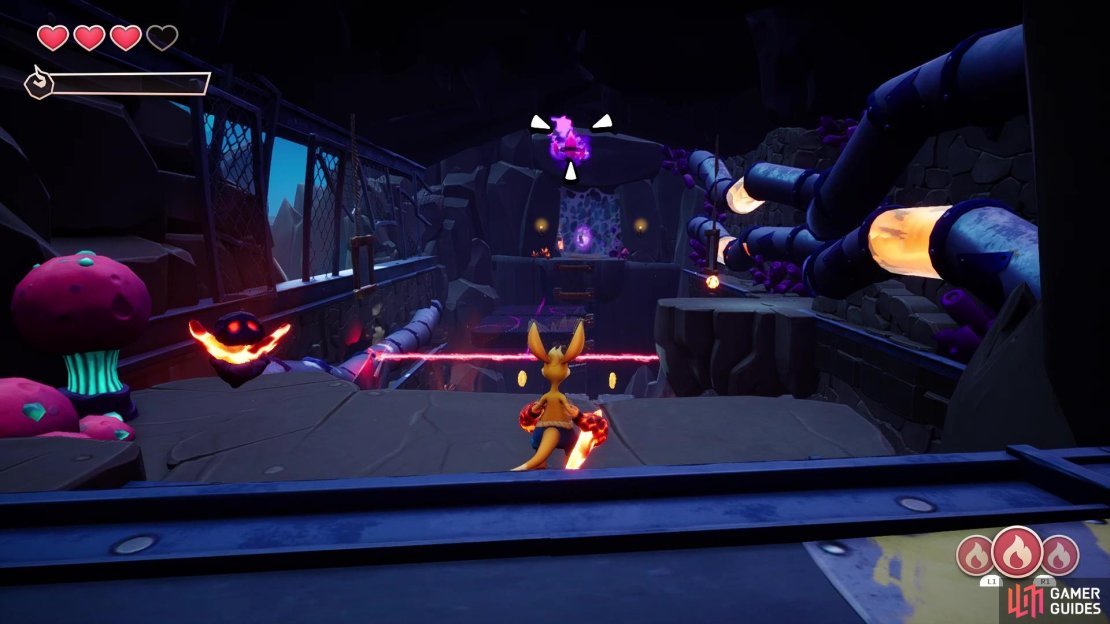
If you grabbed another boomerang, as mentioned above, then you can cut down the large crate being held up by the webbing, allowing access to the ledge on the side that contains an extra life. Continue on the main path, being careful as you cross the pipe, until you reach a large room that has some lasers in the middle. Get a boomerang from the stand next to you, then look in the middle of the room, in the air, to spot a dark crystal. Use the moving platforms that appear to get to the ledge on the side, where there’s a Fire Charge, as well as a Crystal (3/5).


(1 of 6) You can snatch an extra life via dropping the giant crate after the bridge
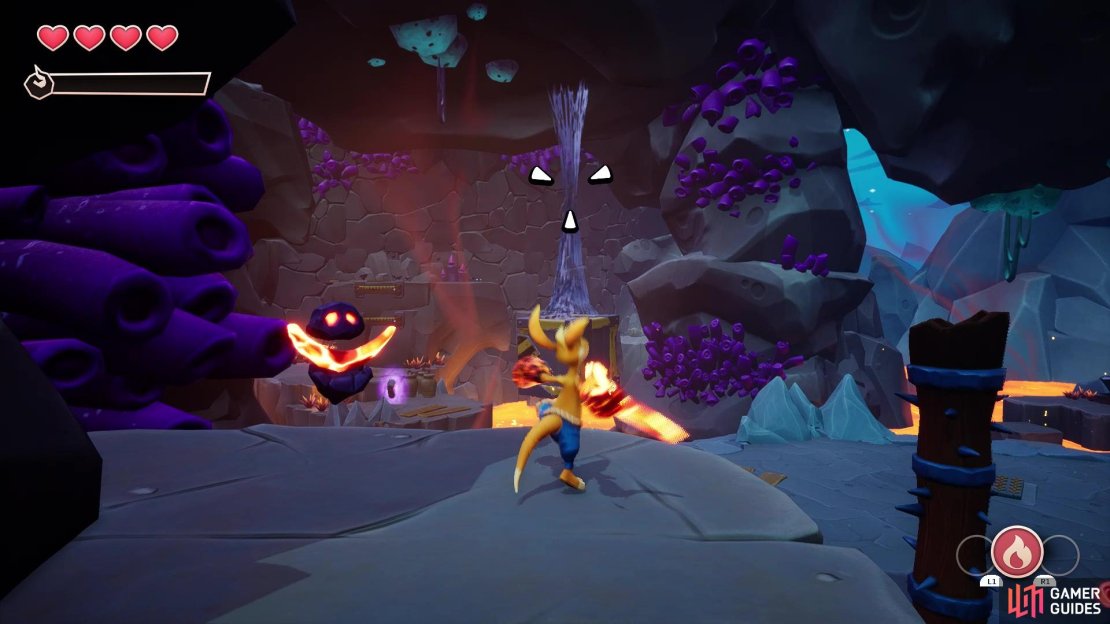
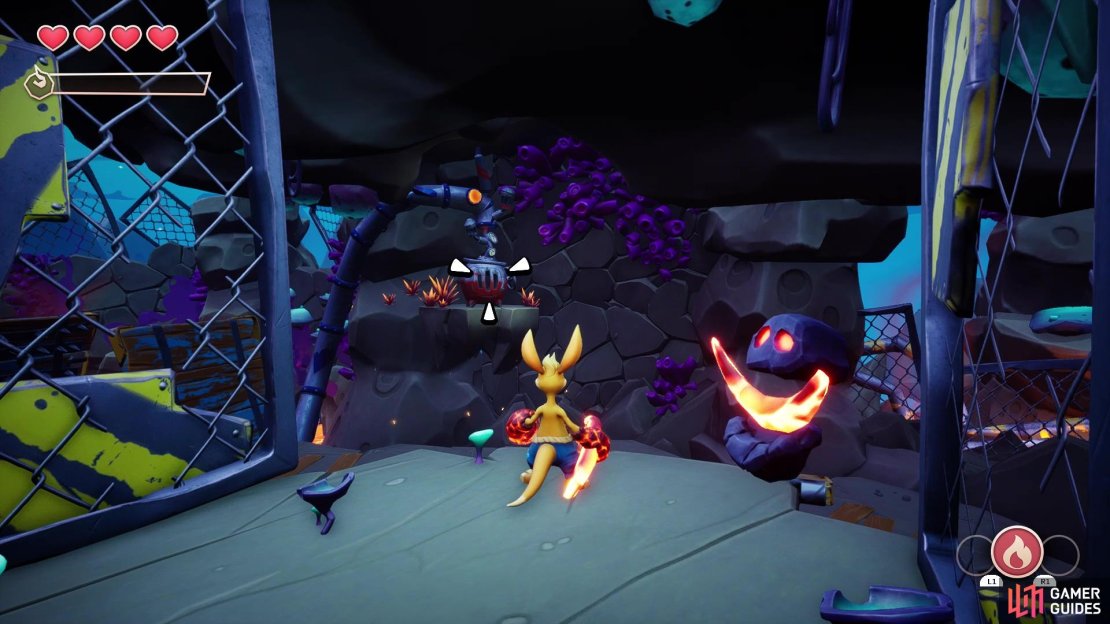
Drop down to the ground below and head to the end of the room where you entered to find a Heart Piece (2/3), then go to the other end and climb to the opening. Bust through the webbing and grab the Rune (3/4) in plain sight. You should see a Range Frogster ahead, on a small platform, so the best thing to do is reflect its projectile back at it. Go to where it was located and burn the web you see behind it to get the level’s lone Scroll (1/1). As you continue past that, there will be a Stinker enemy buzzing about right in front of a board along the bottom of the wall.
Defeat the enemy, then set the board ablaze and roll underneath it. There will be one more enemy here, then as you step on the board ahead, it will reveal itself as a trap door, dropping you to a room below. In the one corner, next to the large round door with the “G” on it, you can break the boxes there to find a Crystal (4/5) hidden behind it. On the one side, there are some crates kind of stacked like stairs, with smaller, destructible boxes on top of them. Destroy the boxes to reveal a spot you can roll under, leading to a hidden room with a Heart Piece (3/3) and a chest filled with Ducats.

(1 of 4) The fourth Crystal will be hidden behind some breakables
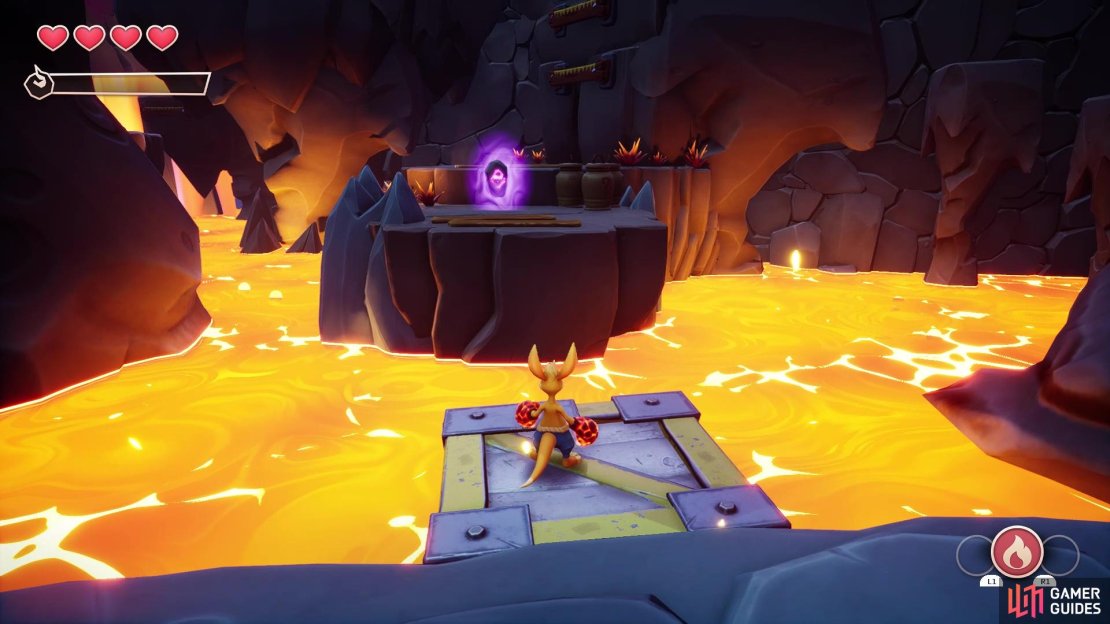
Return to the room and look for the exit by where you entered, leading to a tunnel and what appears to be an underground lake/pond. There is the A Letter here, but you can’t reach it just yet. Instead, climb the nearby handholds, to a small room with some Frogsters. Take them out, then look for the stack of boxes next to them, which will allow you to jump to the island with the A Letter now. If you don’t have a Fire Charge right now, there should be one near the Letter, which is needed to burn a board at the base of the wall in the previous room, opposite the A Letter. You will drop into a room with some pipes and lava. Roll under the second set of pipes, then defeat the Frogsters at the far end, and climb through the opening to reach Gadget’s garage.
Gadget’s Garage
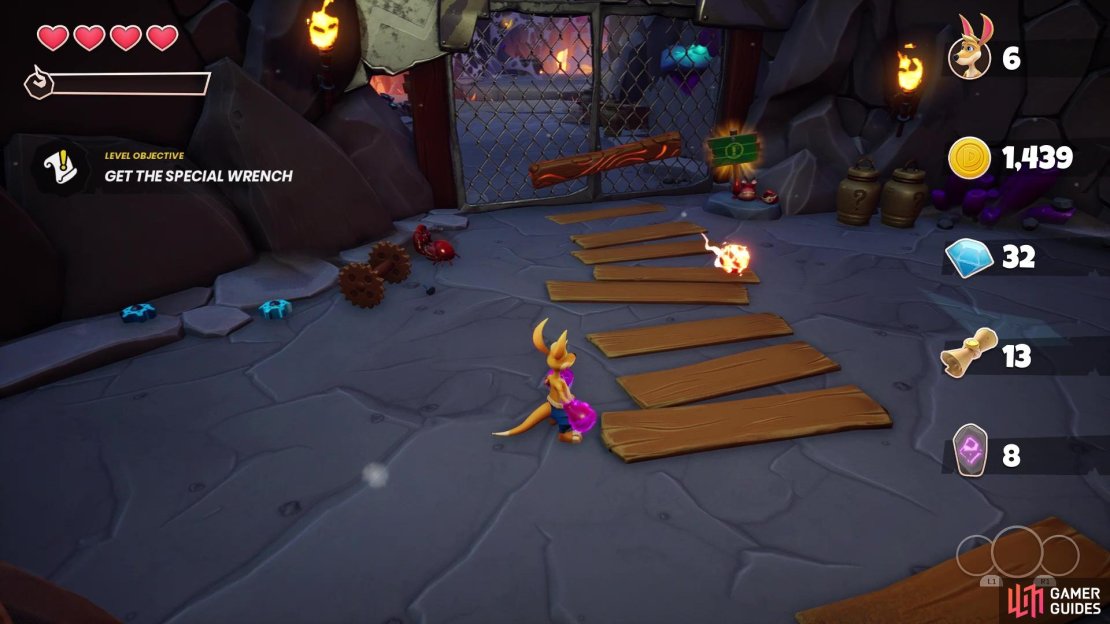
Before doing what you are supposed to do here, let’s grab some of the collectibles. Look for the laser beam machine on the ground with the lever beside it. Near it, obscured by some pots and the giant crates, you will find a Crystal (5/5). Climb those giant crates, then head to the far end of the walkway to find the O Letter. With those out of the way, you should see a forcefield in the middle of the room, which you have to destroy to get to Gadget’s Special Wrench. To do that, you need to activate and position the three lasers in the room to hit the machine above the forcefield at the same time.
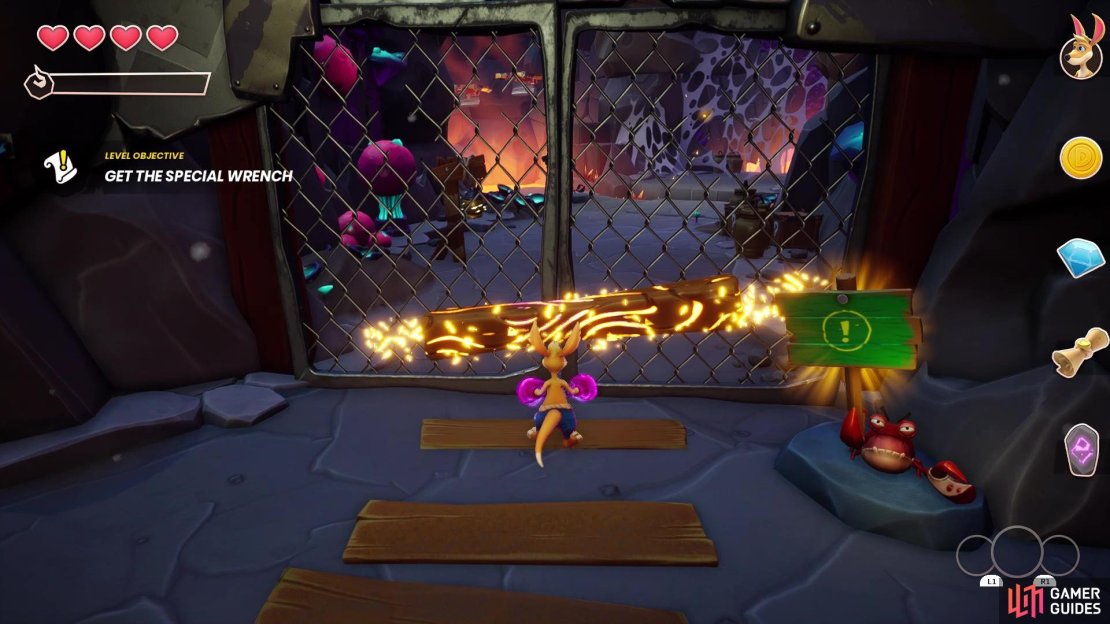
Go over to the one machine on the ground that has a lever next to it, and punch the machine to turn it on, then pull the lever to make the laser point upward. For the second machine on the ground, you will need to do something else first. You should see a Fire Totem and Boomerang Stand next to it other, so grab a Fire Charge and strike the Stand. Grab a flaming boomerang, then look upward along the same side of the room to spot a target. Toss the boomerang at that target to make a mirror drop to the ground. You can now go over to the second machine and punch it to make the laser go pew, then punch the machine to make sure it’s on the right side of the little track.

(1 of 3) Look behind the breakables by the one laser for the Crystal
If done right, the laser will be bouncing on the mirrors and hit the machine above the forcefield. The third laser will be on the second level, so head up there. Turn it on like the other two and move it to the left to line it up with the machine. Once all three lasers are hitting the central machine, it will blow up and you can grab the Special Wrench. Go pick it up and Gadget will appear, along with the final Rune (4/4) in this level. Approach Gadget to see the opportunity to exit the level.
No Comments