
This page will give a walkthrough for The Dark Forest level of Kao the Kangaroo.
Kao will crash land into the Dark Forest
| Runes | Crystals | Scrolls | Eternal Wells | Heart Pieces |
|---|---|---|---|---|
| 2 | 12 | 2 | 2 | 3 |
Where to Find The Dark Forest
Go in this direction to get to the entrance of The Dark Forest
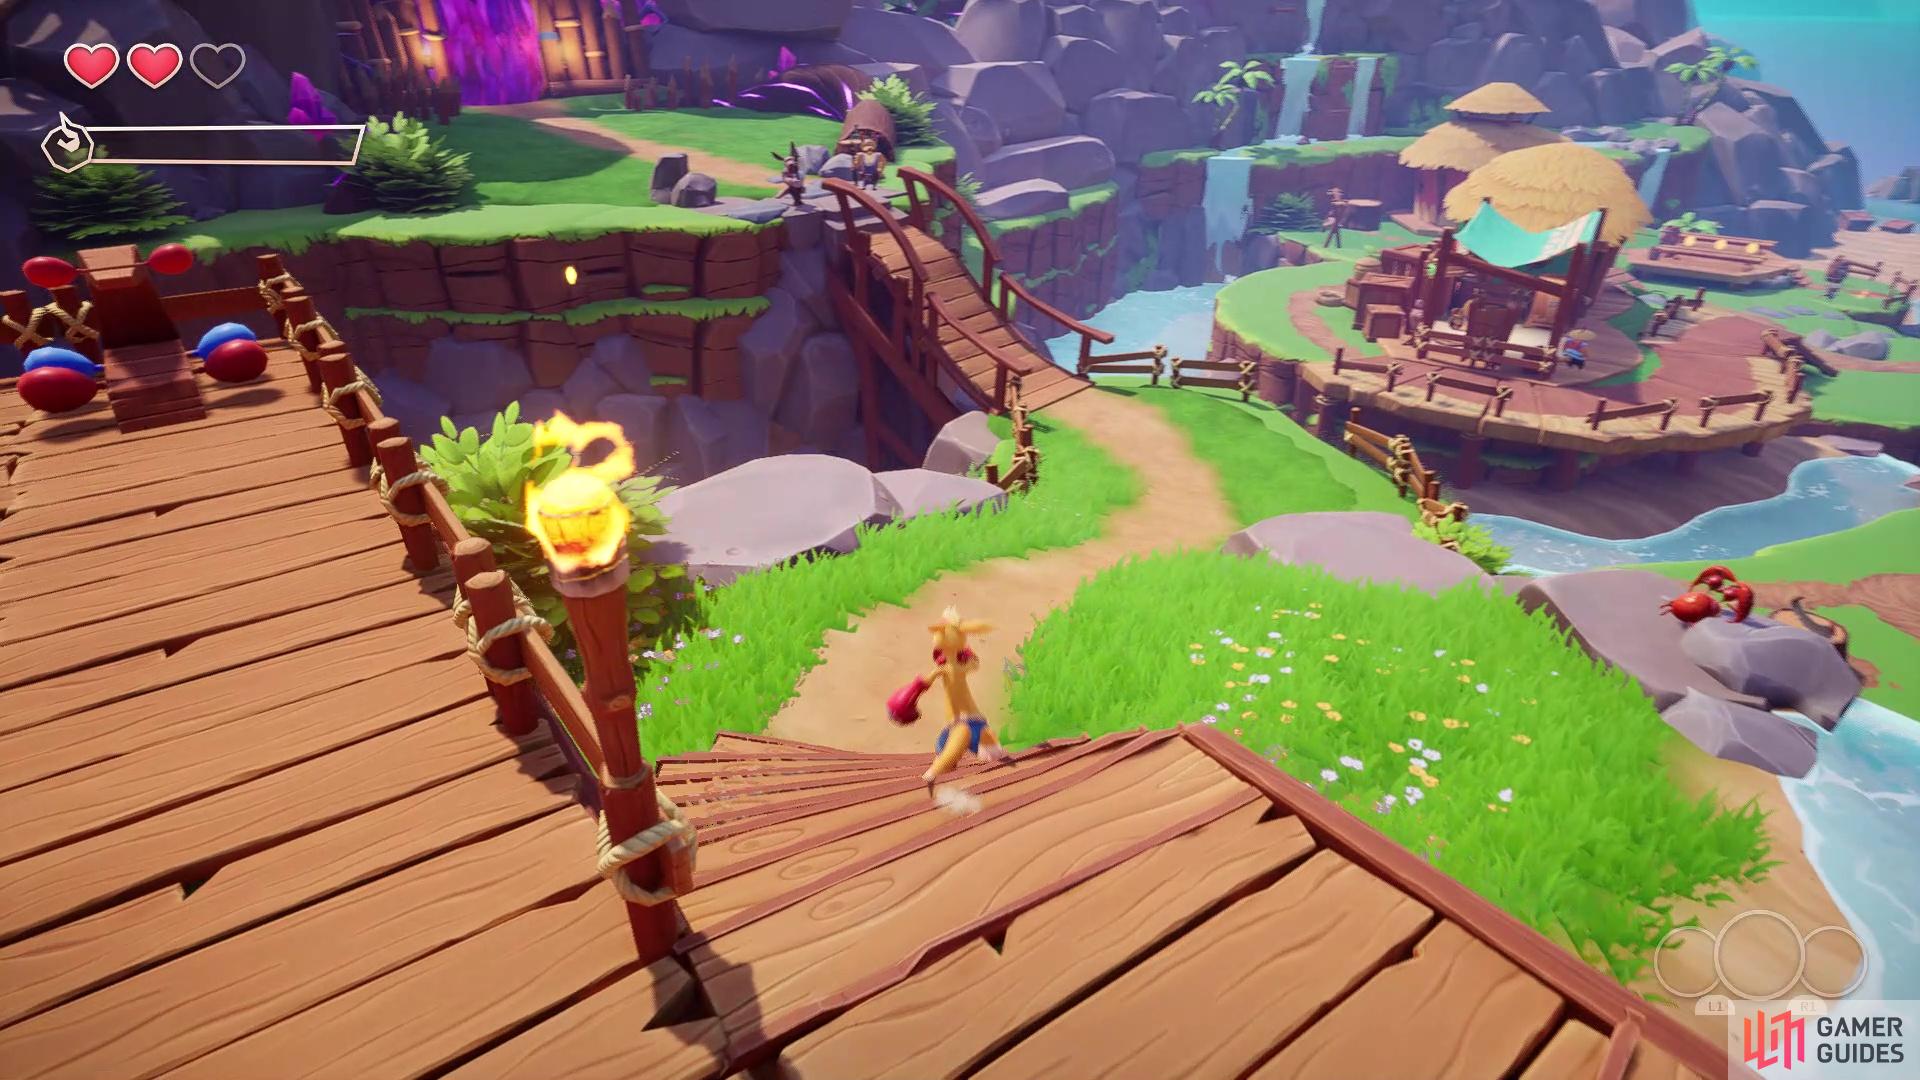
The Dark Forest will be the first true level in the game, as Walt’s Dojo was more of a tutorial stage. Before doing anything, you will need to collect three Runes in order to unlock The Dark Forest, all of which can be gotten in Hopalloo Island. Once you have those, from the entrance to Walt’s Dojo, go down the stairs opposite of Walt, then follow the trail up a wooden ramp and by two guards. The entrance to The Dark Forest will be right past those two guards.
The Dark Forest Walkthrough
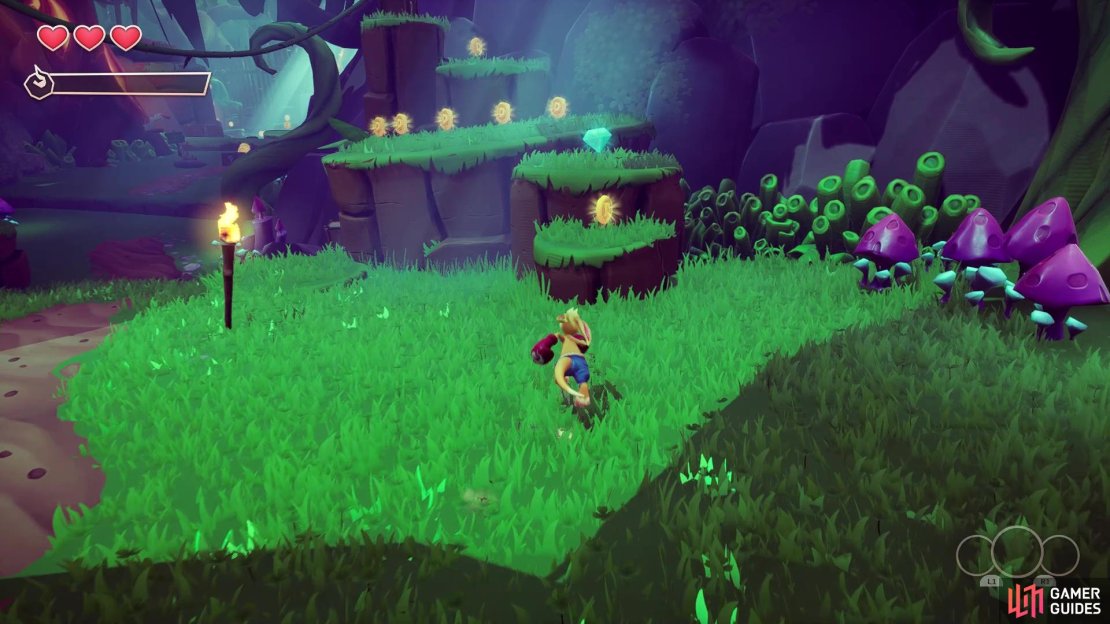
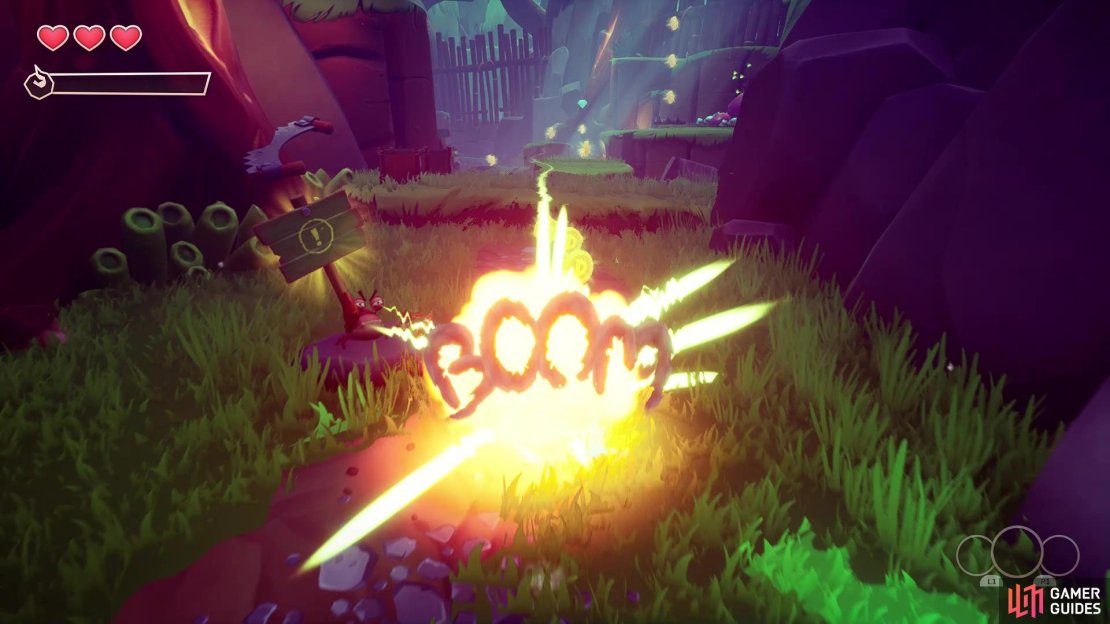
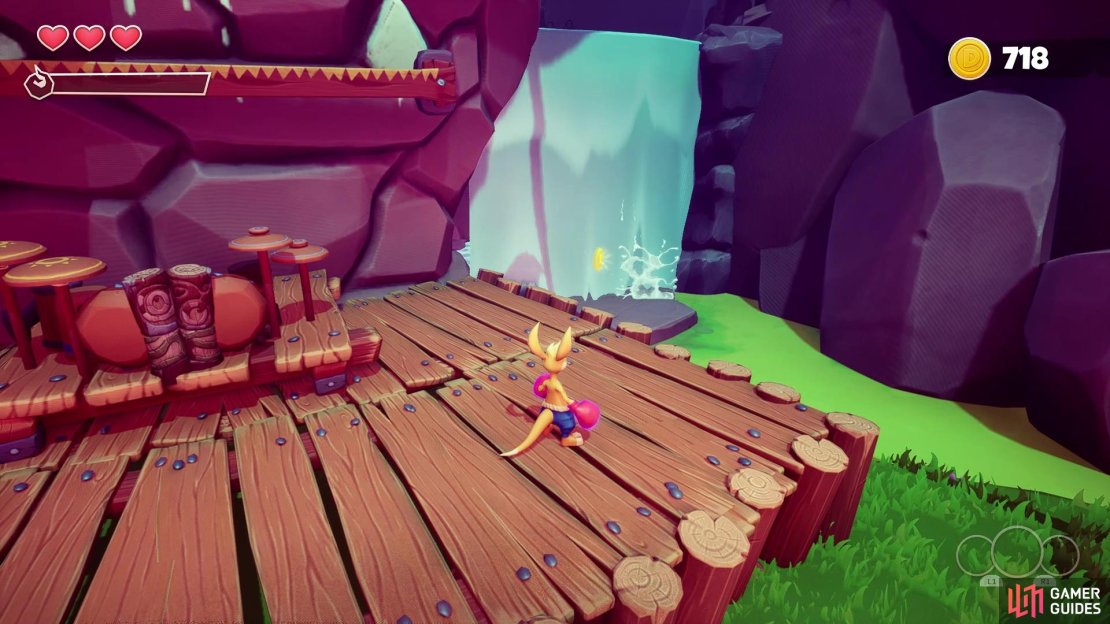
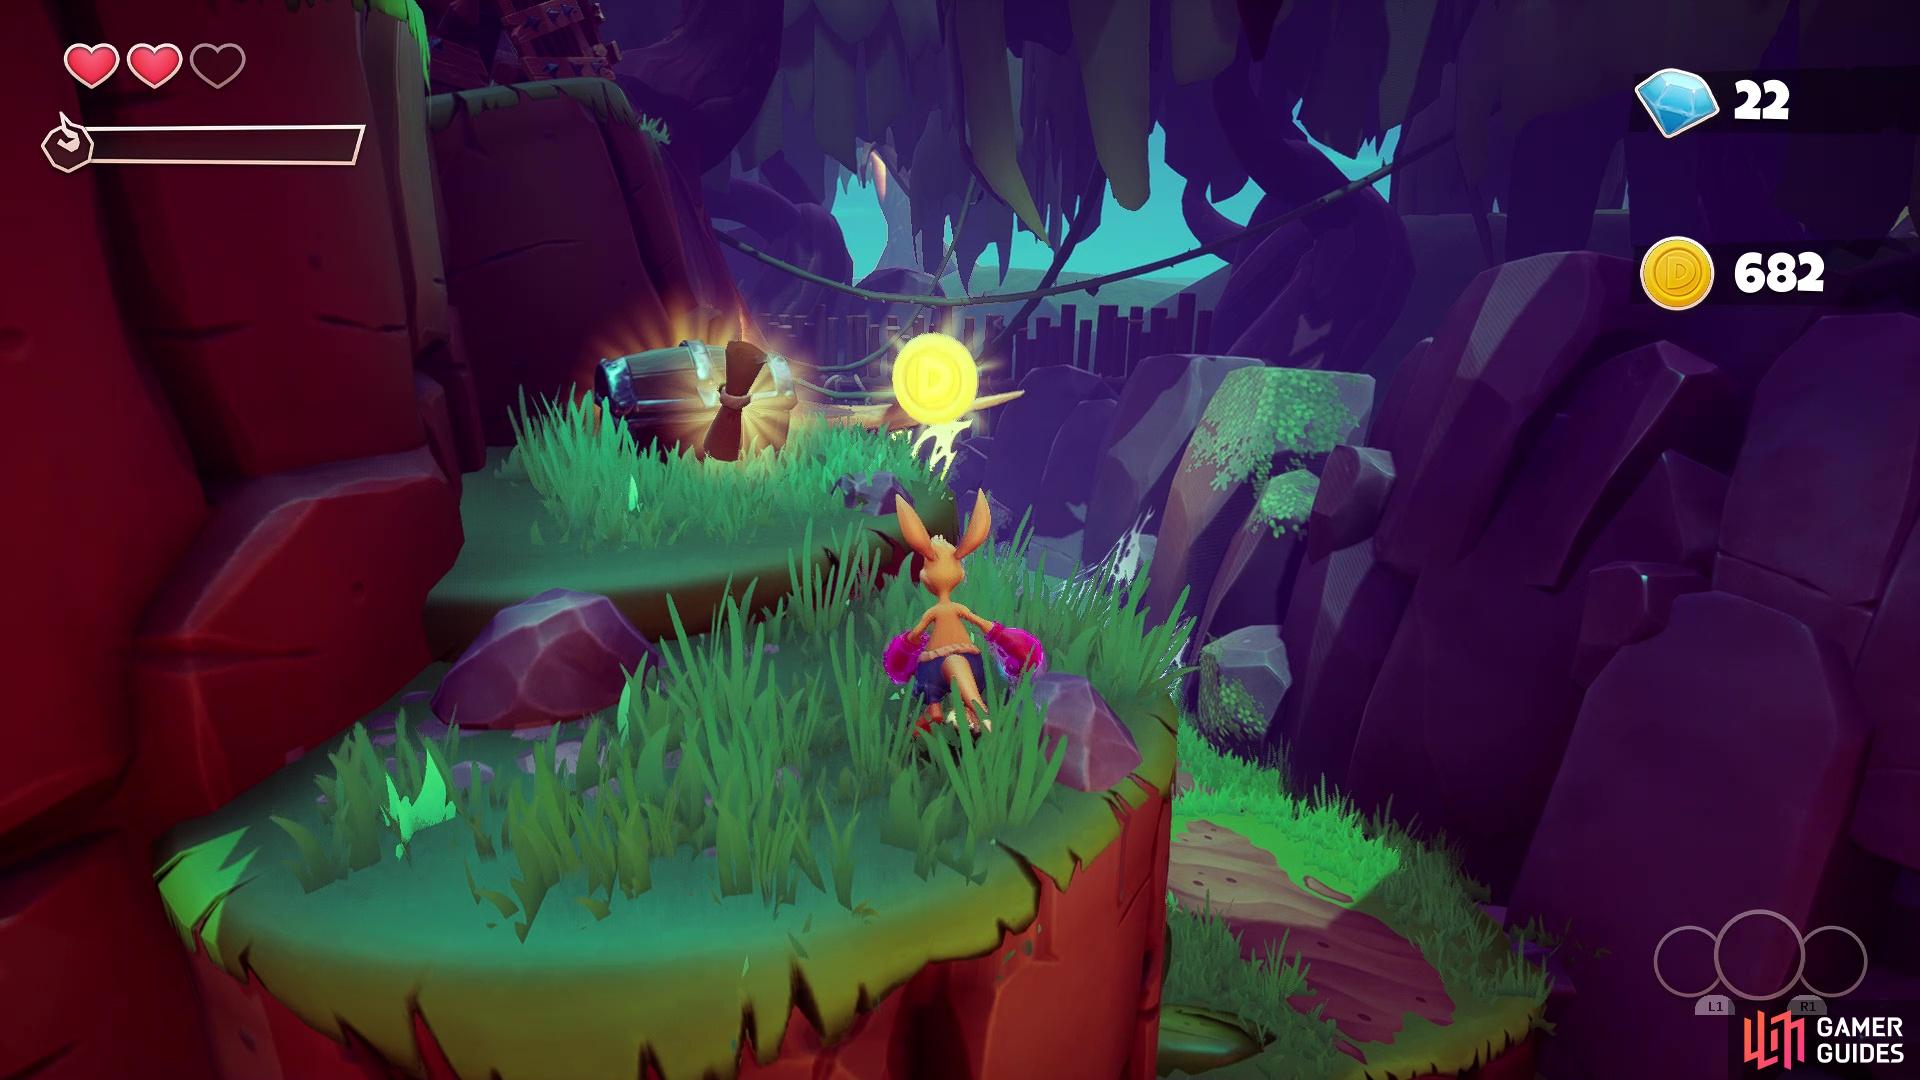
You’ll be getting straight to work, as soon as the level loads and you have control. At the very beginning, to your right, will be a Crystal (1/12), so grab it and find the platforms on the left side that allow you to get higher. Climb those and jump on the wooden platform to get another Crystal (2/12). Continue forward now, to the tutorial crab, who will mention that some breakables in the game are hiding bombs, like the one to the right of it. Once you break them, the bomb will bounce around for a little bit, while slowly moving towards you, then explode. However, there is a trick to these, as your roll allows you to avoid taking damage from the bombs, so you can pretty much just roll through the destructibles to make the bomb explode and be safe.

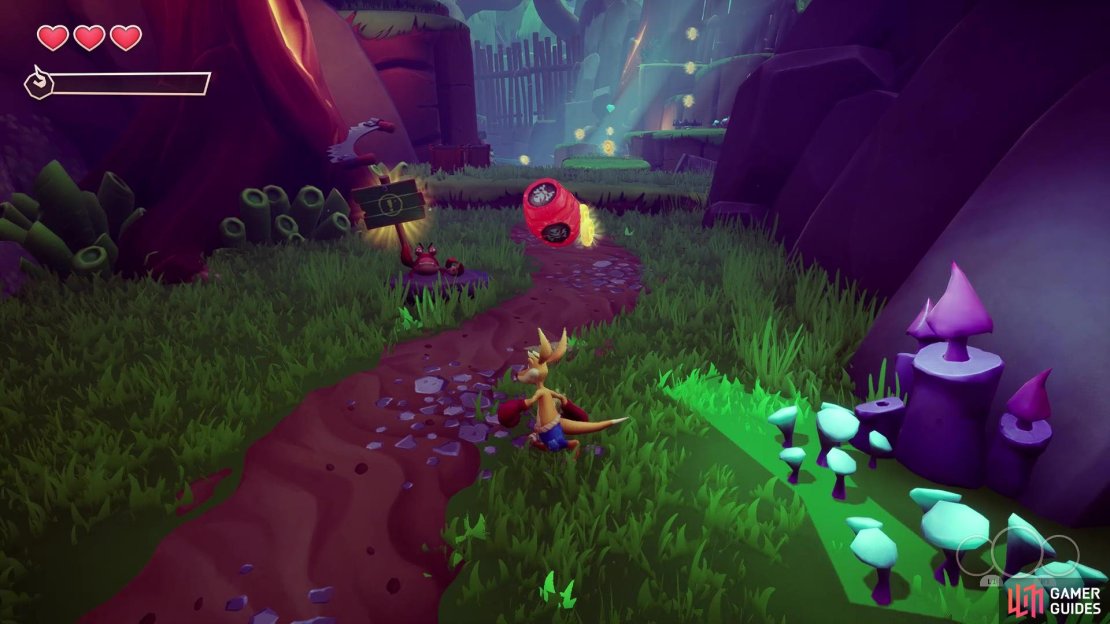


In the next section, there will be some bear traps on the ground, which will snap whenever you trigger the central mechanism, causing harm to Kao. When you reach the one with the Ducats around it, jump up and grab the Crystal (3/12). While on the same platform with that final bear trap, go to the other end and look for the gate that you can roll under. Do that and hop up to the top platform to open the chest, for a bunch of Ducats. Return to the main area and continue past the tutorial crab to be introduced to your first real enemy, the Stinker. There’s not really much to this enemy, as it simply charges you, but since it’s flying, you’ll have to jump and use your spinning attack to deal with it.
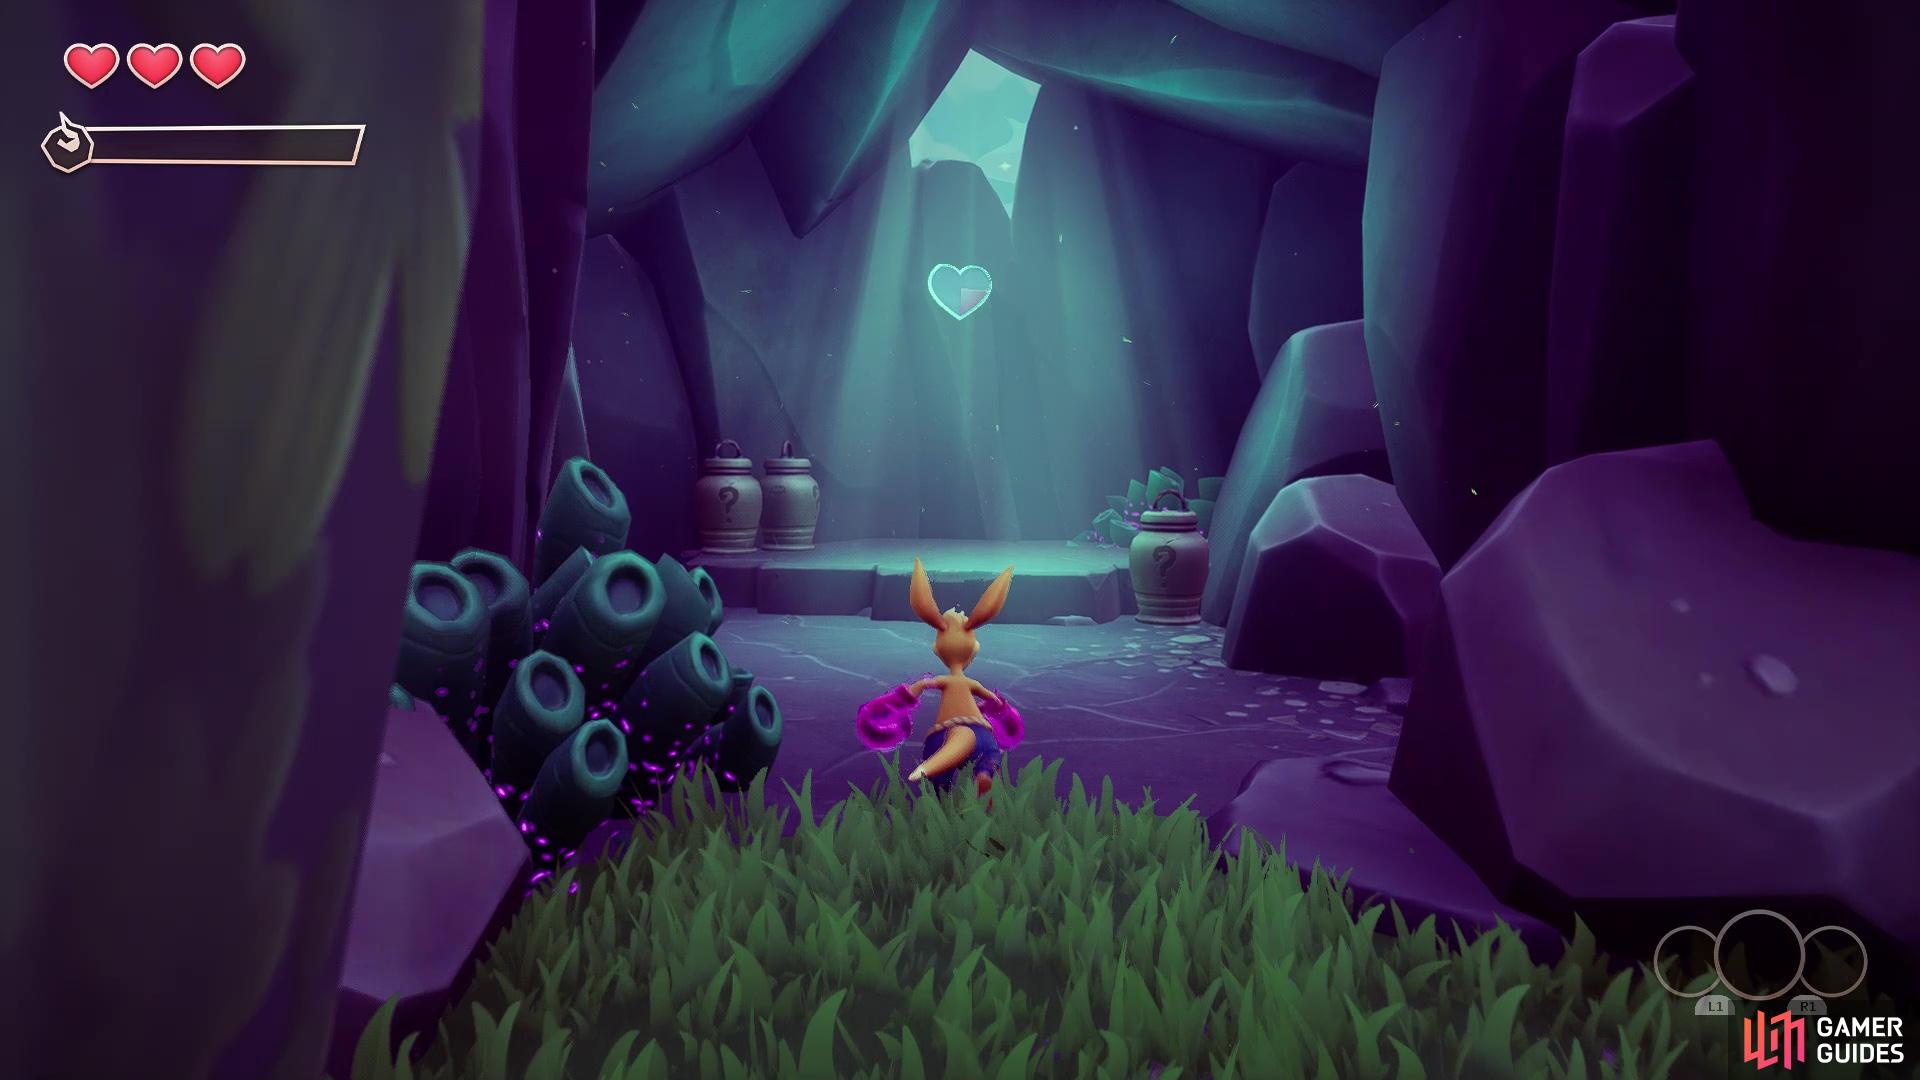
As you hop across the next set of platforms, vines will come out of the circular structures in the water and try to strike you. Just keep moving and you should easily avoid these. On the other side, before passing through the large gate, jump up the ledges and follow the trail to a little hut with a wooden door. On the side of the hut will be another Crystal (4/12) and if you bust open the door, you will find a Heart Piece (1/3) inside the hut.


(1 of 2) The fourth Crystal will be next to this hut with the Heart Piece
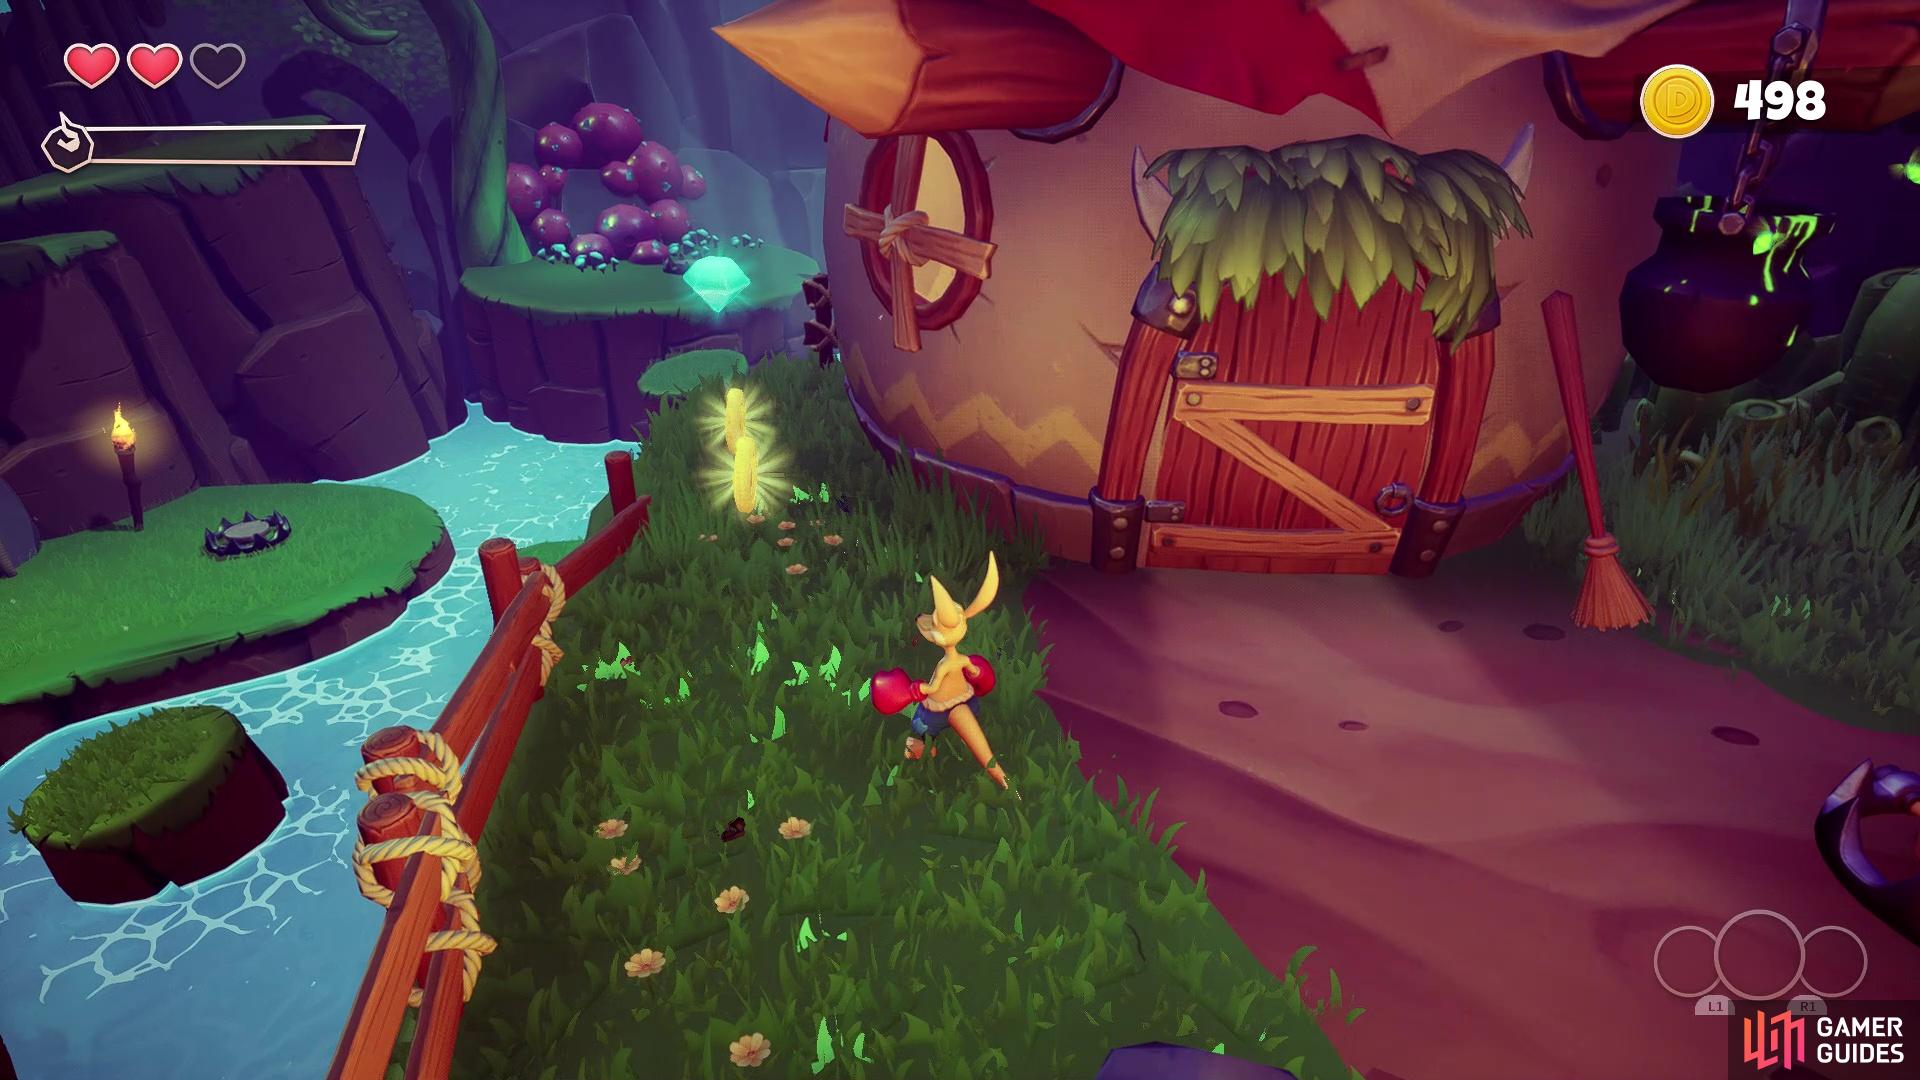
The fourth Crystal will be next to this hut with the Heart Piece (left), The first Heart Piece will be inside the hut (right)
Feeling Froggy
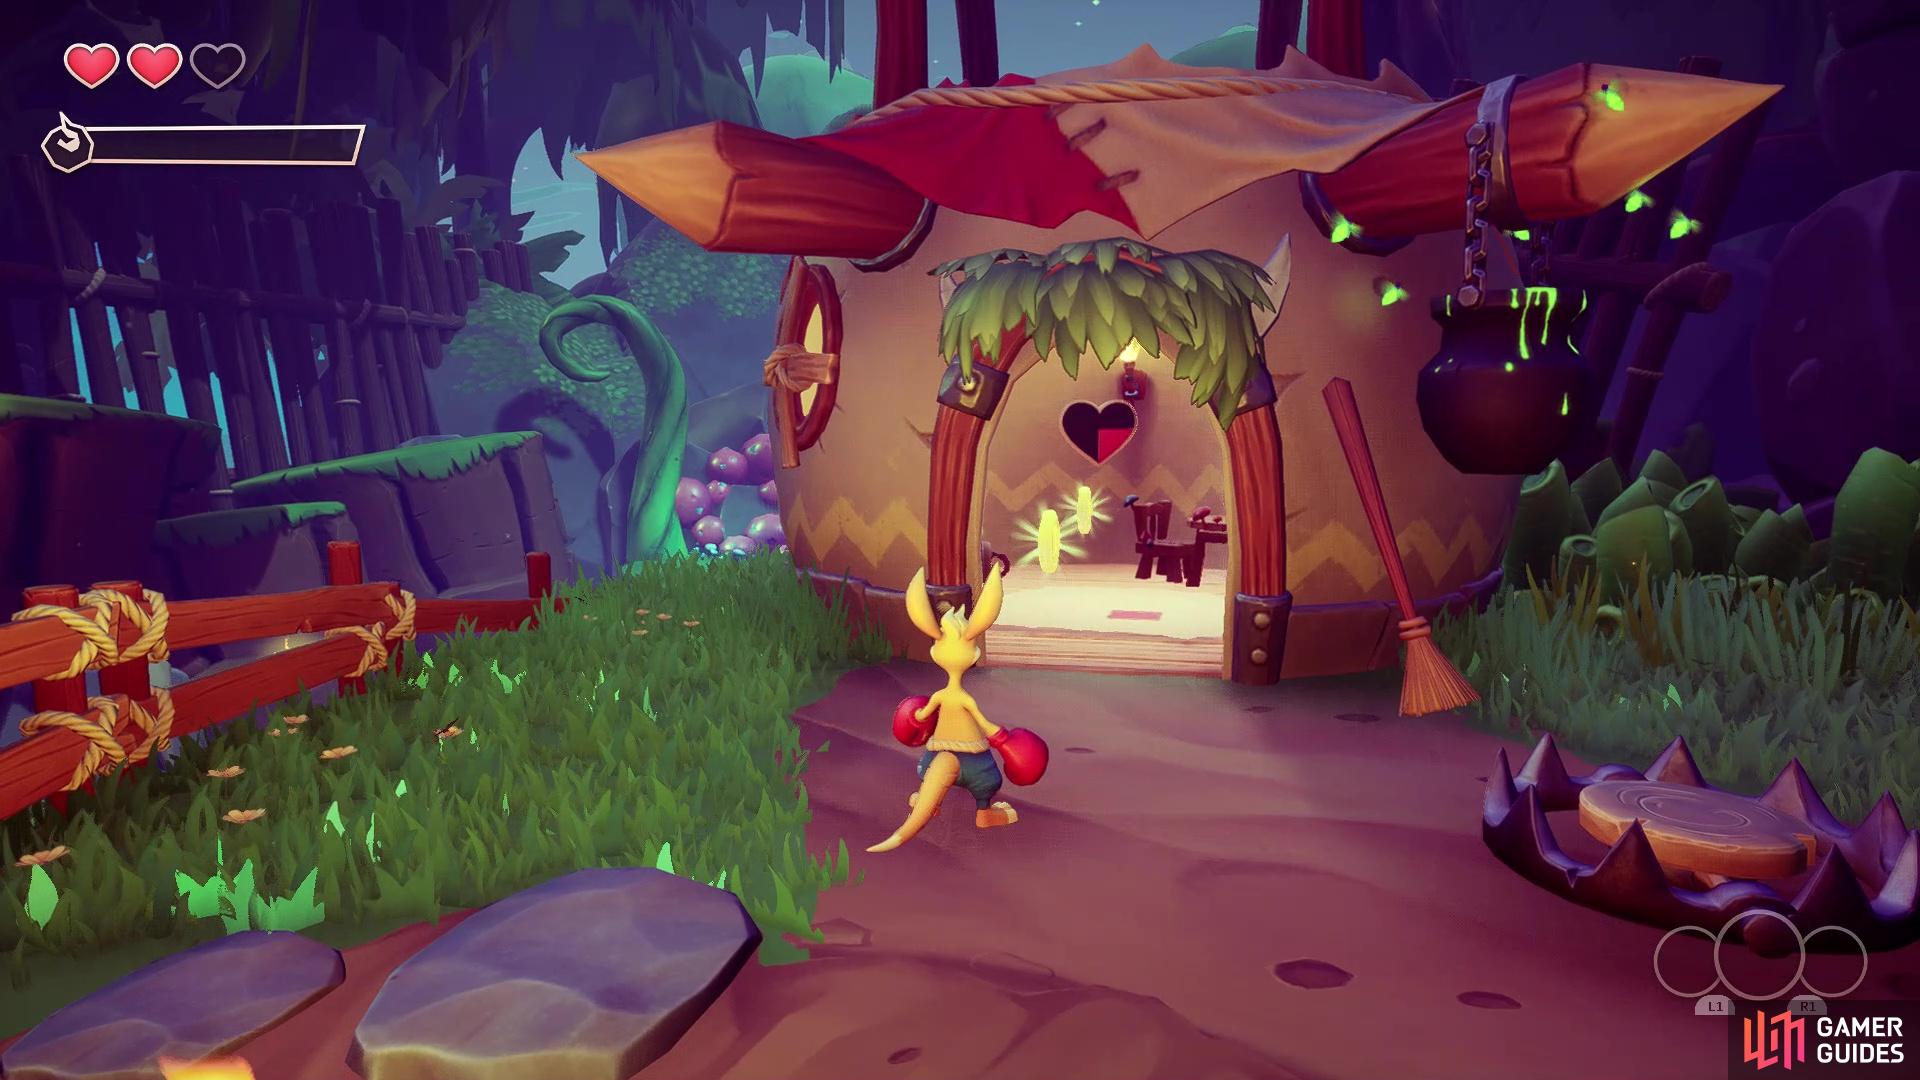
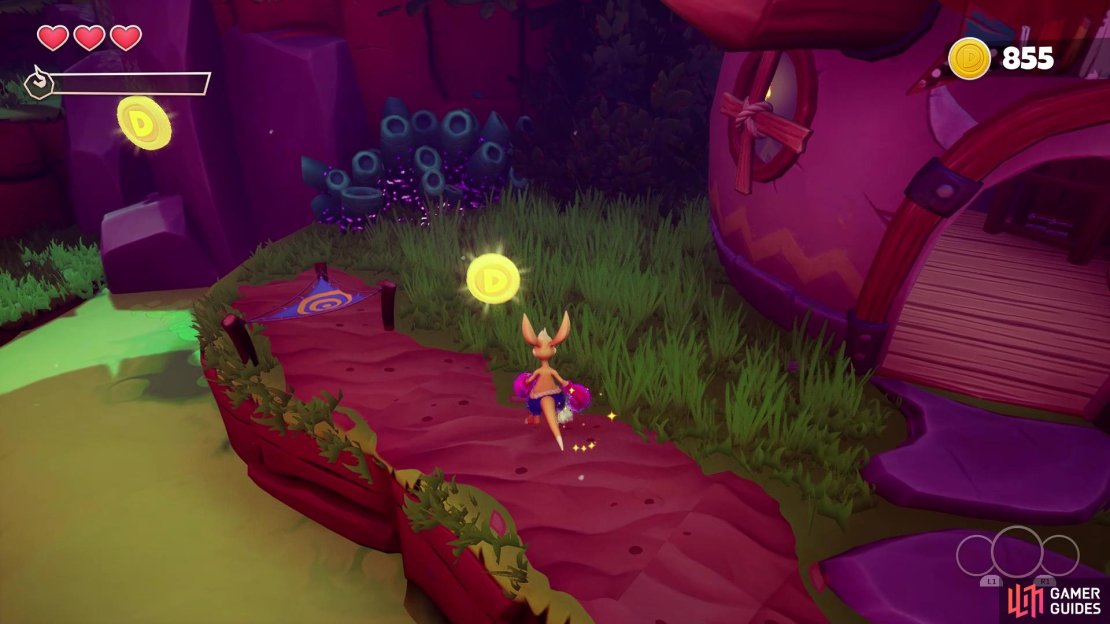
Double back to the large gate and pass through it, where you will be introduced to the next enemy type, the Frogster. They will simply try to swarm you and when close enough, do a 360 degree attack with their tongue. While you didn’t exactly know it back then, this is the same enemy you fought at the end of Walt’s Dojo, so all it takes is a few hits to defeat it. There will be two rounds of these Frogsters, consisting of two each, so get rid of them all and the next gate will open. After doing that, check the inside of the huts to find some Ducats, with the real prize being at the top of the huts.
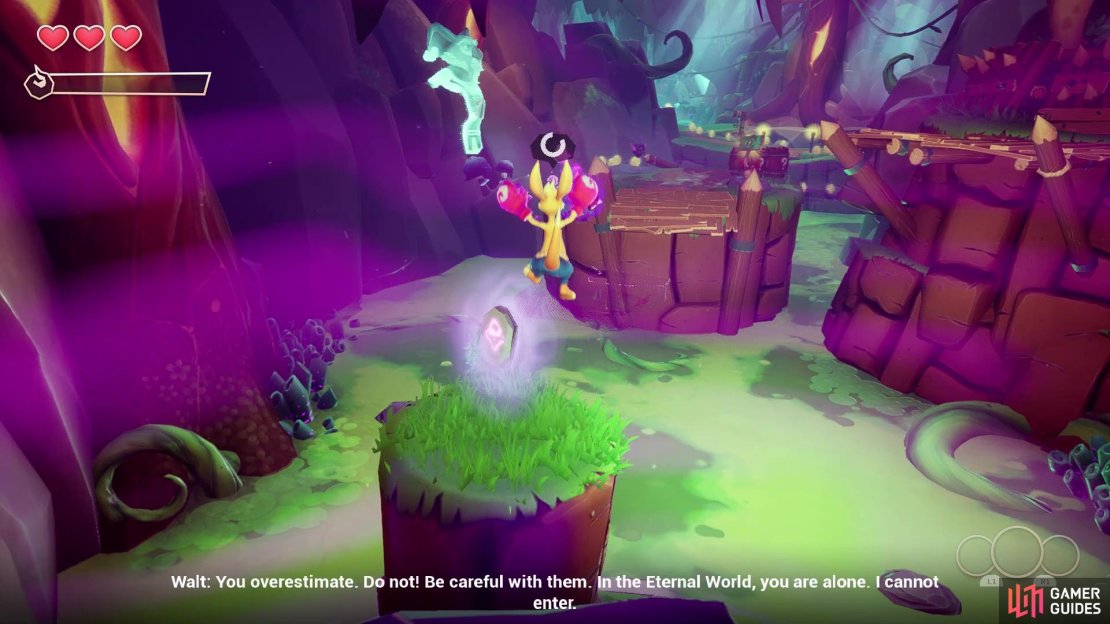
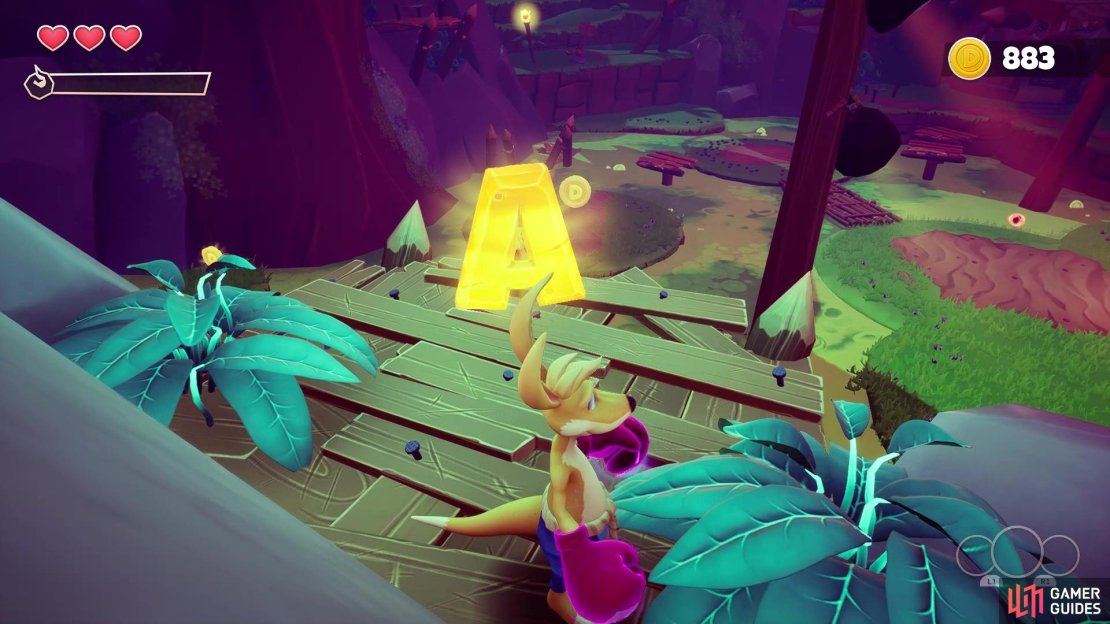
Climb the first set of platforms on the one side, noting the round one will sink as you stand on it, then use the trampoline on top of the hut to launch yourself to the other side. There will be another Frogster up here, but at the end of the path will be the K Letter. Continue out the newly opened gate now and jump across the platforms, where you will be treated to a cutscene on the other side. Your gloves will be updated to the Eternal Gloves, as they call themselves, and they will allow you to enter the Eternal World now. You will see purple crystals in stages and upon smacking them, a small area will be a part of the Eternal World.
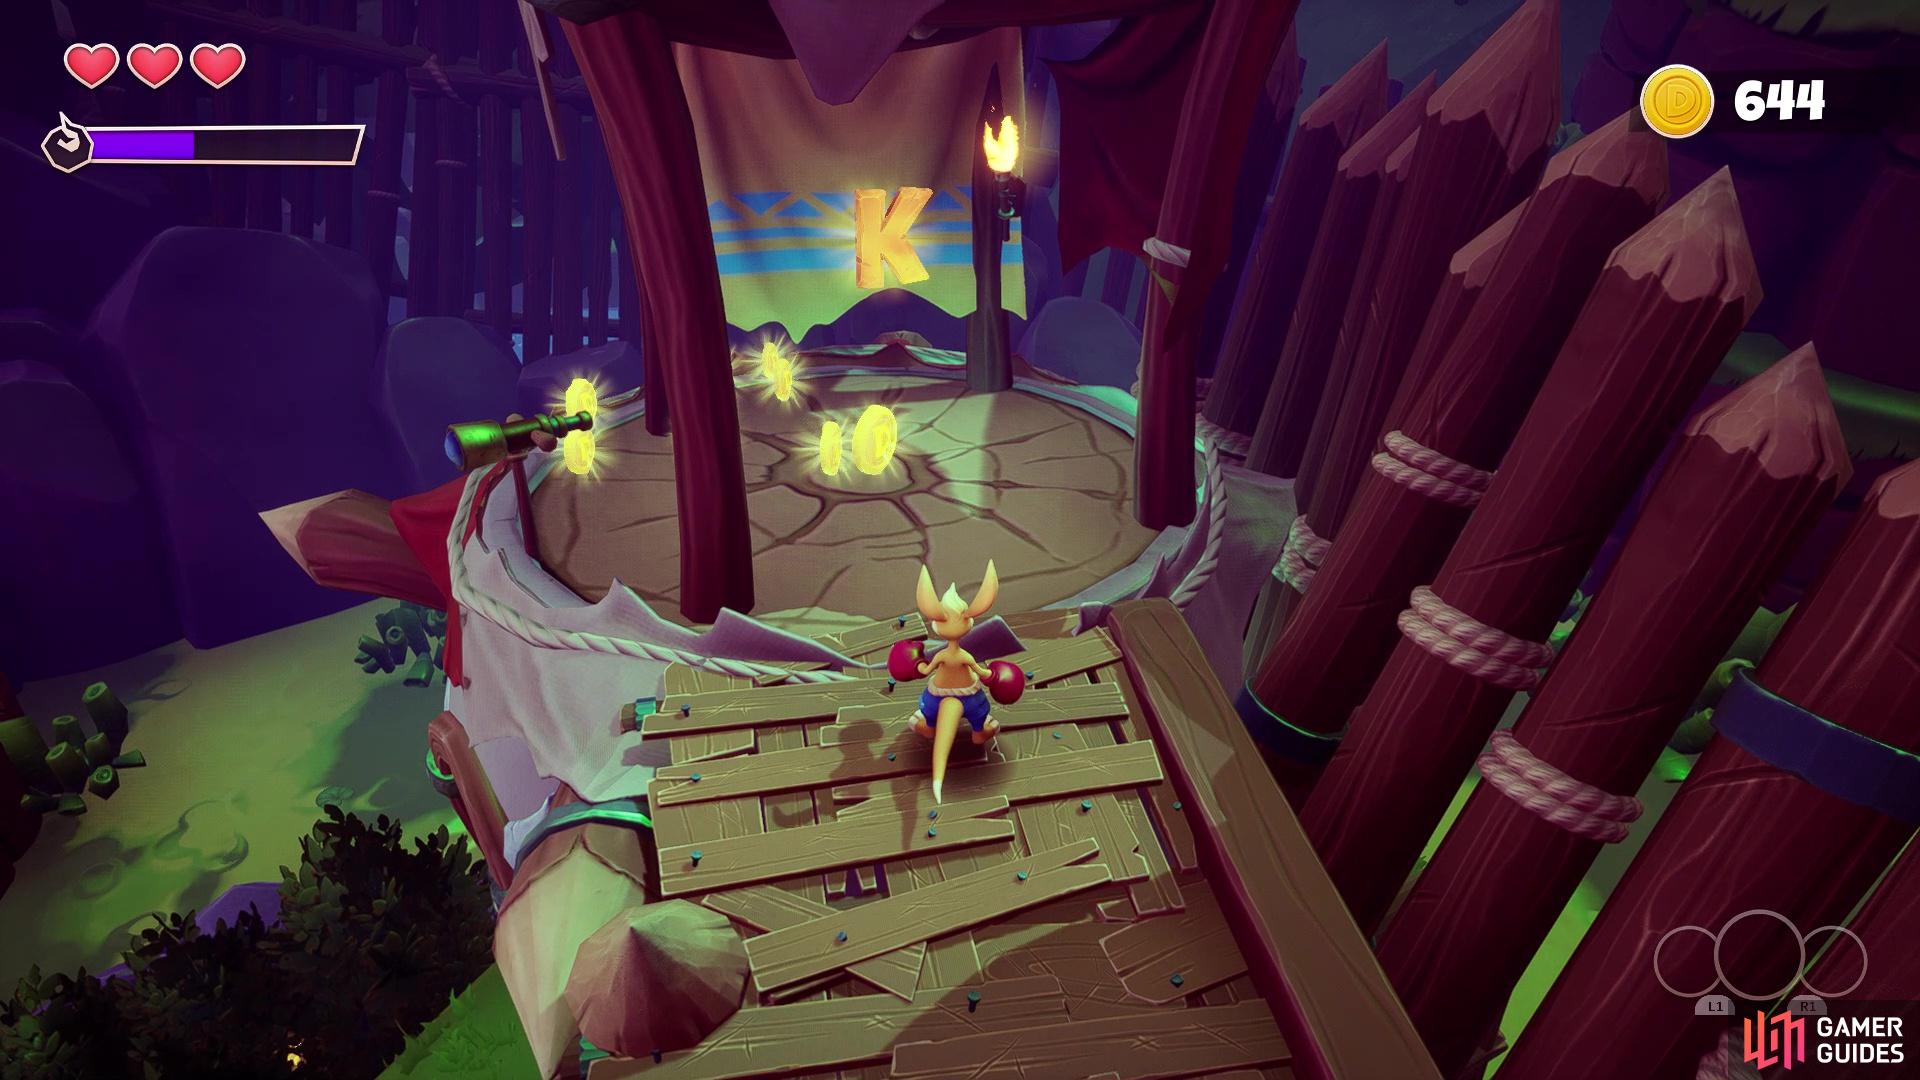
The K Letter is found at the end of the walkway in the first area with Frogsters
In this Eternal World, some platforms will appear that are only a part of this world, making it so you can continue the game. Whenever you hit a dark crystal to enter the Eternal World, a meter will appear near Kao and slowly deplete; if this empties all the way, then you will exit the alternate realm and all of the platforms will disappear until you hit it again. With that knowledge, hit the first dark crystal, hop across the platforms to the second one, then smack that to make it easier to get to the other side. When you reach the second set of Eternal World platforms, you will need to do a little item grabbing.
You will have to jump and attack the dark crystal in midair while you’re over the platform, making it appear. As soon as you trigger this first one and land on the platform, look to the side to see another platform slightly below the first. This will allow you to drop down and grab a Scroll (1/2). Continue to the other side of the area, collecting the Rune (1/2) along the way, where there is a tutorial crab. This one teaches you about the Boomerang Totems, which are the little purple stone thing just beyond the crab. Ignoring that for a brief moment, there is a higher ledge you can double jump/tailspin to, leading to a chest with Ducats.


(1 of 6) Drop down to this spot with the second set of dark crystals for the first Scroll
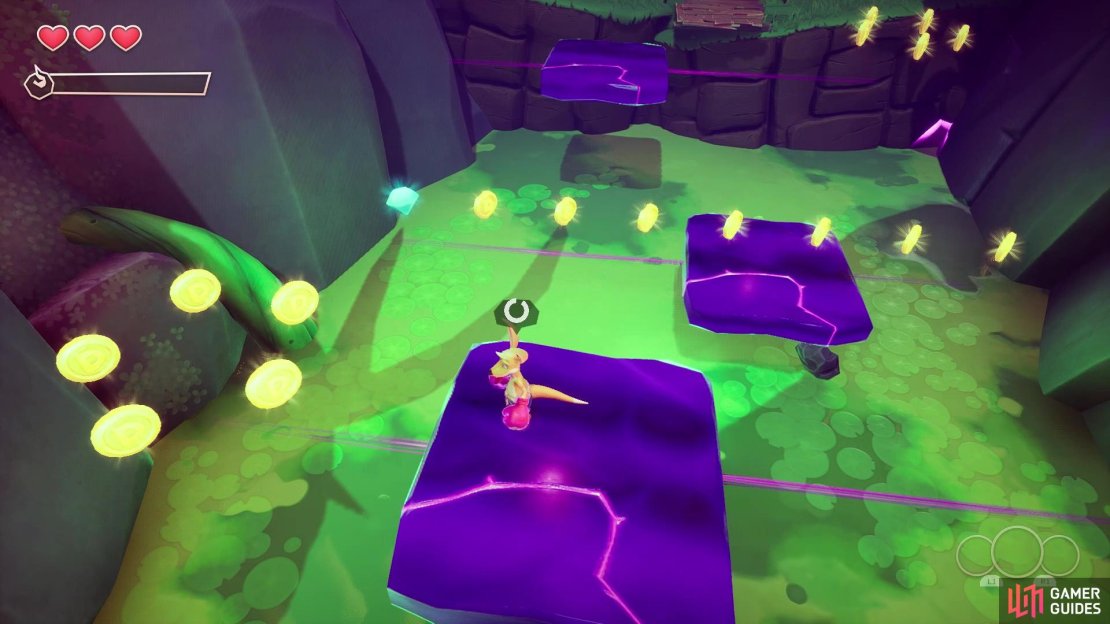
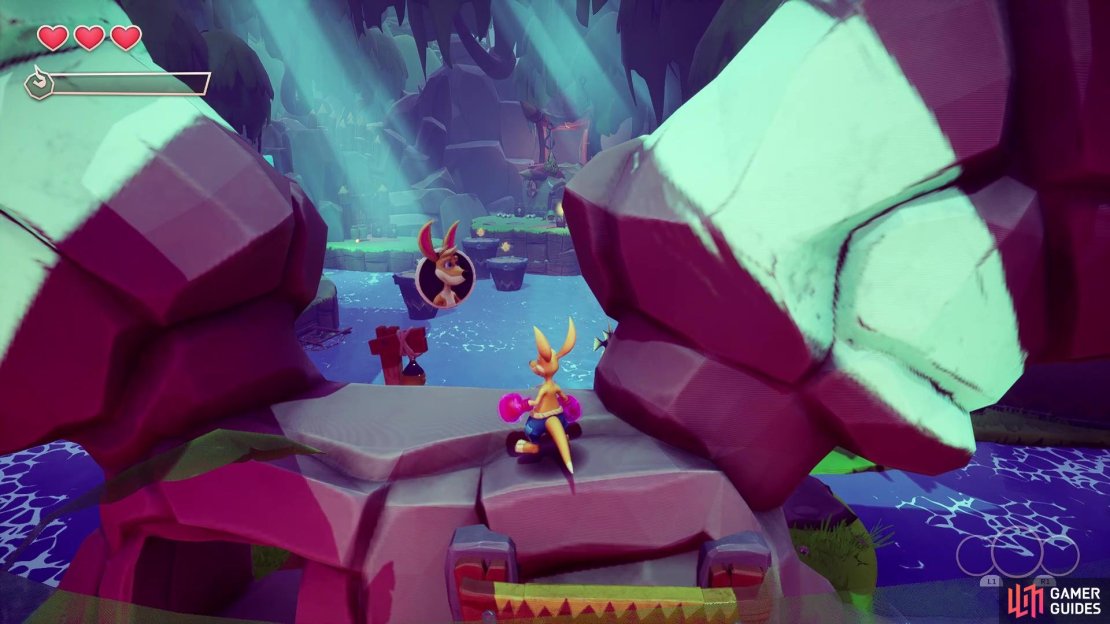
Getting back to the Boomerang Totem, it’s just something you hit to make it open, revealing an item you can pick up and throw. Despite the name, the boomerang doesn’t come back to you, so don’t worry about it. Grab the boomerang and look into the air over the large pit, to see another dark crystal. Throw the boomerang at it to spawn three platforms that move side to side, making sure to stop on the middle one to collect the Crystal (5/12). On the other side, you will encounter another series of platforms to jump across, some of which will have bear traps on them. There will also be a giant fish swinging back and forth, like a pendulum, so you will need to time your jump to avoid it. In the air above the traps, though, you will find two more Crystals (6/12) and (7/12).
The First Eternal Well
The next area will introduce the Range Frogster, who will throw spears at you. Thankfully, they only throw one every few seconds, but you can do the mid-air spin attack to deflect the thrown spear back at the Frogster. There are quite a large number of enemies here, so be careful to not get too overwhelmed by the enemies here. Once the coast is clear, you can go behind either waterfall to find a hidden cave with a chest, scoring you a lot of Ducats. On the one side of the arena, there will be a blue trampoline, which will launch you straight to the A Letter.
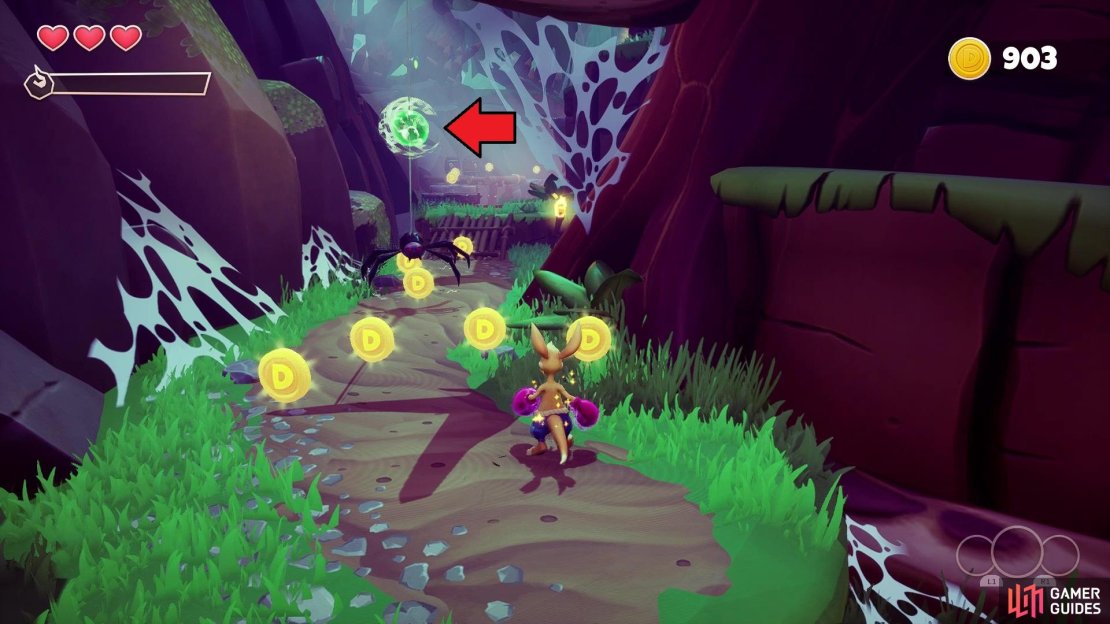
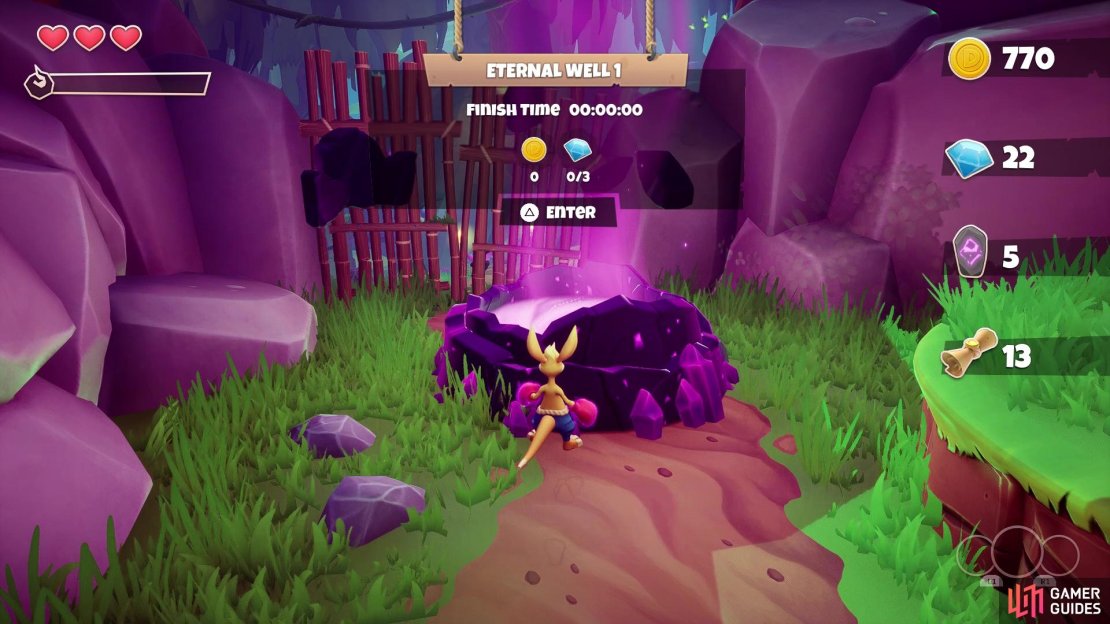
Drop down by the Letter and locate the small platforms nearby, which will set you on an optional path. Along the way, you will find a spider drop down to attack you. Although one might think hitting the spider will cause it to perish, you will actually have to hit the green ball above it to defeat the creature. Past the spider, there will be some more platforming, then you will see something new on the far side. This is an Eternal Well (1/2) and they are basically optional little challenges you can do. If you don’t get a prompt to enter it while standing next to the Well, then simply jump inside the hole to get the option.
The first Eternal Well asks you to defeat all of the enemies inside. There will be 15 Frogsters to defeat, with there being three waves of five enemies each. You will want to be extremely careful here, as there are bear traps throughout the little arena, although the Frogsters can also take damage from these. This Eternal Well also has three Crystals in it, all of which are in plain sight, plus a chest with Ducats on a small island off to the side. While the Crystals will be counted towards the total, these are going to be considered separate from the main level ones. Once you complete the task given to you, go to the large Ducat to see a prompt to leave.
(1 of 2) The eighth Crystal is on the platforms by the first Eternal Well

The eighth Crystal is on the platforms by the first Eternal Well (left), The second Scroll will be at the top, past the Crystal (right)
Upon exiting the Eternal Well, time your jumps up the next set of platforms, collecting the Crystal (8/12) along the way. At the end, you will find another Ducats chest, as well as the second Scroll (2/2) in this level. Note that there will be two swinging fishes here, and you don’t have time to dawdle, due to the sinking platforms. If you get knocked off, you will likely fall into the murky water below and be forced to respawn at a checkpoint. When you are done, drop back down and double back to where the Frogsters were located.
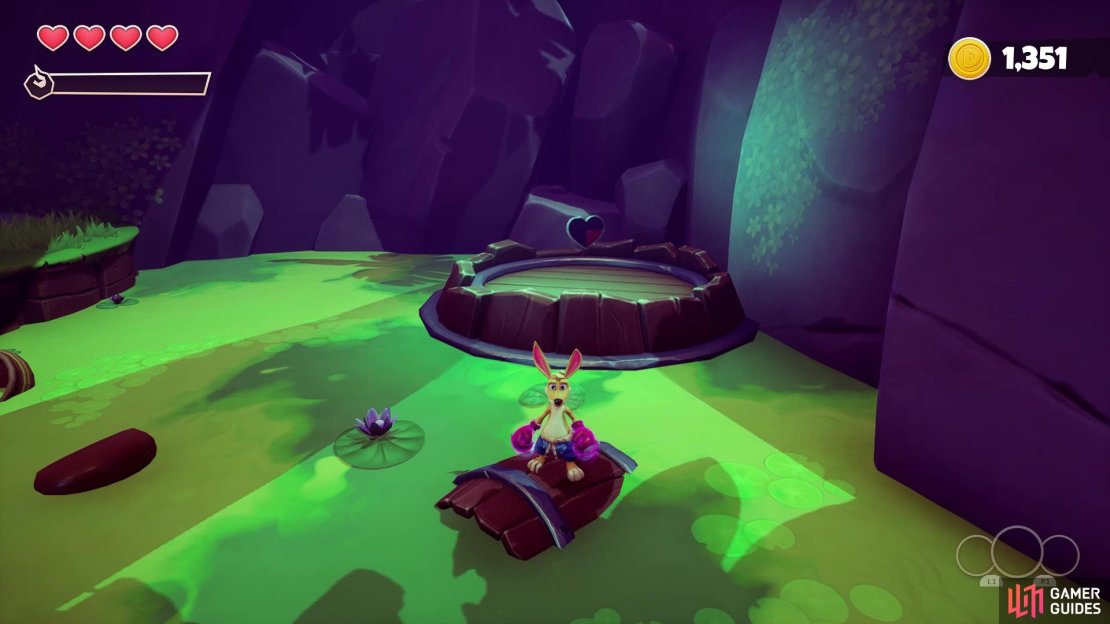
The Second Eternal Well
To move forward with the level, you will need to scale the rock face behind the drums. If you climb all the way to the top of the rock face, you will find an extra life waiting for you. Drop down from there, on the other side, and a little more along the path, you will be introduced to another new enemy, the Fire Spitter. These puffer fish will jump out of the water and shoot a fireball at you, which you can send back via a mid-air spin attack. It’s best to just ignore them and keep moving, as the fireball will stop tracking you after a few seconds. When you reach the platform with the Frogsters, continue along the wall to find a slightly hidden gate you can roll under, bringing you to Eternal Well (2/2).

(1 of 3) There is an extra life waiting for you at the top of the face-like rock structure
Unlike the first one, the second Well is all about platforming, with your only goal being to reach the end. There will be spiders along the way, so take them out to make things easier for you. You will also find three Crystals here, like with the first one, and they are all on the main path and almost impossible to miss. If you take out the spiders, you can slow things down and collect all of the Ducats here, too. When you’ve reached the end, collect the large Ducat, then teleport back to the main level.
Go back a tiny bit and follow the trail of sinking platforms to another checkpoint. Continue to a locked gate, with the button to open it being just to the left of it, on the “ceiling.” You will be entering a cave now and in the large body of water, there is a commonly missed Crystal (9/12) in the one corner. In the little side room, guarded by a spider, you will find a Heart Piece (2/3). Grab it, then follow the rest of the trial to get out of the cave. There will be a few Stinker enemies buzzing about here, so take them down and look for the latch on the one side here.


(1 of 2) The ninth Crystal is hidden in the water inside the cave
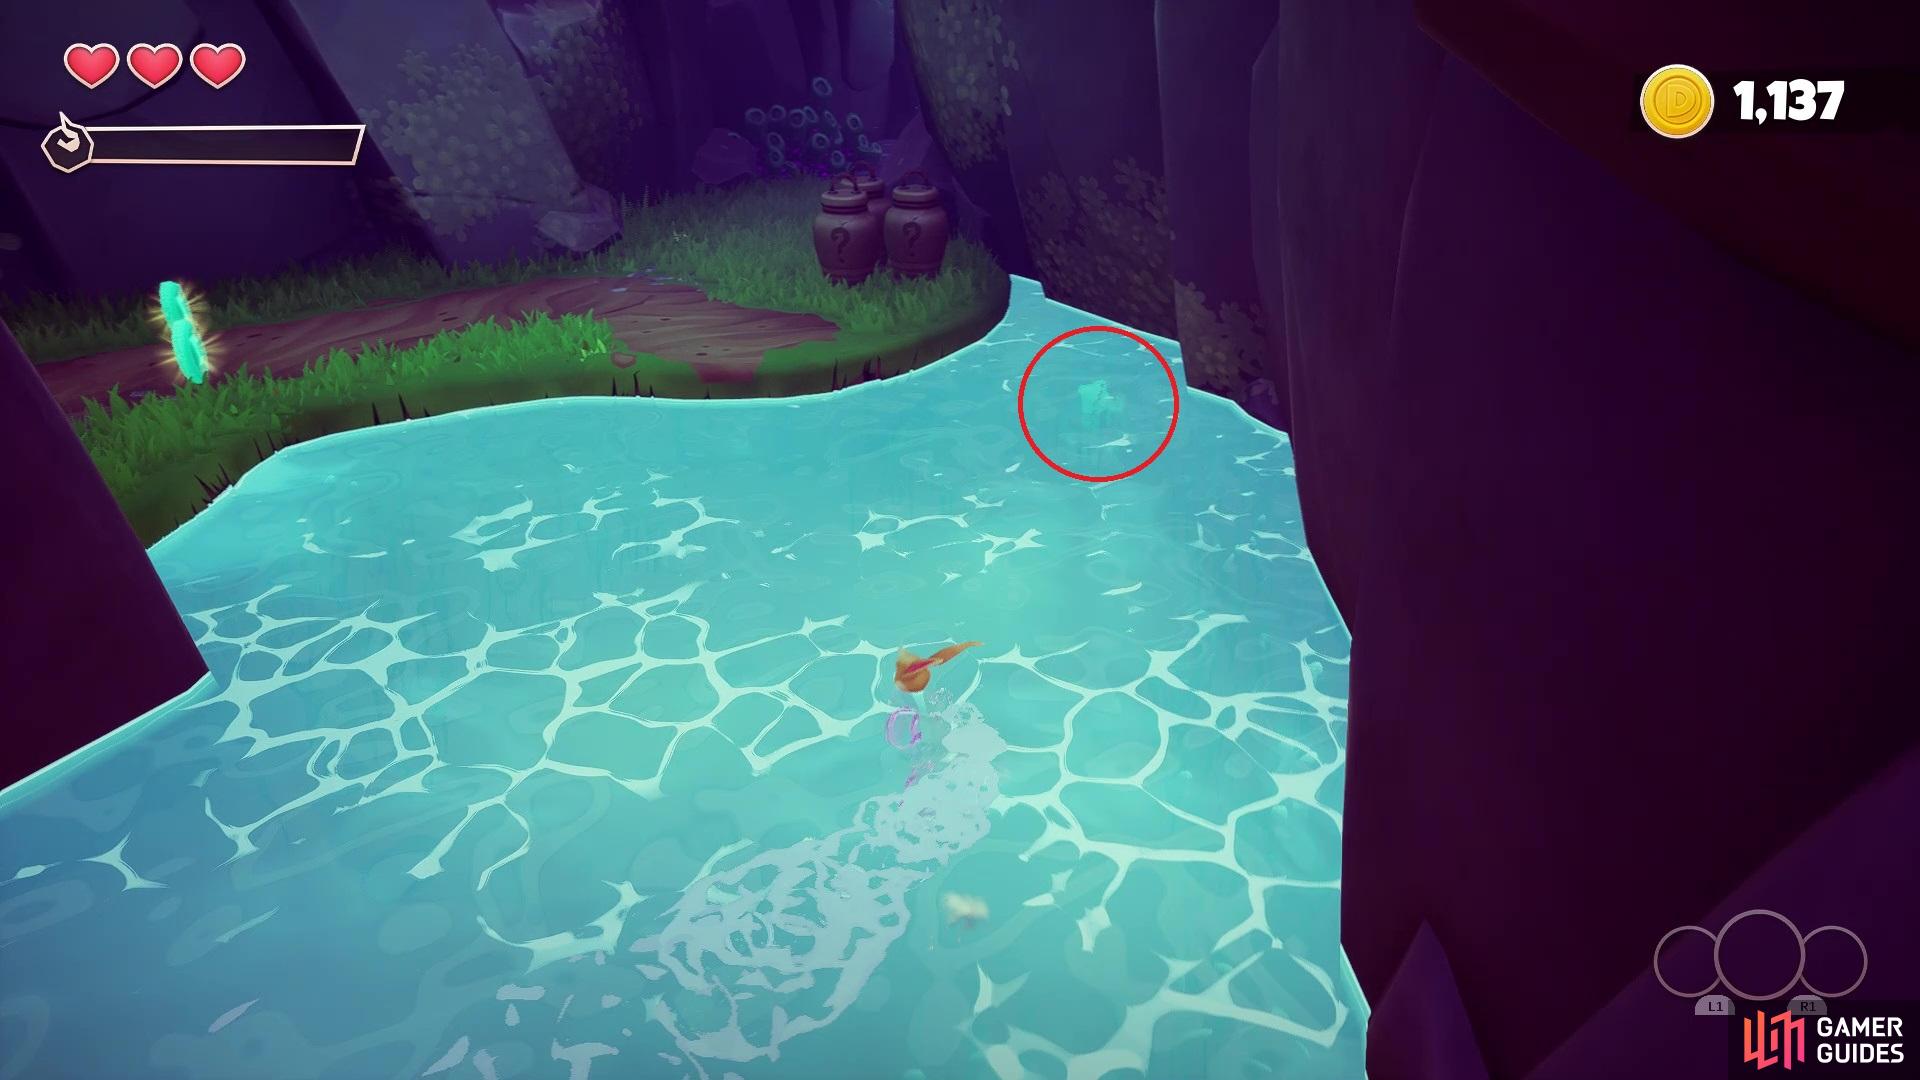
The ninth Crystal is hidden in the water inside the cave (left), The second Heart Piece will be at the dead end inside the cave (right)
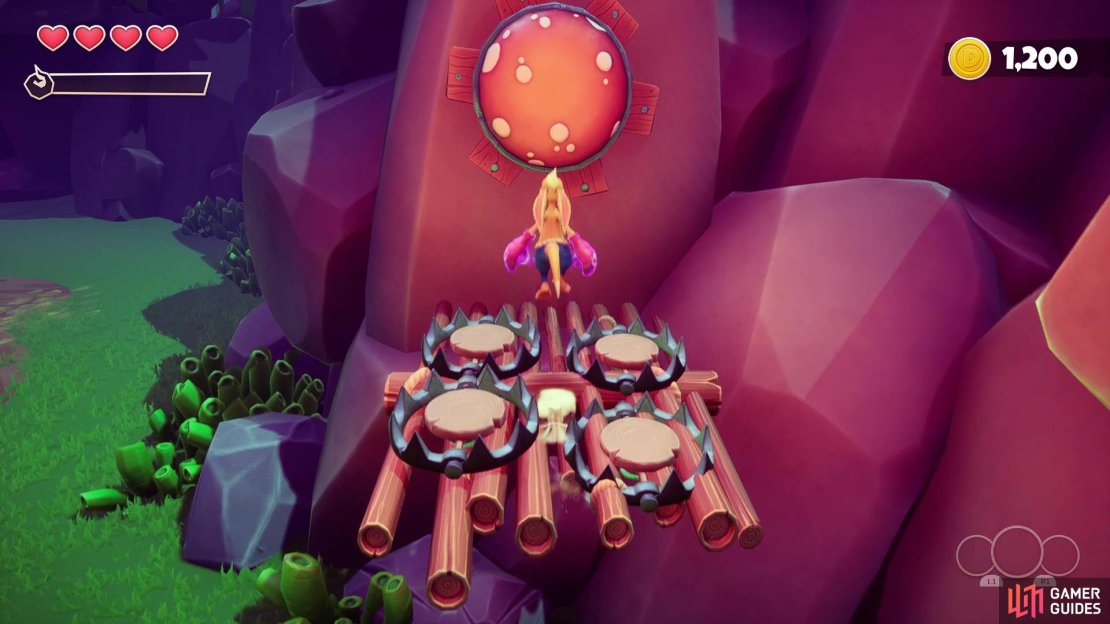
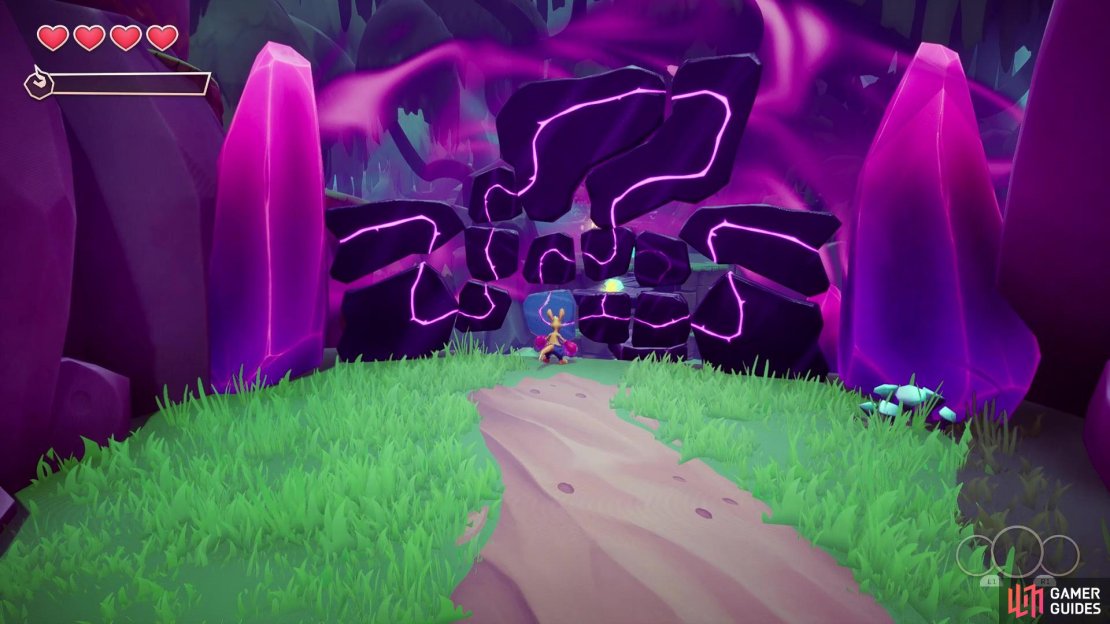
This latch is hiding the last Letter for this level and in order to open it, you have to hit two buttons in a time limit. The first button is right next to the latch, while the second is up the ledges and guarded by some bear traps. As soon as you hit the first, you will hear the ticking timer, so quickly move to the second and hit it. If done right, the latch will open and you can retrieve the O Letter. Find the exit to this area, which will bring you to a puzzle that is blocking your way forward. First, hit the two “rocks” on the ground to get them to place themselves in the puzzle. You will then need to connect a path from the large crystal on the right, to the one on the left.
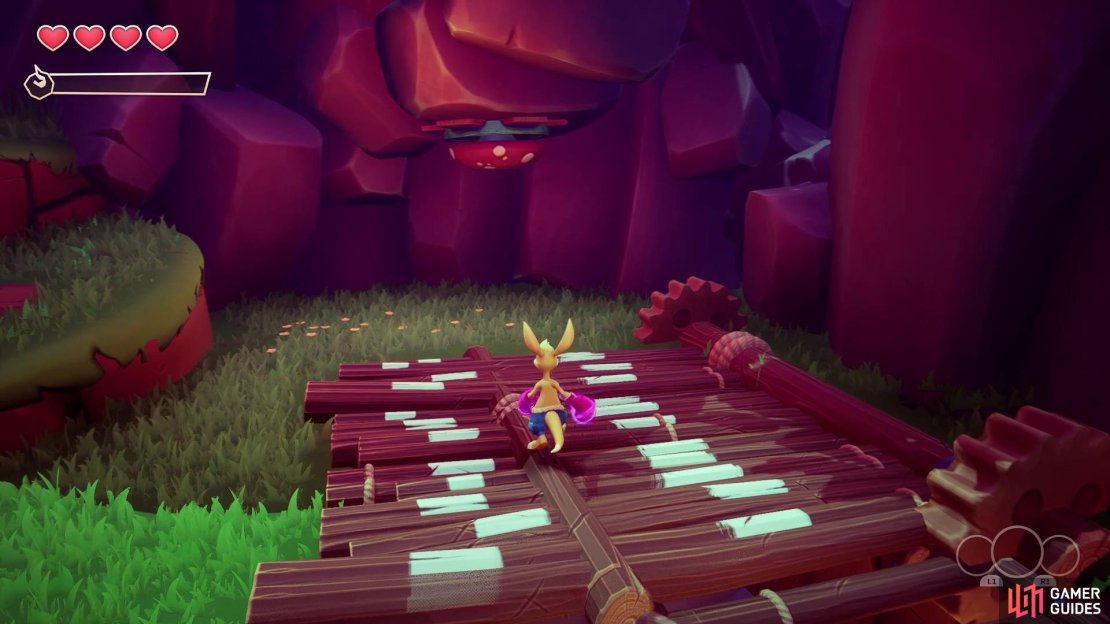
When you have done it right, the puzzle will break apart and form a bridge for you. As you cross it, you will pick up the final three Crystals (10/12), (11/12) and (12/12) of the level. Some Frogsters will meet you on the other side, then you’ll have to do more platforming past some swinging fishes. Past them will be the final bit of the level, a bar area with a bunch of Frogsters. They will all come towards you, so take them all out to get a chance to explore the area (Walt will be behind the bar and will have a conversation with you when you get close).


There will be a chest on the one side, as well as the final Heart Piece (3/3) on the other side. Be extremely careful when going for these, as the deep water is here and falling in will have you respawn at the checkpoint. Also, the second Rune (2/2) will have spawned after defeating the enemies, so don’t forget to collect that. The exit back to Hopalloo Island will be near the Rune.
No Comments