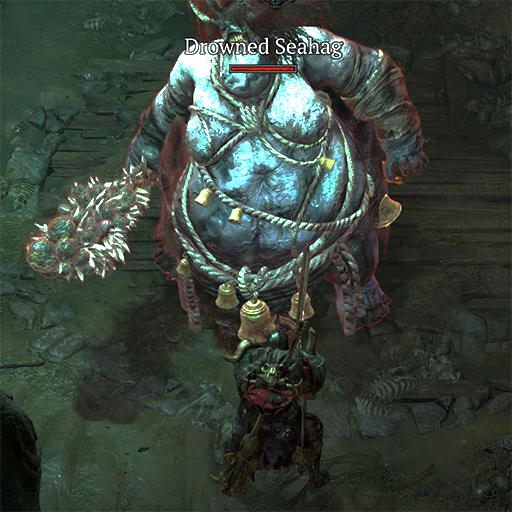
In-Game Description
The ![]() Drowned Seahag resides at their home in the
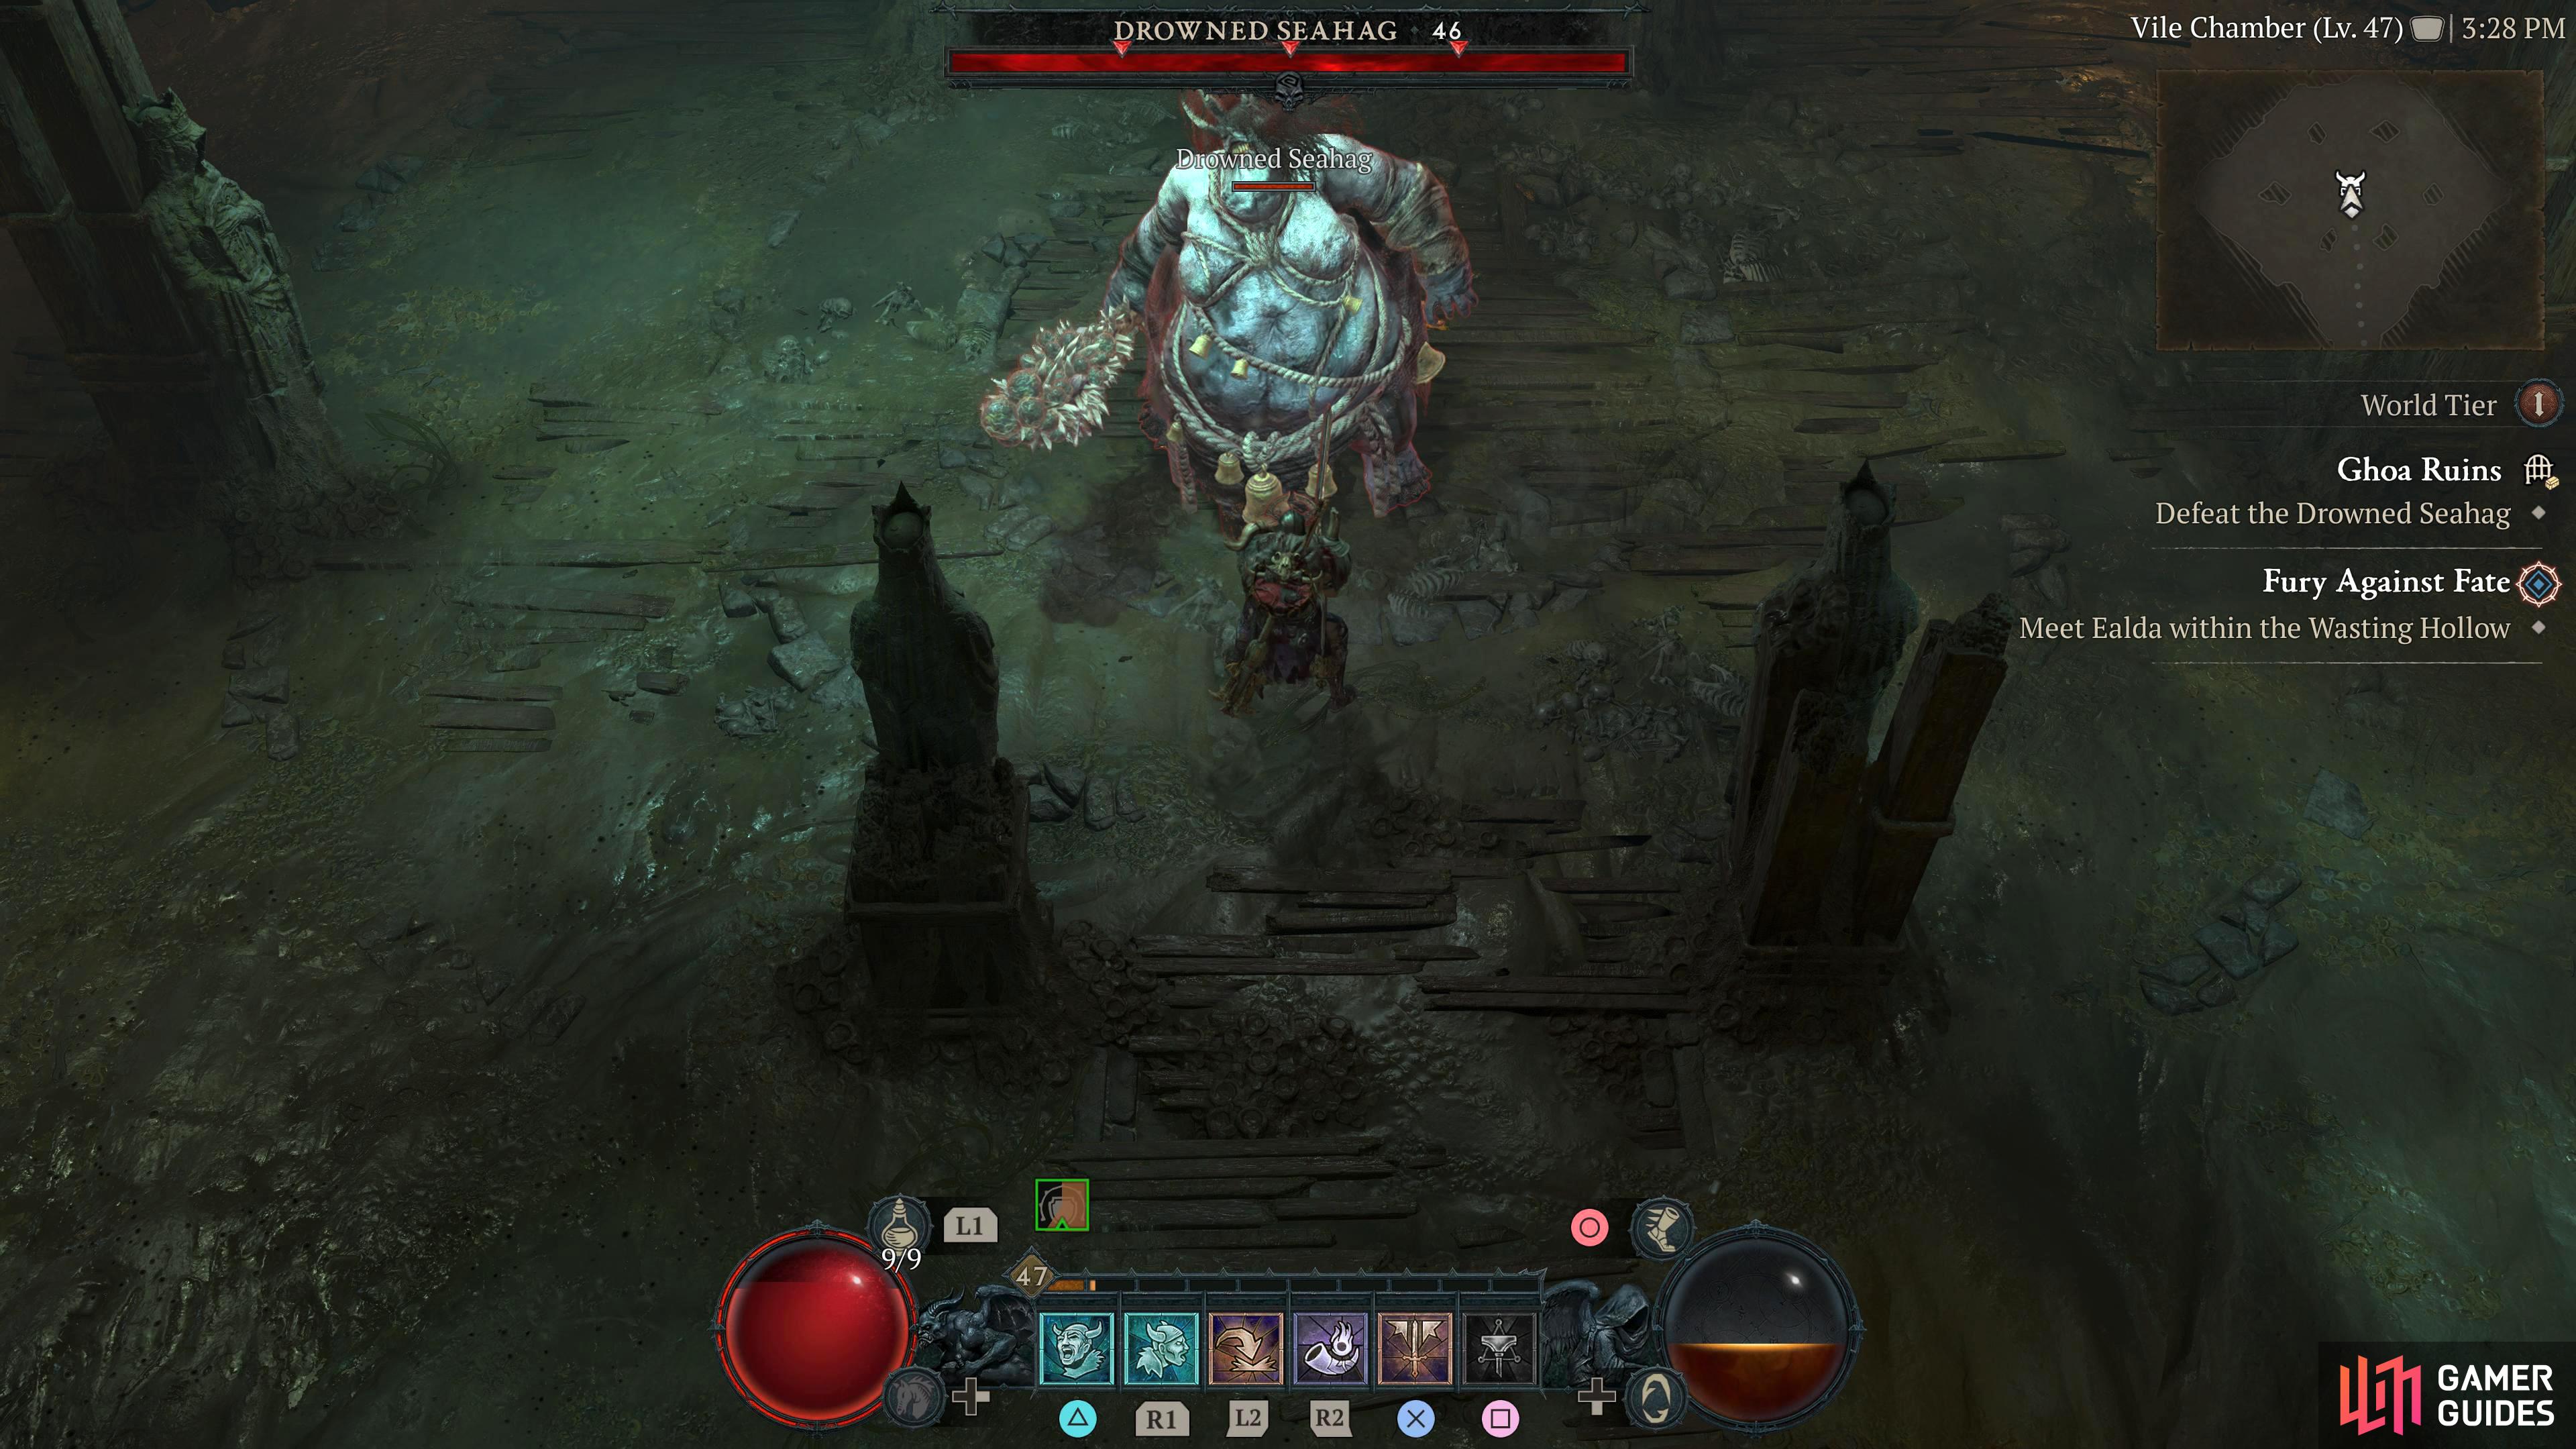
Drowned Seahag resides at their home in the ![]() Ghoa Ruins. This large humanoid monster is part of the Drowned family type. They wield a large club that has bones and spikes spread throughout to cause further damage to their foes. With the power to control water and other members of the Drowned family, this enemy is truly a ferocious foe.
Ghoa Ruins. This large humanoid monster is part of the Drowned family type. They wield a large club that has bones and spikes spread throughout to cause further damage to their foes. With the power to control water and other members of the Drowned family, this enemy is truly a ferocious foe.
Description
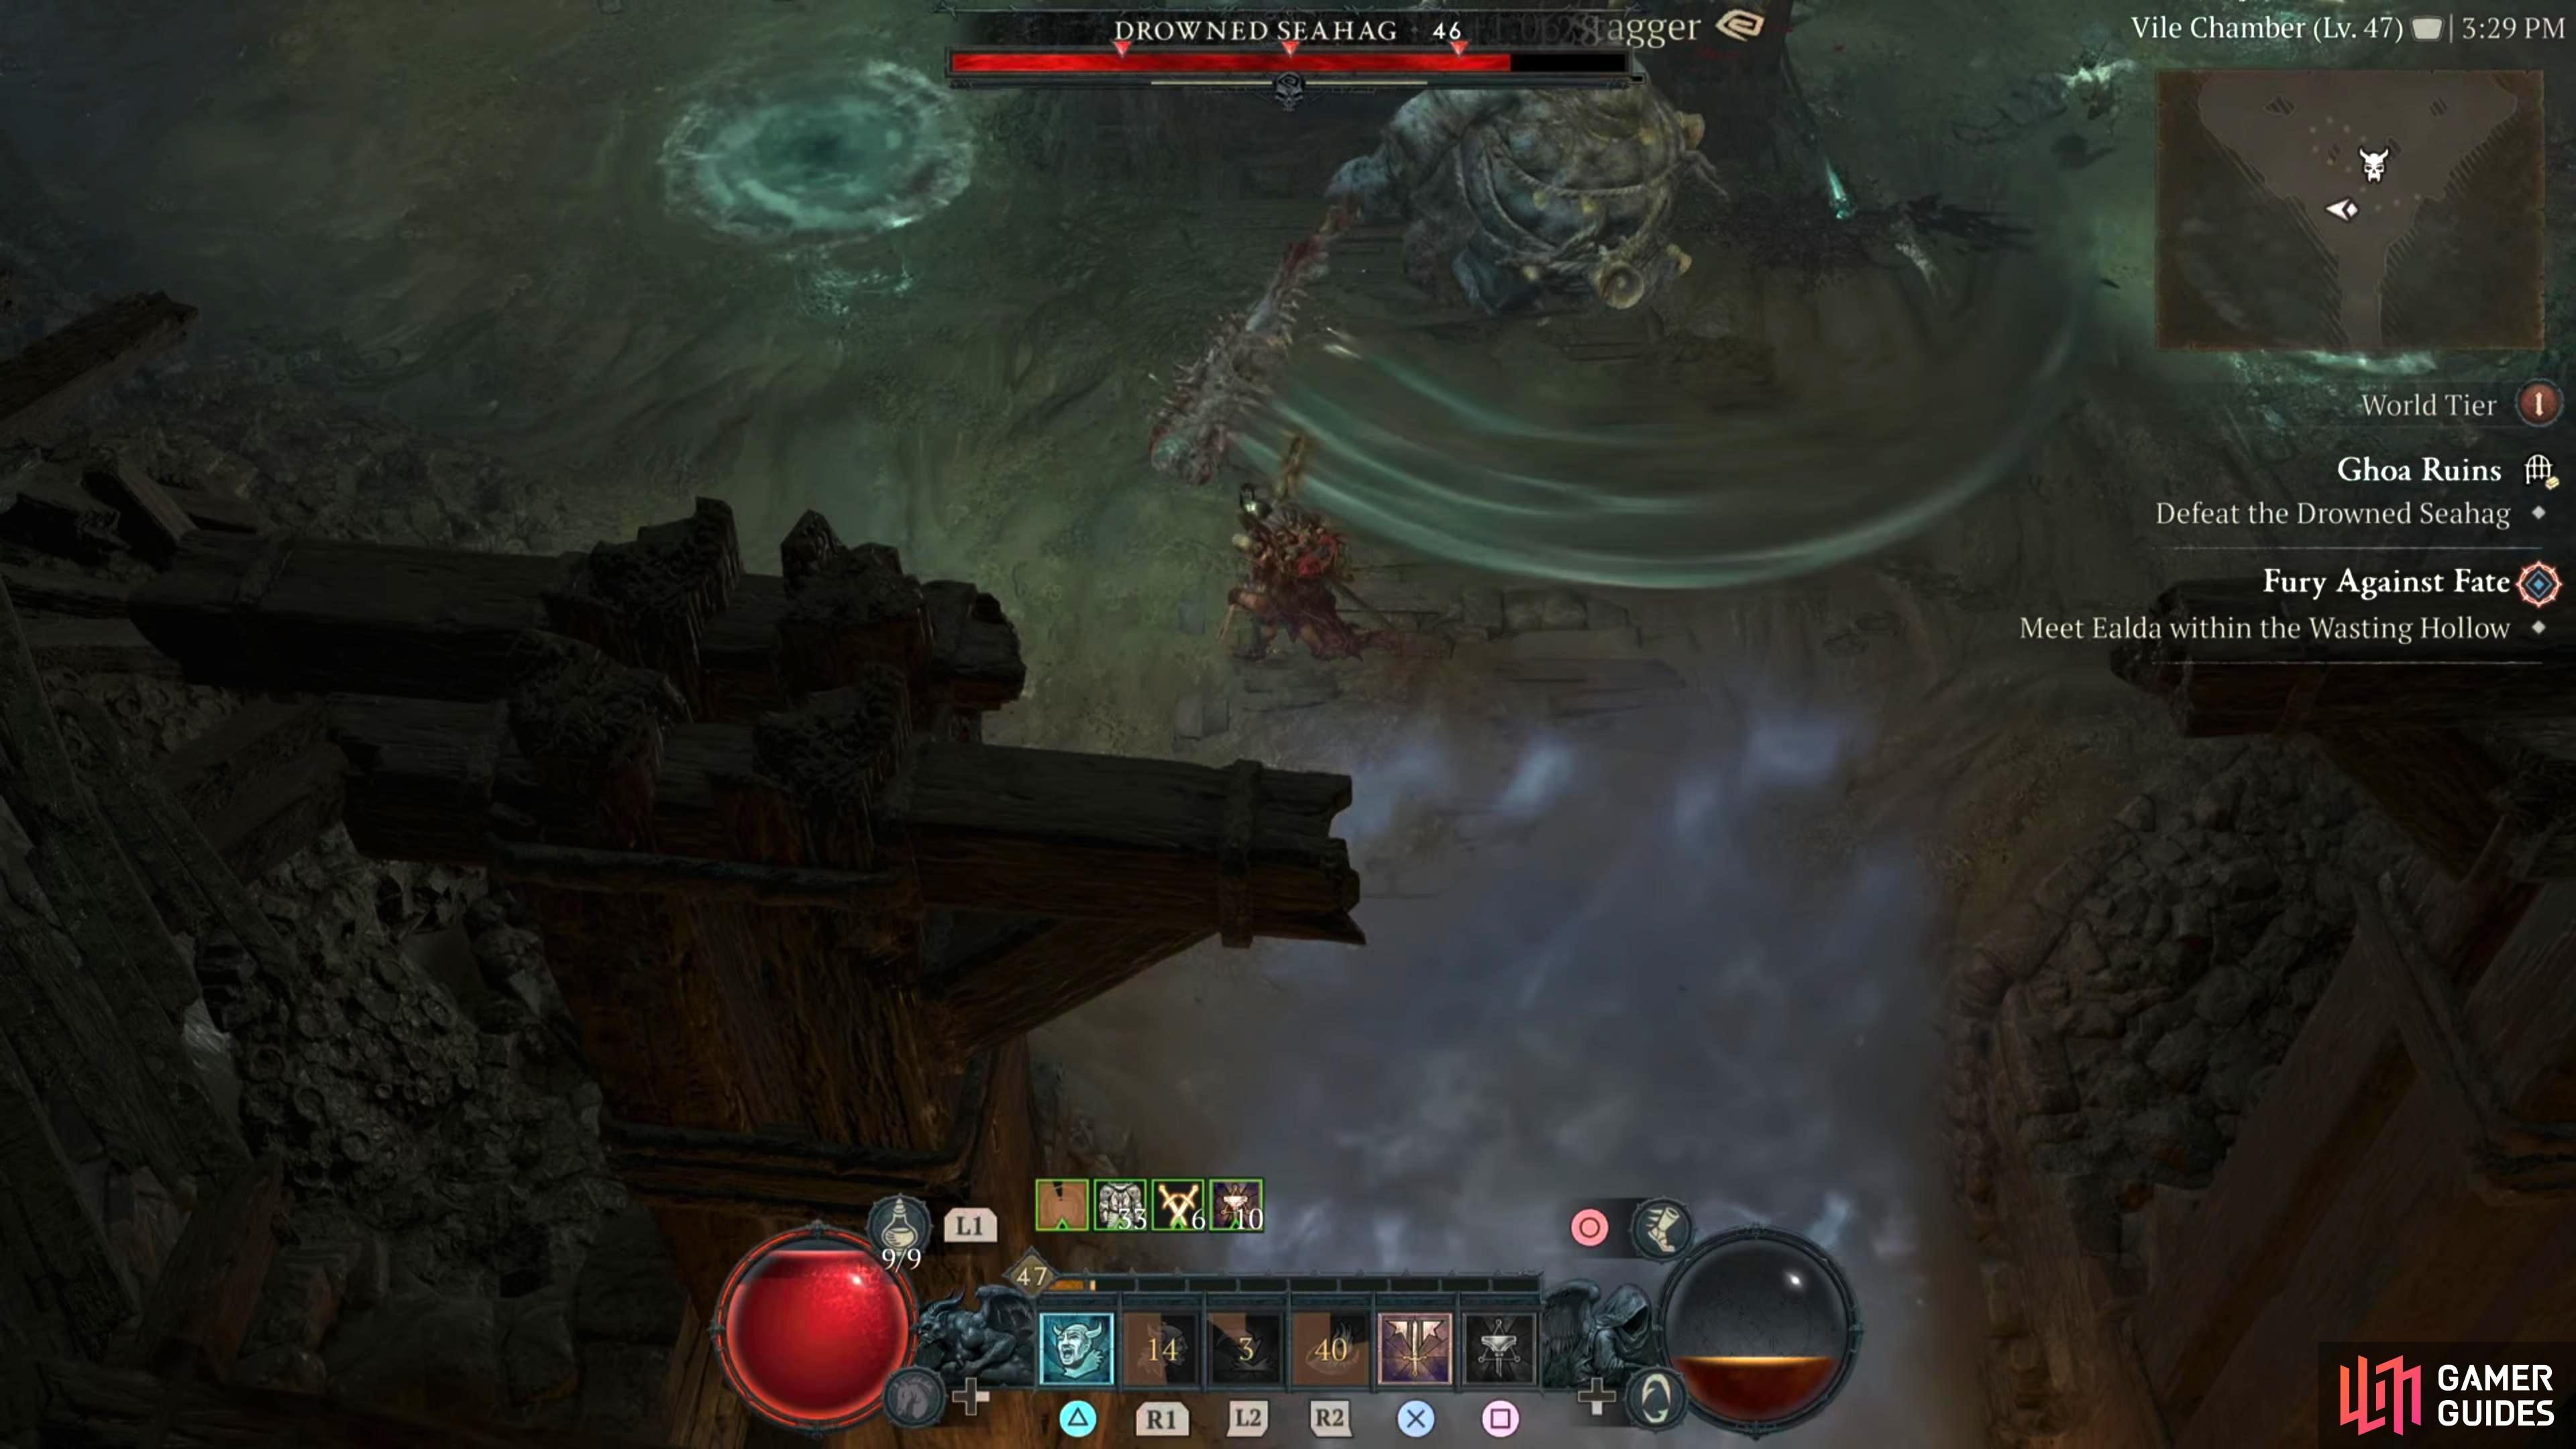
The ![]() Drowned Seahag can be a difficult battle if you’re not prepared. With the ability to summon pools of water that can slow you down. On top of that, they will regularly spawn Wretchs from the pools which will attack you while you’re trying to deal with the main threat. If you try to burn the Seahag down, you’ll be met with painful swipes from their spiked club. At times throughout the battle, they will let out a hearty bellow that rouses the Wretchs into a frenzy and causes all of them to rush you at once. Here is what you can expect from the boss:
Drowned Seahag can be a difficult battle if you’re not prepared. With the ability to summon pools of water that can slow you down. On top of that, they will regularly spawn Wretchs from the pools which will attack you while you’re trying to deal with the main threat. If you try to burn the Seahag down, you’ll be met with painful swipes from their spiked club. At times throughout the battle, they will let out a hearty bellow that rouses the Wretchs into a frenzy and causes all of them to rush you at once. Here is what you can expect from the boss:
-
Melee Club Attack - This is their general melee attack that can deal a respectable amount of damage. Not much you can do about this other than having Barriers/Fortify.
-
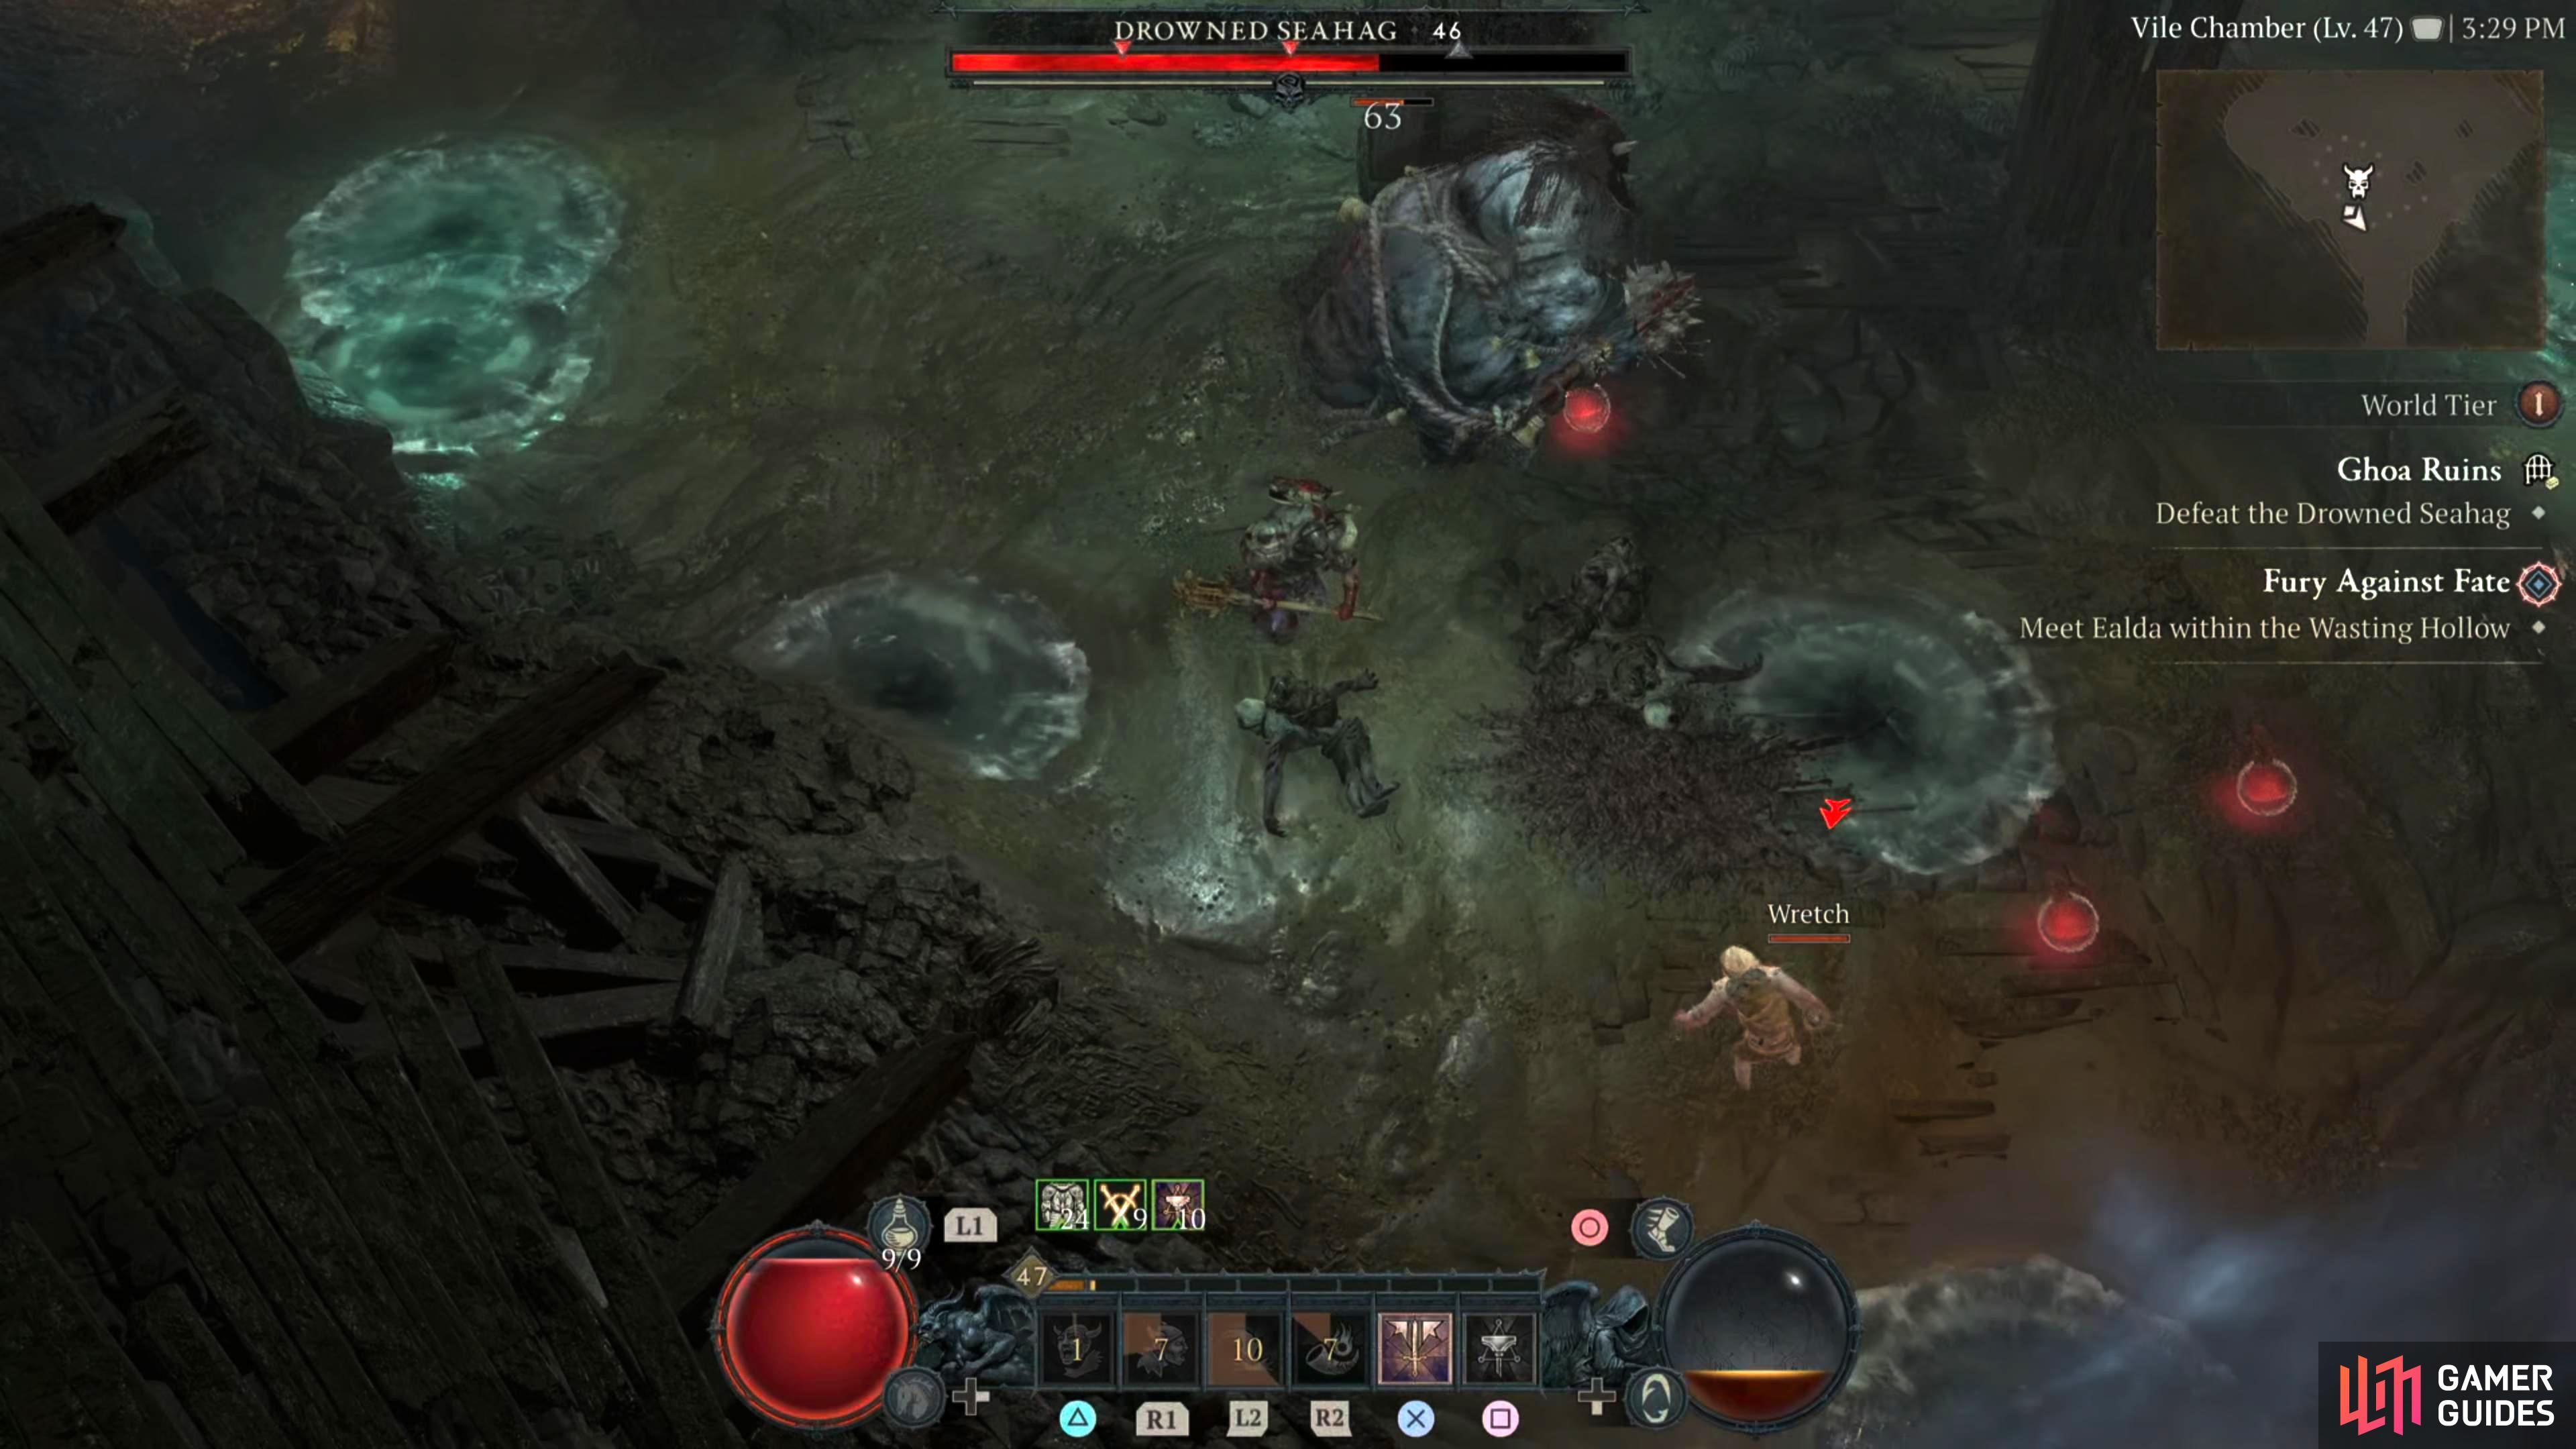
Geyser - Unleashes three water geysers at you/around the arena. The Seahag will start off with just the one geyser which will be flung away from you then throw another two at you. When all three hit the ground, they will unleash a small pillar of water out of them, damaging if you’re standing on them. After that, they will persist and slow you down whenever you walk over them.
-
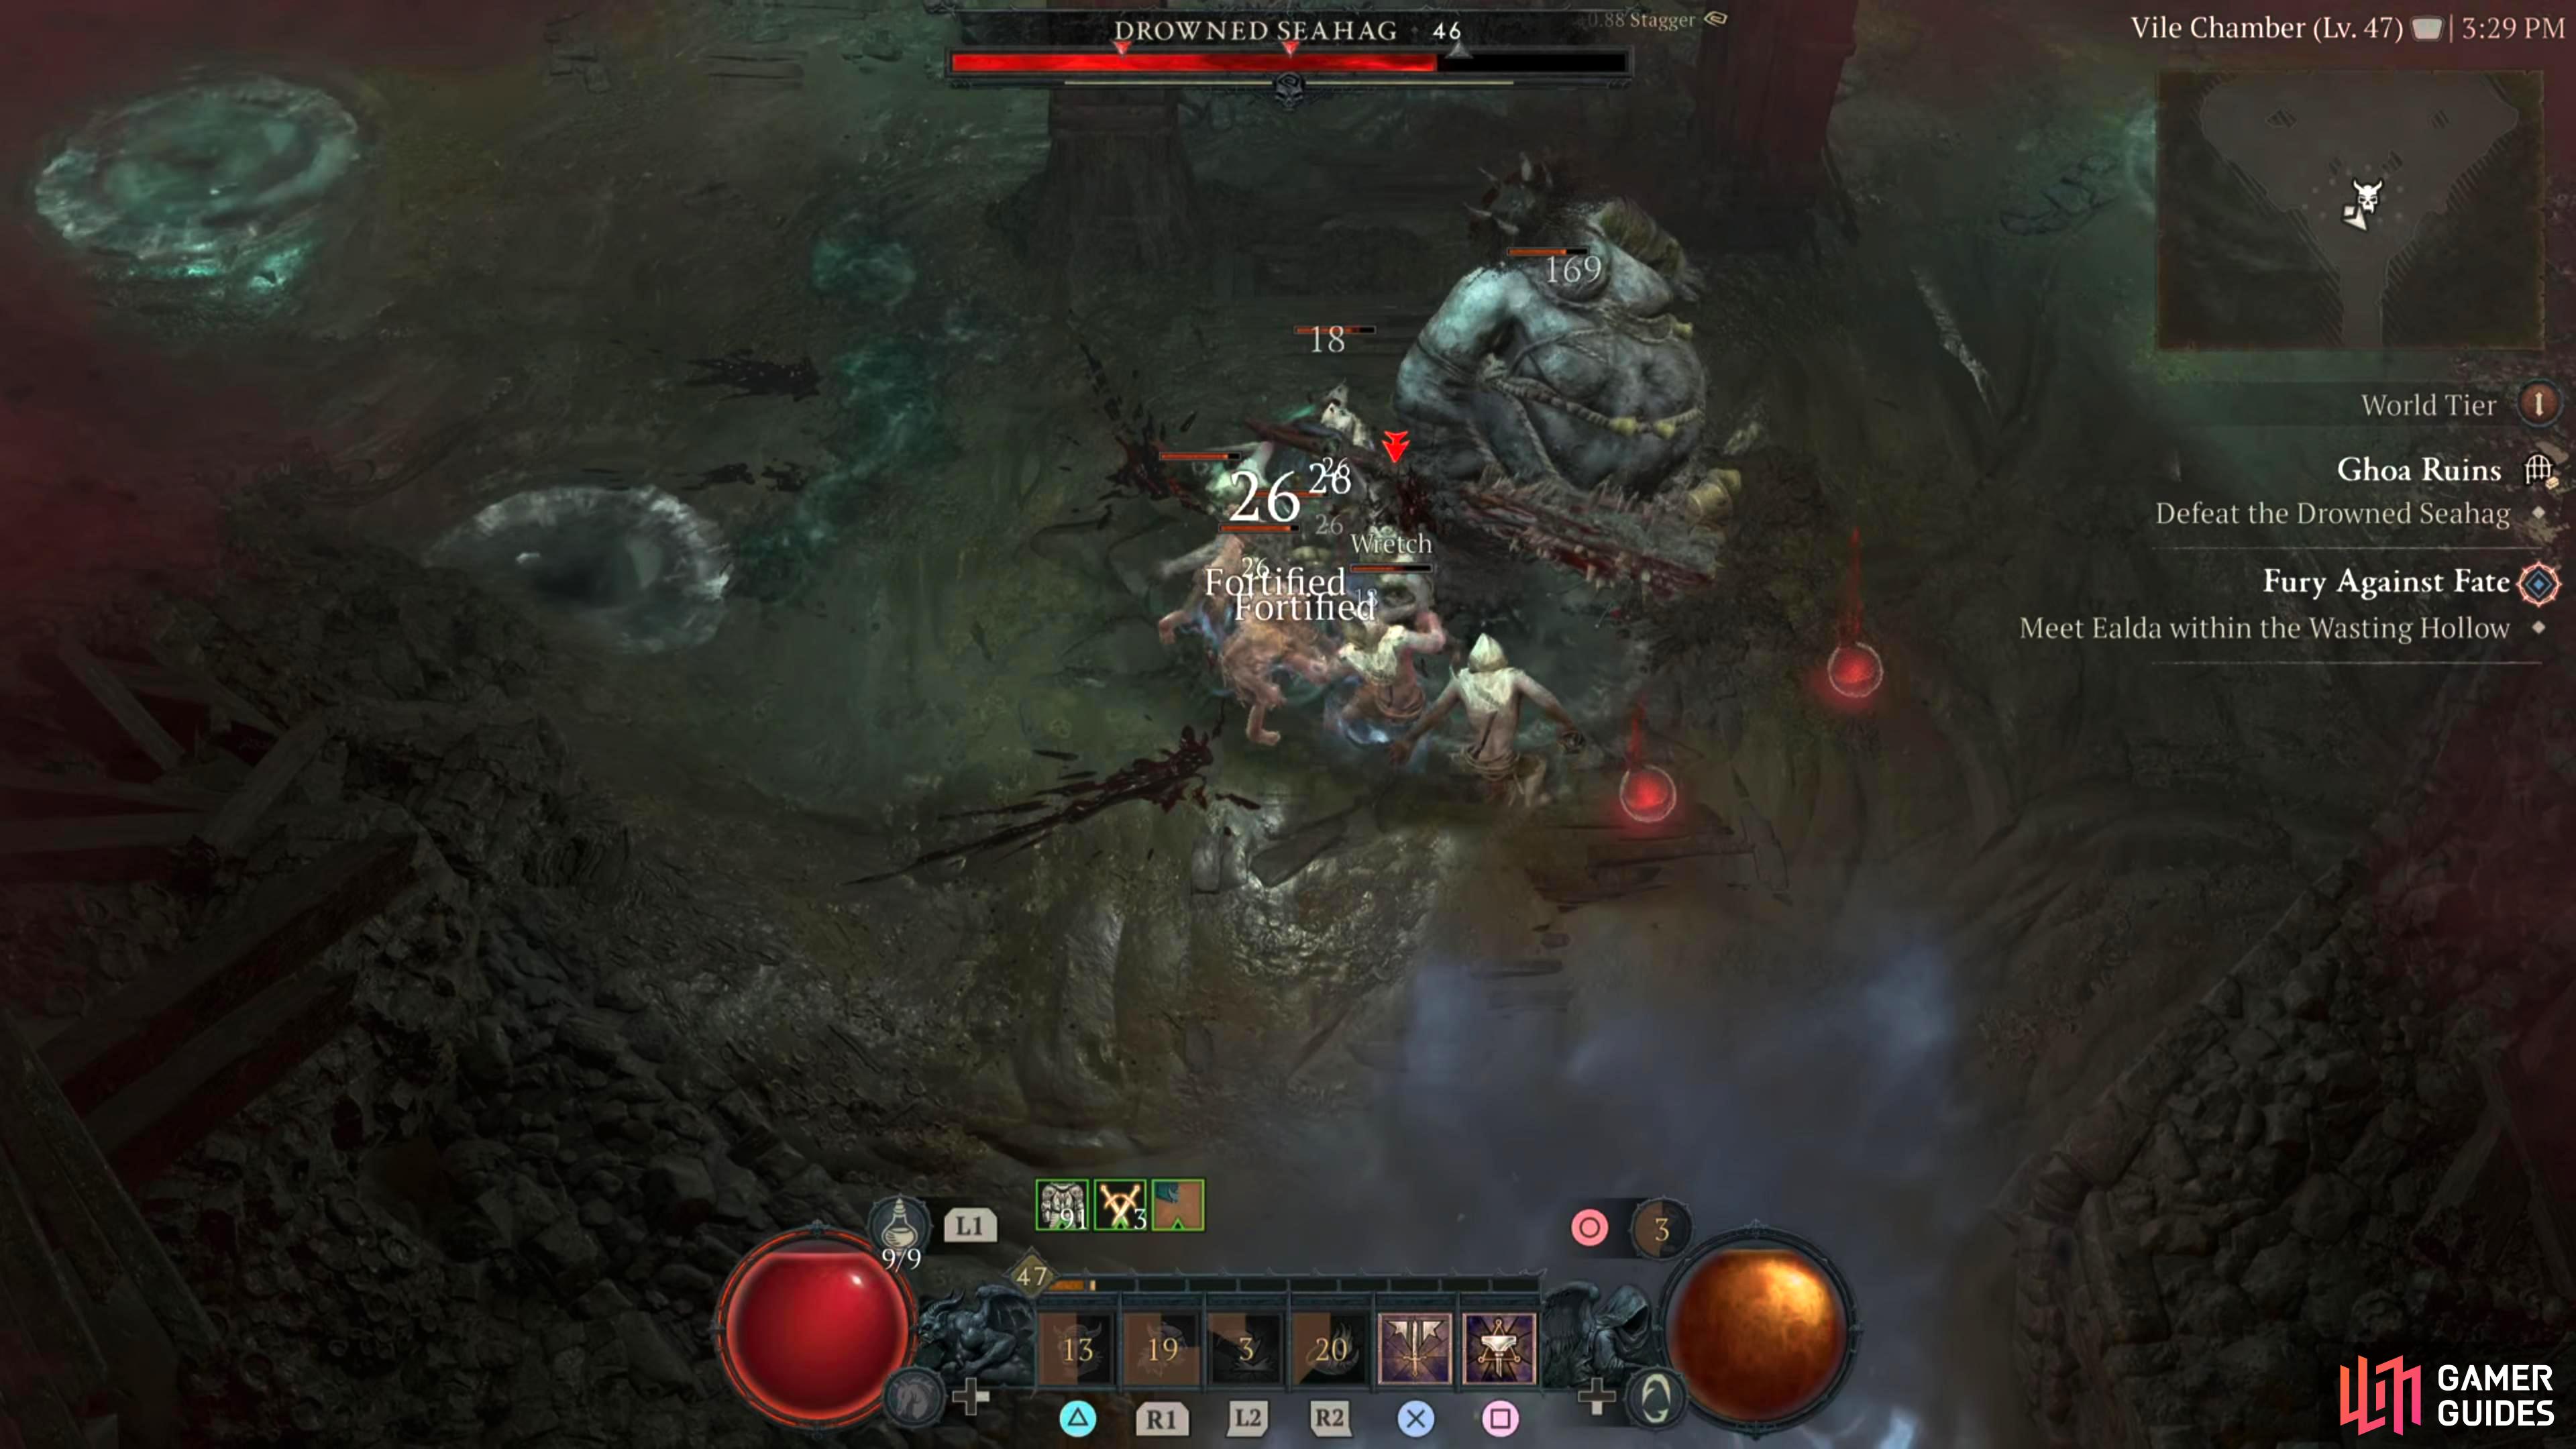
Wretch Call - As the name implies, the Seahag will call up numerous Wretchs from the depths who will throw projectiles. These don’t have a lot of health, so deal with them quickly in-between pummeling the boss.
-
Call to Action - After the boss has called out the Wretchs, they’ll perform a hearty bellow which will cause the Wretchs to go into a frenzied state, and attack you at once. This sounds worse than it is, as you can use a singular area of effect skill to take them out at the same time.
-
Charged Geyser - Similar to the regular Geyser attack, but the boss will raise its hands in the air and perform a short charge before placing five geysers around the arena. Make sure you’re next to the boss, or on one of the Geysers when this attack is happening.
This fight isn’t as tough as it sounds as for the most part you can stand in front of it and pummel away while replenishing your health via potions or health-leeching passives/skills. Just make sure you move if a Geyser lands underneath you.
Found In
Detailed Location
![]() Drowned Seahag is the final boss of
Drowned Seahag is the final boss of ![]() Ghoa Ruins in Hawezar.
Ghoa Ruins in Hawezar.
Screenshots


Region
 Hawezar
No Comments