| Important Items in this Area |
|---|
| Triangle Code #24 |
| Breach Software #17 |
| eBook: World’s Most Wanted |
| Triangle Code #25 |
| Praxis Kit |
To the Dvali Theater
Make your way back to the Capek Station and use it to travel back to the Pilgrim Station, then head back to the “Lekarna Pharmacy”. From here head south, then south-east to reach the Red Light District. If you completed “SM06: 01011000” and appeased Eliza she’ll provide a bit of help by making a turret explode, providing a fine distraction you can use to make your way east, then south-east down an alley that leads to the Dvali apartments. If not you’ll just need to use cover, patience and perhaps a bit of Glass-Shield Cloaking to get by.
Enter the Dvali apartments by jumping up onto the roof of the storage lockers, climbing a ladder, then dropping onto a balcony. Make your way through the apartment the balcony decorates and attach to cover along the doorway leading outside and wait until two guards get done talking and part ways, then head downstairs and turn north to reach some double doors leading to the street outside of the theater.
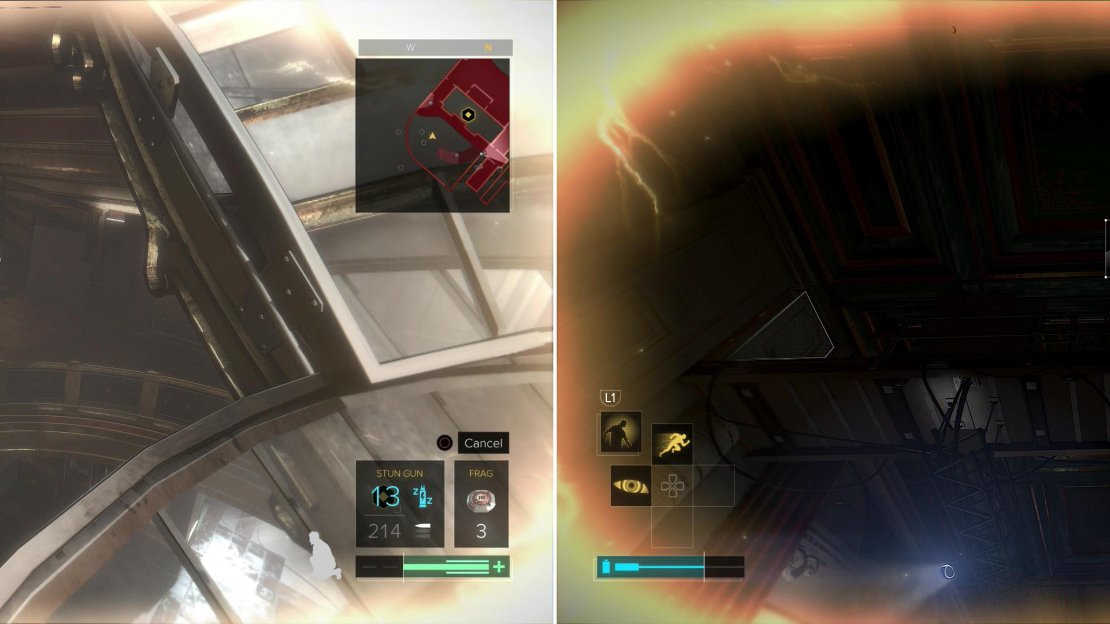
Take cover behind a stone pillar and as the attention of the guards allows sneak your way north, using various cars as cover. Your goal is to sneak into a tunnel along the northern end of the street, just west of the theater. Once there climb up onto some scaffolding to the south-west, then climb a ladder. Pick your way across a roof to the east and climb onto the roof of the theater, being watchful for a sniper who likes to perch here. When the way is clear head up to a dome, climb onto the ledge around it, crawl through a window, then drop down into the glass bowl below.
| Objective | Reward |
|---|---|
| For infiltrating the Dvali Theater | XP 3150 |
If you helped her out earlier, Eliza will show up to return the favor (left). Sneak through Dvali Territory and reach the roof of the theater (right).
Through the Theater
Miller will speak at you some more, after which turn west to find an opening in the glass bowl you’re in. Look out this opening to the north-west to find a balcony, which you can reach by using “Icarus Dash”. Once you’re on the balcony turn north and move two Metal Crates out of the way to reveal a hole you can crawl through. Go through the hole, the room beyond it, then look through another hole to see the theater, where a Dvali Thug is sitting guard.
If you get close he’ll eventually move on, but if you’re feeling violent you can always take him out with a headshot from your Tranquilizer Rifle or just run out and pop him with your Stun Gun before he can move, then drag him through the hole in the wall. On the plus side, if you disable him you can head into the theater and go through a door to the east to reach a security room. Shut the door to the east to prevent another guard from spotting you (or just wait for an opportune moment to take him out) then hack a security computer (Security Rating: 3) and turn off whatever security you can.
Either way, once the first guard is out of the way make your move north from the hole in the wall and climb onto a balcony, then turn west and go through a doorway. Head west down a hallway and climb some stairs to the north, then turn east to reach another, more elevated balcony. Search the couch up here to find a Weapons Briefcase, inside of which is an EMP Grenade - keep it with you, as it’ll come in handy later, moreso if you have a Mine Template… provided, of course, you didn’t already grab some EMP Mines after your encounter with the Harvester.
Use Icarus Dash to move from the glass bowl to the balcony (left) then again to travel from another balcony to the rafters (right).
Make your way to the eastern end of the balcony and loot up to see some rafters above you. If the two guards to the south (near where you entered the theater) are still conscious, make sure they’re not looking, then Icarus Dash your way up onto the rafters. Turn north, go through a doorway, then follow the rafter north until you reach a brick wall. Turn east and make your way to the eastern end of the walkway to find a light, near which is a spool of cable, on top of which is “Triangle Code #24” . Add it to your collection then backtrack west to the western end of the walkway and onto some wooden scaffolding. Look down and drop onto a lower ledge of scaffolding, then drop down onto the floor below you.
The way forward lies down a hallway to the east, which is protected by two Laser Grids, watched by a camera and patrolled by a Sentry Bot… or just by some Laser Grids, if you hacked the security computer in the theater. Assuming the worst, wait for the robot to be walking down the hallway to the east then use Glass-Shield Cloaking to bypass the first Laser Grid and the camera and turn down a hallway to the north. Hide behind some boxes lining the hallway and quickly hack a nearby Keypad (Security Rating: 1), or just use a Multi-Tool to avoid any possible complications. Go into the room the Keypad locked and smash through a weak wall in the north-western corner of the room, then climb through the hole to reach an elevator shaft. Jump over a fence to reach the top of the elevator, then drop through a hole in the elevator’s roof and drop down into the elevator. From here you merely need to head east to find the manager’s office.
| Objective | Reward |
|---|---|
| For overhearing the Dvali leadership | XP 3150 |
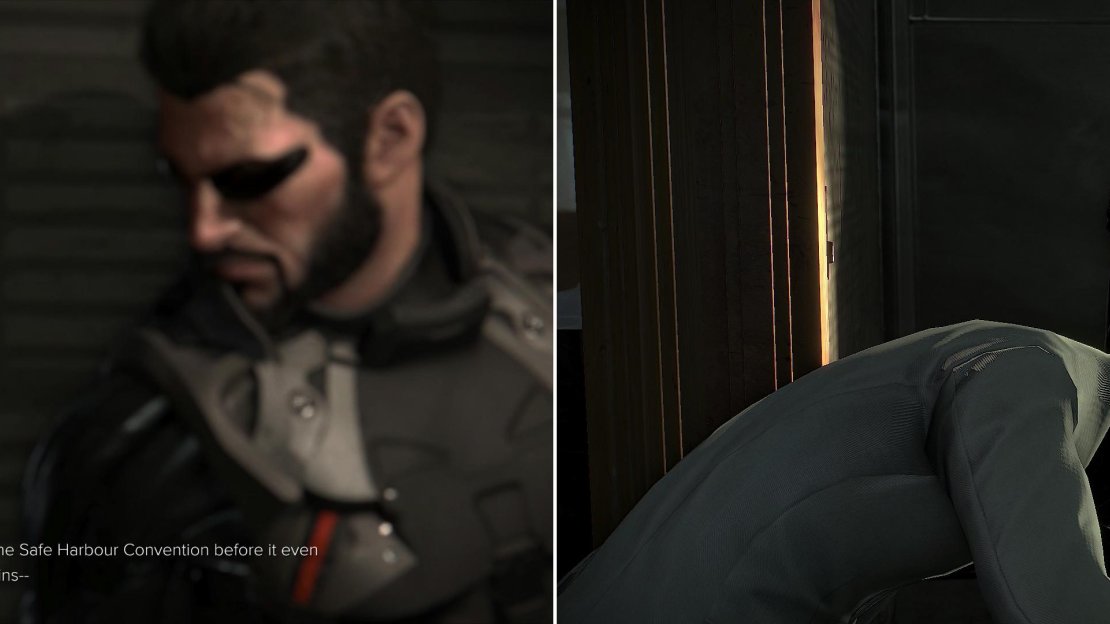
Lucky boy that he is, Adam just so happens to overhear the Dvali discussing their scheme (left). Smack Radich Nikoladze around so you can loot his office in peace (right).
Once the cutscene ends immediately head north and hide behind some boxes and wait for Otar to leave. How convenient you happened to reach this location just as the Dvali conspirators were going to start screaming about Marchenko’s plans. Anyways, there’s some loot to grab in the office, and only one inept Dvali boss to deal with to get it. Plus, it’ll help you escape the theater, so even if you don’t care about collectibles it’s worth doing.
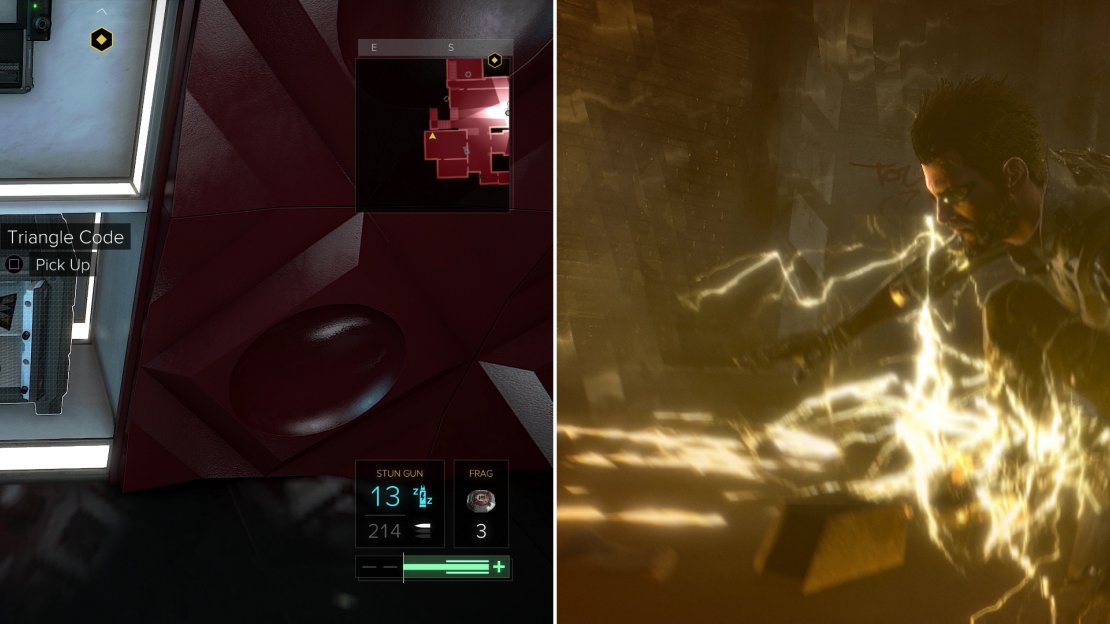
Turn north and move a Heavy Metal Crate out of the way to reveal a Keypad (Security Rating: 4). Hack it, then wait until the lone Dvali boss is in the larger, southern room of the “Manager’s Office” and head through the doorway. Attach yourself to cover on the wall near the doorway to the south and introduce the Dvali - Radich Nikoladze - to your fist when he comes close. When he’s down, search the desk to the west to find “Breach Software #17” - the final unit of Breach Software - then hack the security computer (Security Rating: 3) and turn off a camera and open a door. You’ll get to those in a moment, but first head into the larger room to the south and search the black couch to the south to find the eBook “World’s Most Wanted” . Once done search a red wall panel to the south to find a hidden stash. Hack the Keypad (Security Rating: 5) and open a safe to find “Triangle Code #25” , a “Praxis Kit” , a Frag Grenade and two Credit Chips.
Leave the office via the same door you entered and head down a hallway to the west. The camera should be deactivated and the door opened by the security computer you hacked a moment ago, revealing a hole in the wall, beyond which is a shaft you can drop down to enter the sewers. It’s a one-way trip though, so make sure you have the two Triangle Codes, the eBook and the Breach Software before you leave. Follow the linear tunnel to reach a ladder leading to the Pilgrim Station. You now know what Marchenko is up to, and need to return to your apartment and check in with Alex. First, though, make sure you’re ready to go; turn in that last unit of Breach Software if you wish, and if you’re otherwise partial to collectibles make sure you have 72 eBook entries, 30 Breach Software entries and 30 Triangle Code entries.
Search the hidden safe for a variety of goodies (left) then use a passage opened by a security computer to quickly escape (right).
Final Preparations
When you’re ready, return to your apartment where Alex is waiting for you. She’s got a bit of information to share, after which she’ll connect the dots and draw up a likely scenario - and the motivation for such a conspiracy.
| Objective | Reward |
|---|---|
| For learning the conspiracy’s target | XP 1950 |
After she’s done talking you’ll get one last chance to interact with your stash, make sure you have some EMP Grenades and Mine Templates on you, or some EMP Mines. You can make an EMP Mine by combining an EMP Grenade (hold down [SQUARE] / [X] in your inventory screen) with a Mine Template, the latter of which you can create with 75 Crafting Parts. You’ll also want your trusty Stun Gun, your Tranquilizer Rifle, and a healthy supply of ammo for both of them. Also be sure to grab whatever Biocells and Multi-Tools you have available. Optimistically you should need the following gear to make completing your Pacifist/Foxiest run conclude smoothly:
- Stun Gun
- Stun Gun Ammo x10
- Tranquilizer Rifle
- Tranquilizer Rifle Ammo x2
- Biocell x2
- EMP Mine x1
That’s not a terribly demanding list, and if you’ve been following this guide you should outright laugh at it - more than likely you’ve got many times those resources on hand. When you’re ready to go, return to the Capek Station and from there travel to the Pilgrim Station, then return to Chikane’s Place and meet with Miller at the helipad… or rather, chat with Chikane and ride off to meet Miller. When you’re ready to go, tell him so and ride off to go save the world.
| Objective | Reward |
|---|---|
| For flying to London | XP 1950 |


No Comments