| Important Items in this Area | . |
|---|---|
| Orchid Sample | Triangle Code #30 |
| eBook: Billion Dollar Daydreams | eBook: Jus in Bello |
| Triangle Code #29 | Marchenko’s Kill Switch |
| eBook: City as Product | Neuropozyne |
| Breach Software #16 | Breach Software #16 |
| Triangle Code $28 | Neuropozyne |
Head to the landing pad in Chikane’s Place and Miller will talk to you, his response varies depending on which mission you undertook - he’s far more upset with you if you went snooping into MacReady’s Dubai investigation. It ultimately doesn’t matter, Adam will tell Miller about G.A.R.M. and ultimately get the go-ahead to explore the place. Talk to Chikane and tell him when you’re ready to depart, but before you do, make sure you’ve got your Stun Gun, a Tranquilizer Rifle, Biocells, a Multi-Tool, and a bit of inventory space in case you want to pick up more loot… you know, make sure you’re prepared to fight and plunder.
| Objective | Reward |
|---|---|
| For telling Miller about G.A.R.M. | XP 500 |
When you’re ready, fly off to the Alps, where you’ll be dropped off near the G.A.R.M. Facility. Head west to find a door and hack a Keypad (Security Rating: 1) and open the nearby door to get a bit of surprise. When you’re back in control you’ll find yourself in a different part of the facility, and Adam will immediately try to call outside. When presented with the choice to call either Miller or Vega, be sure to call Vega, as calling Miller will result in an alarm automatically being triggered while you’re inside the G.A.R.M. Facility.
| Objective | Reward |
|---|---|
| For being welcomed to the G.A.R.M. Facility | XP 1100 |
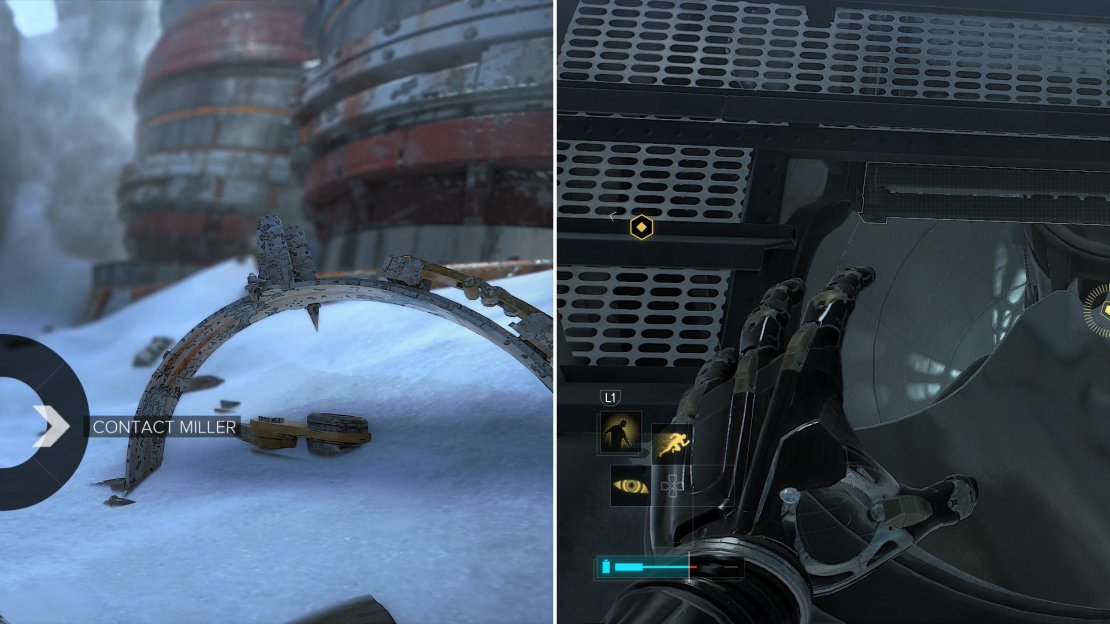
When you’re back in control of your faculties, call Vega to avoid problems later (left). Remote Hack a airshaft to sneak into Hangar 1 (right).
Hanger 1
From where you wake up head north-east to find an air shaft. Open a great and remote hack the fan to temporarily disable it, then head under the blades. Turn west and go through a duct to enter a maintenance area, loot a case to find a unit of Nuke Virus Software and a HypoStim Injector, then climb a ladder to reach a crane control room. Search the desk in the center of the room to find a case with another unit of Nuke Virus Software and the eBook “Billion Dollar Daydreams” .
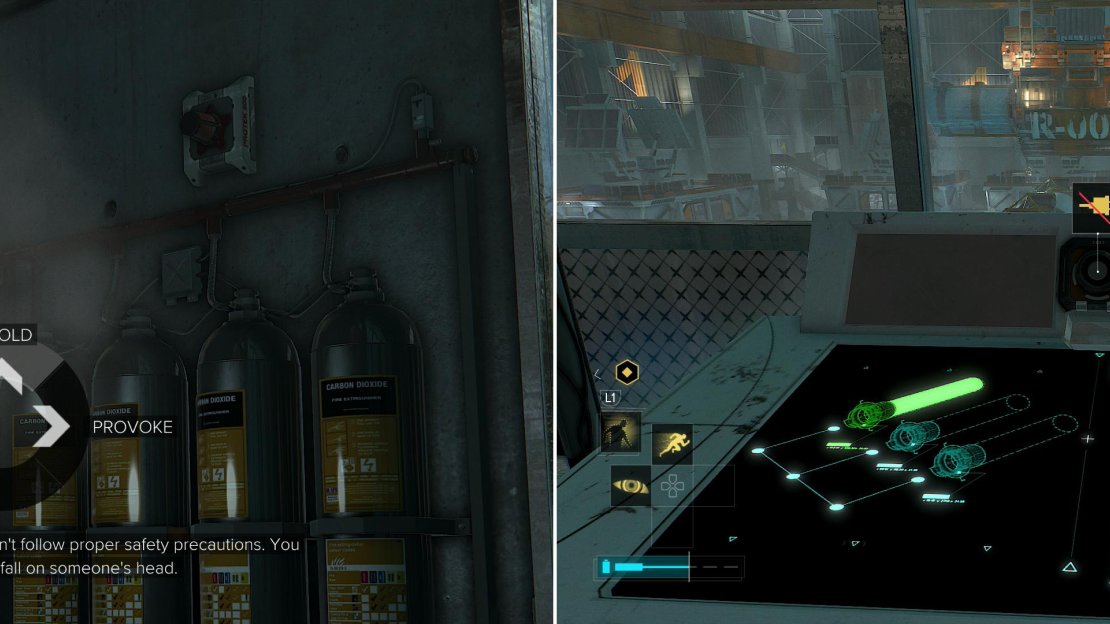
Time for a quick trophy - save your game and head over to the crane controls and use a Biocell to power it up. Press the left button and the crane will start to move, alerting the guards outside. Respond by saying “Scold” and you’ll be left to your own devices, after which press the up button twice, then press the right button and activate the drill to bore yourself a new passage. This is one way to get to Hangar 2 without much trouble, not to mention to get the “Core Driller” trophy/achievement, but you don’t need to go that route (and it may conflict with “Foxiest of the Hounds”), so reload the game after you get the “Core Driller” trophy/achievement.
If you use the drill, respond by picking the dialogue option “Scold” (left), then… well, drill, baby drill! (right)
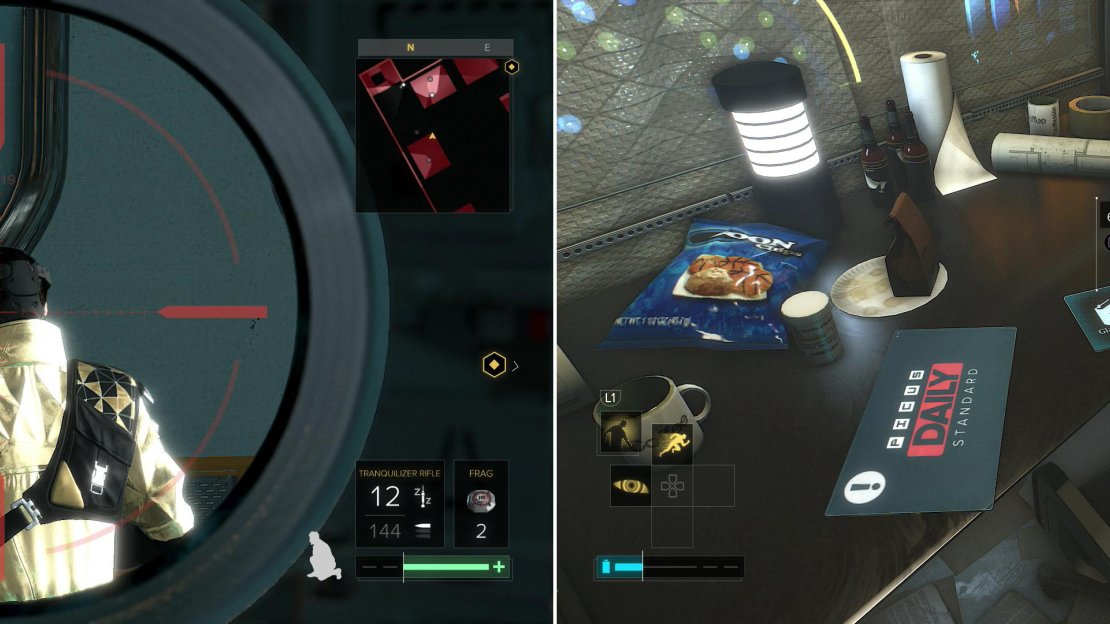
Search the south-eastern end of the room to find a ladder you can deploy with Remote Hacking. Do so, then remote hack a laser grid, then climb the ladder and turn north and jump up onto a yellow crane supports. Run across the hanger to the north, save from scrutiny due to your elevation, and when you reach the northern end of the hangar turn west and look down to see two structures below you. Checking the equipment up here is one Shadow Operative running about - fair warning, your foes here are all heavily augmented, so expect them to be more mobile and better armed than usual enemies. Take him down from a distance with your Tranquilizer Rifle, then drop down off the yellow metal beam you’re on. Aim east and land on the roof of a small structure, as there’s a guard who patrols down to the south. Note his location, then head west and take cover behind some ice cores and wait for him to start examining some shelves nearby, then take him out. Drag his body north and hack a Keypad (Security Rating: 3) and store his body in here. This part of the hangar should now be secure.
Search the north-eastern corner of this room to find a structural weakness you can exploit, and now that any possible nearby guards have been incapacitated, you can safely smash it without drawing attention. Note the blue pipe in here - it’ll be your route into Hanger 2, but you’ve got a bit of loot to gather in Hanger 1 still. Jump on top of a fork lift in the center of the room and look up to find a vent in the ceiling. Convenient. Climb up in there and follow the vent to reach a security room. Hack a computer (Security Rating: 3) and disable whatever security you can, then search the room for a variety of loot. Of particular note is the Weapon Cabinet, which contains a Grenade Launcher, a unit of Datascan Software, a Credit Chip, a Multi-Tool and a Holosight. On some shelves nearby, move an Archive Box out of the way to find “Triangle Code #29” lying under it, then search a desk to find the eBook “City as Product” .
Exit the security office via a door to the west, then drop down onto a stairwell. Sneak downstairs and, when you’re on the last landing, take cover on the railing, as there’s a guard to the south. He’ll come close to the stairs and inspect some boxes, after which he’ll turn around and walk away, giving you a great opportunity to sneak up and knock him out. Do so, then drag his body behind the boxes to the east and head south into a building. One guard waits in here, and you can easily sneak into the room behind him and dispatch him. Once done, grab “Breach Software #16” off the table in here. Sneak back north near the stairs and turn east, making your way into another building, where another guard sits in a fixed position. Sneak around the edge of the room to get behind him, then perform a takedown. Continue east across a bridge then through another building to reach the area near where you dropped off the drill earlier.
Turn north and open the Mini Storage Door again to reach the storage room, then go east through the hole you made in the wall earlier and enter the room with the blue pipe in it. Smash a destructible vent to the north and turn off a breaker, which will remove the electricity coursing through the blue electrical tube. Speaking of which, open a door on the shaft and climb into the tube and follow it south, then east. On the way you’ll find another door, which will open up into a tunnel connecting Hangar 1 and Hangar 2. If you’re trying to get through the place as sneakily as possible, just keep going east, waiting for the electrical spasms to die down before crossing various sections of pipe until you reach Hangar 2.
On the other hand, if you want the collectibles in here, wait for the guards to be facing away and enter the room. It’s actually not too hard to take them all down; the two middle guards tend to face away from the blue pipe (and hence, you) at the same time, while the eastern-most and western-most guards are static, and in no way capable of noticing if you take out the other two guards quickly with your Stun Gun. When both central guards are facing south (and one of them is checking the equipment in the alcove to the south) sneak out of the tube and use your Stun Gun on the guard in the alcove, then strafe west and take out the other guard facing south with your Stun Gun. Next, sneak west, hug the blue electrical pipe, and pop the stationary guard facing south with your Stun Gun. Finally, turn east and dispatch the last guard at your leisure. Adam: 4, guards: 0.
Just south of the opening in the pipe is a security computer (Security Rating: 4) which you can use to disable some cameras in Hangar 2, and on a card to the west you’ll find “Triangle Code #28” . Loot the hallway as your avarice demands, then head back into the blue electricity-plagued tube and follow it east, then north to find a door leading to Hangar 2.
From the heights of Hangar 1 you can snipe an isolated guard (left). Enter a security room and grab a variety of collectibles (right).
Exit the security office via a door to the west, then drop down onto a stairwell. Sneak downstairs and, when you’re on the last landing, take cover on the railing, as there’s a guard to the south. He’ll come close to the stairs and inspect some boxes, after which he’ll turn around and walk away, giving you a great opportunity to sneak up and knock him out. Do so, then drag his body behind the boxes to the east and head south into a building. One guard waits in here, and you can easily sneak into the room behind him and dispatch him. Once done, grab “Breach Software #16” off the table in here. Sneak back north near the stairs and turn east, making your way into another building, where another guard sits in a fixed position. Sneak around the edge of the room to get behind him, then perform a takedown. Continue east across a bridge then through another building to reach the area near where you dropped off the drill earlier.
Turn north and open the Mini Storage Door again to reach the storage room, then go east through the hole you made in the wall earlier and enter the room with the blue pipe in it. Smash a destructible vent to the north and turn off a breaker, which will remove the electricity coursing through the blue electrical tube. Speaking of which, open a door on the shaft and climb into the tube and follow it south, then east. On the way you’ll find another door, which will open up into a tunnel connecting Hangar 1 and Hangar 2. If you’re trying to get through the place as sneakily as possible, just keep going east, waiting for the electrical spasms to die down before crossing various sections of pipe until you reach Hangar 2.
On the other hand, if you want the collectibles in here, wait for the guards to be facing away and enter the room. It’s actually not too hard to take them all down; the two middle guards tend to face away from the blue pipe (and hence, you) at the same time, while the eastern-most and western-most guards are static, and in no way capable of noticing if you take out the other two guards quickly with your Stun Gun. When both central guards are facing south (and one of them is checking the equipment in the alcove to the south) sneak out of the tube and use your Stun Gun on the guard in the alcove, then strafe west and take out the other guard facing south with your Stun Gun. Next, sneak west, hug the blue electrical pipe, and pop the stationary guard facing south with your Stun Gun. Finally, turn east and dispatch the last guard at your leisure. Adam: 4, guards: 0.
Just south of the opening in the pipe is a security computer (Security Rating: 4) which you can use to disable some cameras in Hangar 2, and on a card to the west you’ll find “Triangle Code #28” . Loot the hallway as your avarice demands, then head back into the blue electricity-plagued tube and follow it east, then north to find a door leading to Hangar 2.
Pop out of a blue electrical pipe and dispatch a room full of guards (left) then grab Triangle Code #28 (right).
Hangar 2
Whether you stopped to get “Triangle Code #28” or not, you should have ended up back in the blue pipe, and hence, in a small room along the western end of Hangar 2. Exit the tube and flip an “EG Switch” on the wall, then open the door to the hangar and be wary of the guards outside - there’s a bunch of them, going through their training, but fortunately there are plenty of obstacles between them and your destination, which is a tent to the north-east.
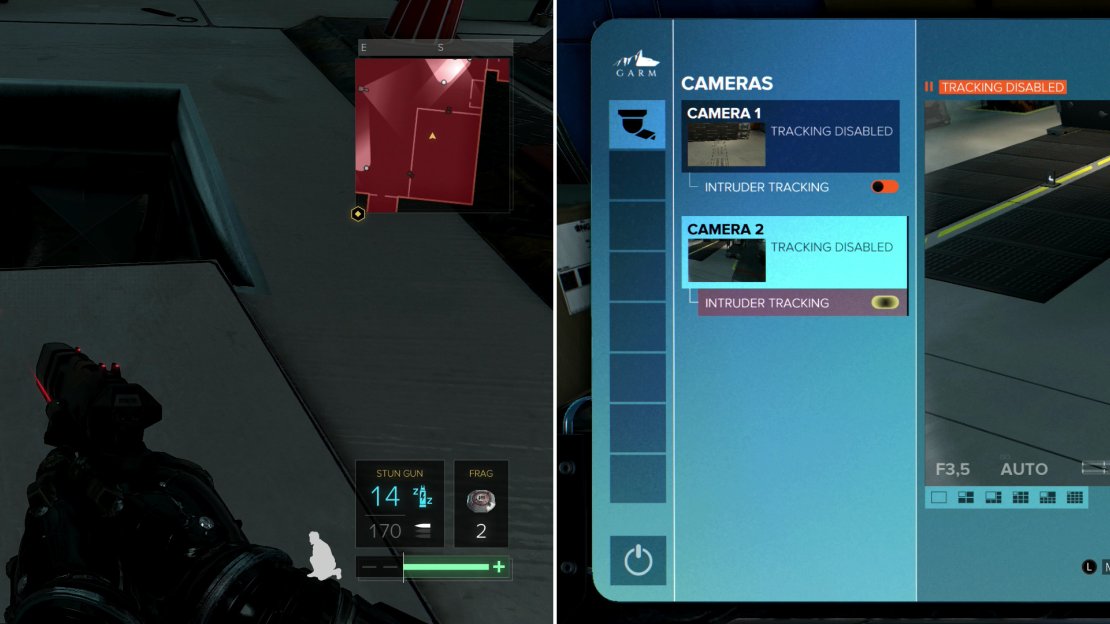
Sneak into the tent, close the doors behind you and take cover along a desk near the door, then look north to spot three guards. They’re not too much of a problem, but the camera that’s looking at them… that thing needs to go. Fortunately, you’ll find a hatch in the floor just east of the giant robot near the desk you’re hiding behind. Wait for the coast to be clear, then climb down into the hatch and head east into a small, subterranean chamber. Head into another duct to the south and into another chamber, then find a third duct to the east, which will surface along the eastern end of Hangar 2, between the two buildings on this side of the hangar.
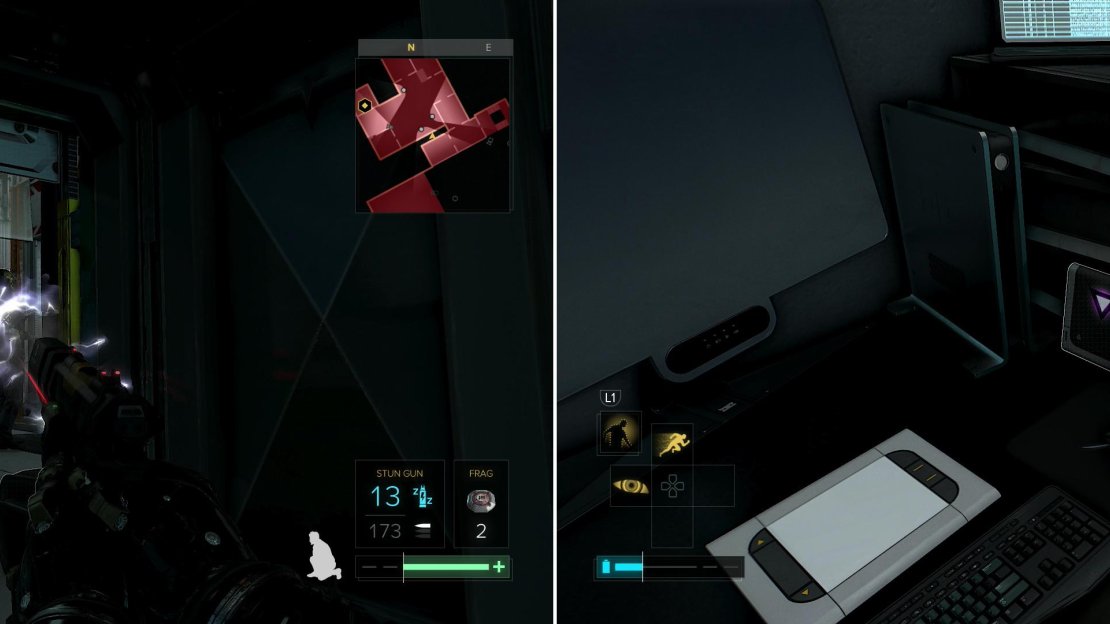
There’s one guard that patrols around here, so wait for him to walk past, surface, then teach him a lesson for doing his job. He patrols a rather long route between the two buildings, and an easy way to thwart him is to wait until he’s up by the northern building, the sneak up the stairs to the southern building and wait near the railing. When he goes up these stairs (after a very brief stop near an APC) perform a takedown, then drag him into the southern building. While you’re in here, hack the security computer (Security Rating: 4) and disable that pesky camera back in the tent. Leave this shelter (after looting, as you will) and head into the room to the north, where you’ll find another guard facing the wrong direction, just begging for a beating. Give him one and hack another security computer (Security Rating: 4) to turn off a camera to the north - this one is just bonus, but it will make moving on to the next area even easier.
Head into a tent in Hangar 2 to find a hatch (left) which you can use to reach some lightly-guarded security computers (right).
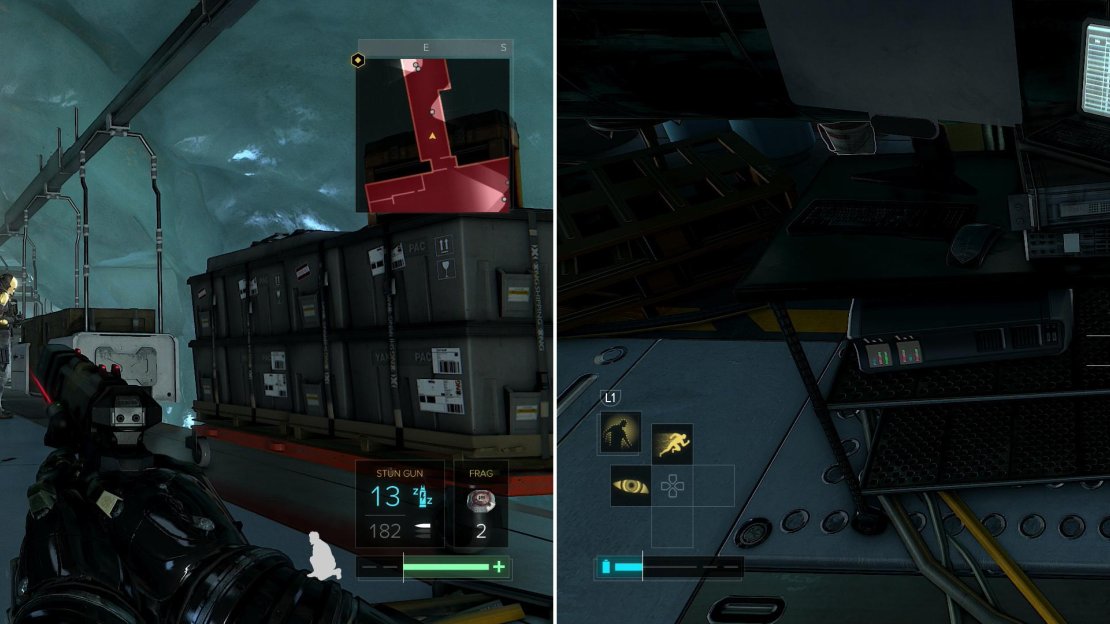
Return to the duct you used to reach this side of the hangar and follow it back to the tent, where you can now safely work on taking out the guards, since that snitch camera is out of action. Sneak over to the western end of the room and work your way north and spot the guard sitting on some crates looking south. Use a quick burst of Glass-Shield Cloaking to get past his gaze and take cover on the desk behind him, then wait for his buddies to look elsewhere to take him out. If you were attached to the desk when you did this, you’ll automatically pull him back behind the desks with you. Read the Pocket Secretary he has on him to learn about some “trigger” for use in case “Viktor decides to resist his instructions”. Interesting…
There are two guards left, both around the table to the south. The guard to the east wanders about, while the one to the south remains in place. To dispatch them easily, head south of the southern guard and wait for the eastern one to be crouched down, then quickly use your Stun Gun on them both, starting with the southern-most guard, then on the crouched guard to the east. You can hide behind some crates or a desk to the south to keep watch on the guards and wait for the right moment.
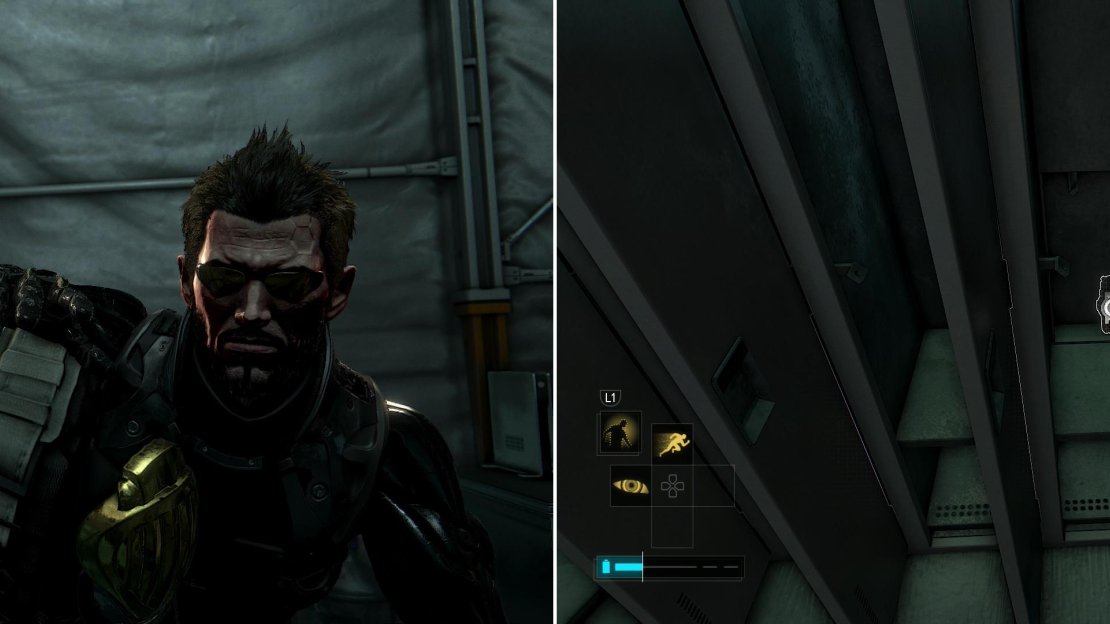
Now that the guards have been neutralized, it’s time to loot the room. There are two large robots in this room, surrounded by desks and other furniture. Search under the northern of the two robots to find a cart, on which rests “Triangle Code #30” . Next search the desk along the northern end of the room to find the eBook “Jus in Bello” . Along the northern end of the room you’ll find two rows of lockers, one to the west and one to the east. The eastern one only contains ammo and Crafting Parts, but the western one contains a secret, in addition to mundane loot. Activate your “Smart Vision” and you’ll see a yellow rectangle, indicating some object hidden along the top of the lockers. Jump on top of the lockers and look behind them to find a button. Press it, then drop off the lockers and look in them to find a compartment opened itself up… an apartment containing “Marchenko’s Kill Switch” .
Eliminate several guards in a tent (left) then search some lockers to find Marchenko’s Kill Switch (right).
To the Helipad
Grab a bottle of “Neuropozyne” off the southern end of the northern enclosure of desks, near a computer, then head through the double doors to the east. Use various objects as cover to hide from the guard and the camera… or just dispatch the guard, if you wish, a task made easier if you disabled the camera. You have two ways to move on to the next area; some stairs in the north-eastern corner of the hangar, just beyond the camera, or you can move some Heavy Metal Crates to reveal a button, which will summon an elevator.
However you get up here, go through some double doors to the north and enter the room beyond, then press an “EG Switch” to obscure the windows. Move a Heavy Metal Crate away from the south-western corner and go through a vent, but before you exit out the other side, note there are three guards in this room. Wait until one guard is facing east, and another is facing south (the northern-most guard doesn’t move, and so can be ignored). Once these two guards are aligned in this fashion, pop them both with your Stun Gun, then head north and perform a takedown on the last guard. Once the guards are indisposed, head west through a door to find a security computer (Security Rating: 2), which you can use to disable the camera. Grab “Breach Software #16” off a desk in the south-western corner of the room, then exit.
A vent gives you a fine vantage point from which to dispose of some guards (left), after which you can grab Breach Software #16 (right).
In a room to the north-east you’ll find a bunch of dead ARC Soldiers - the spilled beverages and their wounds indicate that Orchid may have been the culprit. Seems like it makes a fine poison when put into a liquid - Rucker was drinking when he died, too. Grab some “Neuropozyne” out of a case on a cart, then head into an elevator north of the security room and ride the elevator up to daylight. All you need to do now is walk to the helipad and fly to safety.
| Objective | Reward |
|---|---|
| For escaping the G.A.R.M. Facility | XP 3850 |


No Comments