| Important Items in this Area |
|---|
| eBook: The Juggernaut Collective |
| Neuropozyne |
| eBook: Contemporary Art Review |
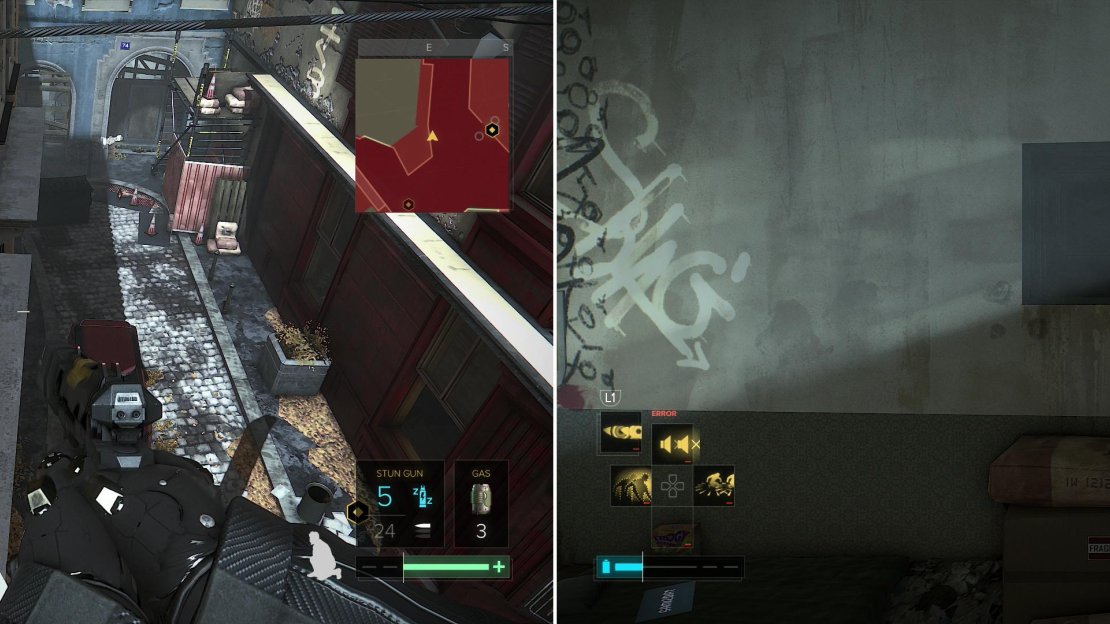
| Triangle Code #8 |
Looting the Neon Dealers Stash
About that, it’s probably time to continue working your way to Koller’s workshop. While standing in the courtyard turn east and go through a doorway, down a hallway, then through another doorway. Once outside turn north and head down a street in that direction, and when this road bisects another road running east-west, follow that road east. Keep your gaze to the north and you’ll find a wooden door in a concrete wall.
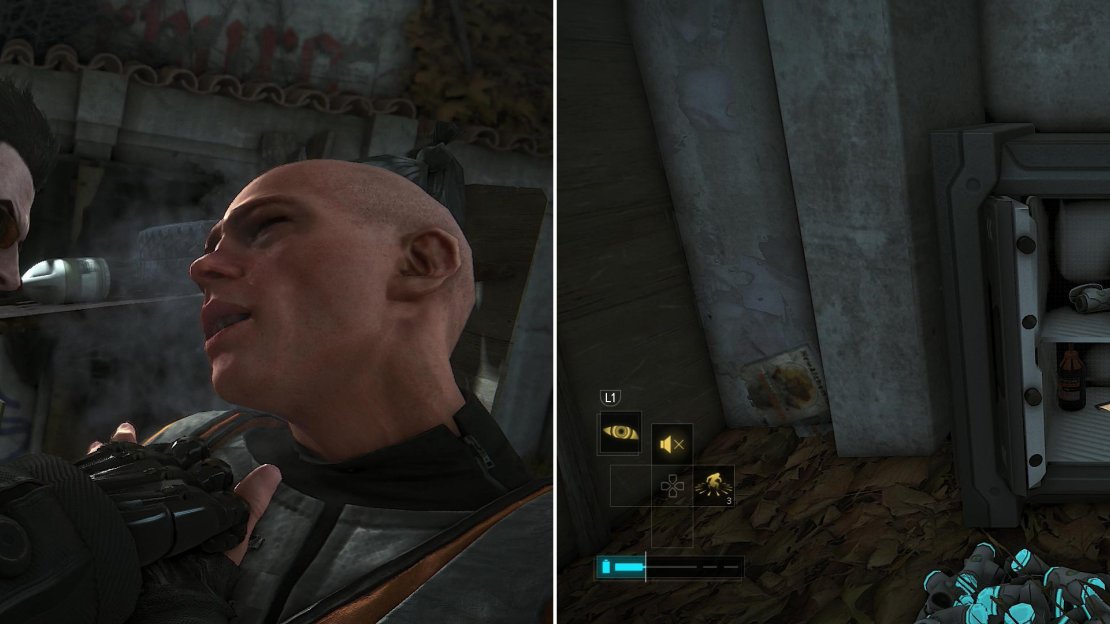
Go through the door to enter a depressing aug shanty town and search a sofa to the west to find the eBook “The Juggernaut Collective” . Grab it, then make your way east to find a dealer standing near a gate. Wait or the dealer to get done turning away a potential aug customer, then ignore the warnings painted on the wall and jump onto the barbed-wire lined wall to spot a guard wandering about. Wait for him to turn around, then drop down and end his vigil. Once done, make your way to the north-eastern corner of this enclosure to find a safe, inside of which is a Gas Grenade, a Credit Chip, some “Neuropozyne” and a Pocket Secretary. Hold onto that Neuropozyne, as there are uses for it beyond selling and be sure to read that Pocket Secretary to… gain some redundant information. Oh well, you’re doing things out of order, but it all worked out fine.
Take down the thug (left) and loot the Neon dealer’s safe (right).
Helena Volins Apartment
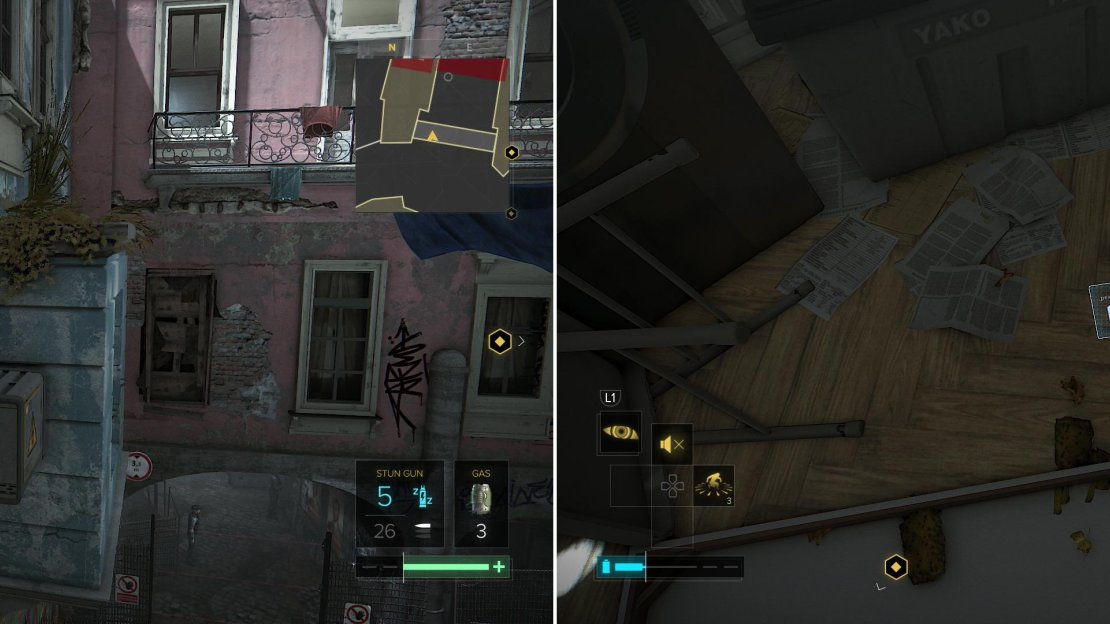
Leave the enclosed shanty-town and continue down the street to the south-east until you find an archway to the north-east. Climb onto a nearby lift (don’t waste a Biocell on it!) then leap onto the top of the archway. From there jump north-east onto a ledge along the side of a blue building, then from there jump east onto a balcony. Enter via a doorway and grab a Biocell off the floor, read the eBook “Contemporary Art Review” on the floor behind an overturned shelf, then loot the Drawers in the northern corner of the room. You can also find “Triangle Code #8” on top of this case of drawers. Finally turn your attention to the laptop (Security Rating: 1).
Now, you could leave this apartment and try to reach Koller’s workshop on foot, but your way will be… complicated, forcing you to either fight or resolve a side quest. While you’ll want to end up completing the side quest eventually anyways, why distract yourself from the task at hand if you don’t need to. That being the case, turn south-east and find a vent on the wall over a sink. Ah, sweet, sweet shortcut.
Climb into the vent and drop down into a maintenance chamber, then head south-west up some stairs to find a Case with some Credit Chips inside, then pick up a Pocket Secretary on the ground nearby. Doesn’t look like Helena Volin had a happy ending. Continue down a shaft to the south-east and exit out the vent.
Climb up a lift and jump over to a balcony adorning a pink apartment building (left) inside of which you’ll find a way forward - and a variety of collectibles (right).
Ghosting to Kollers Office
You’re now just outside of the book shop under which Koller lurks, you just need to sneak past about… oh… a dozen or so armed Dvali Thugs? No problem. You can try to dispatch them for the bonus XP and the weapons they’ll drop (which you can then take back to Tars and sell one at a time for maximum profit), but that’ll be left to your discretion - the walkthrough will focus on getting you to Koller’s office with as little fuss as possible.
Make your way across the roof to the south-east, then onto another, lower roof. From there continue south-east over two electrical boxes and onto a walkway. Cross the walkway to the north-east, leap onto a roof, then make your way to the southern edge of the roof. Turn east to find some ledges below you, which you should drop down onto then continue east across the ledges before dropping off them onto the street below, after making sure the coast is clear, of course.
Continue east to the end of the street to find a door. Go through it and be sure to close it behind you, then loot the room for some Crafting Parts, a Credit Chip, a Pocket Secretary and a Multi-Tool, the latter of which is hiding behind a Beer Case in the north-eastern corner of the room. Multi-Tools are always great finds and it’s worth keeping some on-hand, as they can hack any network regardless of difficulty. Just equip them as you would a gun, aim at the network and hold down the [R2] / [RT] button until the hack is done. Sadly, they’re single-use items, so save them for the most tenacious of networks. If you need more you can always create one by using 120 Crafting Parts.
Use various ledges to bypass the Dvali Thugs (left) and enter a building at the end of the street to find a vent leading into The Time Machine (right).
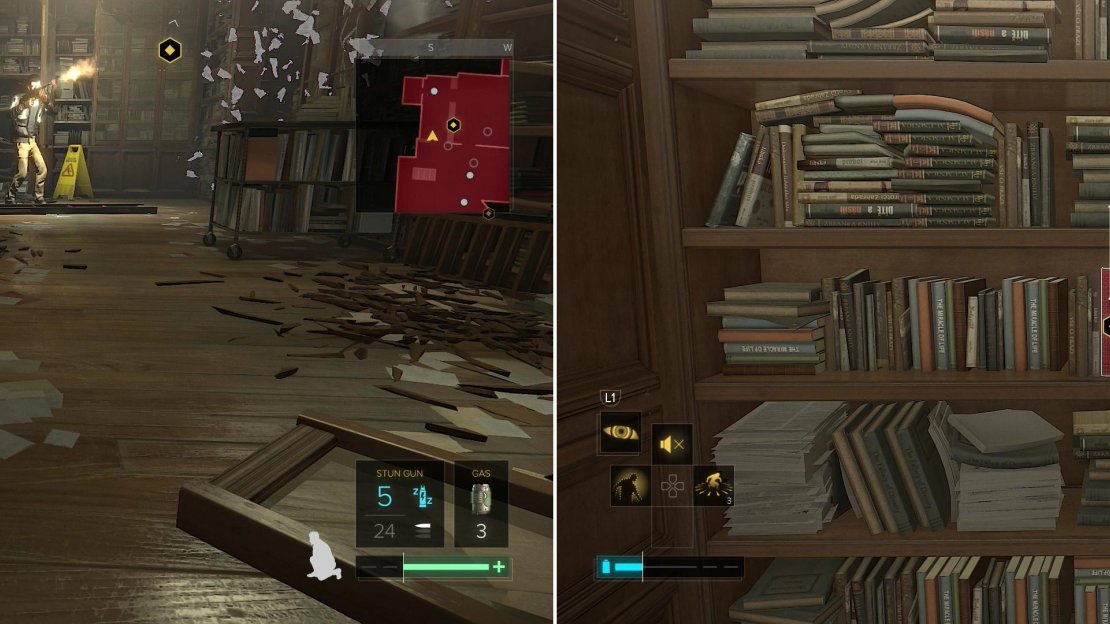
Once you’re done looting turn south to find an open vent on the wall near a shelf. Crawl into the vent follow it south, then west, then jump up into a higher chute to the west, turn south and continue in that direction until you drop down into a lower part of the air duct network. Turn west to look out into the bookstore and keep your eye out for a wandering guard to the south-west. When you’re sure he’s gone exit the vent, hug the eastern wall and make your way south to find a Dvali Thug randomly firing his gun like the hooligan he is. Approach him carefully and enact your “Glass-Shield Cloaking” to keep out of sight - he should walk off anyways, but rather safe than sorry - and quickly open a door behind him to the east.
Close the door behind you and search the south-eastern corner of the room to find a vent on the floor. Enter it and slink south, then west, and when you find a Destructible Vent give it a good thrashing. Head down the chute beyond and destroy another vent, continue past it to the east, jump up into an elevated vent and open a final Vent Cover to reach Vaclav Koller’s office. See? Not so bad. And with any luck you got the Ghost bonus for remaining all sneaky-like.
| Objective | Reward |
|---|---|
| For making it to Koller’s office | XP 1950 |
The Dvali Thugs are busy vandalizing The Time Machine, giving you a chance to sneak past (left). Examine the red book in Koller’s office to find a way into his lair (right).
Time Traveler
If you want to get yourself a shiny new trophy or add to the sum of your Gamerscore, you’re going to have to do a bit of work. After talking to Koller you’ll be given the quest “SM04: The Calibrator” , the goal of which is to recover a “Neuroplasticity Calibrator” . This quest is pretty simple, but if you recover the Neuroplasticity Calibrator BEFORE meeting Koller (hence before he can ask for it) you’ll get the trophy/achievement “Time Traveler”. Of course, this will negate the quest “SM04: The Calibrator” and a few trophies that are tied to it and related quests, so it’s not ideal for your canon walkthrough. This section, then, will direct you to get the Neuroplasticity Calibrator now, before finishing “M3: Getting in Top Shape Again” and bringing it back to Koller.
First step, obviously, is to make a hard save in Koller’s office. You already got all the way here - presumably sneaky-like with the Ghost bonus and whatnot - so why force yourself to do that again after you’re done with this diversion when you can just reload? Once done exit the book store by whatever means you find expedient. Remember, you’re not KEEPING anything you do here, so you need not be worried about stealth, not killing people, picking up loot, or any of that business. Because of that, everything not strictly related towards the task of getting directly to your goal will be ignored. That’s right, trying to be succinct here… save for these first two long-winded paragraphs talking about how succinct the rest of this will be.
Leave the Time Machine Bookstore if you haven’t already and from the front of the store head north-west up some stairs. Turn west and go up another flight of stairs and through a gate door, then turn south down the street outside. Go through a tunnel and around a Police vehicle, then turn south-east down some stairs and into a metro. Interact with one of the metro terminals at the station and travel to the Palisade station, which is marked on the upper left of metro map.
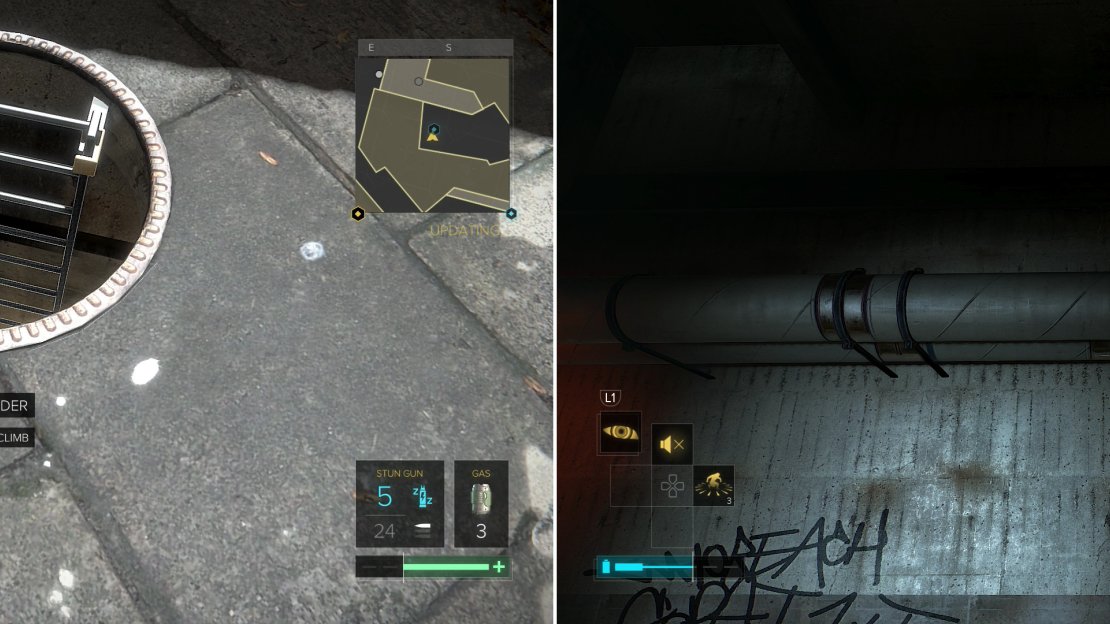
Head up a flight of stairs to the south, then another flight to the east. Once you’re out of the metro make your way east to reach a road, then follow the road south-east. Go down a slope and turn north-east to find a tunnel bisected by a short wooden wall. Leap over the wall and head east to find a colorful manhole cover, which is decorated like a poker chip. Remove it, then climb down the ladder to reach the sewer, at which point head south-west to find a door, which you’ll be rudely turned away from. Oh well, looks like you’ll have to find another way in.
Head to northern Prague and find a manhole cover decorated like a poker chip (left). Use some pipes to bypass the door and gain easy access to the casino (right).
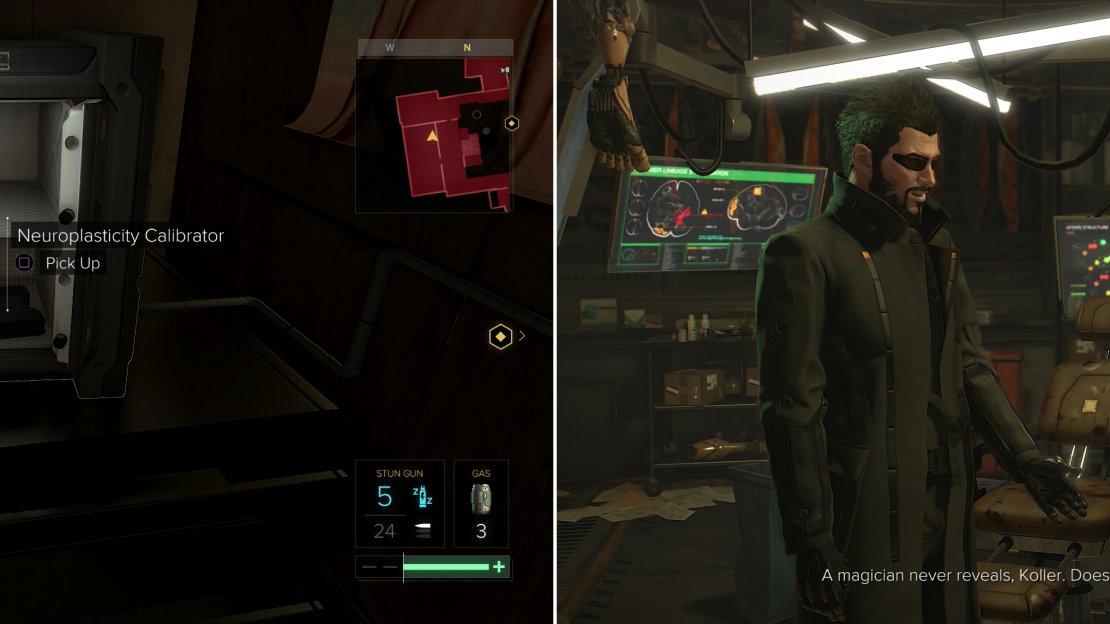
Look at the western wall to see some pipes tuning along it, and more importantly, over the door. Jump onto these pipes and follow them over the door, then into a vent to the south-east. Exit the vent into a bathroom and go through a doorway to reach a walkway overlooking a casino. Head south-west along this walkway, then turn north-west, staying wary of two guards as you go. Enter an office to the south-west and dispatch the guard in there, then search the northern corner of the room to find a Keypad which you can use to open a nearby Safe. Hack the Keypad, open the Safe, then grab the “Neuroplasticity Calibrator” .
All you need to do now is leave the casino, exit the sewers and use the metro to return to the Capek Station, then return to Koller’s office in the Time Machine bookstore. When you talk to him, just hand over the Neuroplasticity Calibrator when prompted to score the “Time Traveler” trophy/achievement, after which reload your ORIGINAL hard save in Koller’s office so you can continue with the walkthrough normally.

Time Traveler
You managed to bring Koller the Neuroplasticity Calibrator before he even asked you for it.

15
Sneak into the manager’s office and grab the Neuroplasticity Calibrator from the safe (left) then bring it back to Koller - before he even asks for it! (right)
Whole Again
Ignore all the loot lying about Koller’s office for now - don’t worry, it’s not going anywhere - and search a bookshelf to the south to find a red “Mysterious Book” standing out amongst the other, more drab tomes. Examine it to reveal a secret chamber, then ride an elevator down to the Workshop level to meet Koller. He’ll elaborate on his troubles with the Dvali, after which he’ll leap at the chance to molest your malfunctioning Sarif augmentations. Question him as you will before ultimately submitting to his expertise.
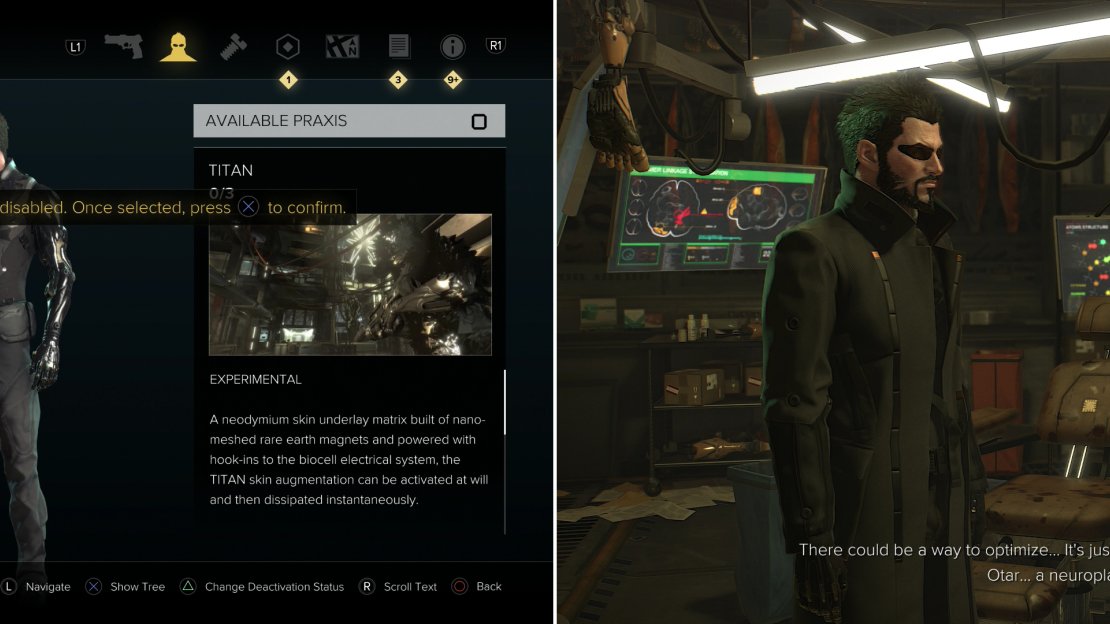
Unfortunately, everything doesn’t go smoothly - apparently you’ve got more augmentations in you than you knew about. Follow the instructions and learn about activating your experimental augmentations, and the consequences thereof. After the tutorial you’ll get another reset, which will allow you to redistribute your Praxis into whatever augmentations you want. More on that later, but first Koller will tell you to get some answers from David Sarif (starting the quest “SM03: The Mystery Augs” ) and also mention a possible solution for your aug problem - obtain Neuroplasticity Calibrator from Otar. Yes, the same Otar whose thugs were trashing his book store, but Koller certainly doesn’t have any ulterior motives, nope. This starts the quest “SM04: The Calibrator” , ensuring your have plenty of stuff to do around Prague.
| Objective | Reward |
|---|---|
| For getting your augs back online | XP 3150 |
Koller’s tinkering will reveal new augmentations for you to use, but accessing them will overclock your system (left). Koller’s solution? Find a Nueroplasticity Calibrator (right).
God Among Augmented Men
First, however, you should see about reassigning your augmentations. You’ve been significantly weakened by all you’ve been through, but on the plus side, Koller was kind enough to give you nine free Praxis, which should put your total up to eleven or twelve by now, varying about how much you may have fought, hacked, etc., along the way. Before you get serious about installing augs, however, it’s time to save your game (make a hard save) then drop your treasure trove of Praxis to score a few trophies. In fact, this is a fine time to try to get as many augmentation-based trophies as possible right now. So again, make a hard save now so you can invest your Praxis in augmentations as you wish for trophy/achievement farming purposes. This will be covered in the following section “Farming Trophies and Achievements” .
Now that you’ve made your trophy/achievement farming hard save (and this author gets another discreet reminder for you to do this out of the way), here are some suggestions for how you should allocate your Praxis for the rest of the walkthrough. Keep in mind that this guide is focusing on getting the “Pacifist” and “Foxiest of the Hounds” trophies, and that being the case, you’ll be directed to avoid combat as much as possible. That being the case, combat-related augmentations aren’t going to be suggested. After all, if you never plan to kill enemies or take enemy fire, why would you need more health, damage resistance, or lethal augs? Below are suggested augmentations you should keep your eye on, and reasons why, and below that is a suggested “build” for how to spend your Praxis.
Glass-Shield Cloaking:
The most obvious upgrade choice is “Glass-Shield Cloaking”, as it’ll allow you to bypass most of the security in the game, be it a guard, turret, laser grid, or security camera. You don’t, however, need any of the additional upgrades for it right now - decreasing the energy drain of the skill increased its duration from 30 seconds to about 45 seconds, which is nice, but not worth two Praxis kits. It’s best used in short bursts, right when the enemy starts to detect you - ideally just before their bar fills yellow and they become suspicious. If you plan on using it to shake scruitiny and quickly find cover, you’ll make pretty much every stealth portion of the game much easier.
Smart Vision:
Obviously useful, Smart Vision allows you to see threats and interactable objects (computers, vents, structural weaknesses, etc). Even with a guide helping you, knowing EXACTLY where to go is a fine boon. Again, you only need to spend the two Praxis to activate the skill.
Wayfinder Radar
System: Both Vision Feedback and Range Boost are useful upgrades, costing a Praxis each, although if push comes to shove, it’s easy to recommend the Vision Feedback upgrade, first. Being able to see where your enemies are on the mini-map is great, but being able to see if they’re looking at you is double-plus great. Being able to see further is at least plus-and-a-half great. Not exact measurements of greatness. Point is, this is info that will make is much easier to sneak past guards, or to eliminate them.
Cybernetic Arm Prosthesis:
Using Glass-Shield Cloaking to sneak past guards and security devices is good and all, but you’ll often find a better, safer routes blocked by heavy objects or beyond a weak wall. There are also plenty of collectibles and more mundane treasure hidden under/behind heavy objects, or in rooms otherwise unreachable save by bashing down a wall. That being the case, investing in Optimized Musculature and Punch Through Wall so you can have more poly-muscle at your disposal is a no-brainer.
Cybernetic Leg Prosthesis:
Some ledges just choose to be lofty jerks by perching out of easy jumping distance. Fortunately you can spend two Praxis to get the Klipspringer Jump Mod to get at otherwise out-of-reach areas. After all, what’s the use of finding a vent you can’t climb into, or a ledge you can’t reach?
Icarus Landing:
Falling safely from any height sound good to you? It should. Gives you more escape options and less to worry about when it comes to jumping around - something there’s an awful lot of.
Remote Hacking:
While Glass-Shield Cloaking will often get you past obstacles, sometimes being able to discretely turn off a camera or a turret, raise some blinds to get into a window, or lower an awning to create a ledge will provide you with options superior to what’s otherwise available. For the short-term getting Environmental Domination is fine, Security Domination can wait until you have Praxis to burn. You can get by without this for a bit, but by the time you hit mid-game ( “M7: The Rucker Extraction” or “SM05: Samizdat” ) you’re going to want to have this.
Hacking Capture:
Sometimes hacking is just unavoidable… in fact, most of the Keypads and computers in the game will have to be hacks, as not every Keypad or laptop has a known password. It’s not all bad, though, hacking tends to give you better rewards than using a code, especially if you can access the Datastores on the network. Even if you can’t, hacking a network is worth 25 XP per level of the network, so this augmentation will basically pay for itself in the long run. Just level up Hacking Capture and ignore the Domination augments.
Hacking Stealth:
Since hacking is basically all luck, shifting the odds more in your favor makes sense. Like with Hacking Capture you’ll be dropping Praxis into this as they come available… and you’ll need to do so, as you won’t likely make it far into higher-level networks regardless of your investment into Hacking Capture.
Icarus Dash:
The ability to propel yourself horizontally over great distances shouldn’t really require much to convince you of its utility - it allows you to cover distances and leap gaps that jumping alone won’t get you to. It’ll start making life easier as soon as you get to “M5: Claiming Jurisdiction” , and becomes more or less essential for the best stealth routes in the game by “M14: Hunting Down the Final Clues” .
Below is a list of suggested ways to spend your Praxis, focusing first on augmentations that assist in exploration (save Glass-Shield Cloaking - it’s just too good to pass up) and later those that’ll make sneaking and avoiding detection easier:
| Praxis Cost (Total) | Augmentation |
|---|---|
| 2 (2) | Glass-Shield Cloaking (Discreet Power Processing) |
| 1 (3) | Cybernetic Arm Prosthesis (Optimized Musculature) |
| 1 (4) | Cybernetic Arm Prosthesis (Punch Through Wall) |
| 2 (6) | Cybernetic Leg Prosthesis Klipspringr Jump Mod) |
| 4 (10) | Hacking Capture (LV.2 - LV.5) |
| 3 (13) | Hacking Stealth (VER. 1.0 - VER. 3.0) |
| 2 (15) | Smart Vision (Wall-Penetrating Imager) |
| 2 (17) | Icarus Landing (Descent Velocity Modulator) |
| 2 (19) | Remote Hacking (Environmental Hacking) |
| 1 (20) | Remote Hacking (Security Hacking) |
That should be enough guidance to get you started… in fact, those augmentations will get you through most of the game without much trouble. Gor future augmentation considerations, however, consider the following table:
| Praxis Cost (Total) | Augmentation |
|---|---|
| 1 (21) | Wayfinder Radar System (Vision Feedback) |
| 2 (23) | Icarus Dash (Dorsal Propulsion Kit) |
| 1 (24) | Icarus Dash (Charged Dash) |
| 2 (26) | Glass-Shield Cloaking (Cloaking Energy Use) |
| 1 (27) | Wayfinder Radar System (Range Boost) |
| 2 (29) | Sarif Series 8 Energy Converter (Recharge Delay) |
| 2 (31) | Sarif Series 8 Energy Converter (Recharge Rate) |
| 2 (33) | Sarif Series 8 Energy Converter (Capacity Biocells) |
Everything past Icarus Dash is really just a bonus; the Glass-Shield Cloaking upgrades and improvements to your Sarif Series 8 Energy Converter will make it much easier to get some late-game trophies/achievements and bypass heavy security more quickly (with the aid of Biocells, of course). You can also consider getting the Implanted Rebreather and Rhino Dermal Armor - Electromagnetic Pulse Shielding to bypass more environtmental hazards, but it’s not essential. If you want the trophy/achievement “The Last Harvest” you’ll need the Social Enhancer augmentation. All in all, if you want to play it safe get all the augmentations listed above, in order, up to and including the Icarus Dash augmentations. After that, just let your Praxis accumulate and purchase them as you need. If you’re following this guide, looting, and doing all the side quests, you’ll end up with more Praxis than you know what to do with.
Assign your Praxis as you will. If you want to go grab a bunch of trophies, make sure you’re on the save you made before assigning anything and consult the following section “Farming Trophies and Achievements” . If you’re ready to just get on with questing, skip ahead to “SM4: The Calibrator” .
No Comments