| Important Items in this Area | . |
|---|---|
| Palisade Elevator Keycard | Neuropozyne |
| eBook: Palisade: Clients & Services | Neuropozyne |
| Neuropozyne | Neuropozyne |
| Praxis Kit | Breach Software #14 |
| Breach Software #13 | Neuropozyne |
| Neuropozyne | Cote d’Azur Combat Rifle |
Executive Services Office
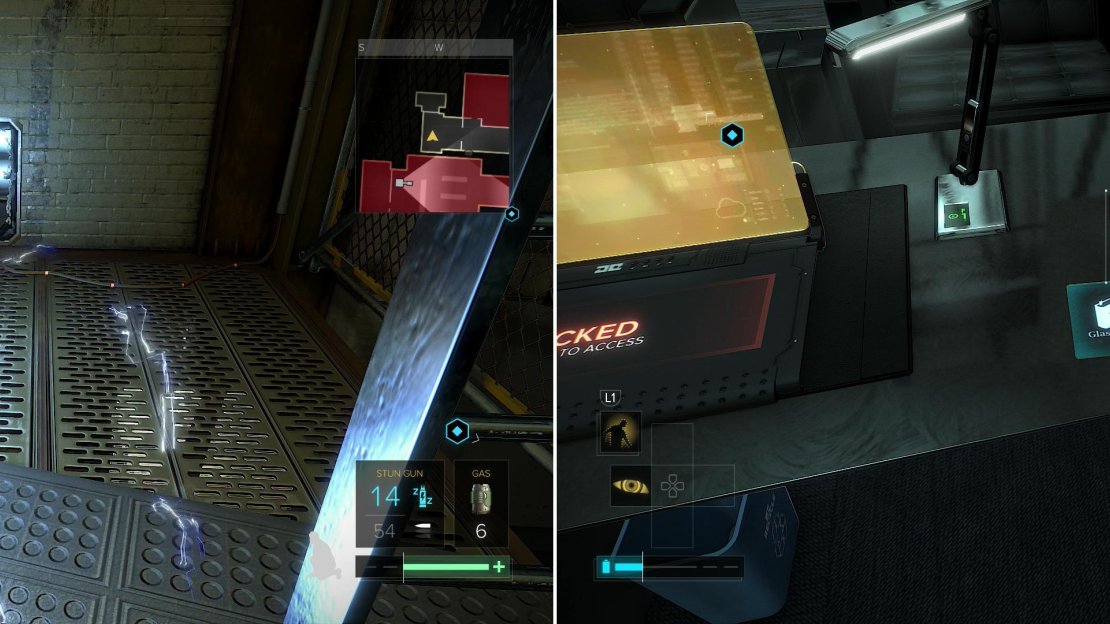
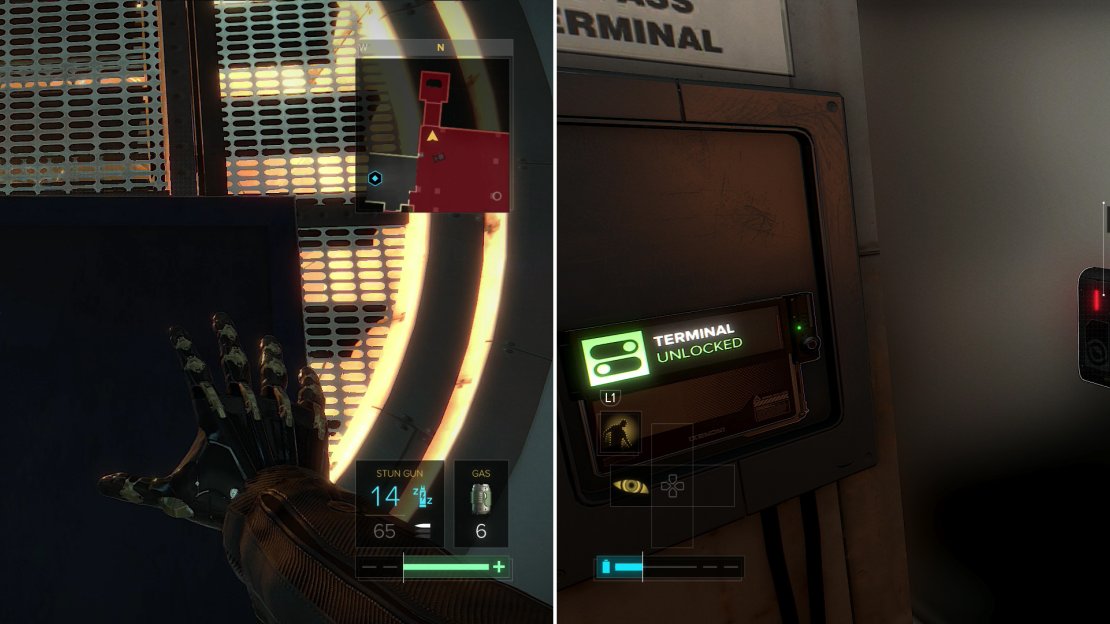
First things first, return to the elevator shaft and climb down a ladder. Look over to the west to find a electrified bit of ground and beyond it a vent. Run through the vent and leap onto a pipe to the west, then turn south to find a Breaker you can use to stop the ouchies. Head through another vent to the north and move a Photocopier out of the way to reach the Executive Services Office. Grab a Pocket Secretary off a table, then search the desk to find a “Palisade Elevator Keycard” and the eBook “Palisade: Clients & Services” . Hack the computer (Security Rating: 3) and use the messenger app to contact Dominik Barabas and respond by saying either “admit” or “deny”, ask about a “travel permit” then pick the option to “bluff” to get a code.
Brave some electricity to reach a breaker (left). When you reach the Executive Services Office you’ll find an eBook (right).
Executive Safes B
Return to the elevator shaft one more time and search a depression to find another vent, which you can unlock by using Remote Hacking. Crawl through the duct and you’ll reach the Executive Safes B. The room is protected by a multitude of lasers and a turret… well, an also a robot, but that won’t become an issue unless you mess up, and you’re not going to do that, right? Use Remote Hacking to disable the laser to the east, then drop down out of the vent into the safe room. It’s actually quite simple to disable the security in here, just use Remote Hacking on all the lasers, then sneak your way north along the eastern end of the room, using various protrusions on the wall to hide from the turret.
Shortly you should reach a locked door with a Keypad near it (Security Rating: 1). You can hack this Keypad, but the turret will see you doing so, so you’ll either need to use a Multi-Tool or temporarily disable the turret with Remote Hacking, then hack the Keypad. This will allow you to reach a server room, in which is a vent that’ll take you to this level’s security room, and hence allow you to disable even more security and access the Executive Safes A room.
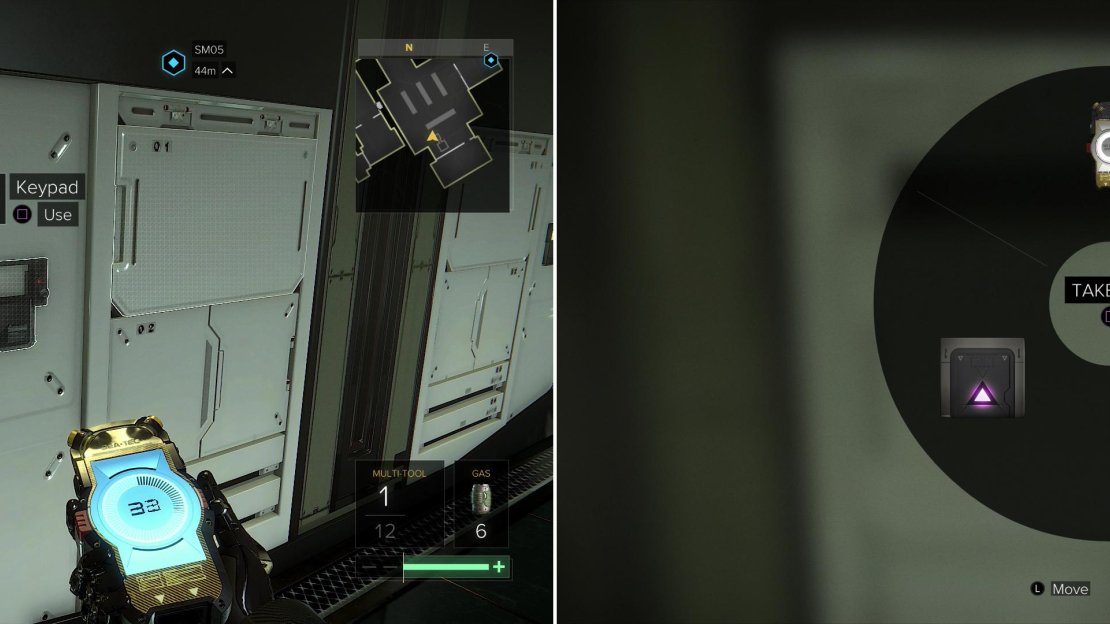
On the other hand, there’s another way to get into this room; sneak west from the door, using the depresses safes as cover, then, when you’re just south of the stairs, run upstairs, use Glass-Shield Cloaking as you near the door (and the turret is close to detecting you) and open the door. A civilian nearby will become suspicious, but as long as you exit the room you’ll be fine, and better yet, the safes will rise out of the ground and the security will turn passive. This will allow you to hack all the safes and the door to the server room to the east. Just keep in mind that the turret may not actively seek to murder you, but if it catches you hacking, it’ll still turn hostile - fortunately the safes now obscure its view of the Keypad to the server room.
To hack your way into the safes without arousing security, the use of Multi-Tools might just be a good idea (left), as many of the safes contain valuables worth far more than what you expended to open them (right).
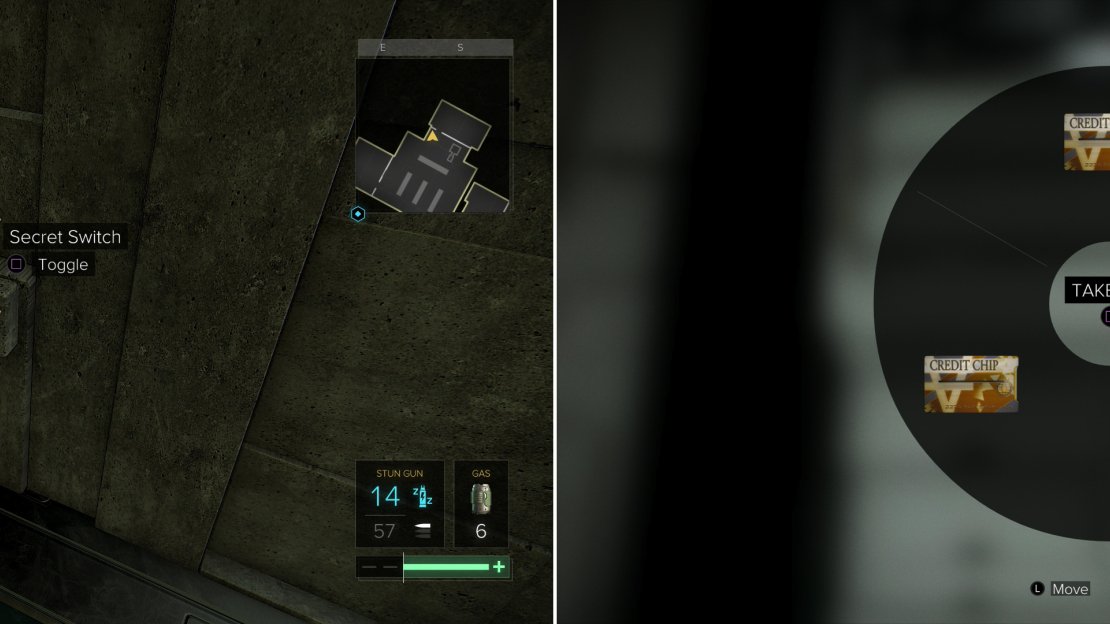
If that’s not enough options for you, however, search the wall under the turret to the south-east to find a “Secret Switch” on the wall, which will open a secret room to the south. In this room you’ll find a security computer (password “aklvd6681” ) (Security Rating: 2) which you can hack to disable any security in the Executive Safes B… or as many as your augmentations allow, in any case. You should also use this computer to open the door to the Executive Safes B room, which, as mentioned above, will pacify the security therein. Before you leave, search the room to obtain a unit of Reveal Software, some Stun Gun ammo, and a Biocell. The vault to the west will yield two Credit Chips and a bottle of “Neuropozyne” . Hack the Keypad to the south (CODE: 1110) (Security Rating: 2) and plunder to the nearby safe to find a Multi-Tool and a Credit Chip.
Before you mess with the security room on this level, turn your attention to the safes you have at hand, of which there are three. The southern-most one is directly in the sight of the turret, so you’ll just have to disable the turret and hack its network (Security Rating: 5), but given the difficulty of this, you might as well just use a Multi-Tool. The reward is worth it, as you can pull a “Praxis Kit” out of this safe. The western-most safe (Security Rating: 4) is also under the watchful gaze of the turret, but if you can disable it, the network isn’t terribly complex, despite its level. Or you can just use another Multi-Tool, Your reward for hacking this safe is “Breach Software #13” and two Multi-Tools. Finally, hack the safe to the east (CODE: 6641) (Security Rating: 5), which is obscured from the turret, so hack it at your leisure… or just use the code. Your reward here is relatively underwhelming - three Credit Chips.
Press a Secret Switch (left) to get at some of the valuables in the hidden security room adjoining the Executive Safes B room (right).
LV1 Security
Hack the Keypad to get into the server room, then climb into a vent on the floor and follow it to reach the security room. There are two guards in here, both facing west, and both can be easily dispatched by walking up behind them and knocking them out. Yep, they’re just far enough away not to notice the sound of their fellow’s body hitting the floor. Just take care of the one by the door, wait for your energy to recharge, use the EG Switch to obscure the room’s windows, then quickly shoot the other guard with your Stun Gun, as the EG Switch being tampered with will arouse his suspicions. Or, you could just knock out the first guard, drag him into the vent, use Remote Hacking on the EG Switch, wait for the other guard to go looking around, then knock him out when he sits back down at his station.
Now that you’re lord and master of this security room, hack the security computer (password “aklvd6681” ) (Security Rating: 3) and open the door to the Executive Safes A room. Before you leave, however, search the room to find a unit of “Stop! Worm Software, two Credit Chips, a Gyroscopic Regulator, a unit of Stealth Software, a Biocell, some Crafting Parts, a HypoStim Injector and some Stun Gun Ammo. Hack an Alarm Panel (Security Rating: 1) and another computer (Security Rating: 1) if you wish, then loot a Weapon Cabinet to find some Combat Rifle Regular Ammo, Pistol EMP Ammo, a Smoke Grenade, some Tranquilizer Rifle Ammo and a Combat Rifle.
Executive Safes A
Enter the Executive Safes A room, which, like the last room now features neutralized security thanks to the door being opened. The safes are deployed, all you need to do is hack them while avoiding the scrutiny of the turret… unless, of course, you disabled it, in which case - hack with wild abandon.
There are two safes to the north, the western one of which (Security Rating: 5) contains a Pocket Secretary… not very rewarding, but… oh well. Hack the eastern one (CODE: 1305) (Security Rating: 4) to score a Credit Chip. Another safe to the east (Security Rating: 4) contains eight units of Nanoblade Ammo, three Tesla Cartridges and two units of Typhoon Ammo. Finally, loot a safe to the west (Security Rating: 4) to find four bottles of “Neuropozyne” .
You may have looted the safes, but there’s a little bit more to do in here; namely hack the Keypads to two doors, one to the east and one to the south. The one to the west (Security Rating: 2) is in view of the turret, so use the tricks mentioned earlier to hack the Keypad without being detected. In here you’ll find a unit of Nuke Virus Software and a Pocket Secretary, not to mention the vent on the ground you can use to reach the secret security room for this vault. In here, hack a security computer (Security Rating: 2) if you wish, then loot the room to score a unit of Overclock Software, a Stem Processor Chip and two piles of Crafting Parts. A vault to the west contains two Credit Chips and a safe to the south (CODE: 1114) (Security Rating: 2) can be hacked to find “Breach Software #14” and two Credit Chips.
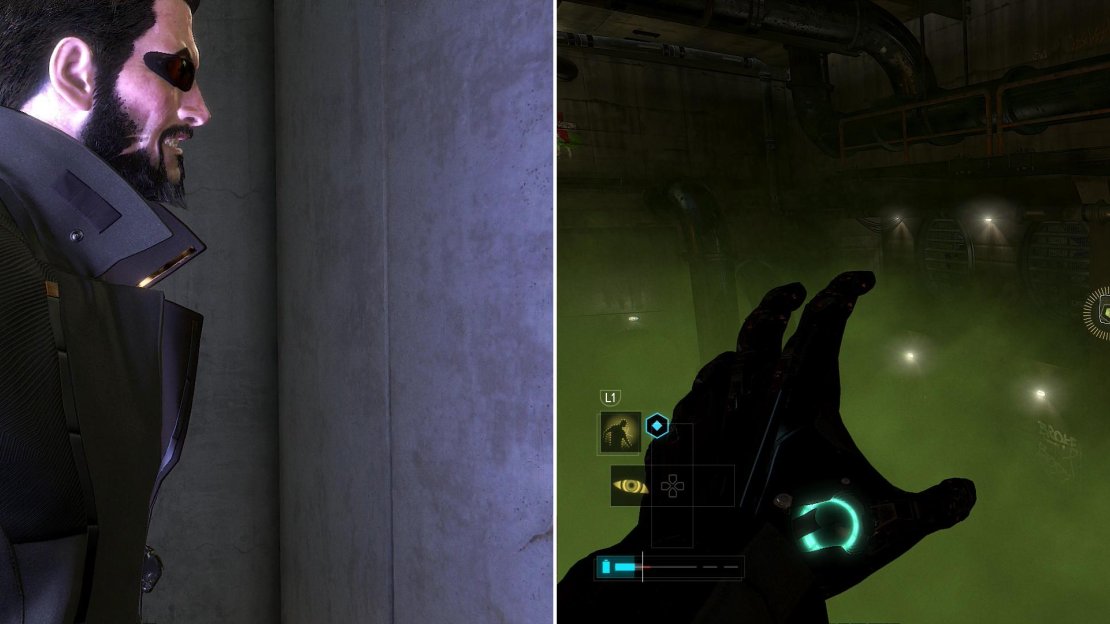
Smash through a weak section of wall to escape the Palisade Property Bank (left), then use Remote Hacking to cleanse a gas-filled chamber you must pass through to escape (right).
To the Parking Garage
Now, it’s time to exit the Palisade Property Bank, and you might as well do so in a way that scores you more loot and takes you over new ground. Leave no stone unturned, of course. Press a button to open a door then return to the main safe room, after which turn your attention to the eastern Keypad you neglected earlier (Security Rating: 1). Hack it and enter the server room beyond, then go through a door to reach a maintenance tunnel. Loot a case to obtain a unit of Stop! Worm Software, then head south and turn east to find a structural weakness you can punch through.
Jump through the hole in the wall and loot the body of a civilian to score a Pocket Secretary, a Biocell and a unit of Nuke Virus Software. Turn south and look down to find a Gas Control Box you can remote hack to disperse the case, or run south, then east along a pipe and when you hit a wall drop down to the north and close a valve. Once the gas is gone, make your way south through the sewer and crawl into a depression to find a case containing a Credit Chip, a Biocell and a dose of “Neuropozyne” . In a depression to the north you’ll find a Weapons Briefcase which holds a Tactical Shotgun, an EMP Grenade and some rounds of Shotgun EMP Ammo.
Climb some stairs to the east and go through a door, then turn south and grab a Pocket Secretary. East of a generator you’ll find a destructible vent, beyond which is a ladder you can climb. Head east to the end of the hallway atop the ladder to find two lockers, one of which contains Painkillers. Now, you can escape easily enough by crawling through a vent to the south, which will take you to the basement of Ludvik’s Lounge. On the other hand, if you go through the parking garage you can reach the Corporate Vaults, and if you explored north-eastern Prague you should have two keycards.
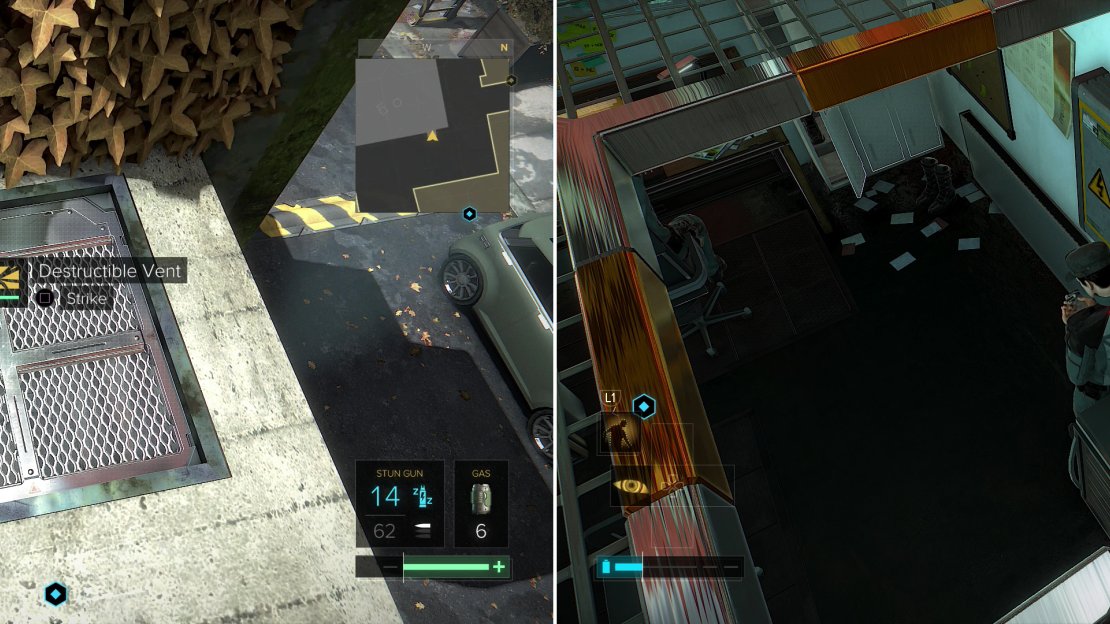
Go through the vent to reach - then exit - Ludvik’s Lounge. Head north to the decorative, pillar-fountains that make up the corporate art that is Market Square. Climb atop the north-eastern rectangular pillars and punch through a destructible vent. Descend into the duct and crawl into the parking garage; this duct will deposit near the security room, making it the ideal way to neutralize the threats in this area. When the coast is clear drop down into the garage and head through a doorway to the east.
Atop one of the pillars decorating the fountain outside of the Palisade Property Bank you’ll find a vent (left) leading into the parking garage. Stealthily dispatch the guards (right) and disable the security in the garage.
Executive Parking Garage
From here you have two ways to proceed; move a garbage bin to the east to find a vent, or turn south to find… another vent! In the latter case it’ll take you to the cage roof above the guard room, from which you can shoot both guards with a Stun Gun if you’re quick enough. If you go into the former vent you can open an Observation Grid and likewise shoot the two guards with a Stun Gun. Regardless, you’re going to shoot two guards with a Stun Gun, after which you’ll want to either drop into the room and use the EG Switch to keep your dirty deeds secret, or just remote hack the EG Switch through the Observation Grid. Pick up the Credit Chip and grab a unit of Nuke Virus Software, then loot some lockers to obtain a Combat Rifle, a Biocell, some Pistol EMP Ammo, some Stun Gun Ammo and some Shotgun Regular Ammo. Next use the security computer to turn off the cameras - no real point in disabling the alarms and opening the doors. Finally, hack another computer (Security Rating: 2) to score some a code off of some emails.
Leave the security room and dispatch one more guard, then turn your attention to the fan in the north-western corner of the garage. There are at least three ways to get past this fan; remote hack the breaker behind it, toss a frag grenade in there, or - personal favorite - pick up a dumpster and cram it in there to break the blades. Before climbing into the ventilation chute, remote hack the cars in here and loot their trunks to score a Concussion Grenade and a Gyroscopic Regulator.
There are many ways to bypass the fan in the air vent, but the crudest is arguably just shoving a dumpster in there and breaking the fan blades (left). With the Keycards you’ve found so far you can access two corporate vaults (right).
Corporate Vaults
Now that the fan is broken or powered down, crawl into the airshaft, climb down a ladder, then turn west and climb through another airshaft. Go through two doors to the south, the second of which is locked (Security Rating: 5). If you can bypass this network you’ll have reached the Corporate Vaults.
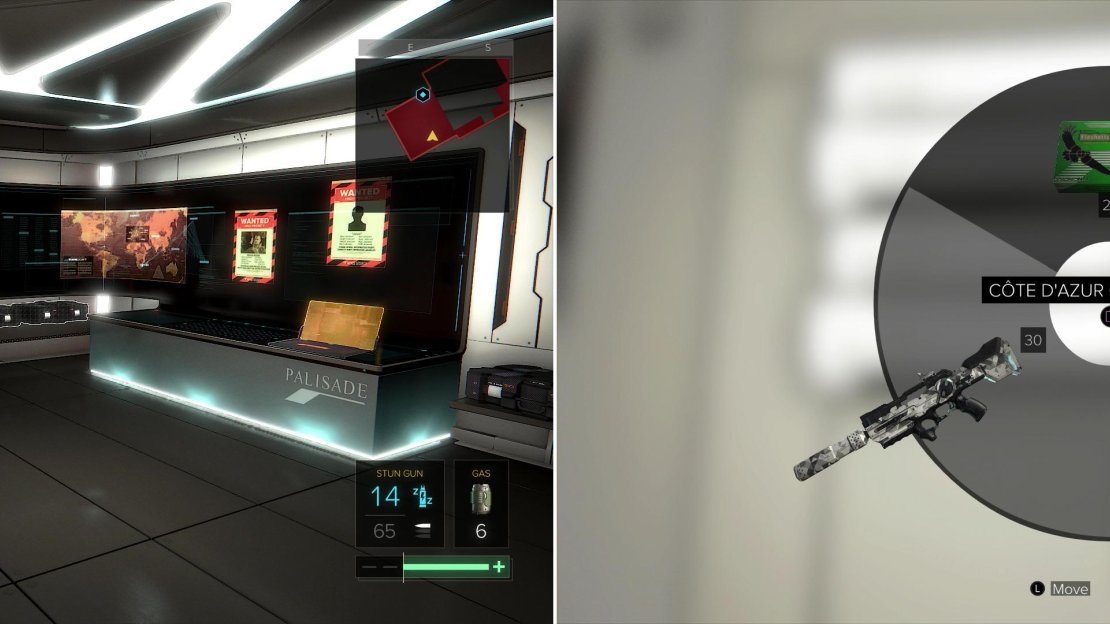
Unfortunately these vaults weren’t meant to be easily accessible, so you’ll have to drop down various levels and either remote hack or more conventionally hack the vaults to deploy and access them. The first vault down is the Tai Yong Medical vault, which you don’t have the key for. The second vault down is the Tarvos Security vault, so hack the Keypad (Security Rating: 1) or remote hack it and deploy the vault, inside of which you’ll find plenty of splendid loot. Loot the various vaults and Weapons Briefcases for three Mine Templates, some Revolver Regular Ammo, Revolver Armor Piercing Ammo, a Laser-Targeting System, a Silencer, a whopping one hundred rounds of Combat Rifle EMP Ammo, Combat Rifle Armor Piercing Ammo, Sniper Rifle Armor Piercing Ammo, Battle Rifle Armor Piercing Ammo and the unique “Cote d’Azur Combat Rifle” . Hack the computer (Security Rating: 2) to read some emails, then hack a Keypad (Security Rating: 3) to the east to open a safe, inside of which you’ll find some Revolver Armor Piercing Ammo. Grab a Pocket Secretary from behind some armor stands, then leave the vault.
Behold, the Tarvos Security vault (left), inside of which you’ll find various goodies including the Cote d’Azur Combat Rifle (right).
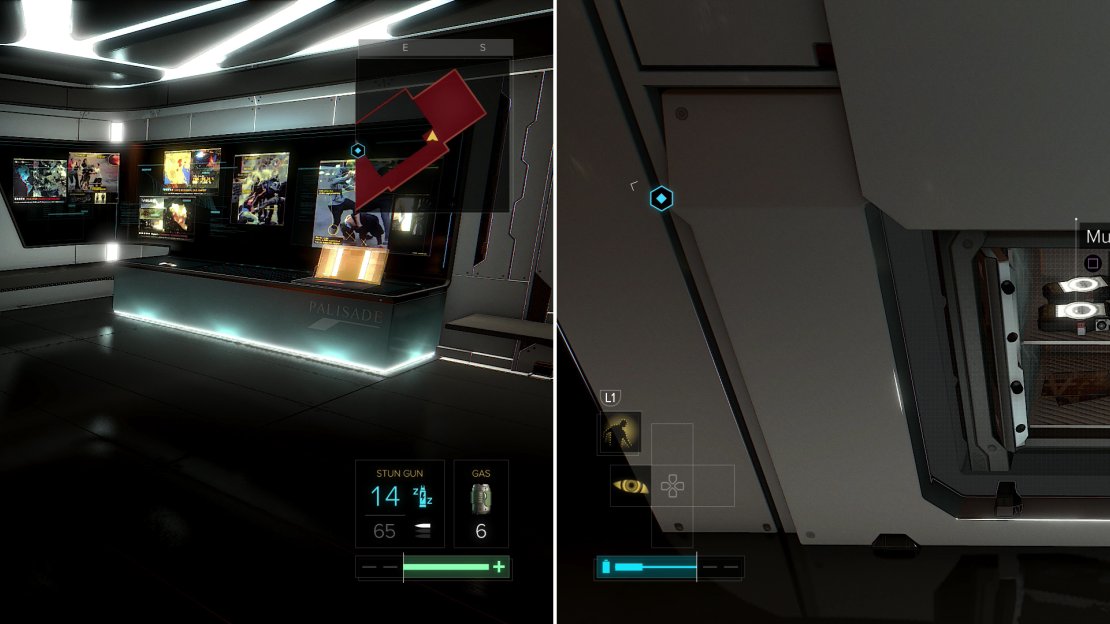
Drop down to the bottom of the vaults and hack the Keypad (Security Rating: 1) to access the Picus vault. Man, it’s going to be a rough couple of days for Picus thanks for your activities here, eh? Loot the inside of the vault to obtain three units of Reveal Software, a unit of Overclock Software, two units of Datascan Software, two units of Nuke Virus Software, “Triangle Code #19” and a Pocket Secretary. Hack the computer (password “n3wsm4ker” ) (Security Rating: 2) to read more incriminating emails, then hack the Keypad (Security Rating: 3) near a safe to open it and obtain three Multi-Tools and four Credit Chips.
The Picus vault (left) is less impressive, but still contains some loot worth plundering (right).
Returning to Samizdat
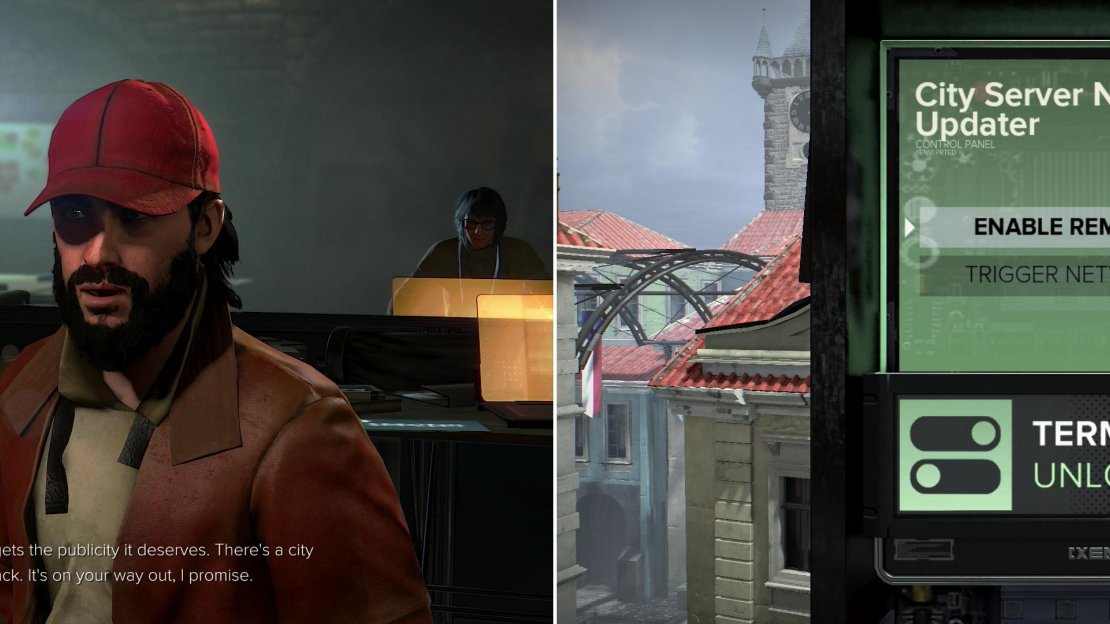
You’ve got the intel on Picus that Samizdat wants… and perhaps a whole lot more. In any case, return to the sewers under the Davny district and talk to “K”. Tell him the good news and give him whatever information you have, after which you’ll be given one last quick little task.
| Objective | Reward |
|---|---|
| For giving “K” dirt on Picus | XP 350 |
Turn the data in to Samizdat (left) then help them broadcast to finish the quest (right).
Leave the sewers and head to the western side of the Autodily shop, where you’ll find a lift. Insert a Biocell into it and ride the lift up, jump onto the roof, then hack the “City Server News Updater”. Pick the “Enable Remote Admin” option - the other option “Trigger Network Alarm” just… well, raises an alarm, and why would you want to do that to yourself? Once the truth has been transmitted, the quest will end.
| Objective | Reward |
|---|---|
| For helping Samizdat spread the truth | XP 750 |

Samizdat
You opted to work with the Samizdat group & spread their news throughout Picus media streams.

15
No Comments