| **Collectibles** | # |
|---|---|
| Voxophones | 4 |
| Kinetoscopes | 0 |
| Telescopes | 0 |
| Infusion Upgrades | 0 |
| Equippable Gear | 3 |
Thoroughfare
When the elevator stops, you will find yourself in the thick of the action. In front of you is the Financial District of Emporia and the Vox are attacking in force. Below you is a small platform and across the gap is a large platform with a red roof and around this in front and to the right is a street. There are a pair of sky-lines circling the entire area from the lower platform, over the central rooftop and back again. On the far side of the area is a balcony overlooking the rest of the zone. There are also a number of tears that we can use.
| **Tears in this Location** |
|---|
| A barrel of salts on the lower platform below the elevator. There is a Mosquito patrolling around the central area. An Oil spill on the central platform beneath the winged statue. Crank gun on the wooden walkway at the bottom of the central platform. Crate of medical kits on the street to the right of the central platform. Water puddle on the street right of the central platform. Decoy on the street to the left of the central platform. Crate of medical kits on the street right of the central platform. RPG and ammo on the balcony on the far side of the area. Volley Gun and ammo on the balcony on the far side of the area. |
There are a large number of Vox soldiers and a couple of rocketeers running around and as you kill them additional barges will show up to drop off fresh reinforcements. After a short while a handyman will also show up to attack as well. Use the sky-lines to keep moving between the different sides of the area in order to avoid the handyman and attempt to kill the other Vox enemiesas you go. Once the others are dealt with, get rid of the handyman. After he falls, he’ll drop a gift containing a new piece of Equippable Gear [1/3] .
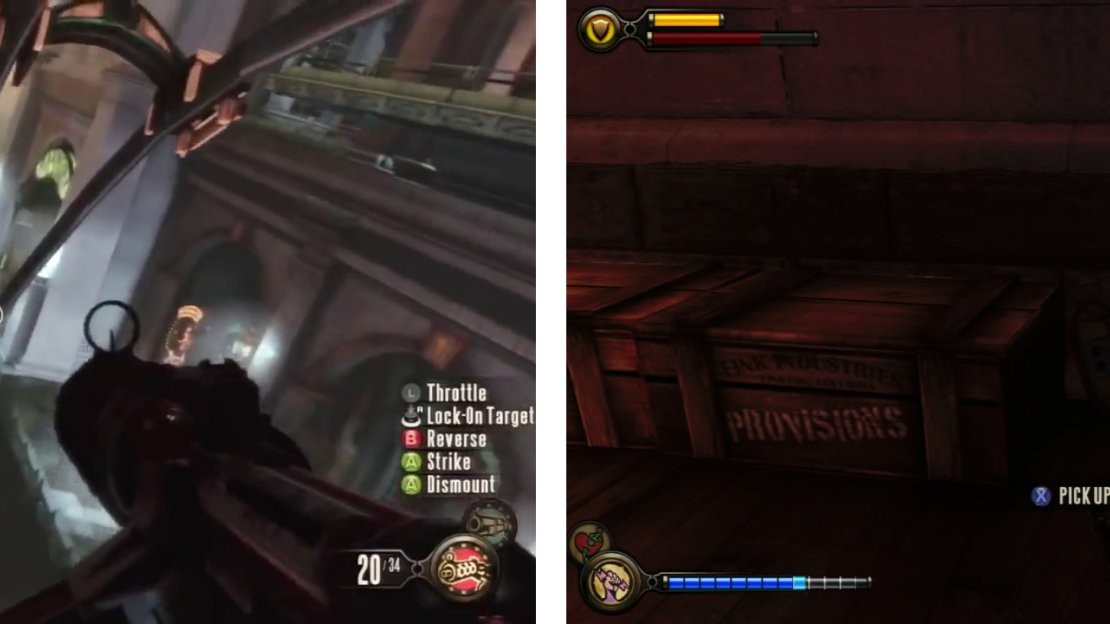
After the fight is over, use the sky-line to access the balcony on the far side of the area from the elevator. Get Elizabeth to unlock the door here (requires 3 lock picks). Inside you’ll find a Voxophone [1/4].
Once you have cleared the area, jump to the balcony from the sky-line (left). Behind a locked door here, you’ll find a Voxophone (right).
Drop down to ground level and below the balcony you can find one of each of the vending machines.
The Minuteman’s Armory vending machine has the following new upgrades available for purchase:
Minutemans Armory Machine
| **Weapon(s)** | **Upgrade(s)** | **Cost** |
|---|---|---|
| Burstgun | Recoil Decrease | 822 |
| Burstgun | Damage Boost 1 | 423 |
| Burstgun | Ammo Increase | 672 |
| Hail Fire | Clip Increase | 399 |
| Hail Fire | Radius Increase | 415 |
| Hail Fire | Damage Boost 2 | 688 |
| Hand Cannon | Recoil Decrease | 350 |
| Heater | Damage Boost 2 | 554 |
| Heater | Spread Boost | 467 |
| Repeater | Damage Boost 2 | 416 |
| Repeater | Clip Increase | 449 |
| RPG | Speed Boost | 333 |
| Shotgun | Spread Boost | 360 |
| Volley Gun | Radius Increase | 536 |
| Volley Gun | Damage Boost 1 | 522 |
| Volley Gun | Clip Increase | 740 |
Veni! Vidi! Vigor! Machine
| **Vigor(s)** | **Upgrade(s)** | **Cost** |
|---|---|---|
| Shock Jockey | Shock Duration Aid | 575 |
| Charge | Charge Boost | 555 |
| Return to Sender | Send for Less | 898 |
| Return to Sender | Sender Aid | 1,287 |
| Undertow | Undertow Boost | 1,143 |
Once you are ready to go, run on over to the gate marked ‘Harmony Lane’. Have Elizabeth unlock it and head inside.
Beggars Alley
As you go through the alley, you can pick up the Return to Sender vigor from a crate on the right if you did not do the previous optional task. Behind this crate is a stack of crates with some ammo and a lock pick on it. Continue through the open door to the left. In this room there is a Dollar Bill, Veni! Vidi! Vigor! and a Minuteman’s Armory vending machine if you require them. To continue, keep going up the stairs until you are back outside.
Harmony Lane
As you exit, you will see a number of tears in the next area. You will also come under attack from snipers almost immediately. Run up and stand behind the sign in front reading ‘Emporia Towers’. From here we can activate a couple of tears.
| **Tears in this Location** |
|---|
| Sniper rifle and ammo just to the right of the sign. Freight hook above and to the right of the sign. Decoy at ground level on the walkway to the left of the sign. Piece of cover on the balcony directly in front of you. |
There are a total of 4 snipers in the area. One on the balcony directly in front of you, another on the roof above this balcony, the third sniper is on the balcony to the left of the one in front of you and a final sniper is on another balcony on the left side of the street a little further in the distance. Have Elizabeth phase in the sniper rifle if you don’t have one and grab it. Next have her activate the decoy tear. Now take out the four snipers from the cover of the sign whilst they are distracted.
Once they are all dead, before heading across the nearby bridge, look along the wall of the building we just exited to find a door Elizabeth can unlock. Inside you will find a lock pick kit and few other lootables. Another two Vox soldiers will enter the building whilst you are in there though so be sure to be ready to defend yourself. Exit and take the path down below the bridge with the decoy for some salts and another lock pick.
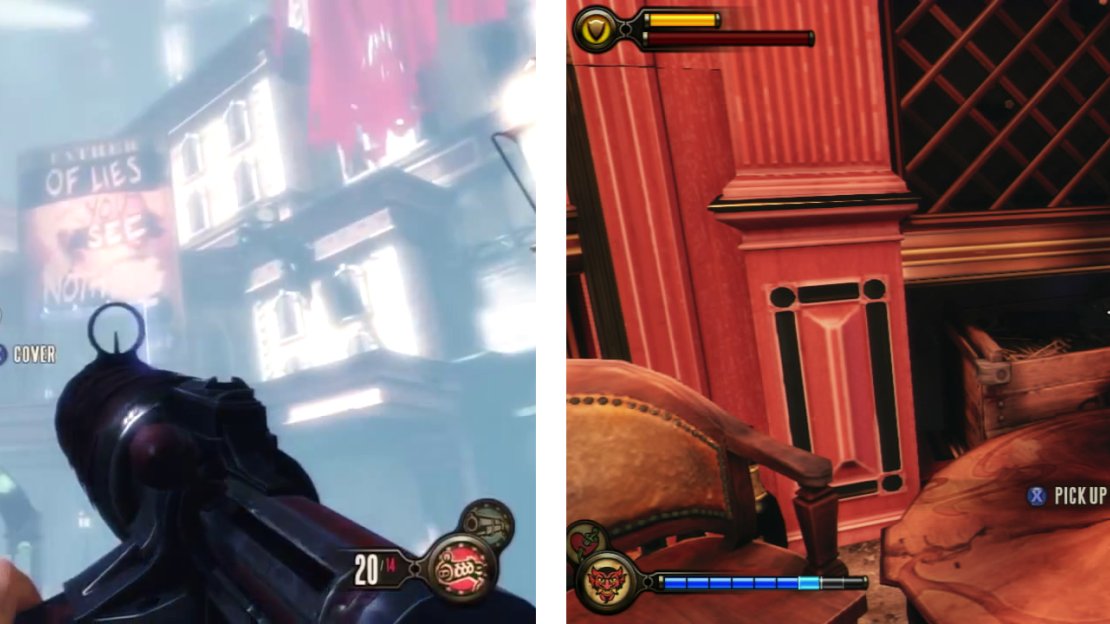
Return up the stairs and cross the bridge. As soon as you are over, enter the open door on the right. Find the stairs leading downstairs. At the bottom, kill the Vox soldiers ahead of you. When they are dead, go and look where they were sitting. Behind the table on the right you will see a carton on a shelf with a Voxophone [2/4] in it. Loot the rest of the place and head back out to the street.
Clear out all the snipers (left) and then enter the first door to the left over the bridge to find a Voxophone inside (right).
Across the street you will see another door, this one has a lock on it that Elizabeth can open for you (requires 3 lock picks). Kill the aggressive citizen inside and head upstairs to find a gift containing a new piece of Equippable Gear [2/3] . Exit to the street and continue along it until you reach a set of stairs. Head on up the stairs until you reach another street at the top.
Downtown Emporia
At the top look to the right and you’ll make out a few Vox soldiers and a fireman running in the opposite direction. There are a few of them and they are heading over to attack a motorized patriot and a group of Founder soldiers at the end of the street. Let them fight it out a little and try to see the patriot destroyed before attacking (unless you want to kill it of course!). Whilst you wait, you will notice a few tears about in this zone too.
| **Tears in this Location** |
|---|
| Friendly auto-turret on the raised walkway straddling the street. Freight hook on the left hand wall of the area. Freight hook on the right hand wall of the area. Piece of cover in the centre of the street towards the far end of the area. Piece of cover on the raised walkway on the left of the street near the far end of the area. |
Once you are ready to begin, spawn the friendly auto turret to draw enemies and kill them from cover. When the bad guys stop coming, head over to the raised platform on the left and have Elizabeth spawn the cover there. Work your way up to that and eliminate any remaining enemies from here.
When it’s all clear, you can go beneath the bridge with the auto-turret to find one of each vending machine if you feel like upgrading or buying some salts/health/ammo.
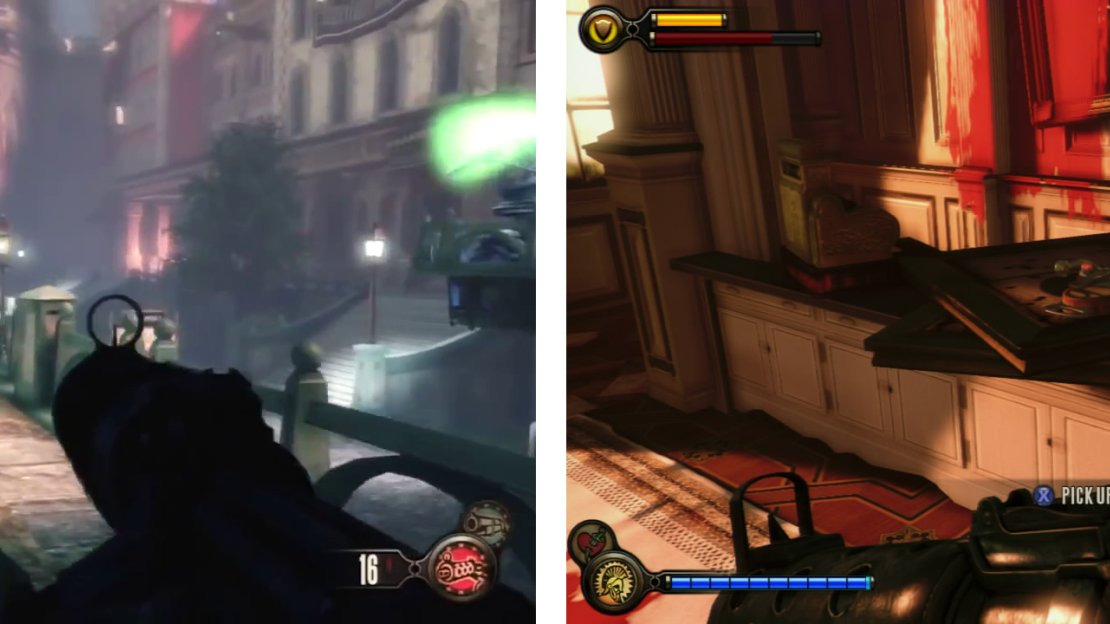
About halfway between the end of the left side of the bridge and the tear for cover on the left hand platform you can find a locked door that Elizabeth is able to unlock (requires 3 lock picks). Inside you will find a new piece of Equippable Gear [3/3] in a present on the left counter and a Voxophone [3/4] on the right.
After clearing the upper street (left). Find and unlock the 3 pick door - inside you’ll find a Voxophone (right) and a piece of Gear.
Exit the building and follow the street to the end. Head up the stairs behind the open gate on the left and exit through the door at the top.
Z.H. Comstock Victory Square
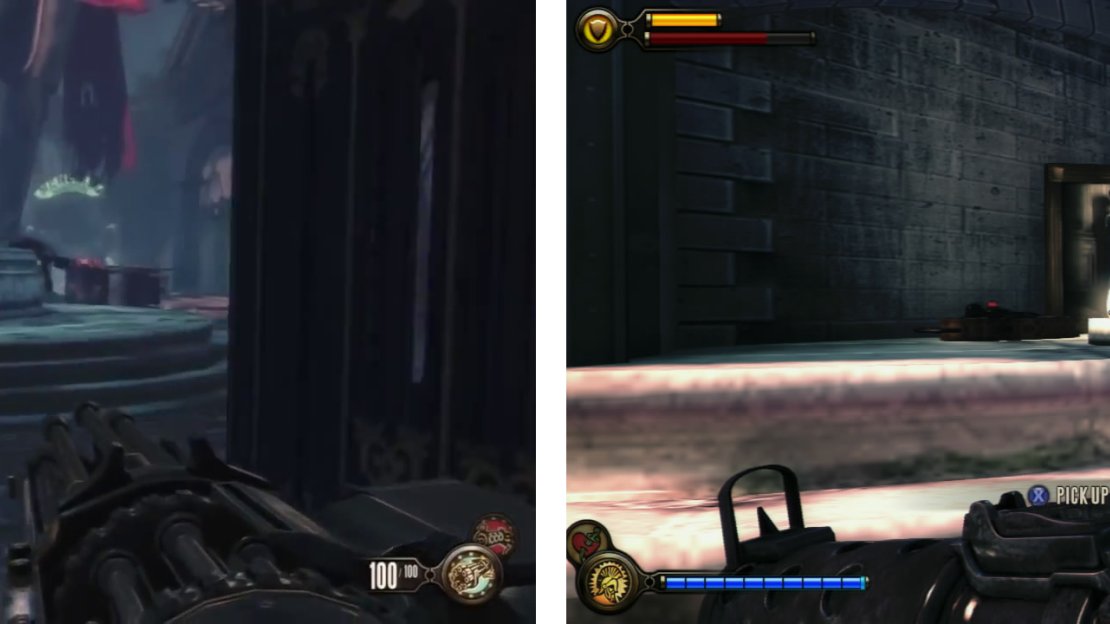
As soon as you enter, look to your right to spot a small alleyway with one of each vending machine if you feel like upgrading or buying some salts/health/ammo. Make your way over to the large building at the top of the stairs on the left. Check out the base of the statue of the woman directly in front of it to find a Voxophone [4/4] .
In Z.H. Comstock Victory Square, look at the base of the Lady Comstock statue for a Voxophone (right).
Approach the gate to the main building and interact with it for a scene. Afterwards, turn around and head down the stairs to the left and through the gate signed ‘Memorial Gardens’.


No Comments