| **Collectibles** | # |
|---|---|
| Voxophones | 5 |
| Kinetoscopes | 2 |
| Telescopes | 1 |
| Infusion Upgrades | 1 |
| Equippable Gear | 2 |
Battleship Bay
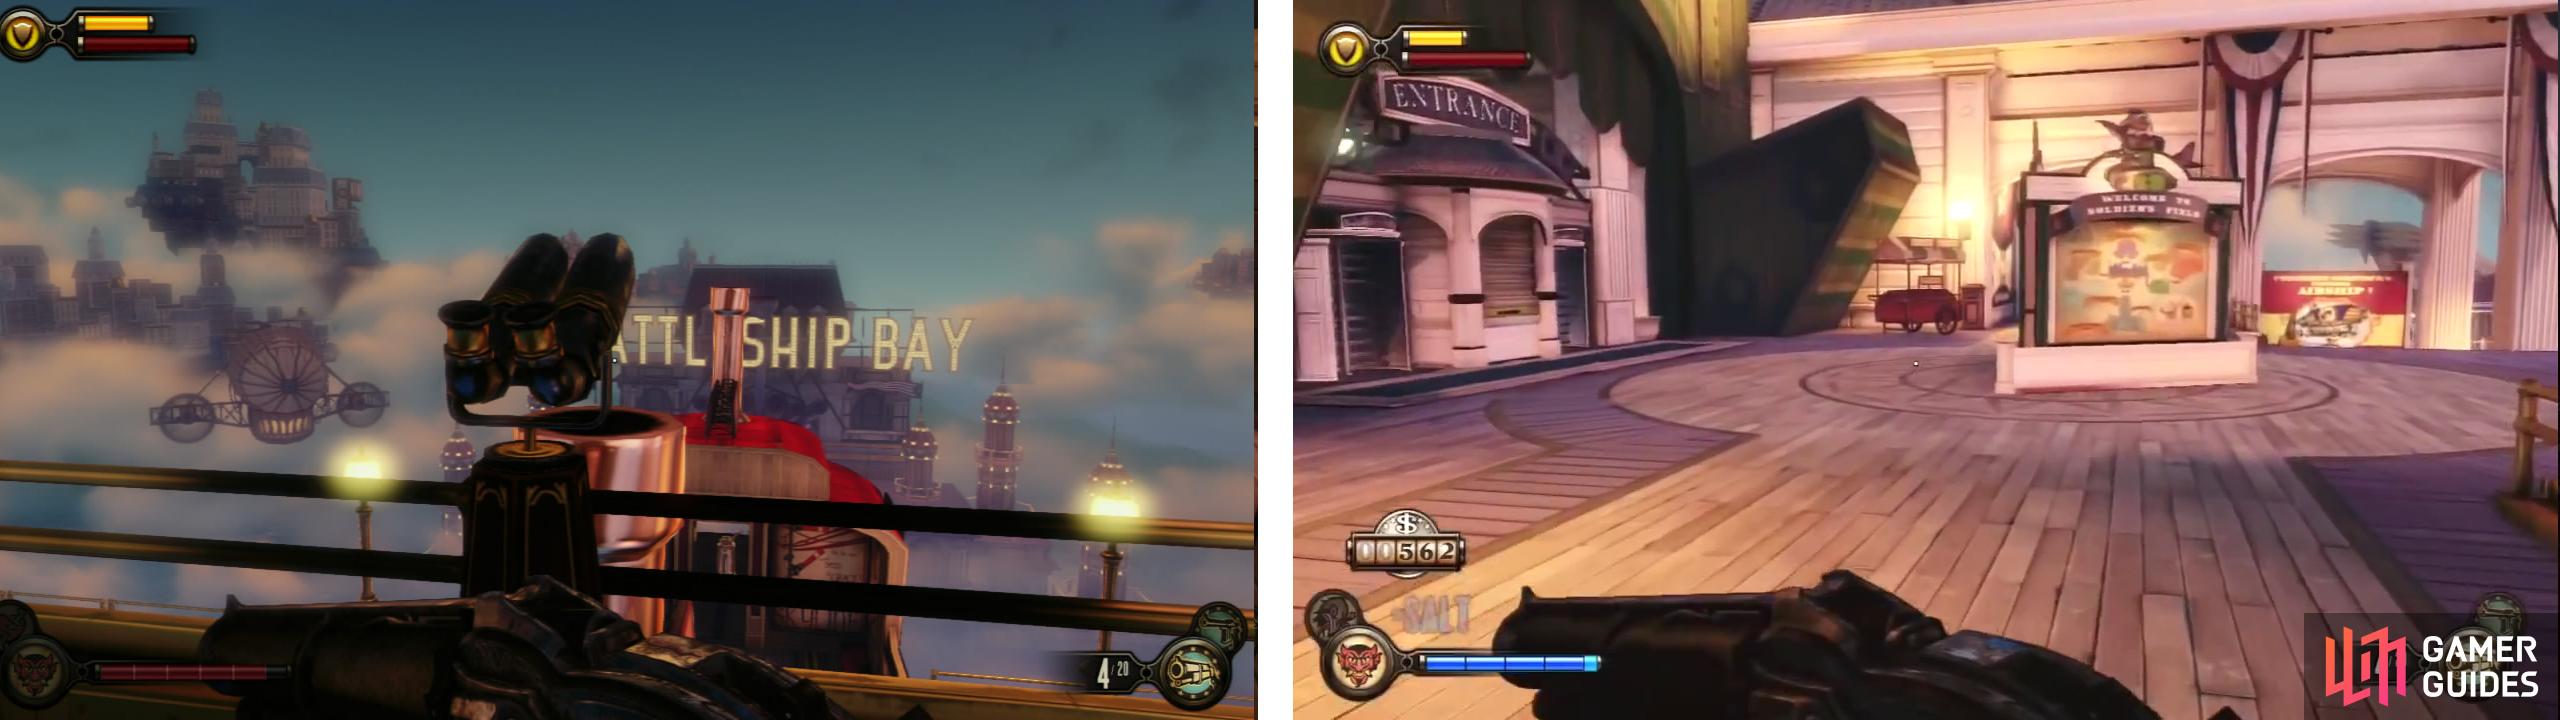
You will awaken on a beach. Note that as with the just about everyone in this area has something to say if you want to hear it, so be sure to hear them all outif you like that kind of thing. Once you are back in control, head up to the very back of the area and beneath the main structure, you will find a red and white striped shed with wheels. Beneath this you will find a Voxophone [1/5].
Head over to the door with the lines of fence pickets in front and go inside. Follow the short passage around until you find the next exit. Look on the wall opposite this for a Kinetoscope [1/2].
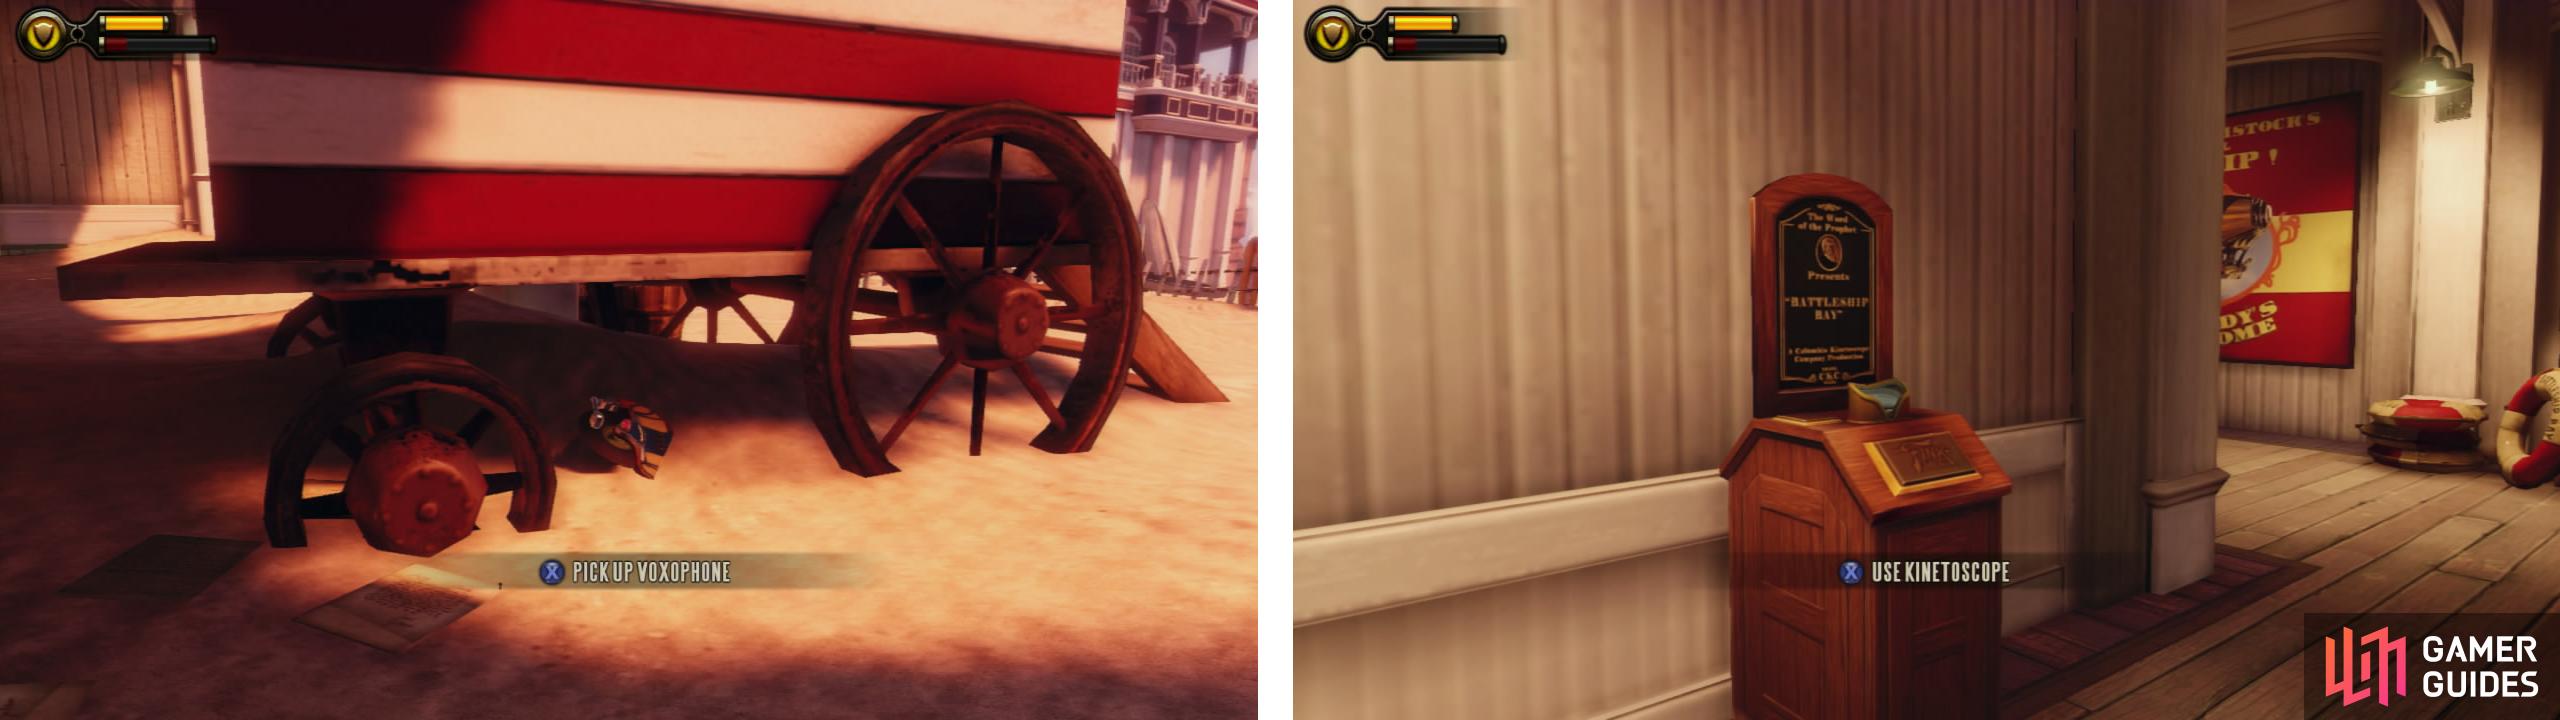
Look beneath the shed for a Voxophone (left). Before exiting the first building, grab the Kinetoscope (right).
To the left of this is a maintenance room we can enter to loot a few bits and pieces. Return through the door and exit to the next beach area.
Look to the right and you’ll see a group of people dancing at the end of a pier. Work your way over here to find Elizabeth. As you arrive, interact with her and a short scene will play. Afterwards, follow Elizabeth over to the far side of the area and enter the turnstile.
Once inside, you’ll be in a gift shop. Loot the room and check out the maintenance door to the right for some loot and then return to the gift shop and climb the stairs opposite.
Upper Boardwalk
Follow Elizabeth along the boardwalk until she runs into those two strangers that we’ve seen a couple of times previously. Walk up and interact with Elizabeth for a scene. During the scene make a choice (it doesn’t really matter, from what I can tell it’s just an aesthetic decision). Shortly after the scene, you’ll be prompted to hit the action button to look at something. Do so.
Loot the rest of the area and when you are ready to continue onwards, climb the stairs on the right side of the dock leading to the arcade.
The Arcade
As you enter, turn right and head over to the door there. Interact with it and Elizabeth will come along and unlock it for you. Inside, loot the room before continuing through the next door. Climb the stairs in here and enter the door at the top.
There is a Dollar Bill vending machine at the top. Use this if you feel the need and continue past it and through the door at the far end of the hallway opposite where we came in from. Inside, in a basket on the right you can pick up a Voxophone [2/5]. There is also a gift on the table to the left of this with a piece of Equippable Gear [1/2] in it.
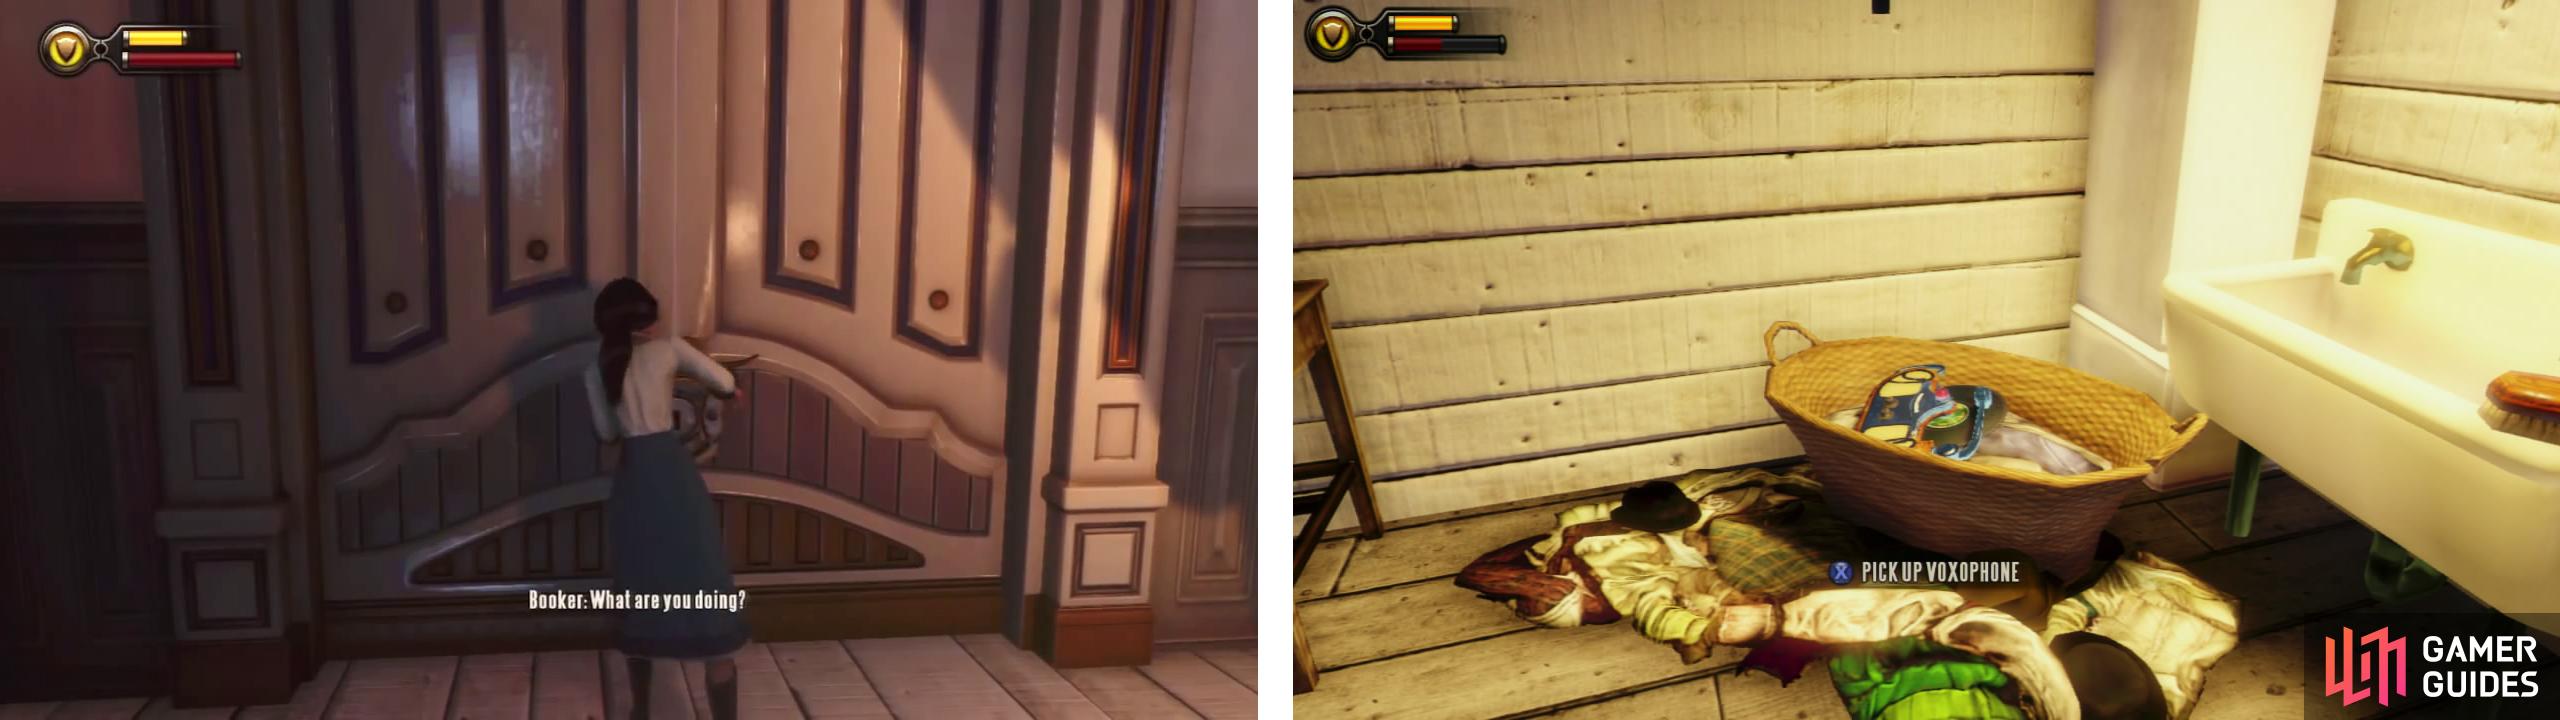
Have Elizabeth pick the lock (left). Go through the door at the end of the hall of a piece of gear and a Voxophone (right).
Return to the hallway and when you reach the vending machine, turn right and head into the hallway here. At this point there is a piece of Equippable Gear [2/2].
As you enter the Arcade, go to the opposite side of the arcade from the entry find the White bathrooms. Follow the hallway past the bathrooms and at the end you will find a Kinetoscope [2/2] . Do a 180 degree turn and enter the male bathroom. On a table next to a row of sinks there is a Voxophone [3/5].
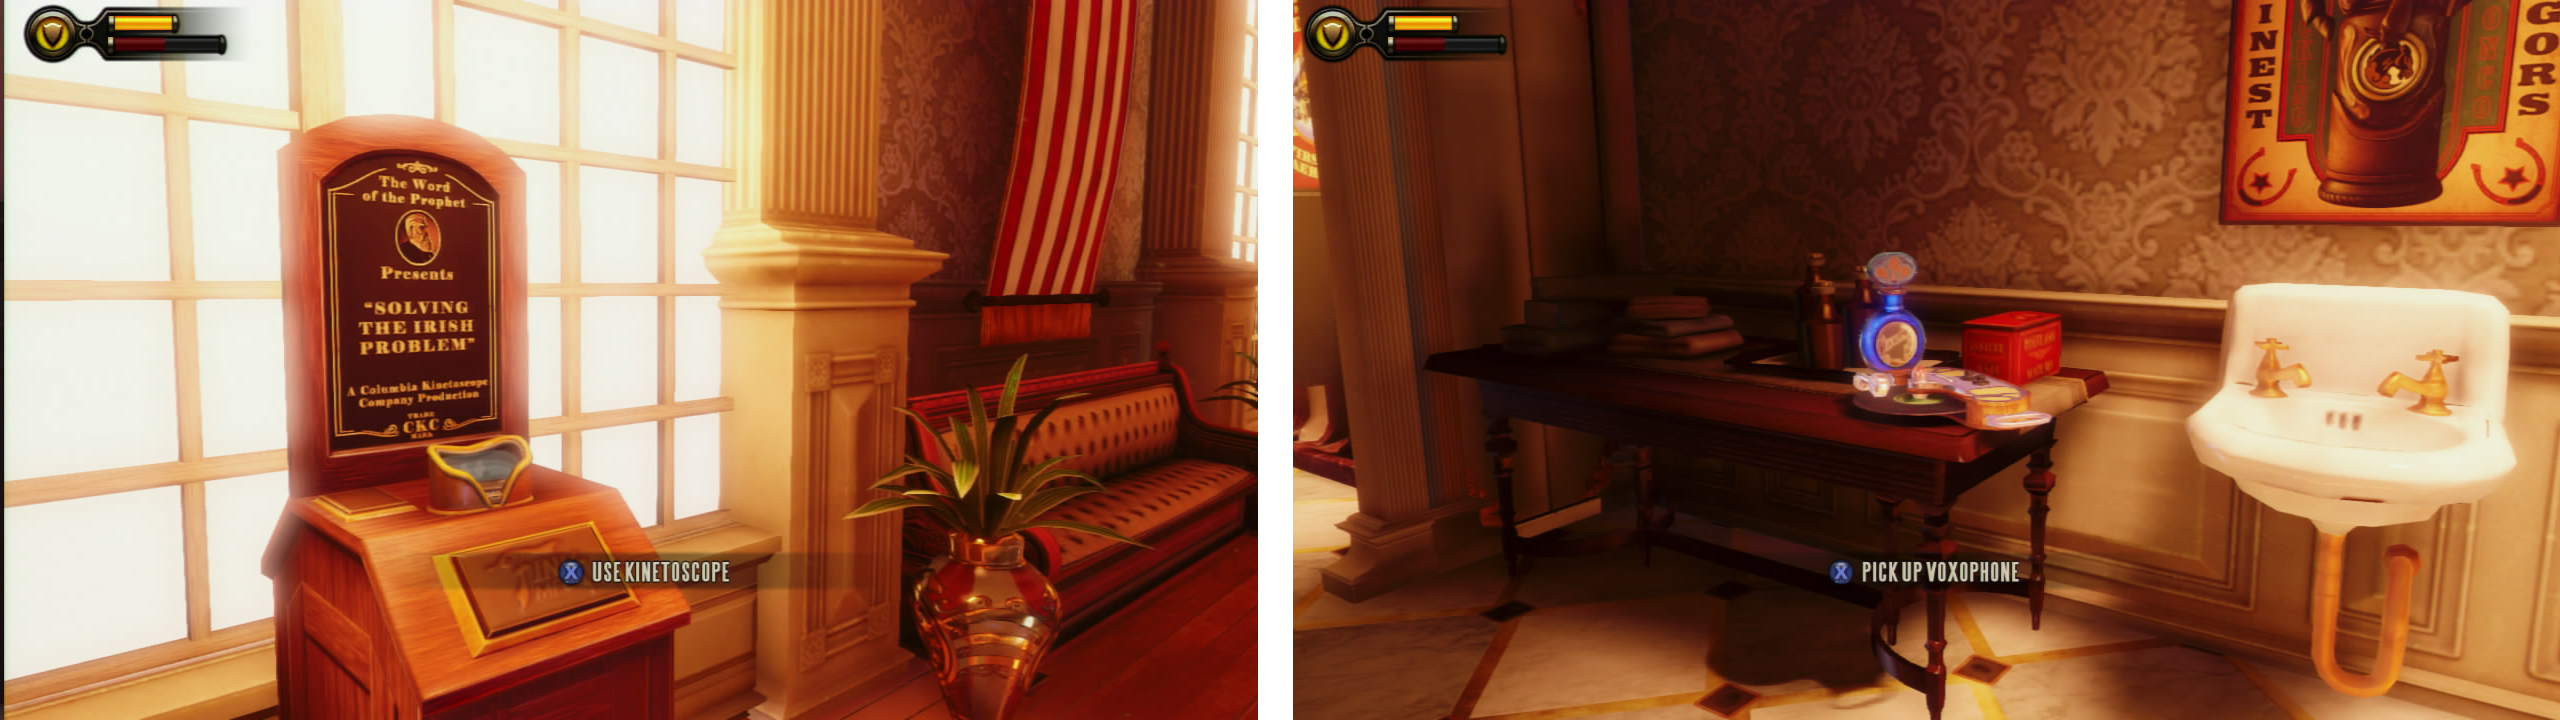
At the white bathrooms you can find a Kinetoscope (left) and Voxophone (right).
Return outside and go back to the arcade, turn left and climb the stairs here. Go through the turnstiles here.
Gondola Station
Follow the path to the left and climb the stairs to the top until you find yourself in a large room with a ticketing area. Make your way across the room and to the ticket window against the far wall. Ring the bell here for a scene. During the scene make a decision.
Once the scene is complete, all of the citizens in the room behind you have turned hostile. Kill them all whilst trying to use the pillars as cover if you need it. Once they are all dead Elizabeth will run off. After a few moments, the gates on the left side of the room will open and another 6-7 Founder soldiers will enter, two of them will charge with melee whilst the others will keep their distance.
After ventilating the lot of them, loot all the bodies (and the rest of the room), you can find a shotgun in one of the violin cases if you are interested. When you are good to go, climb up the stairs and through the now unlocked gate.
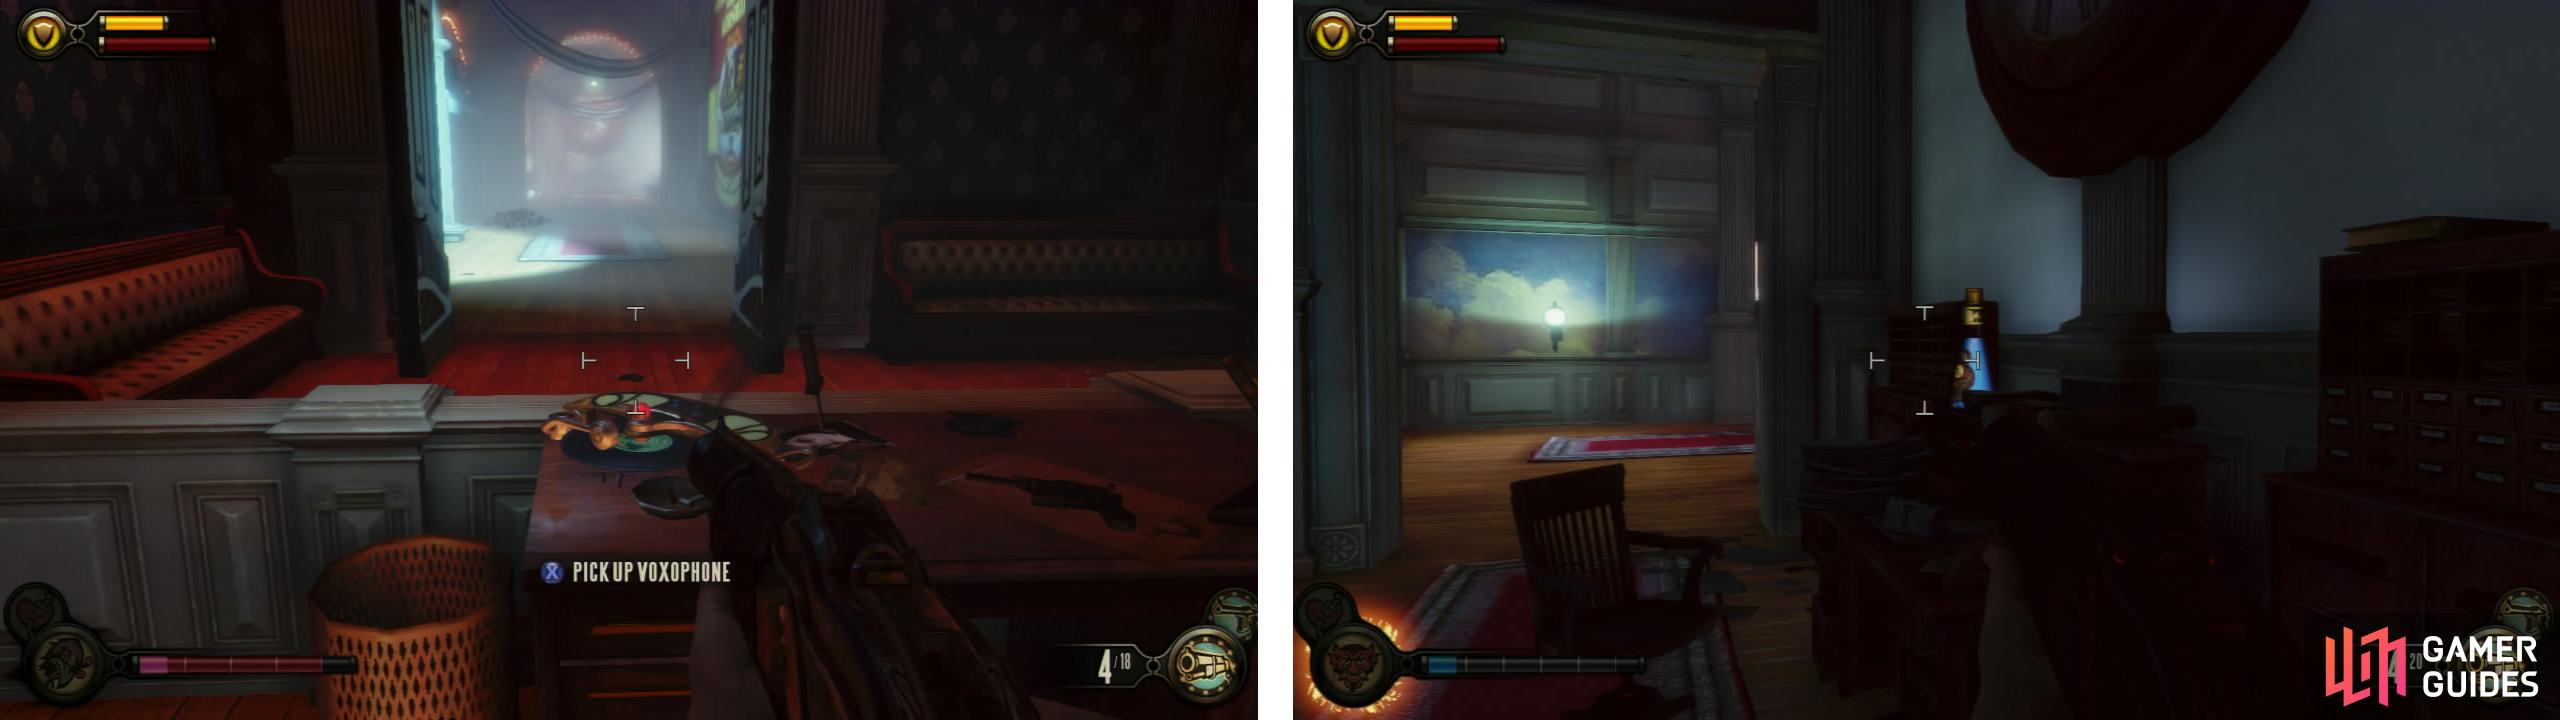
At the top of the stairs, turn to the right and enter the open office at the end of the corridor. Inside there is a Voxophone [4/5]. Picking this up will cause another hostile citizen to spawn in the hallway behind you; he will come to melee you so kill him before he does.
Exit to the hallway and continue straight along it, past the stairs and around the corner to the left. Here, you want to enter the first door on the left. Inside you will find an Infusion Upgrade [1/1] on a desk against the
right hand wall.
After the ambush, check out the room at top of the stairs for a Voxophone (left) and enter the ticket office for an Infusion Upgrade (right).
Continue to the far end of the room from whence you entered and take the other set of stairs leading out.
At the top, enter the doors to the left. Inside, climb the stairs down to the very bottom and look beneath them for a small workbench area with a Voxophone [5/5] on a box nearby.
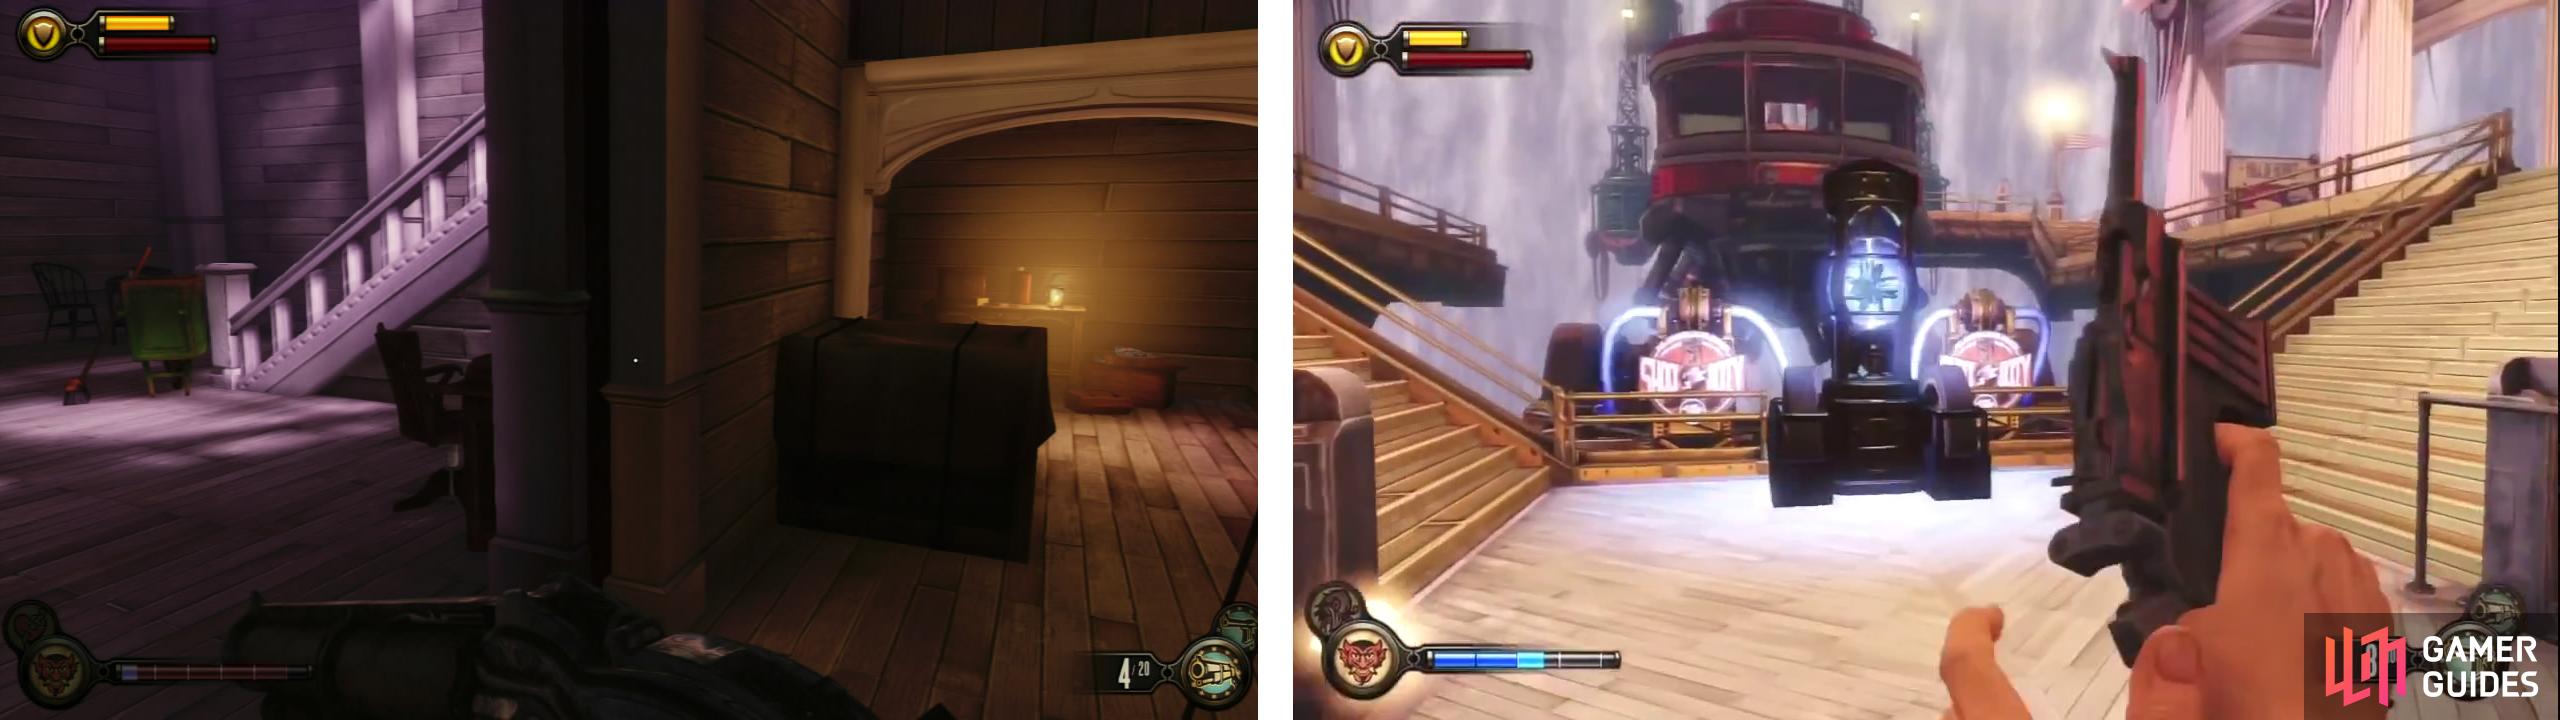
Climb down the stairs to find the final Voxophone (left). Then exit to find the gondola (right).
Return back up the stairs and through the door. Once back in the main area, take the first left to find the gondola platform.
Gondola to Soldiers Field
Make your way around to the right and up to the gondola. Enter the cabin facing the waterfall and throw the lever in here for a short scene.
Once you have arrived at the other platform, exit the gondola and loot the area. Climb up to the top tier of the platform. In the centre of the railing looking back towards the gondola you will see a Telescope [1/1] that
you can use. Do so for your collectible count!
After the gondola ride, check out the Telescope (right) before entering the turnstile (left) to complete the area.
When you are ready to continue with the game, go through the nearby turnstiles to complete the chapter.
No Comments