| **Collectibles** | # |
|---|---|
| Voxophones | 6 |
| Kinetoscopes | 4 |
| Telescopes | 1 |
| Infusion Upgrades | 3 |
| Equippable Gear | 2 |
The Blue Ribbon
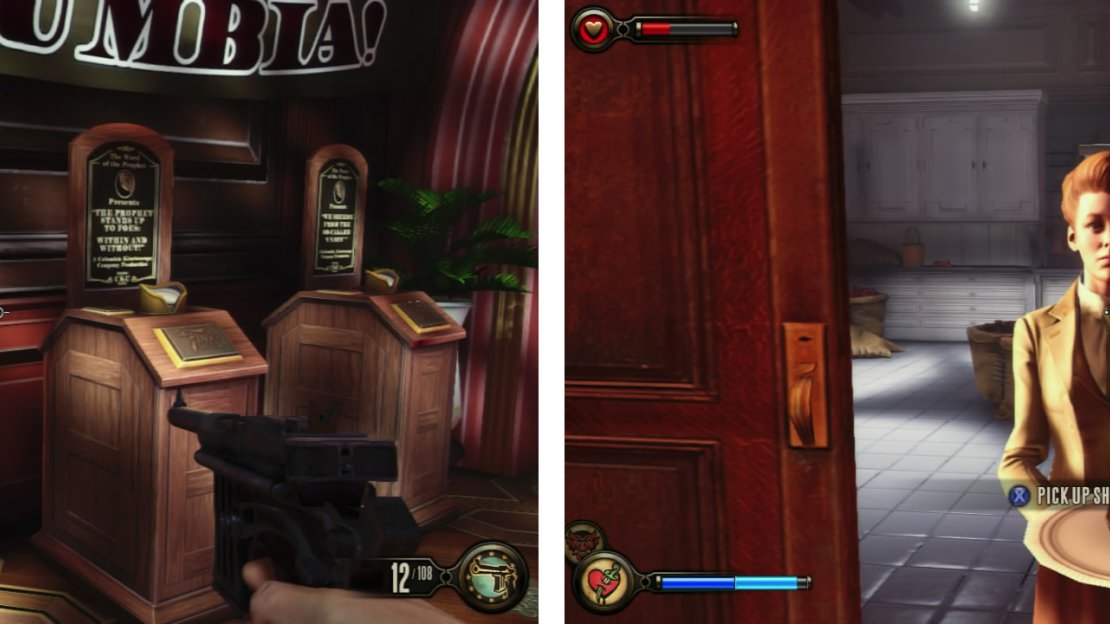
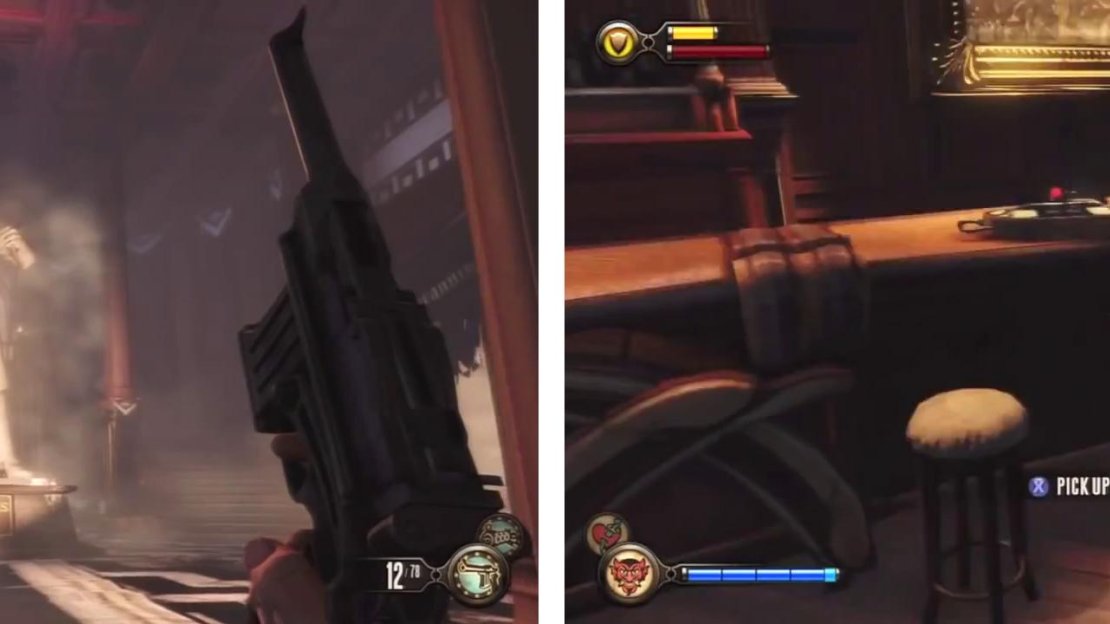
As soon as you enter the Blue Ribbon, you will see three Kinetoscopes [1/4], [2/4] and [3/4] . View each of these and then enter the room to the right. At the far end, interact with the woman blocking the door to the next area to pick up your first Infusion Upgrade [1/3] .
At the start of the level, check out the three kinetoscopes (left). Grab the infusion upgrade from the woman (right) to continue.
From here on in you will now have a shield, the state of which can be monitored by the yellow/gold bar located just above the red health bar. Like many contemporary shooters, this will protect your health until it is destroyed at which point you will start taking meaningful damage. It will regenerate over time when not being shot, so keep an eye on it and try to not rush into a combat situation without it!
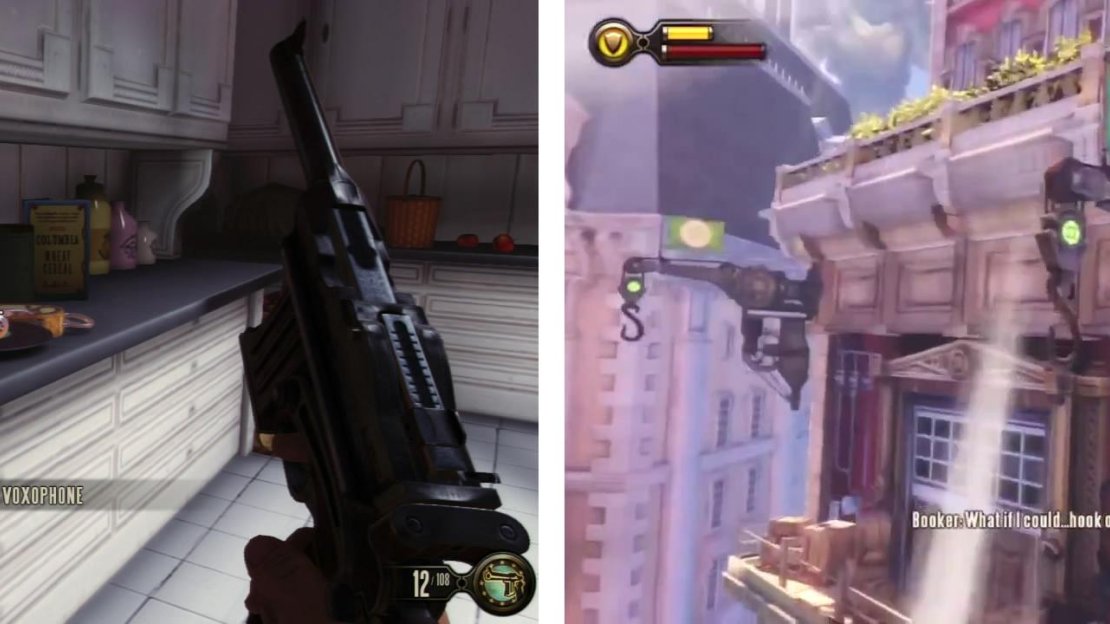
Once you have picked up the upgrade, the woman will move. Enter the kitchen and grab the Voxophone [1/6] from the table to the left. Continue through the set path (looting as you go of course!) out of the kitchen and down the hallway behind it until you find your way back outside.
Grab the Voxophone in the kitchen (left) before heading outside and using the hooks to continue.
The Hooks
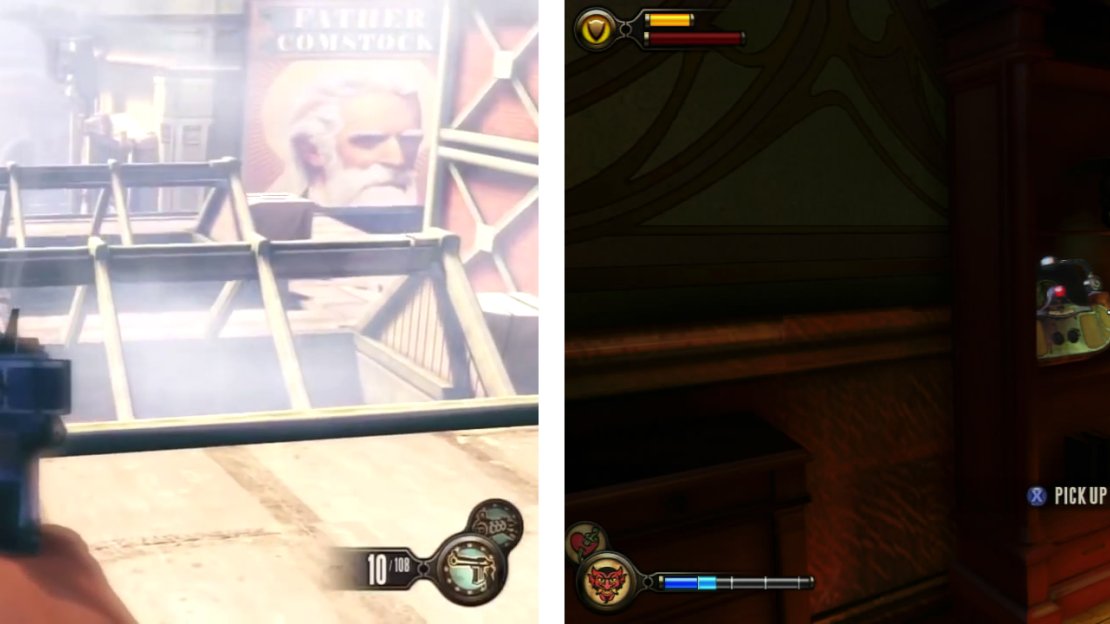
Upon exiting the Blue Ribbon, turn right and go down the stairs. Look at the next building across. See the hooks hanging from the side? Target that with your reticule and a button prompt will appear – use the jump button to jump over to it. From the first hook, jump across to a second nearby and from here to the hooks on the next building. Before jumping down to the platform below, target the enemy and another button prompt will appear for a ‘Sky-line Strike’ hit the jump button to perform an aerial attack on the guard.
The guy we just killed had a machine gun, so pick that up and continue down the nearby stairs. Here you’ll encounter another group of 4-5 new enemies – Founder Soldiers.
| **New Enemy: Founder Soldier** |
|---|
| The founder soldiers are a more advanced version of the policemen that we encountered earlier and a little harder to kill. They are decked out in body armour and helmets, making them a little more resistant to damage that their policemen colleagues. They are also equipped with more advanced weapons including machine guns, carbines and shotguns. They will take coverand try to kill you from safety and will run between cover to get a better angle on your position. As with the previous enemy types, aim for the head and stay in cover to deal with these guys in a time-effective manner. |
Try to deal with these guys from a distance as there is a floating barge to the left of the rooftop with an auto-turret that will attack you if you get too close to it. Once you see no more enemies, work your way to the far end of the rooftop, killing the turret on the barge as you go. Climb the steps at the end and turn right.
When you reach the next set of stairs leading down, more soldiers will appear to greet you. Again use the height advantage of the raised platform to take them out. There is an oil slick near the bottom of the stairs that you can ignite if you wish to help things along. When you can see no more enemies, proceed down the stairs a short distance and look to the left. There is another barge here with an auto-turret on it so possess this (it will help you thin out the enemies on the adjacent rooftop) or destroy it before progressing down the stairs to the rooftop.
Help the turret mop up any remaining enemies (4-5 soldiers) on the nearby rooftop below. There is another oil slick on the side of this rooftop closest to the barge with the auto-turret if you want to make use of it. When all of the baddies are dead or dying, hop down to the lower rooftop yourself. Shoot out one of the skylights and drop into the building.
Lansdowne Residence
Loot the area and before exiting the house as the game wants you to, locate the stairs leading down to the right of the exit. At the bottom of the first set of stairs, go past the next set leading down and enter the door on the right to find a bedroom. On a shelf here you will find a Voxophone [2/6] .
Drop down through the sky lights (left) and find the Voxophone in a downstairs room (right).
Loot the rest of the room and note the big blue chest – opening that is an optional task and we’ll be back to do that later!
Exit the bedroom and take the next set of stairs down to the ground floor, there is a non-hostile citizen here as well as some salts and money to loot. When you are ready to continue, go back upstairs to where we dropped in from and go through the door to exit the house.
Target the hook above and in front to leap over to the nearby building and from here jump across to the next rooftop. Loot the alfresco area here if you wish, before entering the door to the right.
Montgomery Residence
As soon as you enter, go through the door on the left. Go past the printing machines in here and once you meet the non-aggressive owners of the house, turn right and follow the corridor into the next room. Loot the room before proceeding out the door to the left.
As you exit, turn to the left and kill the soldier here. Attacking him will cause another 4-5 soldiers to spawn in the distance and come towards your position. Try to stay near the exit from the previous building as there is an auto-turret to the right of the winged statue behind the tent. Note the stack of crates at the foot of the stairs a short distance away just to the left of the tent. There is an oil slick here we can ignite with Devil’s Kiss to kill or damage the enemies if you wish to do so.
Shortly after the initial enemies are clear, either use possess on the aforementioned turret or return back to where we entered the area out of its line of sight as another group of bad guys will appear. These include a fireman and 3-4 soldier types who will attempt to melee you. Once they are dead, edge forward and take out the turret.
Now to have a look around the immediate area! Return to the door we entered this area from. From here, turn right, climb the stairs to either side of the Dollar Bill vending machine and turn left at the top. Look behind the tent here for a Kinetoscope [4/4] . From here, go down the nearby stairs and climb up on the stage in the grassy area to find a Voxophone [3/6].
After clearing the area, round up the Kinetoscope (left) and the Voxophone (right) before continuing.
Loot the rest of the area before climbing up the stairs between the winged statue and the turret we knocked out. Enter the building at the far end.
Fraternal Order of the Raven
Proceed past the statue of the serpent and enter the door on the far side of the courtyard. Once inside you will come across a large statue of John Wilkes Booth with doors on both the left and the right as well as a set of stairs behind it. Enter the door to its left first to find a small bar of sorts. As you enter the patrons will become hostile so kill them all.
Afterwards head up to the bar and pick up the Voxophone [4/6] that is sitting on top of it. Loot the rest of the room and return to the giant statue.
From the large statue, enter the left room to find a Voxophone on a bar (right).
The door on the right contains a few food pickups and a back passage to the room on the left containing a few coins, so go and check those out if you are interested. When you are ready to continue with the game, head up the stairs behind the statue and enter the door at the top.
You will find yourself in a large hall occupied by raven cultists below.
| **New Enemy: Raven Cultist** |
|---|
| As with the policemen we encountered earlier, the cultists are another type of the standard fodder enemies present in Bioshock Infinite. They only appear at one area in the game and are equipped with pistols, machine guns and large clubs. They are relatively weak, with a few shots from a pistol or a melee swing or two killing them. A headshot will result in an instant kill against these guys. |
If you have any salts on you, I would recommend going up to the railing directly in front of the entrance and using a charged up Devil’s Kiss trap in the centre of the gathered cultists below. This should kill a large number of them before they even know that you are there! Once the trap has gone off, the others will obviously become alerted to your presence. Stay where you are. There is a set of stairs on either end of the room towards which any surviving melee enemies will run whilst any gun toting baddies are likely to stay down in the room and take pot shots at you from below.
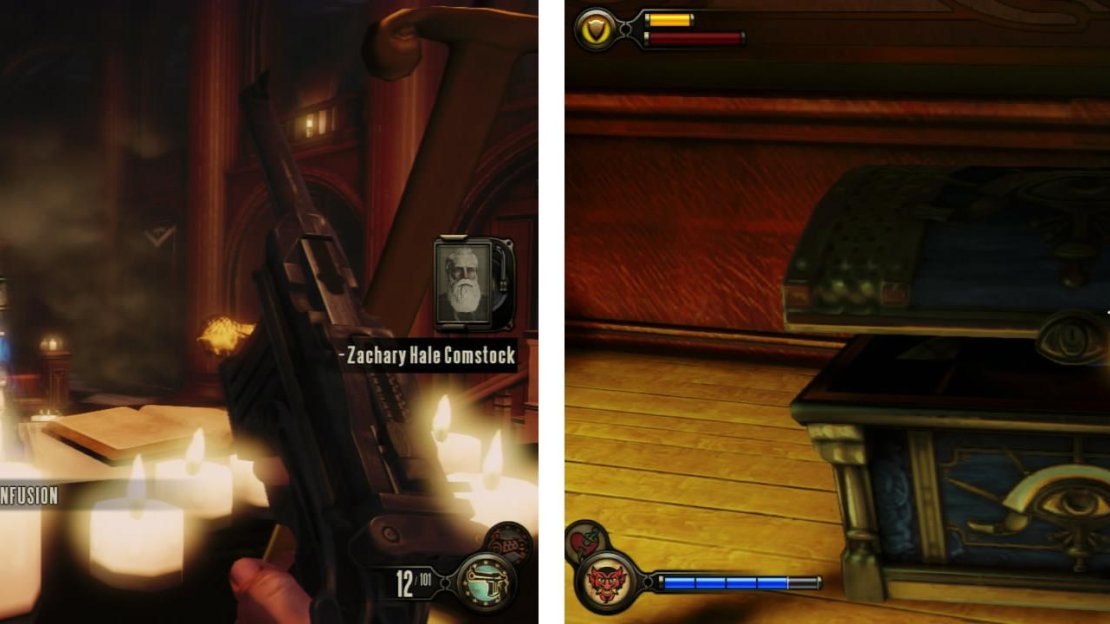
Once everything is clear, make your way down to the lower room and look on the benches for a Voxophone [5/6] . Check out the altar at the front of the room for an Infusion Upgrade [2/3].
Once the room is clear, grab the Voxophone (left) and Infusion Upgrade (right). You’ll also want to grab the key next to this!
Grab the KEY sitting next to the Infusion Upgrade. Remember the blue chest we saw earlier? This key will unlock it. If you wish to complete the optional task, follow the guide below, if you do not wish to do so, skip past it and continue the walkthrough.
| **Optional Mission: Find the Lock that Fits the Key** |
|---|
| **Reward/s: 1 x Infusion Upgrade** |
| Retrace your steps back upstairs, through the door, past the statue of John Wilkes Booth and all the way back to the Lansdowne Residence to the chest I pointed out earlier. Once inside, use the key on the giant blue chest. Within you will find a health kit, some more salts and an **Infusion Upgrade [3/3]** . Grab these to complete the optional mission. |
Now head all the way back through the level until you arrive at the altar in the Fraternal Order of the Raven building where we found the key.
Grab the key from the altar (left), then backtrack tot he blue chest and open it for an Infusion Upgrade (right).
From the altar, there is an open door on the right. Climb the stairs inside and through the door to enter a library area. At the back of the room you can listen to a radio broadcast for a little backstory if you like. When ready go through the next door to enter an elevator. Hit the button to take it to the next floor.
After getting off the lift, go around the central wall to find another door. There is a Dollar Bill vending machine opposite if you require health/ammo/salts. Go through the door to find yourself in a projector room. Loot the large central table and enter the door on the left. Inside look on the desk at the far right, directly below the ‘Protecting Our Race’ seal on the wall for a Voxophone [6/6] .
Return to the large circular table room and look directly across to see a bookcase. Run over and interact with this to unveil a secret room behind it. Inside you will find a present containing some Equippable Gear [1/2].
From the round table, look in the room to the left for a Voxophone (left) and interact with the bookcase (right) to find some Gear.
Exit back to the circular room and interact with the door at the top of the stairs opposite where we entered for a scene.
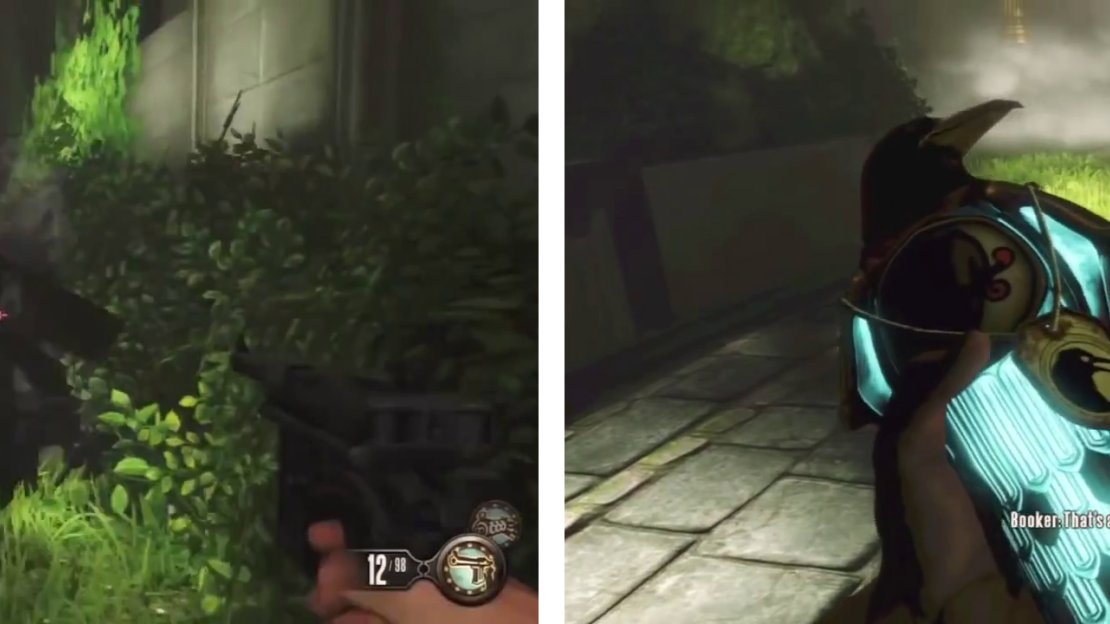
When we are back in control, exit to a courtyard area. Here we will encounter a new type of enemy – the Crow.
| **New Enemy: Crows** |
|---|
| Crows are equipped with the Murder of Crows and have abilities reflecting this. The Crow is a mainly melee attacker but can transform into a flock of crows allowing him to move from quickly and rendering him invincible for a short period of time. In order to kill it faster, plant vigor traps and lure him into them. The Devil’s Kiss trap is especially useful as the fiery explosion causes damage over time. Once the traps go off, he will be stunned for a few seconds. Take this opportunity to fill him with lead. Repeat!. |
The crow (left). Once he is dead, grab the Murder of Crows vigor (right)
As mentioned above, the easiest way to kill the crow at this point in time is to plant a Devil’s Kiss trap and to kill him as he takes. If you require additional salts, you can find some near the entryway across from the gramophone and another vial is on a pillar on the left hand side at the end of the bridge over the pond just inside the door. Once you have dealt with the Crow, you’ll be able to loot his remains for the Murder of Crows vigor.
Once the crow has been killed, the doors at the far end of the room will burst open and a pair of Founder soldiers will emerge from each. Kill them before proceeding up either set of stairs and into the room. As you enter, immediately look towards the centre of the room to see a broken vending machine. On the ground next to it you will find another present containing a piece of Equippable Gear [2/2] .
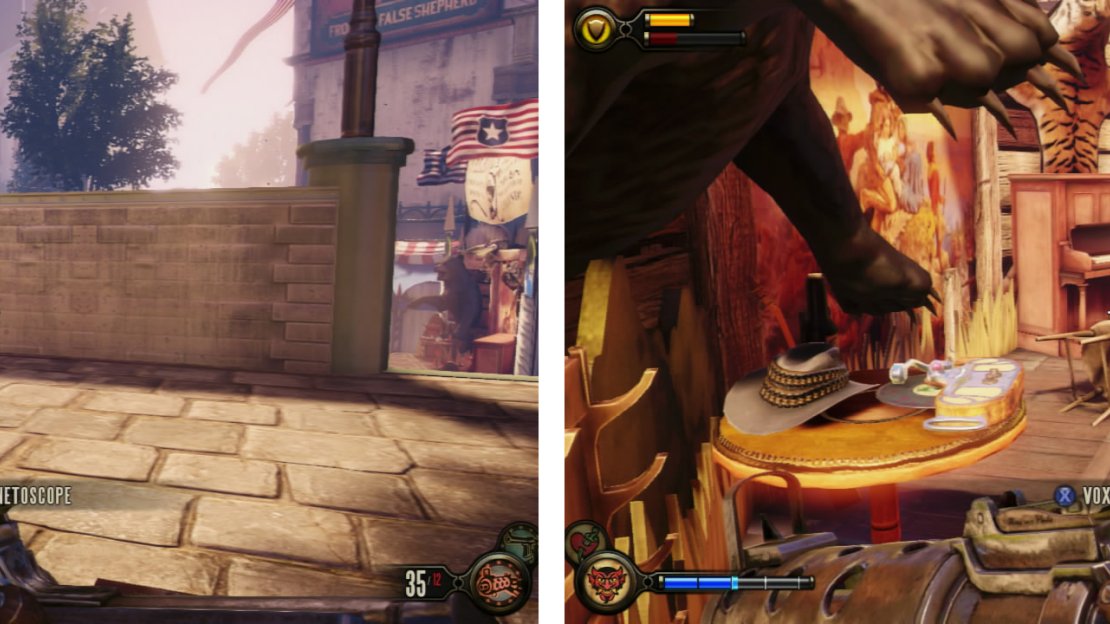
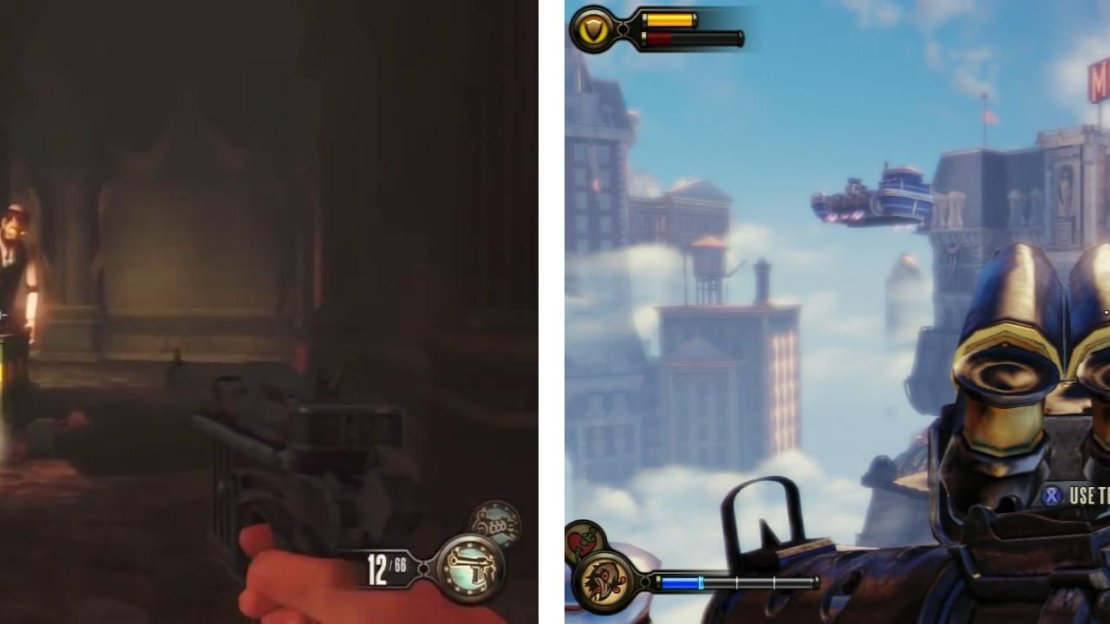
Exit the door on the far side of the door from the entry to return outside. As you exit the building, look to the left to see a floating barge. Jump over to this and use the Telescope [1/1] on board.
After the Crow enter the next door and look at the base of the broken vending machine for some Gear (left). Exit the building and turn left to find a Telescope (right).
Jump back to the main balcony and you’ll see a number of hooks ahead. Jump between them.
After the second hook you can jump down to a balcony below and explore a house, note there is not much inside except for a few coins and some food so it’s probably safe to miss this one unless you are really keen. There are also three policemen downstairs getting a description of you which is kind of cool to see.
When you are ready to continue, return to the balcony and jump for the next hook. Again, after the second, you’ll be ready to jump down to the next area, so you may as well target the lone enemy and hit him with a sky-line strike to kill him. He has a mate around who will be alerted once you kill him, so finish the second guard off too before looting the area, climbing the stairs and enter the large door at the top.
This will complete the chapter.


No Comments