| **Collectibles** | # |
|---|---|
| Voxophones | 2 |
| Kinetoscopes | 3 |
| Telescopes | 0 |
| Infusion Upgrades | 1 |
| Equippable Gear | 1 |
The Good Time Club
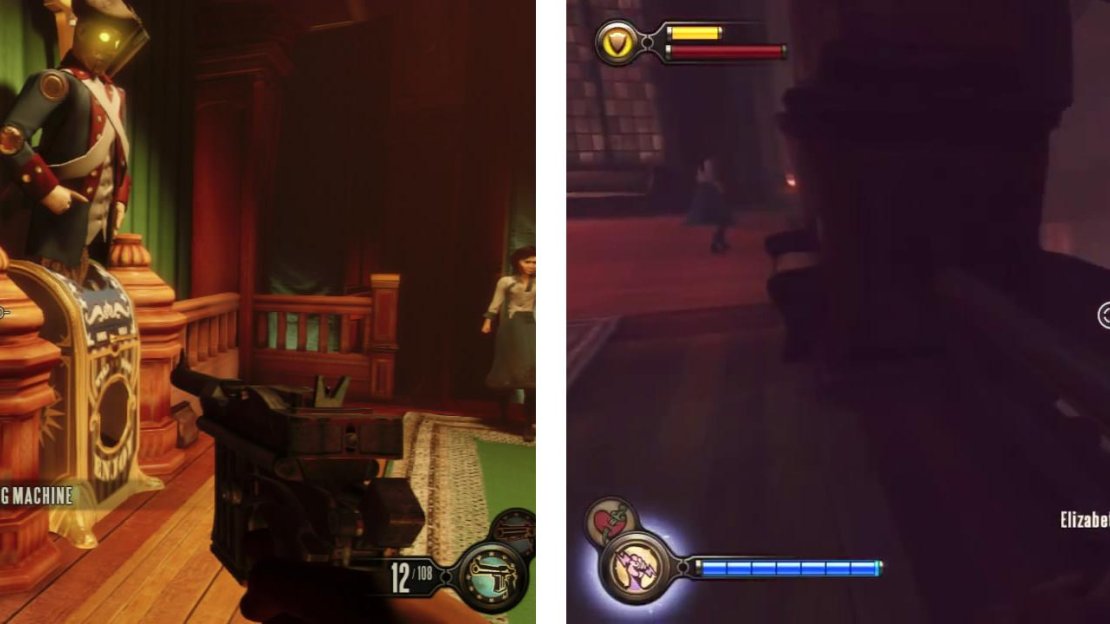
Once you are in the club, climb the stairs to the top. Here you’ll find a Kinetoscope [1/3] and next to it a Minuteman’s Armory vending machine if you require it. When ready, continue through the door here.
Grab the Kinetoscope next to the vending machine (left) and then enter the room with the stage in the centre to progress (right).
When ready, continue through the door here.
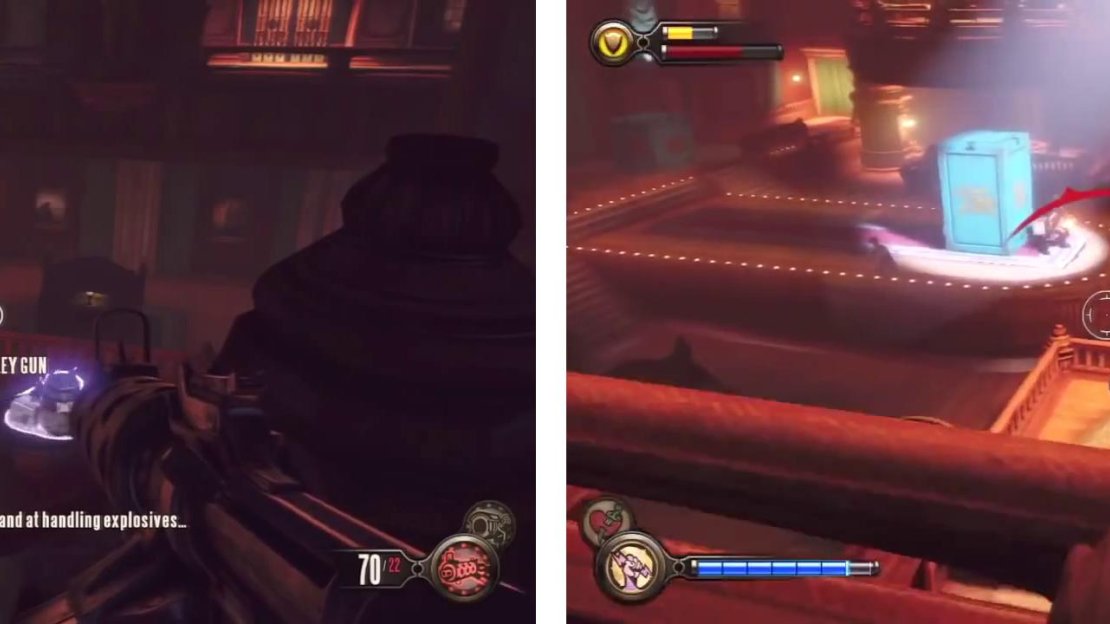
You are now in a large room with a balcony running around to the left. The downstairs area below has a number of tables and a raised stage that occupies the far end of the room and also has a walkway that protrudes into the centre of the room. There are three tears in this area that Elizabeth use can help you out during the next gameplay sequence.
| **Tears in this Location** |
|---|
| Crate of medical kits behind the bar to the right of the entry on the upper level. RPG on the wall along the left hand side of the upper level. Volley Gun and ammo on a small raised area on the left hand side of the ground level. |
The room plays out in a series of waves. During each waves you must defeat all of the enemies in the room in order to continue. There are three waves in total. During this sequence, you’ll be introduced to a new type of enemy – Fink Applicants.
| **New Enemy: Fink Applicants** |
|---|
| As with the policemen or the cultists we faced early on in the game, the applicants are yet another type of standard fodder enemies present in Bioshock Infinite. They only appear during the Plaza of Zeal areas of the game and are usually equipped with pistols, shotguns and melee weapons. They are relatively weak, with a few shots from a pistol or a melee swing or two killing them. A headshot will result in an instant kill against these guys. |
In first wave waves the enemies will emerge from the curtains on the stage at the back of the room. As such, be sure to plant a trap in front of the curtain before it starts to make things a little quicker. The first wave consists of 6-7 applicants and a fireman. The second wave consists of 6 applicants and a Crow; they will enter the room from the inaccessible balcony on the right side of the room. The final wave consists of a patriot who will spawn at the end of the stage projecting into the lower room, an auto-turret and three mosquitos.
You’ll have to defend yourself against three waves of enemies in the large room.
Once the room below is clear, have a look for a now open door along the wall opposite the bar on the upper level. Inside you will find a sniper rifle, a gift box containing a piece of Equippable Gear [1/2] and a safe in the corner we can unlock for some additional money. Exit the room, drop down to the lower area and get looting!
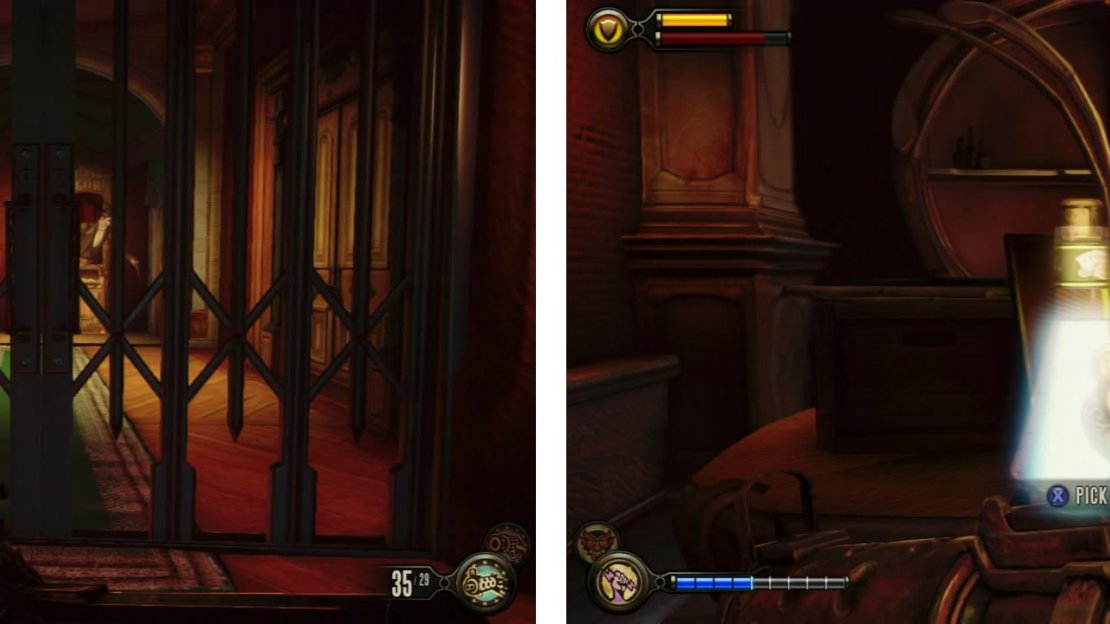
From the end of the stage that is jutting into the room, look straight ahead to find a short hallway with a Veni! Vidi! Vigor! vending machine (no new upgrades yet). To the left of this is a Kinetoscope [2/3] . Behind you, explore the toilet on the left for a lock pick and loot the other too if you like. Exit the short hallway and turn right to find a Dollar Bill vending machine. To the right of this is a door we can go through. Inside you can grab an Infusion Upgrade [1/1] from the bar and a lock pick from under one of the tables. Loot the rest of the room and return to the stage area.
Once the room is clear the gate (left) will open giving access to a Kinetoscope and an Infusion Upgrade (right).
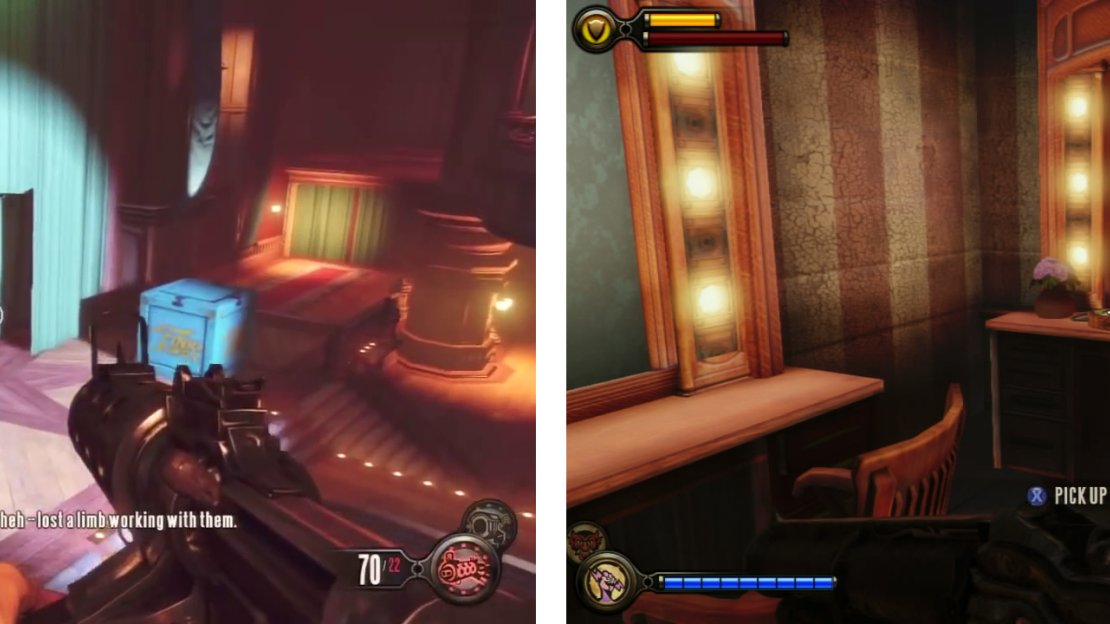
There’s also a lock pick under one of the tables. Loot the rest of the room and return to the stage area. Go through the opening in the curtain and exit the stage via the door here. On the dresser to the left as you enter there is a Voxophone [1/2] . Continue through the next door.
Enter the stage (left) to find a Voxophone (right) in the dressing room.
The Good Time Club Basement
At the bottom of the stairs, kill the two soldiers and enter the door to the left for a lock pick. Return and continue through the other open door when you are ready. Have Elizabeth unlock the door in here.
Enter the now unlocked door and kill the two soldiers inside. Check out the stack of crates to the right of the circular chamber with the burning coals in it for a Vox Codebook (this is for that Vox Code we saw earlier).
Continue through the open door, through the projector room (looting as you please) and out the other door on the far side.
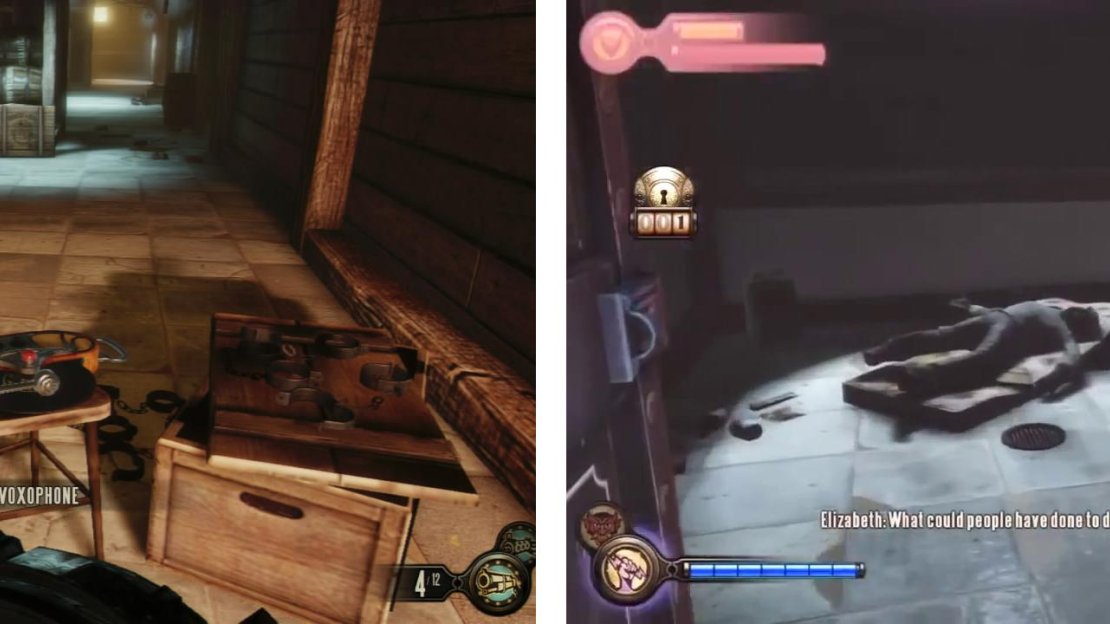
You will now be in a corridor that stretches to the left with a number of cells lining either side. Before proceeding in that direction, look on the nearby stool for a Voxophone [2/2]. There is also a lock pick on the floor below it.
Continue down the hallway and kill the Founder soldiers patrolling here. At the far end of the hall are doors to cells 8 and 9. The door to cell 8 can be unlocked at the expense of 5 lock picks and contains a gift with a new piece of Equippable Gear [2/2] in it.
At the end of the hall with cells is a Voxophone (left). Inside Cell 8 is a piece of Gear (right).
Exit and have Elizabeth unlock cell 9. Go on in.
Loot the table here if you like and then climb all the way down the stairs until you reach the bottom. Check out the table to the right of the open cell for a lock pick and then enter the cell itself. Head over to the lit up light switch at the back of the room. Hit the button. Interact with the body in the chair for a scene. Afterwards interact with the tear.
Backtrack through the basement, noting all of the changes as you go and climb back up the stairs to the dressing room.
The Good Time Club
Exit the dressing room onto the stage, go out from the curtain and you’ll see 8 soldiers waiting for you on the ground floor. Eliminate them all before heading up one of the sets of stairs. Work your way over to where we initially entered the stage room the first time around and go through the door.
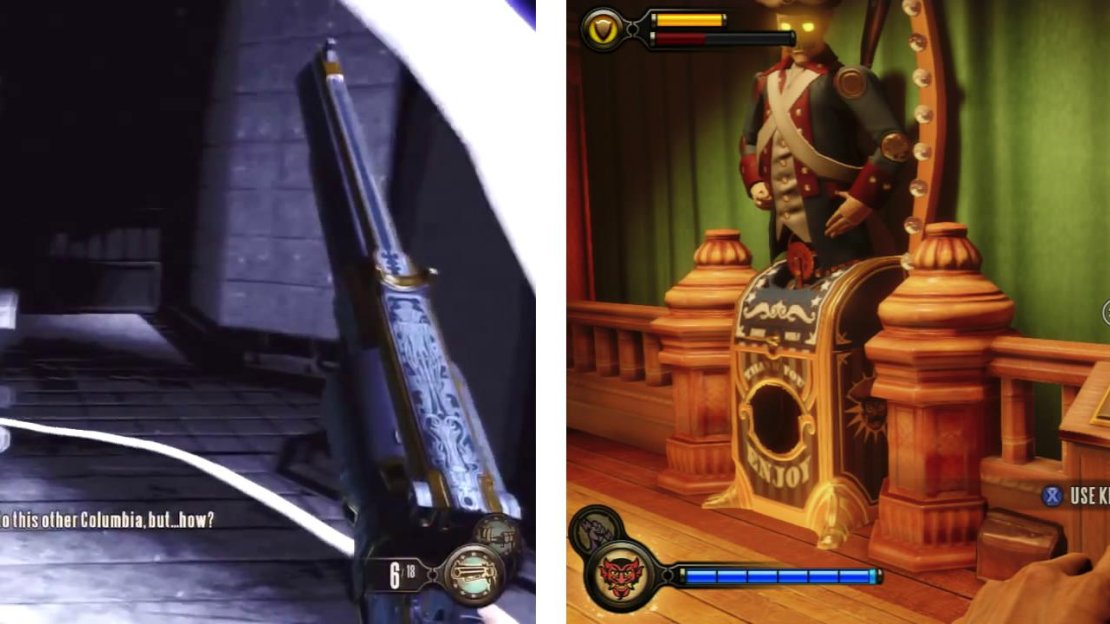
Note that whilst the Minuteman’s Armory vending machine is still here, the Kinetoscope has moved from its left hand side to the right hand side. Go and check it out for Kinetoscope [3/3].
Enter the tear in the basement (left). As you backtrack, grab the Kinetoscope near the vending machine (right) before exiting the club.
Go down the stairs and exit back to the Plaza of Zeal.
No Comments