| **Collectibles** | # |
|---|---|
| Voxophones | 1 |
| Kinetoscopes | 0 |
| Telescopes | 0 |
| Infusion Upgrades | 0 |
| Equippable Gear | 0 |
Raffle Park
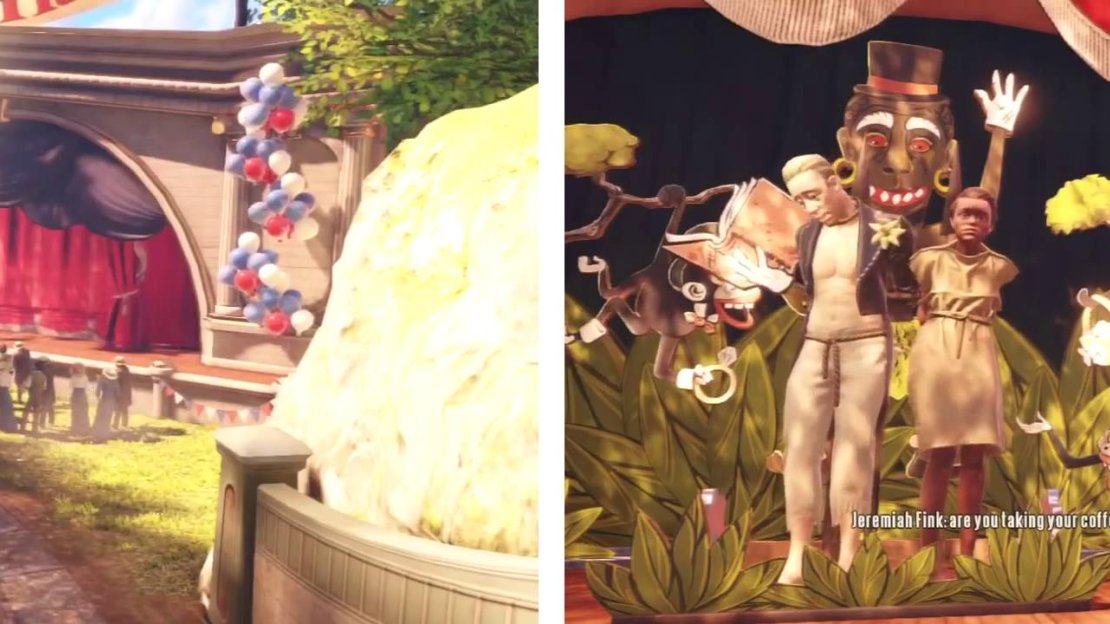
Climb the stairs to the left and continue to follow the next few sets of stairs up, past the fountain and through the gate to find a large gathering of people singing. As you approach, the singing will stop and a woman facing the crowd at the foot of the stage will call to you. Walk over and interact with the basket when she holds it out and a scene will play. Make a decision during the scene (it makes no difference that I could tell other than a slight change to the location of a piece of equippable Gear later on).
Head down to the stage and then make a choice when given the baseball.
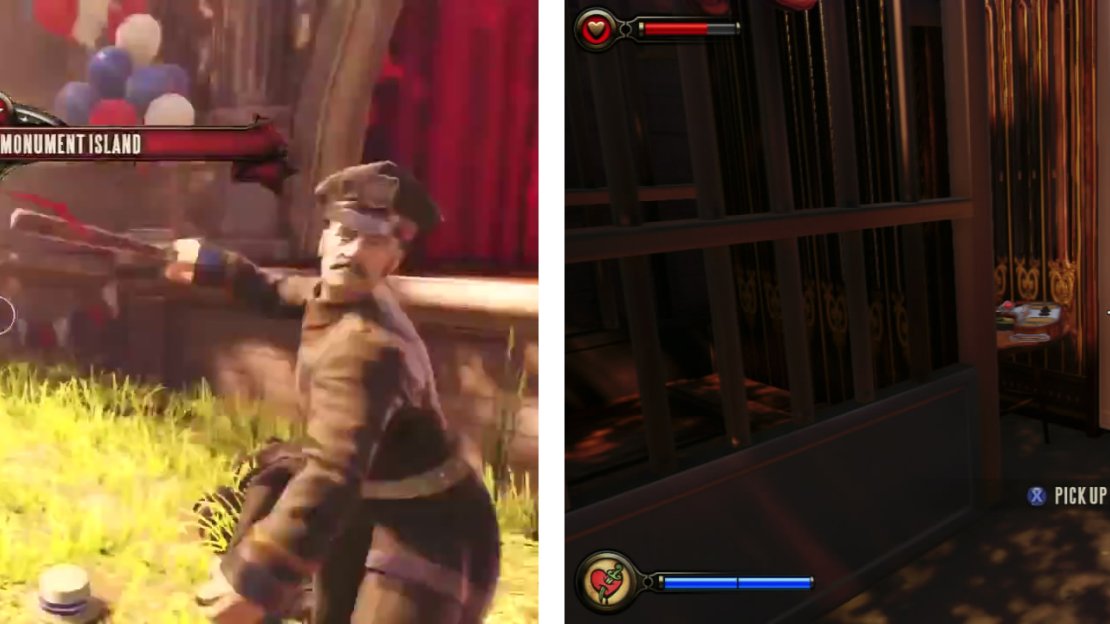
When you regain control, the policemen in the area will have turned hostile and you now have your skyhook. The game will give you a brief tutorial on how to melee attack. Note that if you can see a small skull above an enemy’s head, you can hold down the melee attack button for a pretty gruesome execution move.
| **New Enemy: Founder Policeman** |
|---|
| The policemen are one type of the standard fodder enemies present in the first half of Bioshock Infinite. They only appear very early on in the game and are usually equipped with pistols and melee batons. They are relatively weak, with a few shots from a pistol or a melee swing or two killing them. A headshot will result in an instant kill against these guys. |
After killing the first policeman, another pair will come down the stairs to confront you. Kill them and climb up to the road above. There is another pair of policeman here. Melee them to death as you did their friends, and continue to the right.
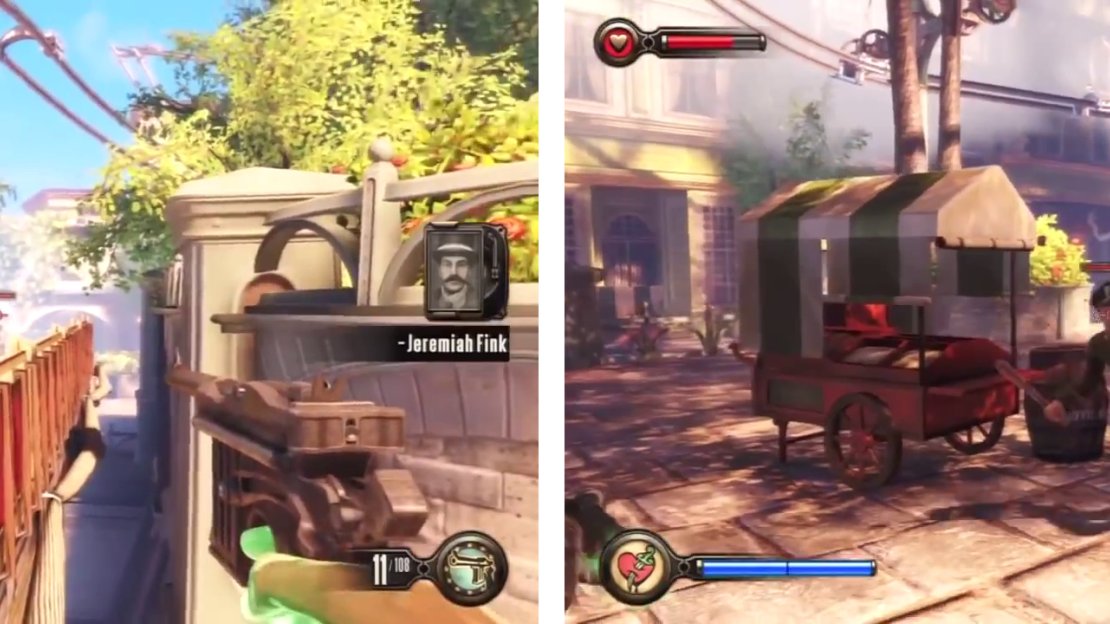
As you approach the gate another pair of enemies will enter the area, one of whom has a pistol. Again kill them both and loot the bodies to get the weapon. Once finished, there is a health pack in the information booth nearby if you need it and salts in the back of the Fink MFG wagon.
Go through the gate that the last enemies emerged from and down the stairs. Look between the cages on the left for a Voxophone [1/1].
Fight your way through the policemen (left). Keep an eye out for the Voxophone between a pair of cages (right).
To the right of the cages you’ll find a new type of vending machine – Veni! Vidi! Vigor! These vending machines allow you to purchase upgrades of your vigor powers once you unlock them.
This one contains the following upgrades for purchase:
Veni! Vidi! Vigor! Machine
| Vigor(s) | Upgrade(s) | Cost |
|---|---|---|
| Possession | Possession Aid | 50 |
For now use it to purchase an upgrade to Possession. There is a purse full of coins at the base of the machine if you don’t quite have enough yet.
When you are ready, ascend the gangplank behind the vending machine to find yourself on a fireworks barge. At the far end you will see a new type of enemy - an automated turret.
| **New Enemy: Automated Turret** |
|---|
| Auto-turrets common in Columbia and resemble world war one era soldiers (torso and up) with a weapon in front. They are inactive until they see you at which point they will open fire. They have a high rate of fire and are extremely accurate. The turrets have a colored indicator to let you know what their status is at a glance. The green light indicates that it will not attack. A yellow light indicates that the turret has spotted you. Finally, red status means that they have seen you and are attacking. Turrets can be possessed with the Possession vigor to become a temporary ally. This is useful for both distracting enemy units and adding additional damage to yours. |
Approach the auto-turret and use possession on it. A large number of policemen will appear in the park area below and the auto-turret will give you a good helping hand in dealing with them. Grab the salts from the nearby crate before jumping down to help the turret out.
Possess the turret (left) and then hop down to confront the policemen (right).
After a short while, the possession will wear off, so either destroy the turret or stay out of its sight. Go down the stairs nearby and follow the street along to the right. Kill the policeman as they appear and keep an eye out for another auto turret on one of the raised planters on the right. Use possession on this to make things easier, or kill it and the policeman both. There is a Dollar Bill vending machine near the second turret if you wish to buy health/salts/ammo.
When you are ready, continue along the street, go on past the police roadblock and through the open gate.
Shady Lane
Follow the street downhill and kill the two policemen that are awaiting your arrival. Once they are dead, you can loot the open shop on the left side of the area. Continue down the road and around the corner to the right. Open the large gate.
After a short scene you’ll encounter a new type of enemy – the fireman.
| **New Enemy: Fireman** |
|---|
| Firemen are equipped with heavy, fire resistant armour. They will spend most fights throwing grenades at you using the Devil’s kiss vigor. As such you will need to keep moving when fighting them to avoid splash damage the explosions dish out. Get in too close and he’ll unleash a shockwave that will set you on fire, doing damage over time. Once they have lost a most of their health, they will explode. Before they do, they will have a grenade indicator appear over their heads. At this point, they will charge at you to catch you in their explosion. Quickly run away until they explode. |
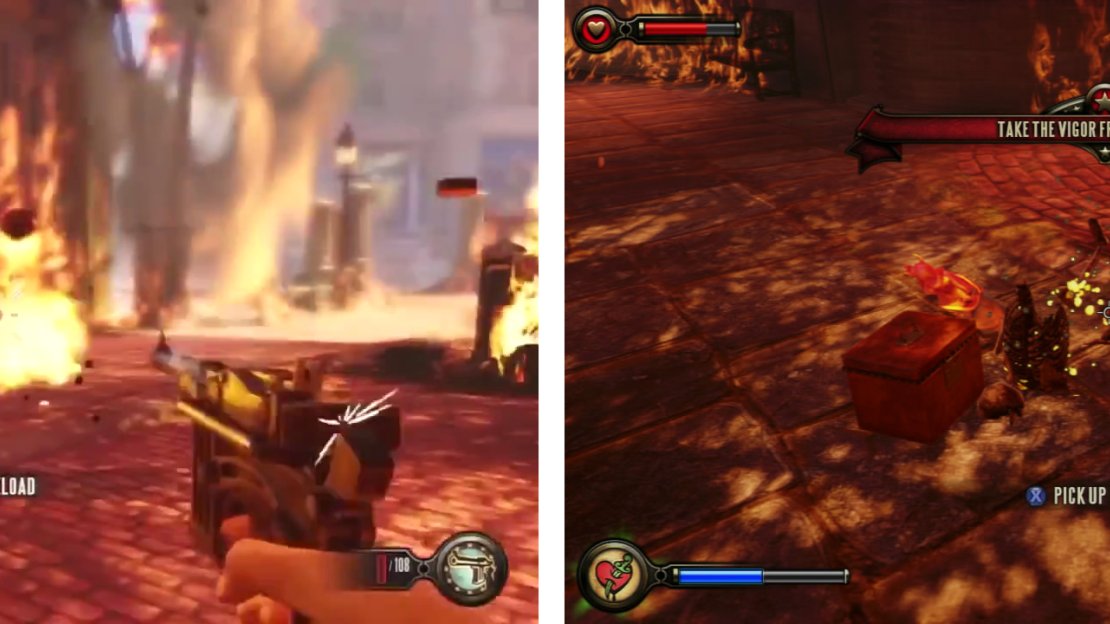
Deal with the fireman using the wagons as cover when required and remember to keep moving to avoid the explosive grenade damage. Try to hit him with headshots and remember to stay away from him upon the explosion as he dies or you will be copping a lot of damage. Once he lies dead, loot his remains for a new vigor – Devil’s Kiss.
The fireman (left). Grab the Devil’s Kiss vigor when he falls (right).
After the fight, follow the street around to the left and try out your new vigor on the auto-turret on the right hand side of the street. Proceed up the street towards the turret you destroyed a short way and a number of policemen enemies will come down the stairs on the left. You can use Devil’s kiss on the oil on the road or shoot the explosive fireworks barrels to finish them off quickly, or finish them off the traditional way.
When you are ready, loot the area, climb the stairs that the policemen descended from and enter the door at the top to the ‘Blue Ribbon Restaurant’ to complete the chapter.


No Comments