| **Collectibles** | # |
|---|---|
| Voxophones | 2 |
| Kinetoscopes | 0 |
| Telescopes | 1 |
| Infusion Upgrades | 1 |
| Equippable Gear | 1 |
Shantytown
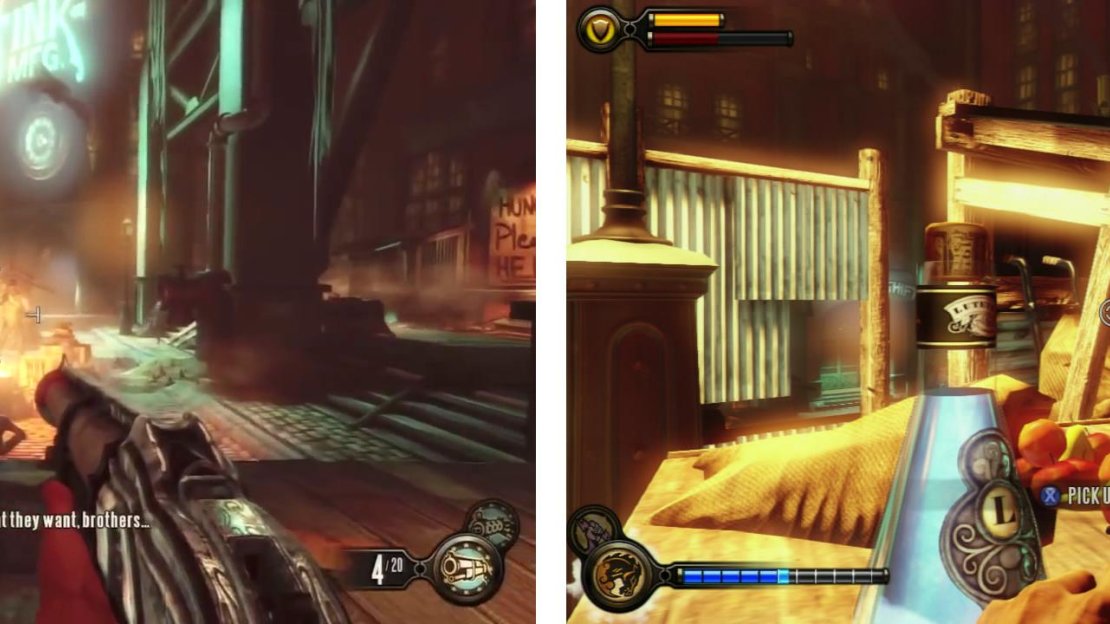
After getting off the lift, move forward, past the vocal preacher and continue onwards until you reach a railing. In the distance, you can see a sign reading ‘The Graveyard Shift’. Turn to the left and follow the railing until you come across a couple of hostile citizens. When they attack, kill them and grab the Infusion Upgrade [1/1] that was sitting on the crate behind them.
Once you arrive, move along the left wall until you find the aggressive citezins. Kill them and loot the Infusion Upgrade (right).
Now work your way over to the Graveyard Shift bar, note that on the way there is a lock pick in the water coming from the pipe to the left at the bottom of the stairs. Kill some more hostile citizens out front before entering the Graveyard shift bar.
As you enter, you’ll find one of each of the three types of vending machines: Veni! Vidi! Vigor!, Minuteman’s Armory and Dollar Bill (there are no new upgrades on sale in any of them). There is also a lock pick on the ground to the right of the Minuteman’s Armory vending machine.
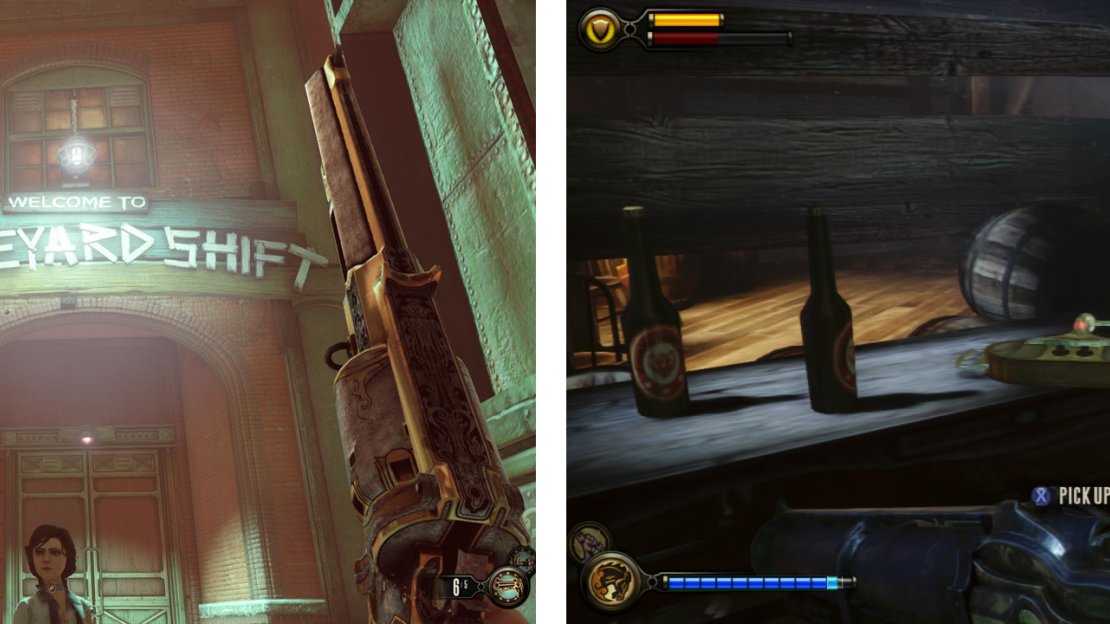
Go through the door to the right of the bar and climb down the stairs to the basement. Approach the guitar propped up against the chair here for a cool scene. When you are done, look on the bench nearby for a Voxophone [1/2] . Against the back wall you will find an overturned crate with a lock pick inside and just next to this a barrel with a set of Keys on top. Grab the Keys to start an optional mission.
Enter the Graveyard Shift Bar (left). In the basement you’ll find a set of Keys for an optional task and a Voxophone (right).
Against the back wall you will find an overturned crate with a lock pick inside and just next to this a barrel with a set of Keys on top. Grab the Keys to start an optional mission.
Exit the bar and climb the stairs back up to the main level. Turn left and follow the street. At the top of the next set of stairs, have Elizabeth use the tear on the street at the foot of the stairs when she points it out. Go down the short alley to the left and pick up the lock pick behind the flaming barrel. Head down the aforementioned stairs and follow the street to the left.
After the singing children, look behind the wall for a lock pick and continue onwards until you reach the end of the slum area. Climb the stairs to the left, heading past the stockade and through the gate beyond.
The Bull Yard
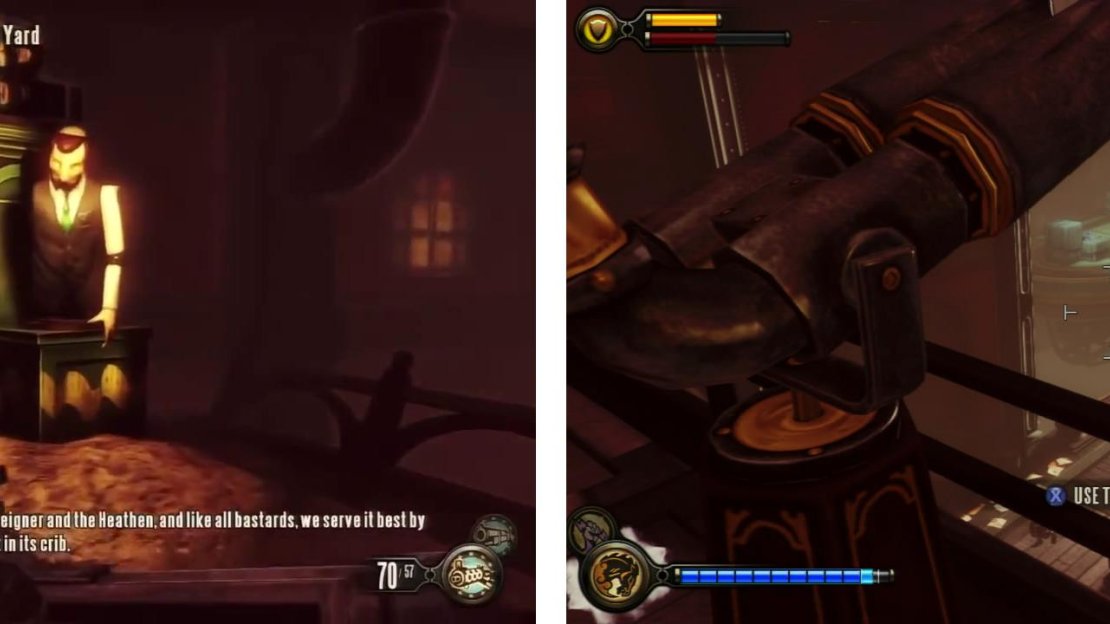
As you enter, you should spy a gift box at the base of a broken vending machine on your right. Grab this for a new piece of Equippable Gear [1/1] . Edge down the stairs slightly and you will see a good number of soldiers in the courtyard below. Look up to the left. Hop up to the freight hook here and drop down to the upper ledge here. There is a sniper rifle on the crate here if you want one. A little further along the railing is a Telescope [1/1] ; use this to add it to your collectible count!
Keep an eye out for a piece of gear at the base of a broken vending machine (left). use the hooks to access a balcony with a Telescope (right).
From the ledge here, survey the area. Directly in front of you across a gap is the police impound where we need to go. Note the pair of large rocket turrets above and flanking either side of the main gate. We need to destroy those. There is a pair of sky-lines linking your current platform with the impound building across the abyss and between them are three buildings that we can play around with. The left hand building has a rooftop area, the central building has a small platform with a few pillars for cover and the right hand building has a lower platform and an upper platform.
But first, a little info about the large rocket turrets!
| **New Enemy: Large Rocket Turret** |
|---|
| We’ll only encounter the large rocket turrets a few times during the game, but they are quite a formiddable force when you do encounter them. They have a number of barrels that loose numerous rockets in your direction. It is important to find cover or keep moving (sky-lines are great for this) when you encounter them. These can also be found some zeppelins and gunships. They are susceptible to most weapon fire, but the RPG or Volley Gun/Hail Fire do the most damage. |
This is a sizaeable combat area and as such, there are a number of tears that we can get Elizabeth to use for us to make things a little easier. They are in the following locations.
| **Tears in this Location** |
|---|
| RPG and ammo on the top floor of the right hand building. Mosquito patrolling back and forward close to the right hand building. Crate of medical kits on the lower floor of the right hand building. Sniper rifle and ammo on ledge of central building. Friendly rocket auto-turret on the left building rooftop. |
Unfortunately, in addition to the two rapid firing rocket launcher turrets on the building, there are also a tonne of soldiers (15-20 of them) running around as well, so we should deal with them first. I’d recommend grabbing the sniper rifle from nearby if you haven’t already!
Attack the soldiers in the courtyard below you, there will be 5-6 of them. Once they are clear, hop down and run over to the edge. Take the sky-line leading to the top of the right building. Have Elizabeth phase in the RPG. Once you have it, spawn in the mosquito for some support and use the walls of the upper floor here as cover. From here we can use the RPG to shoot up the rocket turrets on the face of the impound building from relative safety. Having said that, ensure that you keep your eyes (and ears) open for enemies approaching via sky-lines and deal with them if they land to attack you.
Once both rocket turrets have been destroyed, have Elizabeth phase in the friendly auto-turret or the mosquito to help you out and shift your attention to the enemy auto-turret on the lower level of the impound building.Afterwards, switch back to the sniper rifle and pick off the enemies on the balconies out in front of the impound and firing at you from other rooftops (alternatively you can choose the more fun option of flying around on the sky-lines and wiping out any soldiers you see).
After killing the vast majority, a motorised patriot will appear on the lower platform of the impound building. Finish him off to clear the way into the impound.
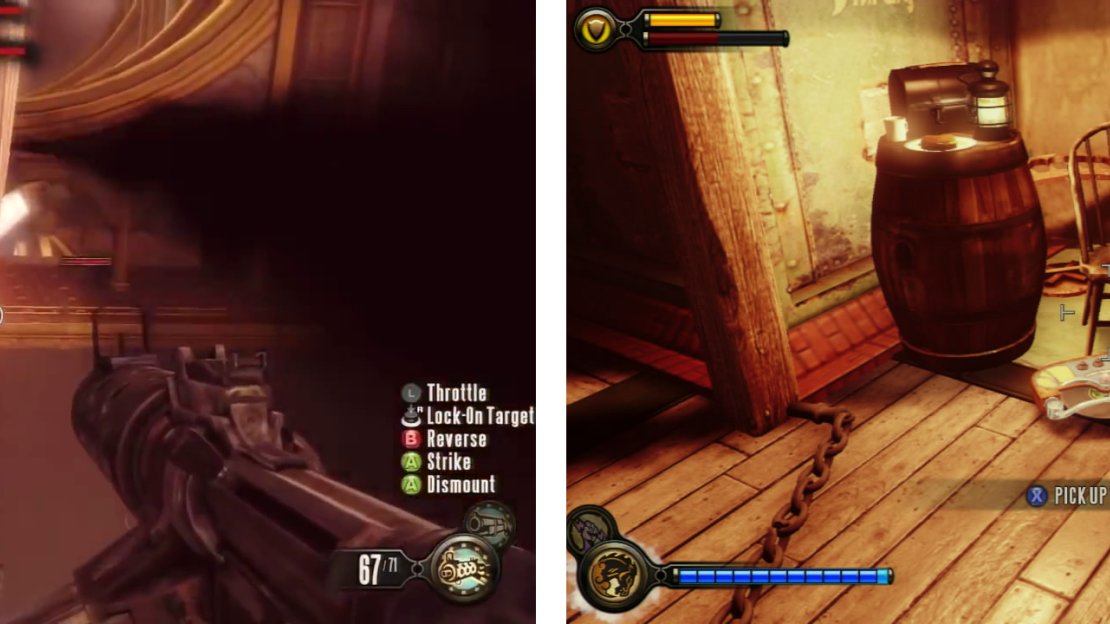
Before entering, take a sky-line back up to the upper level on the right (where the RPG tear is) and in a small niche in the covered area you will find a Voxophone [2/2] .
Target the large rocket turrets (left) and keep an eye out for a building on the right hand side of the area with a Voxophone (right).
Take a sky-line down and jump over to the lower platform of the compound, climb the stairs and have Elizabeth unlock the door.
Head on through to end the chapter.


No Comments