
As you reach the climax of Chapter 1 in Like A Dragon Gaiden, you will be brought back to the temple by Yoshimura. He isn’t worried about Hanawa, although Kiryu wants to find and save him. This will lead to something that causes Kiryu to throw up his arms against the Daidoji, which means you will be fighting to escape the temple. You will be fighting against a bunch of enemies in this stage, including some minibosses, and culminating with the boss fight against Yoshimura.

The final boss of Chapter 1 will be Yoshimura.
Escaping the Daidoji Temple Walkthrough
When you gain control, you’ll be in a room with four enemies. They are just normal foes, so you shouldn’t really have any trouble putting them down. A scene will take place after this, with you fighting another four normal enemies. Again, these enemies are nothing special, so you can easily take them out without sweating anything. In the next area, you can find three suitcases off to the side, before going into the rock garden area. You will find these suitcases lying around throughout these one-shot sections, so always keep a lookout for them, as they more often than not contain some healing items or something like plates to sell.

(1 of 2) Be on the lookout for the suitcases during the one-off areas
Be on the lookout for the suitcases during the one-off areas (left), as they will usually contain healing items you can use during the battles. (right)
The next area contains more normal enemies, some of which will have weapons. Again, the normal foes aren’t really much of anything in this game, although you may get hit a few times while fighting them. Right after getting rid of them, it’s time for the first miniboss here.
Agent Raita Miniboss Guide
Agent Raita is wielding an umbrella, which doubles as a gun that shoots electricity. He has a short-range blast with it that shocks you, knocking you down to the ground. This blast has an okay range in front of him, but the width is a little bit bigger than you’d think, so make sure you dodge wider than normal. He usually has a standalone shot, as well as one that follows an uppercut with the umbrella itself. There is also an ultimate attack that is just some melee strikes, but you should be getting used to doing Ultimate Counters now.
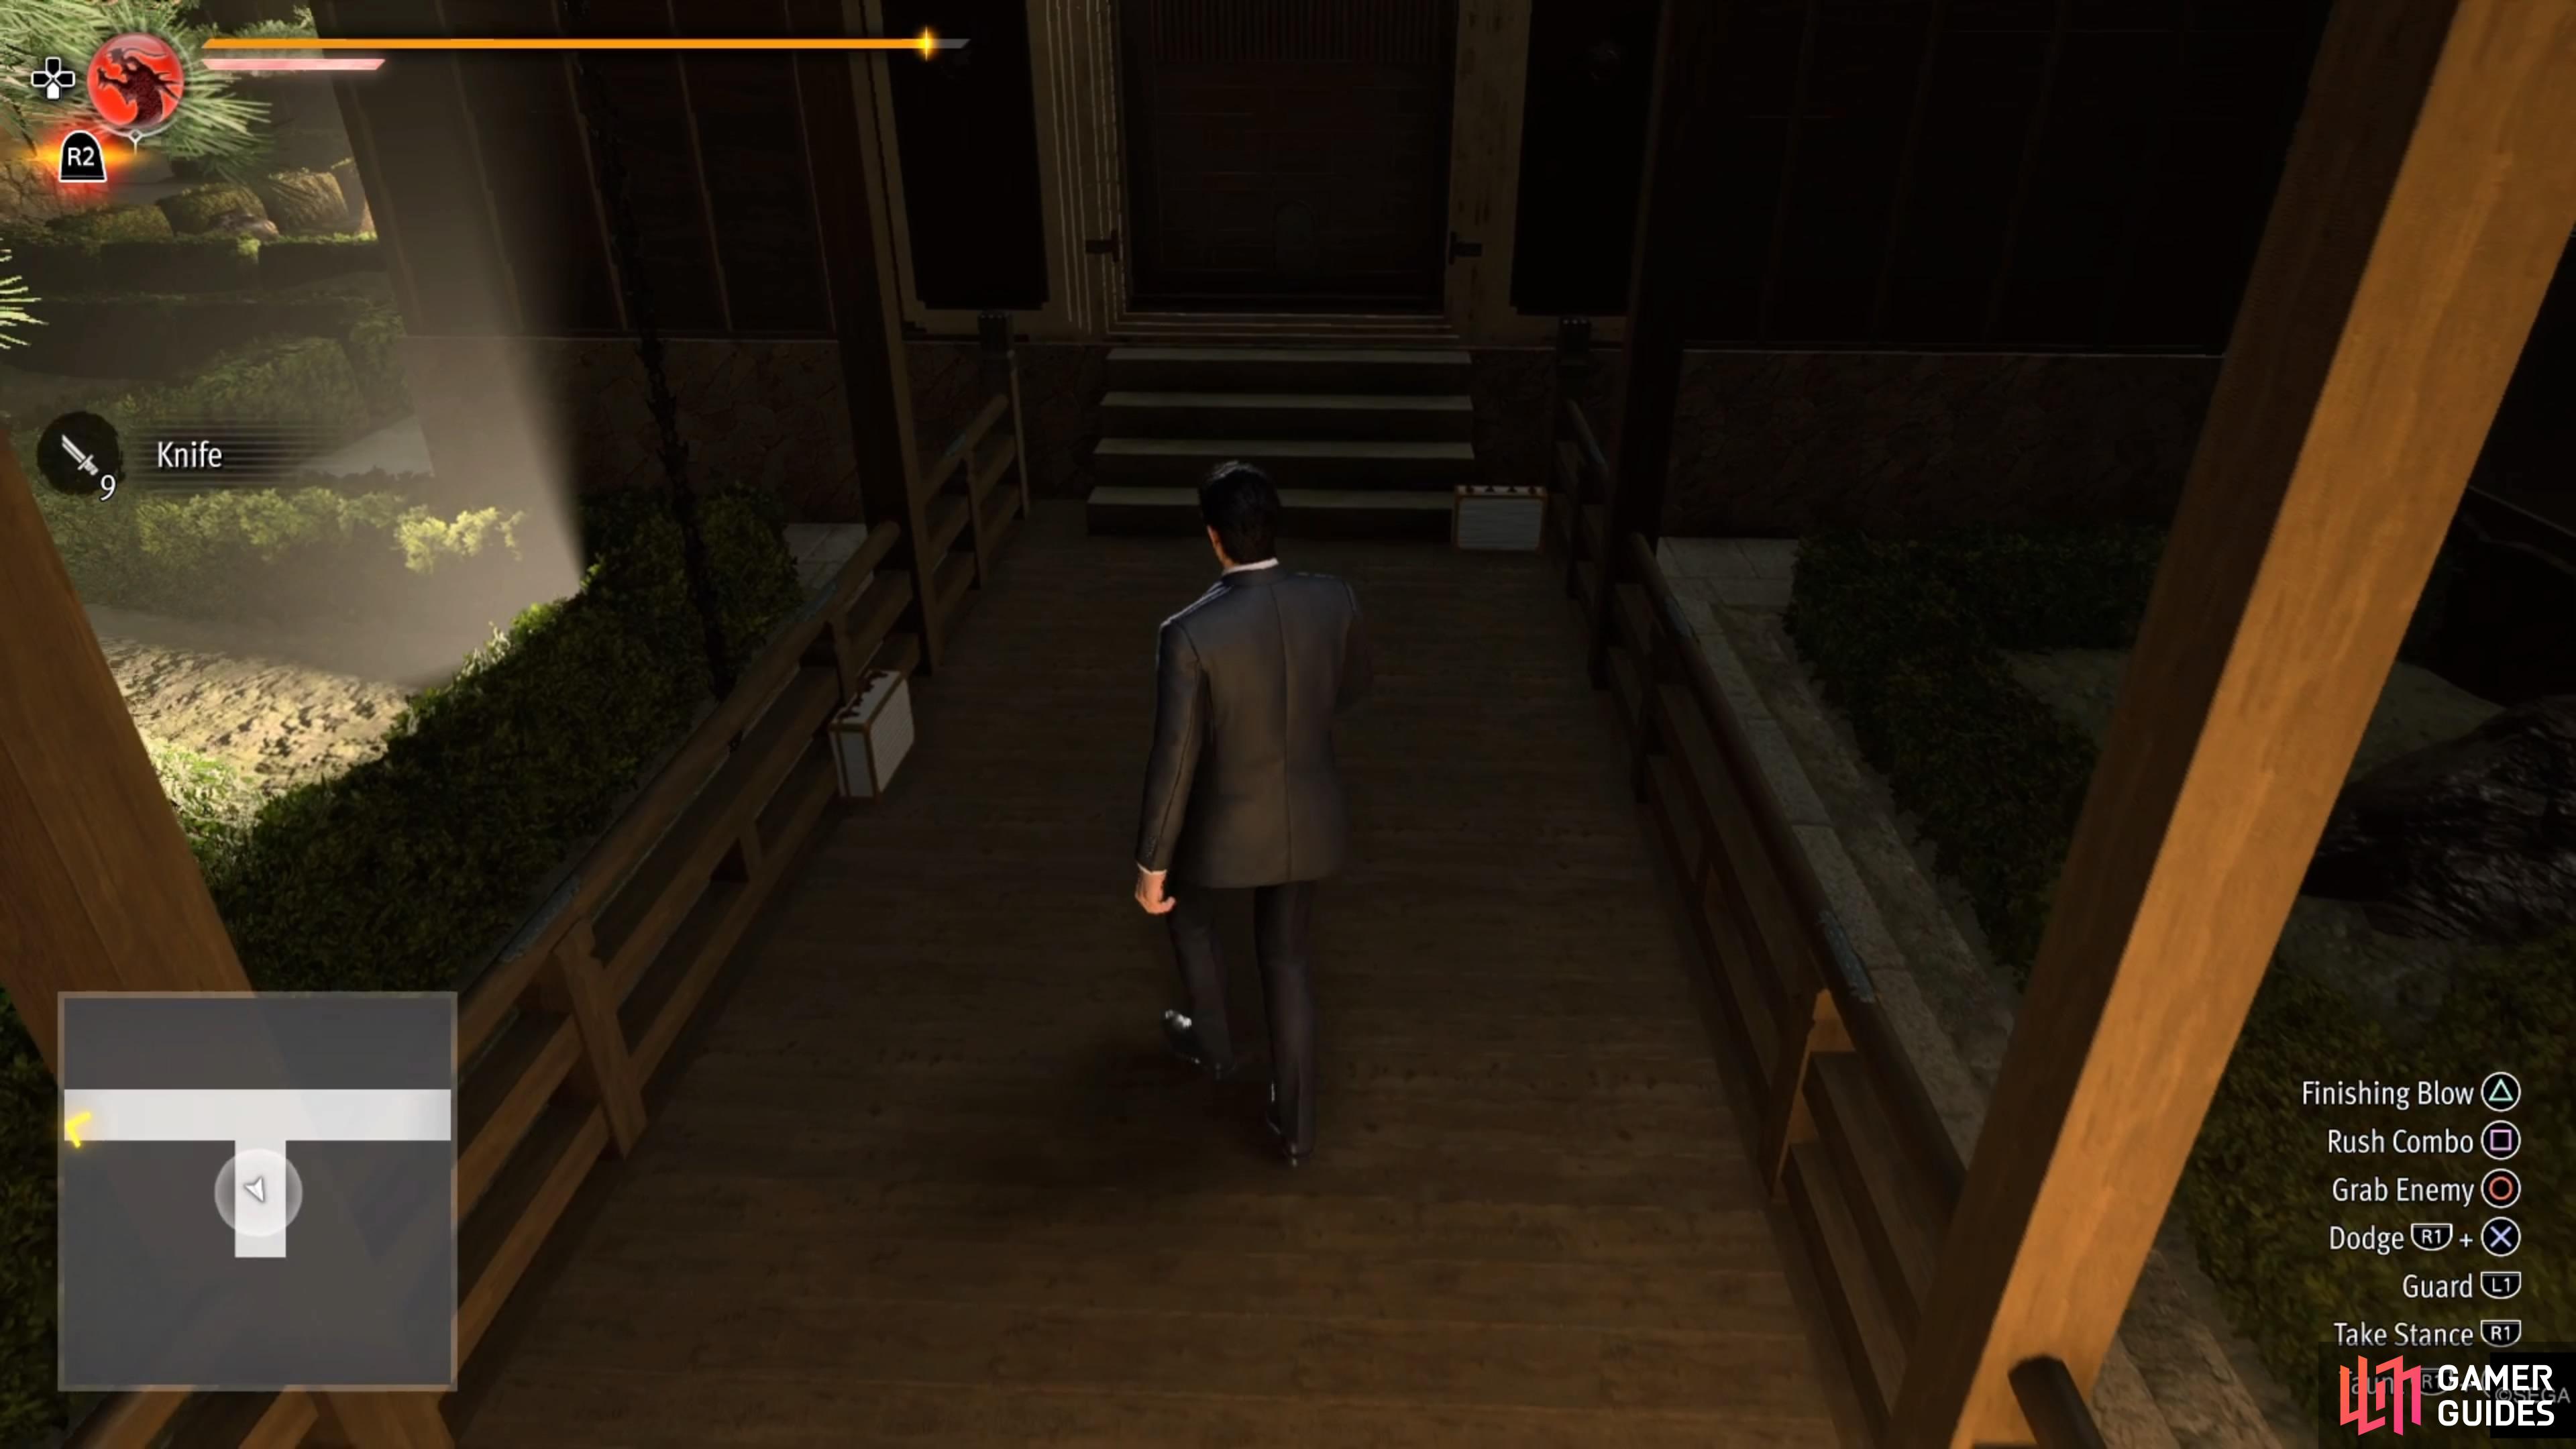
Look for the flashing fences after that little battle, breaking them down with your fists, then exit through the next door. As you go through it, you’ll be ambushed by the next miniboss.


(1 of 4) The first miniboss has an umbrella that shoots electricity.
Agent Mushin Miniboss Guide
This guy has a knife hidden in his shoe, so you want to especially watch out for his kicks, as the knife can inflict Bleed. This ailment will cause you to gradually lose health over time, but there were some accessories you could have gotten during the free roam section that prevent this. If you forgot, treat these minibosses as if they were normal bosses and don’t get too crazy with your attacks. They can power armor through them and start striking back. His ultimate move is nothing more than a straight sidekick.
Exiting through the next door will have you being confronted by more regular agents, so quickly knock them out and continue. As you approach the next exit, you’ll be ambushed for a second time by the next miniboss.
Agent Enzen Miniboss Guide
Agent Enzen is a little bit more annoying than the previous miniboss, as he can toss down what looks like a smoke bomb, but it’ll unveil some caltrops on the ground. If you step on the caltrops, you will take a little damage and be stunned for a short duration, opening you up to more attacks, so avoid them. Enzen is also equipped with a large knife, so unless you have protection against Bleed, expect that ailment to be put on you. If you see him backflip away, which he does quite often, expect some knives to be thrown in your direction.


(1 of 4) The third miniboss can drop a device on the ground that makes caltrops appear.
The final area before the major boss will have one more miniboss, Agent Saigou.
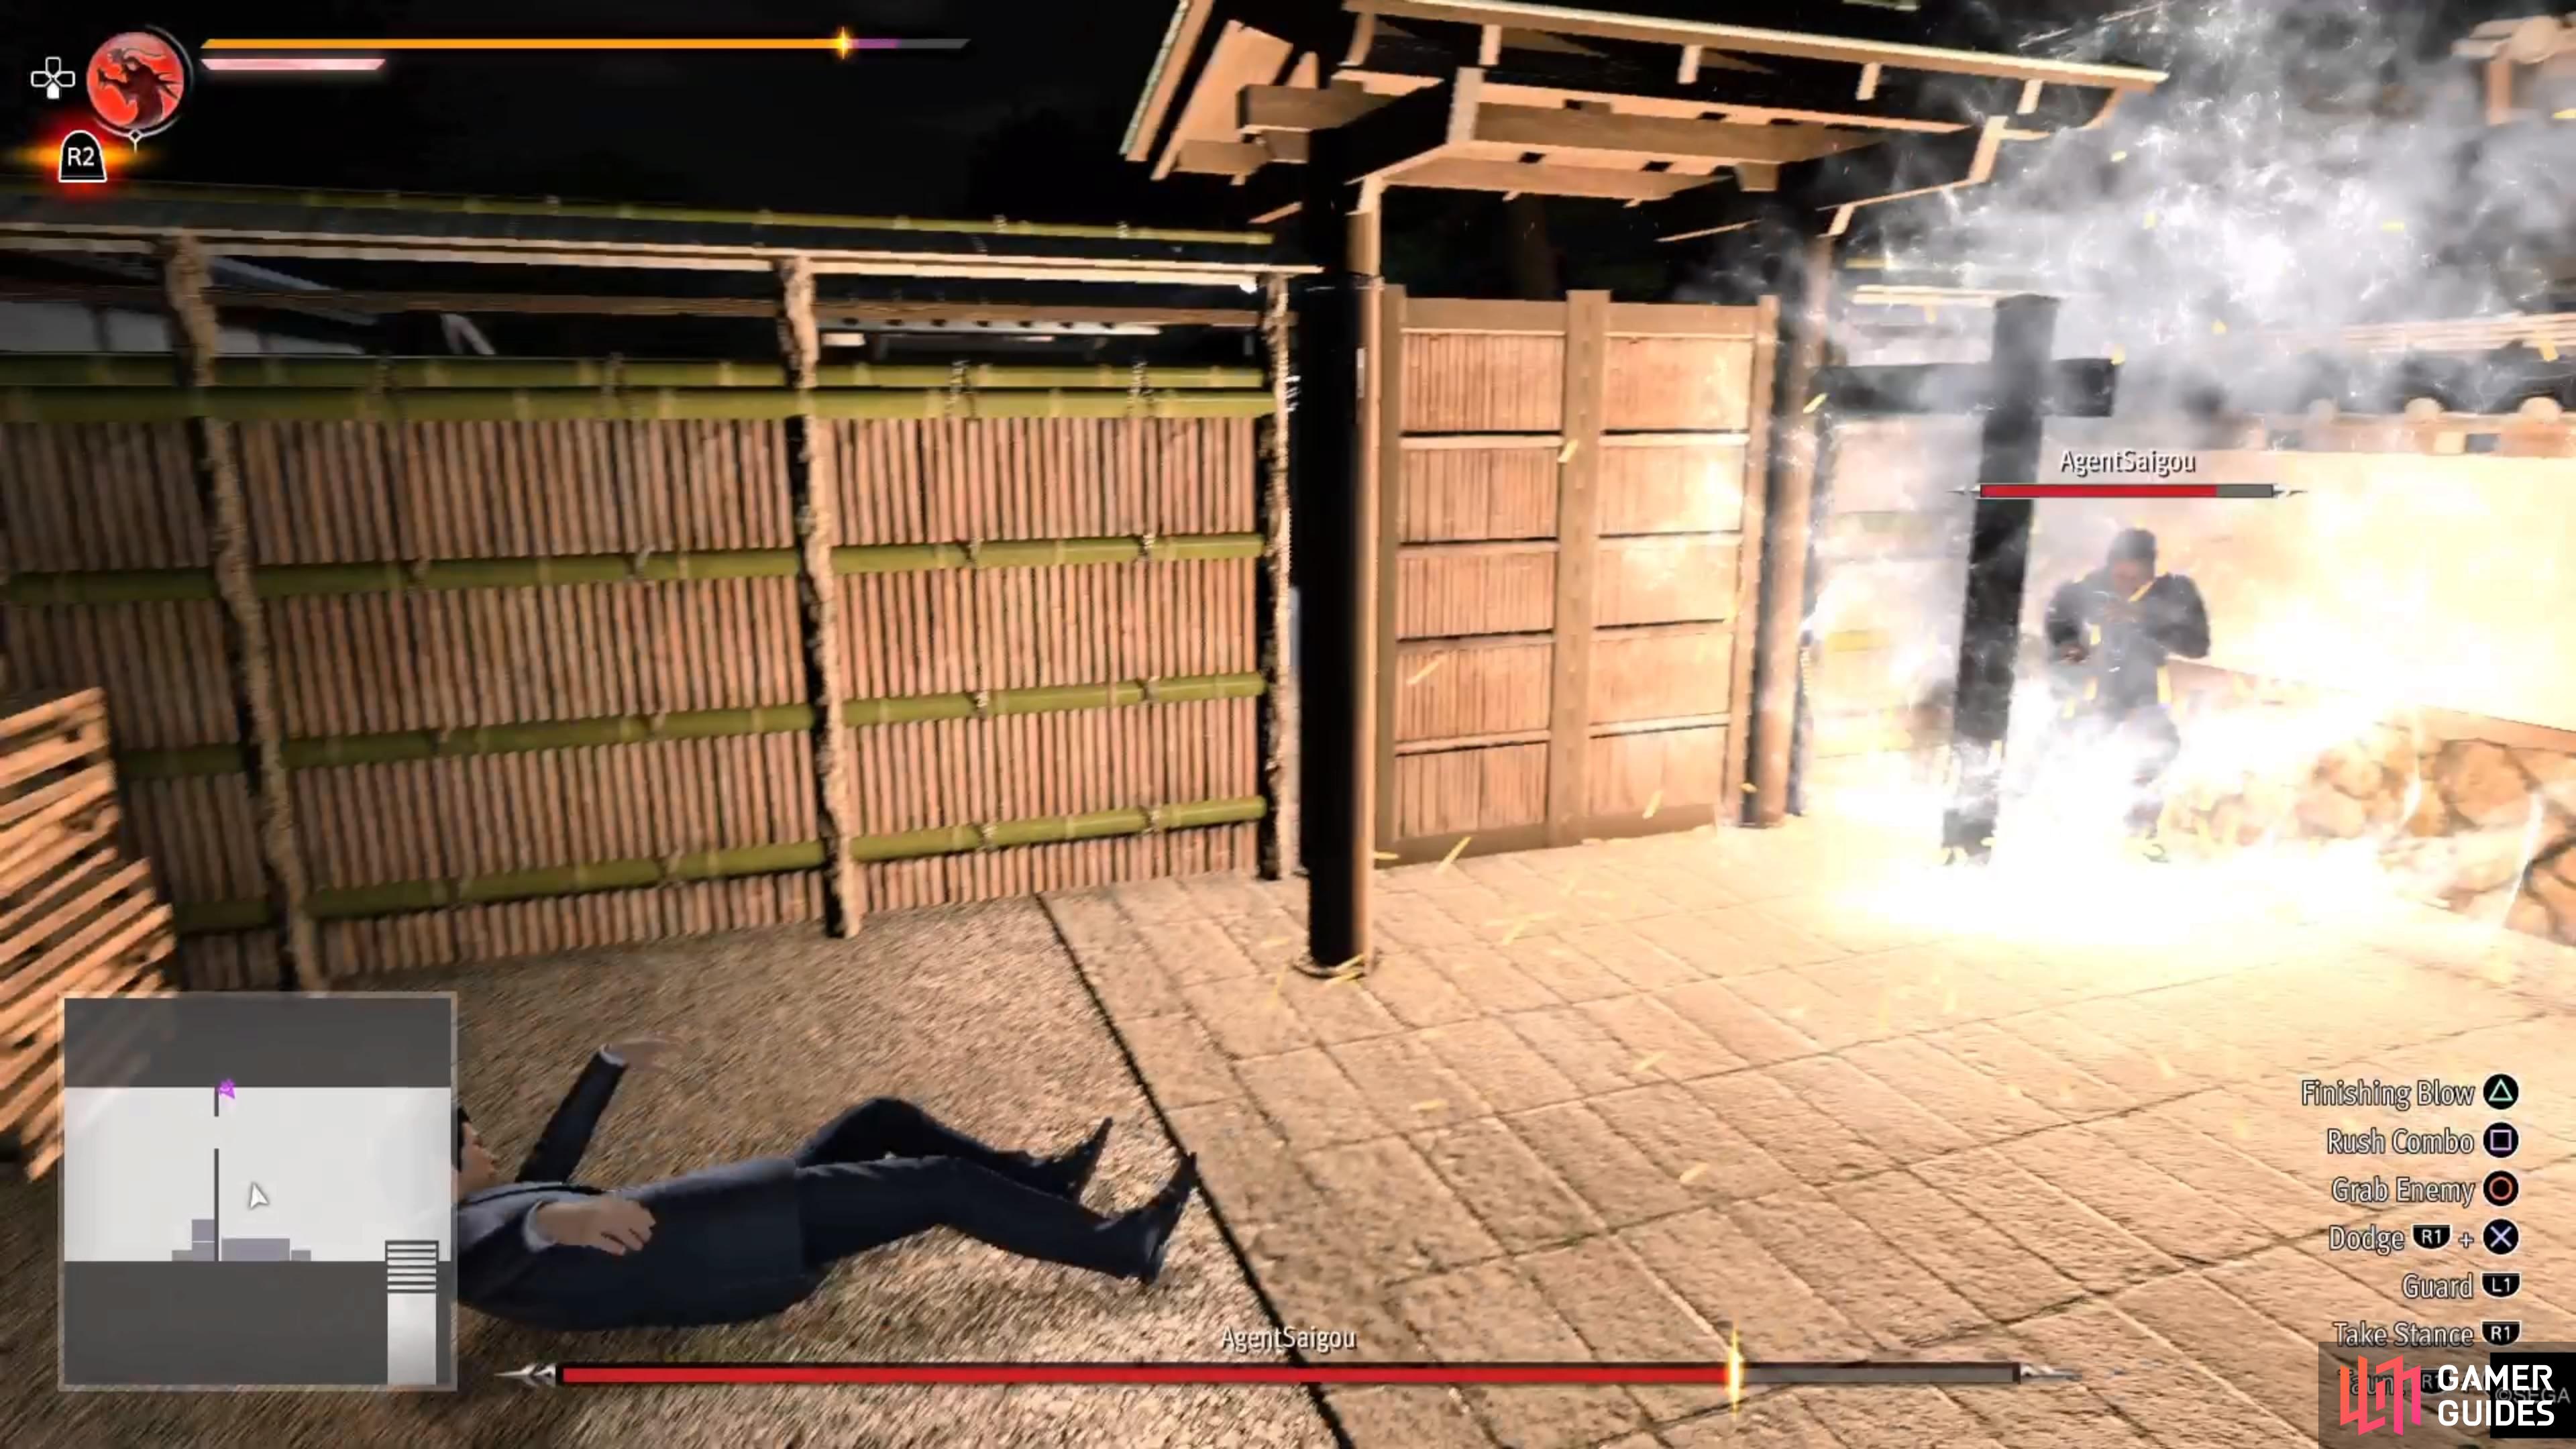
Agent Saigou Miniboss Guide
Saigou is another of the trickier minibosses in this area, as he’s armed with some kind of gauntlet that launches explosive purple rings. He will almost always backflip away from you and launch some in your direction, so you don’t want to be trapped in a corner or anything like that here. He is also the only miniboss that has two health bars in this area, so you’ll be in for a little longer of a fight. His ultimate attack will be a straight punch, followed by a shot from his gauntlet. Outside of those two things, he doesn’t do too much, besides the normal melee attacks.
The rest of the way to the end is uneventful, with Yoshimura waiting for you by the final exit.
How to Beat Yoshimura - Like A Dragon Gaiden
Yoshimura will have several goons with him, so you will probably want to focus on them first. He is equipped with a pistol and will generally try to stay away from you throughout the entire fight while taking potshots at you. If you went after him first, you’d likely leave yourself open to attacks from the other goons. If you have a full Heat Gauge here, then using Extreme Heat with Agent Style might be a good idea to take out the normal enemies.
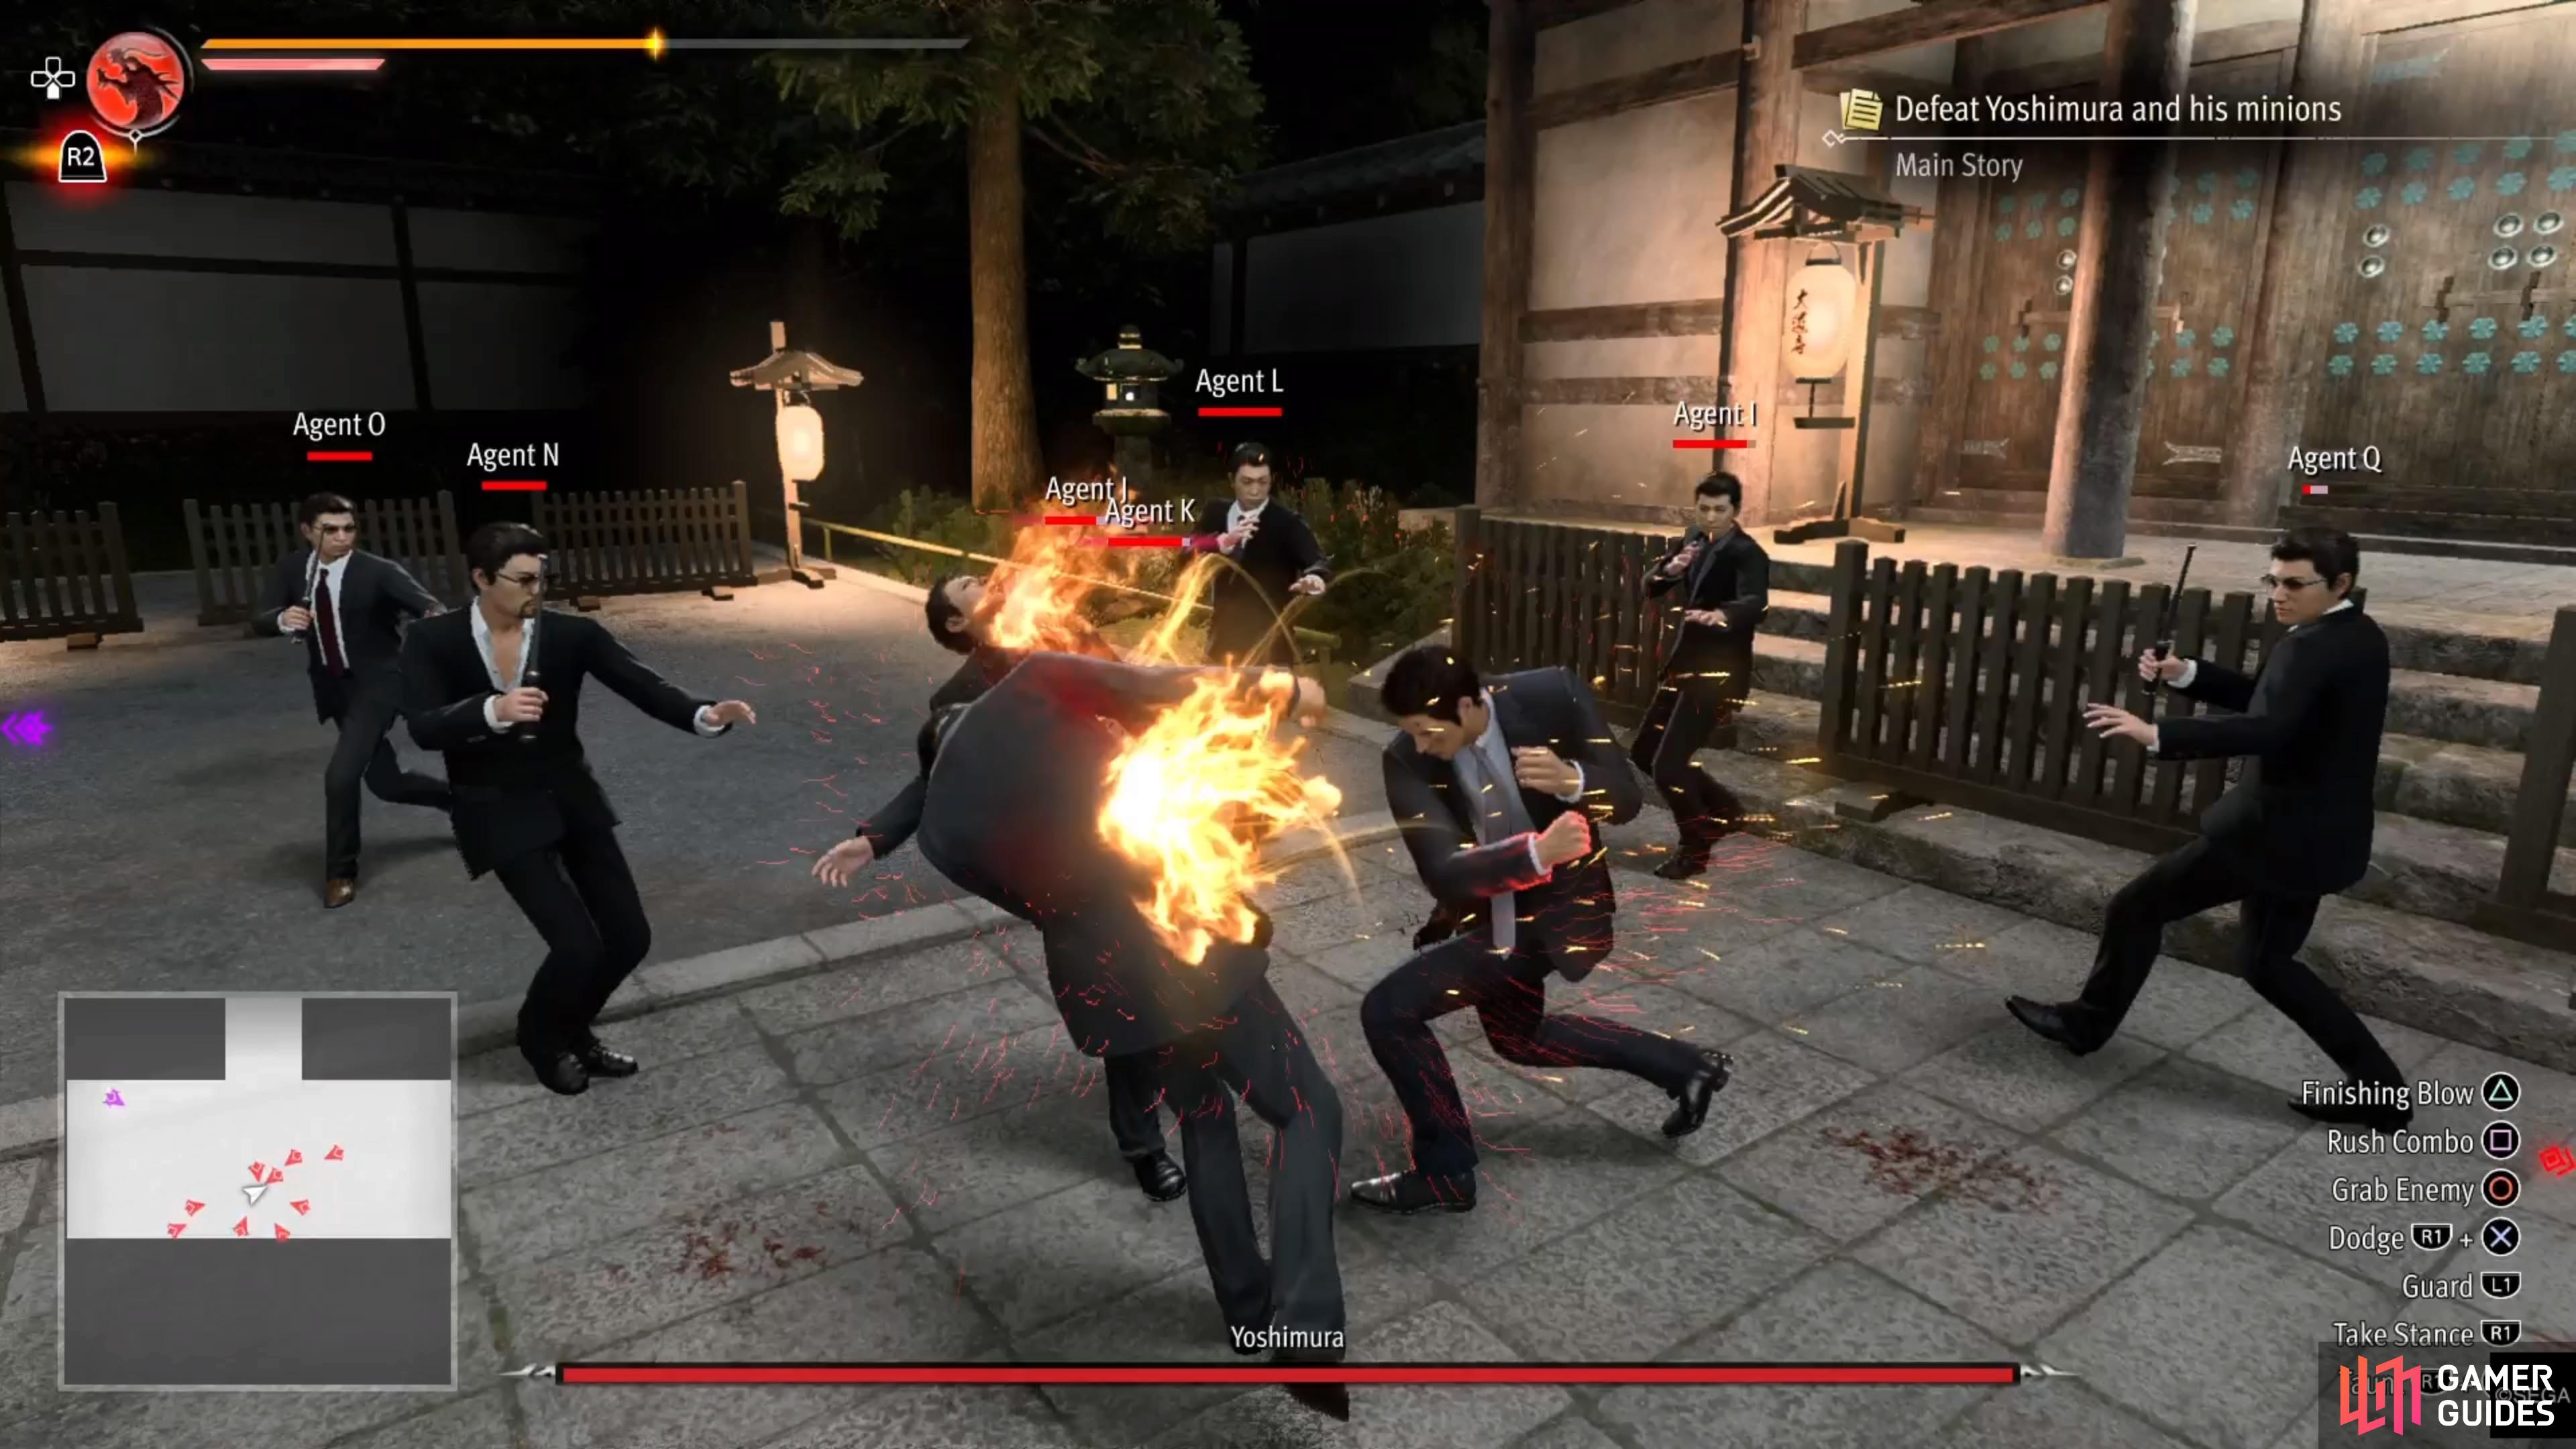
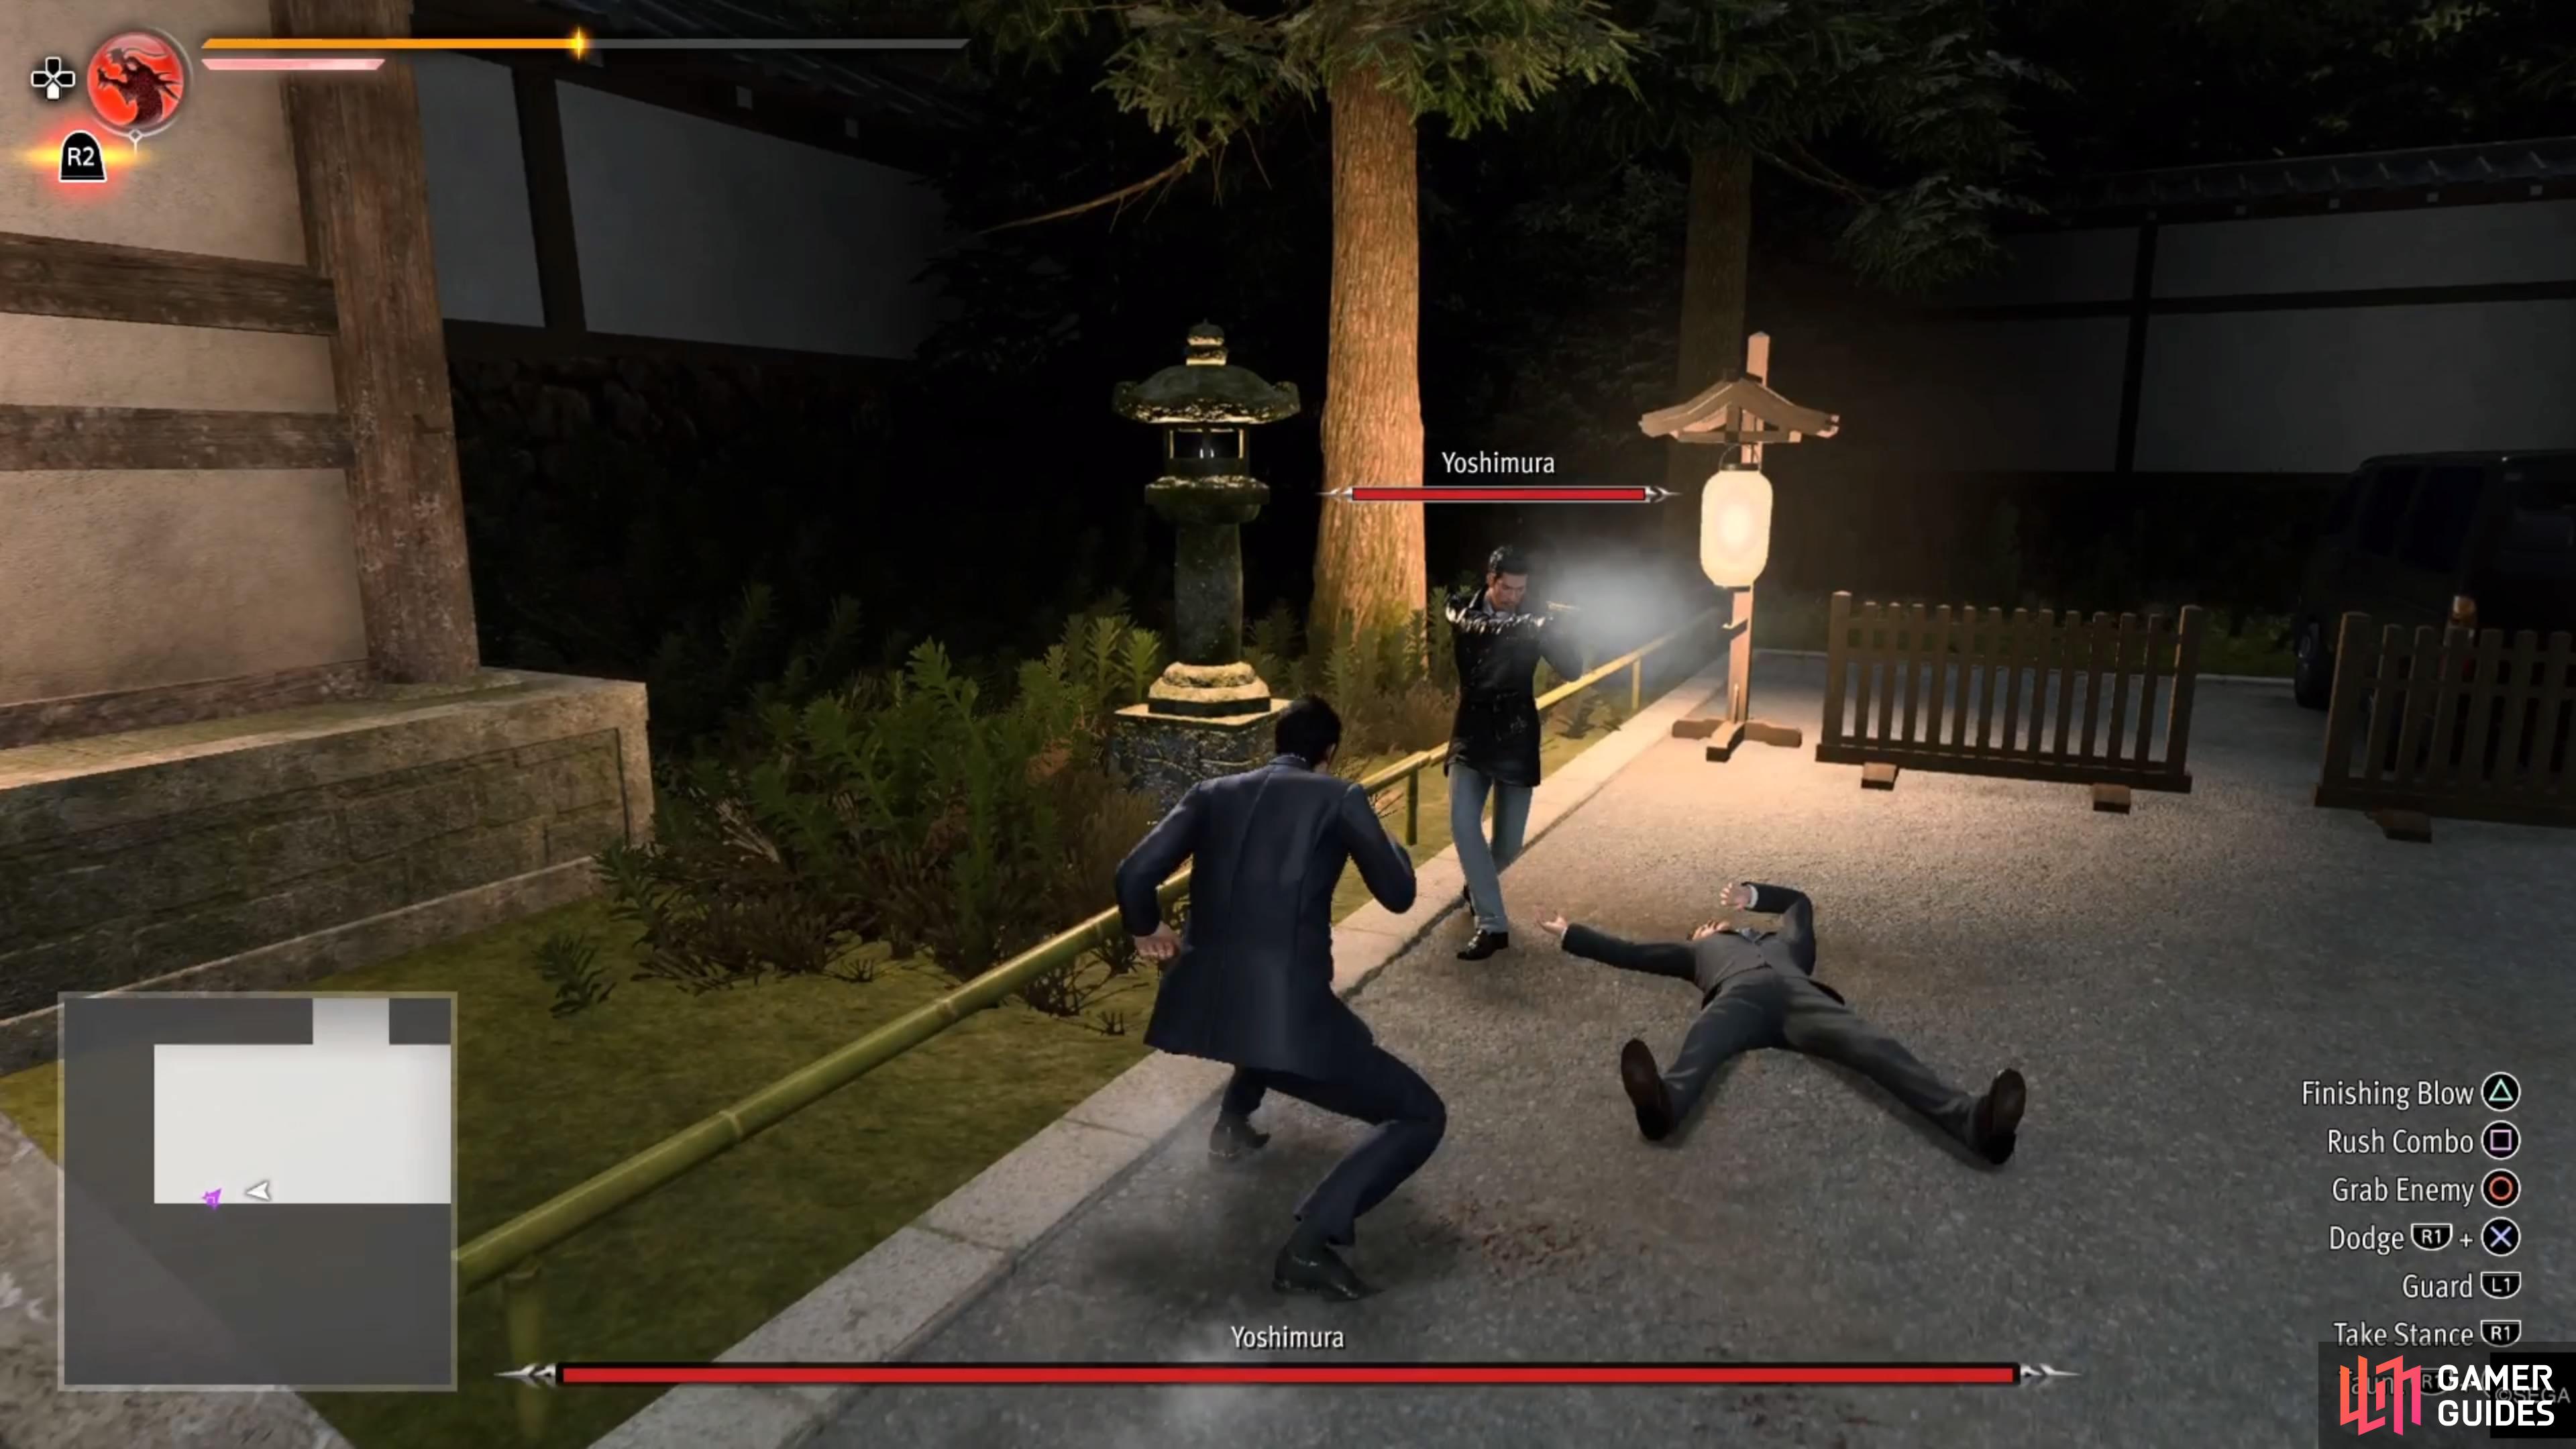
(1 of 3) It’s best to concentrate on the normal enemies first in the battle with Yoshimura.
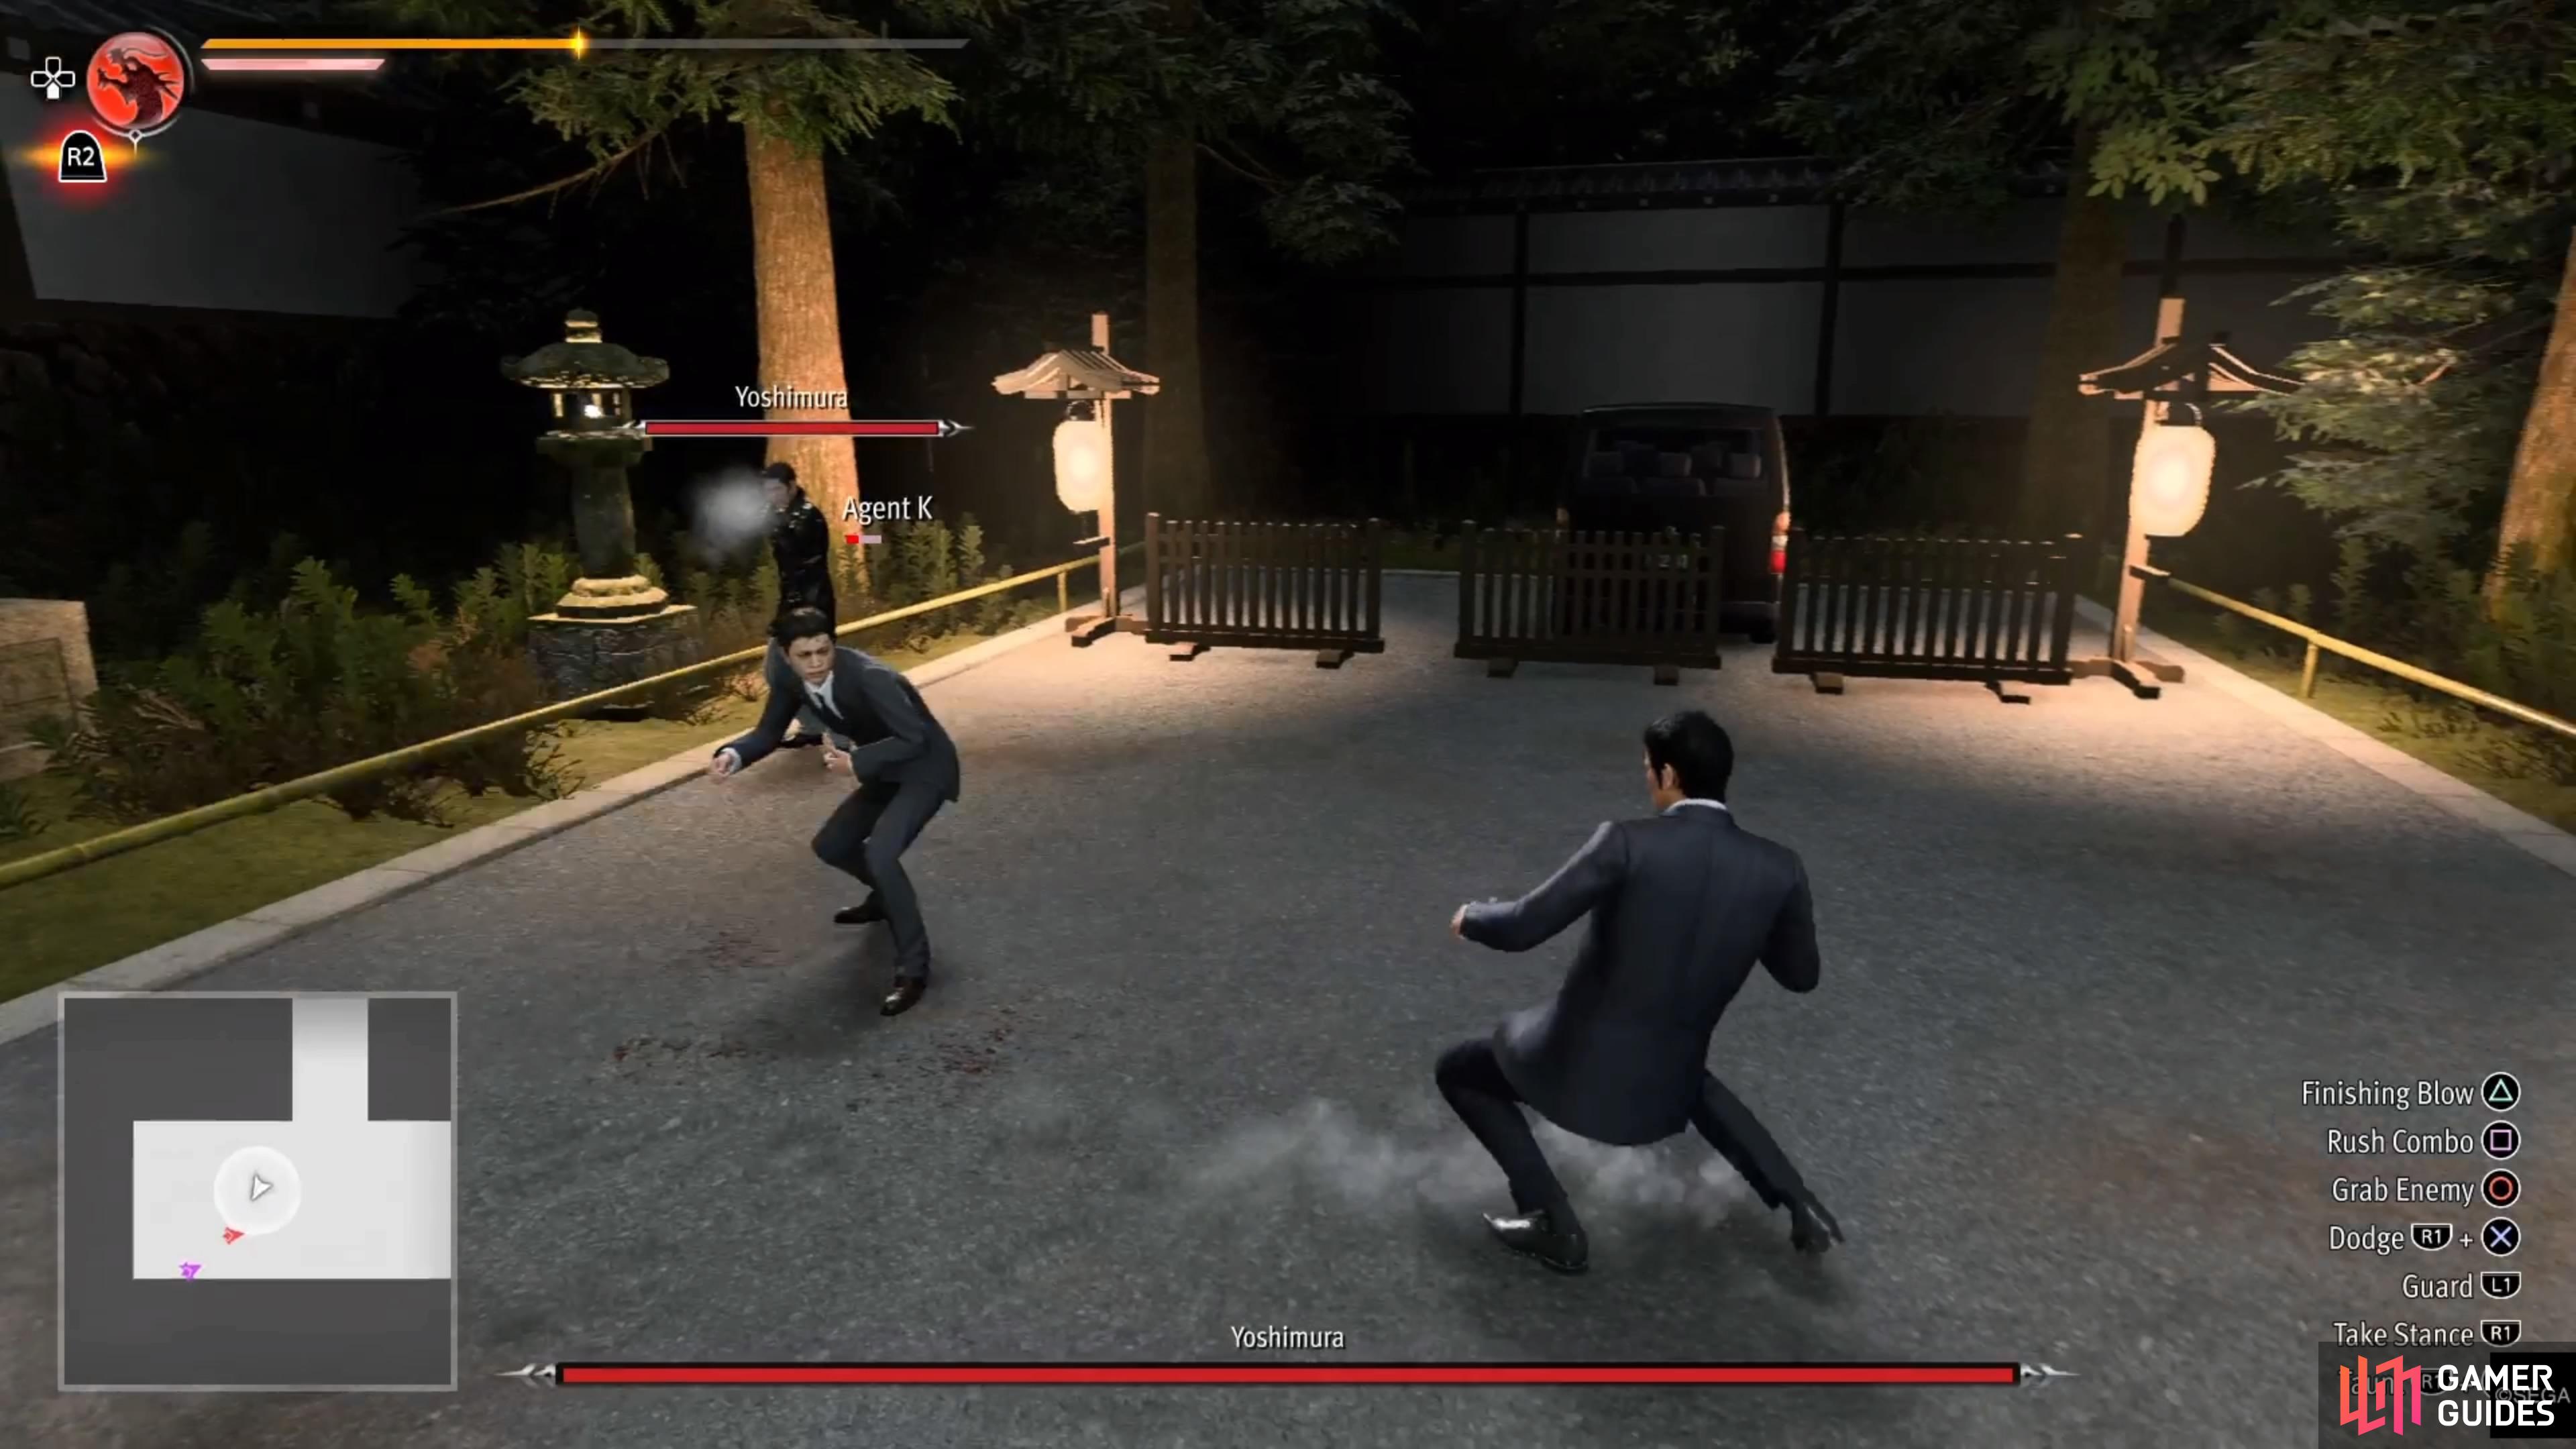
Moving on to Yoshimura, he has a few melee attacks, one of which can actually stun you. However, as mentioned above, he generally retreats to a safer distance to try and shoot you. He has two instances where he’ll fire three shots in a row, one time while moving and another in very quick succession. Try to quickstep out of the way whenever you see him aiming at you, as you don’t really want to get shot. Overall, Yoshimura is a relatively easy boss and really shouldn’t provide you with a lot of trouble.
Once you defeat him, there will be a number of scenes and you’ll be finished with Chapter 1. At the start of Chapter 2, there will be a few more scenes and then thrown into Sotenbori, the main playground of the game.

 Sign up
No Comments