The Queen’s Tomb is a quest in Enshrouded that you get from the Carpenter crafting NPC. The Carpenter doesn’t tell you much about the quest, but you know that you need to find the hidden tomb of a former Queen to unearth some treasure. The tomb is referred to as The Queen’s Catacombs in the objective, but it’s actually called the Mistbury Catacombs, and you’ll find them north of Braelyn Bridge. On this page, we’ll show you how to reach the catacombs quickly, and how to solve the gate button puzzle so that you can enter the room where the Queen’s tomb is located.

You need to loot the Queen’s Tomb in Mistbury Catacombs to complete this quest.
Where to Find the Queen’s (Mistbury) Catacombs
As we mentioned above, the Queen’s Catacombs are actually called the Mistbury Catacombs. If you haven’t ventured north much beyond Braelyn Bridge, you probably won’t know where to find them yet. However, the exact location is conveniently marked on your map, but getting there can be a little tricky if you approach it from the wrong direction. The easiest way is to cross the Braelyn Bridge using your Grappling Hook, then keep going slightly to the northeast until you reach the Small Flint Mine. From here, you can continue in the same direction until you reach a point where the shroud bridges two unshrouded sections of land.
At this stage, you can either use your Glider to get from one side to the other, or just run through the shroud as you continue north. You’ll soon come across the Hill of Scavengers, which you can investigate if you want some extra XP from the mobs and boss there. Otherwise, just keep going north from the hill and you’ll soon see the entrance to the Mistbury Catacombs, shown in the screenshot below.
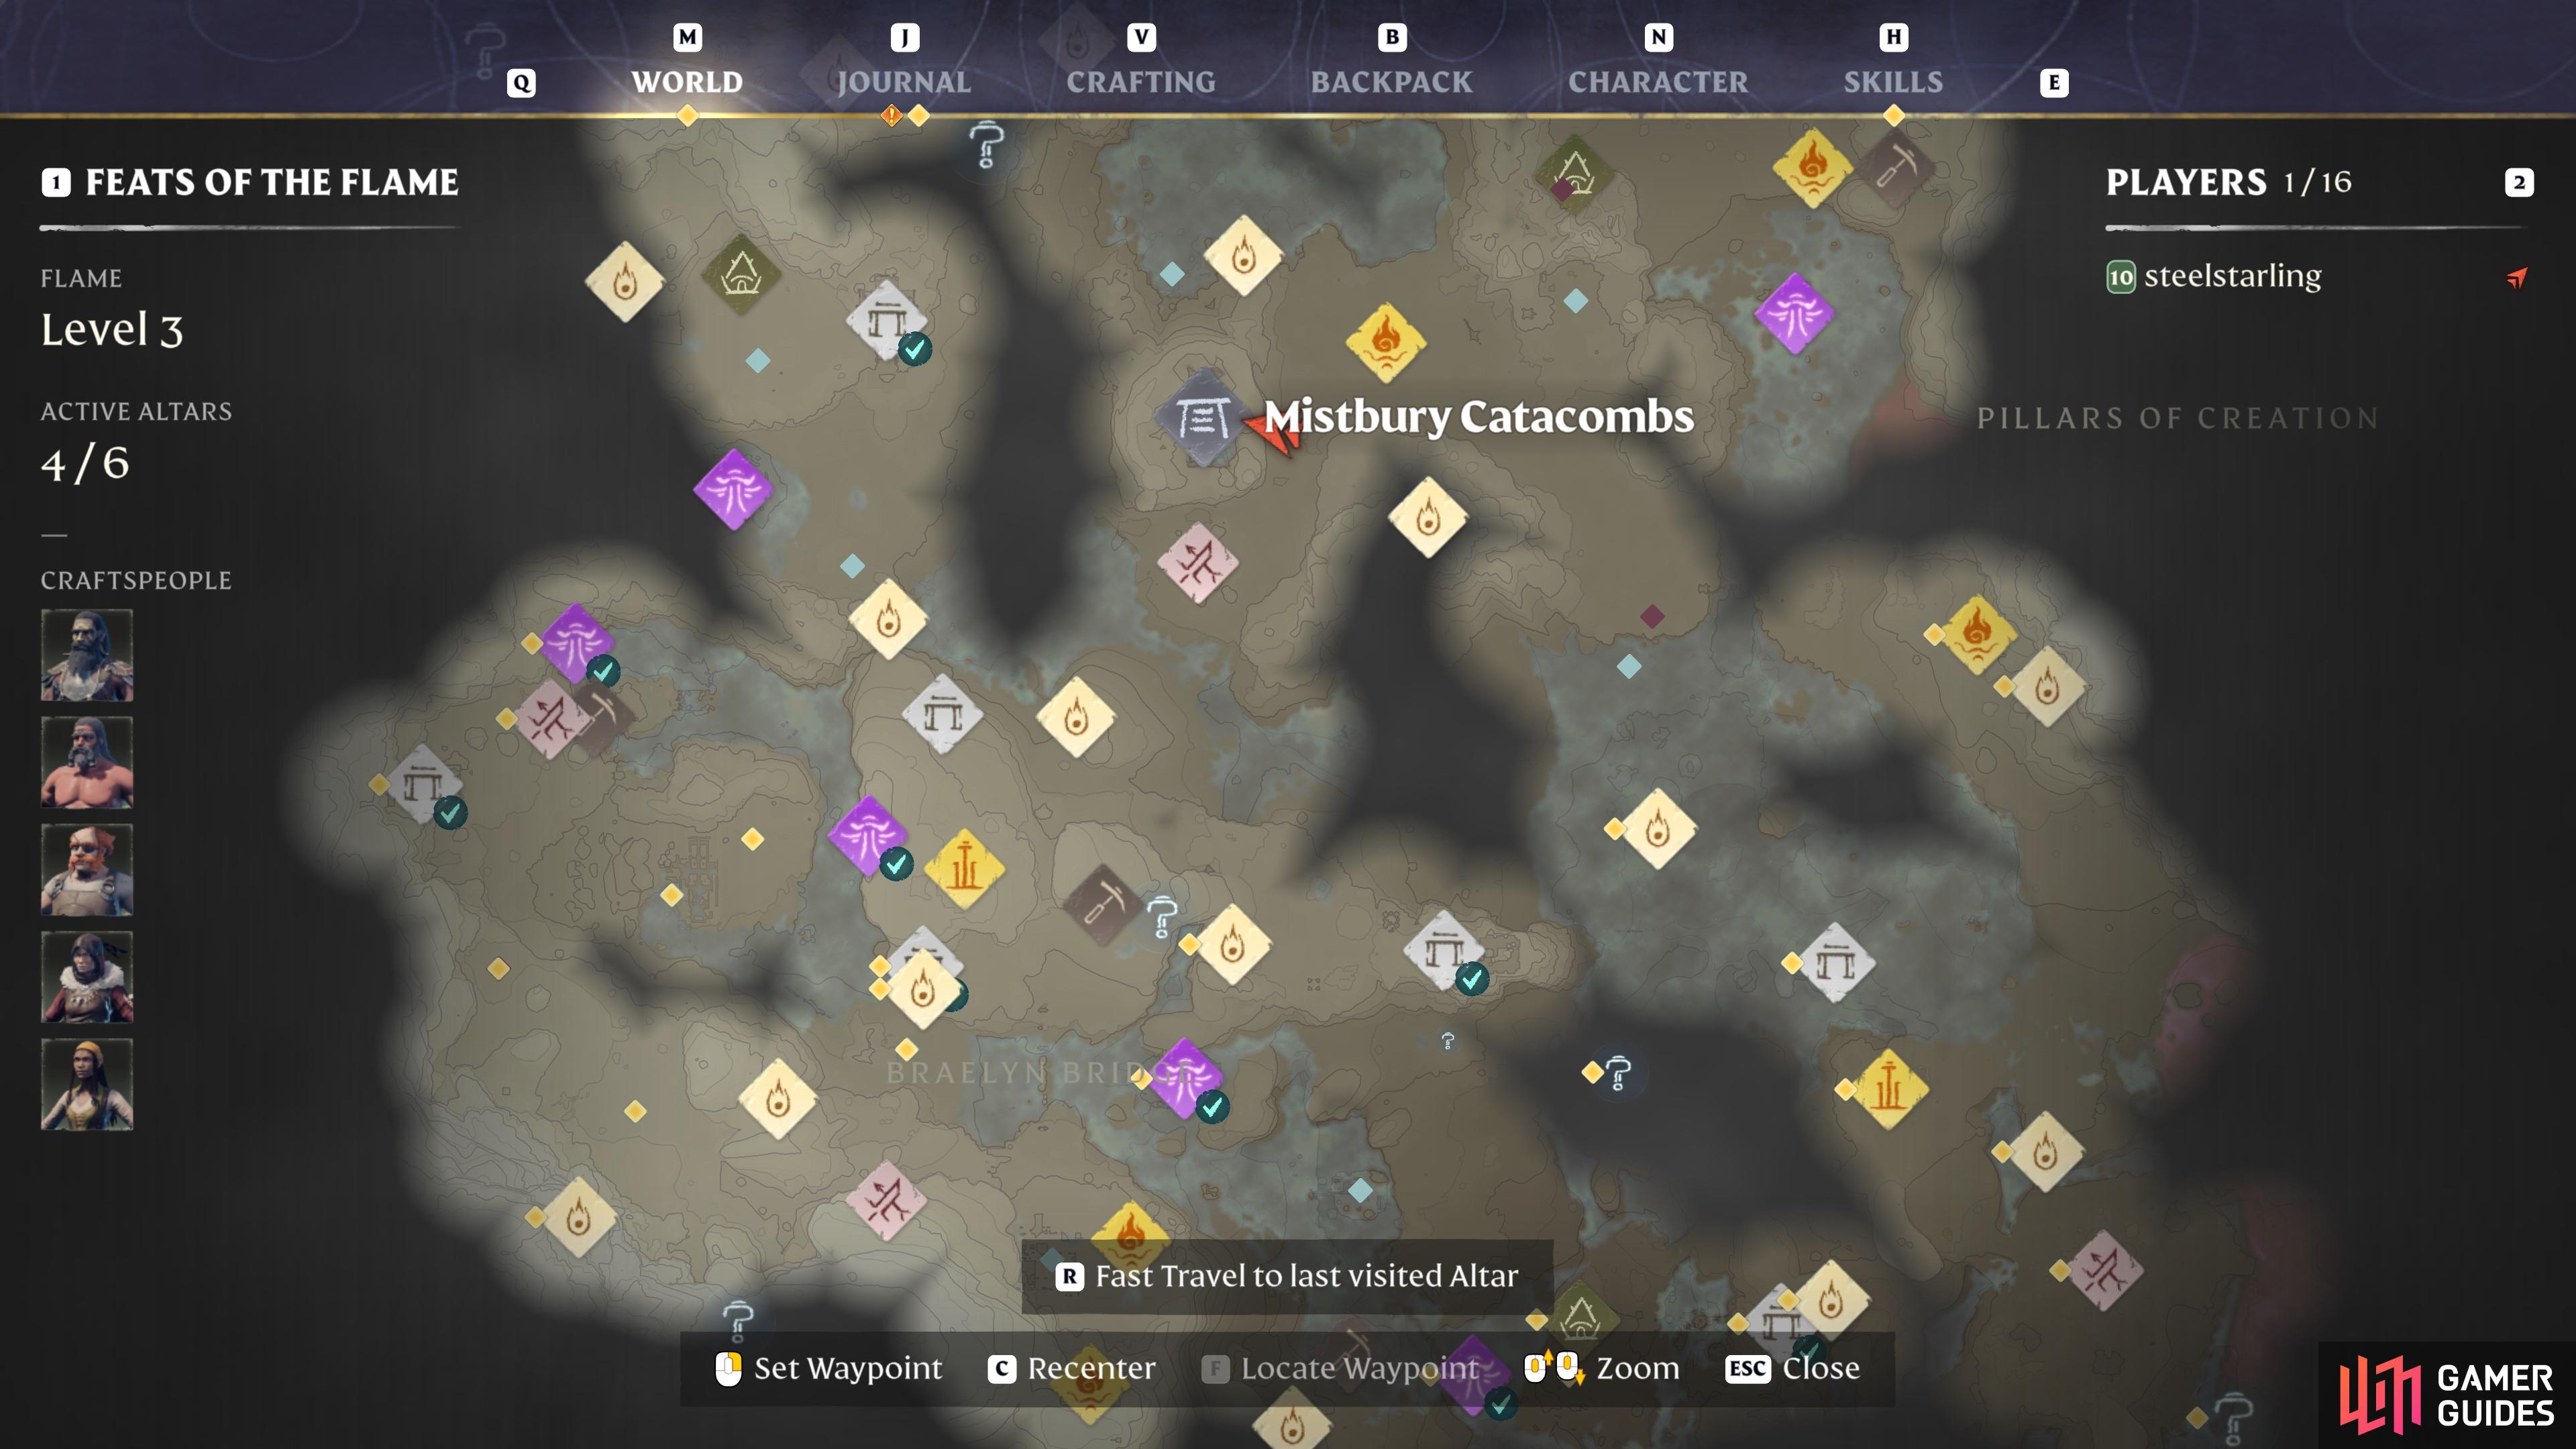
(1 of 2) The location of the Mistbury Catacombs, aka the Queen’s Catacombs.
The location of the Mistbury Catacombs, aka the Queen’s Catacombs. (left), The entrance to the catacombs is built into the hillside. (right)
How to Access the Mistbury Catacombs
When you’re outside the Mistbury Catacombs, you’ll find that the entrance is blocked by large wooden doors. You can either craft a Lockpick using x2 Metal Scraps to open them, or you can use an axe to smash through them. Alternatively, you can throw an explosive at them to destroy them immediately. Whatever method you choose, once you’re inside you’ll notice that there’s a large metal gate at the end of the pathway directly ahead. This has four button icons above it, and each will be highlighted when you find the corresponding button to activate it.
You won’t be able to complete The Queen’s Tomb quest until you access the room behind the metal gate and loot the sarcophagus there. So, you need to complete the gate puzzle as part of this quest.
How to Complete the Mistbury Catacombs Gate Puzzle
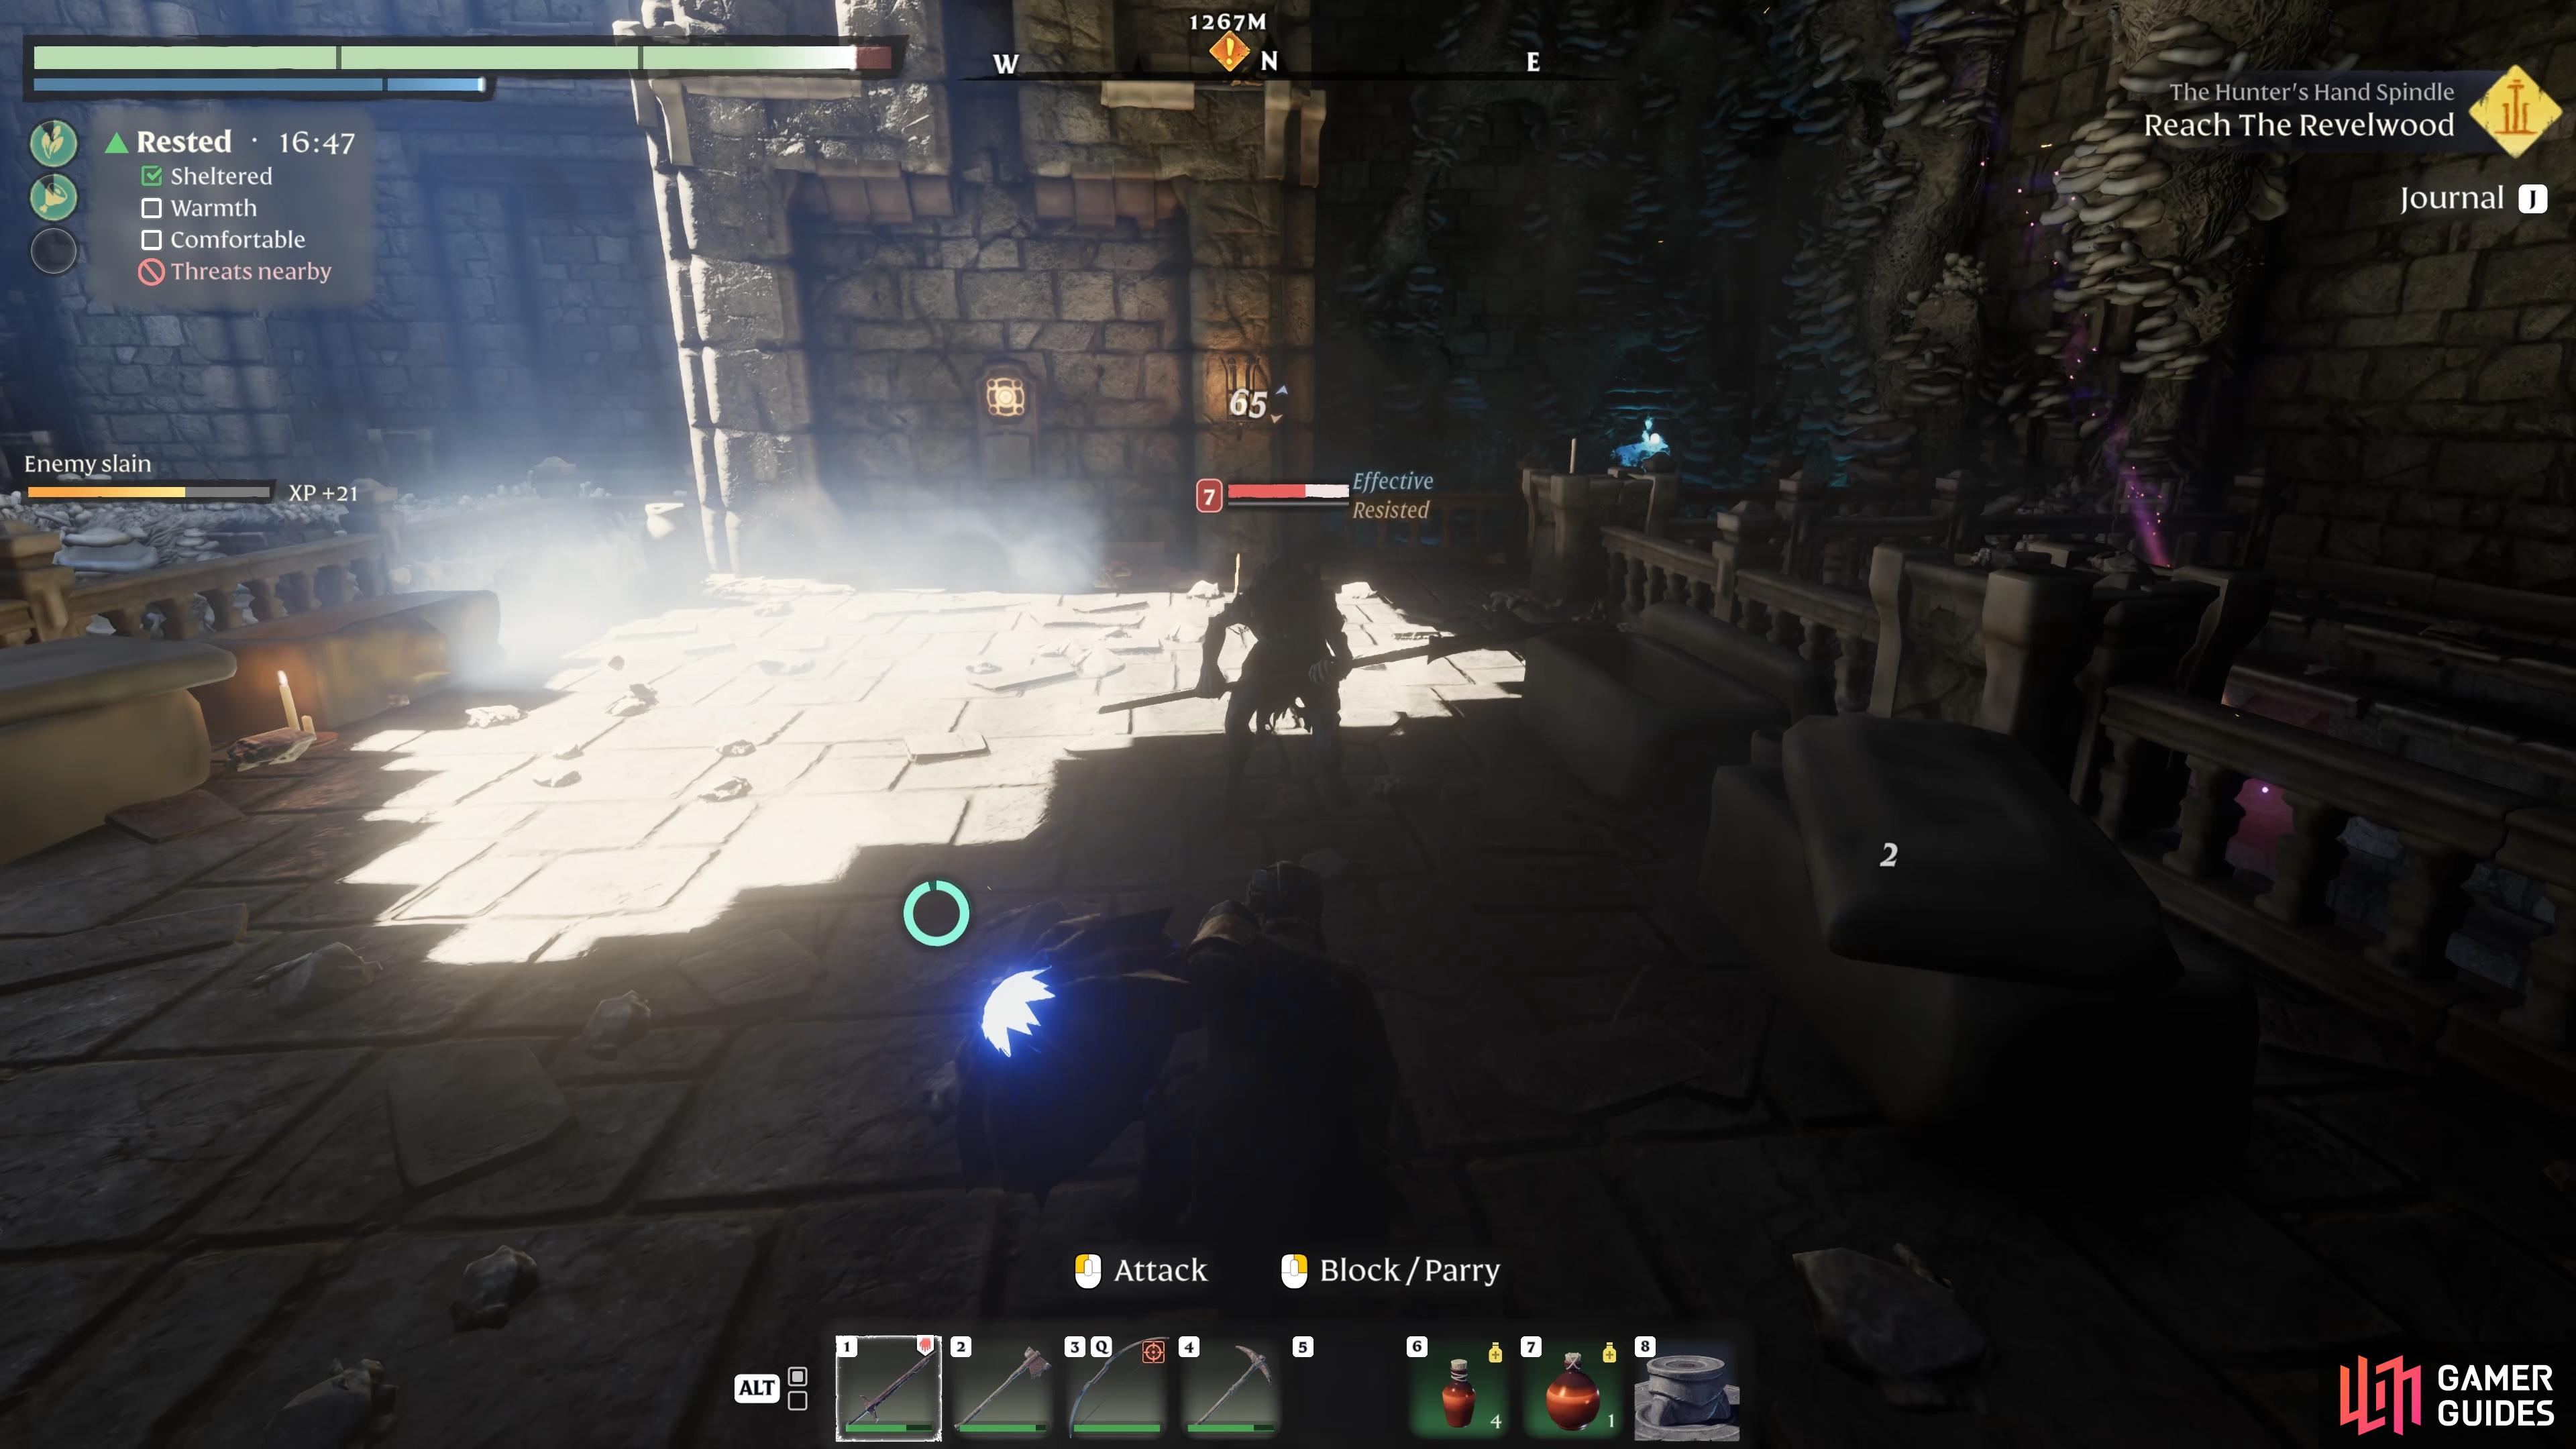
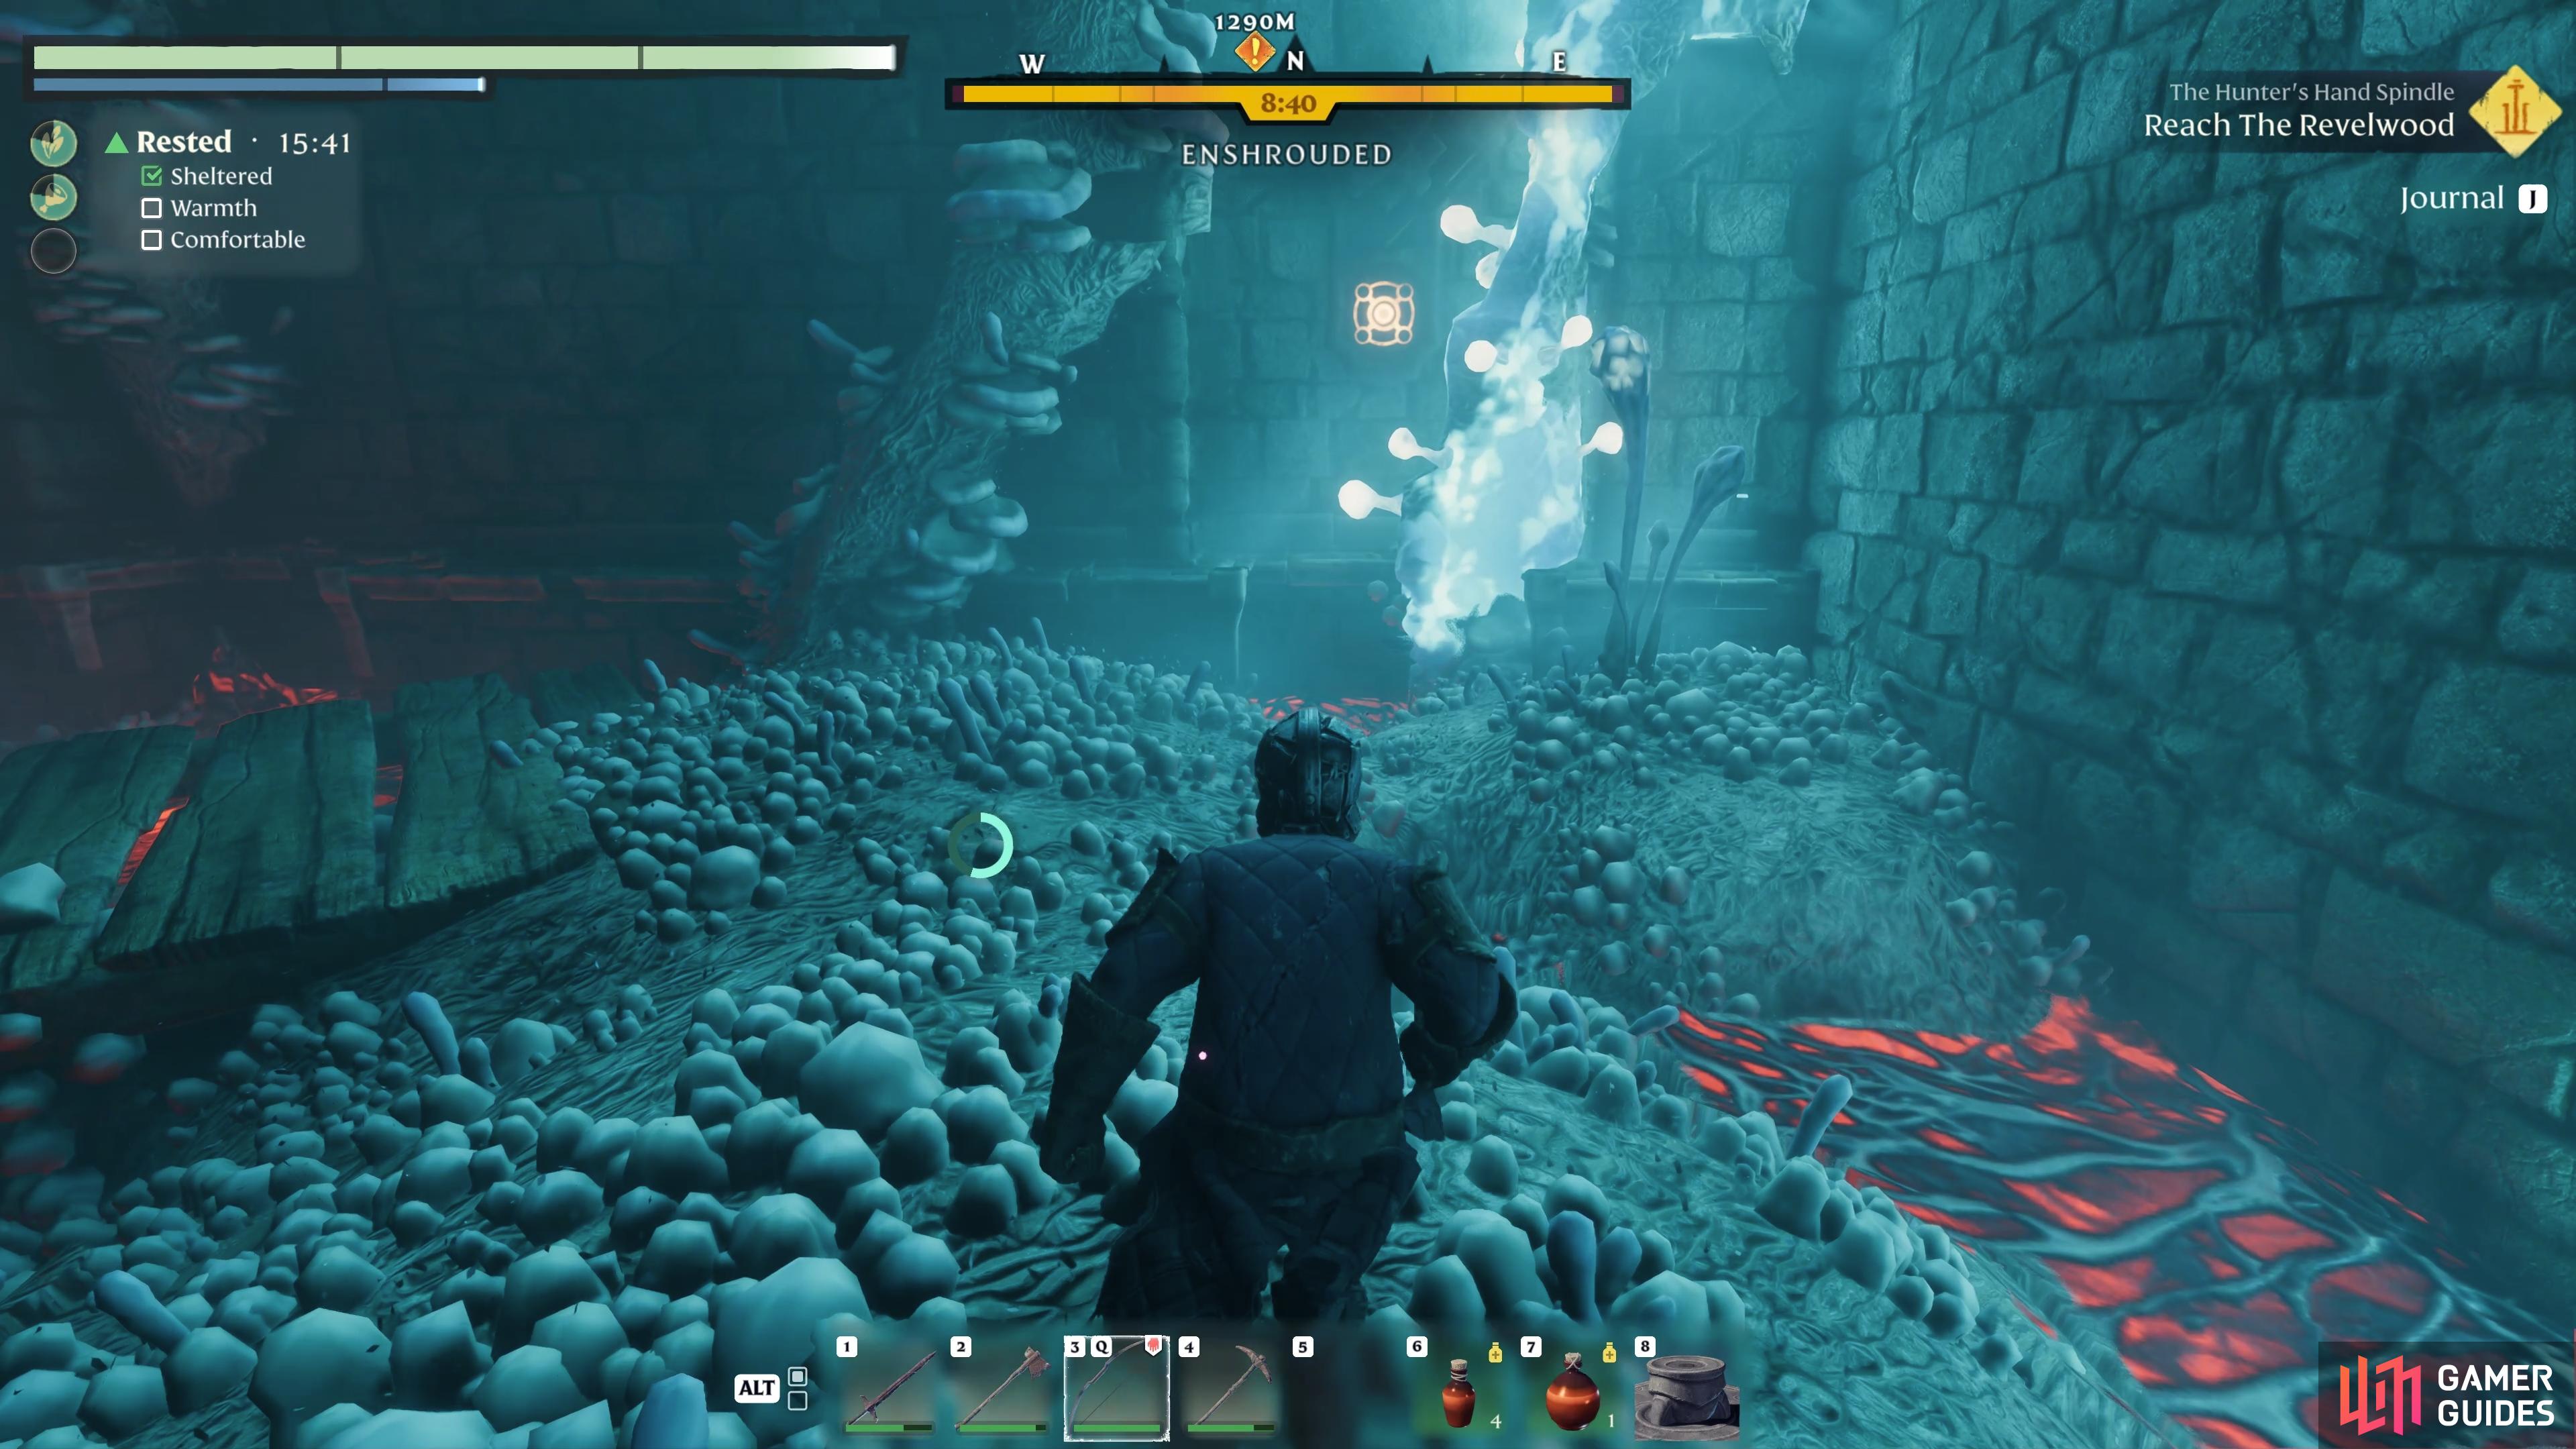
The first thing you should understand about the catacombs here is that all of the area beneath the initial floor level is enshrouded. This means that you’ll have a limited amount of time to explore it, so you’ll want to make sure that you have enough shroud protection to stay inside the shroud for at least five minutes. There are shroud enemies throughout the catacombs, so be ready to kill them as you go.
Most of the shroud enemies you encounter here will be of the same type that you’ve already seen, including archers, swordsmen, and some shielded foes. However, there are also a couple of flying wraiths that patrol the area towards the back of the catacombs, and you’ll find it difficult to damage them with a melee weapon alone. It’s for this reason that we recommend bringing either a wand, a bow, or a staff to inflict ranged damage on these enemies. You can take them out easily enough with most ranged weapons, but you’ll need to be cautious of their magical projectiles, which can track your movements.
Where to Find the Gate Puzzle Buttons
Now that you know how to deal with the new enemies here, your focus should be on finding the buttons to activate above the main metal gate that grants access to the Queen’s sarcophagus. To make things easier as you follow our guide, we recommend starting at the entrance of the tomb, as you’re facing towards the gate (west) with the button icons above it.
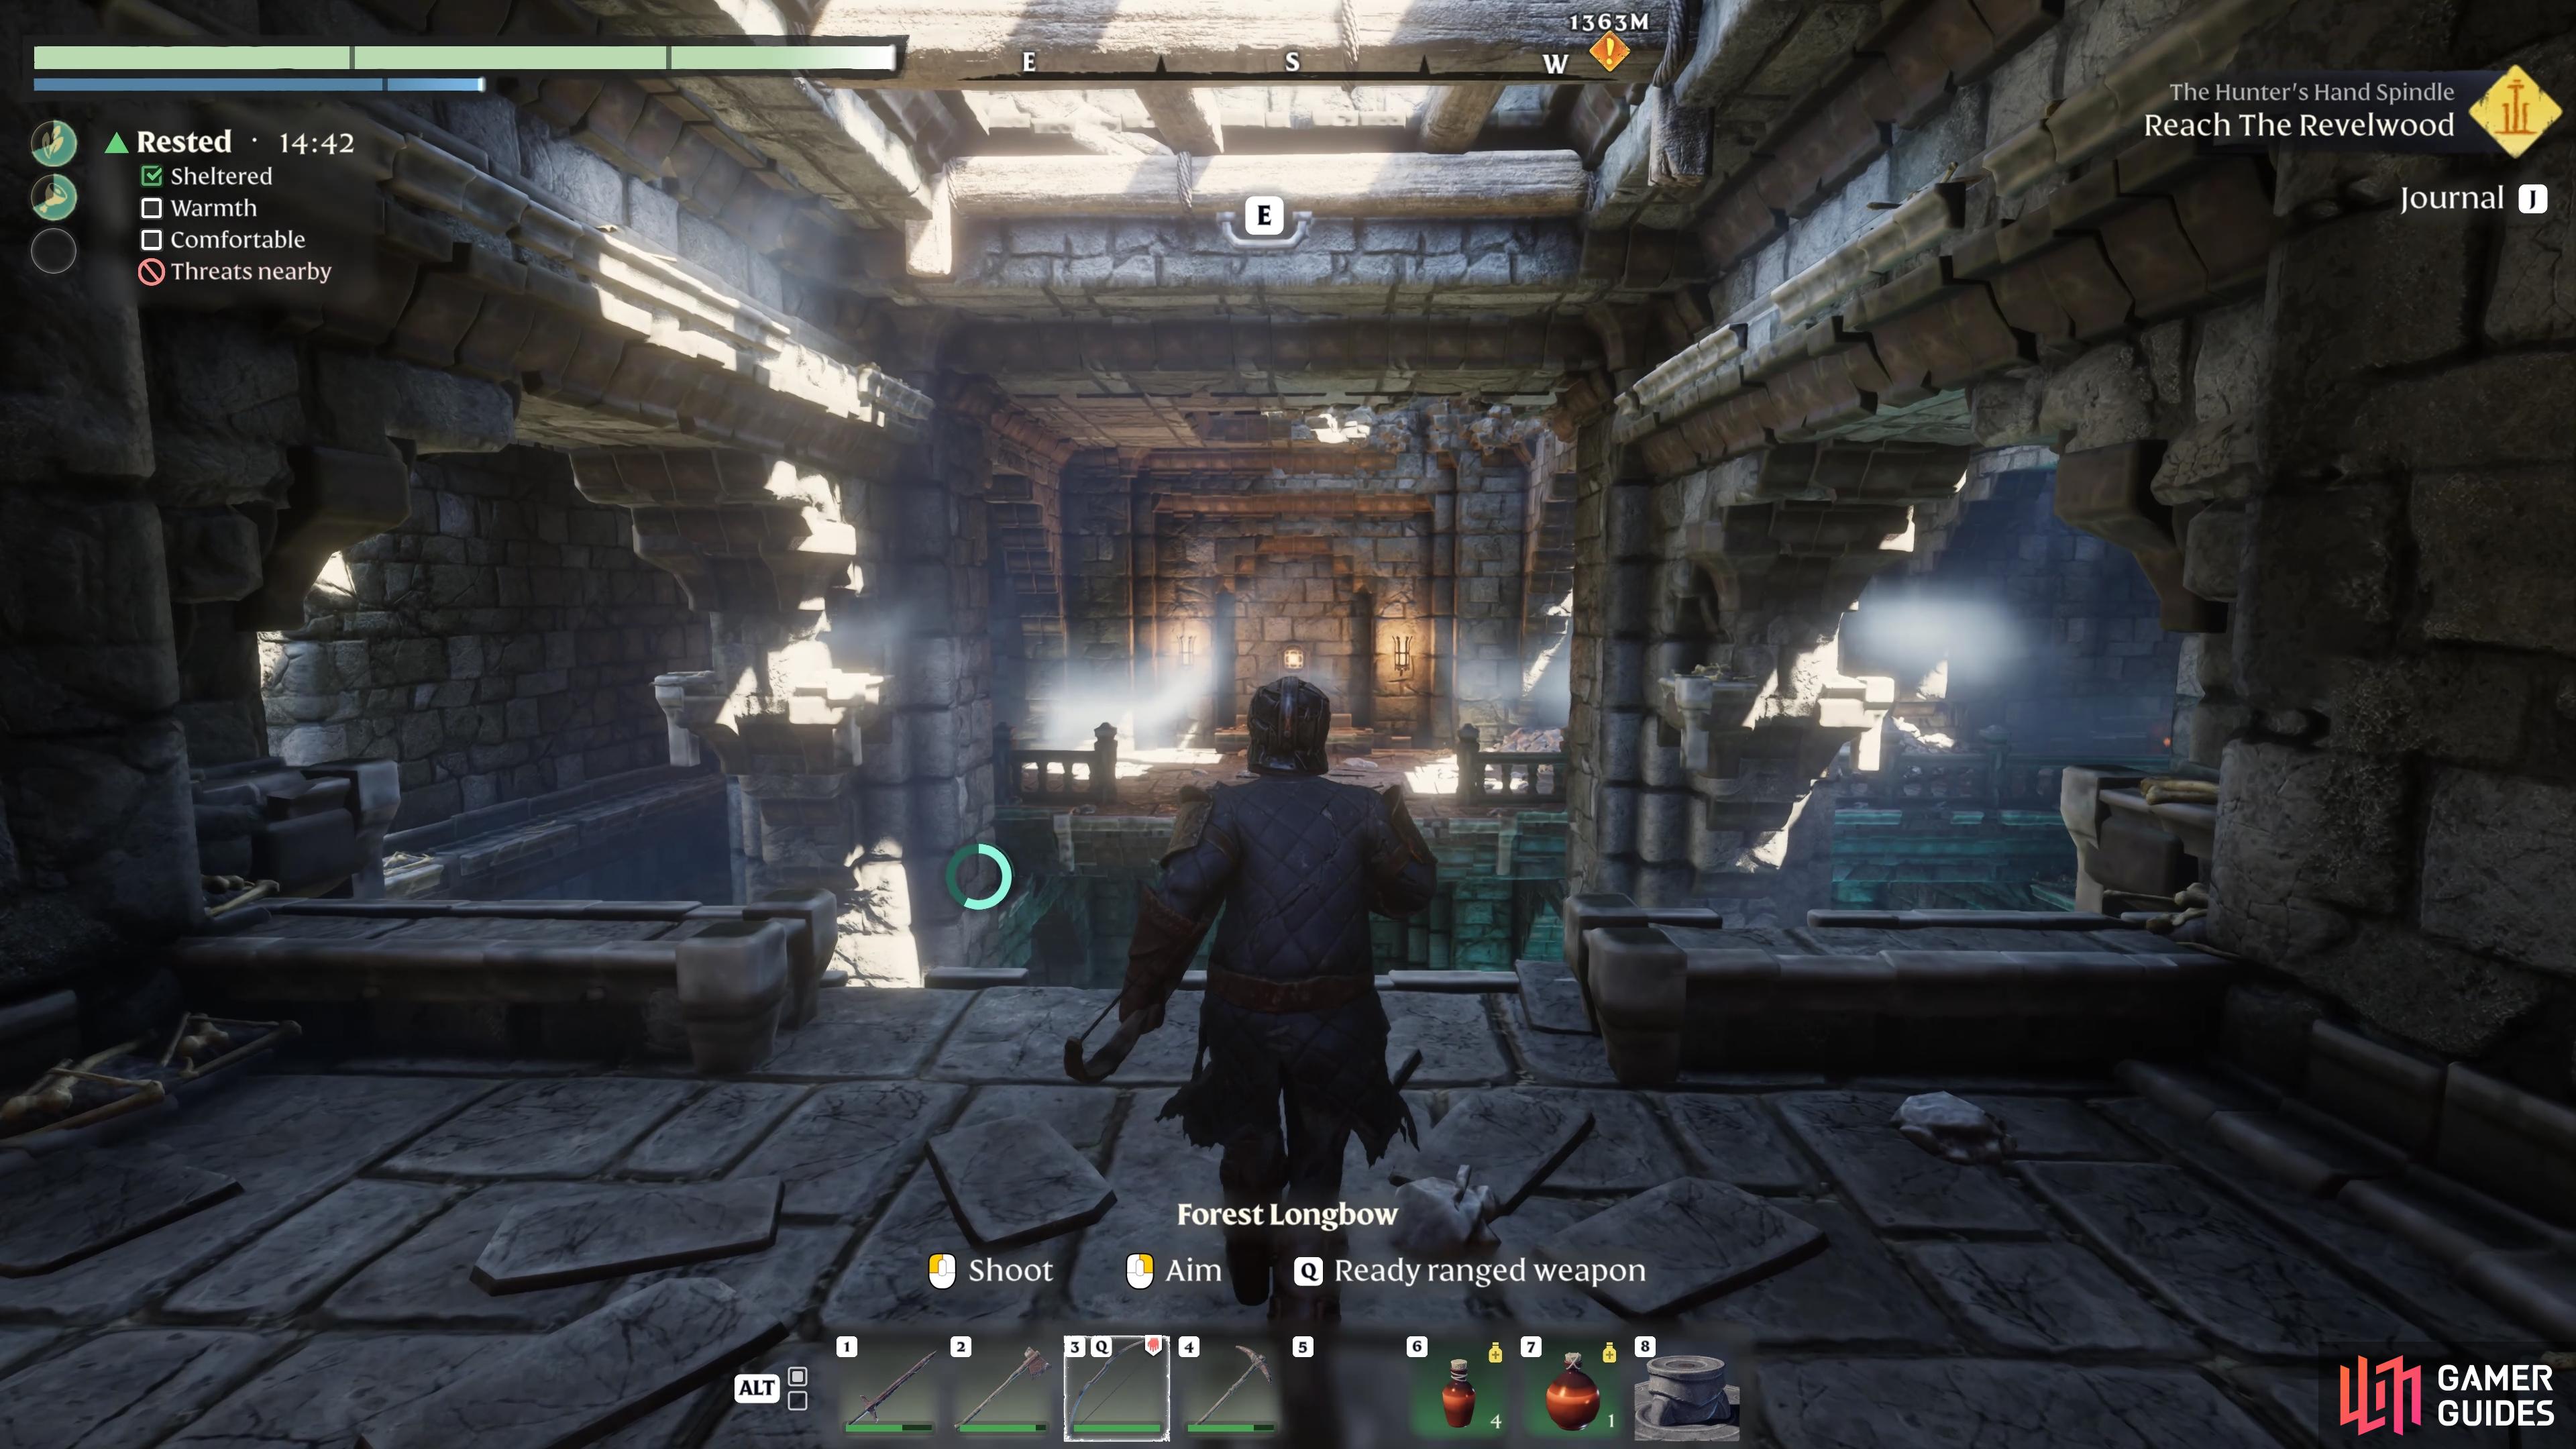
Once you’re at the entrance, you can find the first button by going down the steps and turning right (north). There will be a few enemies up the steps here, but nothing you can’t handle. Kill them, then continue north to another set of wooden doors. You can unlock these using a Lockpick, or smash through them with your axe. Either way, you’ll find more enemies on the other side, and the first button on the wall directly ahead.
After activating this first button, you can go back to the central chamber and look towards the locked metal gates on the western side to see that one of the buttons above is now highlighted. You’ll be doing the same for the other three before the gate opens.
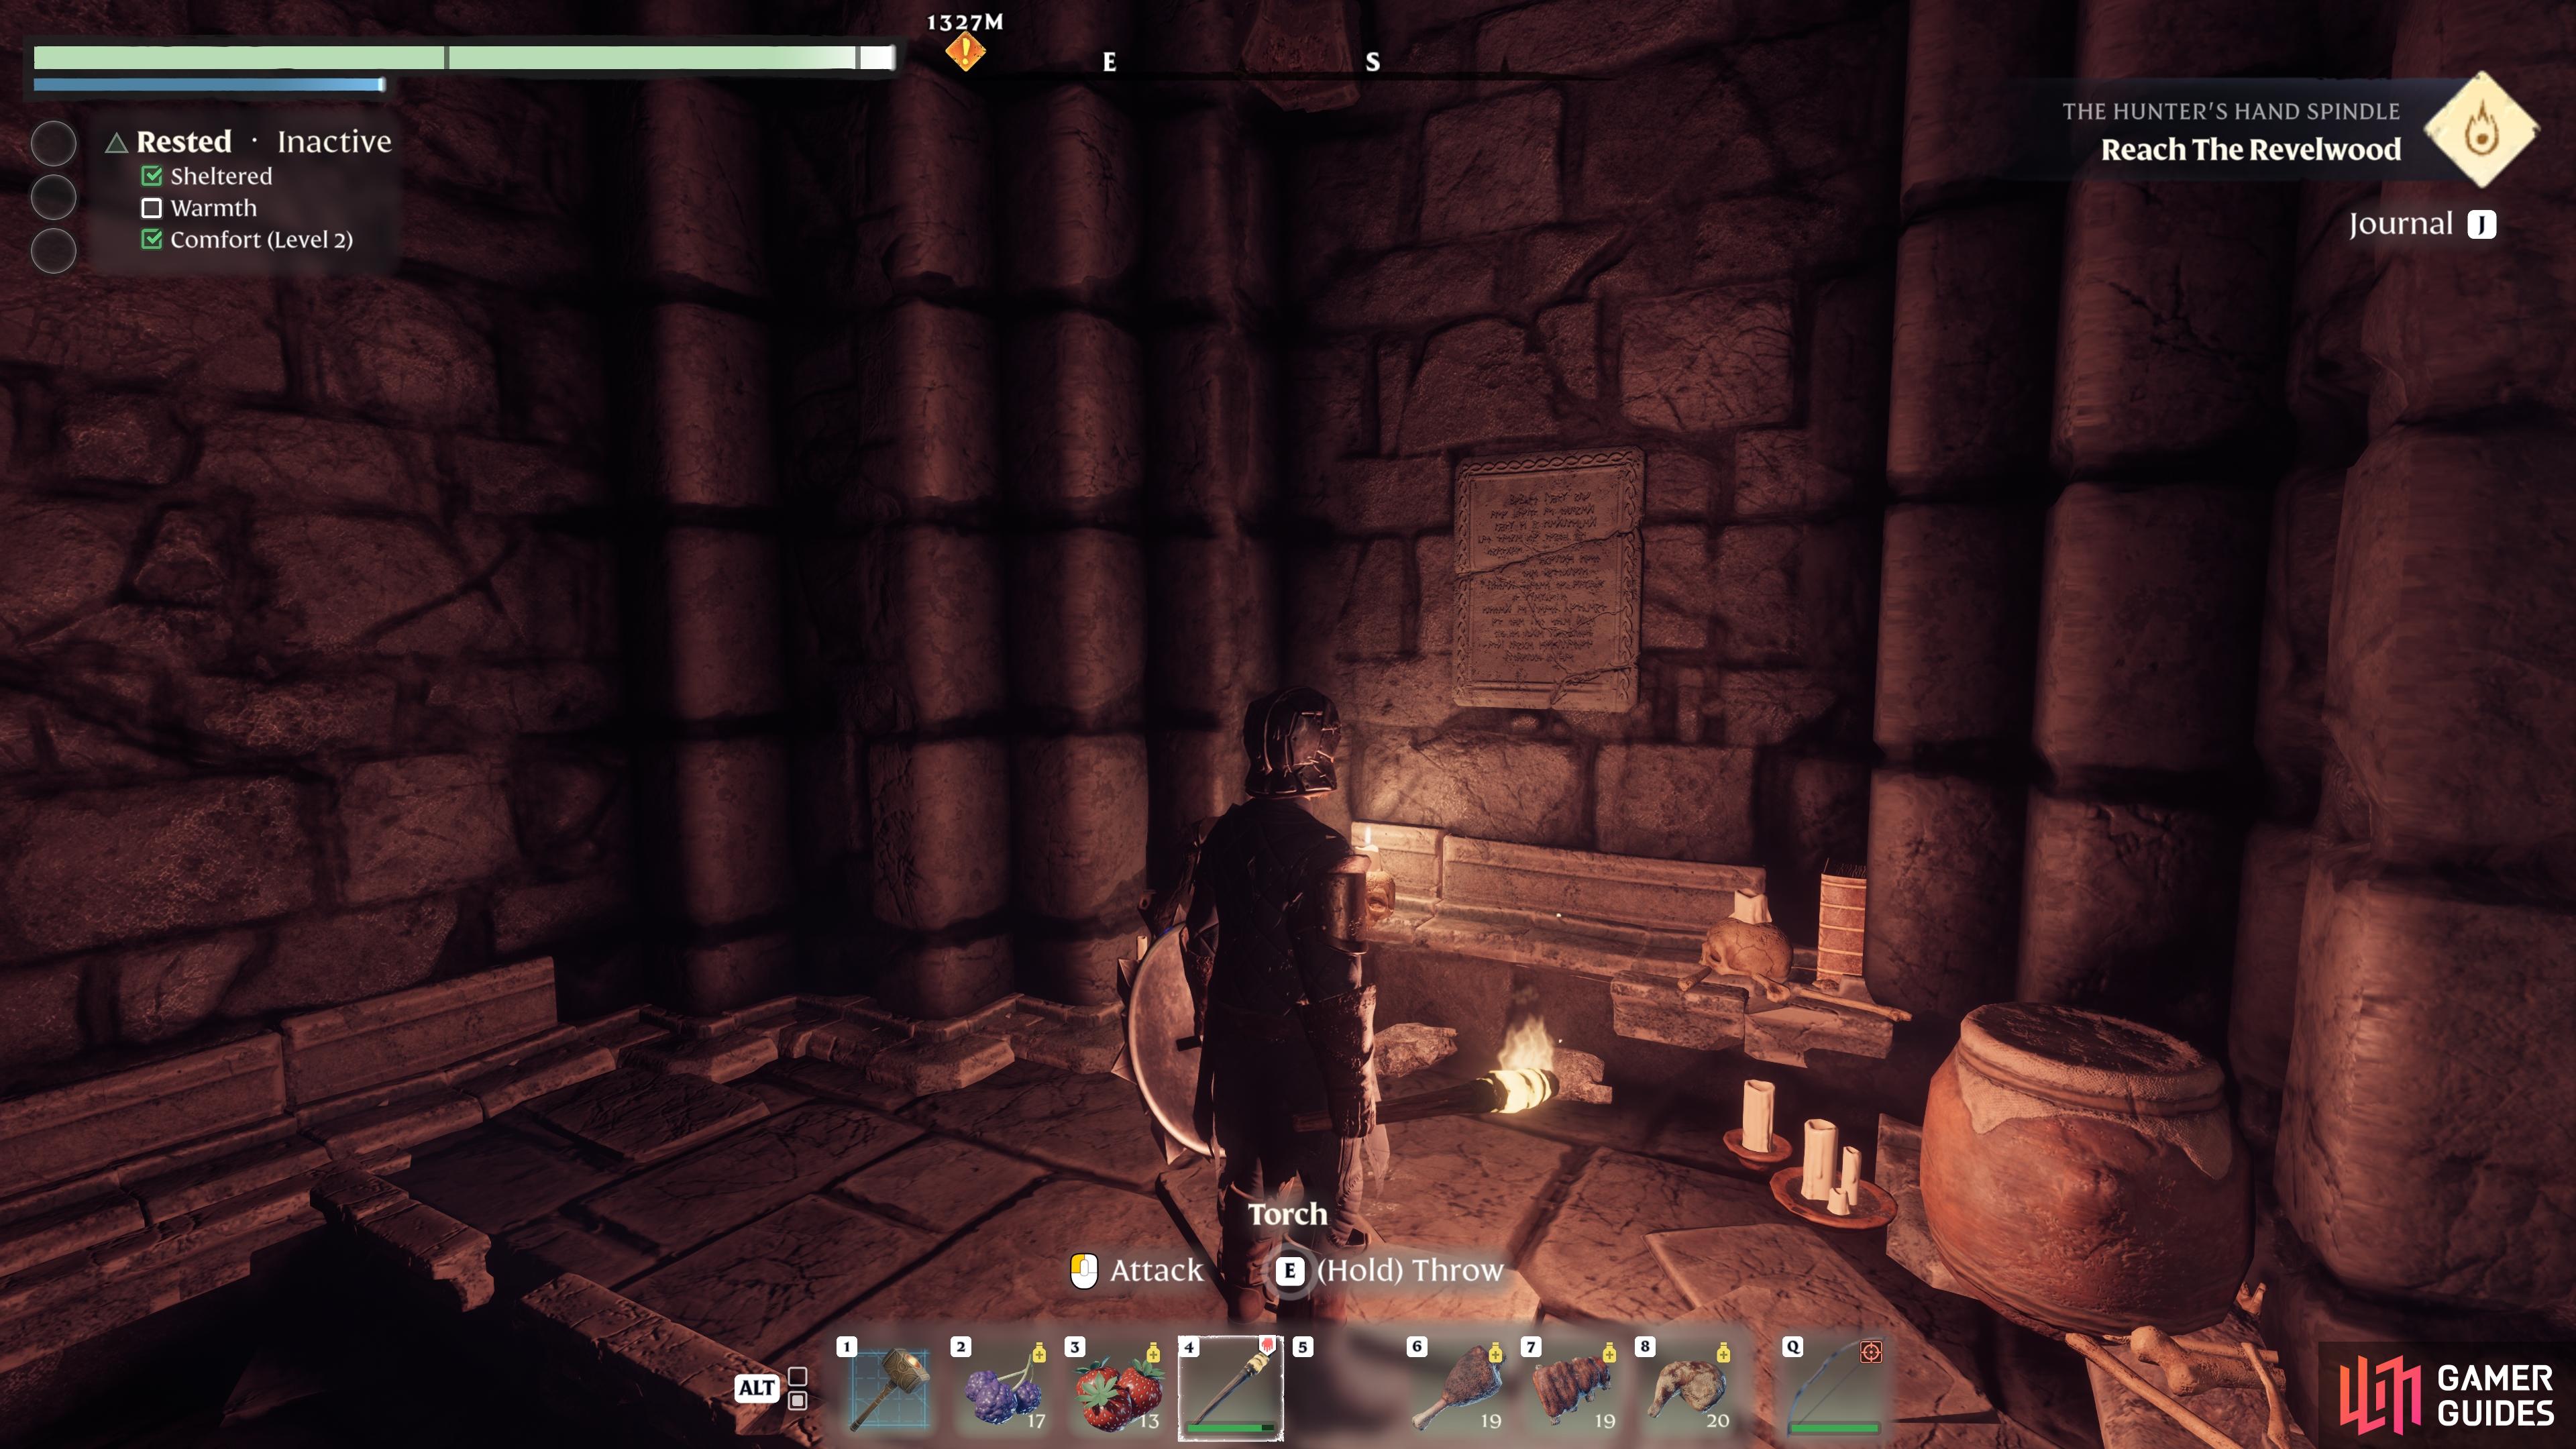
(1 of 2) You can read more about the catacombs from the lore notes on the wall near the entrance.
You can read more about the catacombs from the lore notes on the wall near the entrance. (left), The first button is simple enough to find once you’re through the wooden door. (right)
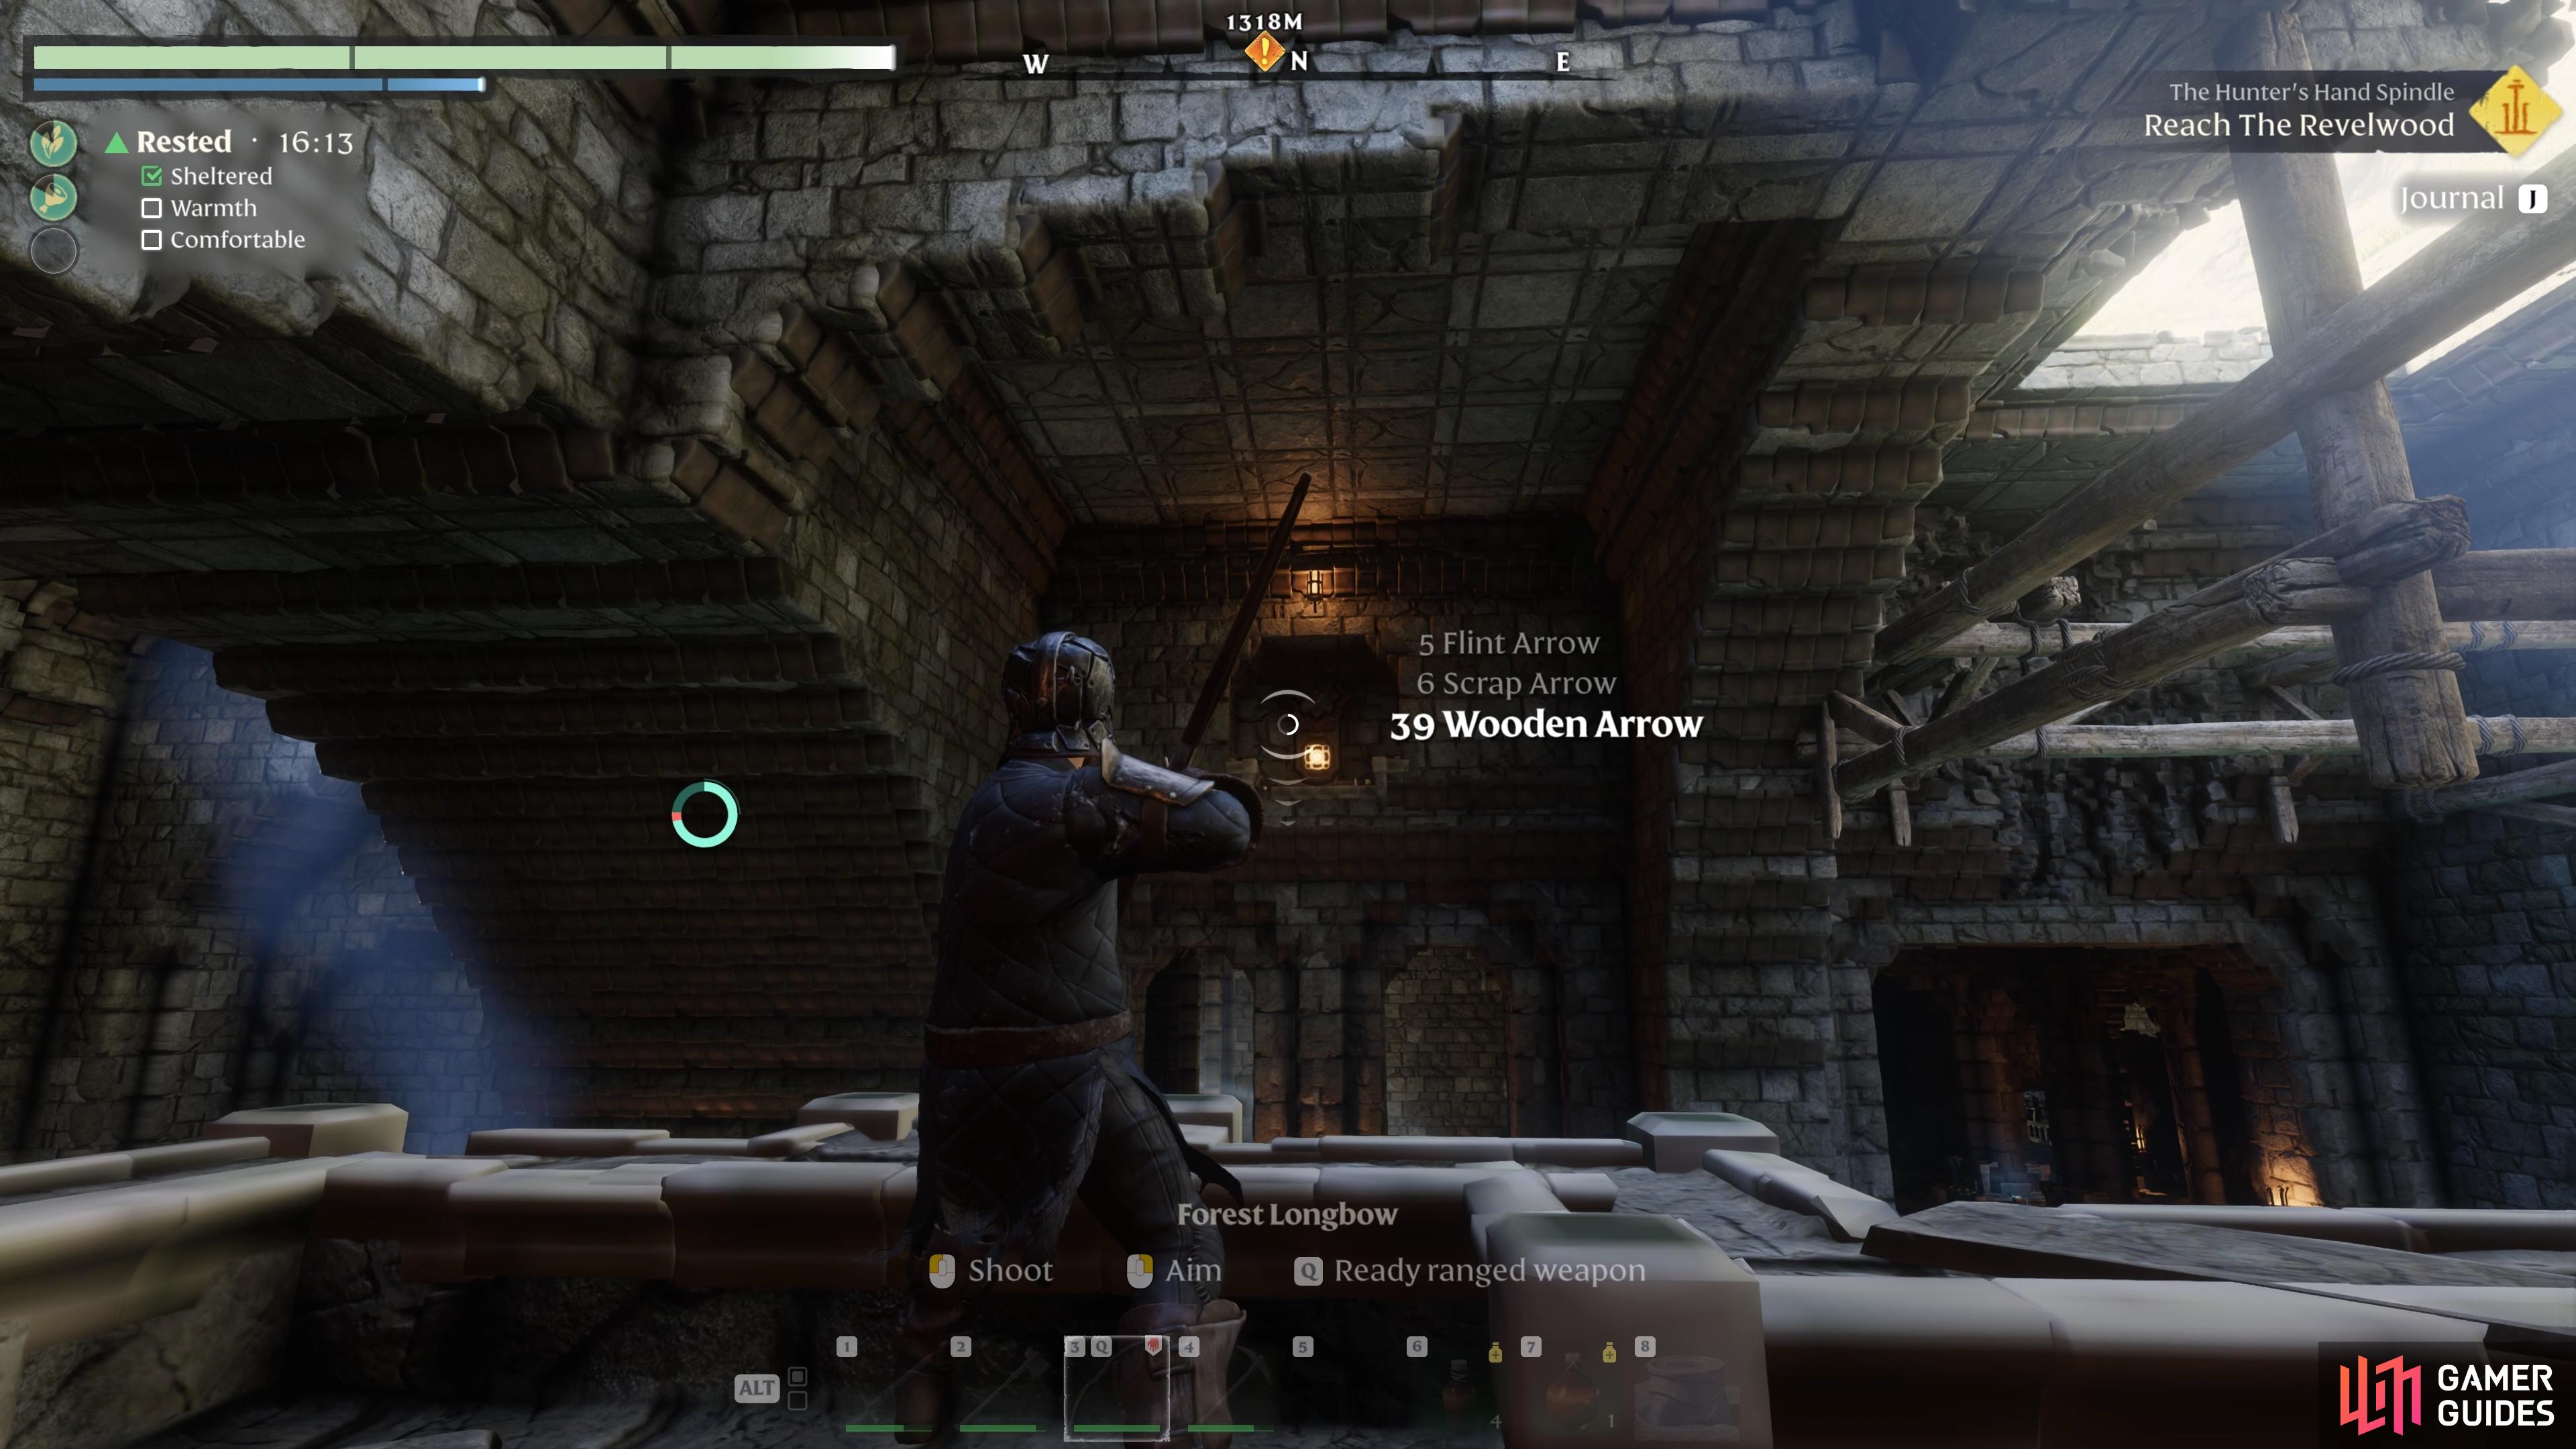
To find the second button, go back up the steps you took to reach the first, but this time turn left (northwest) and then left again as soon as you pass the large structural pillars. From here, as you’re facing south, you should be able to see a point for your grappling hook directly above. Jump towards it and use the grappling hook to reach the other side, landing on the platform opposite. Now turn right and go up the stairs. You should be able to see the next button on the opposite wall to the north, and you’ll need to hit this one with a ranged weapon to activate it (bow, staff, wand, etc).
(1 of 2) Use the Grappling Hook to reach the platform on the other side.
Use the Grappling Hook to reach the platform on the other side. (left), You can shoot the second button on the wall here. (right)
To locate the third button, return to the entrance from where you started, but this time turn left (south) and go down the stairs. You’ll enter an enshrouded area as you turn left again at the bottom of the stairs. Keep following the path northeast, being careful to cross the broken wooden bridge over the lava. Turn north on the other side and you’ll see the button directly ahead; another one that you need to hit with a ranged weapon to activate.
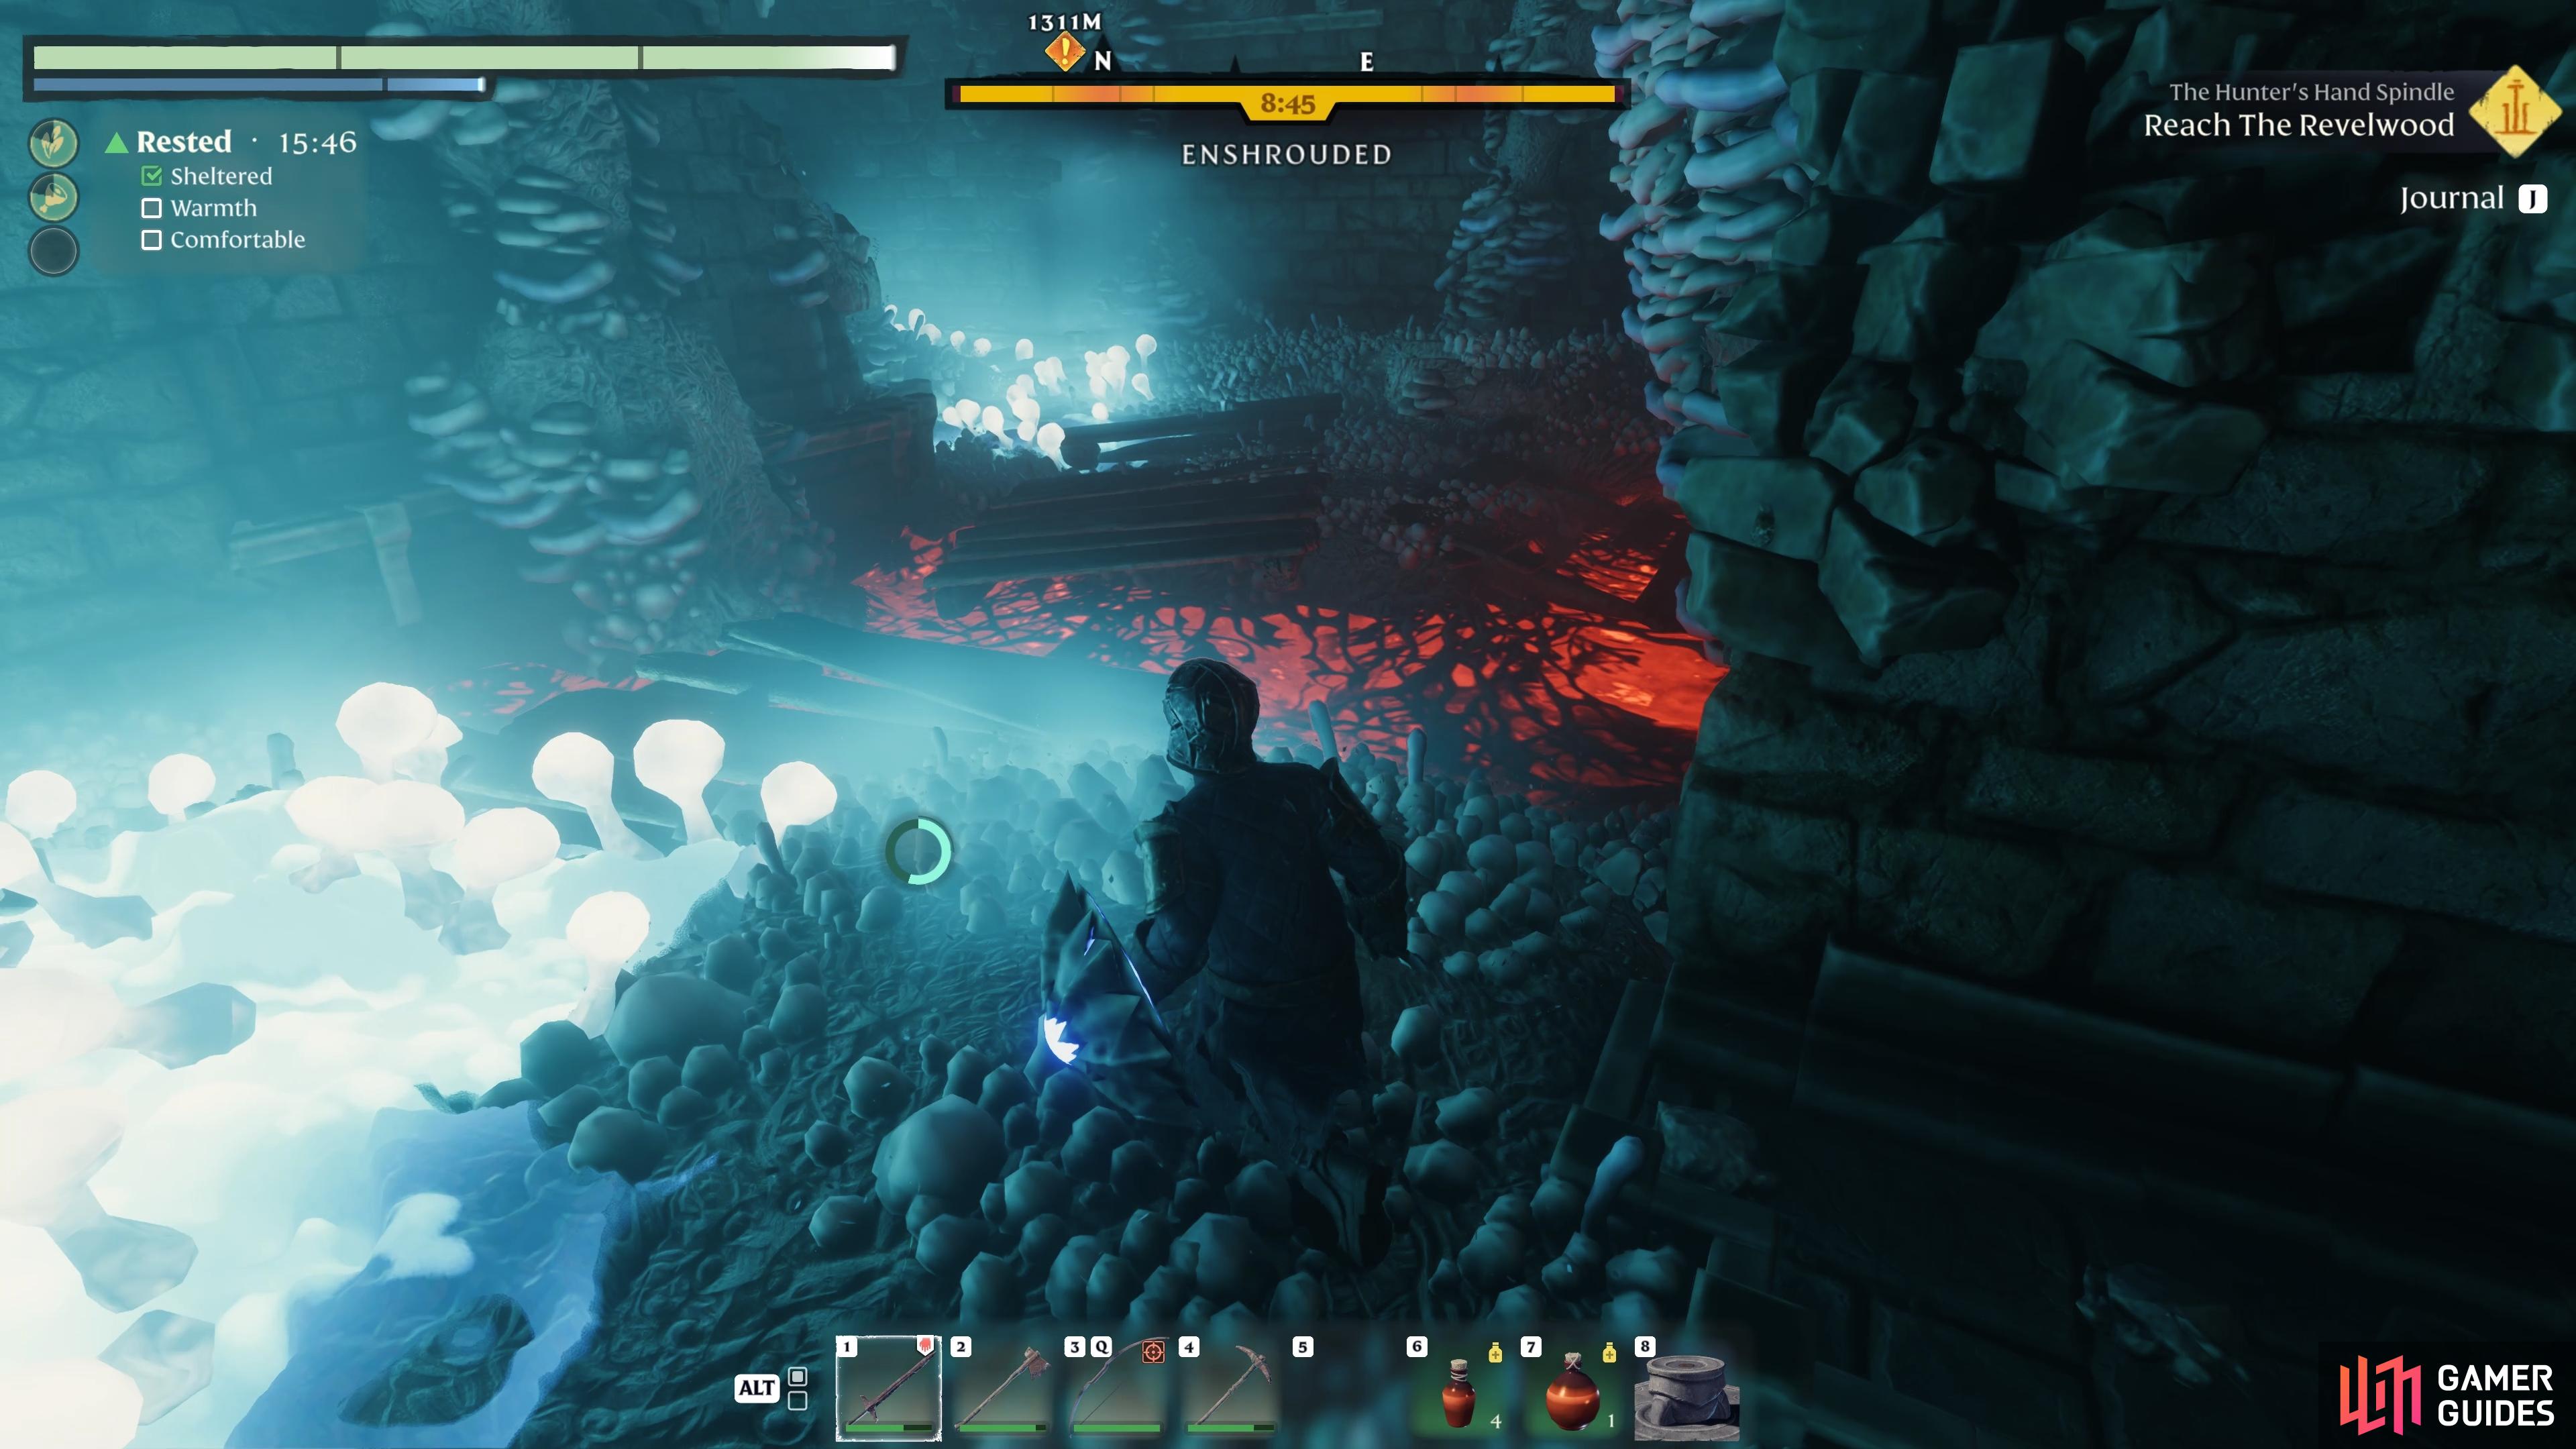
(1 of 2) Be careful of the lava when crossing the bridge.
Be careful of the lava when crossing the bridge. (left), The third button can be found on the wall here, north of the bridge. (right)
Now for the final button. This one requires the use of a Lockpick since you can’t destroy metal gates with your axe or explosives, so be sure to get some Metal Scraps if you don’t have any. Keep in mind that the dungeon won’t reset if you fast travel away, but it will reset if you log out. When ready with the Lockpick, go back to the entrance of the tomb and this time, follow the path directly ahead (west) until you reach the end. You should see one of the flying wraith enemies here, so be ready to kill it with ranged attacks.
After dealing with the wraith, go up the stairs to the south to find the metal gate at the top. Use the Lockpick to open the gates, then immediately turn left and climb up the platform. At the top, turn left (south) to see the button on the other side. You won’t be able to activate this one by shooting it, so you should use your grappling hook to reach it instead, and then interact with it to activate it. At this point you should have all four buttons activated, so all you need to do is go back to the central chamber and go through the now-open gate to reach the Queen’s sarcophagus. You’ll find the Pikemead’s Bulwark shield inside, which provides decent parry power and block rating for the level, but also +25 health.


(1 of 4) Go to the end of the central chamber and turn left.
Once you’ve looted the shield, the quest will be complete, and you can return to the Carpenter. If you still need help with this puzzle, you can see a more detailed walkthrough in the video below!

 Sign up
No Comments