
The game world of Enshrouded throws you into an unfamiliar land known as Embervale. You are Flameborn, one of the few remaining members of a race blended between the mysterious Ancients and regular Humans. You awaken at a time in which Embervale is under threat from the ever-encroaching Shroud, and there are plenty of essential things you need to do if you want to survive. On this page, we’ll give you the best tips and tricks to make the most of the early game in Enshrouded, including secrets of the game mechanics, how to progress quickly as you explore, and how to get access to more crafting recipes.
Embervale can be unforgiving for those unprepared!
Upgrade and Strengthen the Flame Altar
The Flame Altar is one of the first crafting recipes you’ll gain access to, and it only costs 5 Stone to craft from the Manual Crafting menu. The altar has numerous functions, the most obvious of which is to provide you with an area in which you can build. You’ll find that the building area is limited to 40x40x40 initially, but it upgrades by an additional 40 each time you level it up. To upgrade the Flame Altar, you’ll need Shroud Cores. These can be acquired from shrouded areas where Elixir Wells and Shroud Roots are present. Alternatively, you can craft them from the Alchemist using x10 Shroud Spores and x10 Shroud Liquid, both of which are more common than the cores.
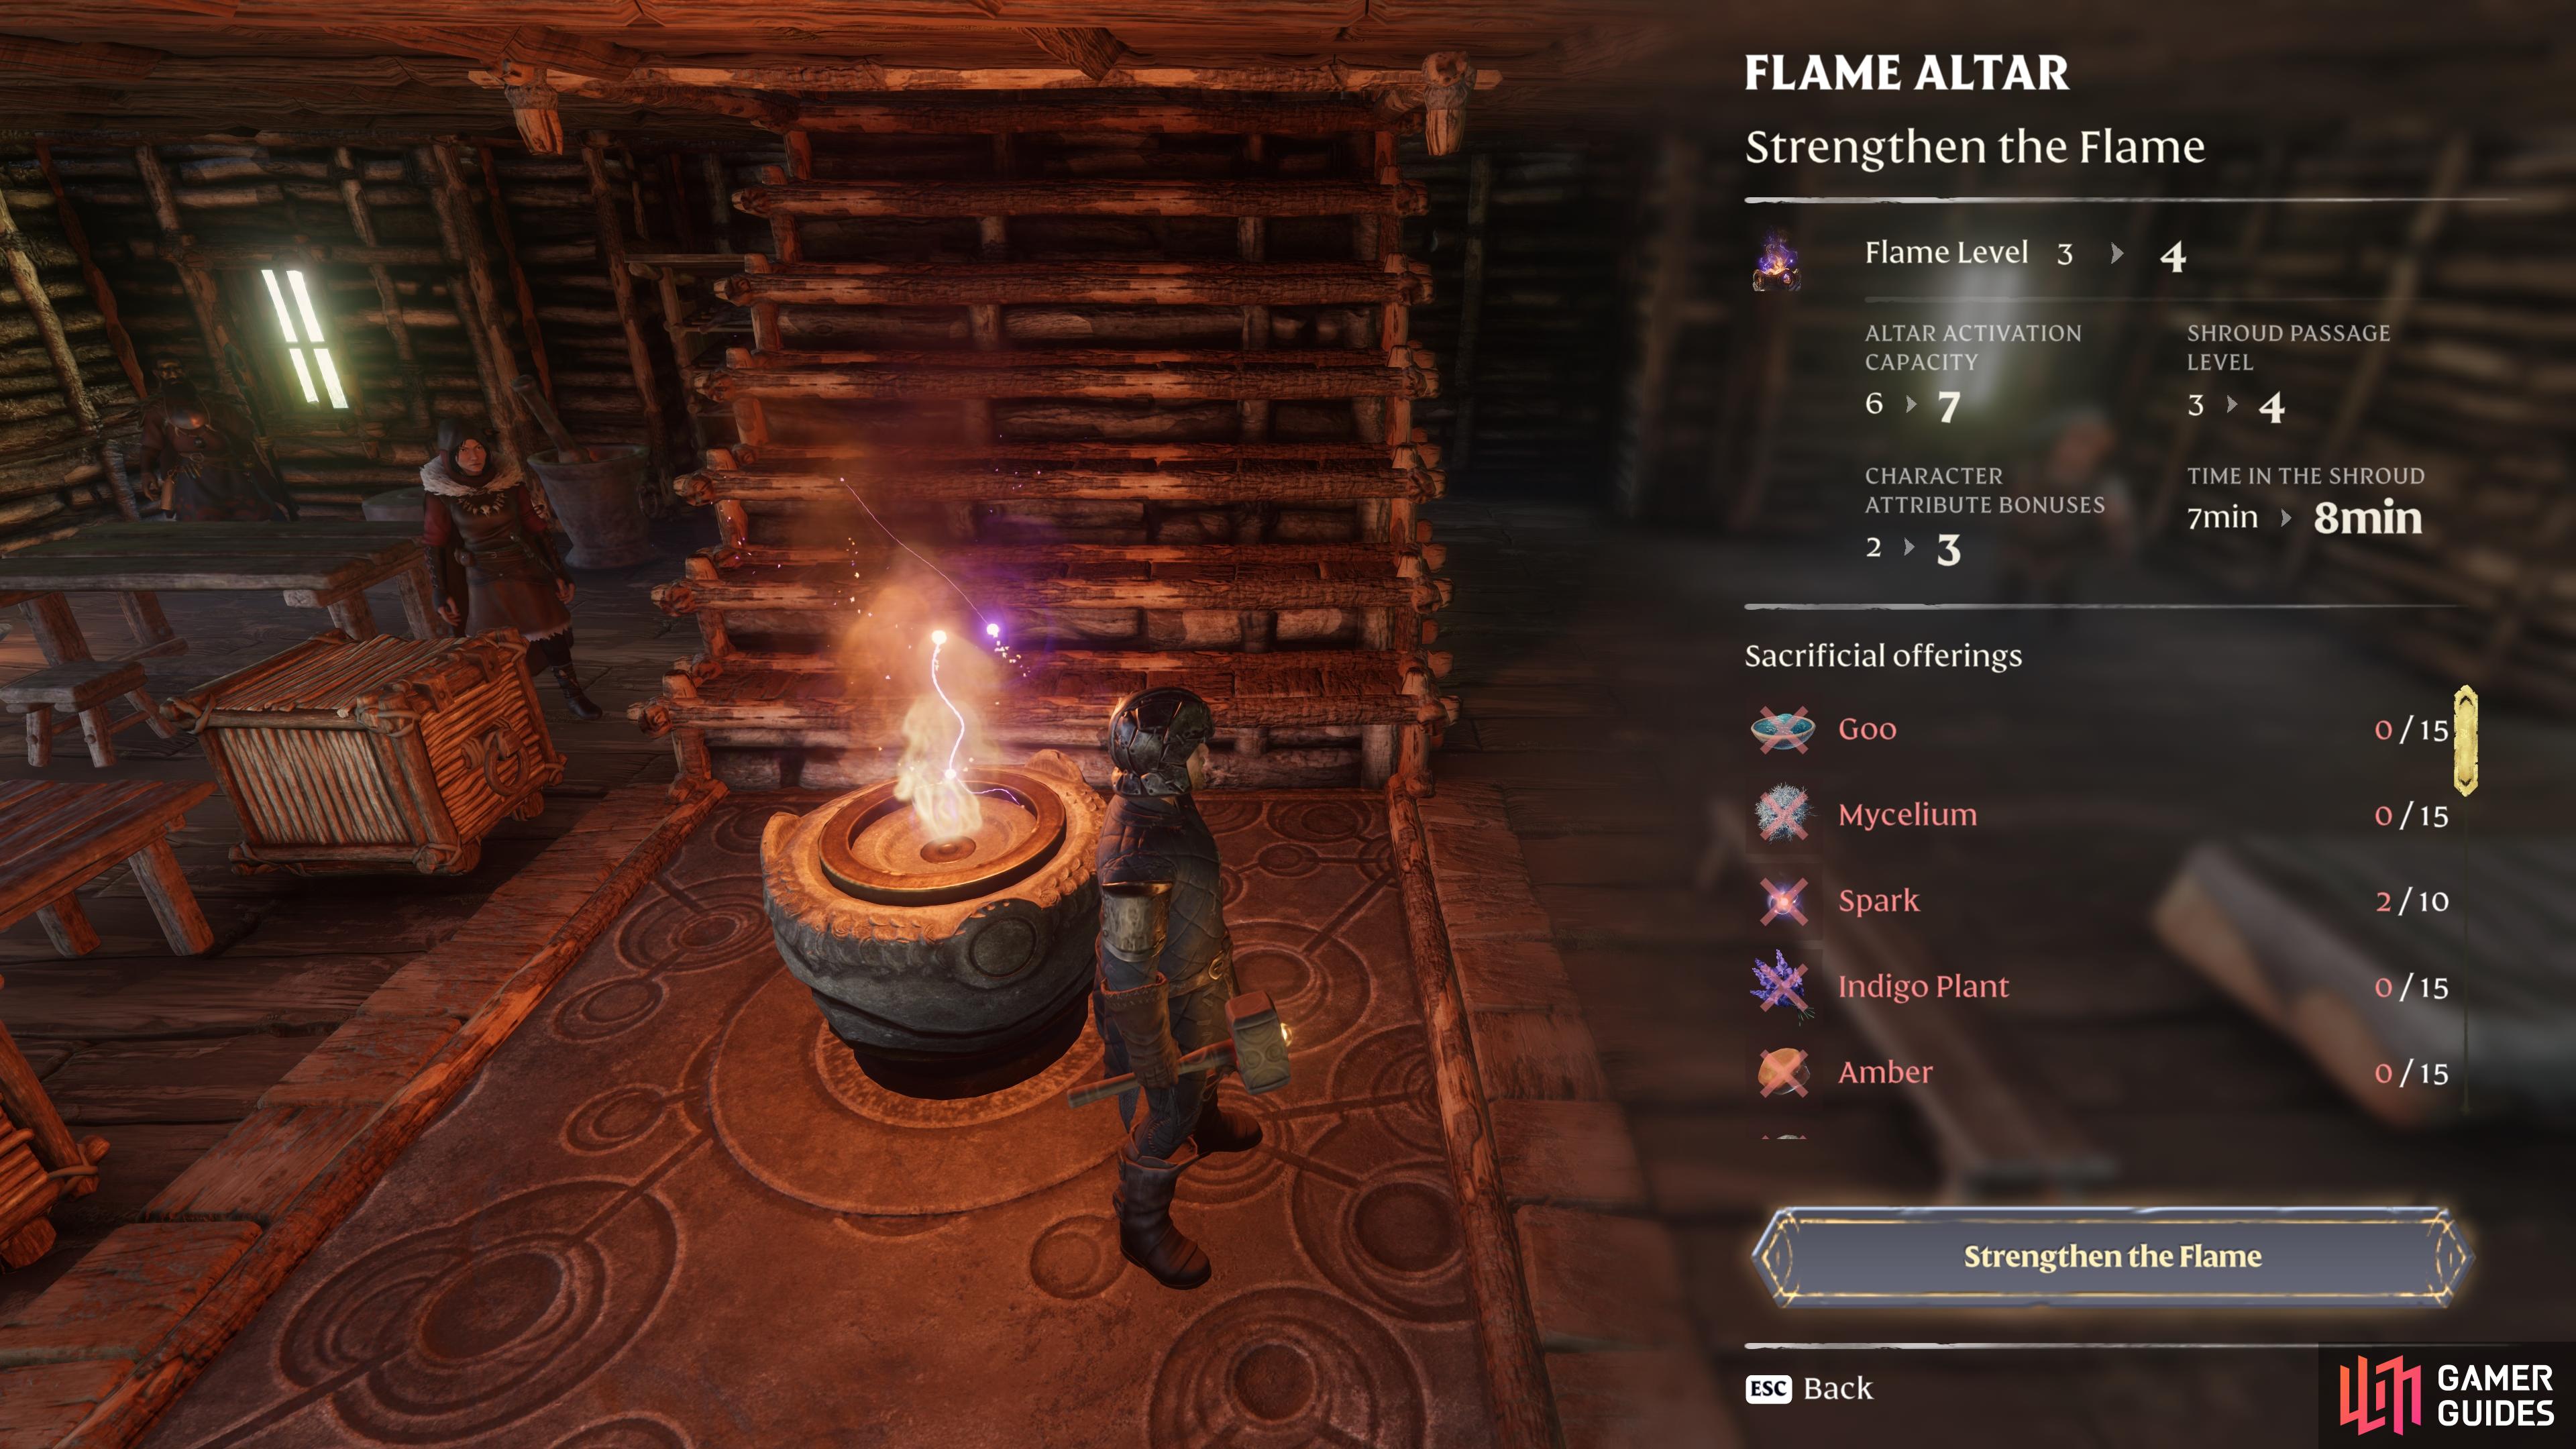
When you interact with the Flame Altar, you’ll notice that there’s a separate tab from the upgrade one, called “Strengthen the Flame”. It’s important to recognize that this doesn’t strengthen when you upgrade the altar. Instead, you need to acquire a specific set of materials to use as sacrificial offerings at the altar. The materials required are easy enough to find, but it may take you some time as you learn where to find them, so be sure to check our resource guides if you need help! Most of the materials for the first Flame Level can be found in the southern part of the map, but you’ll need to venture north to find things like Goo, Indigo Plant, and Copper Ore as you upgrade it further.
As you continue to explore Embervale, you’ll find that the first suggested base area isn’t always the most convenient, especially because it acts as a fast travel point, but there’s already a fast travel in the starting area via the Cinder Vault. It’s for this reason that you should build more Flame Altars whenever you get the chance, but only when you reach an area that would otherwise be difficult to get to if you started traveling from your main base again. In general, you should try to have at least one Flame Altar in the southern part of the map, then place the others in convenient locations related to your exploration focus, whether it be in the northwest, northeast, or somewhere more central. The altars are indestructible, so you don’t need to worry about protection by building a fort around them! Instead, you can dig into the depths of the building system whenever you feel ready.
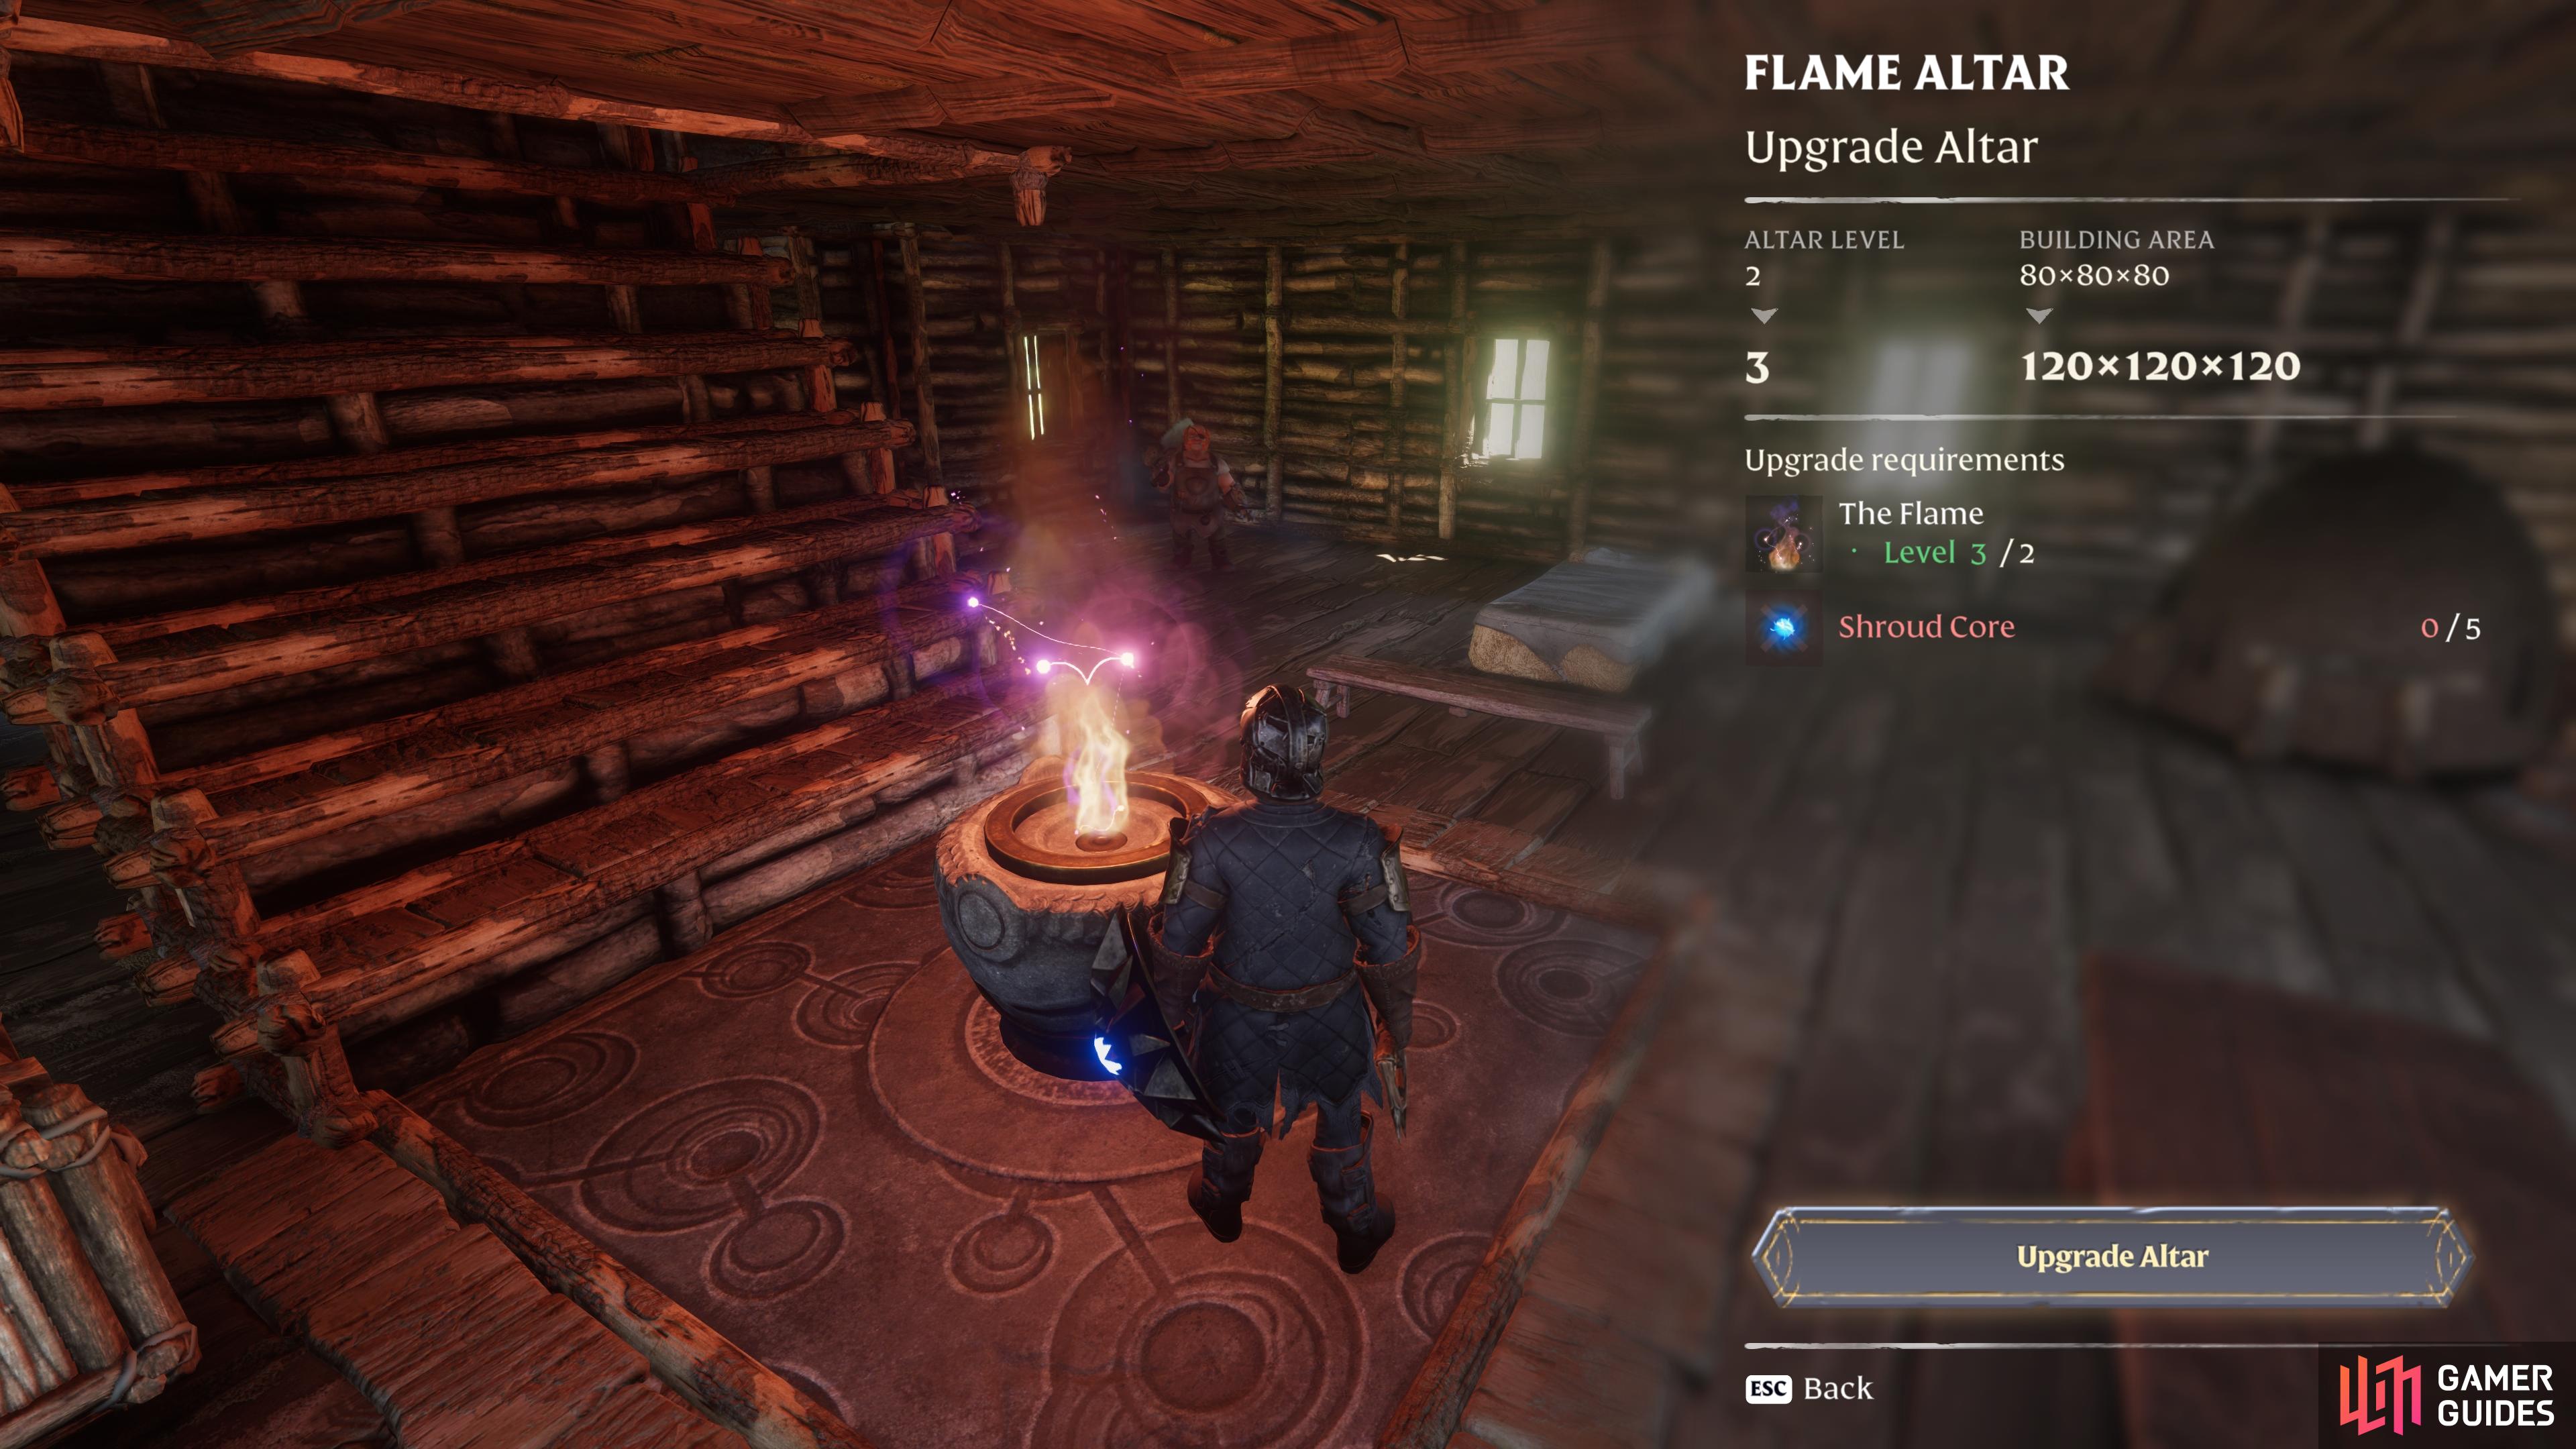
(1 of 2) Upgrading the Flame Altar will give you more space to build on. You can also reset your skill points at the altar.
Upgrading the Flame Altar will give you more space to build on. You can also reset your skill points at the altar. (left), You need different materials to strengthen the flame and improve the global benefits it provides. (right)
Get the Crafting NPCs Early!
Speaking of the Alchemist, there’s currently a total of five crafting NPCs that you’ll need to find out in the open world, then use your Summoning Staff to place them in your base. Aside from the Alchemist, these are the Blacksmith, Carpenter, Hunter, and Farmer. Each of them provides access to new crafting recipes, some of which are essential for progression, so you’ll want to prioritize getting them early on. The main quests will lead you in the right direction, so you can’t miss it so long as you check your journal. Whenever you see a new quest related to finding an NPC, do that as soon as possible. As you acquire new NPCs, you’ll gain access to the others.
Another thing to keep in mind when summoning the crafting NPCs in your base is that they need to be sheltered before they can craft certain recipes. You can see this when you interact with them and select specific recipes, as some will have the “Sheltered” requirement noted in the top right. In addition to this, you’ll need to place the NPCs near their respective crafting stations, such as the Charcoal Kiln and the Forge near the Blacksmith, the Grinding Stones and the Mortar near the Alchemist, or the Drying Rack near the Hunter. Don’t worry about placing them in any random position to begin with; you can always move them at any time using the Summoning Staff.
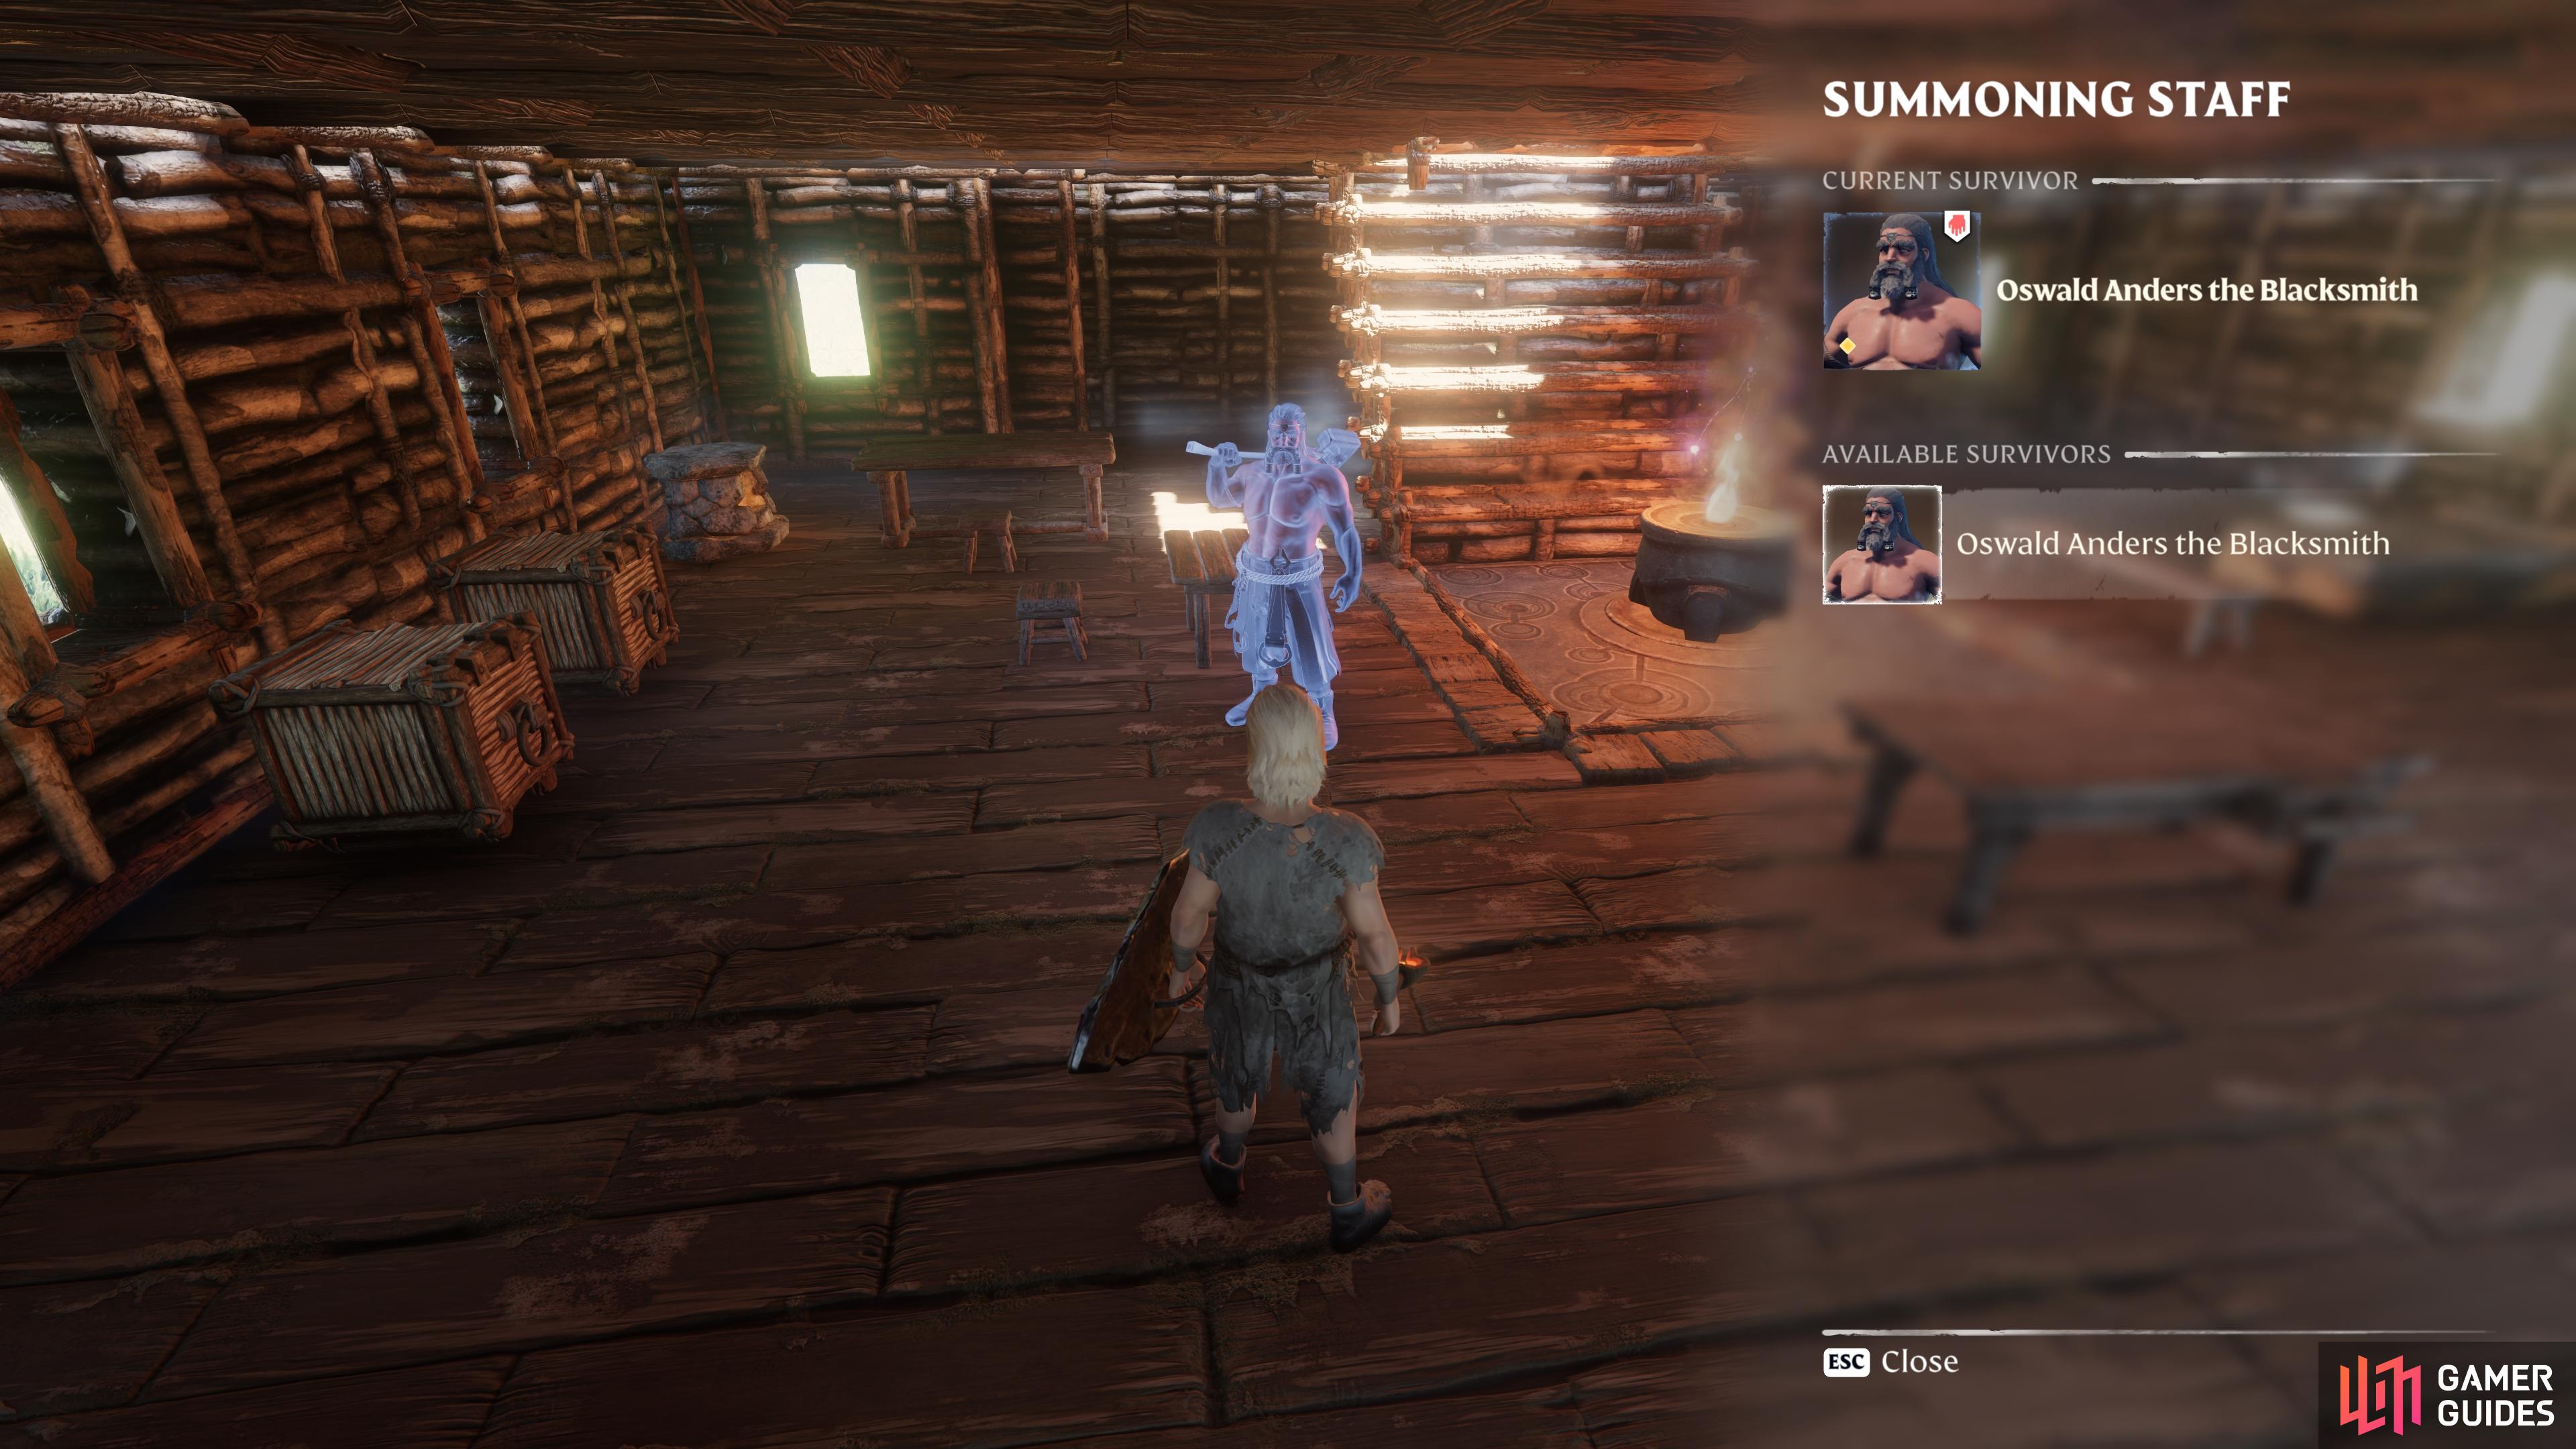

(1 of 2) You can summon crafting NPCs at your base once you’ve acquired them via the quests.
You can summon crafting NPCs at your base once you’ve acquired them via the quests. (left), Crafting NPCs provide access to much more powerful equipment, among other things. (right)
Press “X” to Rest and Regen Health / Stamina / Mana!
This is one of the simplest tips, but it’s also one of the most important, especially since the game doesn’t tell you about it initially. When you start the game, you’ll have limited pools of health, stamina, and mana. You can increase each of these depending on the stats that you invest in (Constitution, Spirit, and Endurance respectively). However, while they’re low you’ll want to focus on maintaining them as often as possible.
One of the best ways to do this early on (and throughout your adventure) is to rest by pressing “X” by default. This will make your character sit down wherever they are, and you’ll see an increase in the rate at which your health, stamina, and mana regenerate while resting. The best times to use this are between mining or harvesting sessions with the axe or pickaxe, thereby increasing your efficiency in gathering resources, but you can also do it between fights with groups of enemies.
Consume Different Food Types for Buffs
Another tip for increasing your chances of survival is to always have at least three different types of food in your inventory. You’ll notice that unlike some other survival games, you don’t have a hunger or thirst bar to worry about in Enshrouded. Instead, you have three slots of potential food buffs (you can acquire more with skill upgrades eventually!) which can be seen in the top left of the screen, or by checking the Status Details tab from your Character screen.
The distinct categories for different types of food aren’t always clear, but you can count on most meat-based foods to be of their own type, while things like mushrooms and berries will be in their own separate categories as well. Each type of food will provide different buffs, and the buffs from different foods in the same category will vary depending on their potency. You can check the active status effect of any food that you’ve consumed from the Status Details tab, as mentioned above, where you’ll see all active Food Effects and their duration.
Drink Potions to Survive in the Shroud for Longer
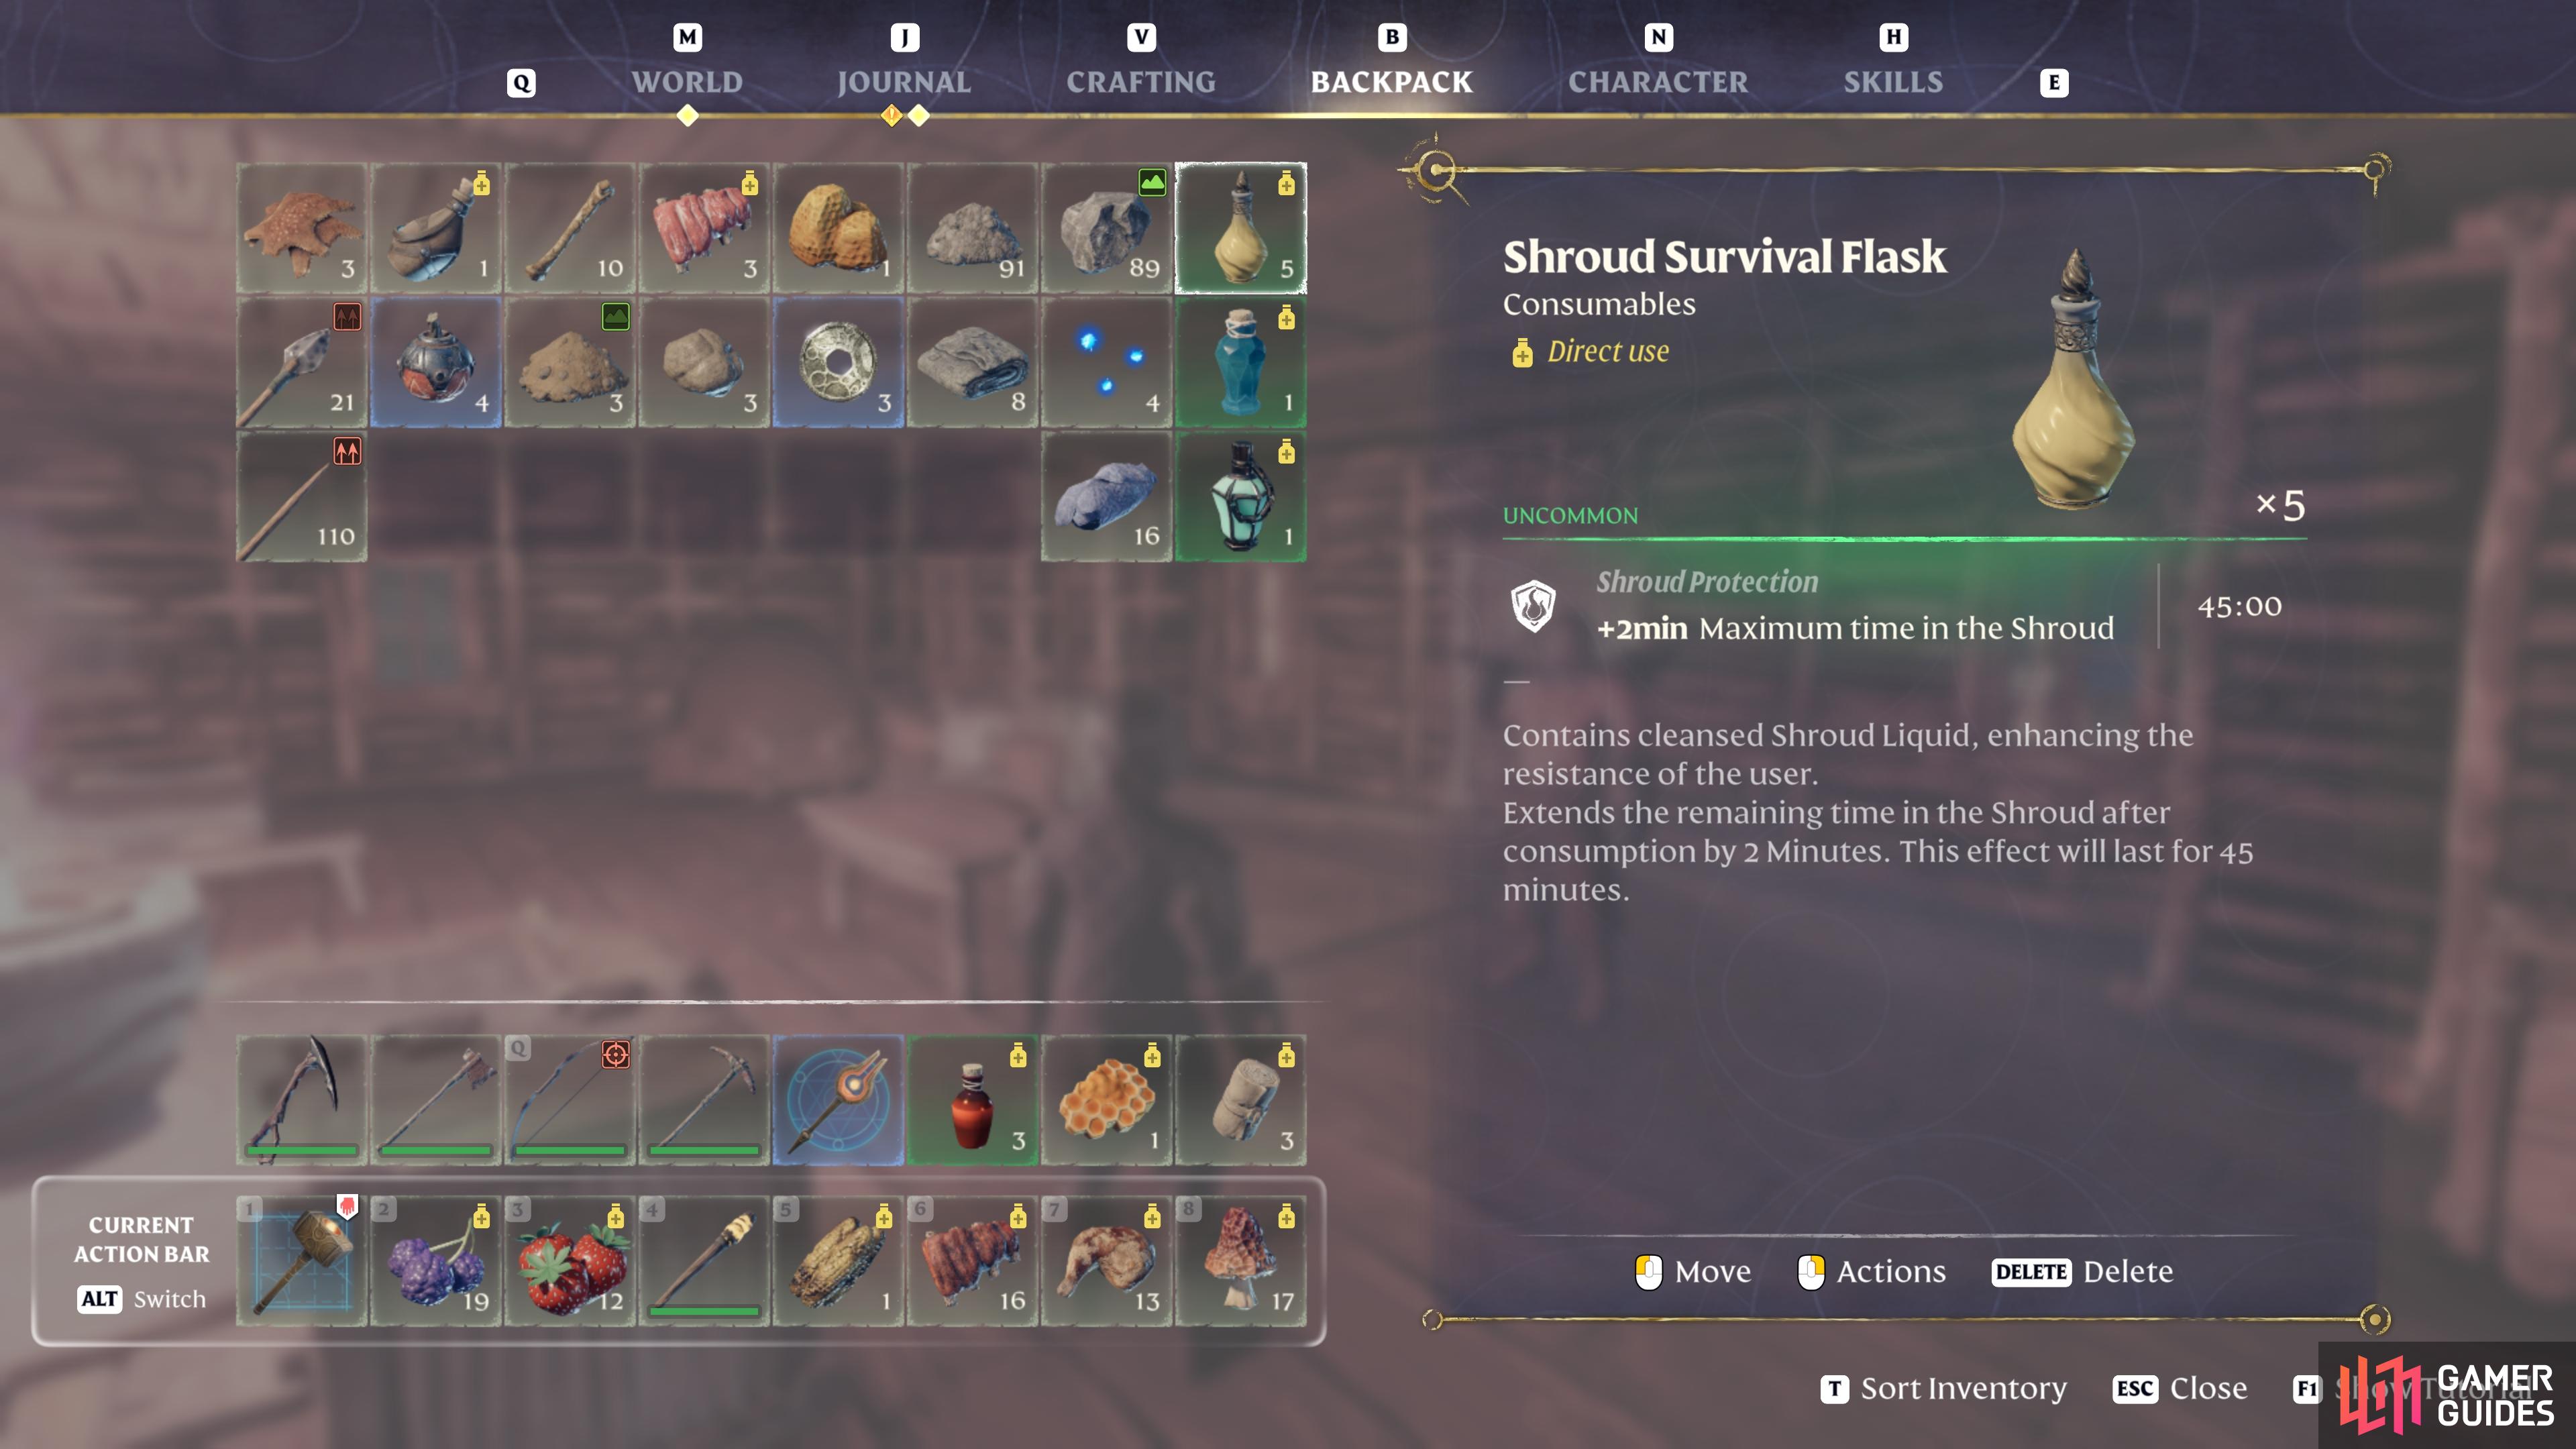
A related tip to the one above comes in the form of potion drinking. You’ll find several potions that you can drink to acquire various buffs, but some of the most important are those that increase the amount of time that you can spend in the Shroud before you die. One of the first potions you’ll come across is the Shroud Survival Flask, which increases the maximum time in the Shroud by +2 minutes and lasts for 45 minutes. The key thing to remember here is that you should consume the flask before you enter the Shroud since it won’t add extra time to the current duration if you’re already in it while the clock is ticking.
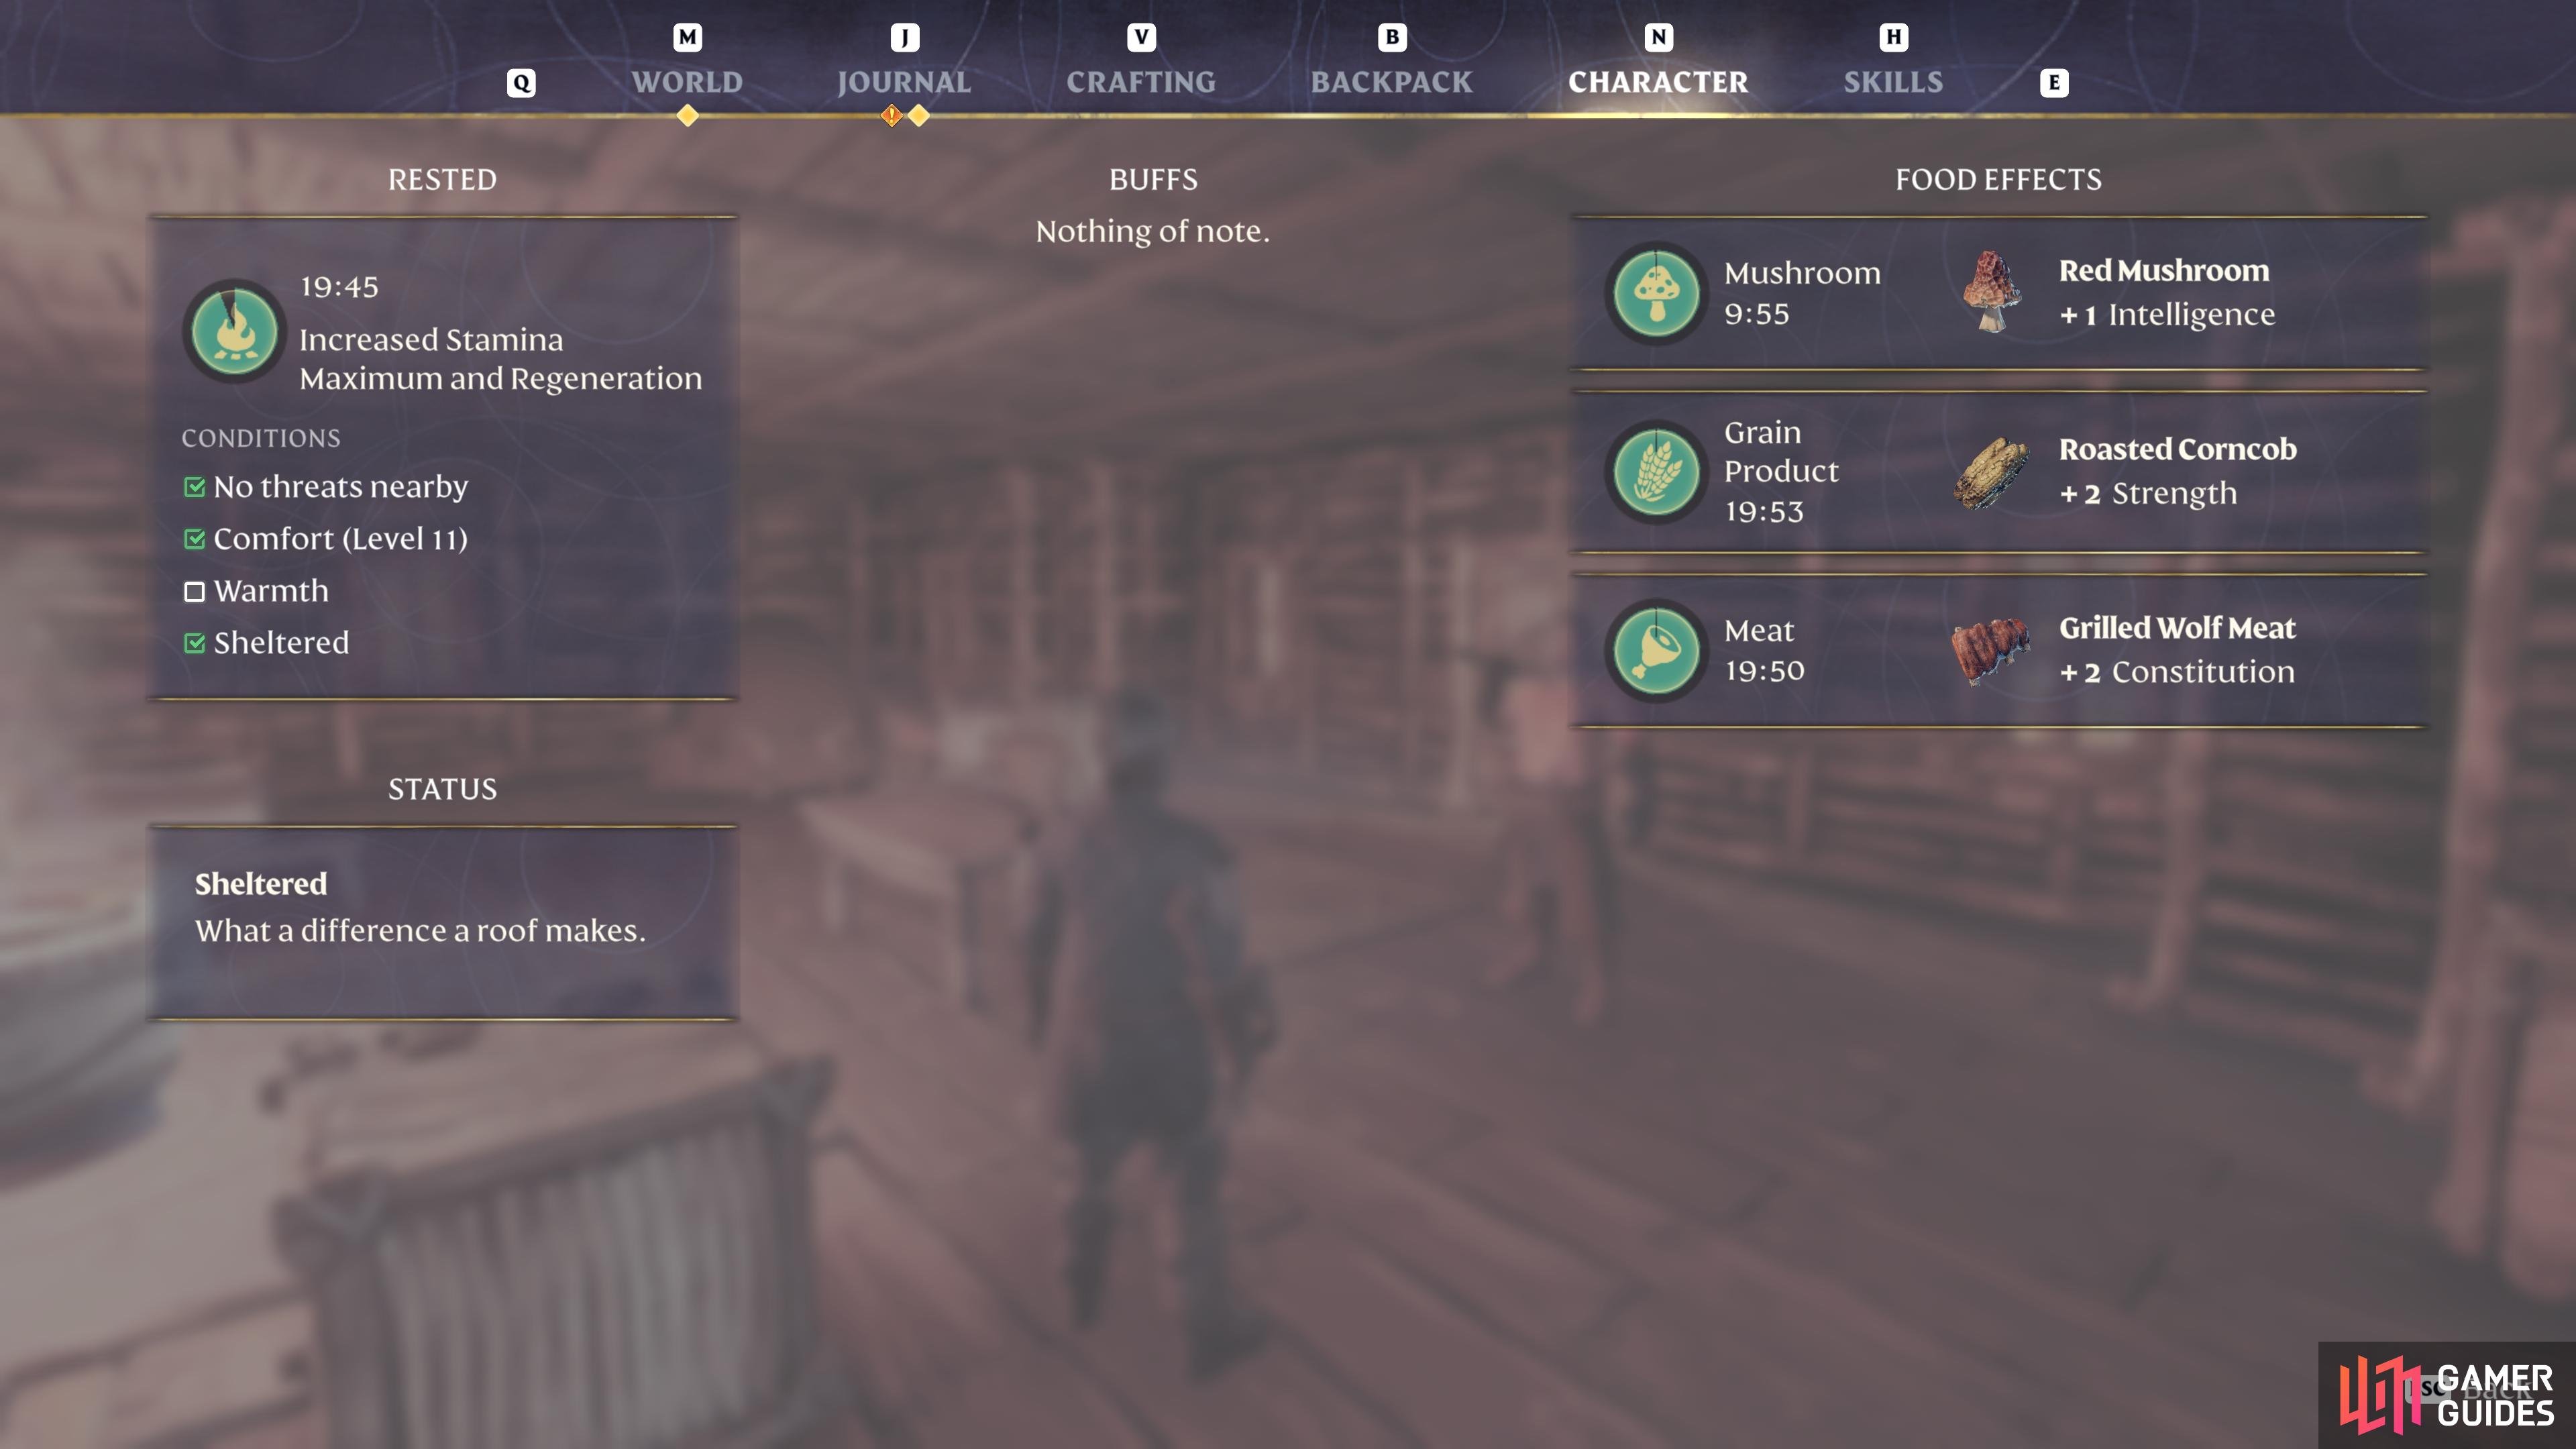
(1 of 2) You can check the effects of different food buffs from the status details tab of the character menu.
You can check the effects of different food buffs from the status details tab of the character menu. (left), There are numerous useful potions that you can use to your advantage! (right)
You can find Shroud Survival Flasks by looting chests, enemies, and pots, but you can also craft them once you have the Alchemist in your base using x1 Charcoal, x1 Shroud Liquid, and 1x Wood Acid. In terms of other useful potions, the Wisp of Light is a high priority, which you can craft using x3 Bug Dust, x2 Glow Dust, and x1 Resin. This will light an area for 5 minutes when used, something which is particularly useful in the dark caves and tombs that you’ll find in your adventures. You can light these areas using a torch, but you won’t be able to use your main weapons while wielding it, making the wisps invaluable in the darkest of dangerous places.
You’ll find plenty of other useful potions as you explore, and even more when you get the Alchemist, such as health potions, mana potions, stamina potions, and more. All of these are useful if you want to increase your chances of survival, and you can put the most important of them in your action bar quick slots for easy access during combat.
Destroy Pots at Ancient Spires!
As a more general tip, you should adopt the mindset that most things in Enshrouded can be destroyed using your basic weapon, axe, or pickaxe. This is good news, especially when you consider that a lot of the seemingly mundane objects, such as pots at Ancient Spires, actually contain useful materials. You’ll even find that you can acquire relatively rare resources such as Copper Bars in some of them, so they’re well worth smashing along the way.
A related tip here is that most of the new recipes that you acquire will be unlocked by acquiring new materials. In some cases, you’ll also need to unlock a specific crafting station associated with one of the five main crafters before you’ll see the full potential of the recipes that can be crafted from it.
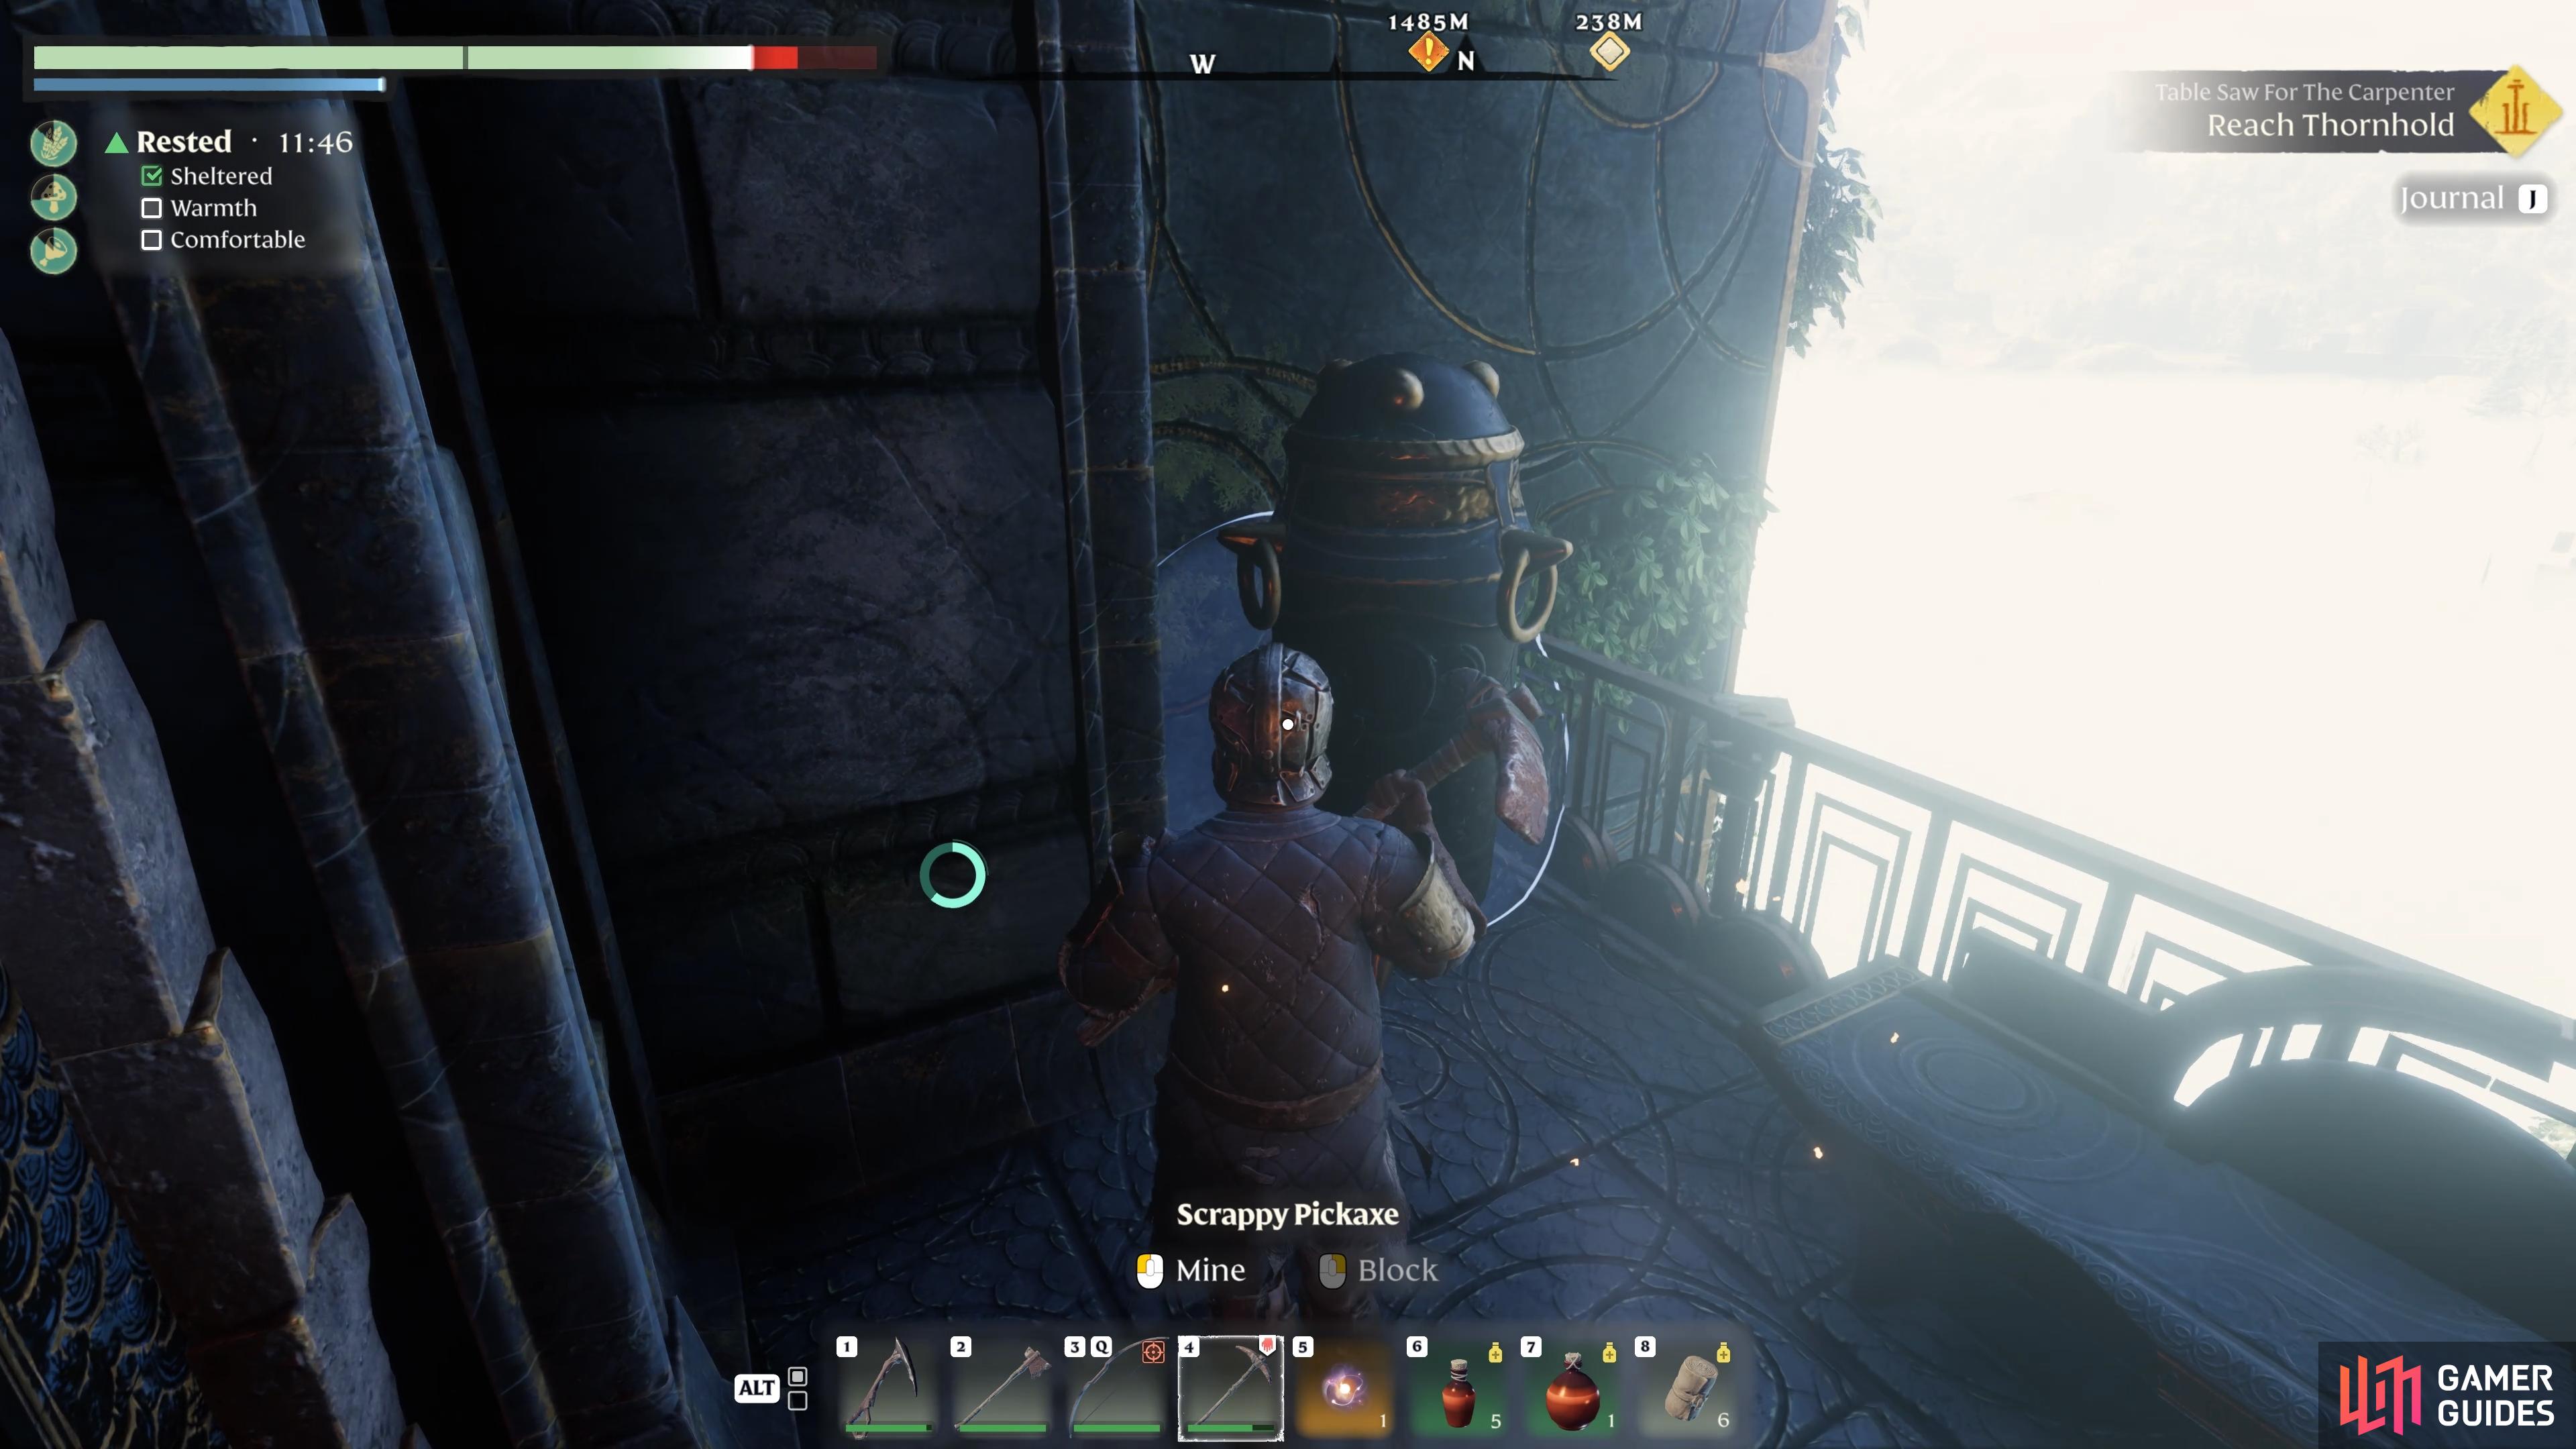
(1 of 2) Be sure to smash all the pots at Ancient Spires to find useful loot!
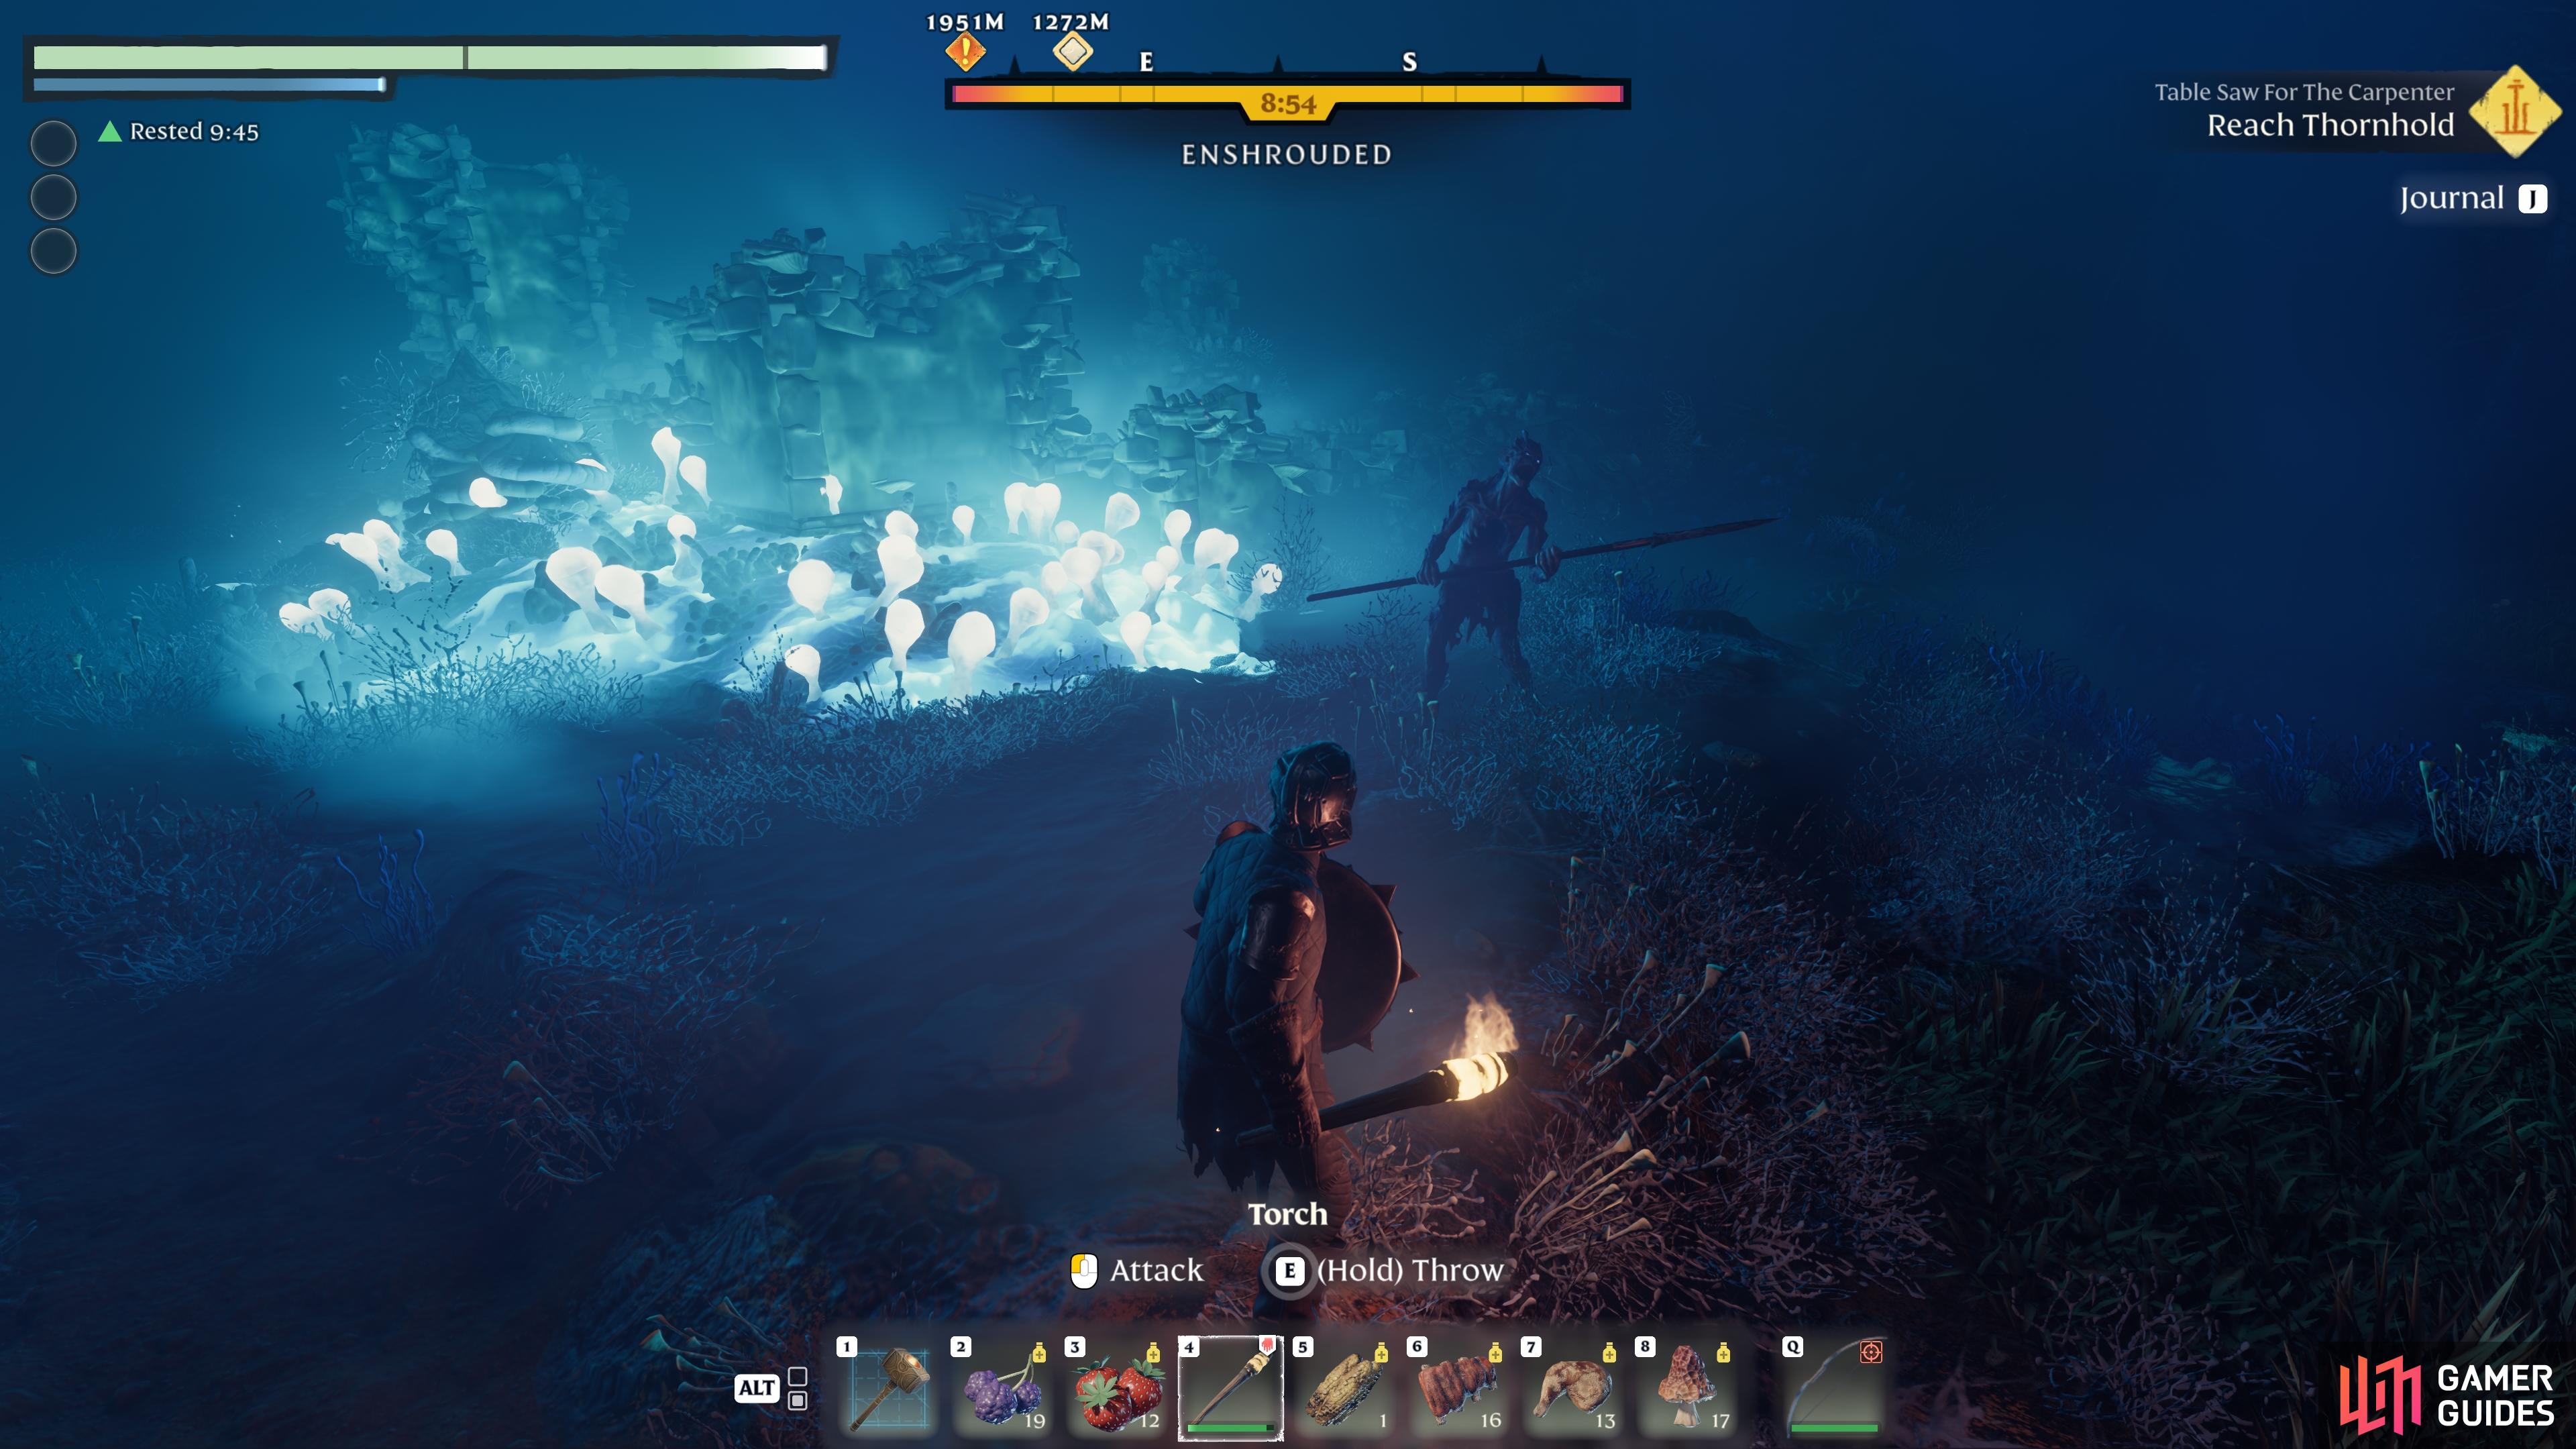
Be sure to smash all the pots at Ancient Spires to find useful loot! (left), The torch can be used as a decent weapon against shroud creatures in the dark, or bees in the day! (right)
Prioritize Specific Crafted Items
Another simple one, but easily missed. As you unlock new recipes associated with your crafting NPCs, you’ll notice that some items have an orange exclamation mark just to the left of them in the crafting menu. This indicates that once you craft that item, another recipe will be unlocked in association with it. This is particularly relevant when it comes to crafting Goo to upgrade your Flame Altar, since you need to craft Bug Dust before you can unlock the recipe for Goo at the Alchemist, and you’ll rarely find Goo out in the wild.
Use Torches Against Shroud Creatures and Bees
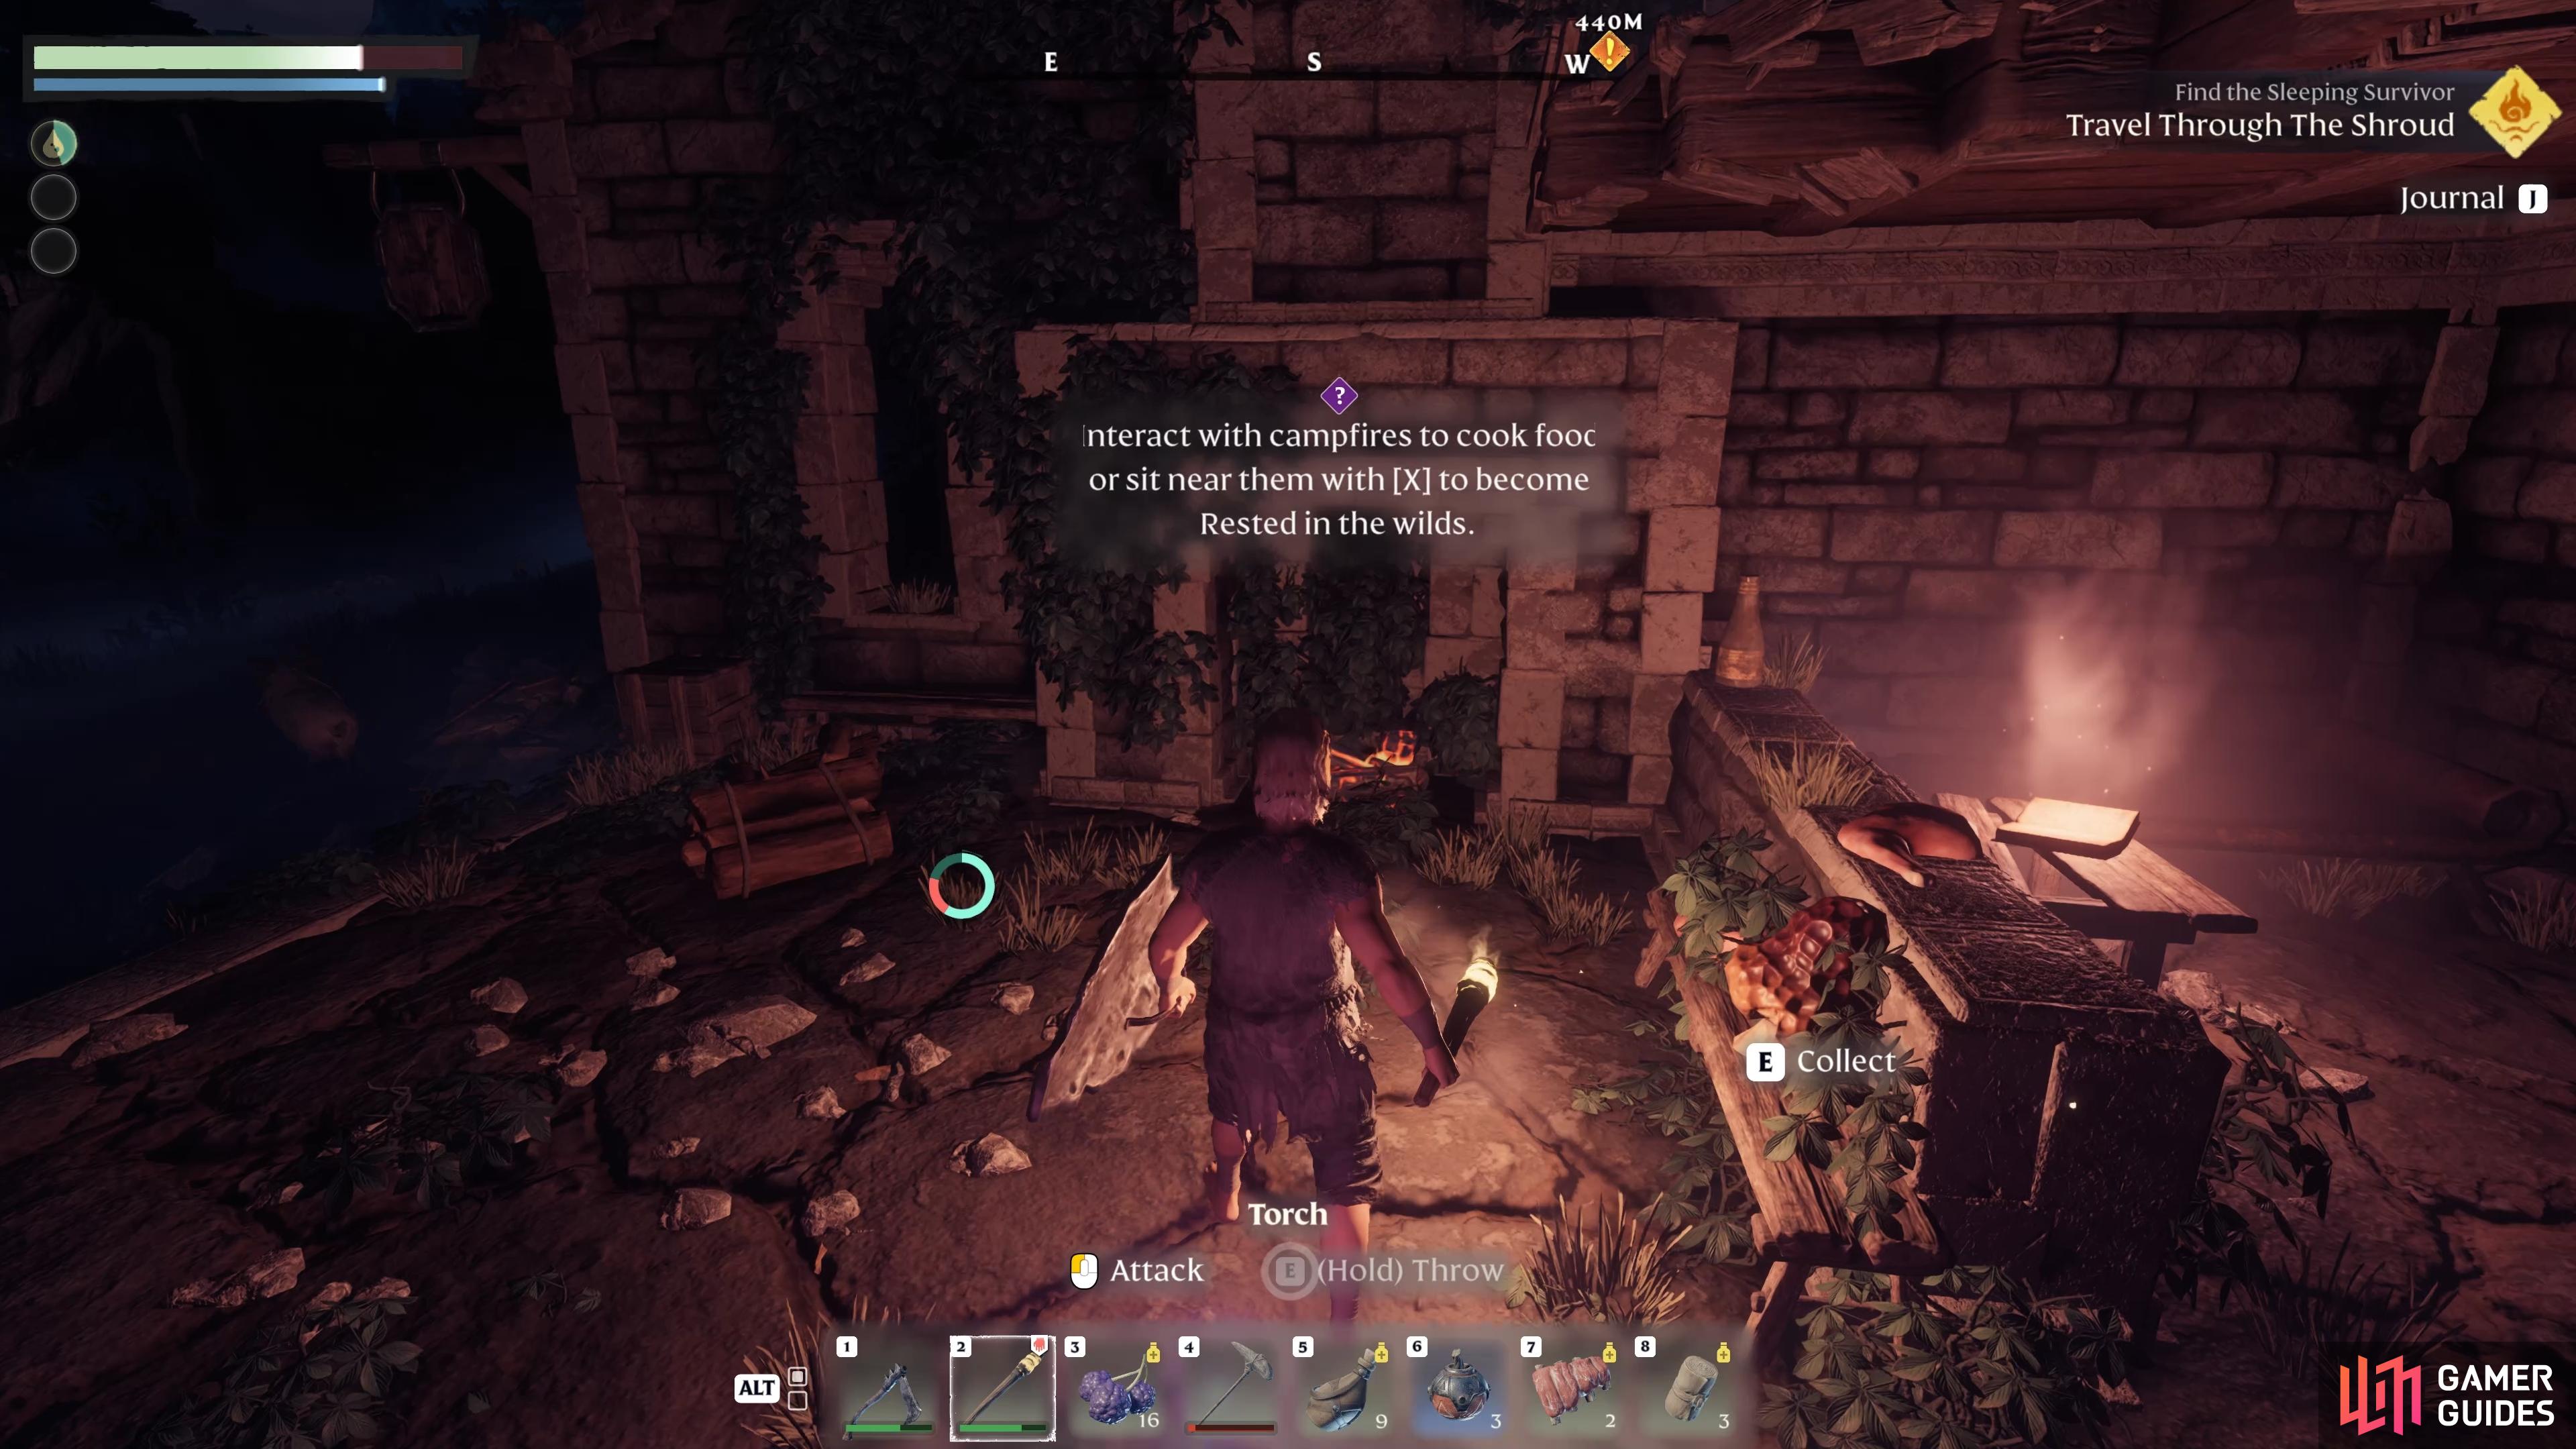
This one may seem obvious, but it’s easily missed. When it comes to fighting off regular Shroud-infested creatures, the basic torch is actually one of the best items to use as a weapon. This is especially true when you’re fighting in basements, where things will often be pitch-dark until you have spells or potions to illuminate the area, so the torch can function as both a useful tool and a decent weapon.
The humble torch is also your best friend when fighting bees. These will often chase you in the wild, especially if you’ve just looted their hives for honey and wax, and you’ll find that most regular weapons are relatively ineffective against them. The torch will make short work of bees in just a few swipes, but you may need to jump as you strike to reach their heights. If you don’t have a torch but you have another fire-based weapon, these will be equally effective.
The only thing you need to worry about when wielding a torch is the presence of explosives. These often come in the form of red barrels, so they’re relatively easy to spot, but they’re sometimes deceptively placed near enemies. You should look out for these near archers especially, which can be particularly tempting targets to charge at, only to find that you hit the explosive with your torch and cause an explosion that kills both of you instantly (this didn’t happen to us, promise!).
Craft the Glider and Grappling Hook ASAP!
Two of the most useful pieces of equipment that are essential for your progress through the game are the Glider and the Grappling Hook. You’ll often find points above you where the grappling hook can be used to swing onto (or across) a platform. If you don’t have a grappling hook equipped when you find them, you’ll get a notification for this. You won’t get notifications for the lack of a Glider, but the use of one will become obvious as soon as you see the great heights that you can reach in the landscape. The glider will allow you to traverse a valley or jump from a tower and reach a point in the distance that would otherwise take much longer to arrive at.
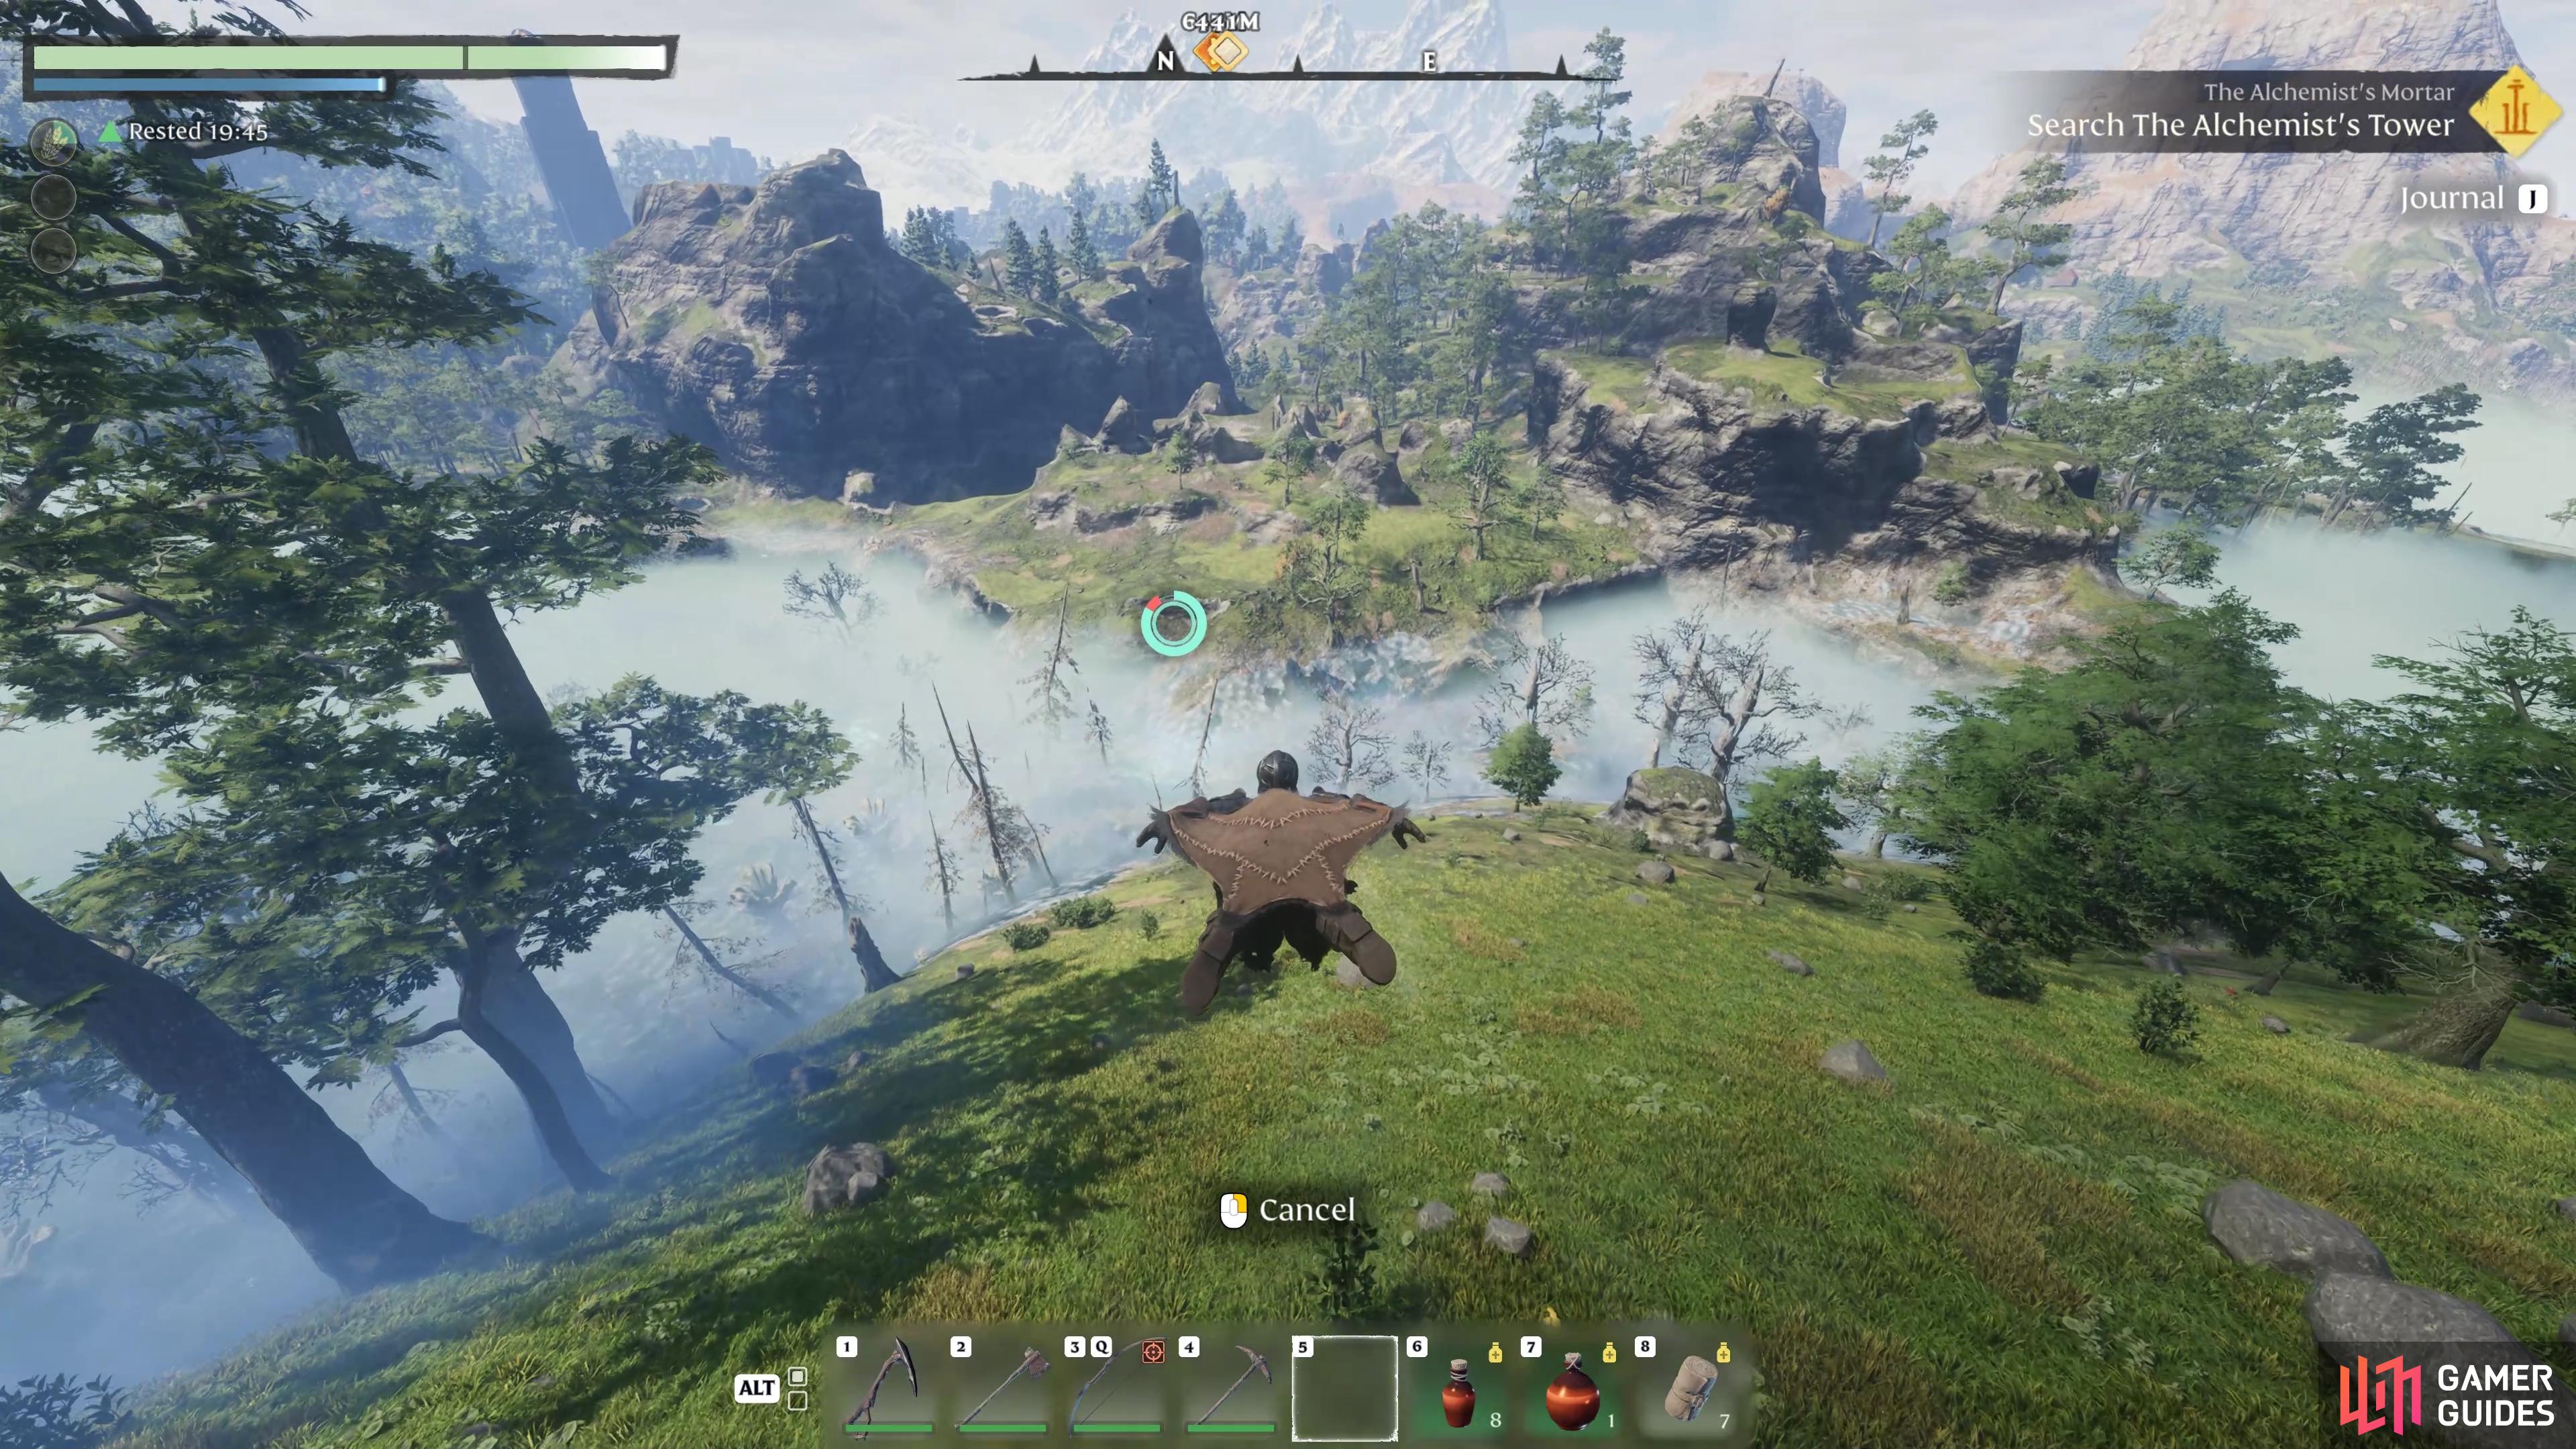

(1 of 2) The Glider can be used to pass over chasms, descend into valleys, and much more!
The Glider can be used to pass over chasms, descend into valleys, and much more! (left), The Grappling Hook often proves essential when exploring new areas. (right)
Thankfully, both the Grappling Hook and the Glider can be crafted early in the game. All you need to do is set up a Workbench and you’ll find both listed under the Survival category. The Grappling Hook requires x4 Metal Scraps, x7 String, and x10 Shroud Spores, while the Glider requires x8 Shroud Wood, x2 Animal Fur, x2 String, and x2 Shroud Spores. All of these materials are easy enough to come by early on but be sure to check our resources guides if you need help finding them.
Spam Jump When Climbing Mountains and Hills
Another gameplay-related tip comes in the form of good old jump spamming. If you’re not familiar with this, it’s simple; you spam the button for jump. This is rarely useful in combat scenarios, but in Enshrouded it has the benefit of enabling you to effectively roll up hillsides and mountains if you land against them from your glider. This can make the difference between life and death if there’s a lava pit beneath you, but you’ll need a decent pool of stamina to pull it off. It’s more of a last resort to reach an area by going over a high mountain pass to avoid going around, but useful to know regardless.
Read Notes and Lore for Treasure and Quests
One of the most important things to understand about progression in Enshrouded is that every piece of lore you encounter, even in the form of small notes, can lead to a special PoI (Point of Interest) or a new quest. It’s for this reason that you should carefully search every new cave, tomb, camp, settlement, and any other place that you stumble upon, for these snippets of lore. They’re usually highlighted in bright orange, so they’re difficult to miss, and you’ll get a decent amount of XP for reading them, too.
Most of the notes will mention the location of something close by, such as a chest hidden beneath a mine shaft which you can find and loot for a decent reward. However, some will lead to more significant side quests that might relate to your crafting NPCs. You’ll also find that you sometimes need to read bits of lore from notes found in the wild before you can progress a quest, so be sure to look for these when you’re otherwise stumped in a quest area.
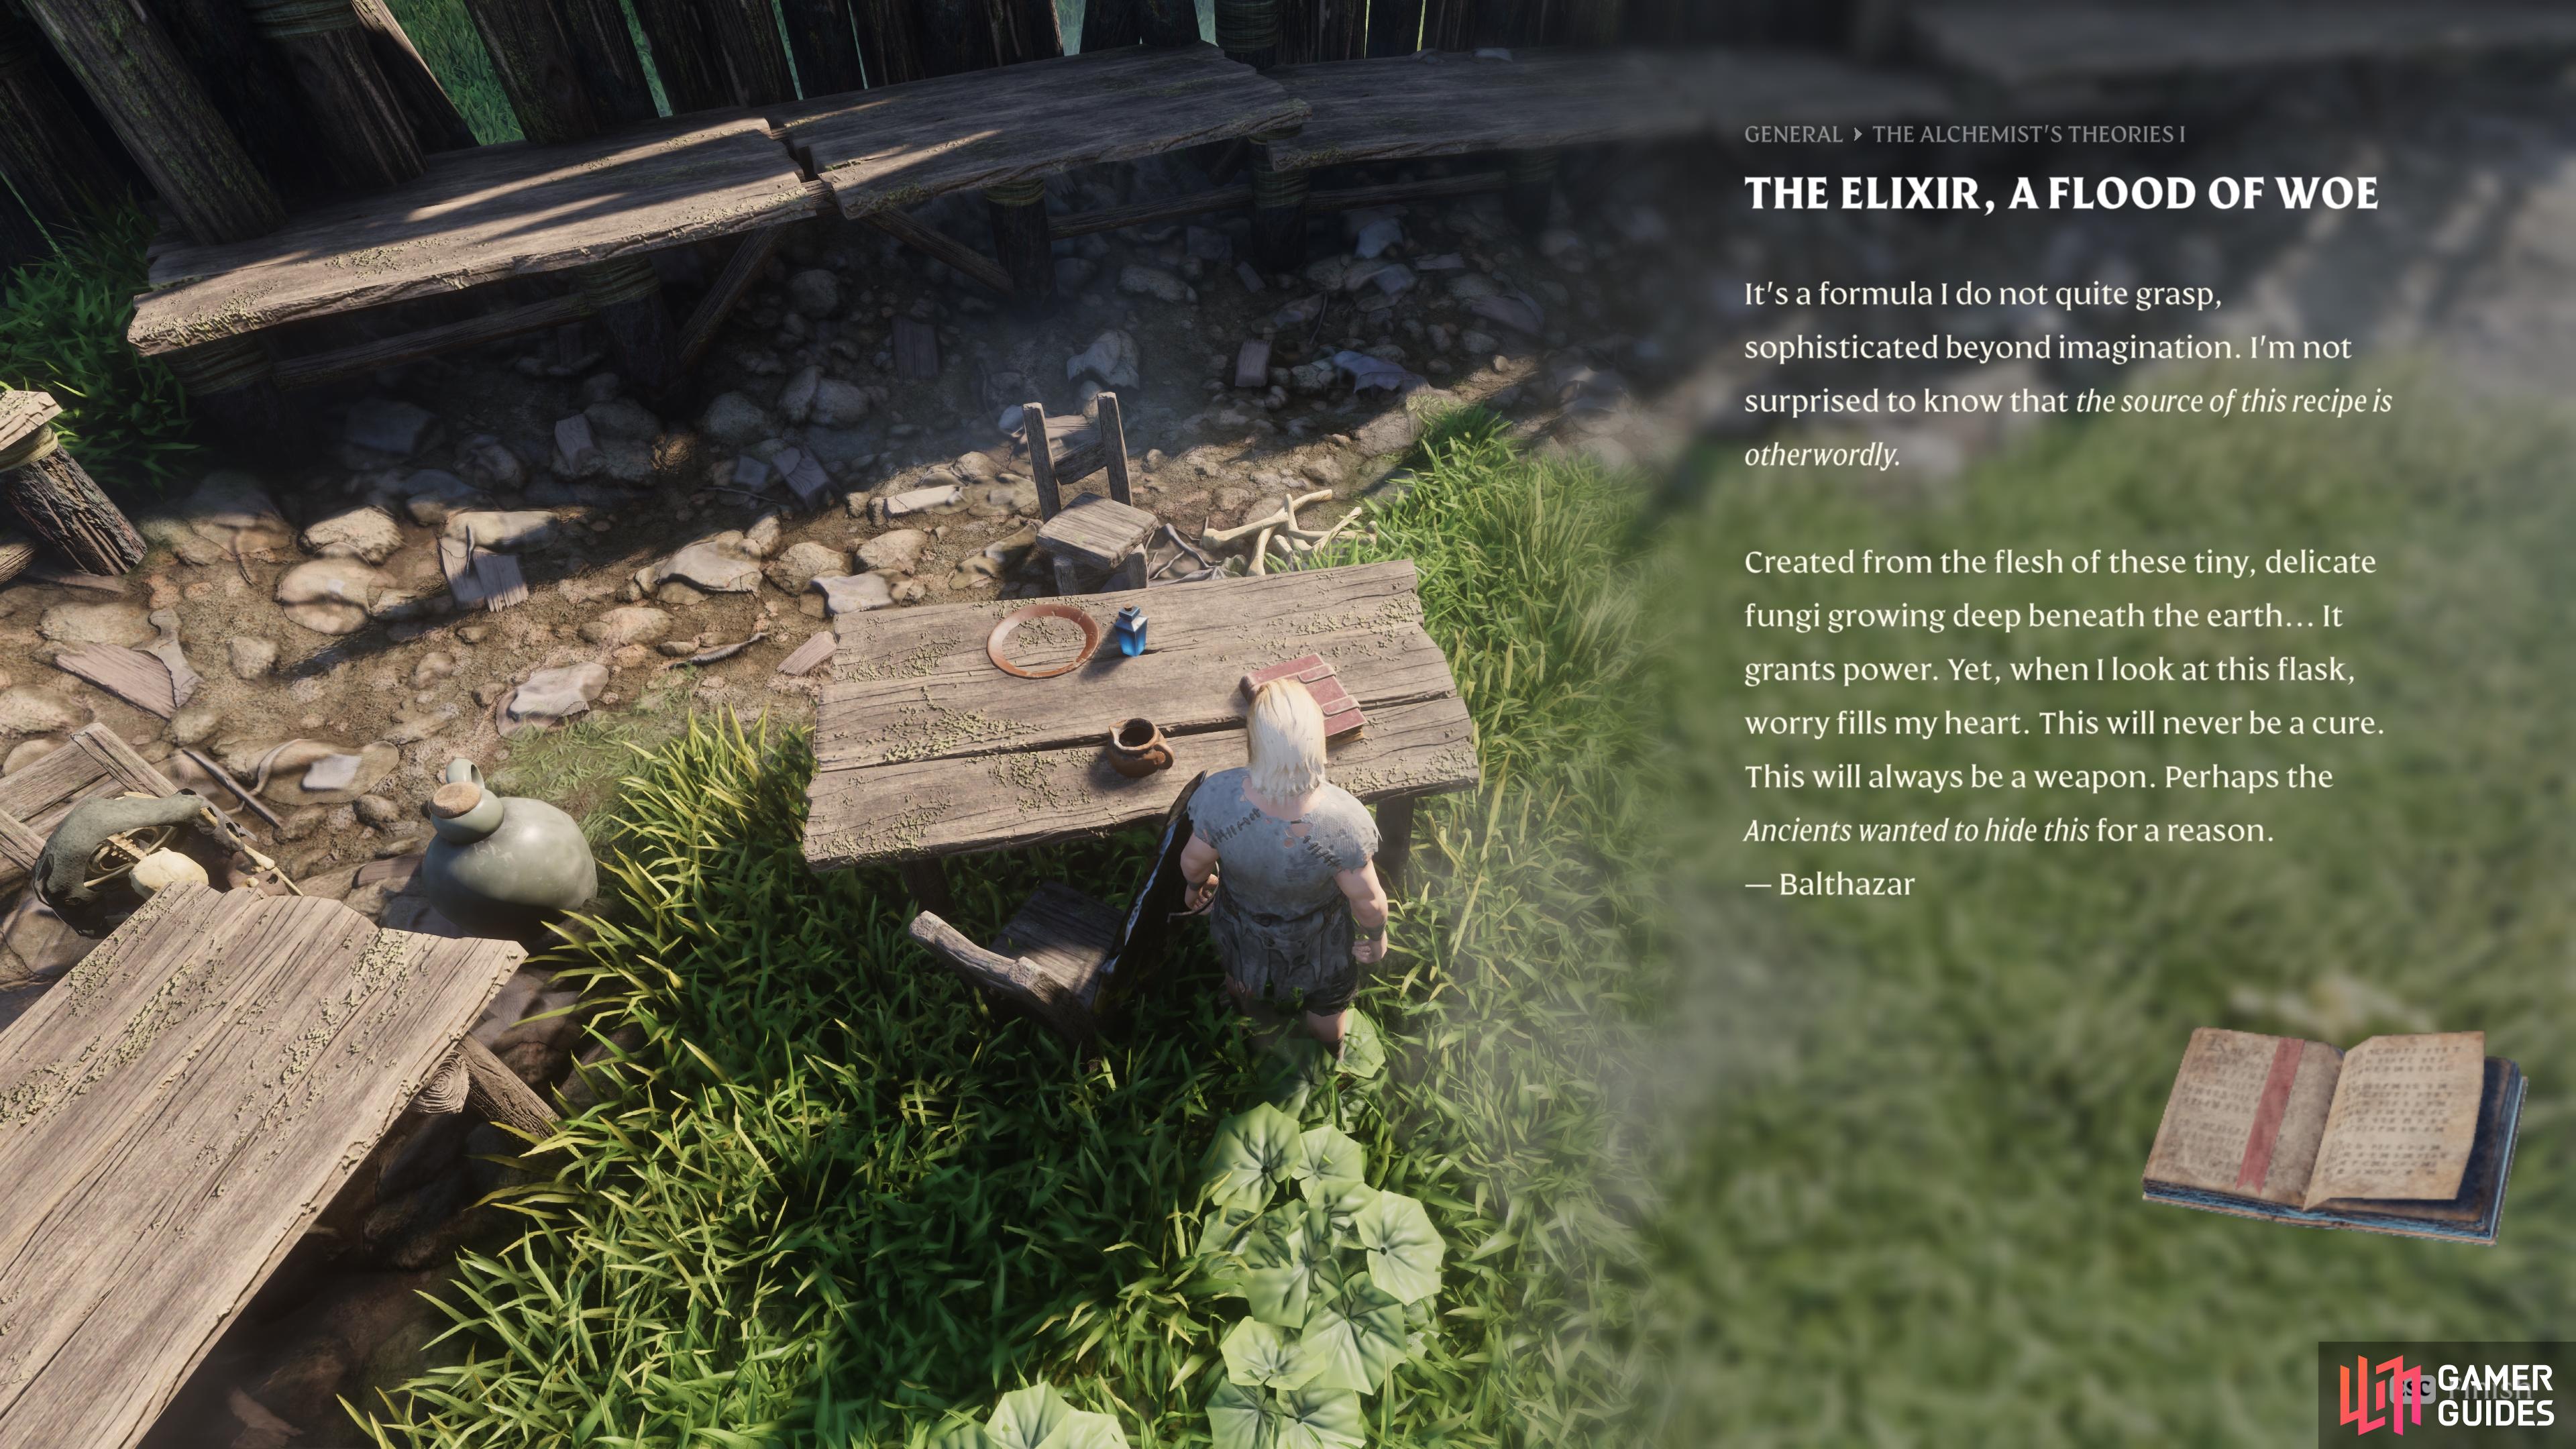
(1 of 2) Notes will often be highlighted with a red aura, and they’ll provide XP when you read them.
Notes will often be highlighted with a red aura, and they’ll provide XP when you read them. (left), Reading notes provides lore info, highlights points of interest, and sometimes starts quests. (right)
We’ll leave it there for now. If you’re looking for more Enshrouded guides, be sure to check ours for detailed walkthroughs of quests, overviews of different crafting requirements, and where to find some of the most useful resources in the game.

 Sign up
No Comments