
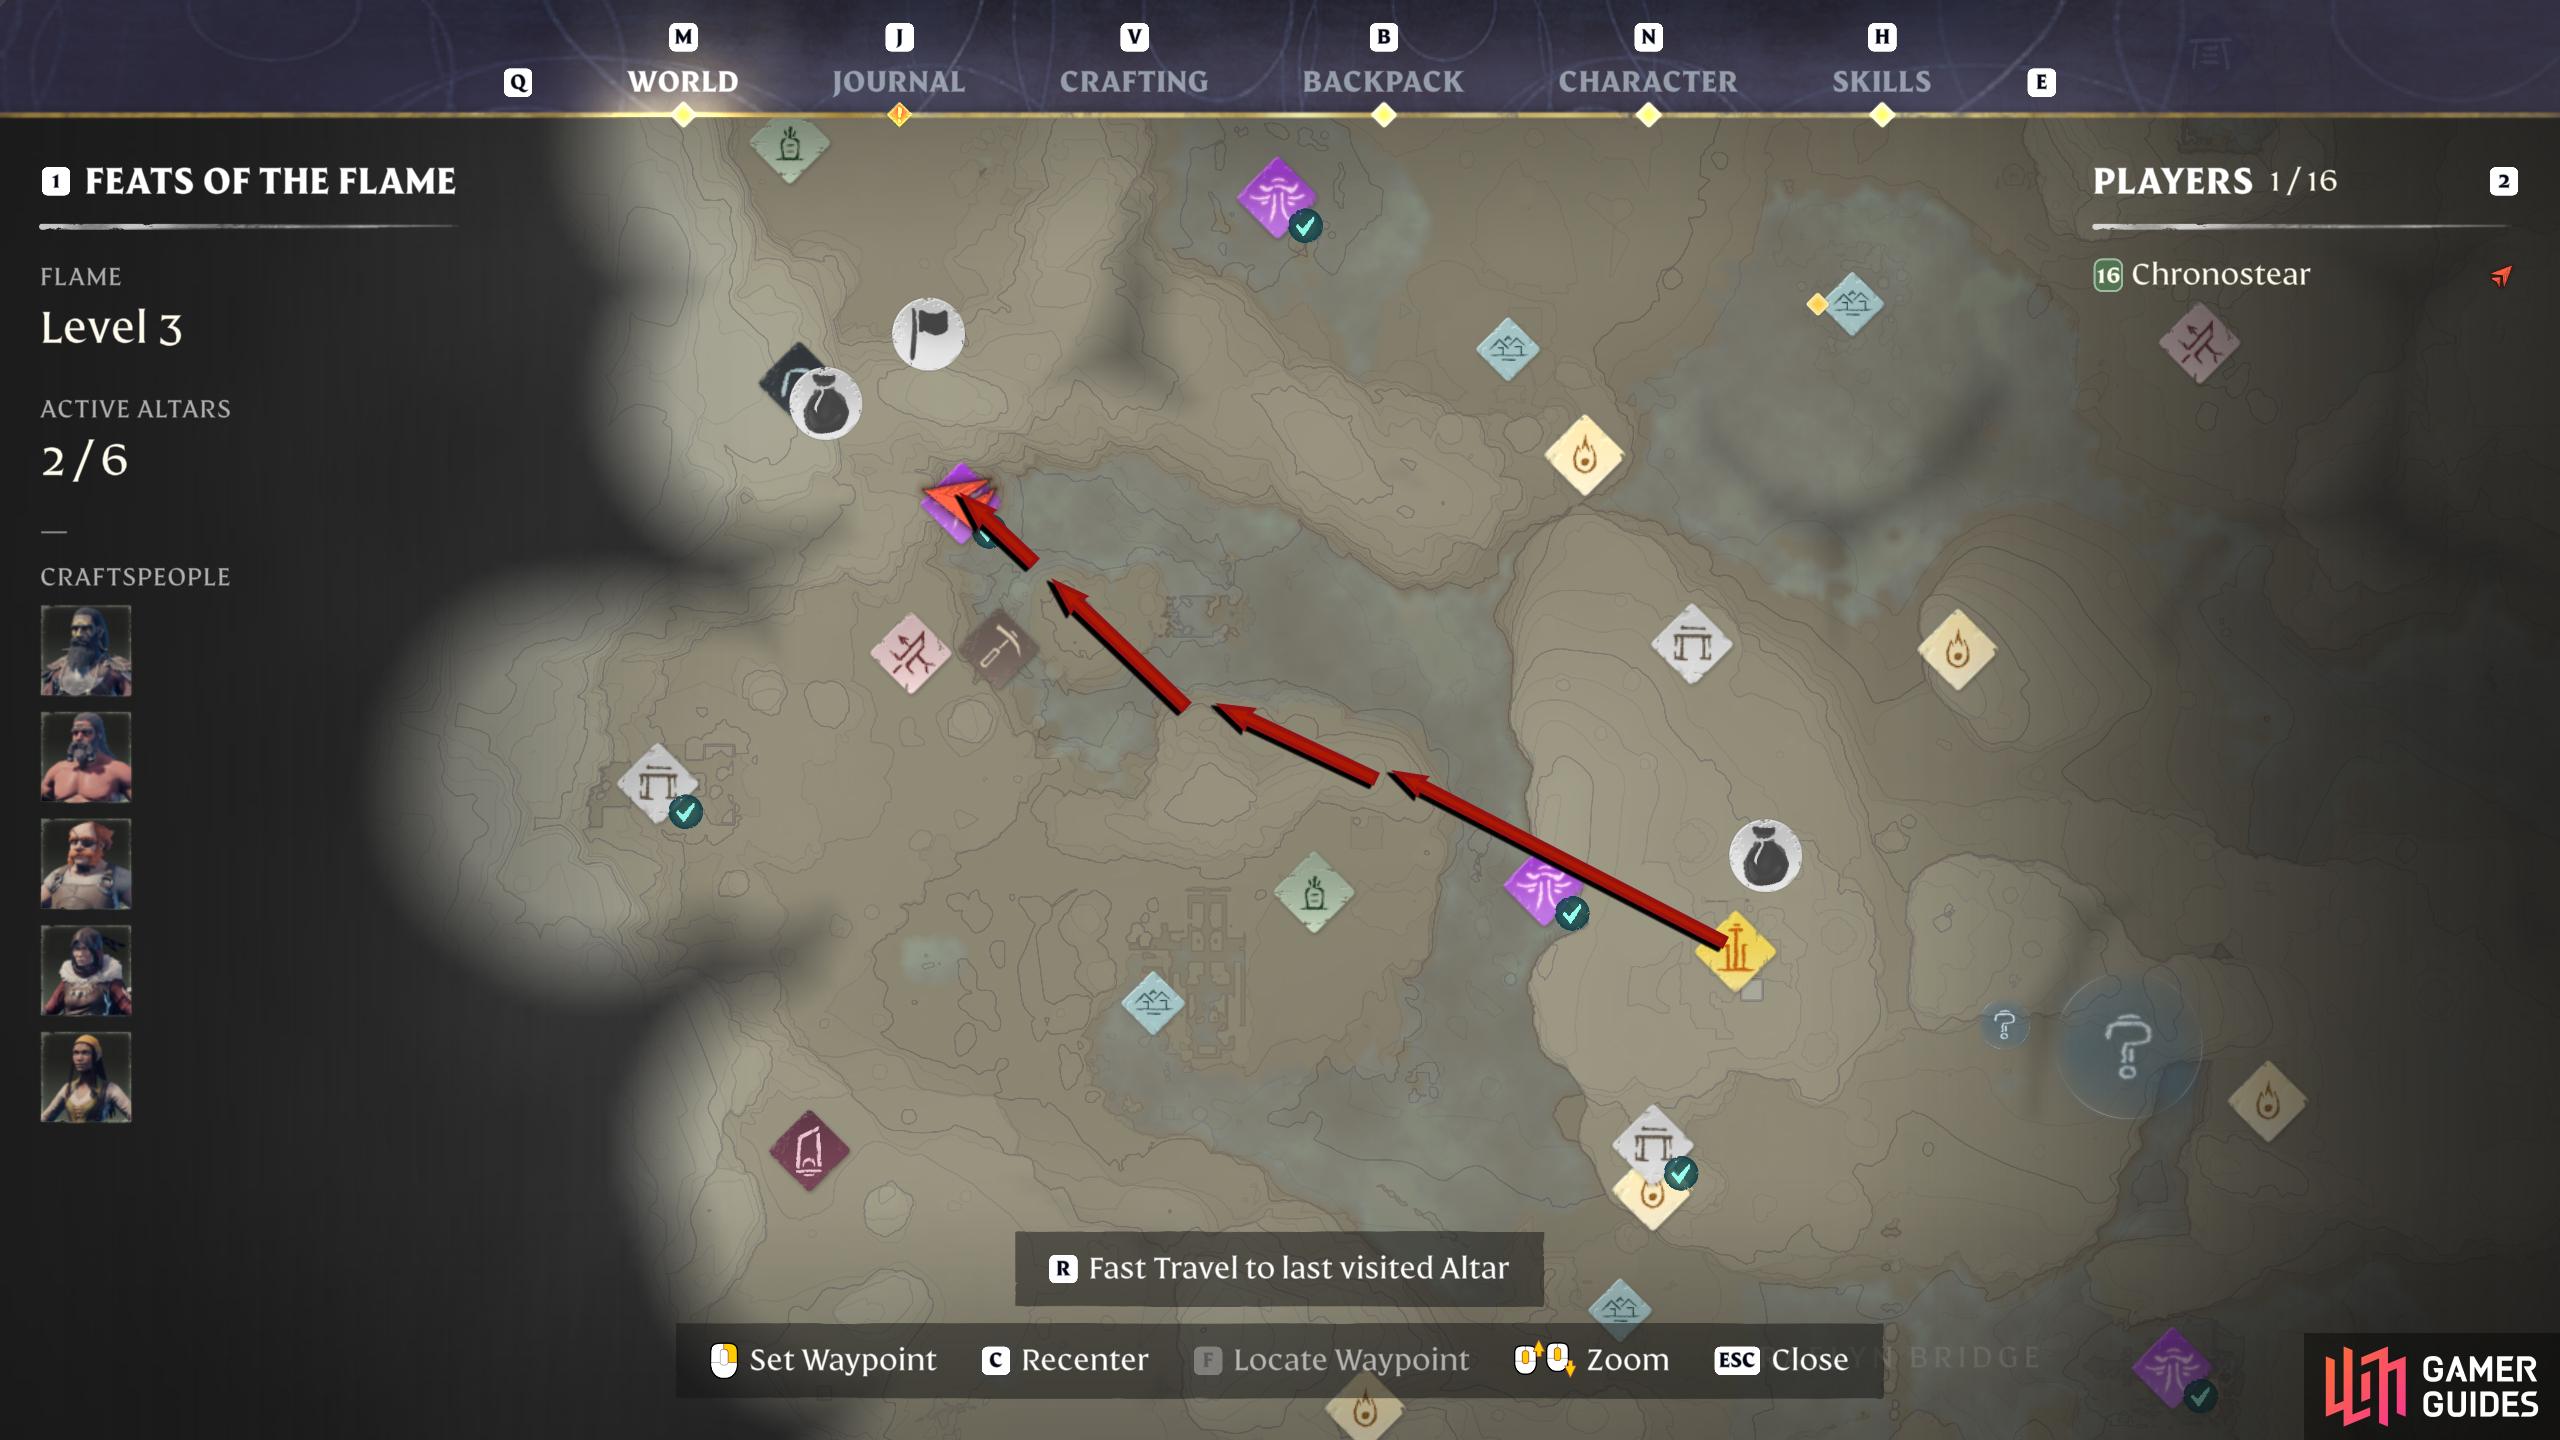
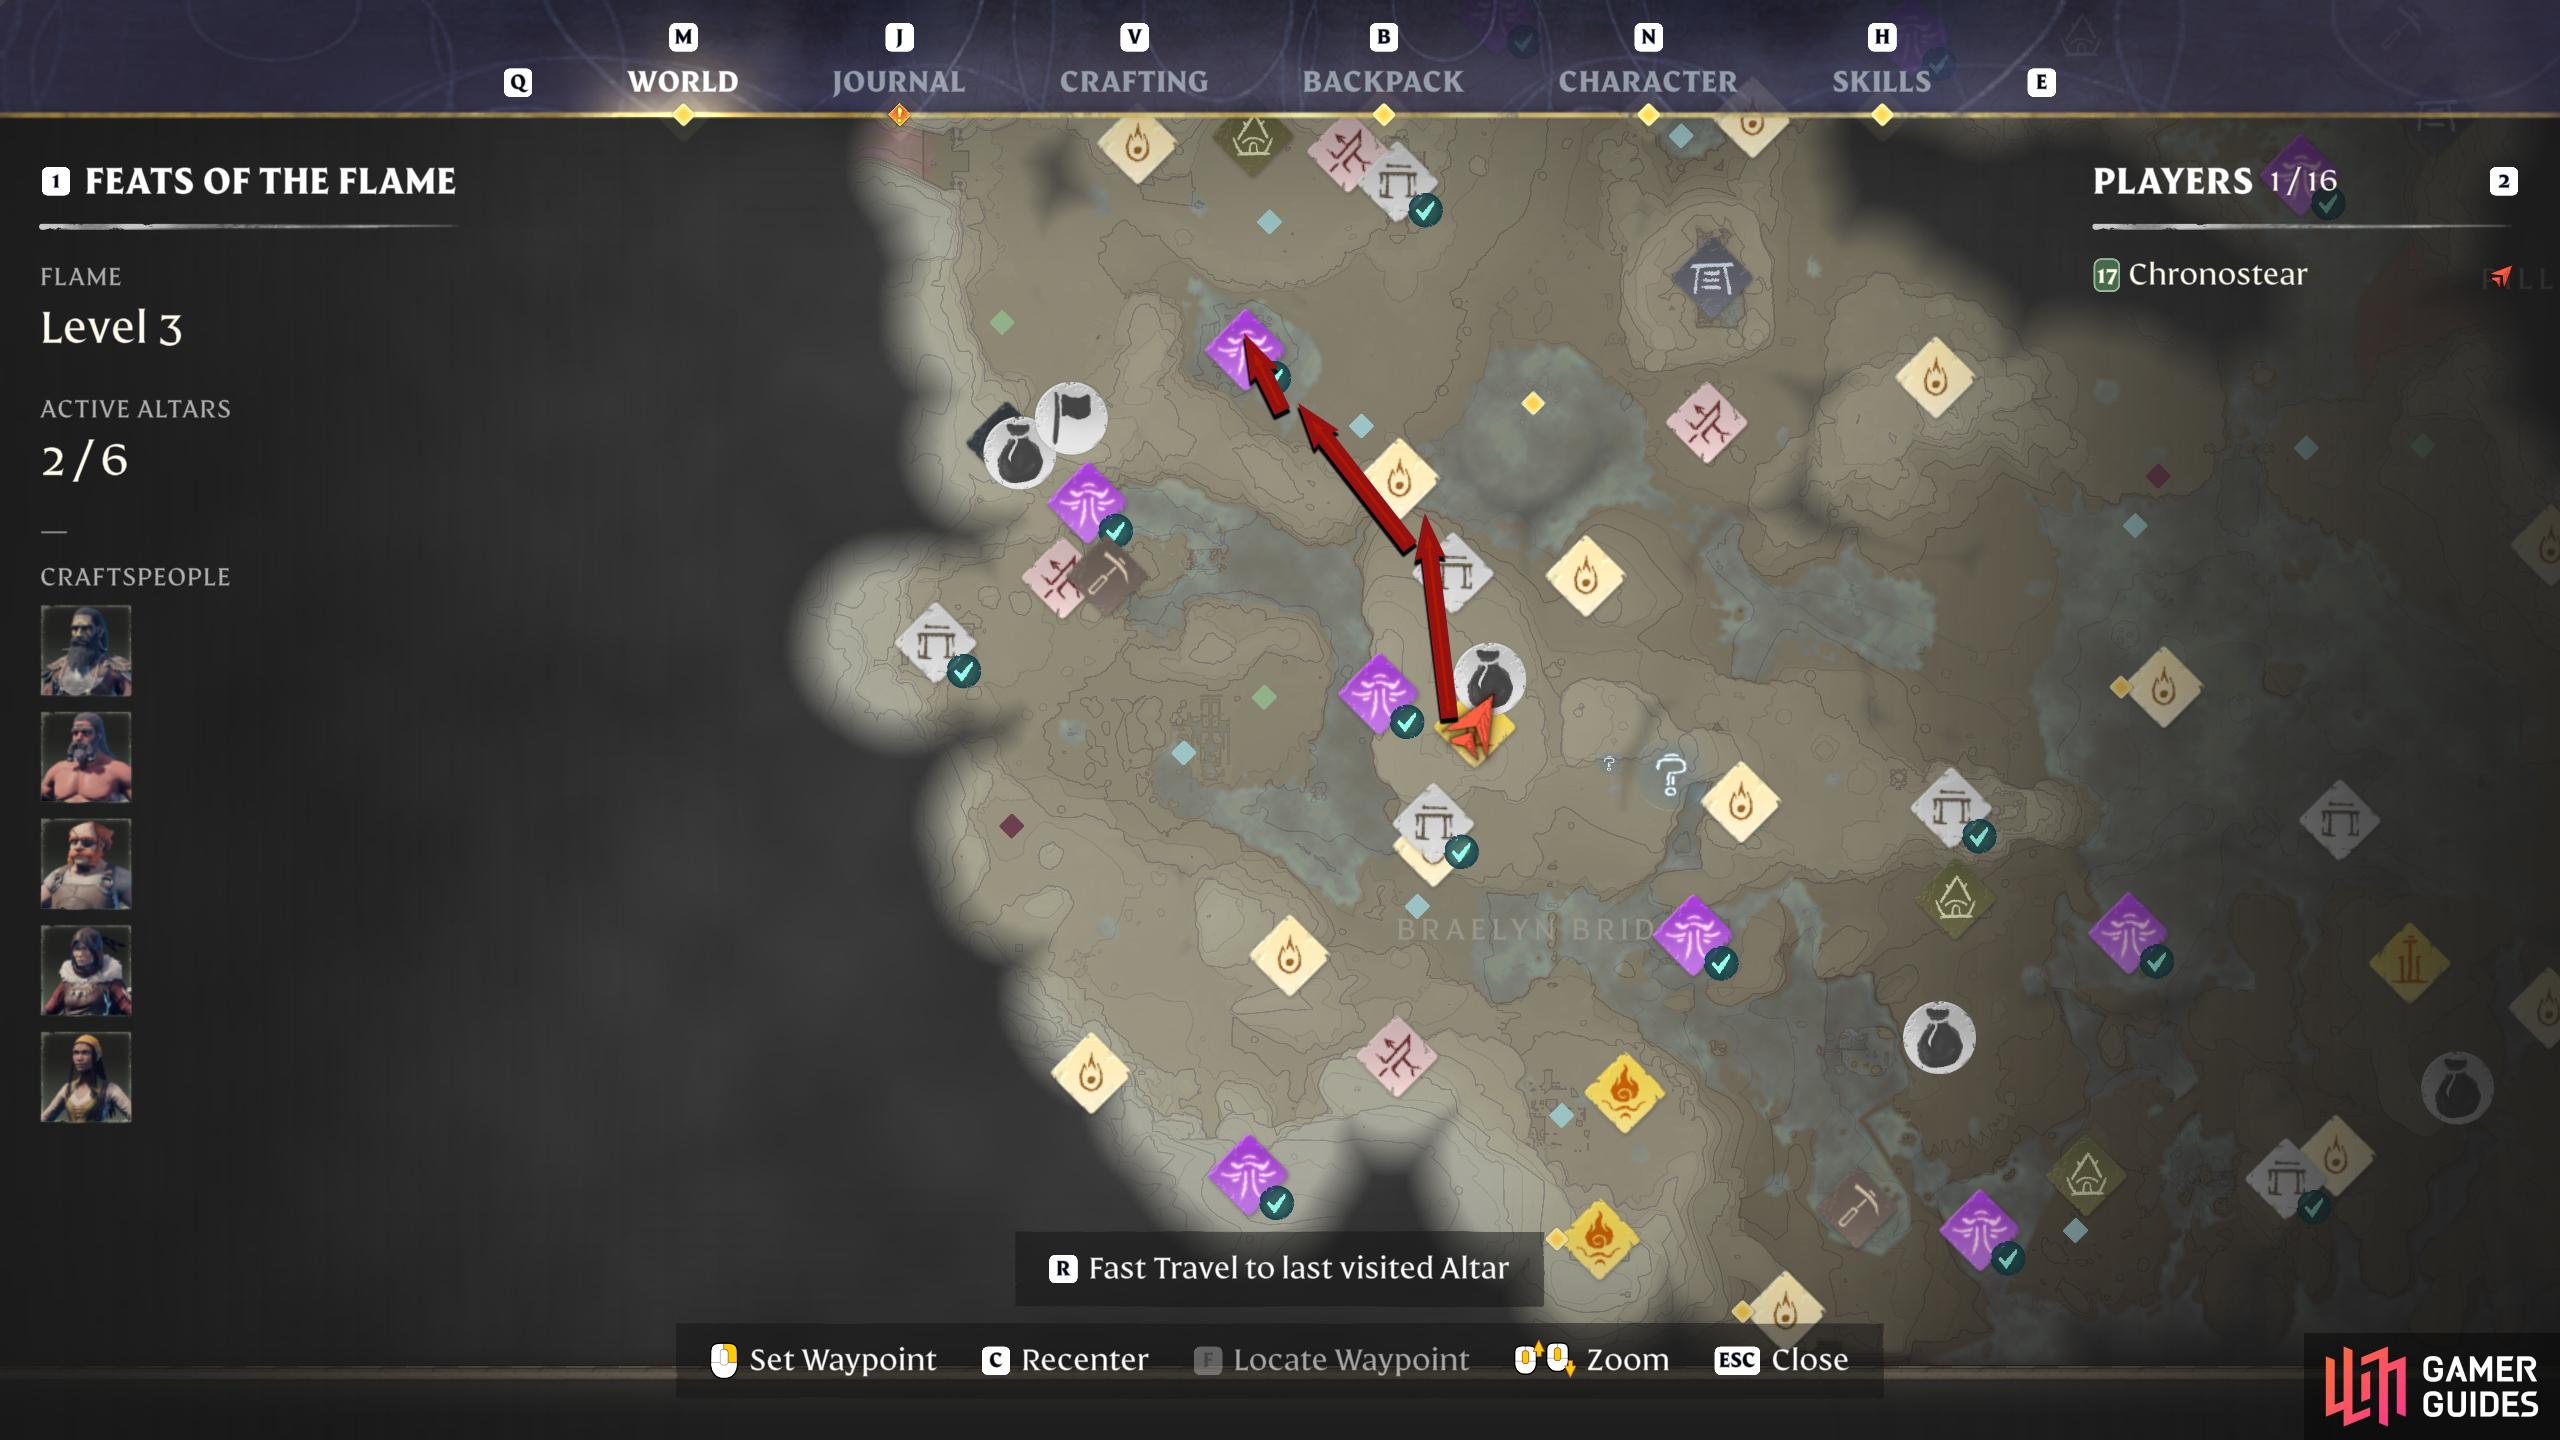
One way of progression in Enshrouded is Elixir Wells. Clearing these small dungeons will grant you a Skill Point, if you can find, and destroy the Shroud Root hidden deep within. Concealed by the Shroud, these Wells can be tough to find, and you’ll end up wasting a lot of your time in the Shroud, which at times, can be deadly thus wasting the time you have to complete the dungeon. There are six Elixir Wells in total in the Springlands, and you can find where they are as well as how to complete them right here.
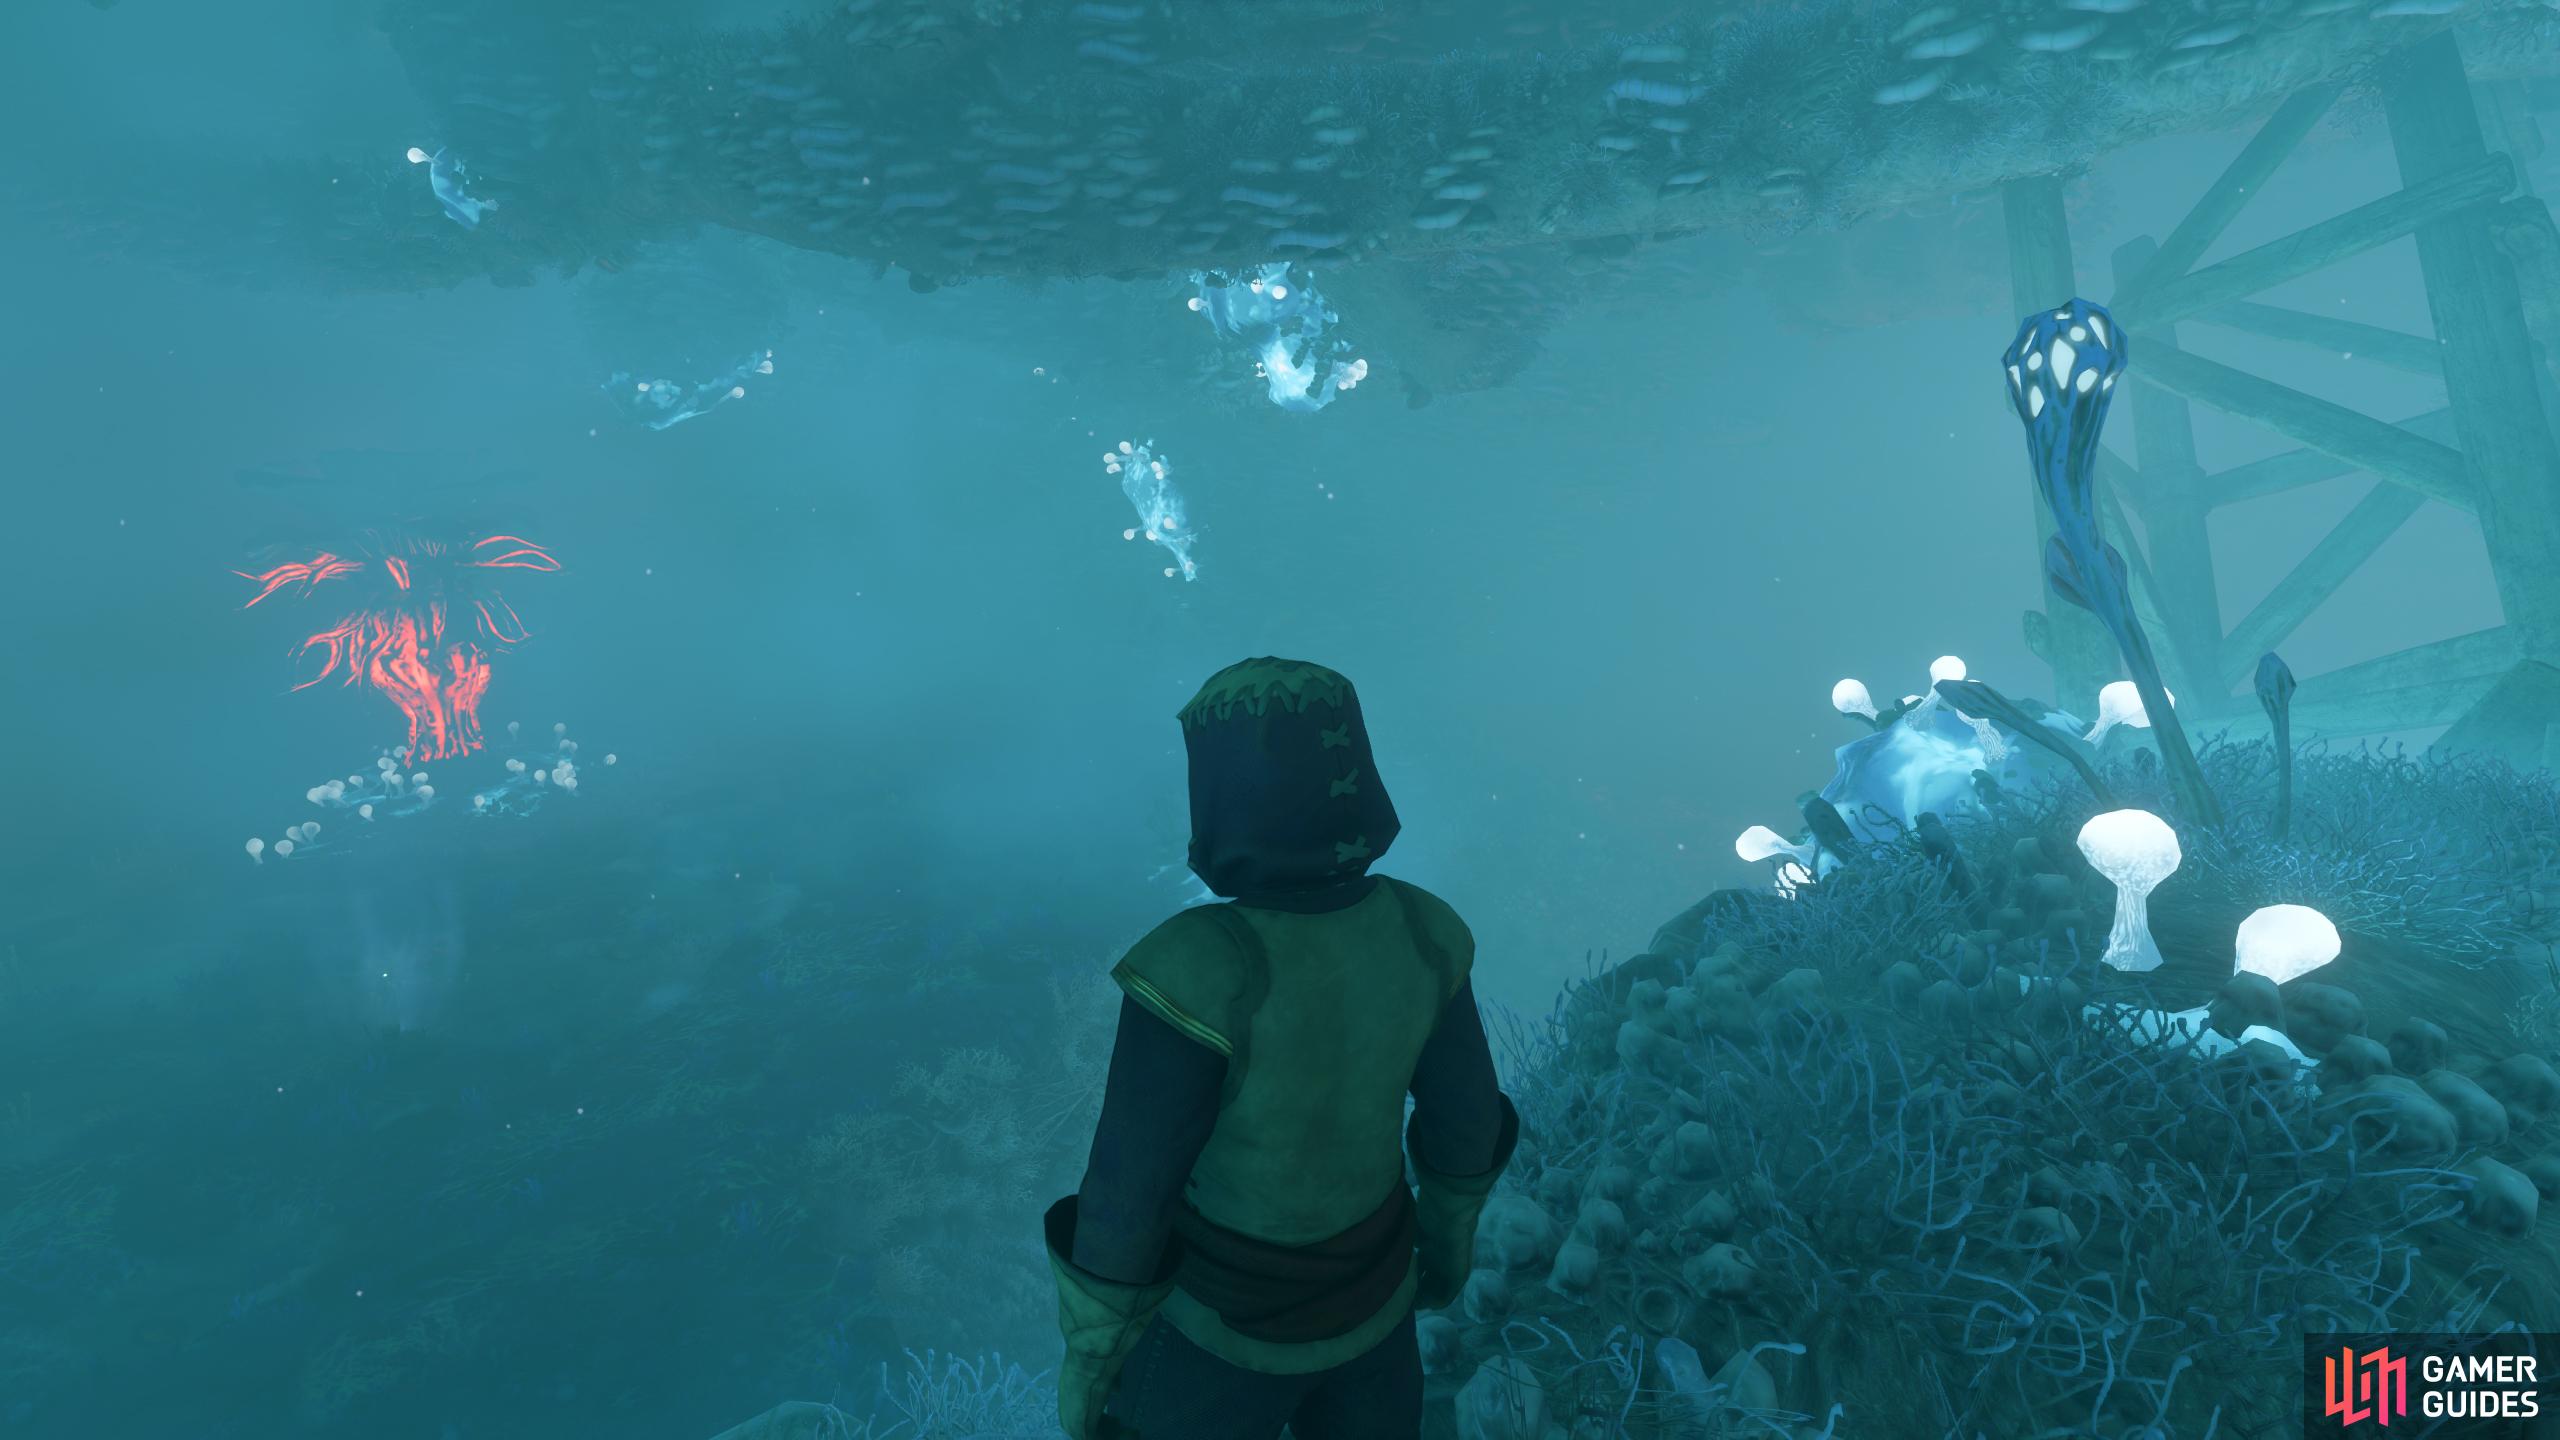
Destroy a Shroud Root in an Elixir Well to earn a Skill Point in Enshrouded.
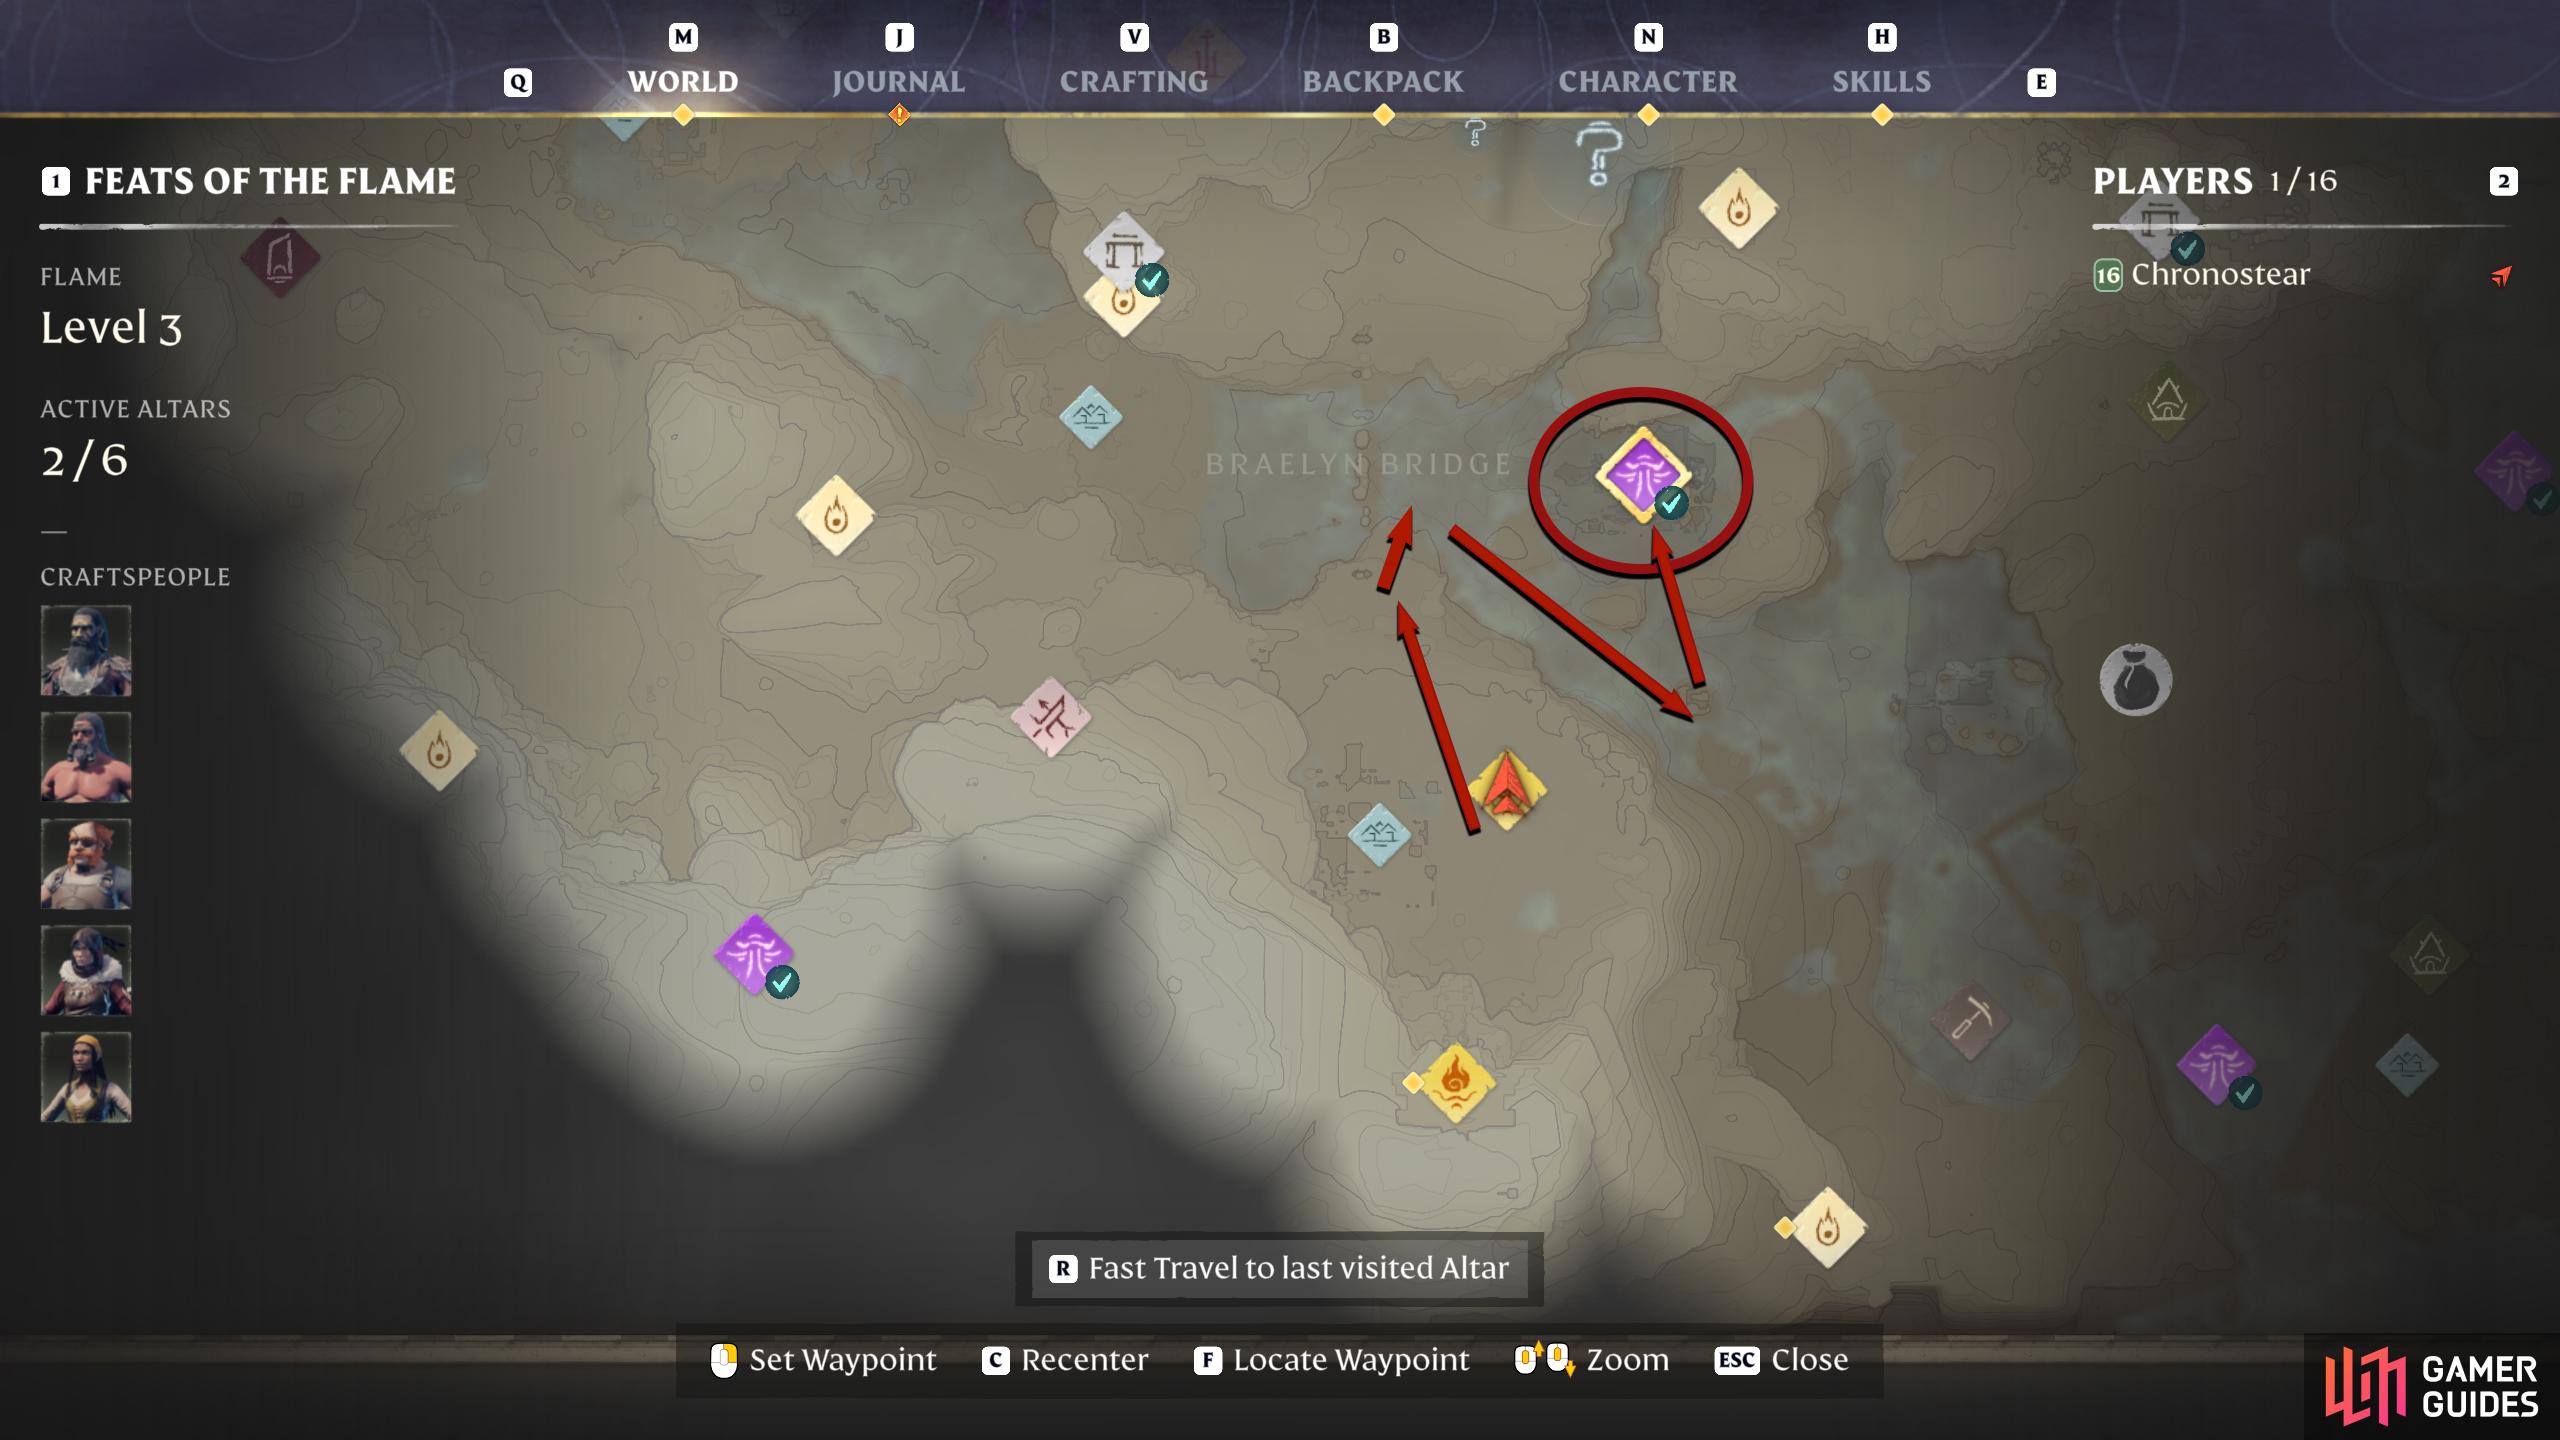
Southern Springlands Elixir Well Locations
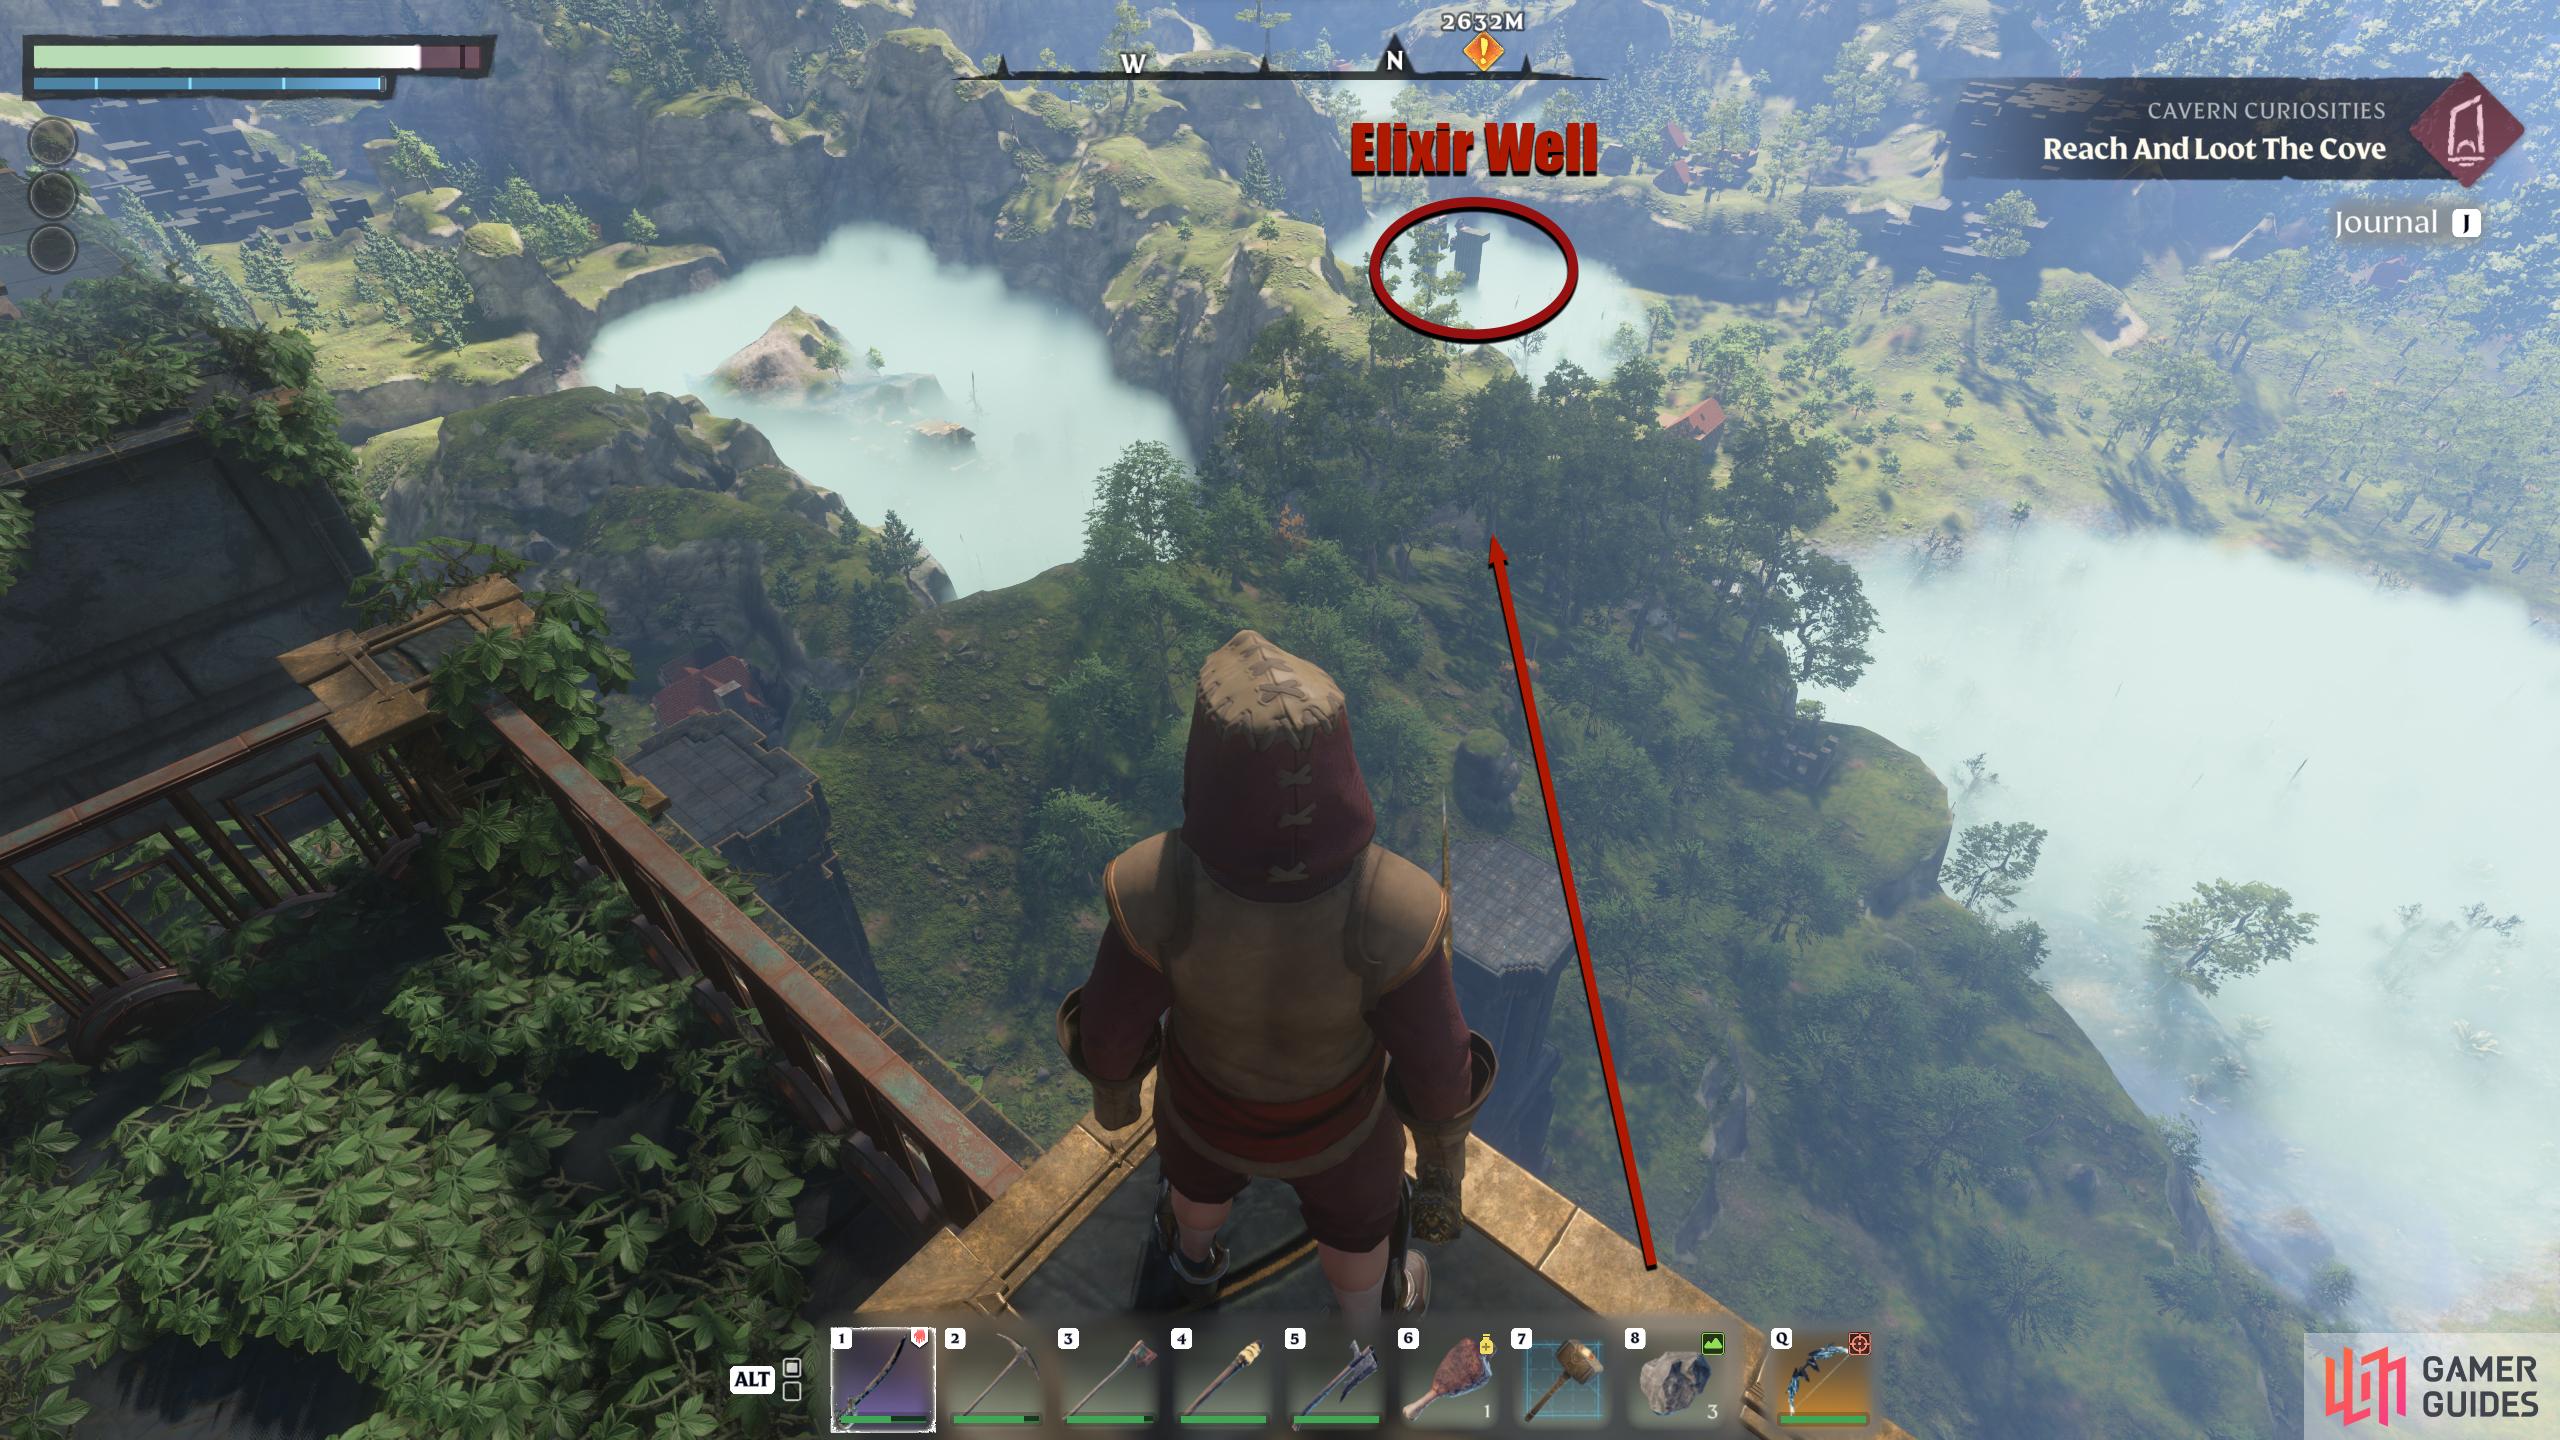
Starting at the nearest Well closest to the main quest’s recommended first base location. This can be found in the Shroud to the east of Braelyn Bridge. There are two ways to get here, the “proper”, and the quick way. The latter requires that you have the Glider, so if you don’t have it yet, you’ll have to use the proper method. Note that all Wells should be expected to host numerous enemies, and this guide won’t mention them outside the difficult, or boss-type enemies.
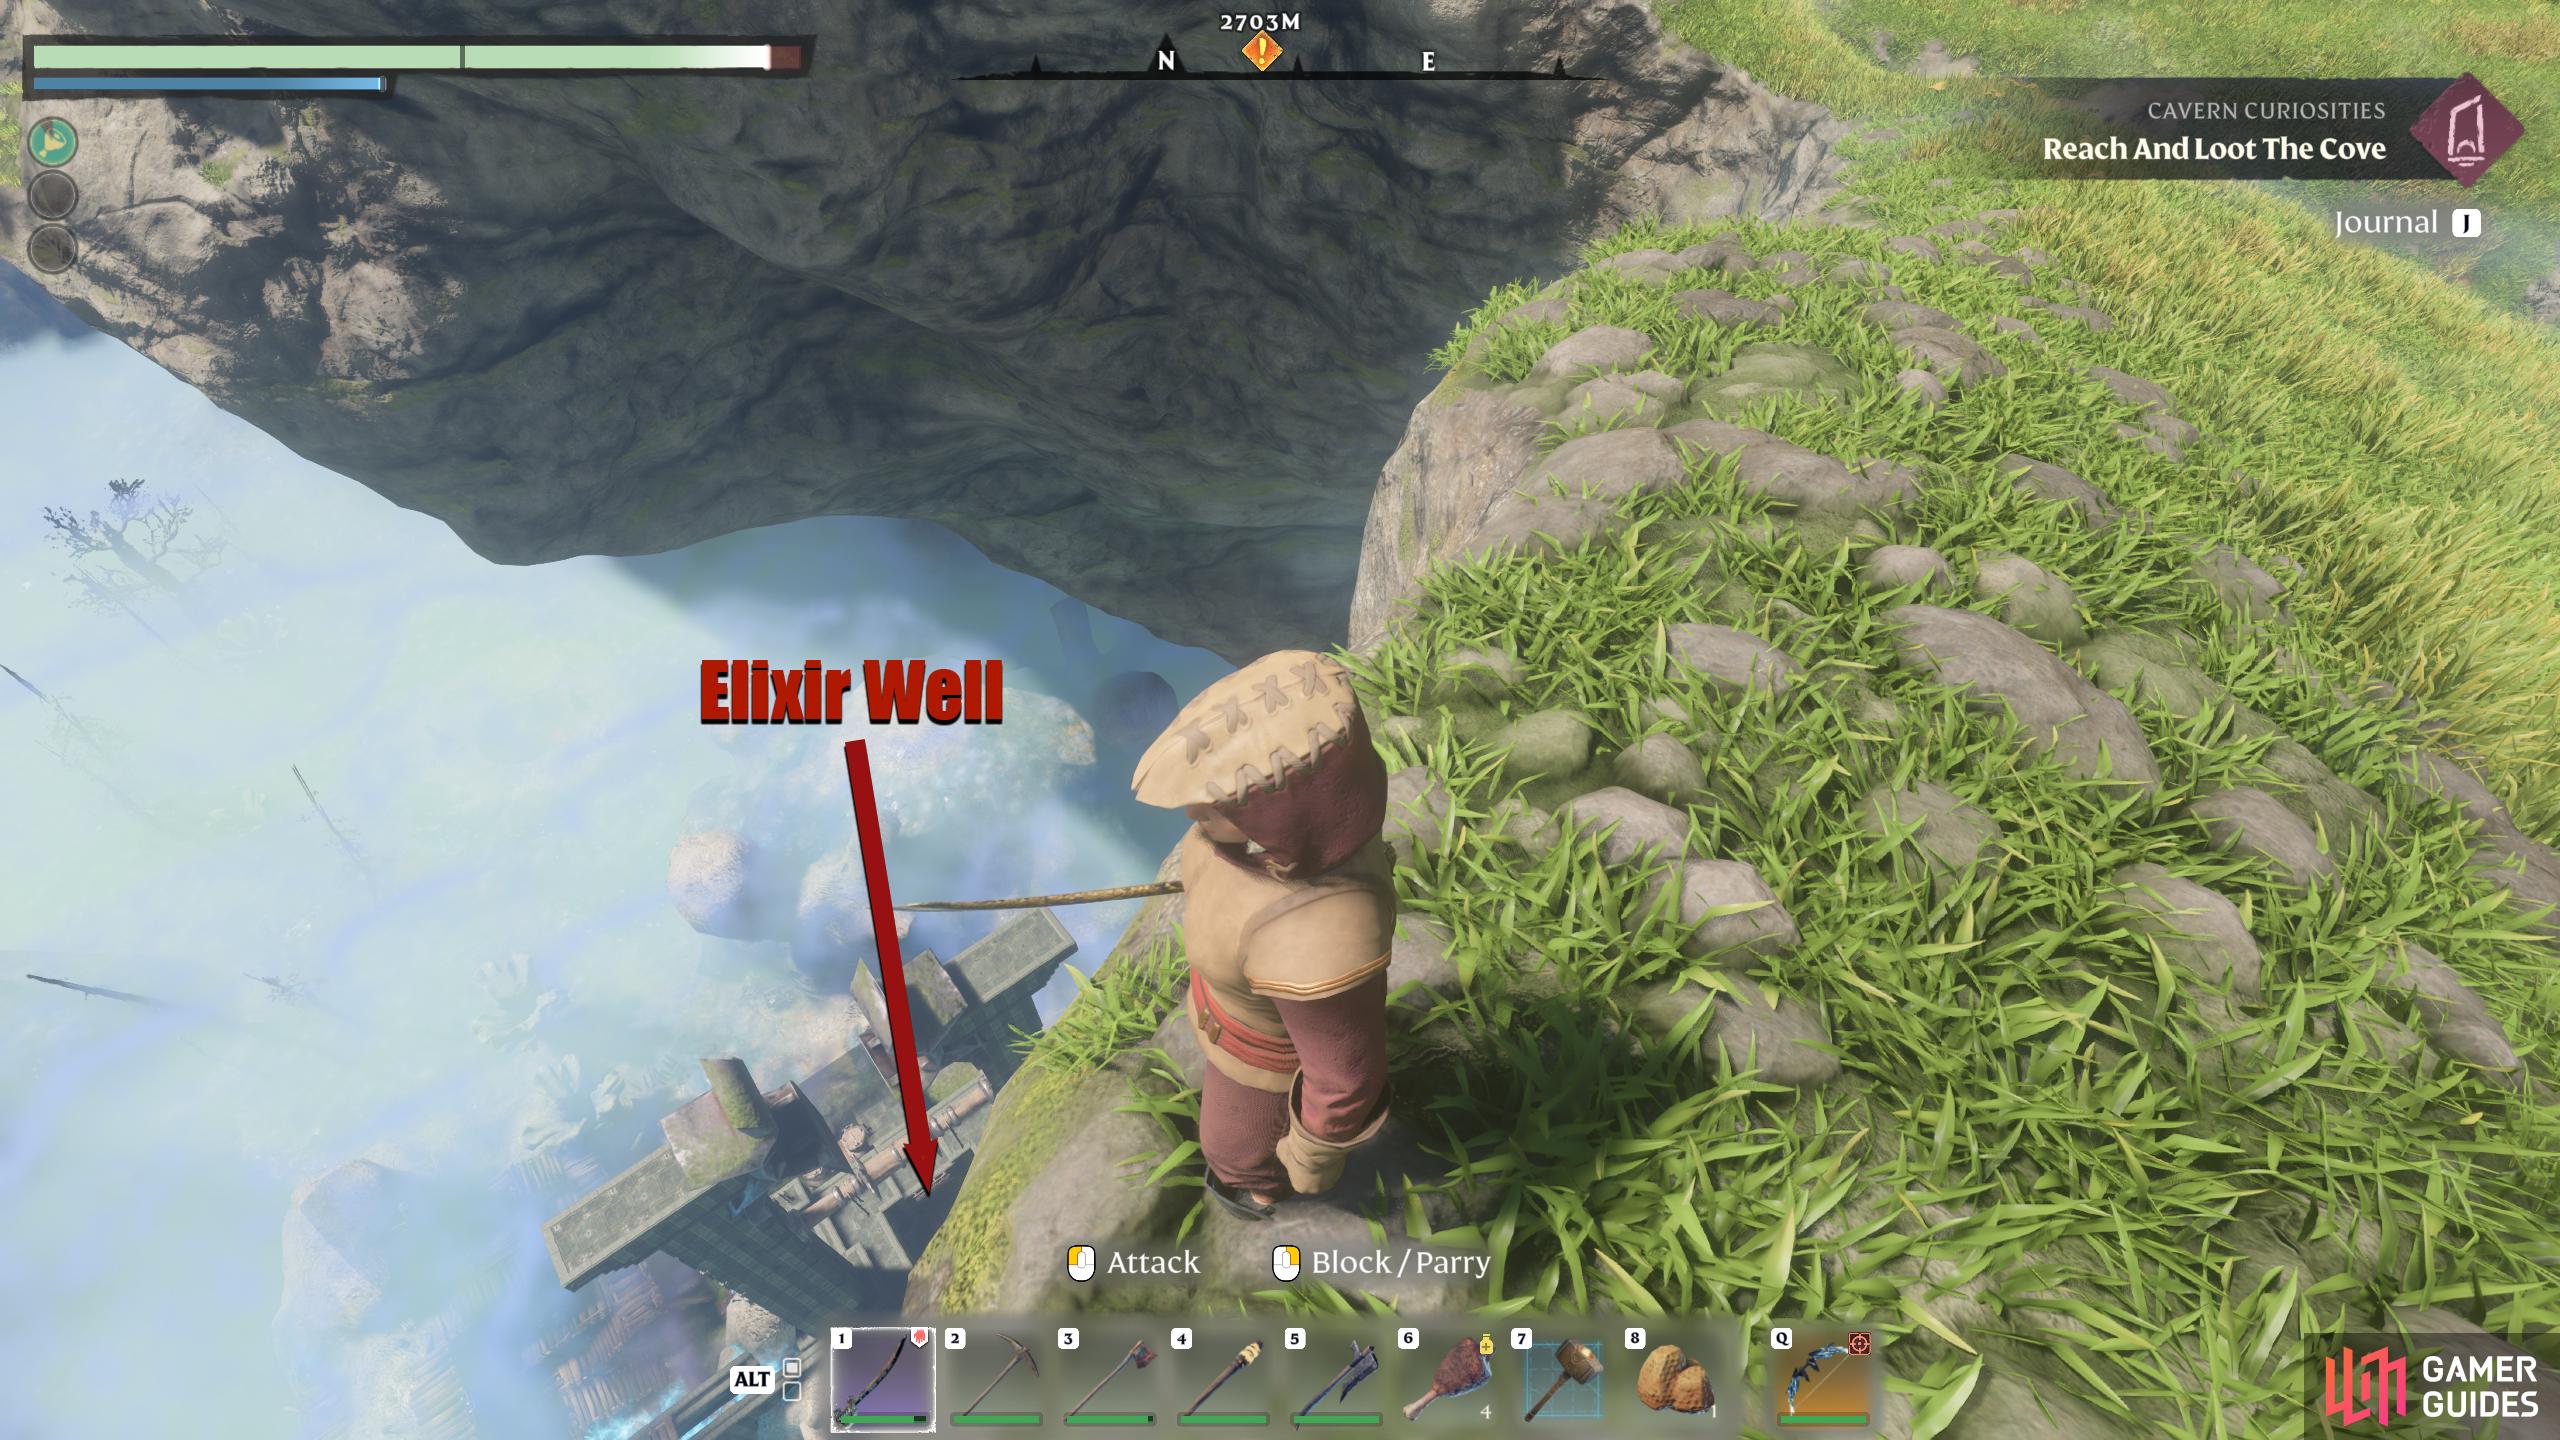
Elixir Well 1 - East of Braelyn Bridge

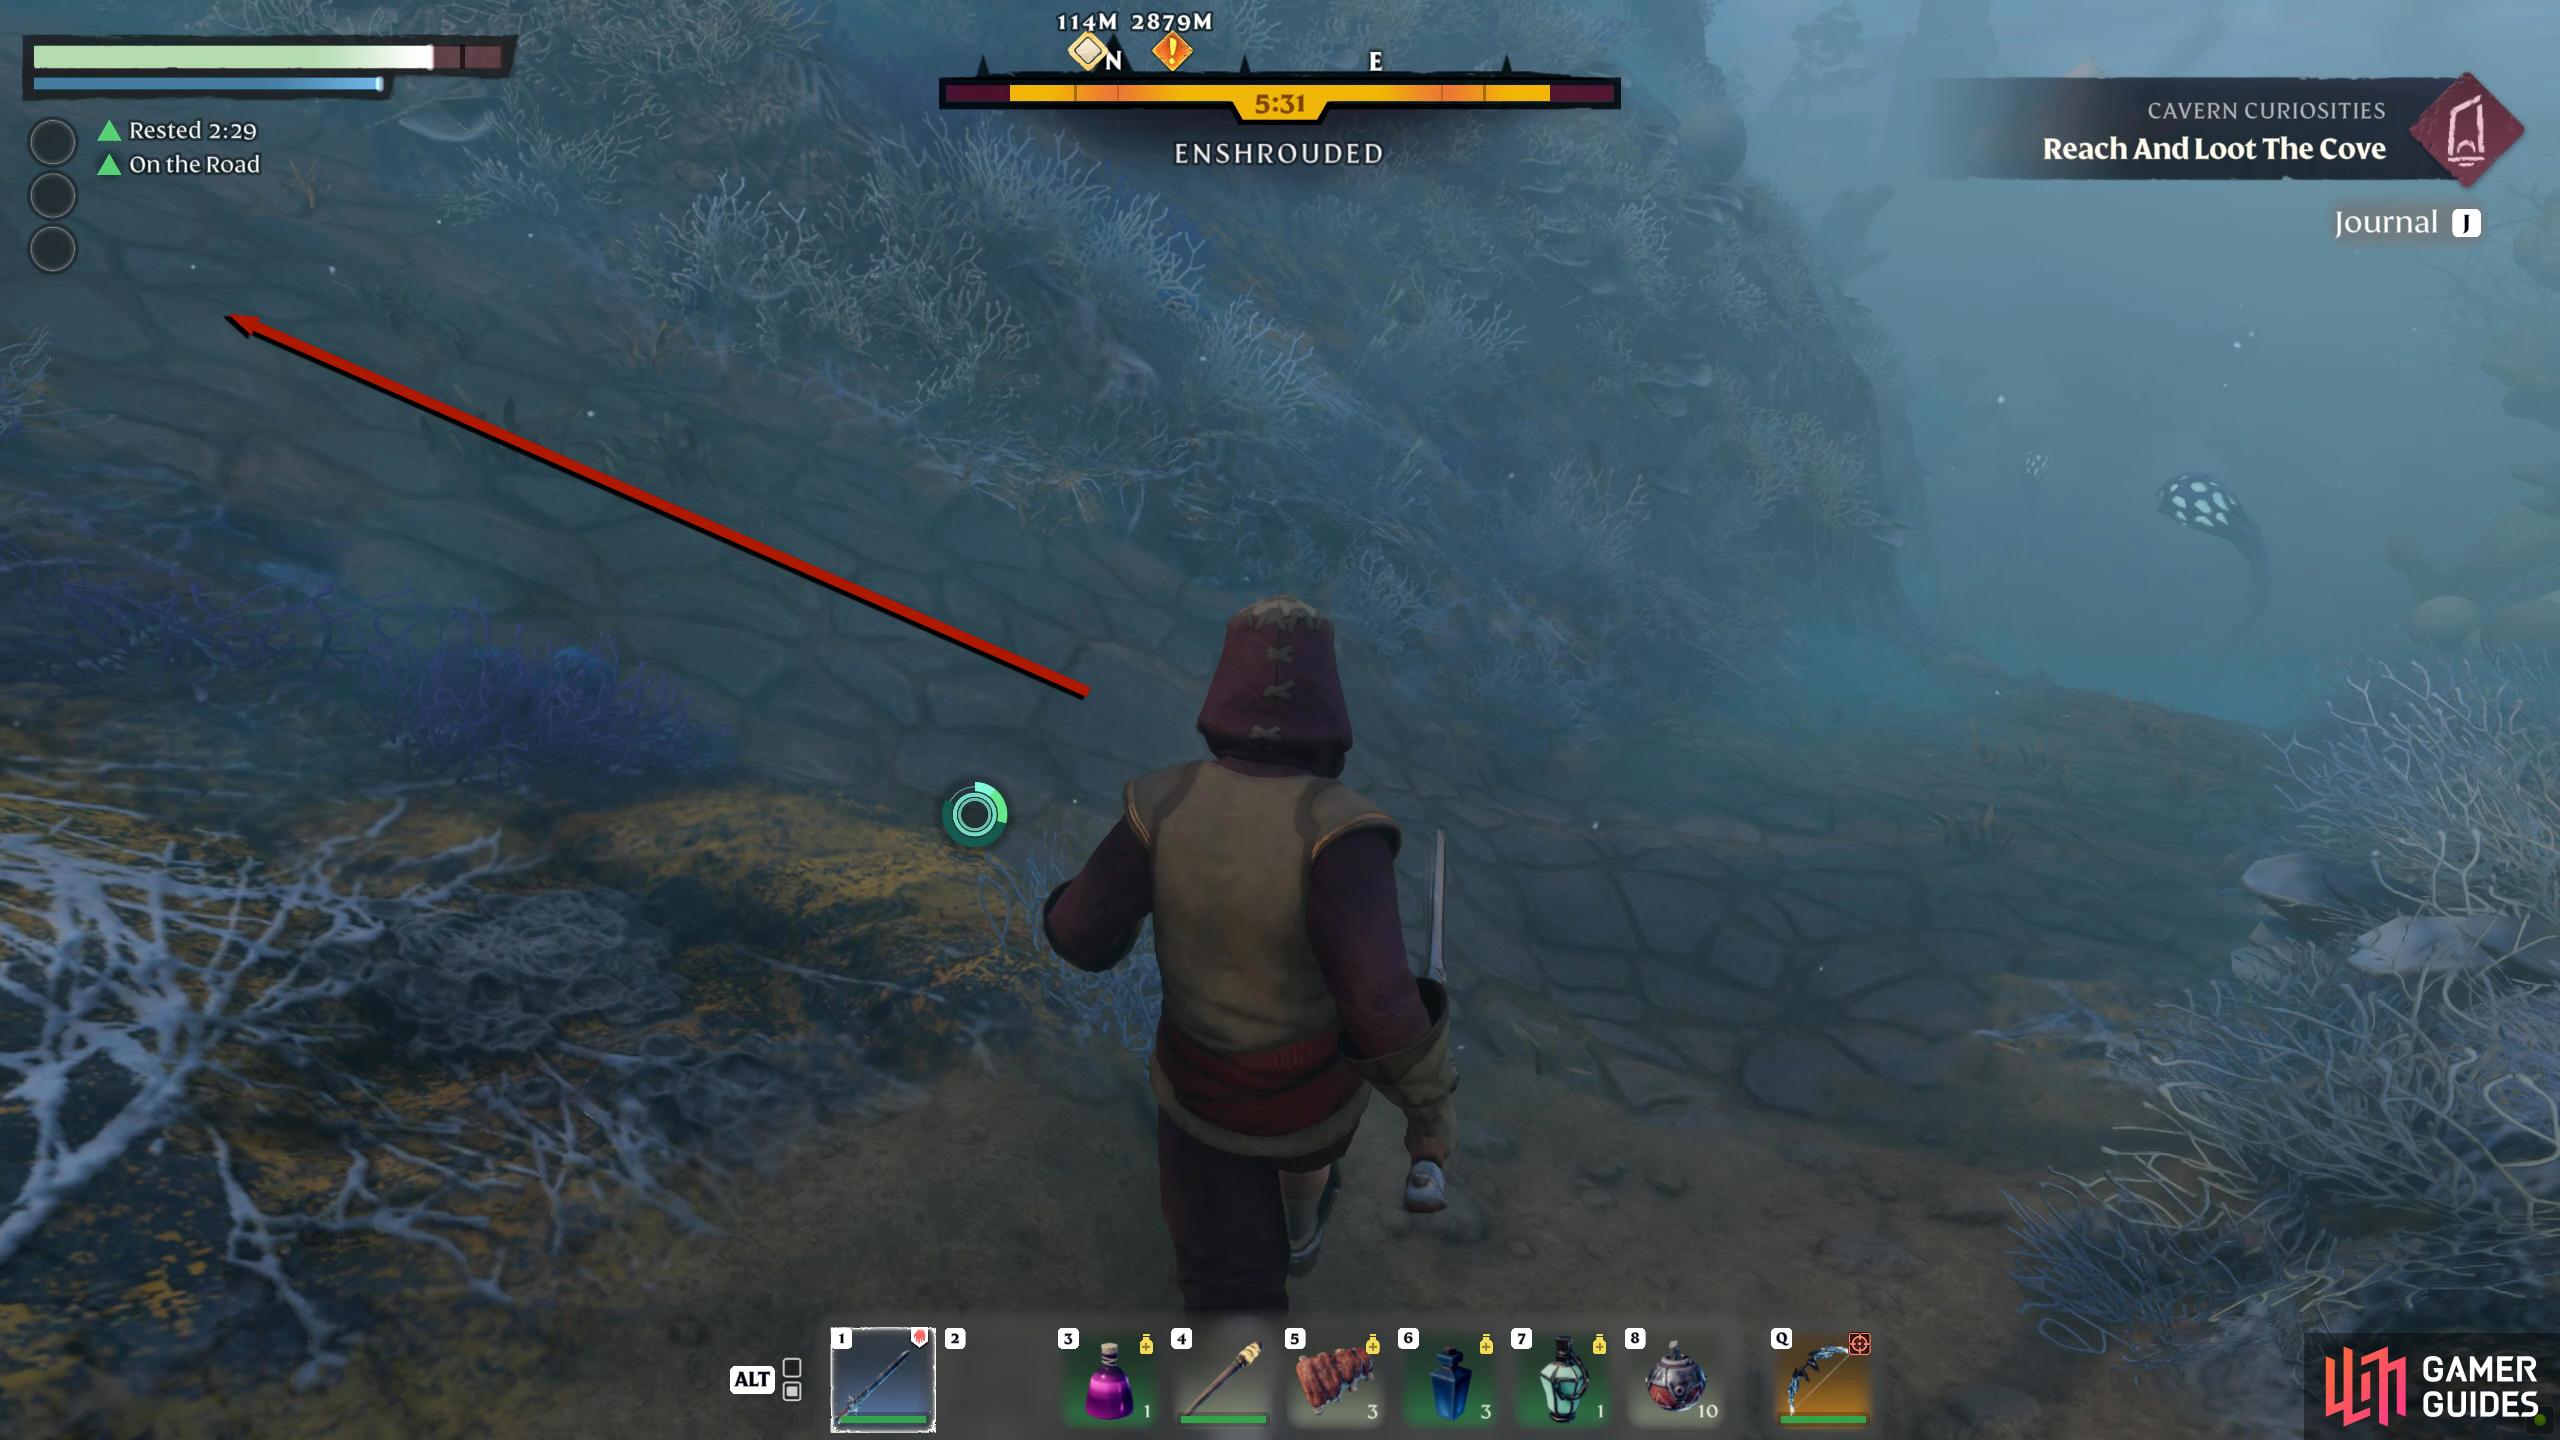
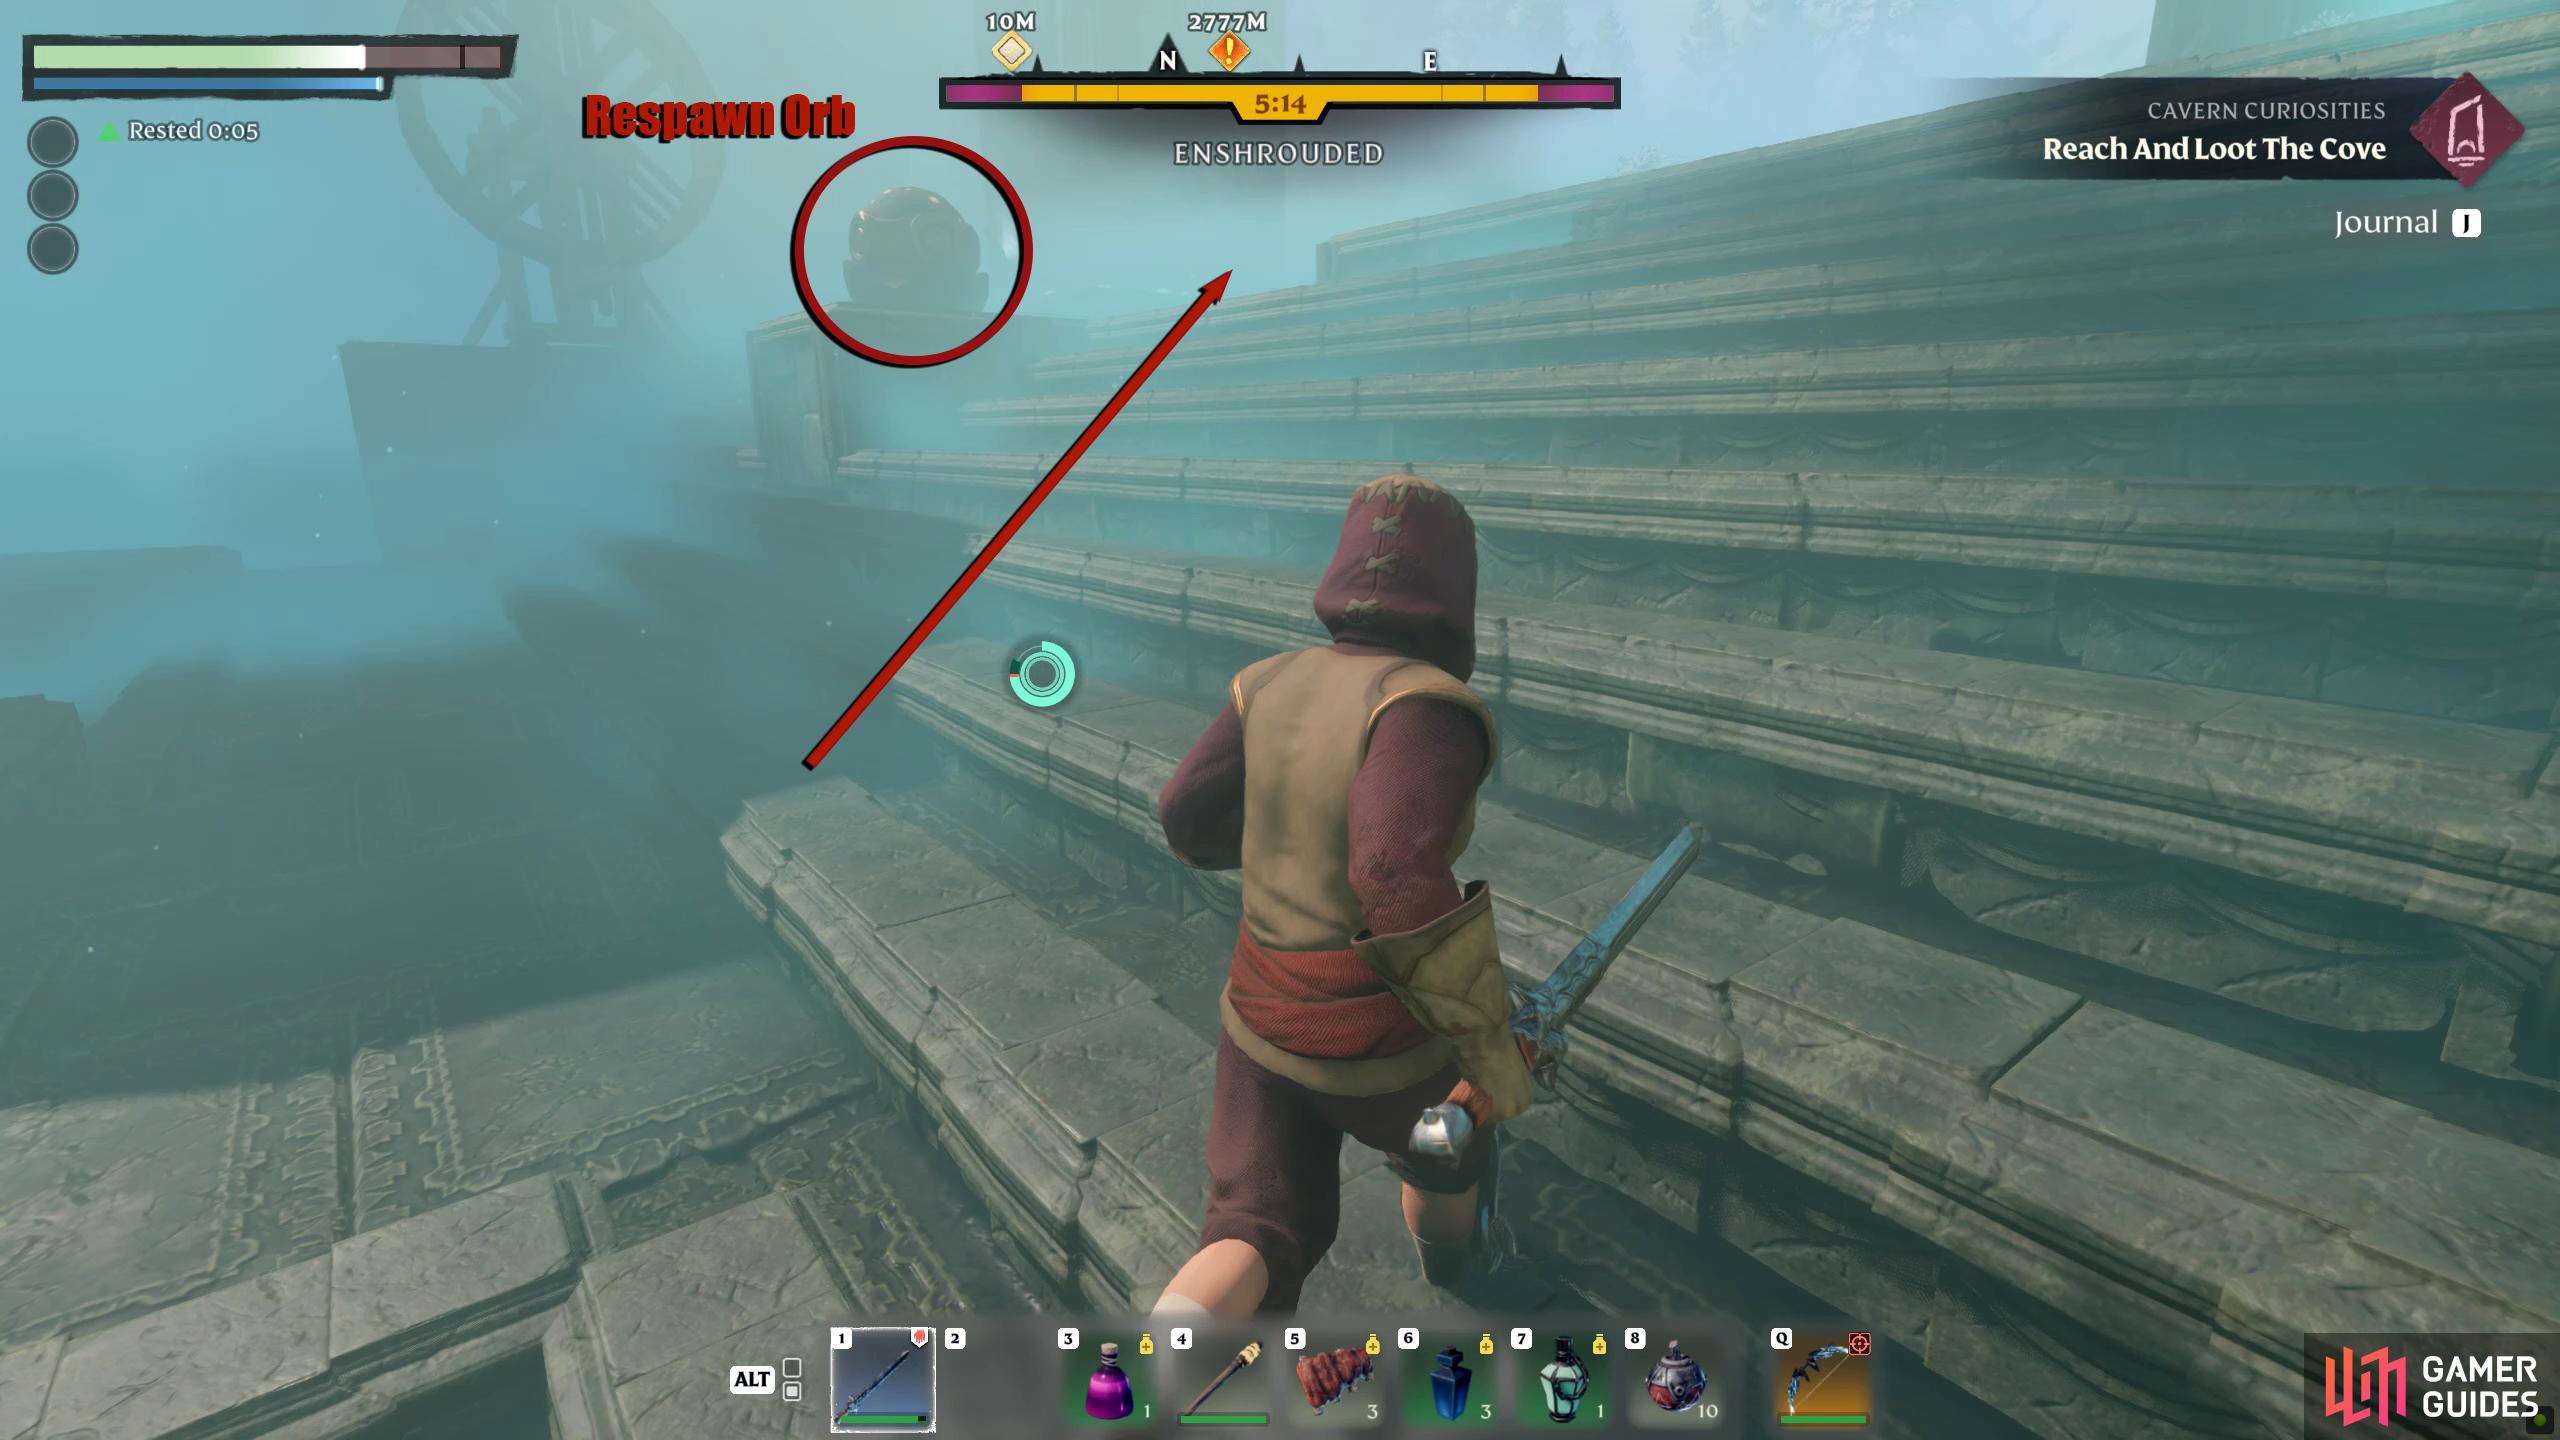
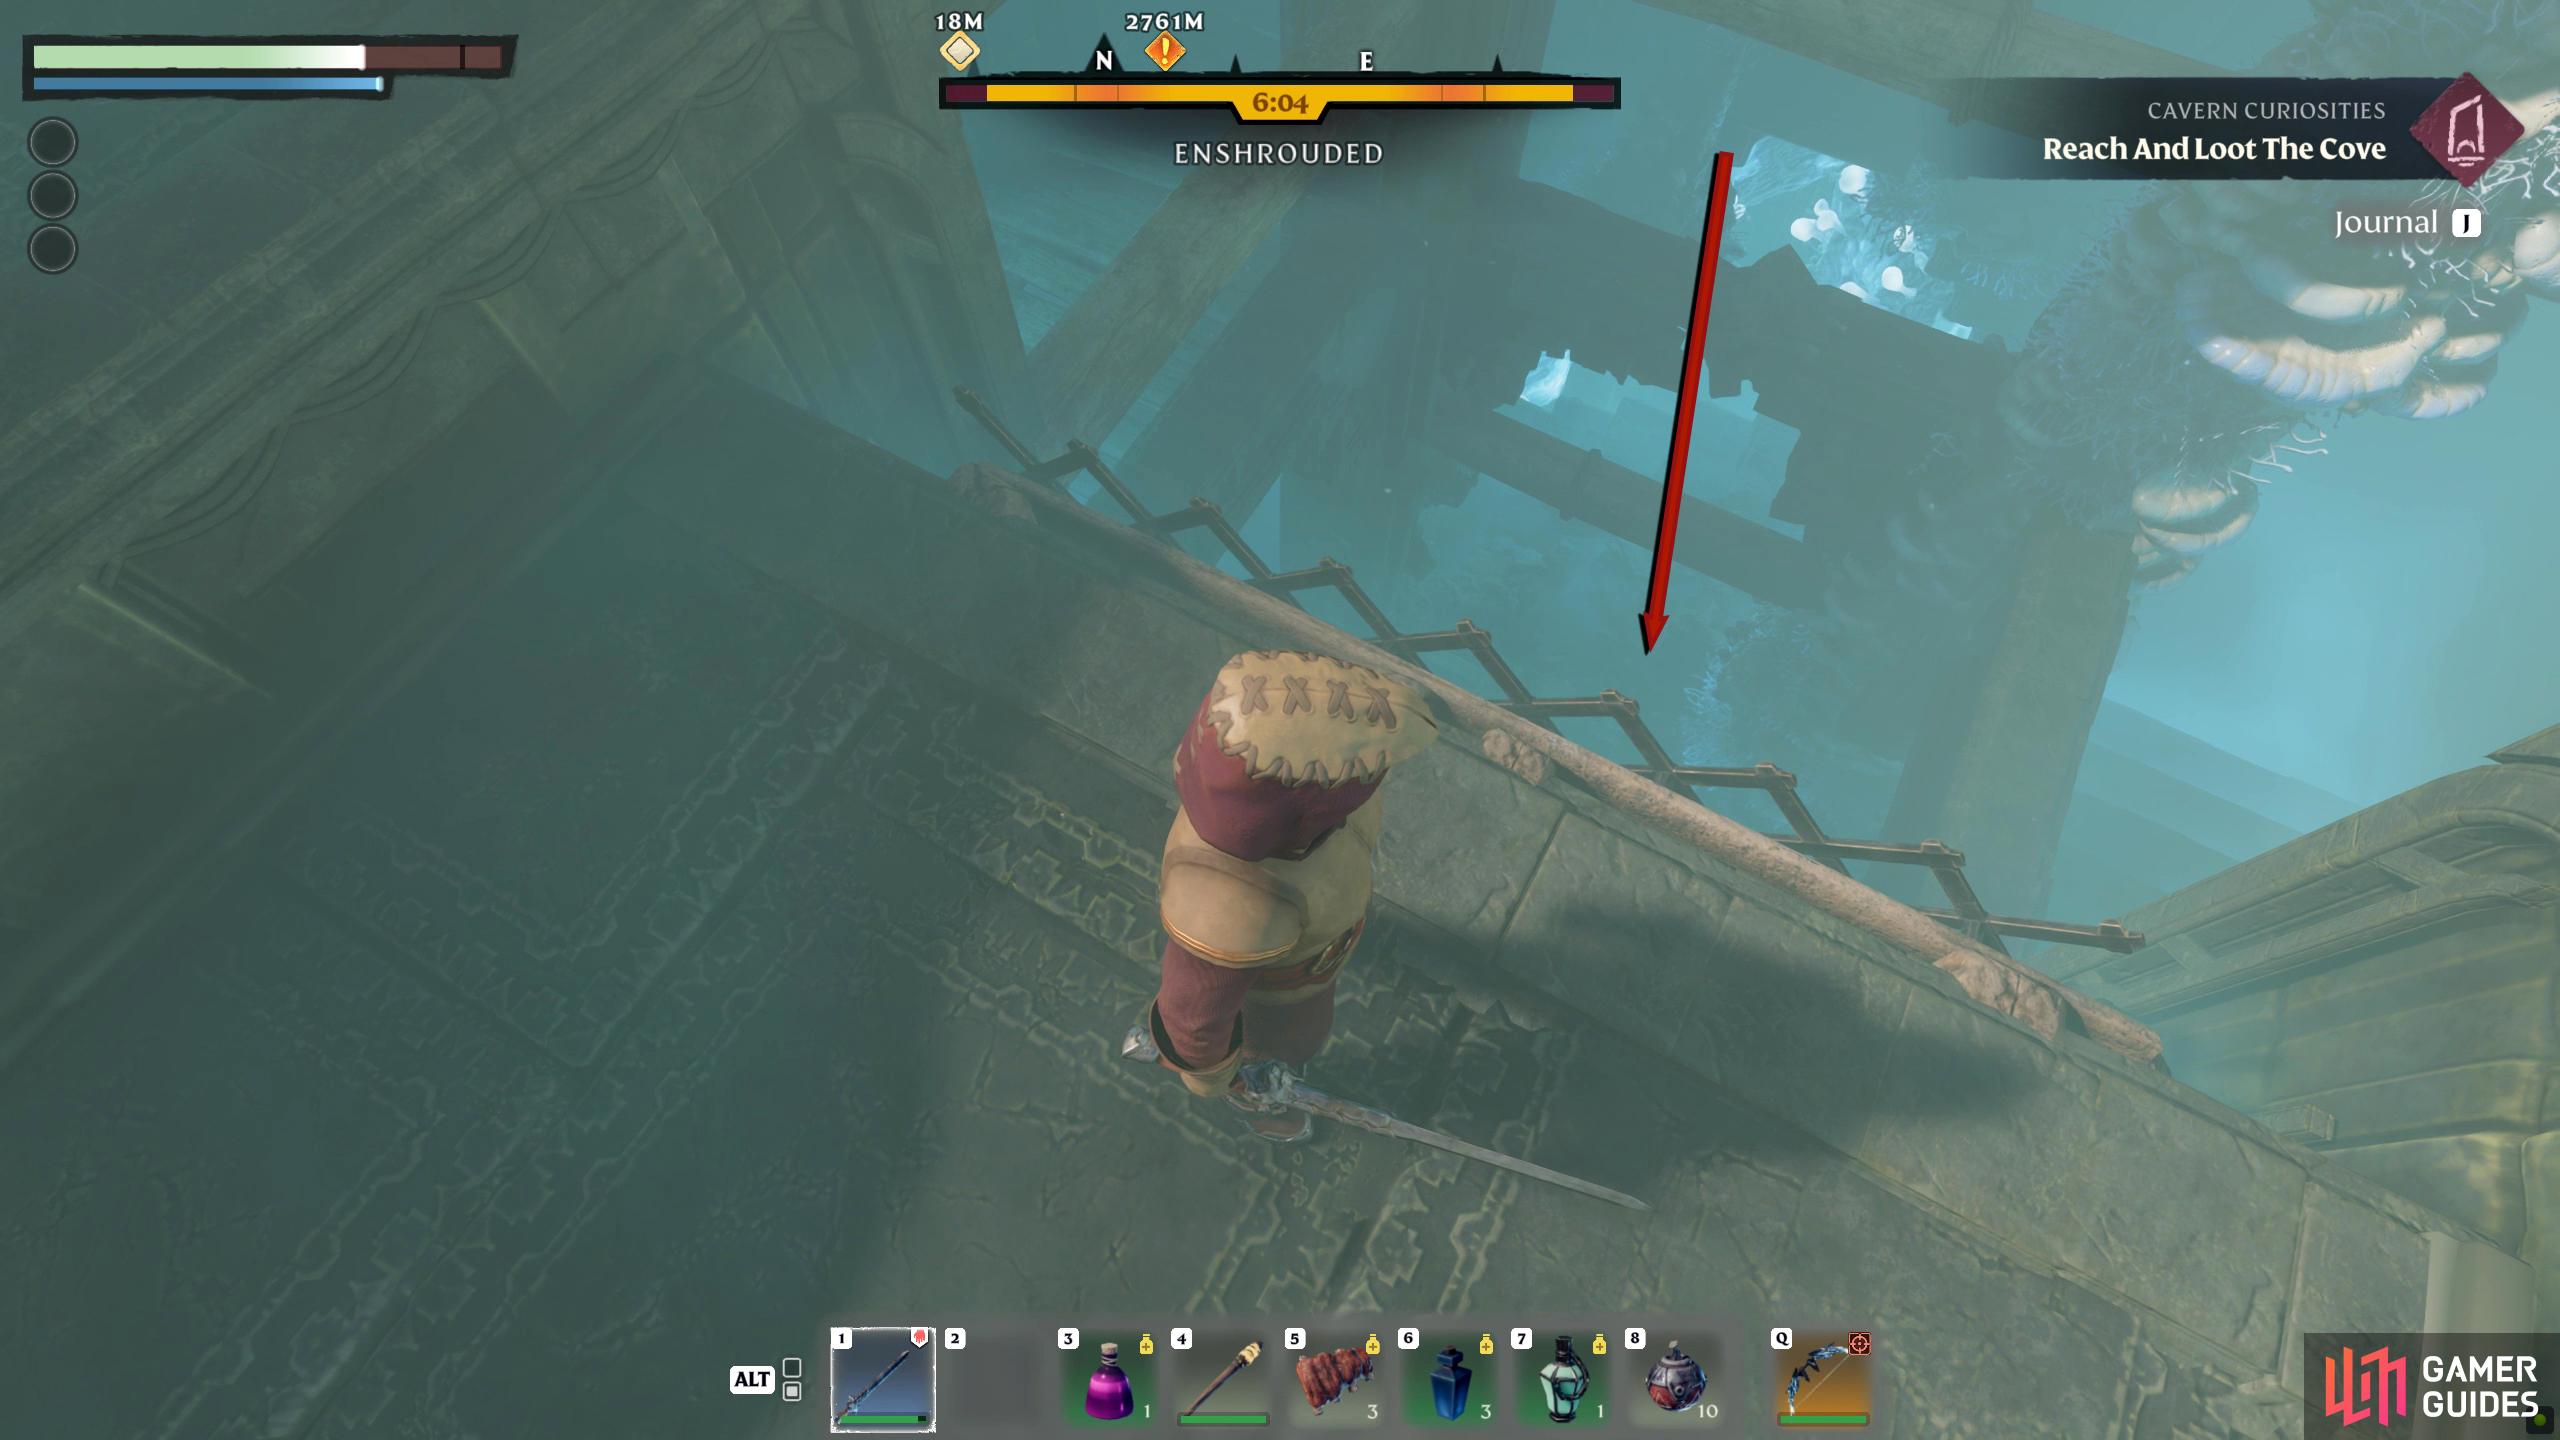
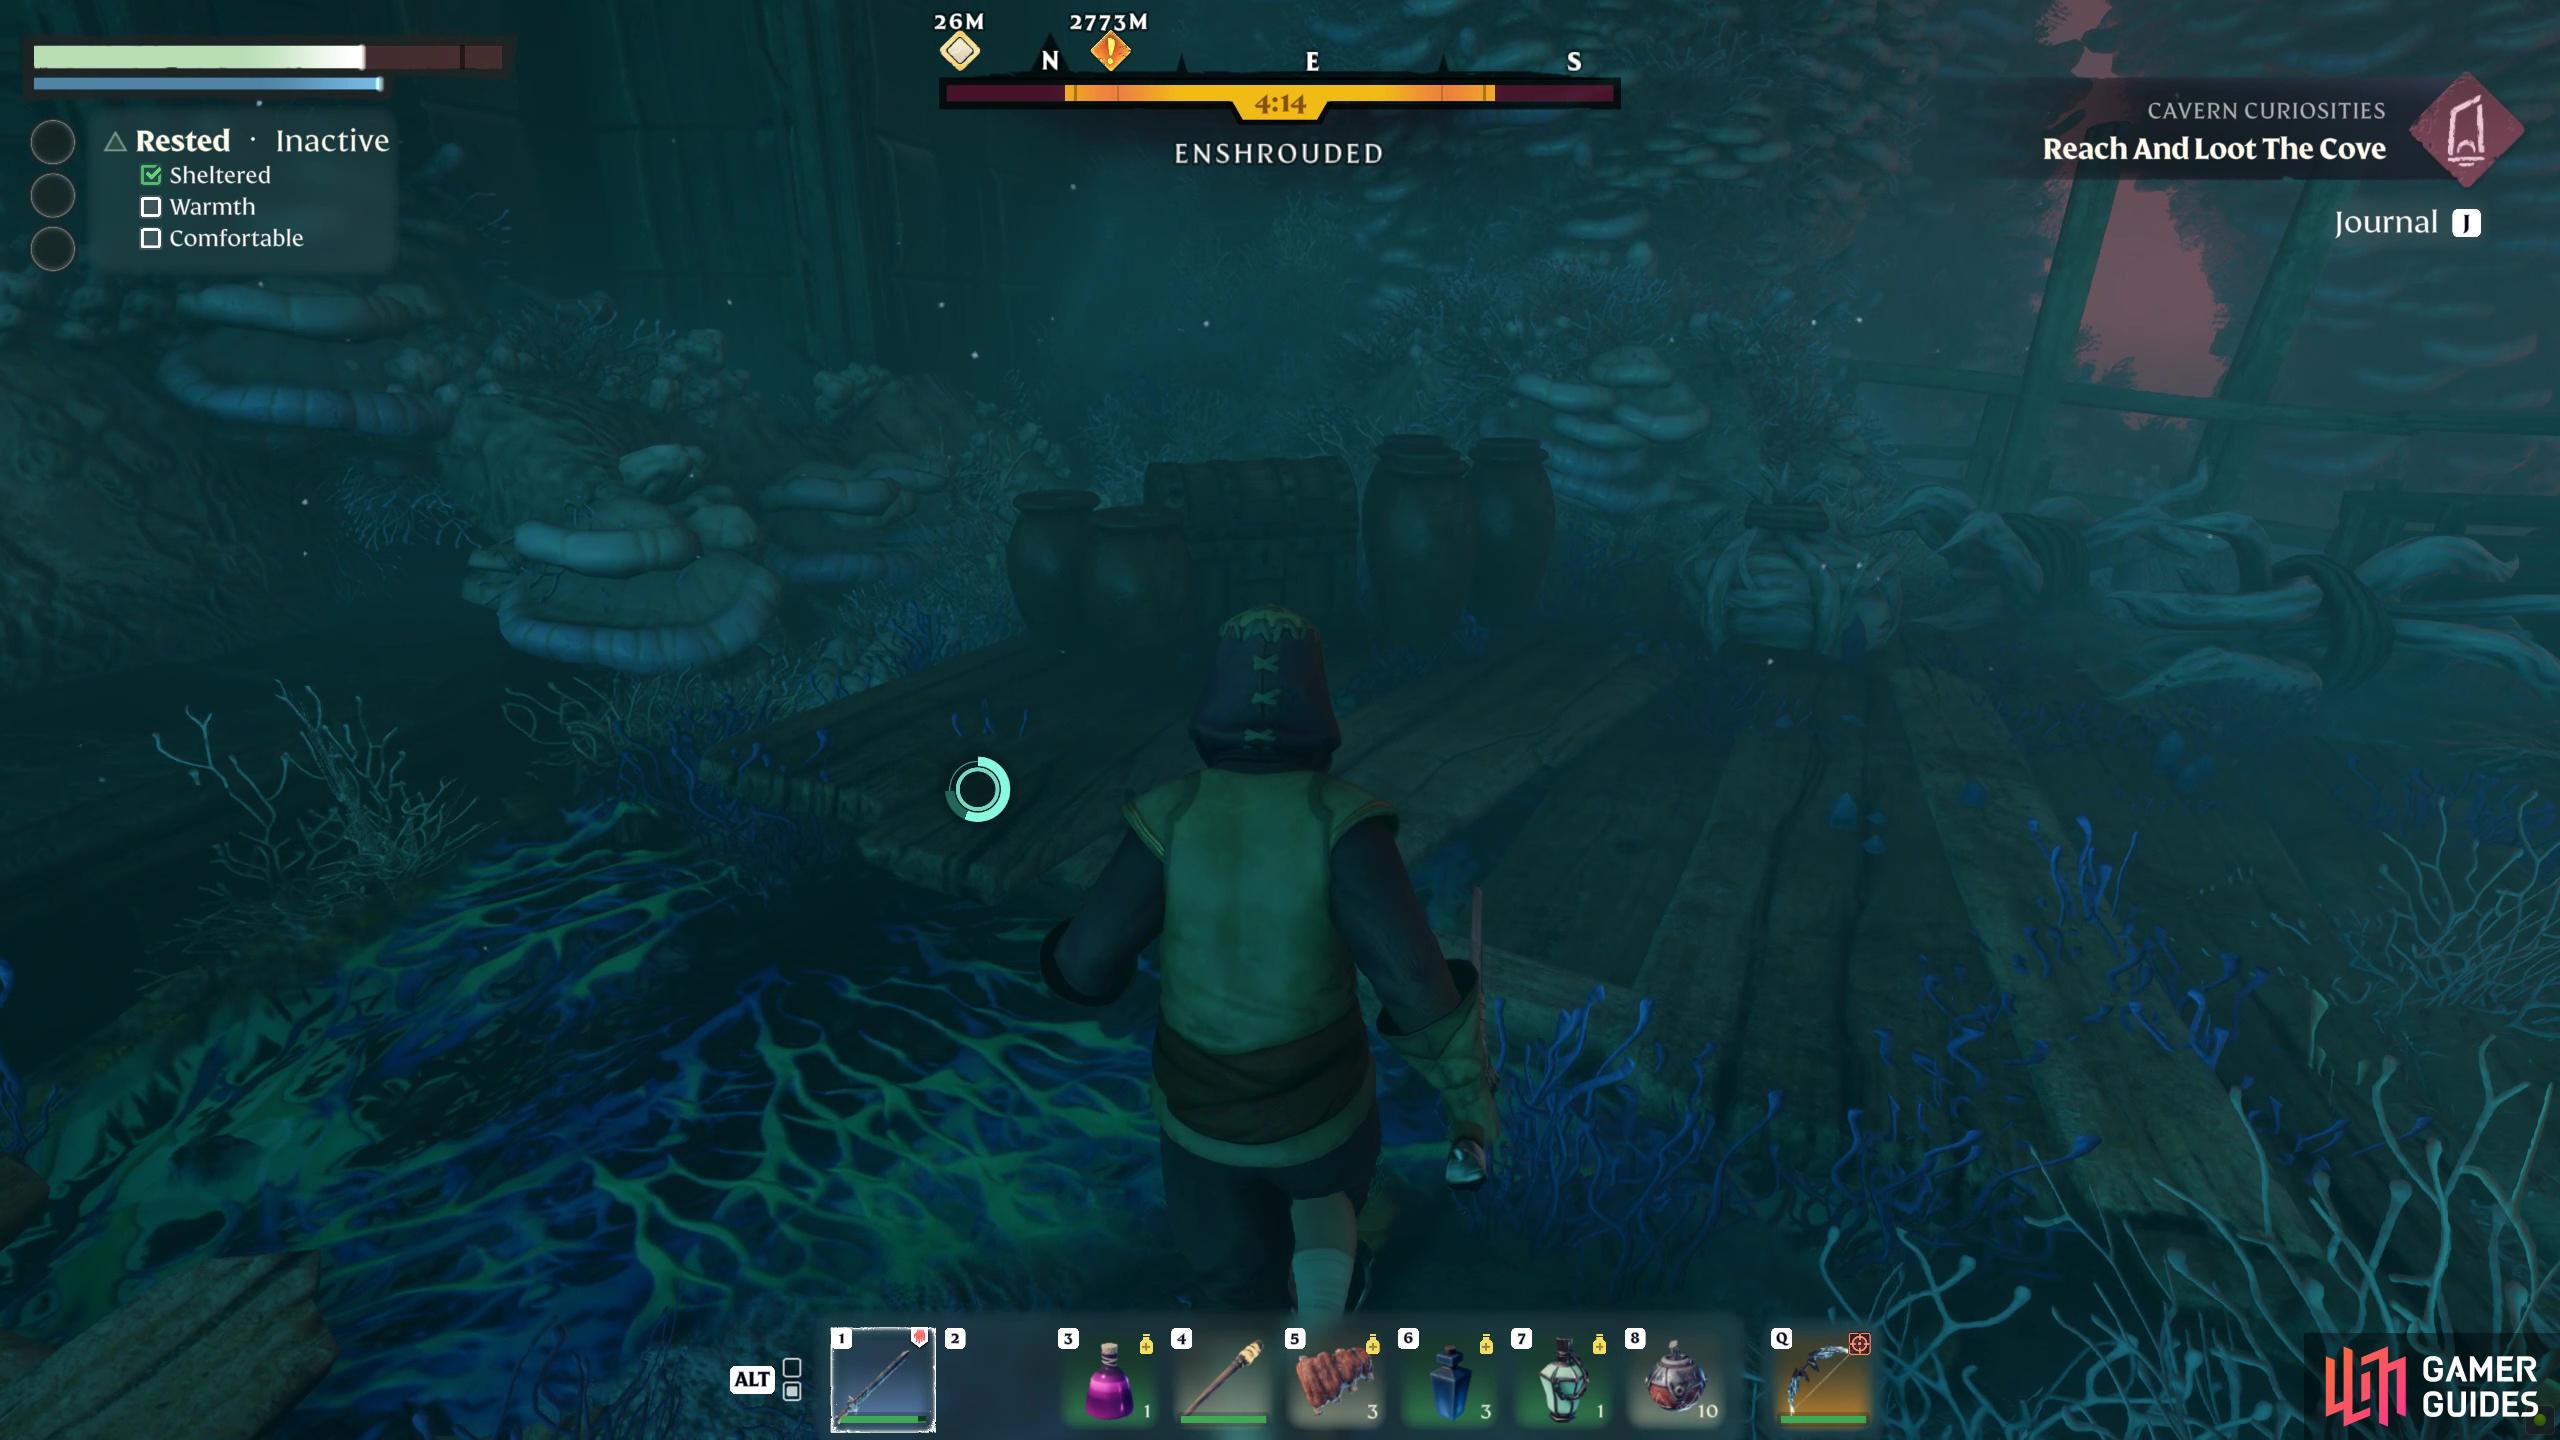
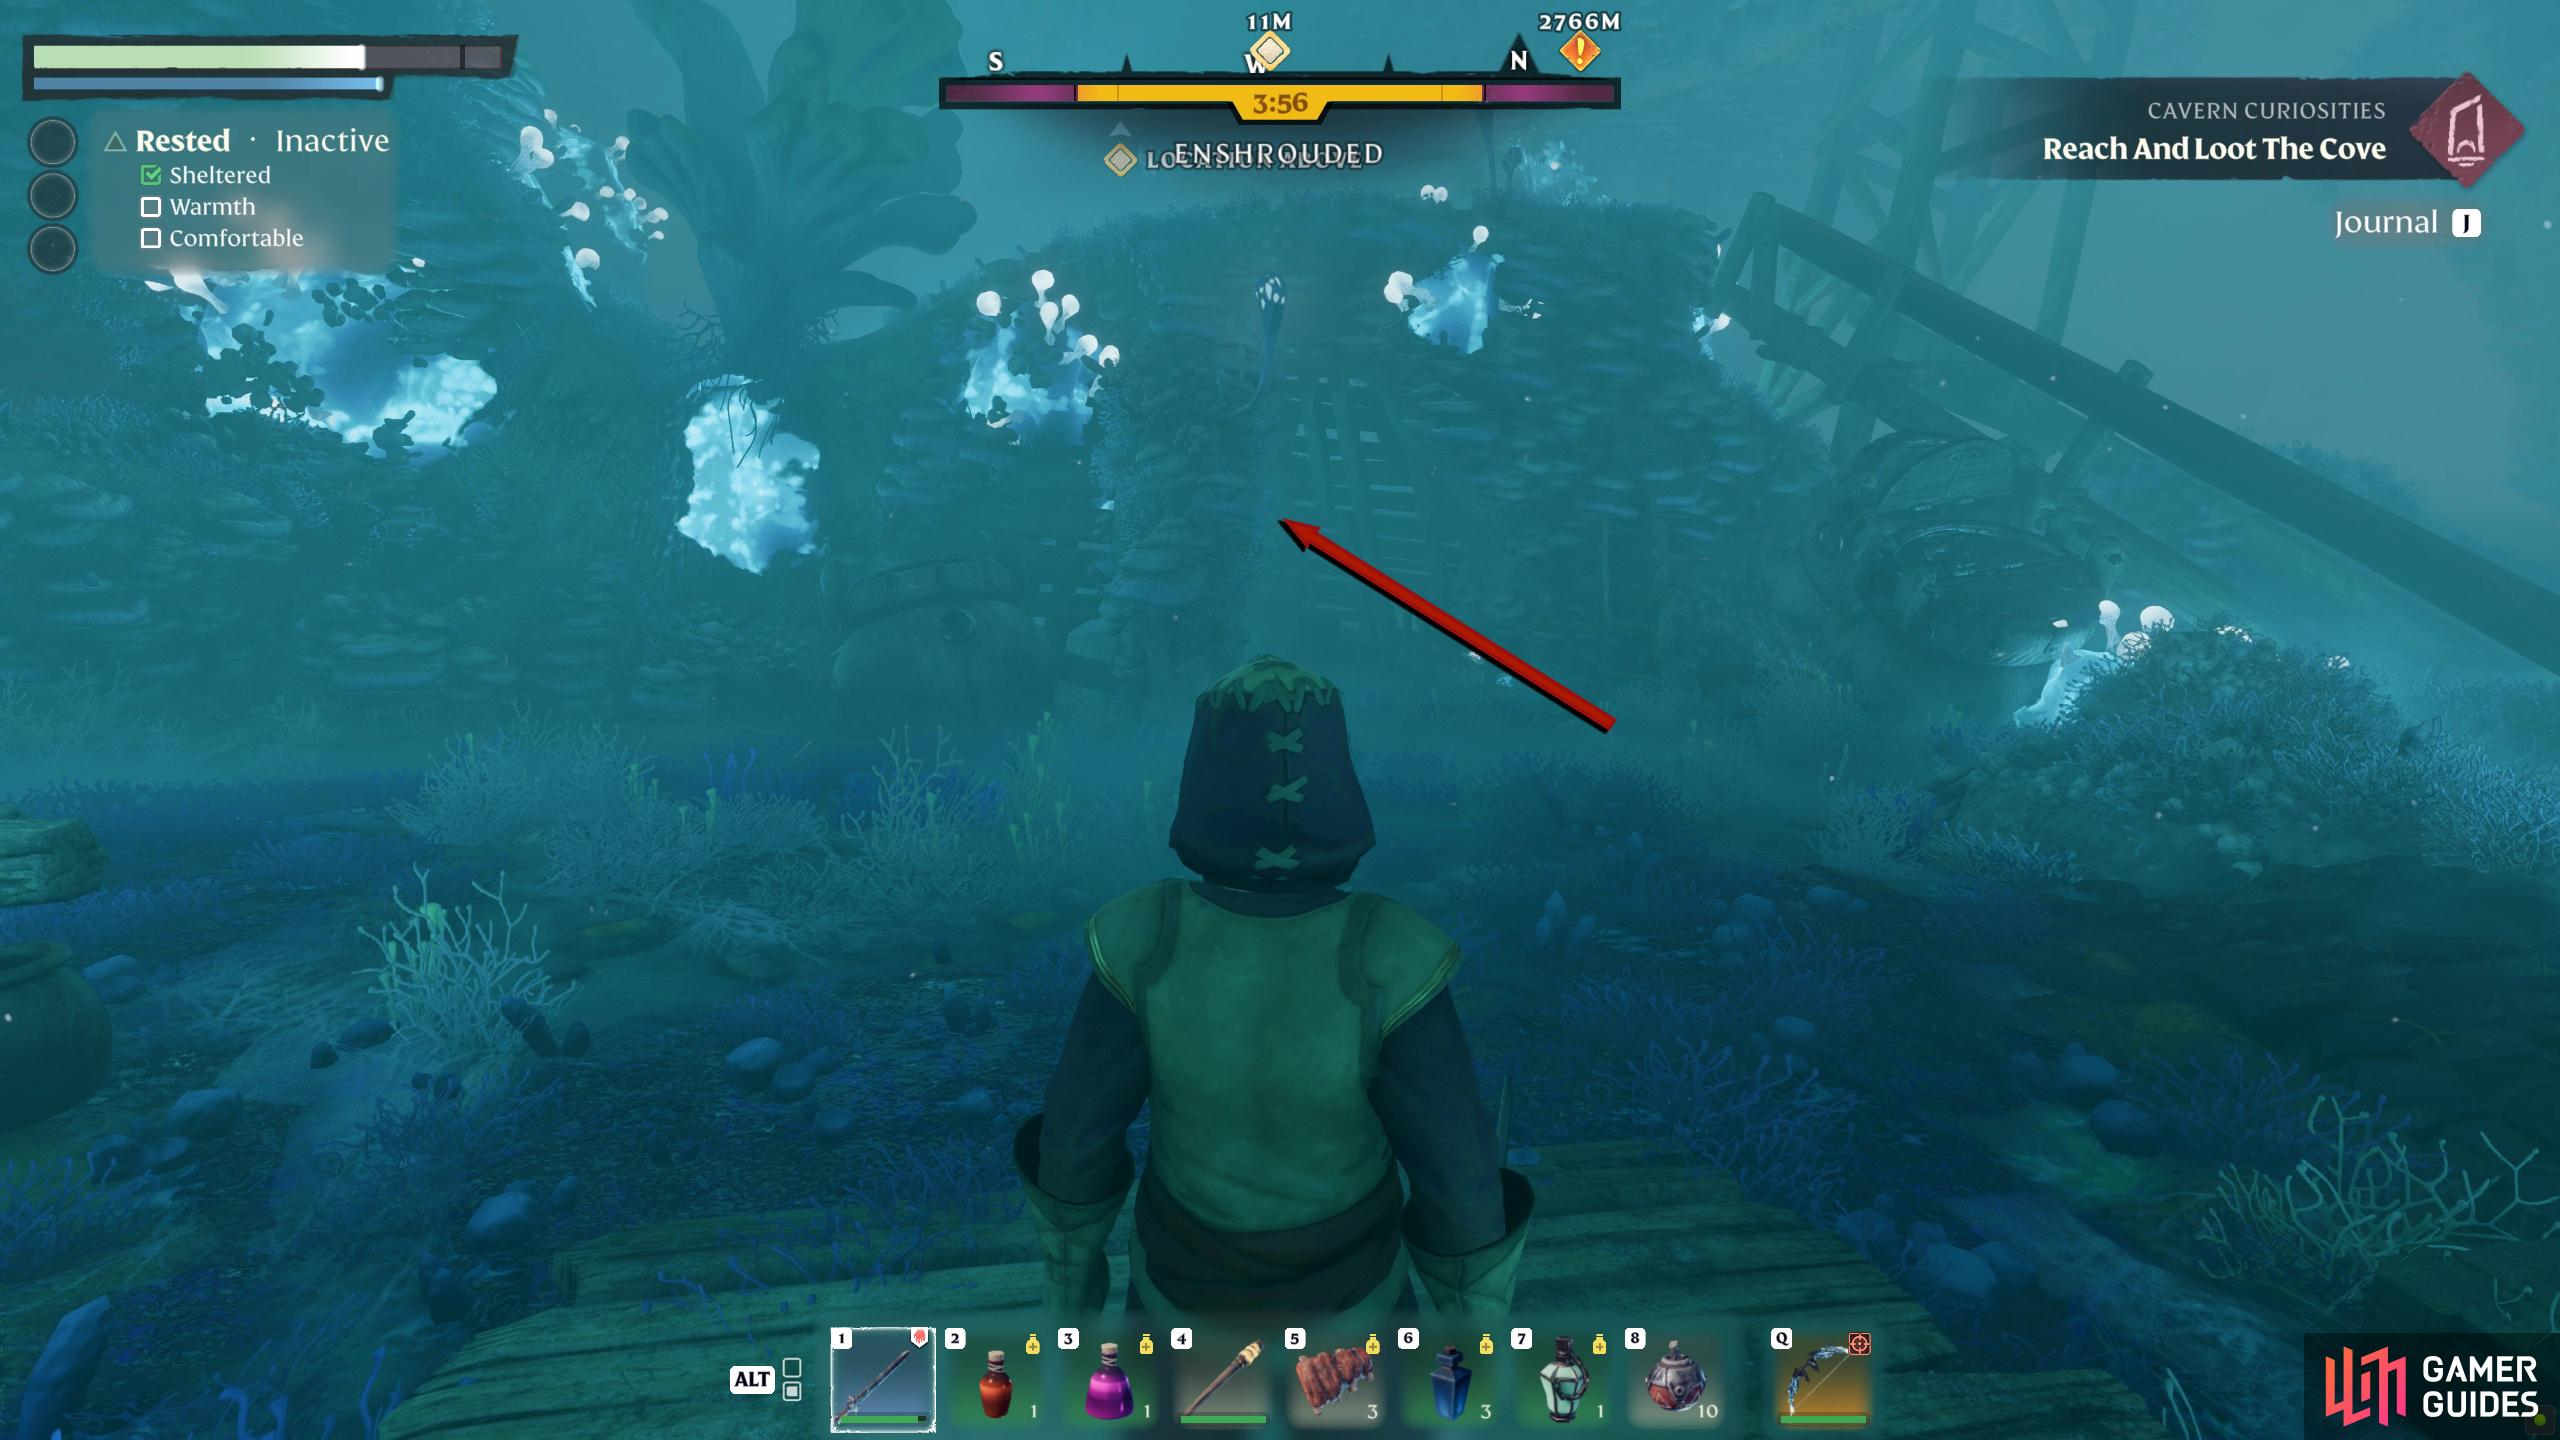
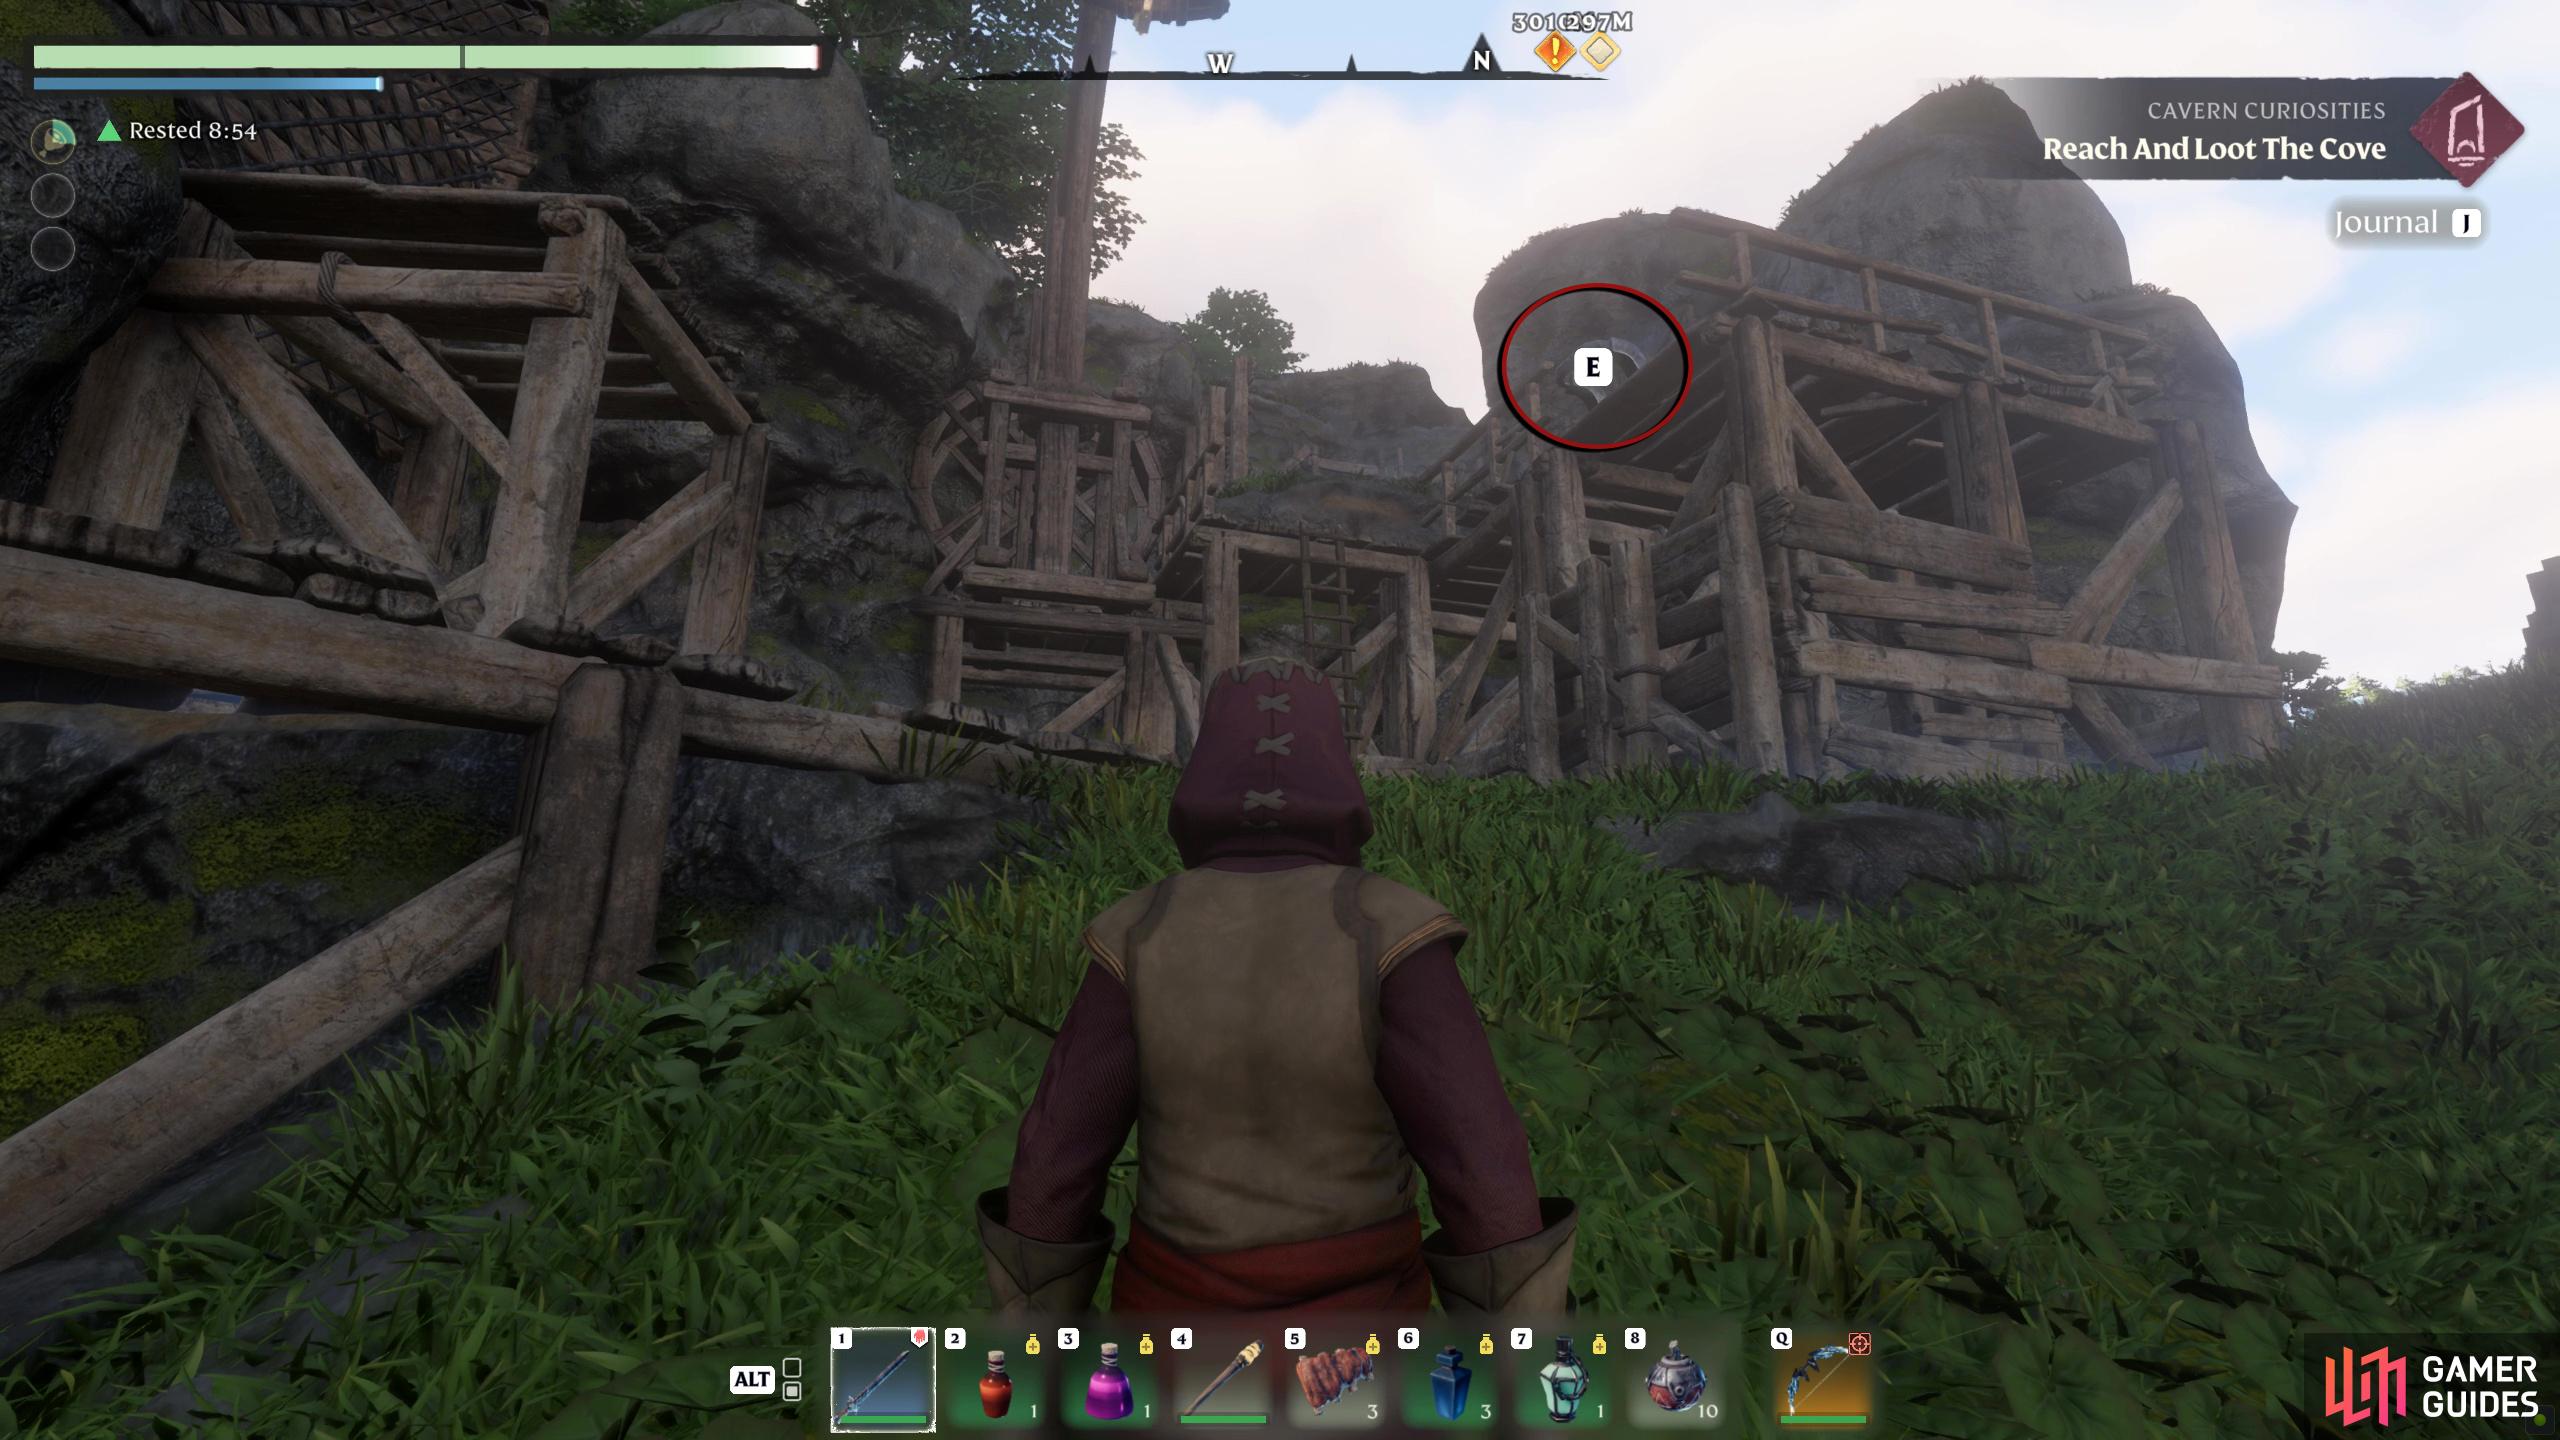
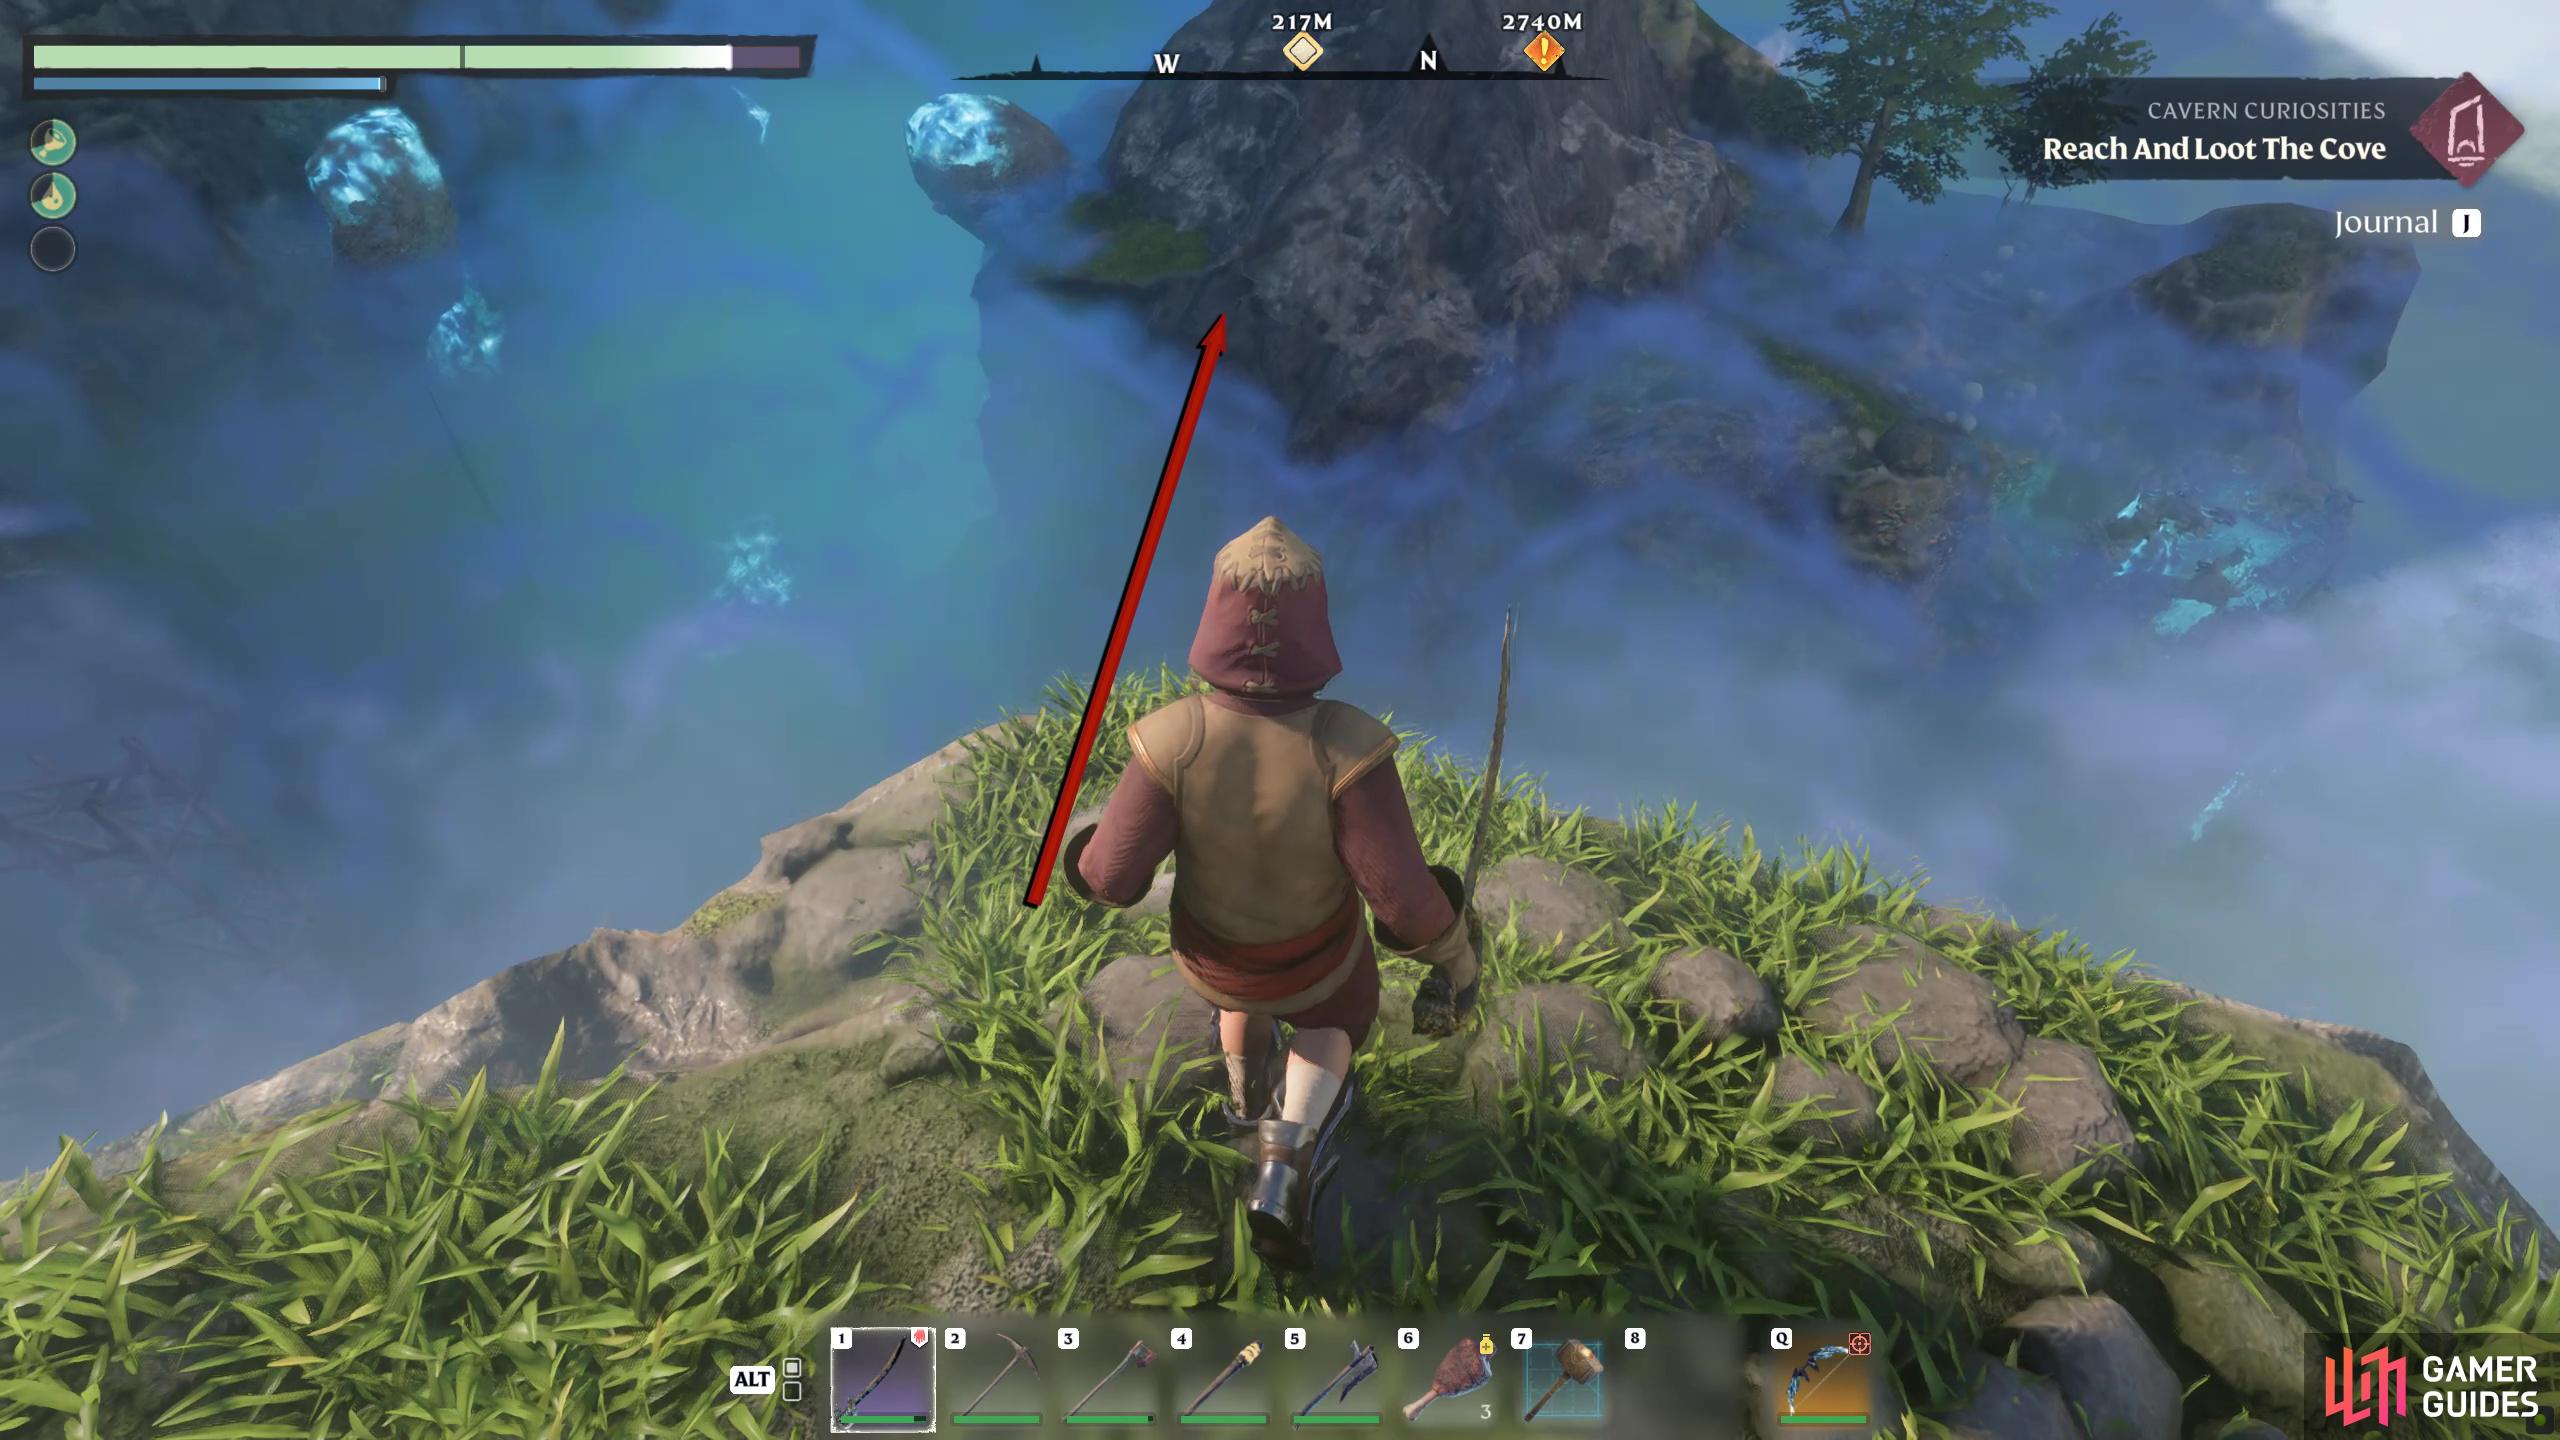
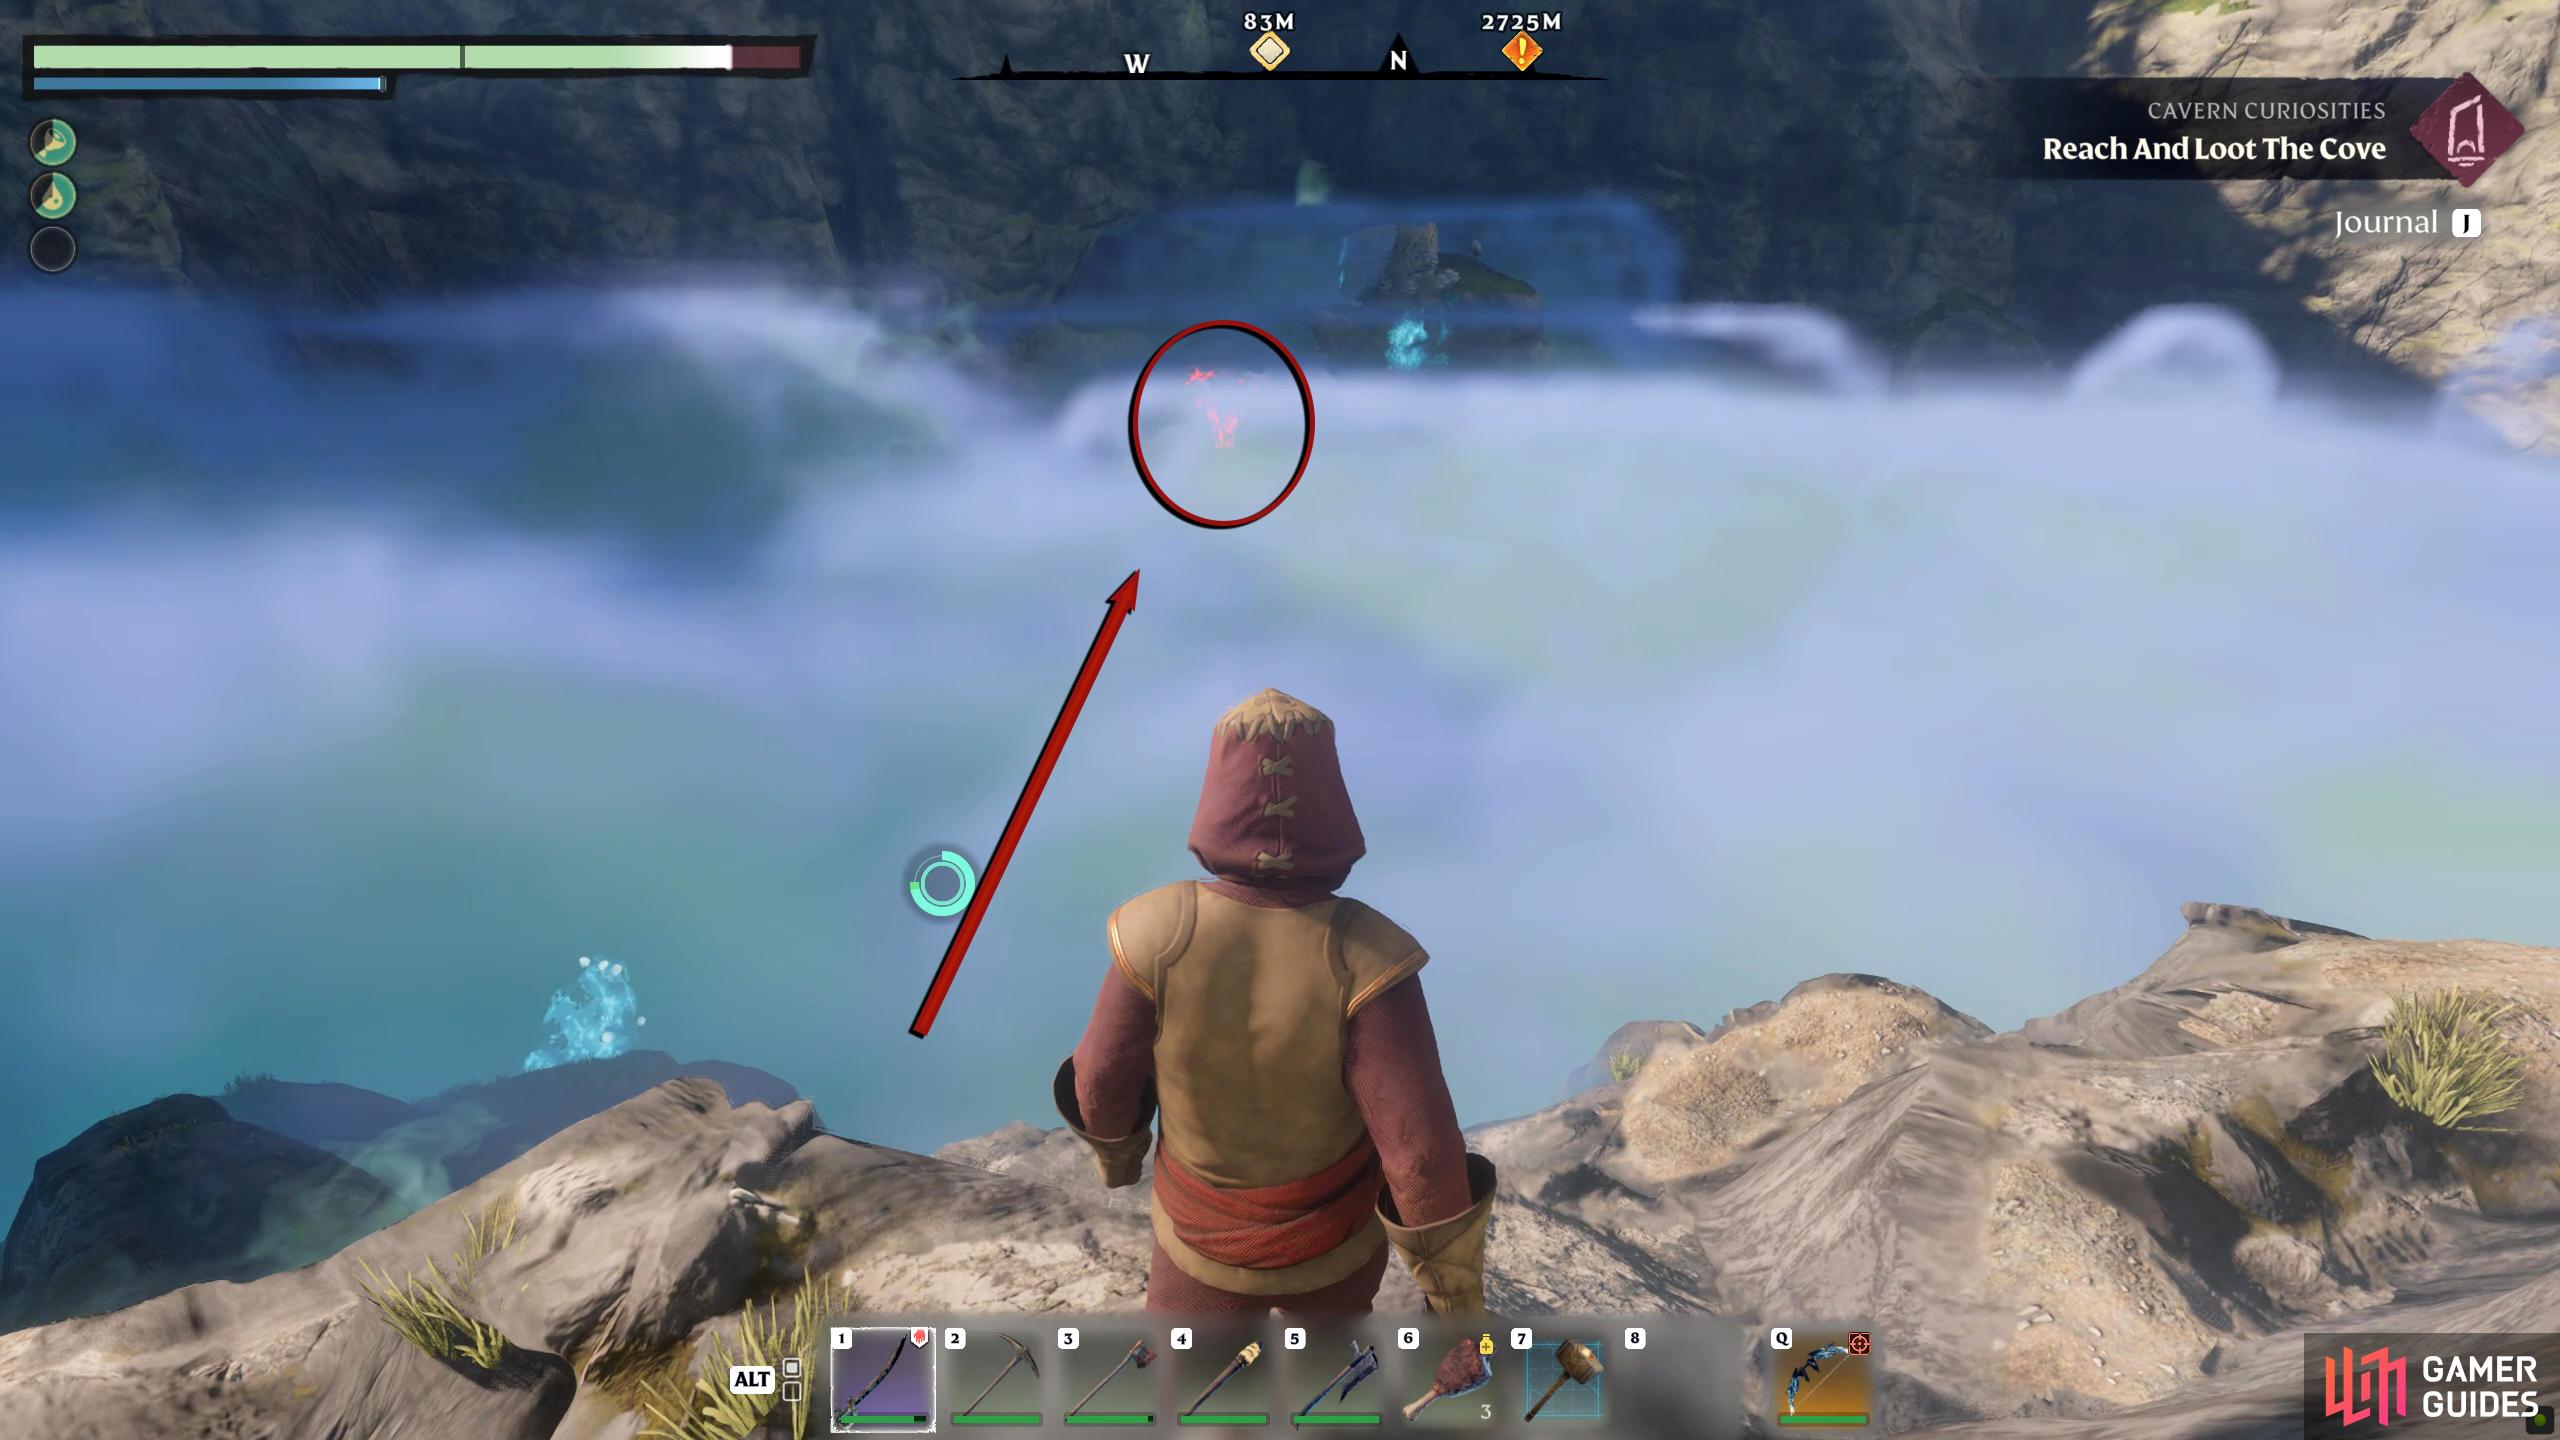
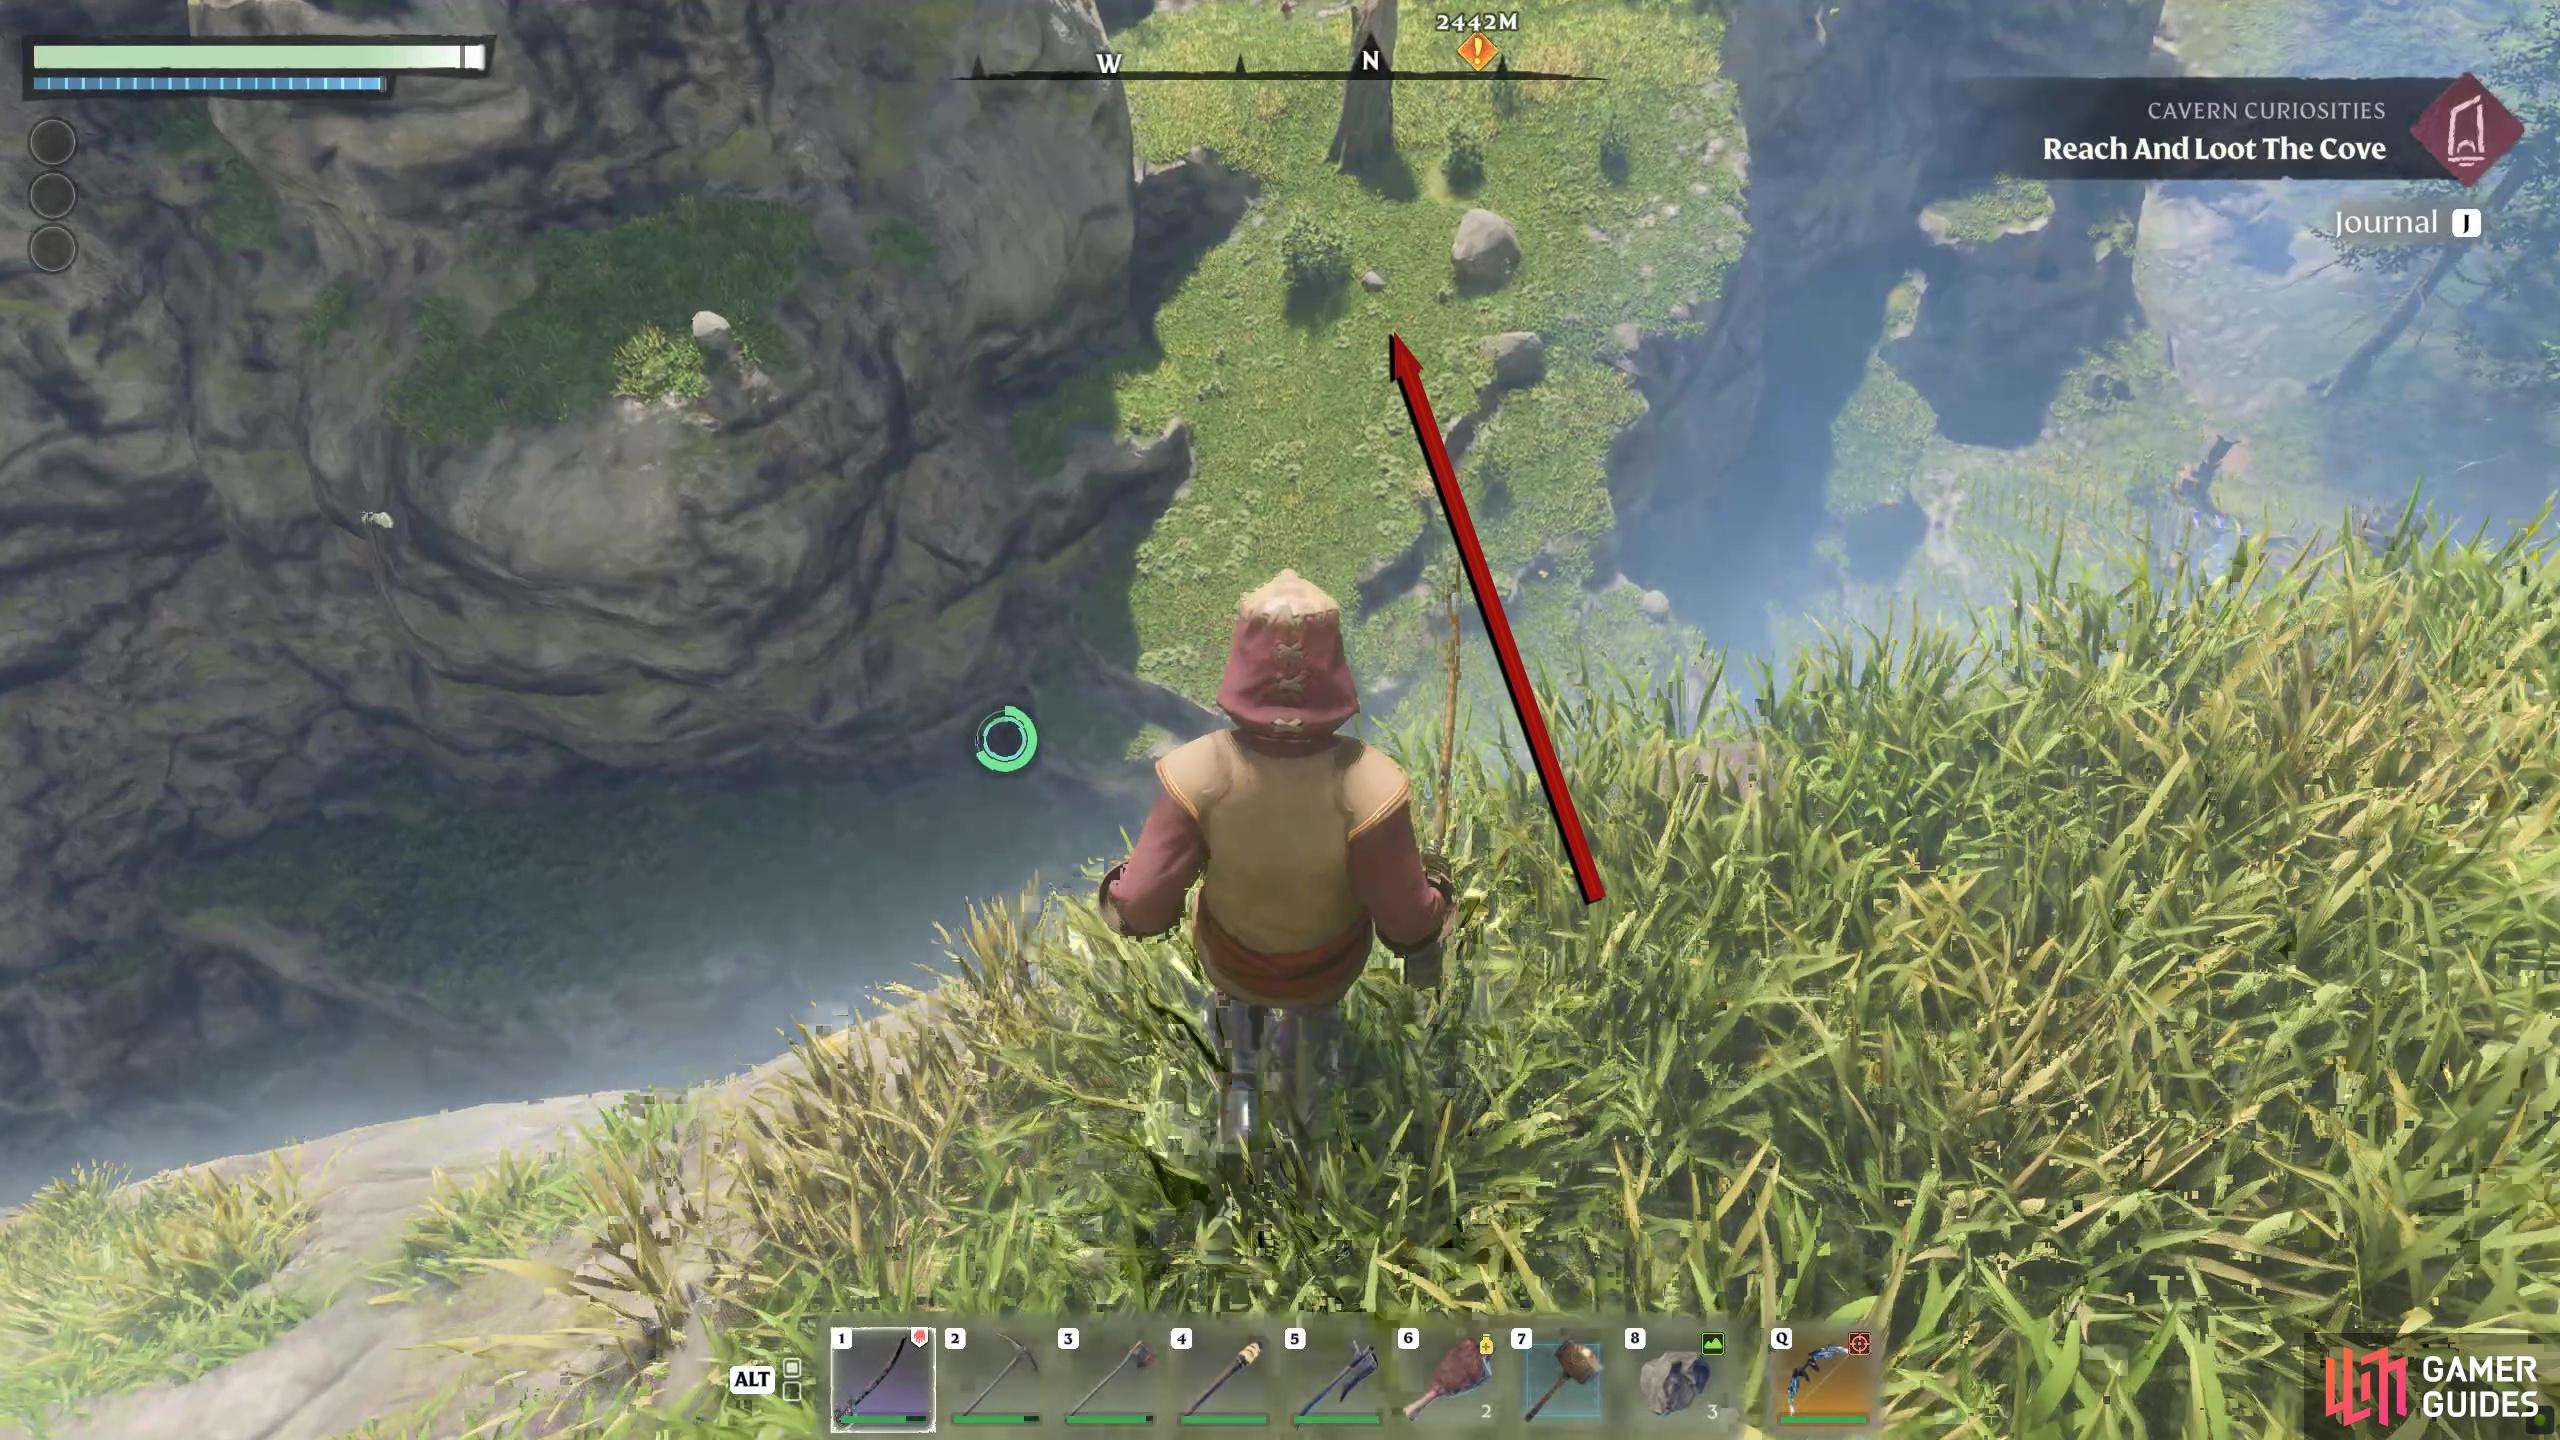
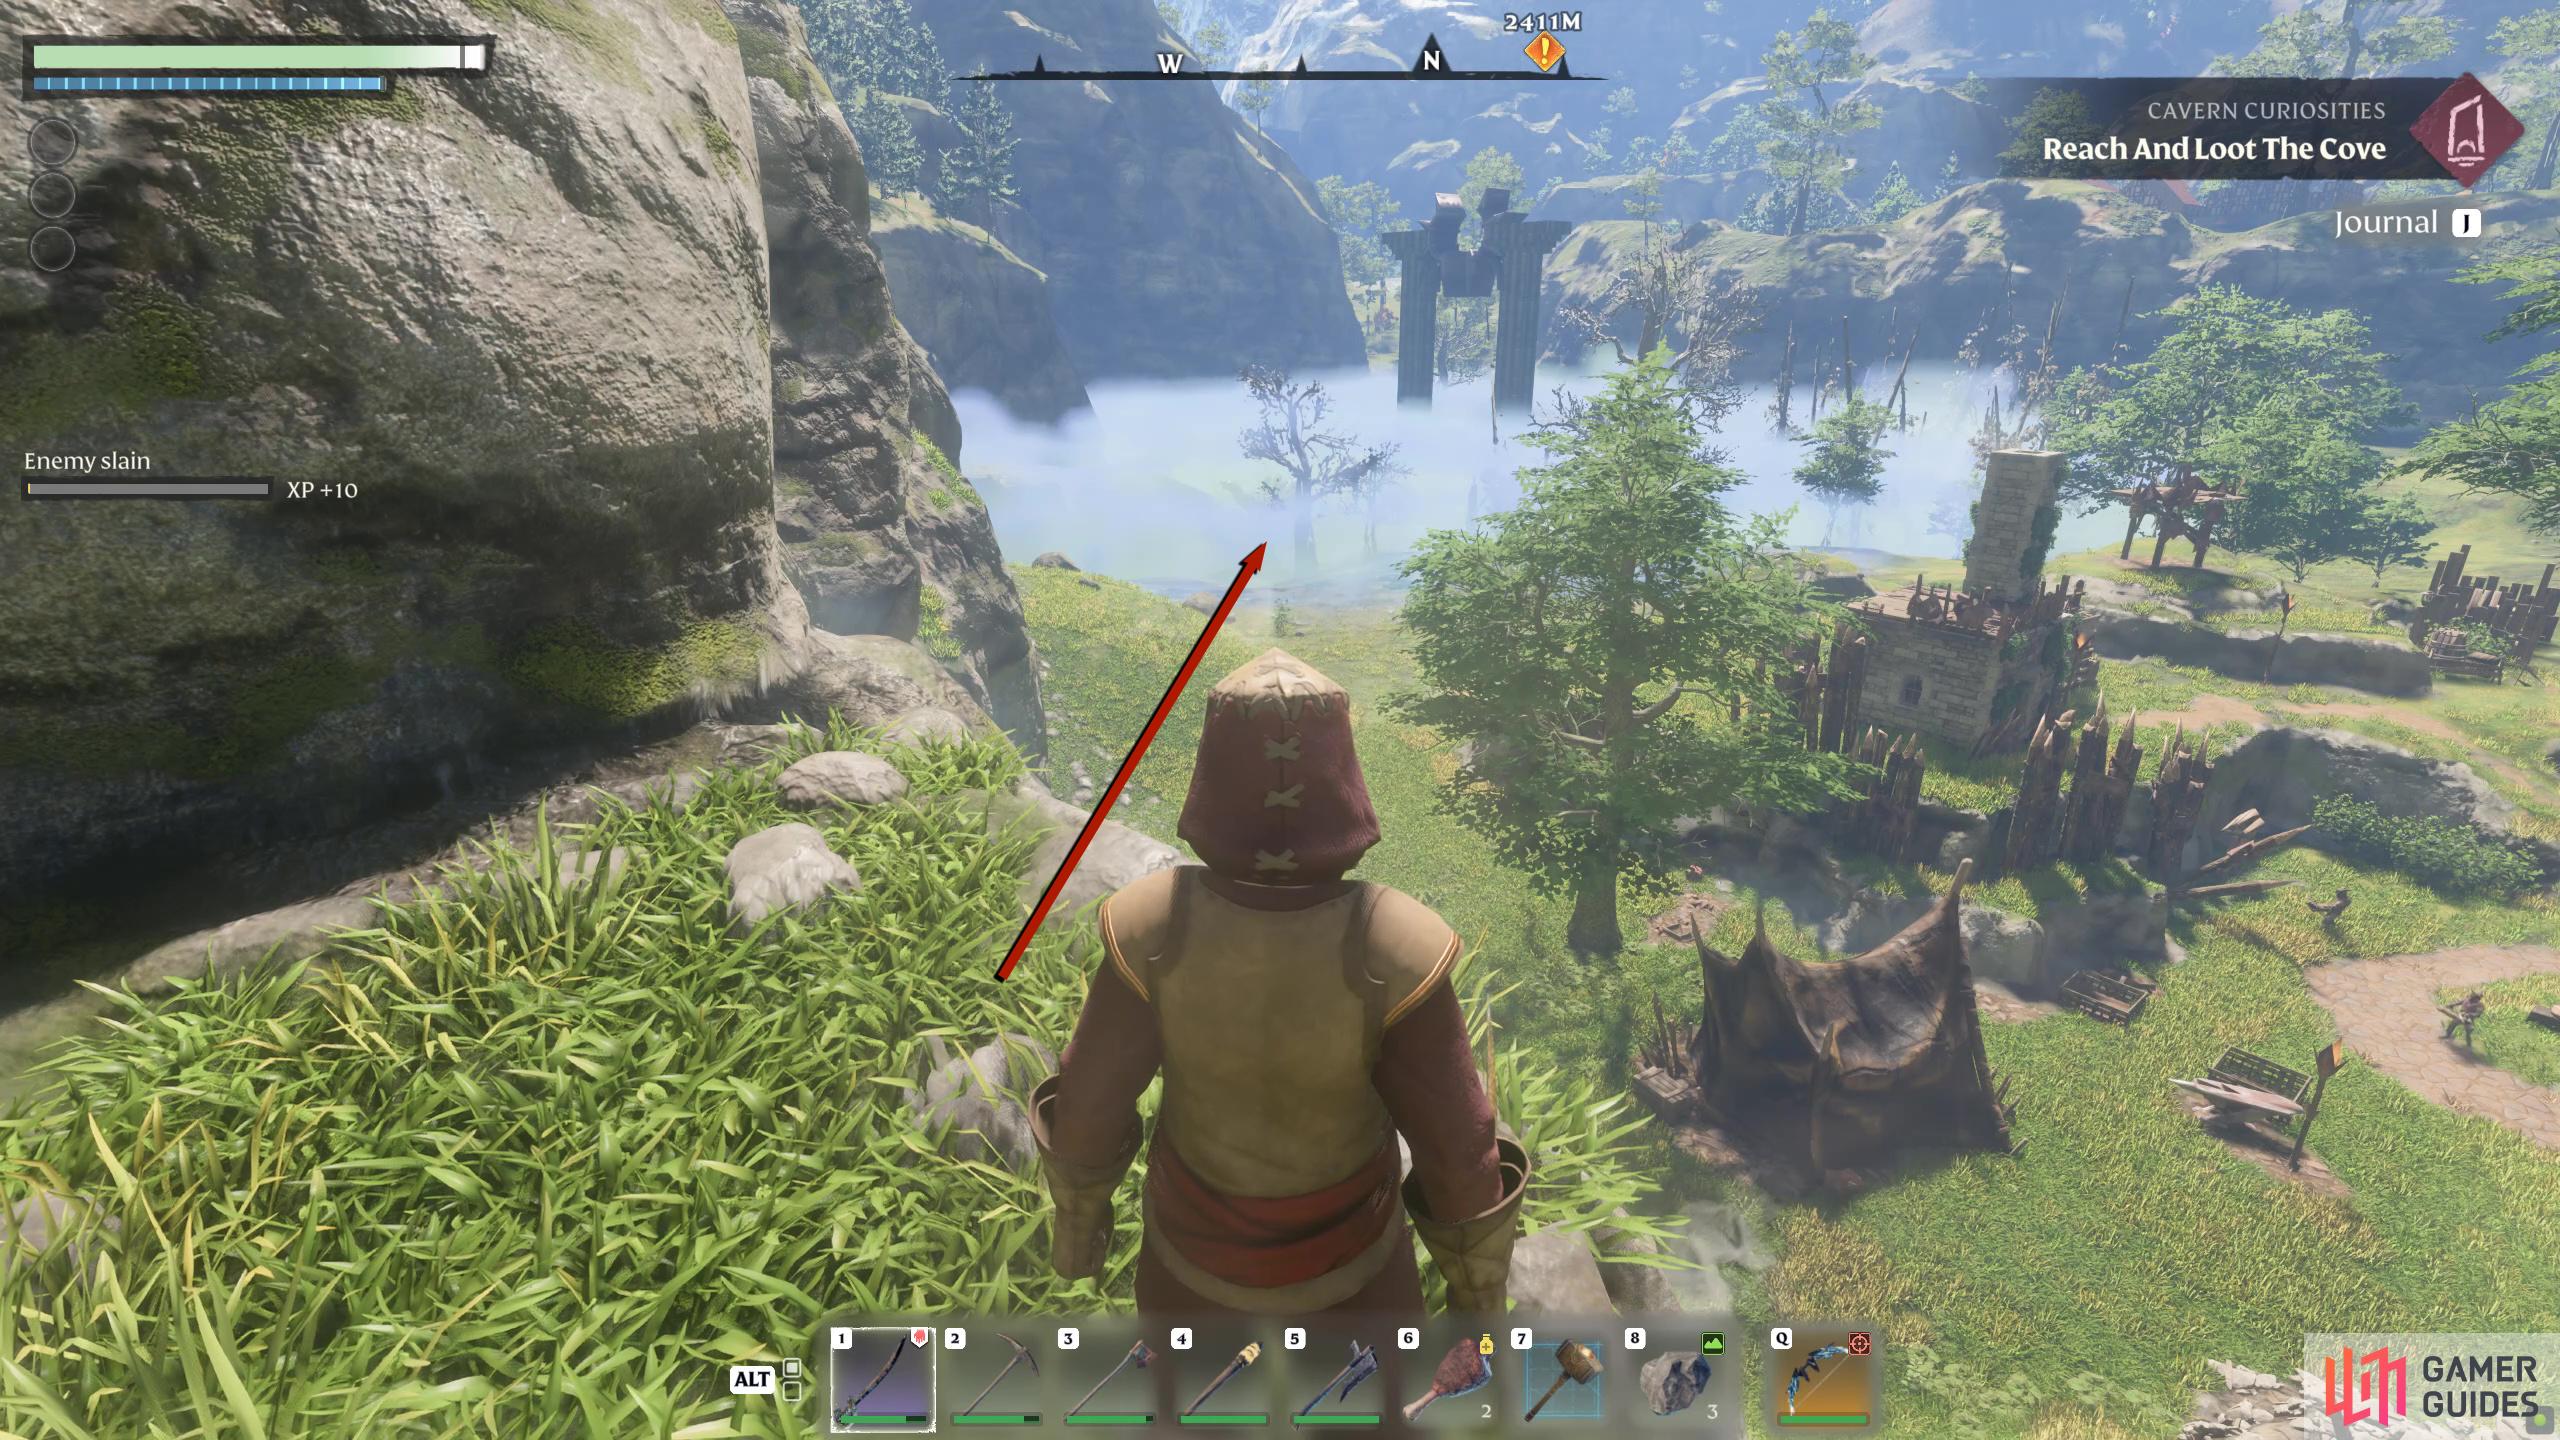
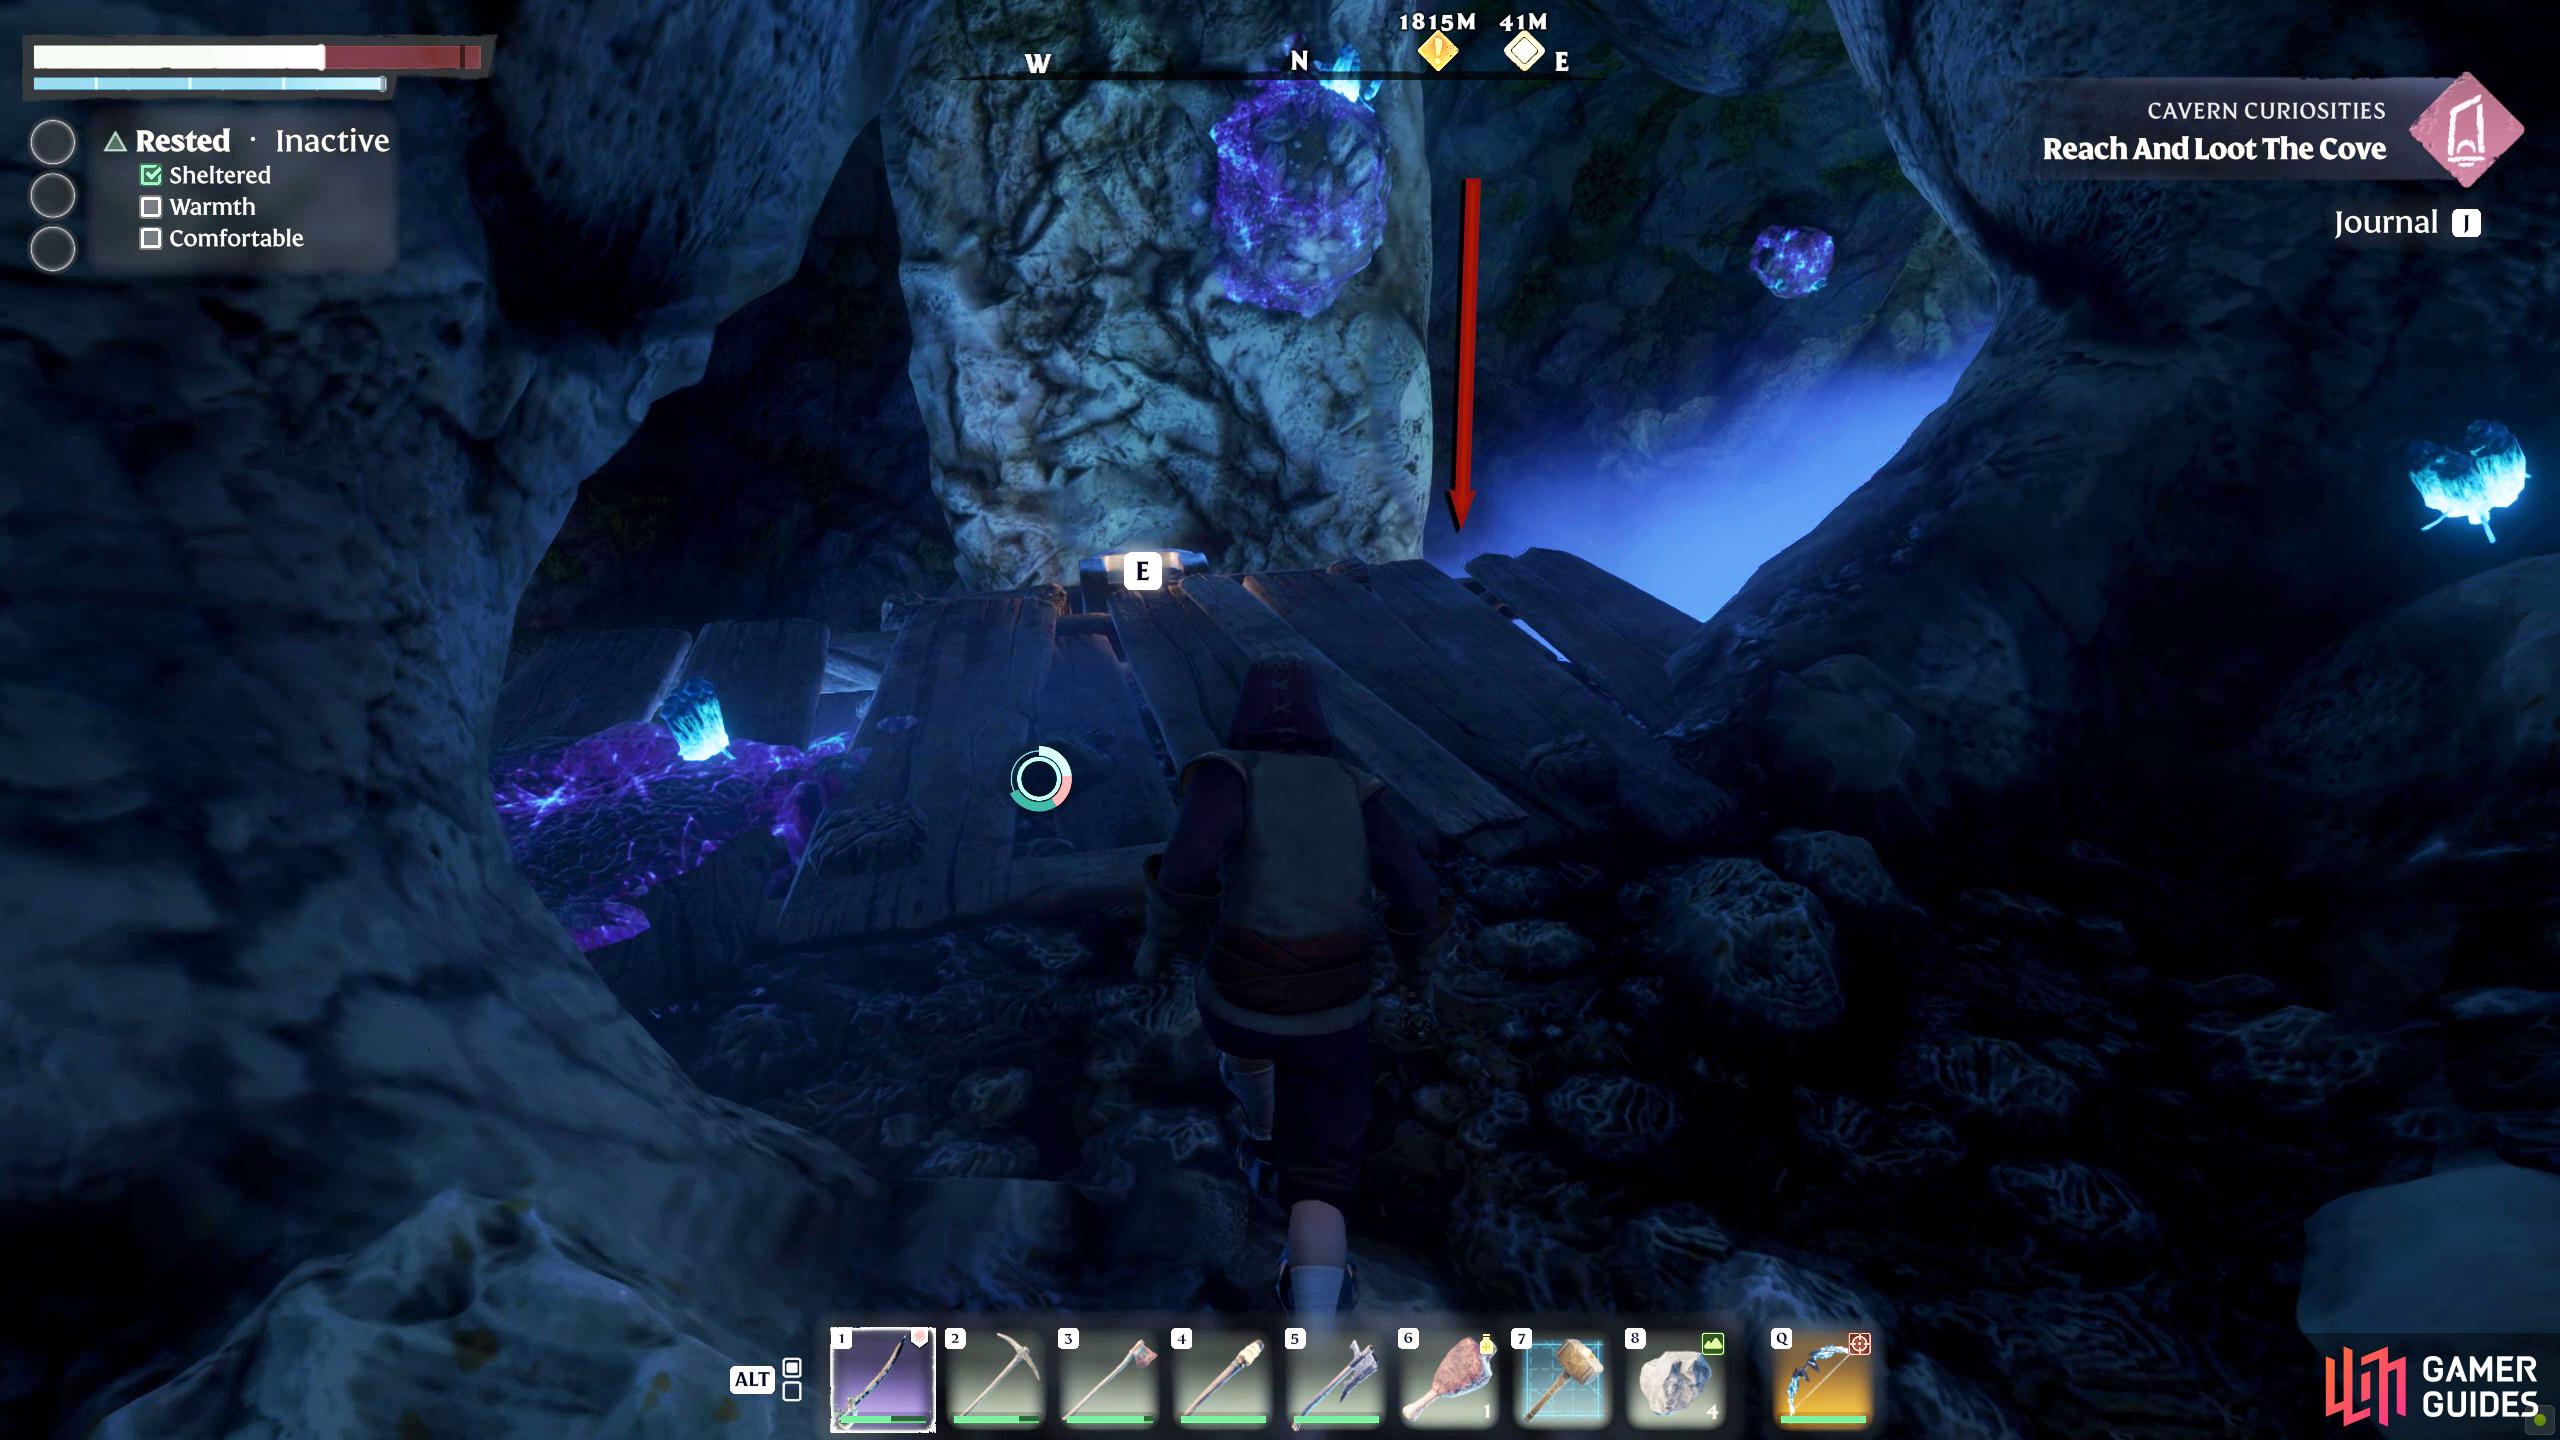
First, we’ll start with the proper route. From the starting base location, make your way to Braelyn Bridge, which will be to your northwest. When you get to the bridge, take the dusty path to the east of it, as this leads into the Shroud. At the first intersection, take the path east until you reach the stone path. Follow the stone path north until you reach an area with numerous scaffolds and wagons. Talking of wagons, there will be a Restore Time capsule on the wagon to your west. Continue north and go up the stairs, and then go up the stairs to the northeast, where you’ll find a respawn orb. Opposite the orb will be the Well. Climb down using the nearby climbing frame and make your way down to the bottom using the various ladders, climbing frames, and stairs. For the quick method, you can simply glide from the edge of the cliff near the base toward the location, provided your stamina doesn’t run out. You can do this for most Elixir Wells.
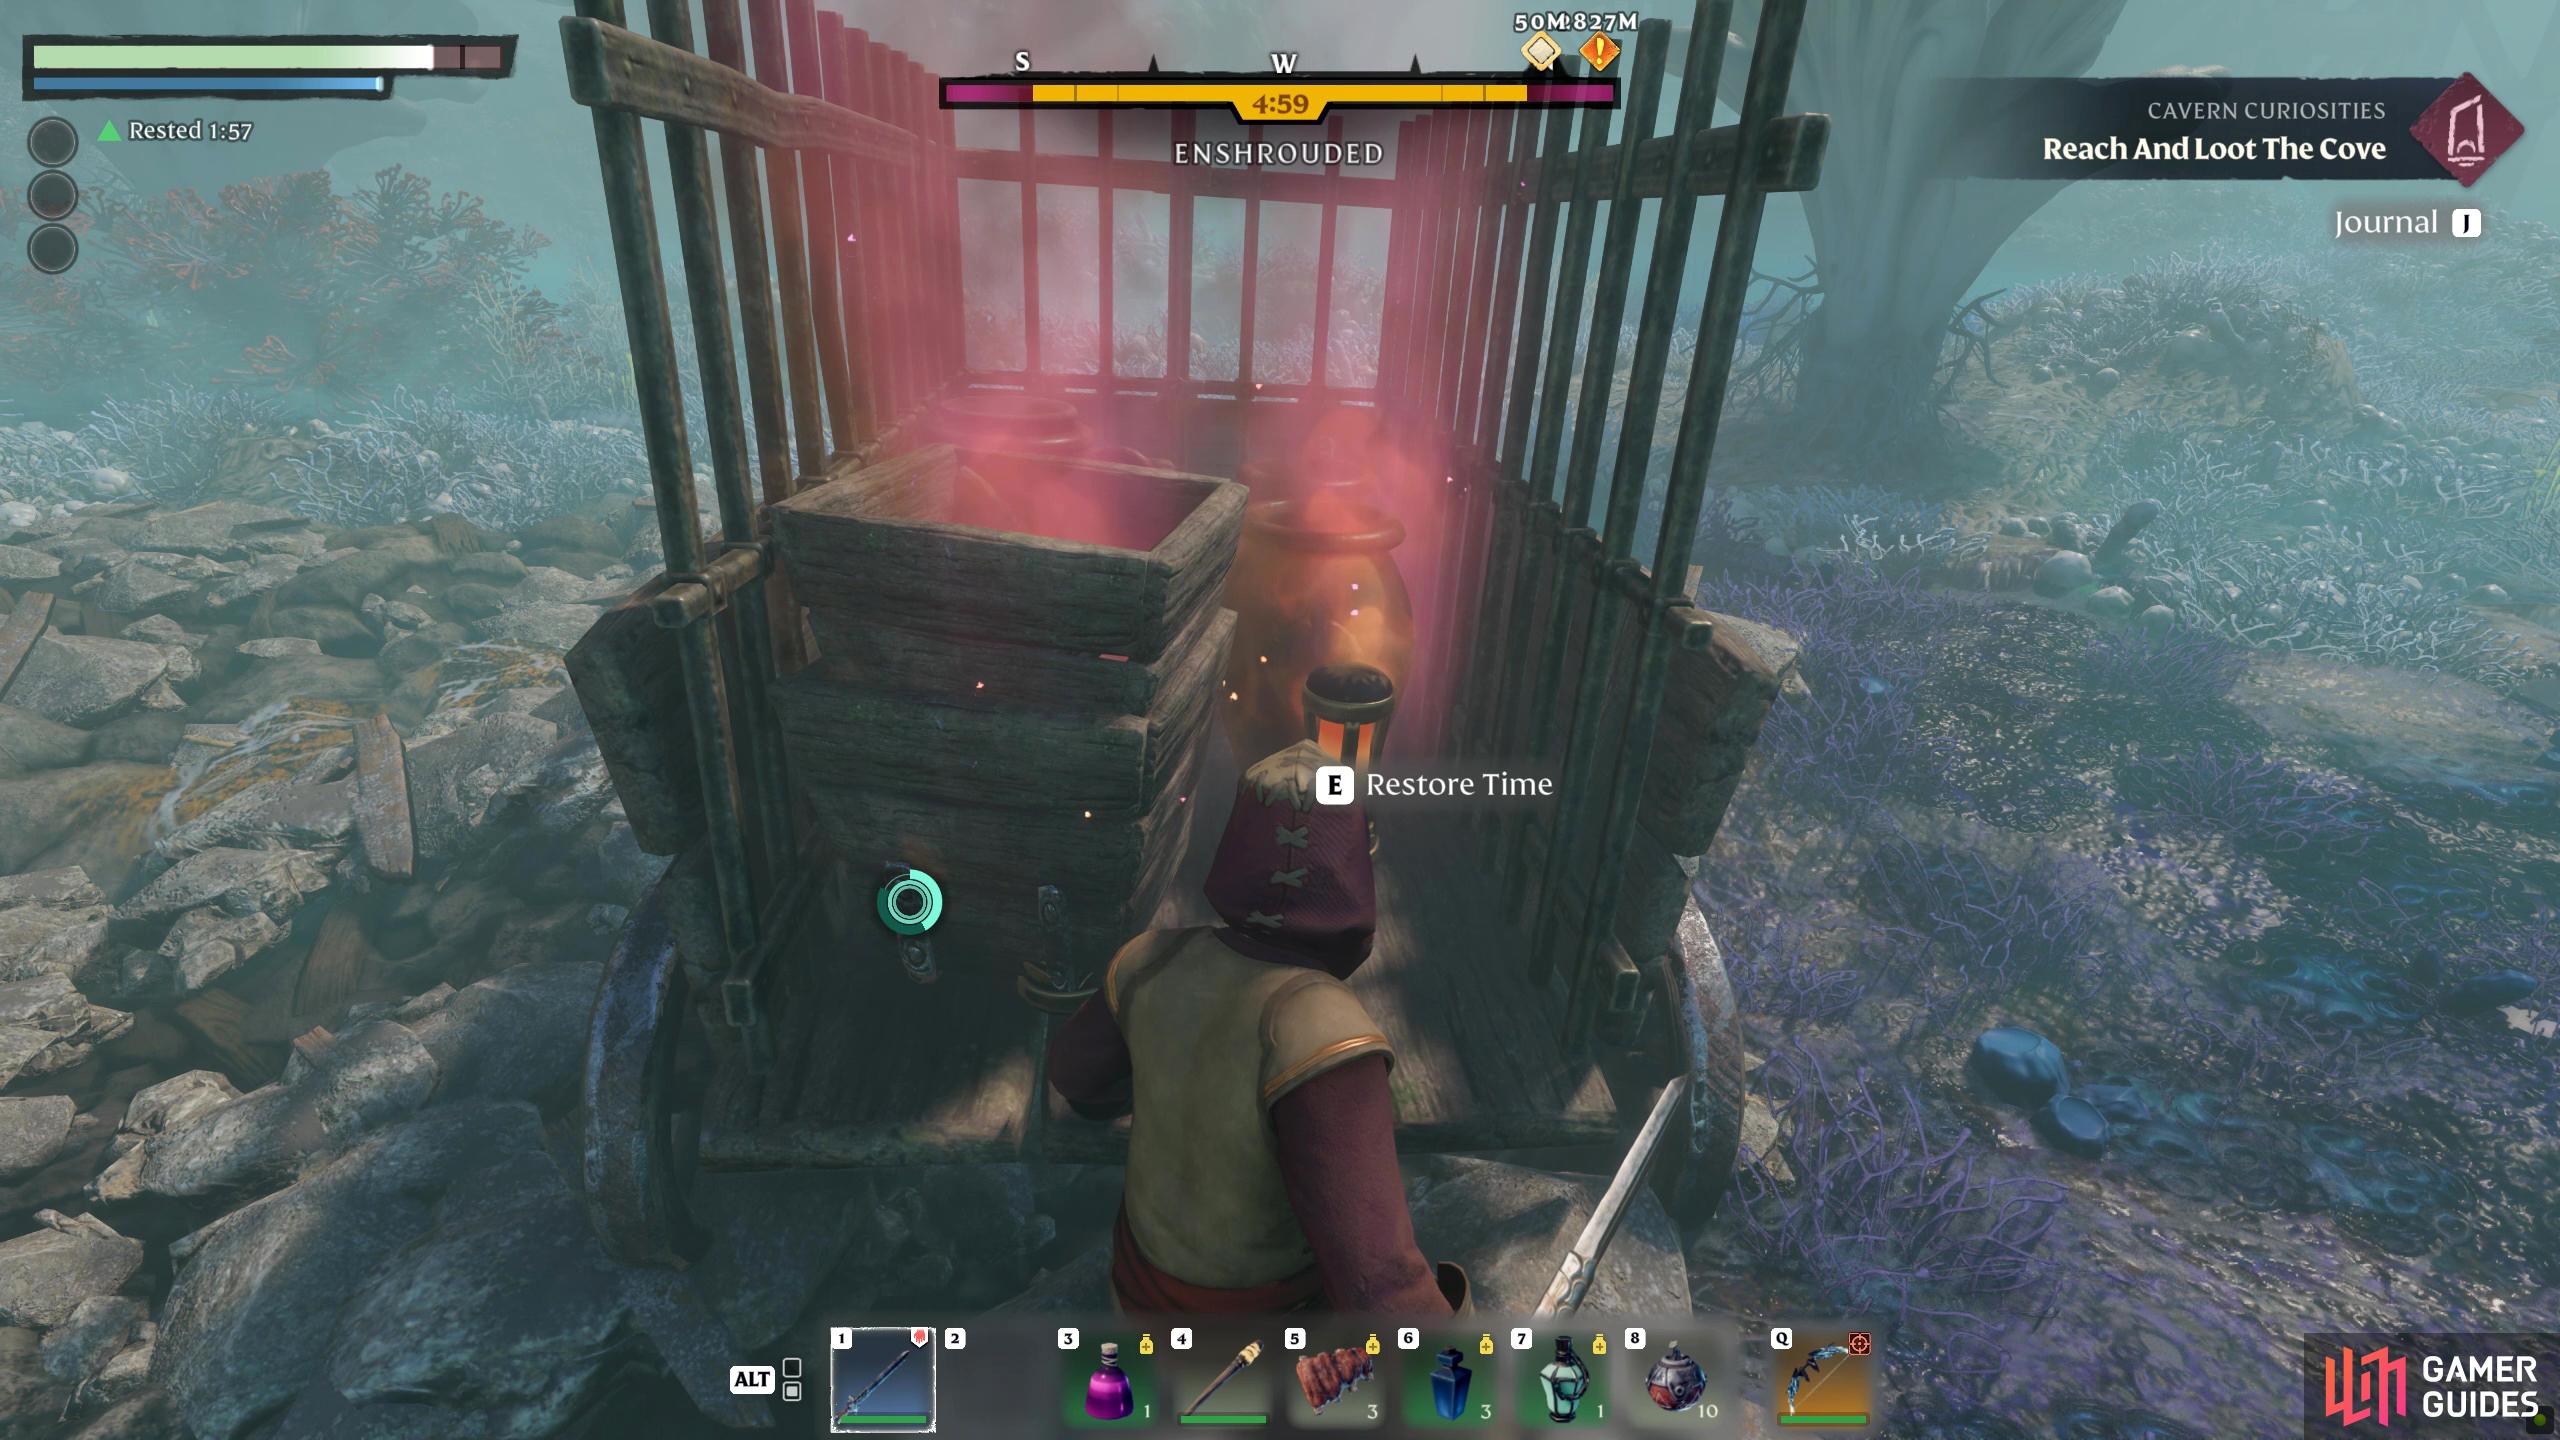

(1 of 4) Follow the path north while picking up the two Restore Timers on the wagon to the left of the path.
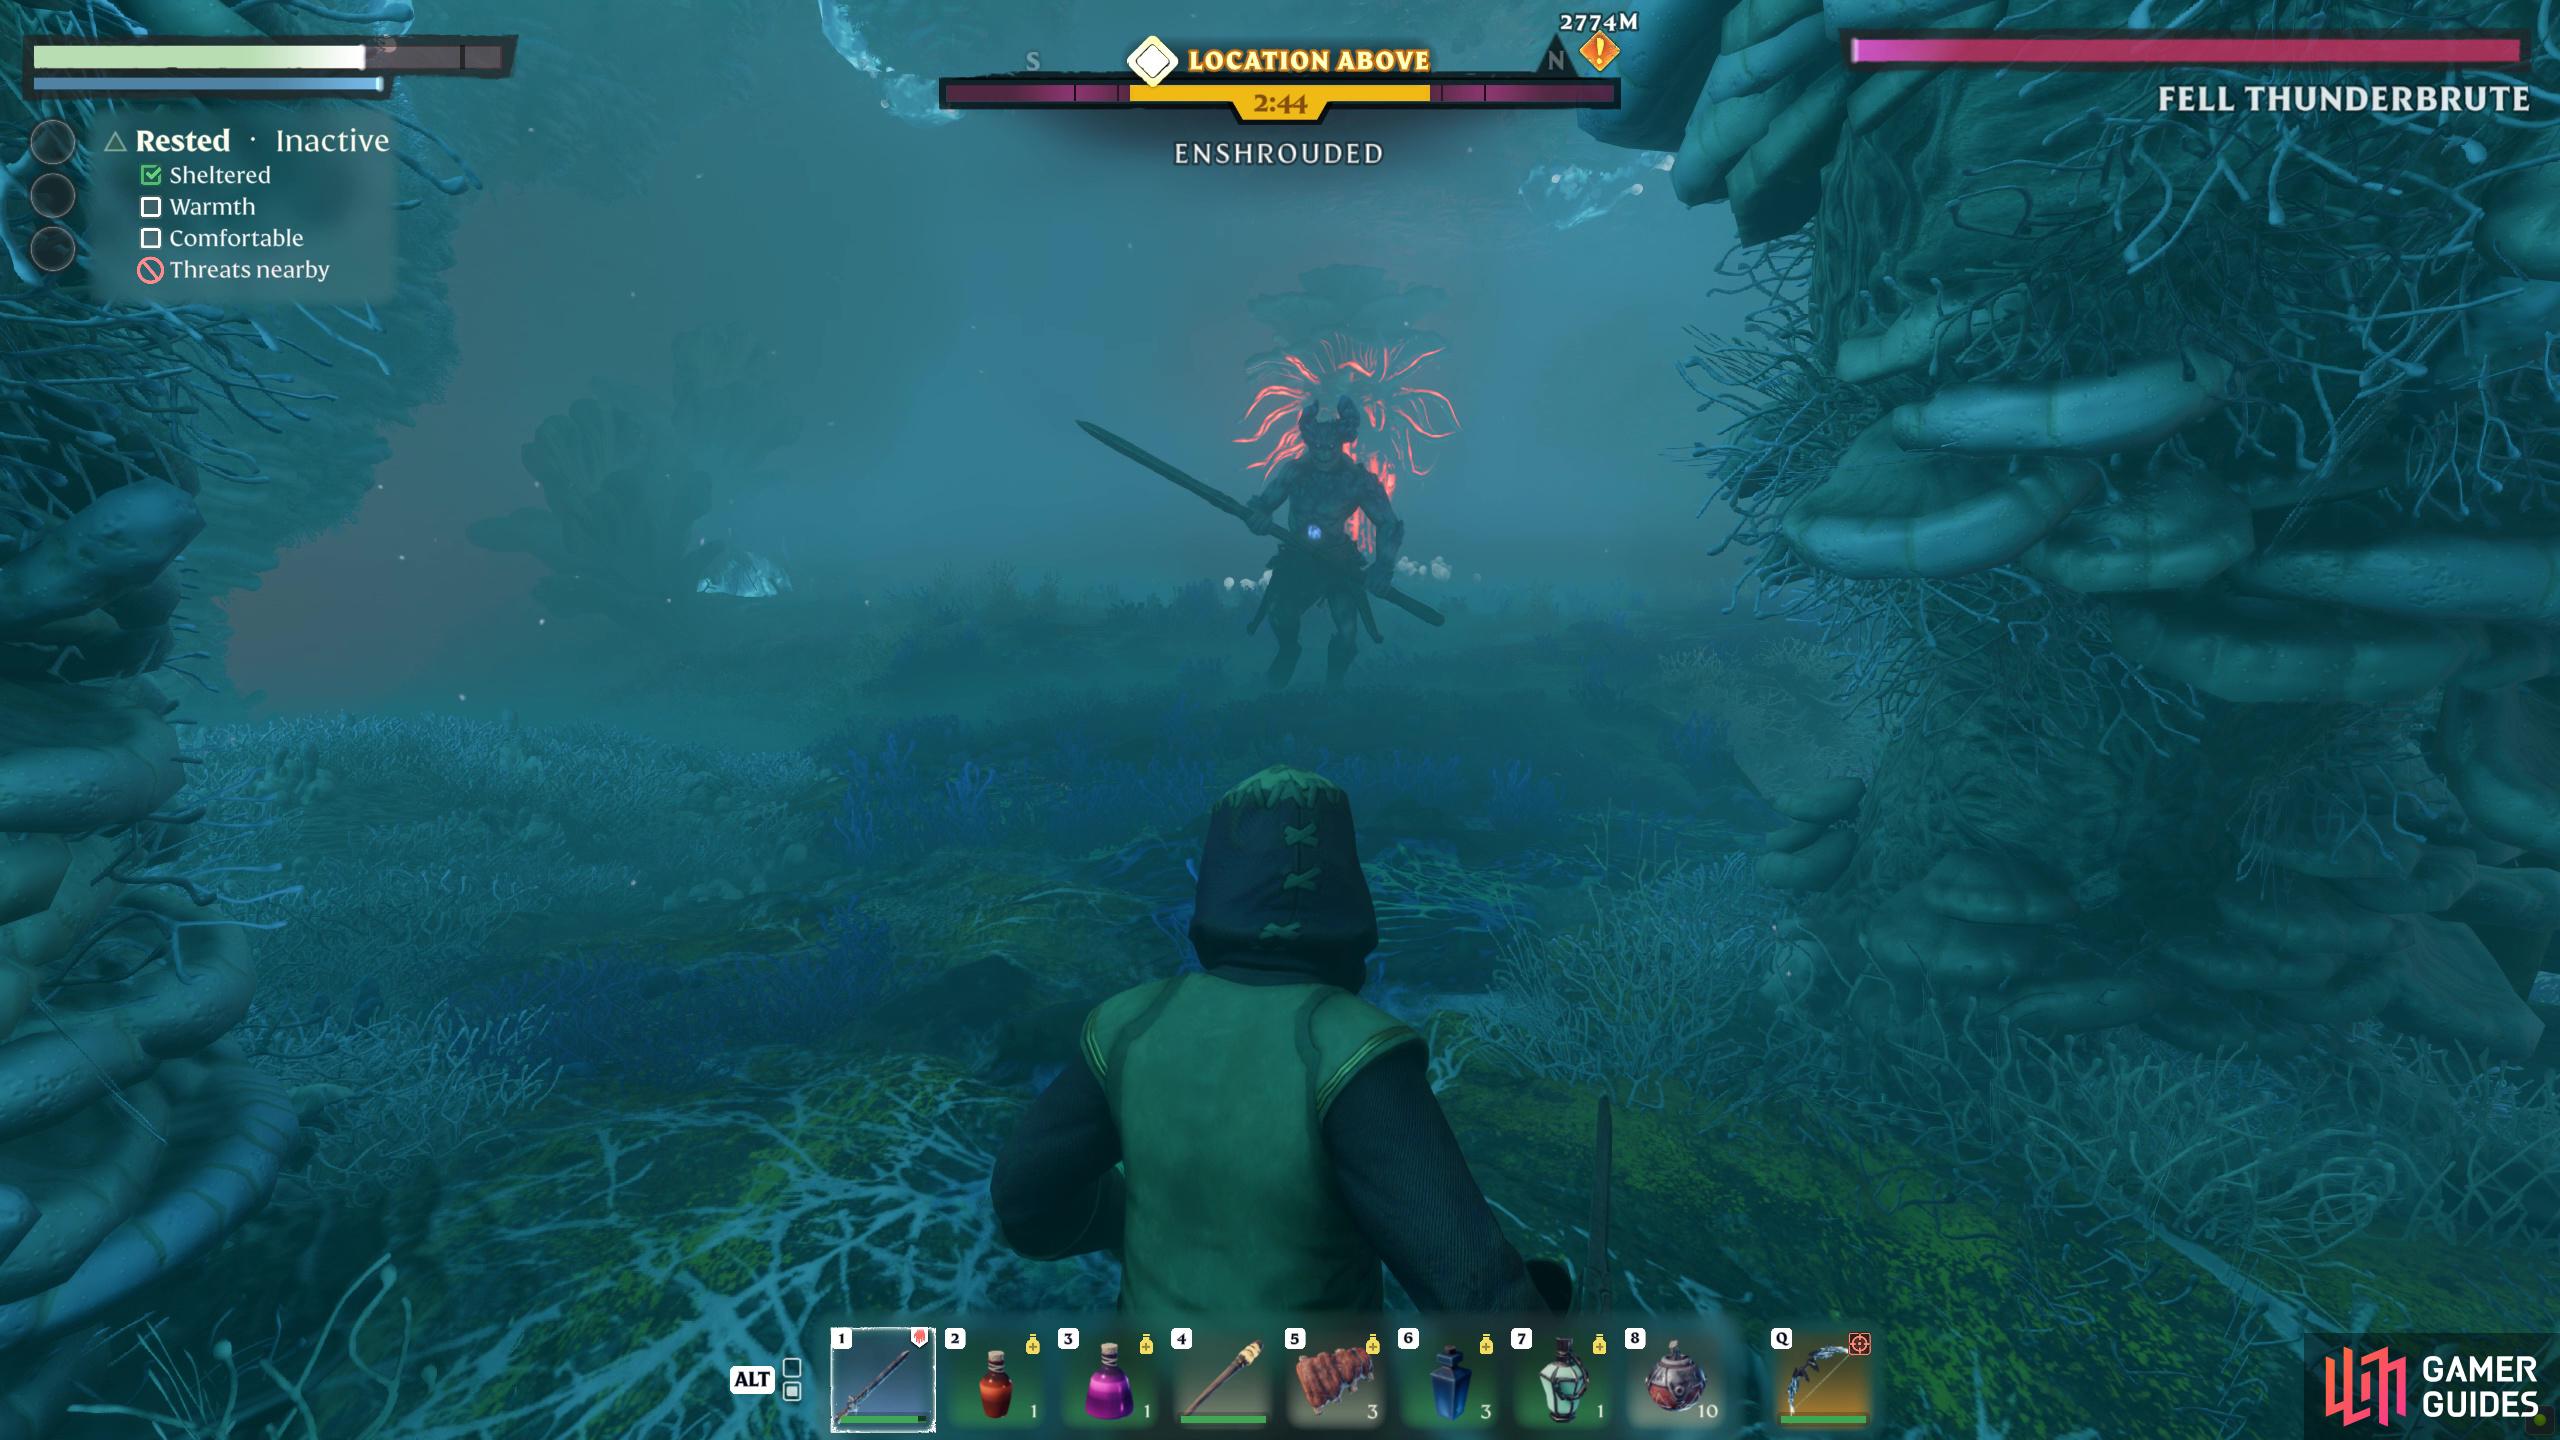
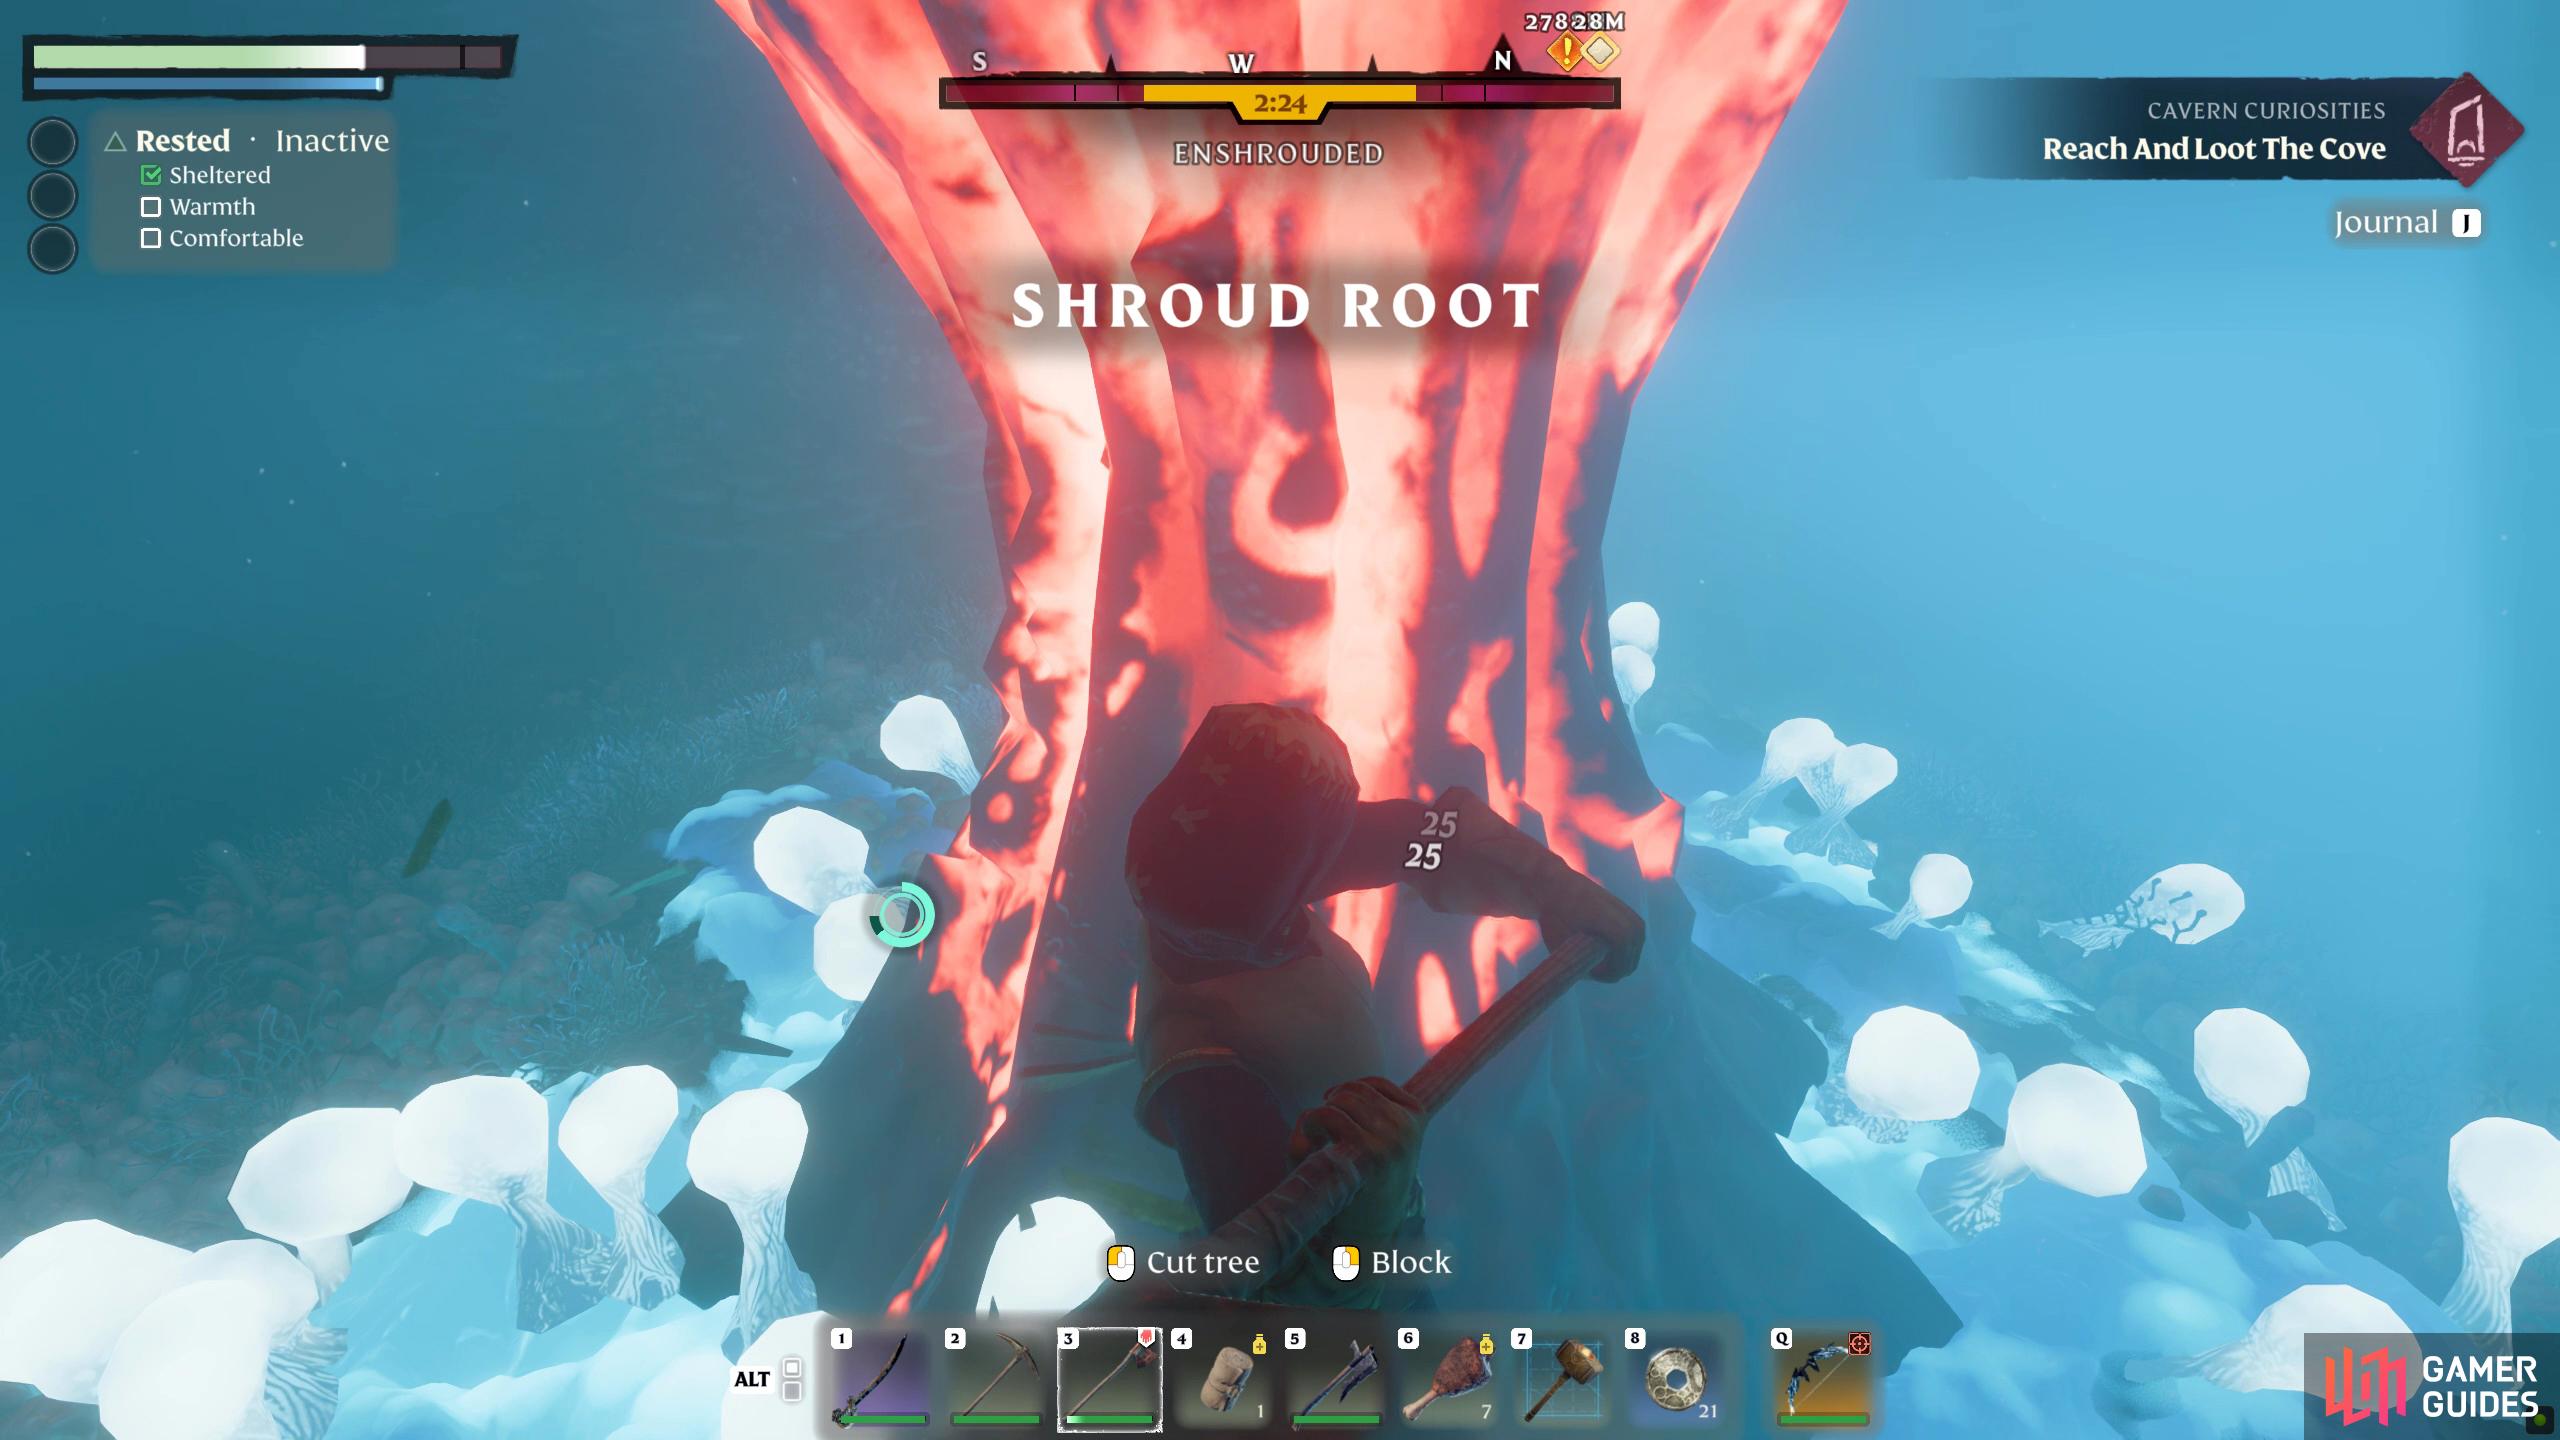
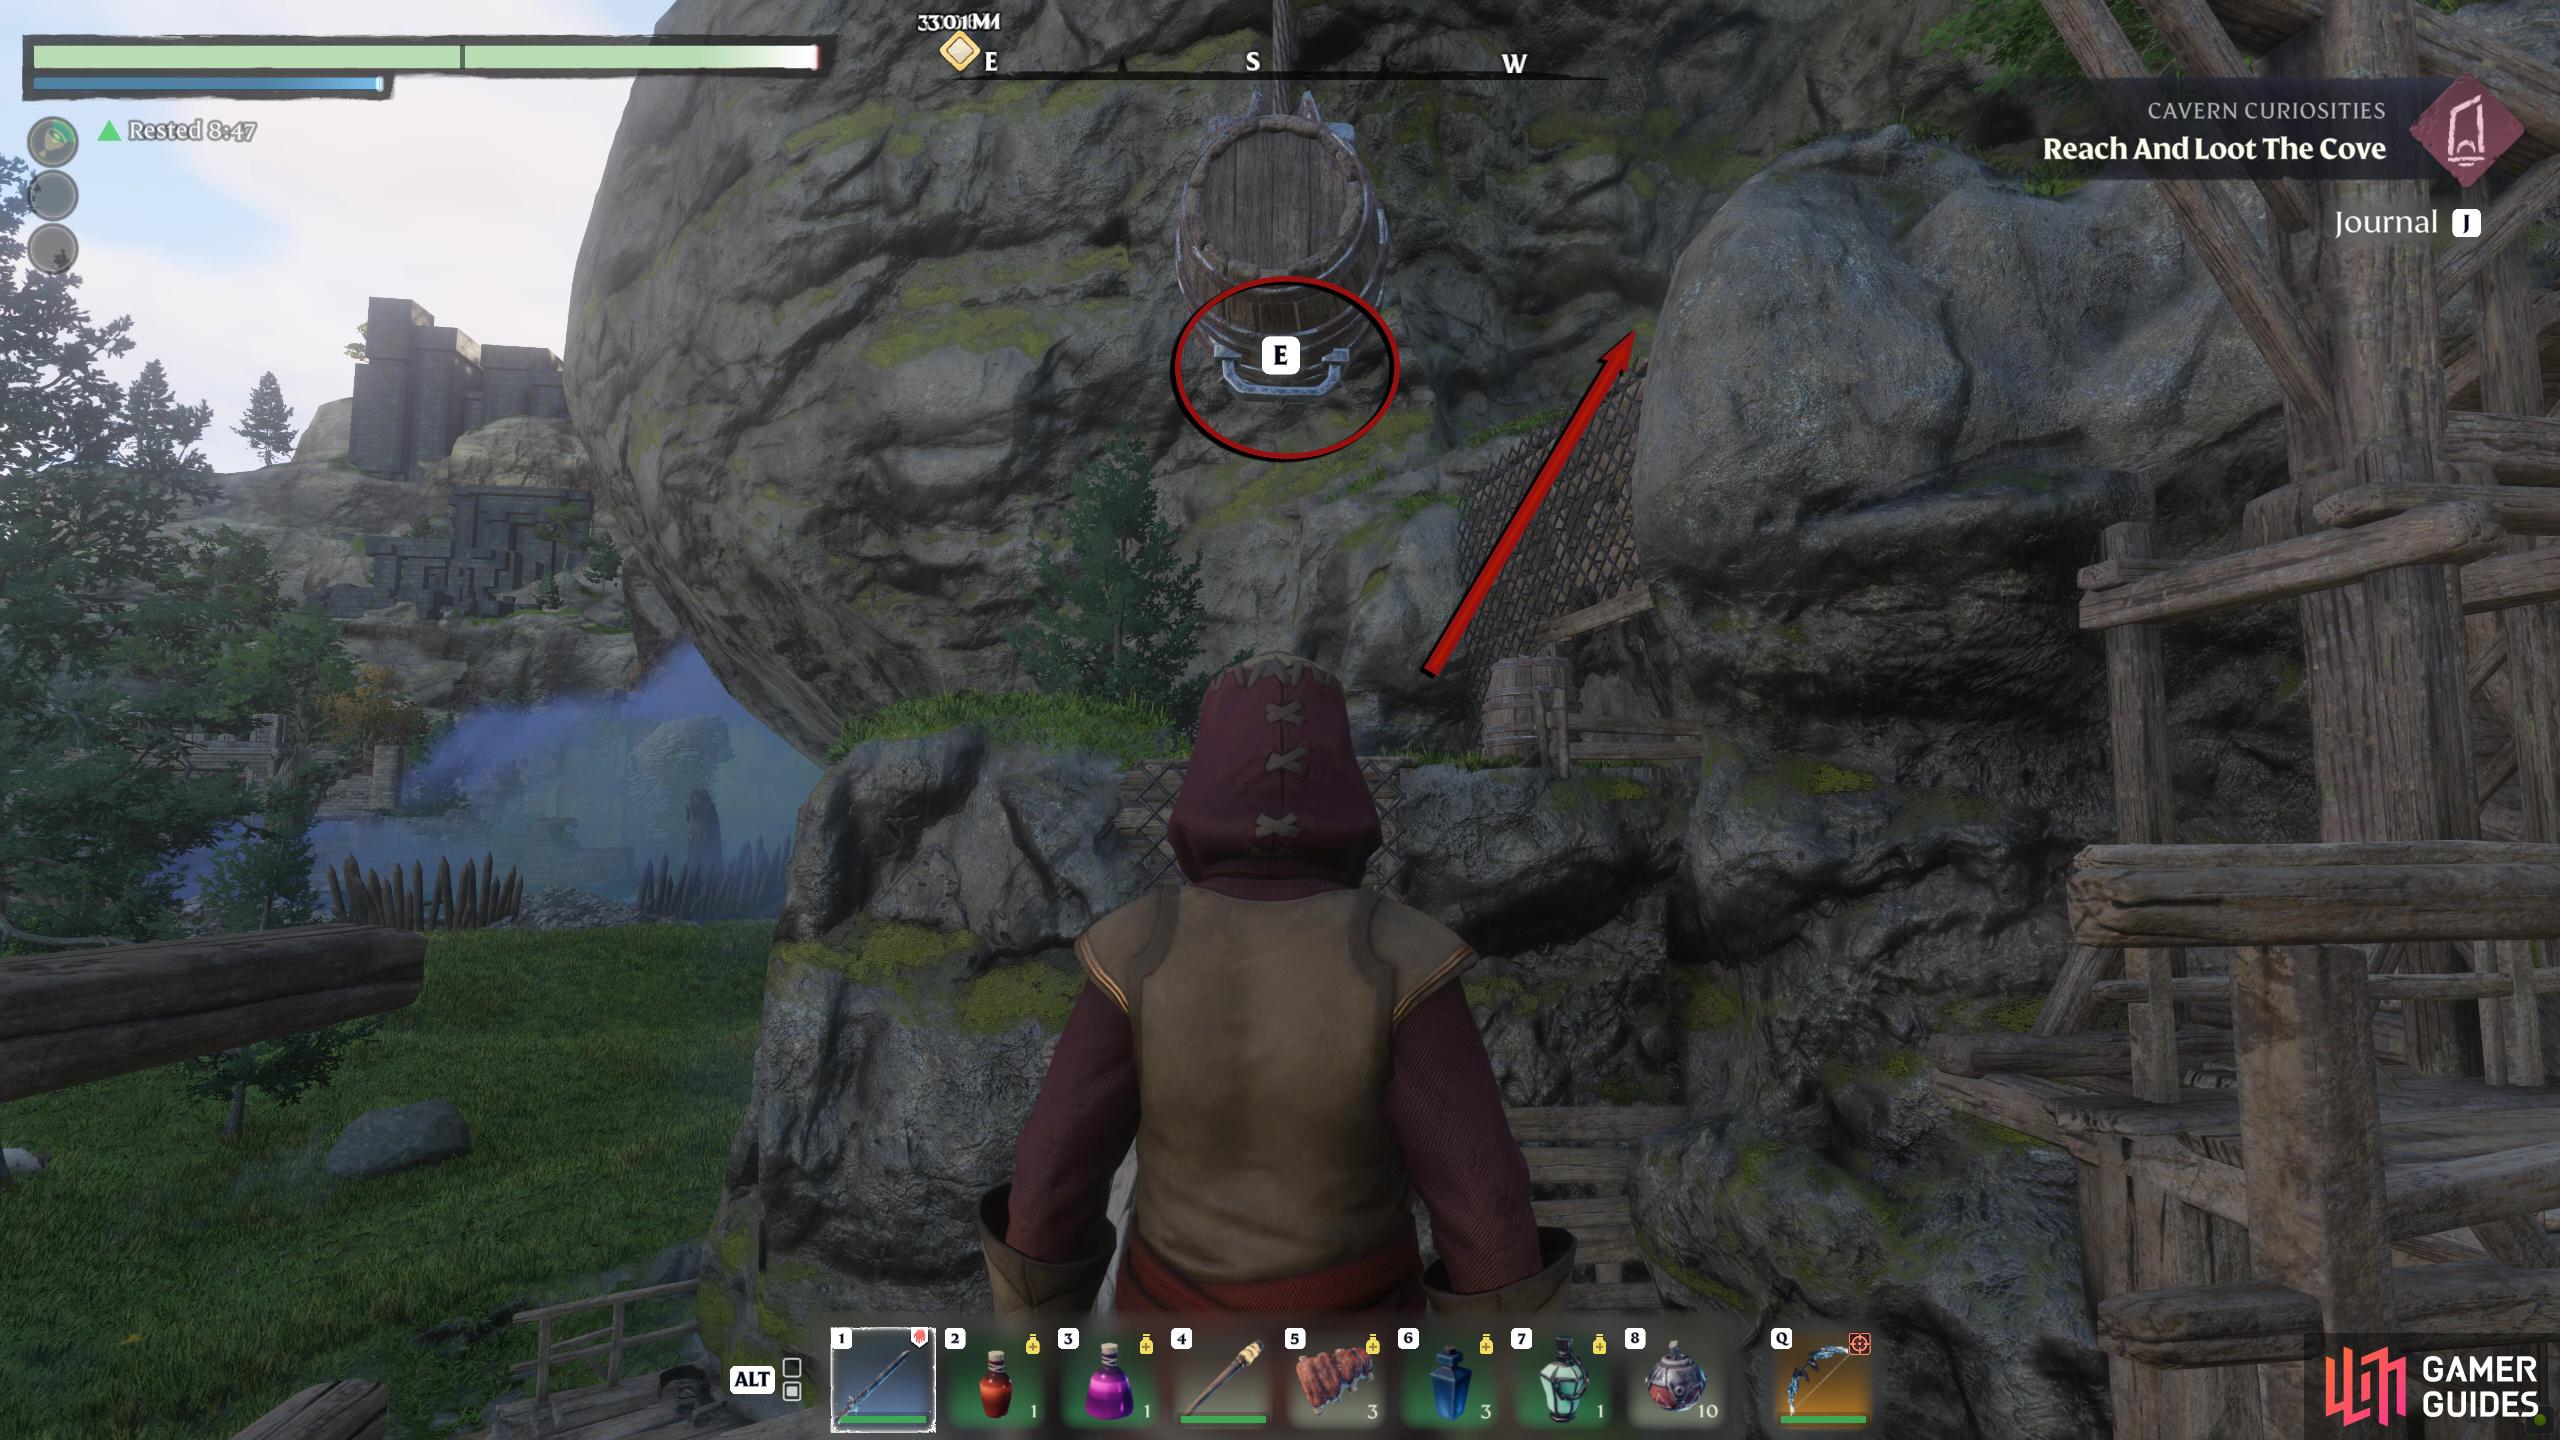
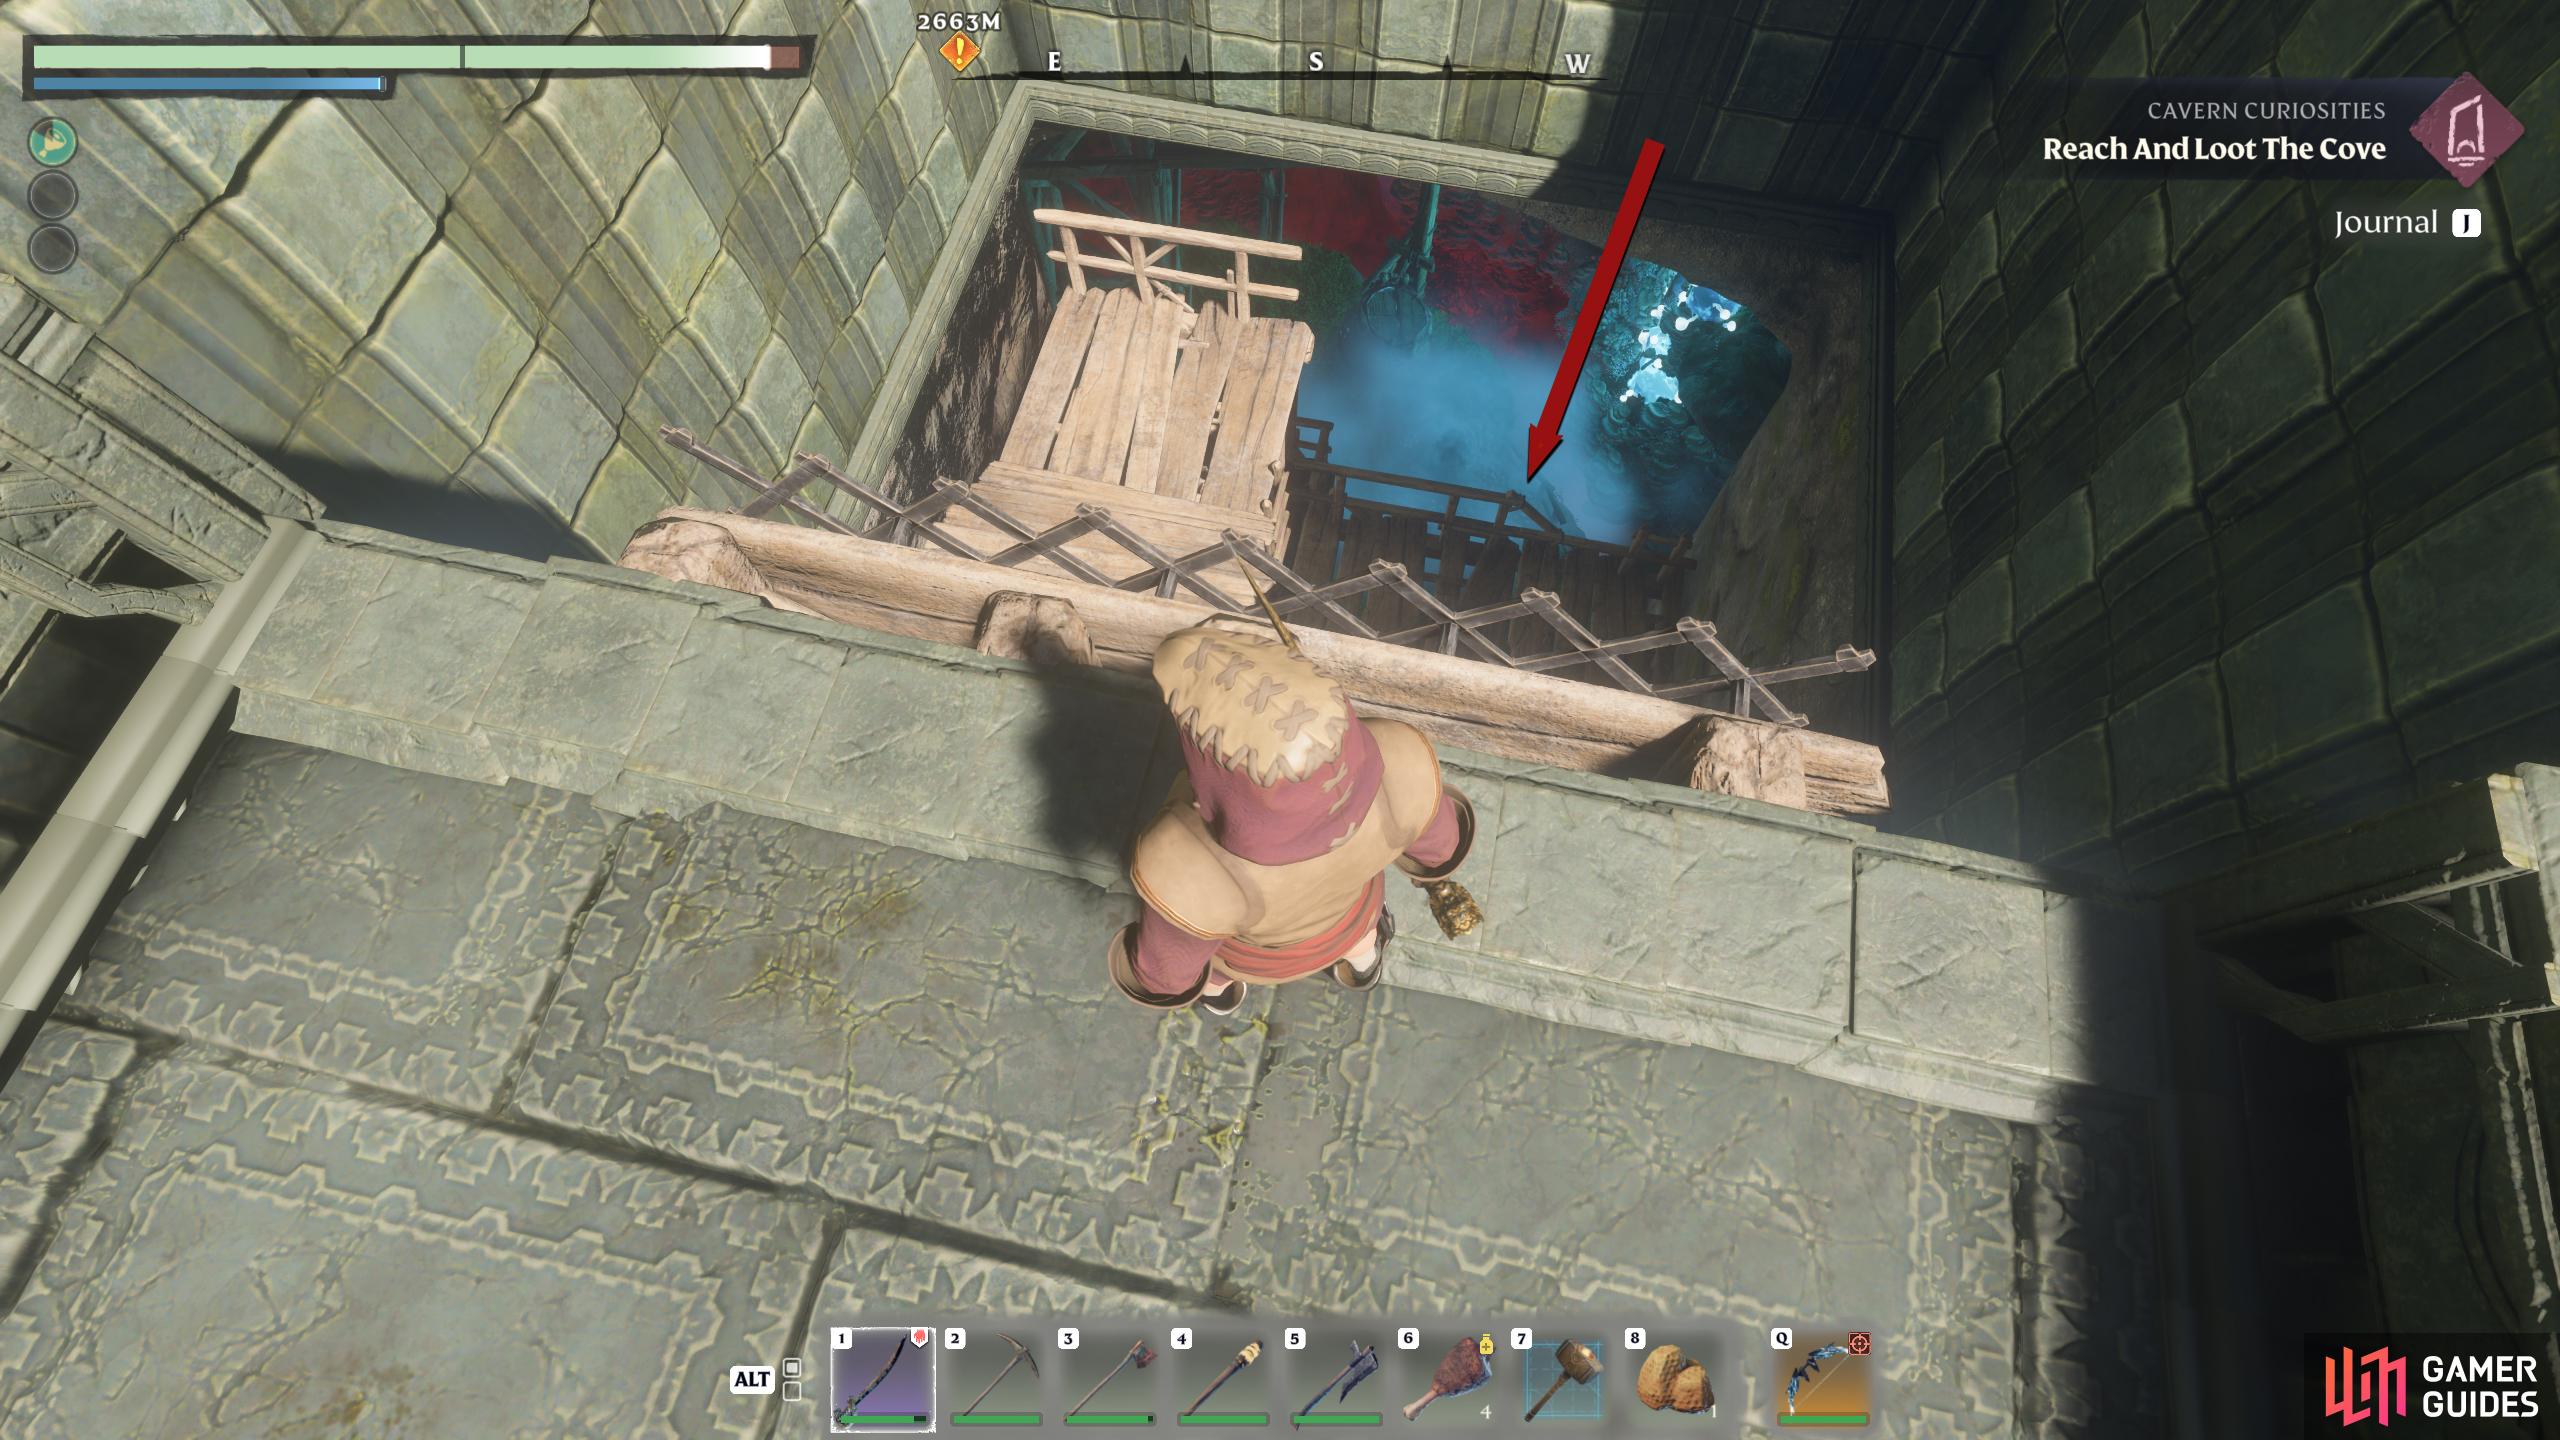
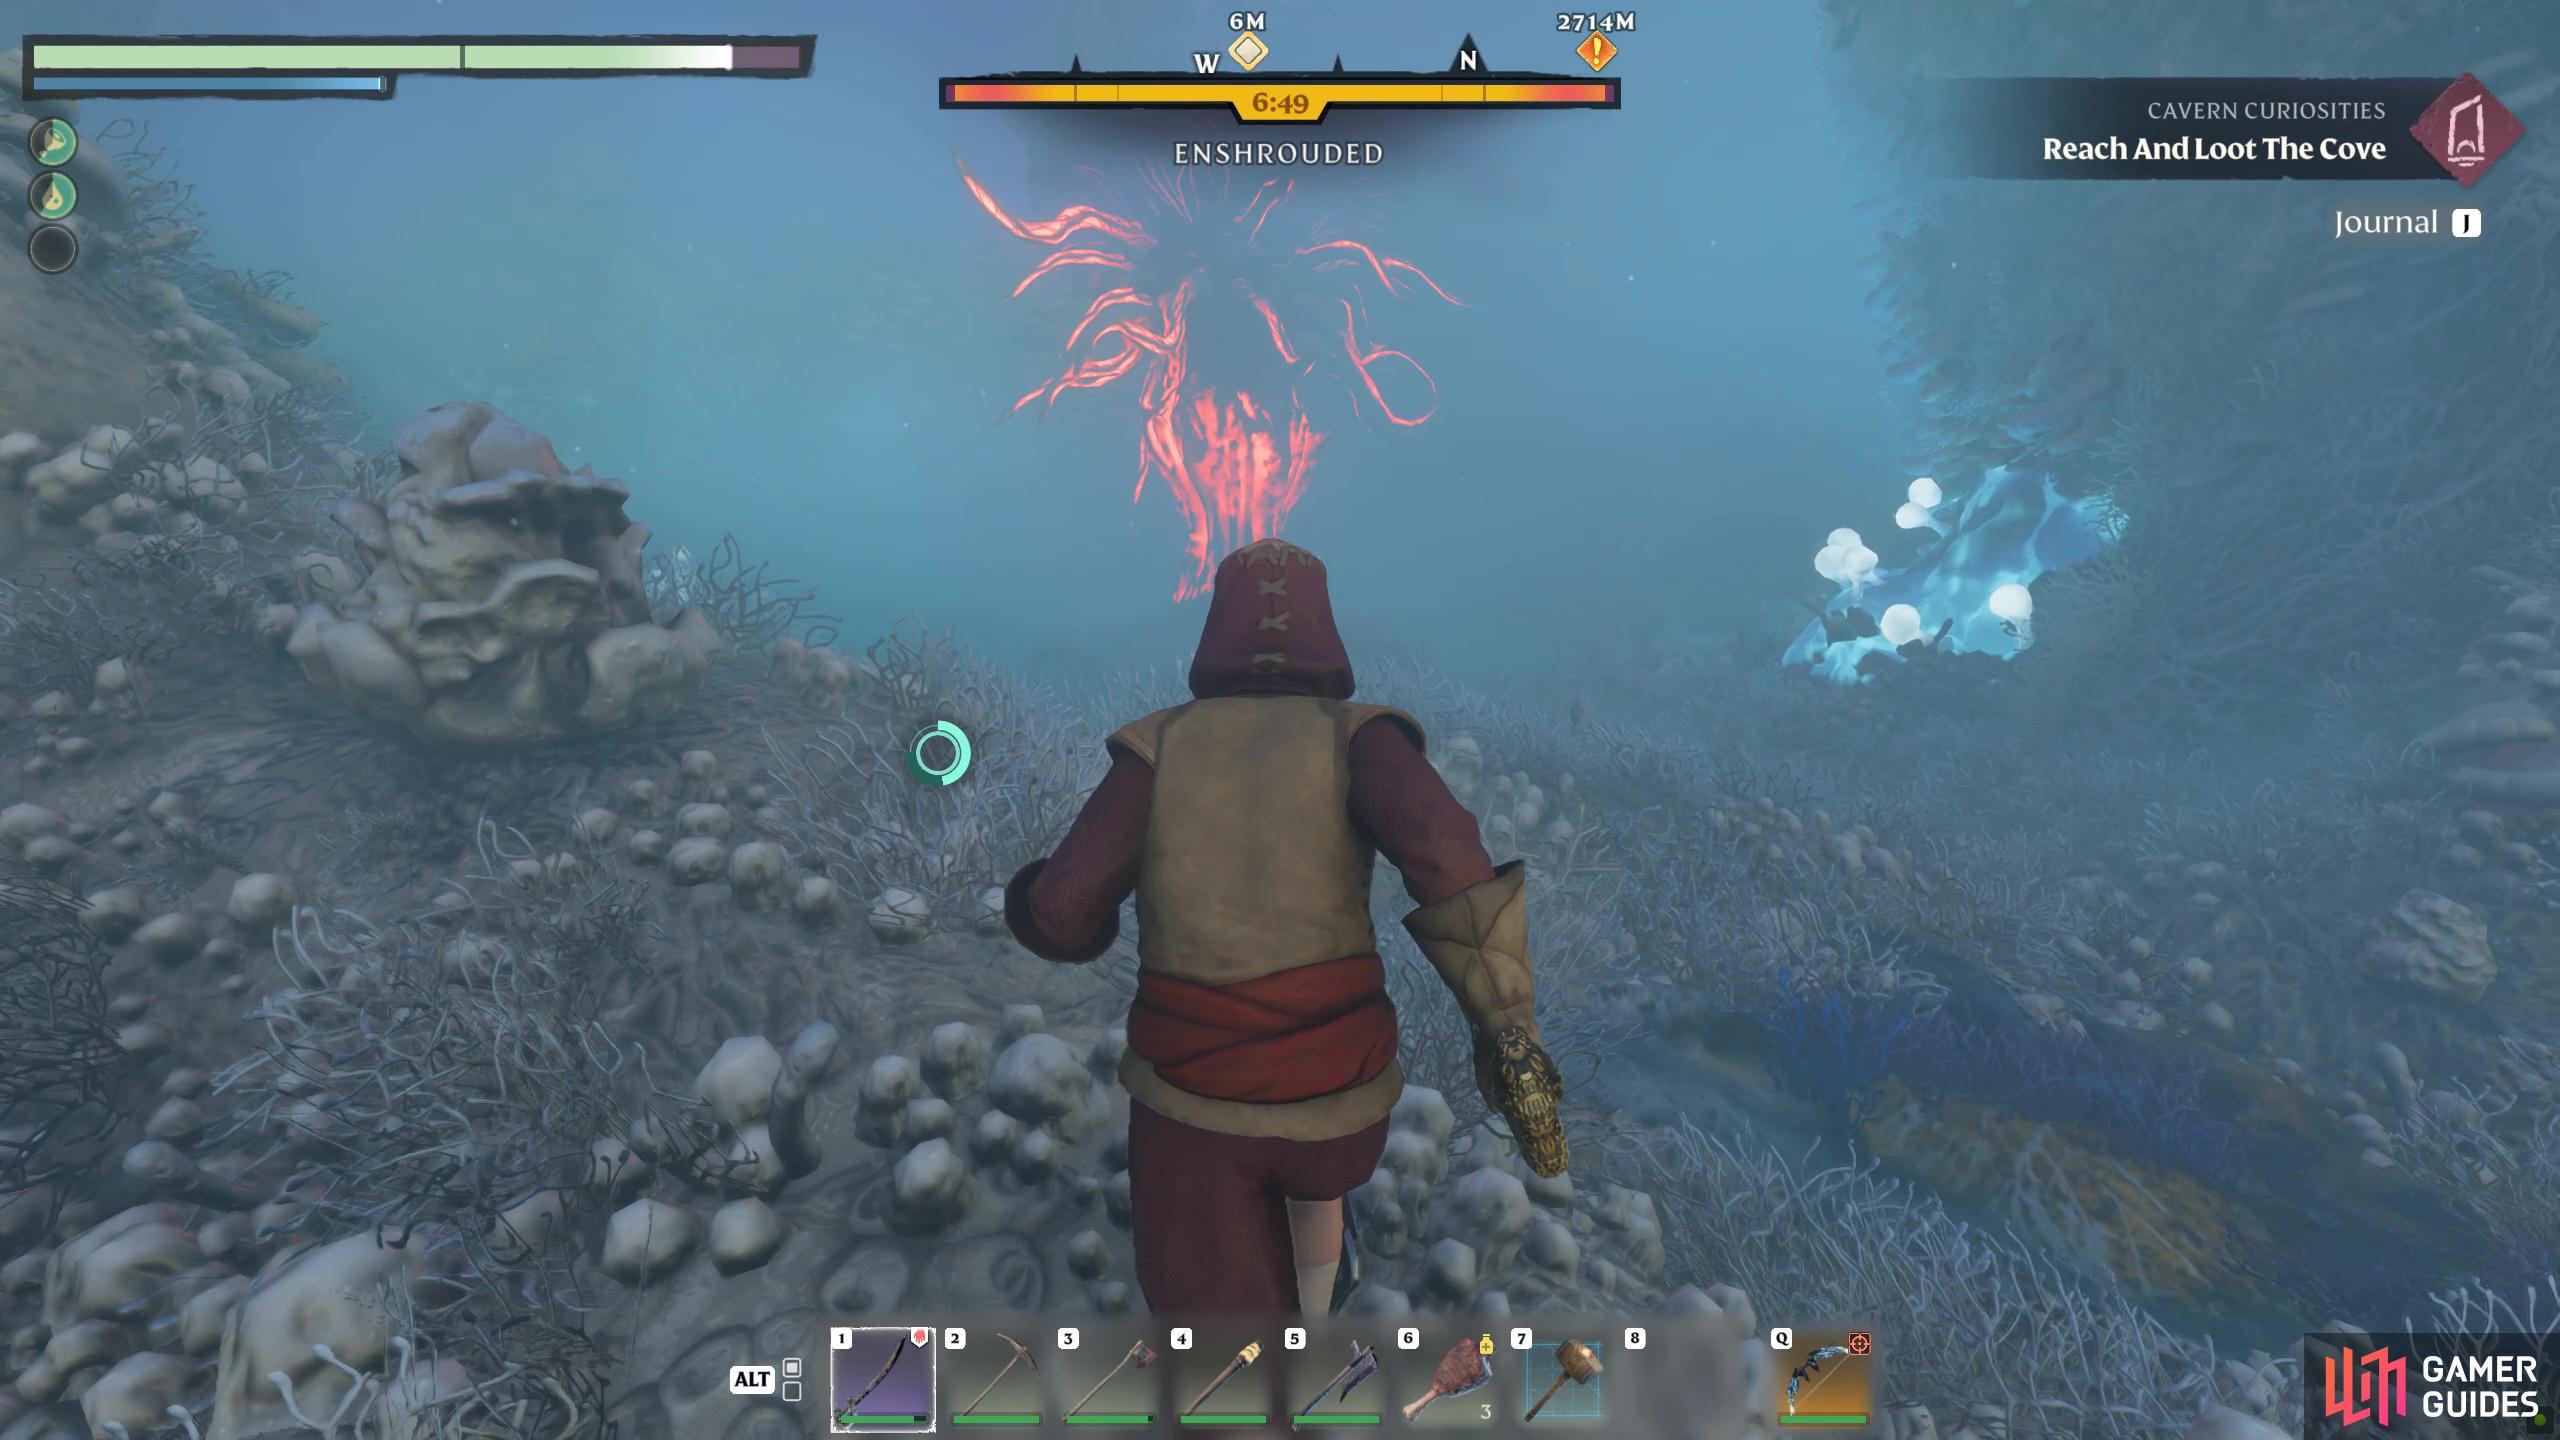
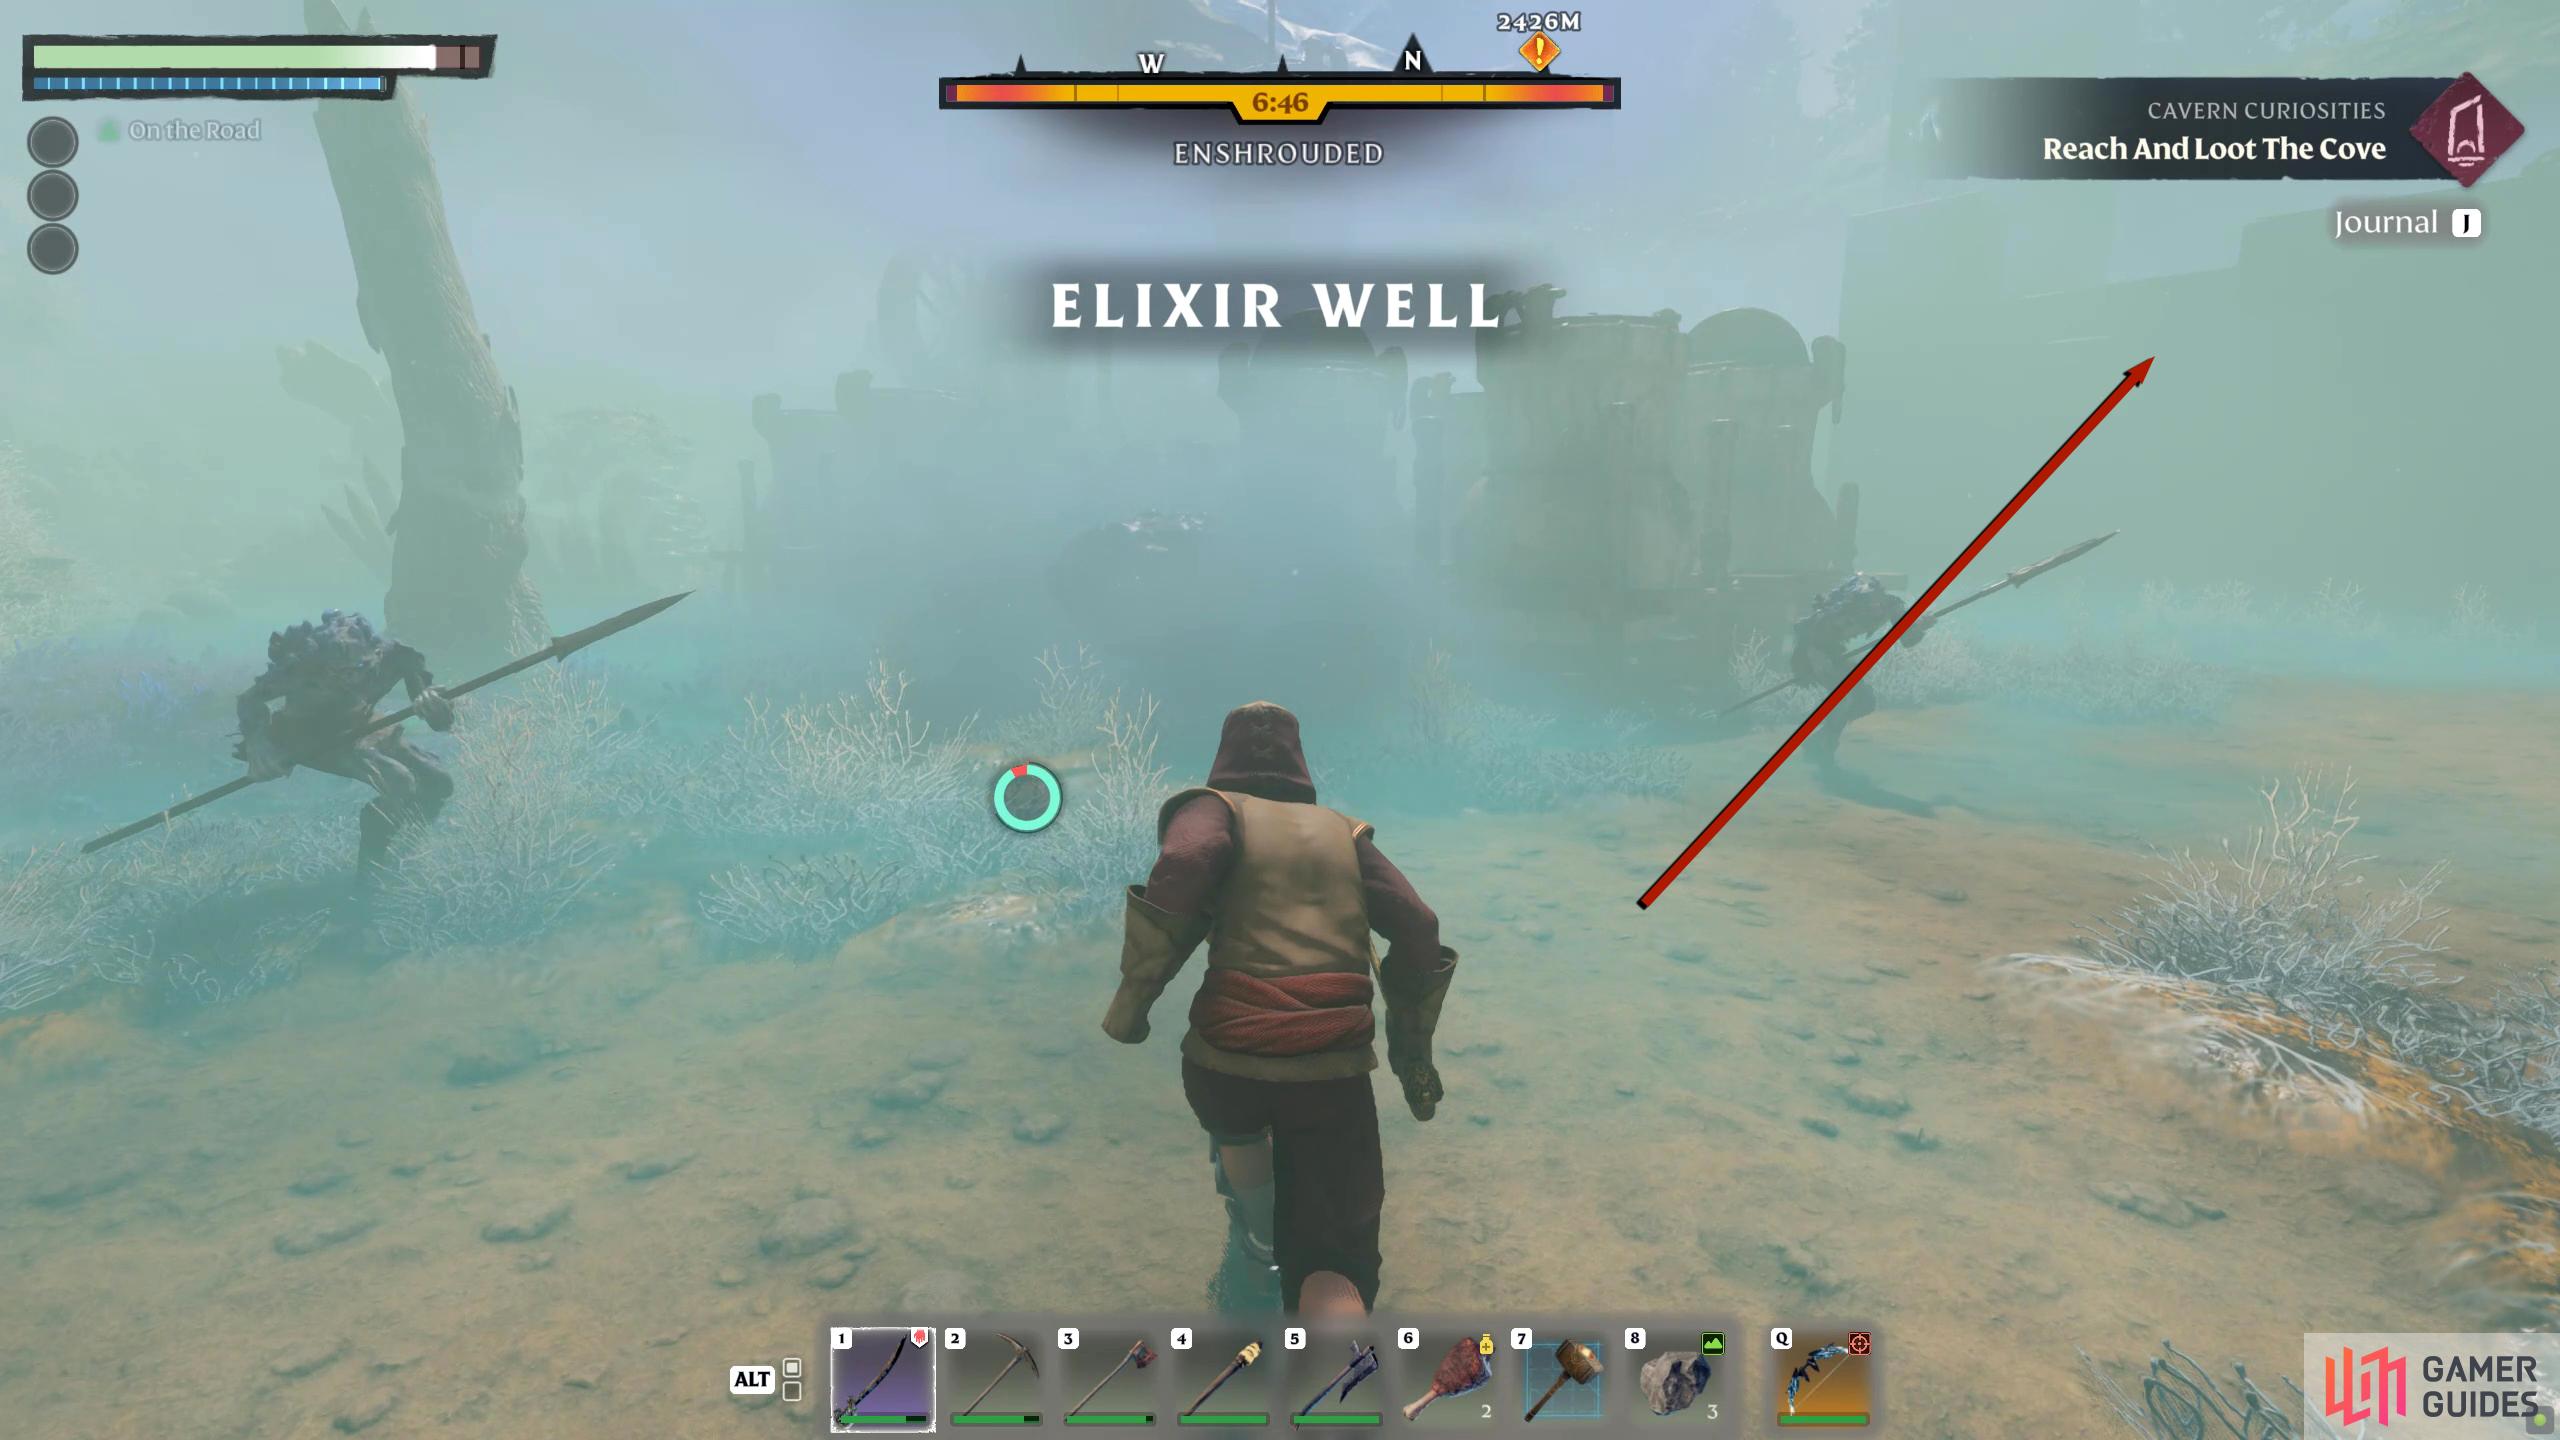
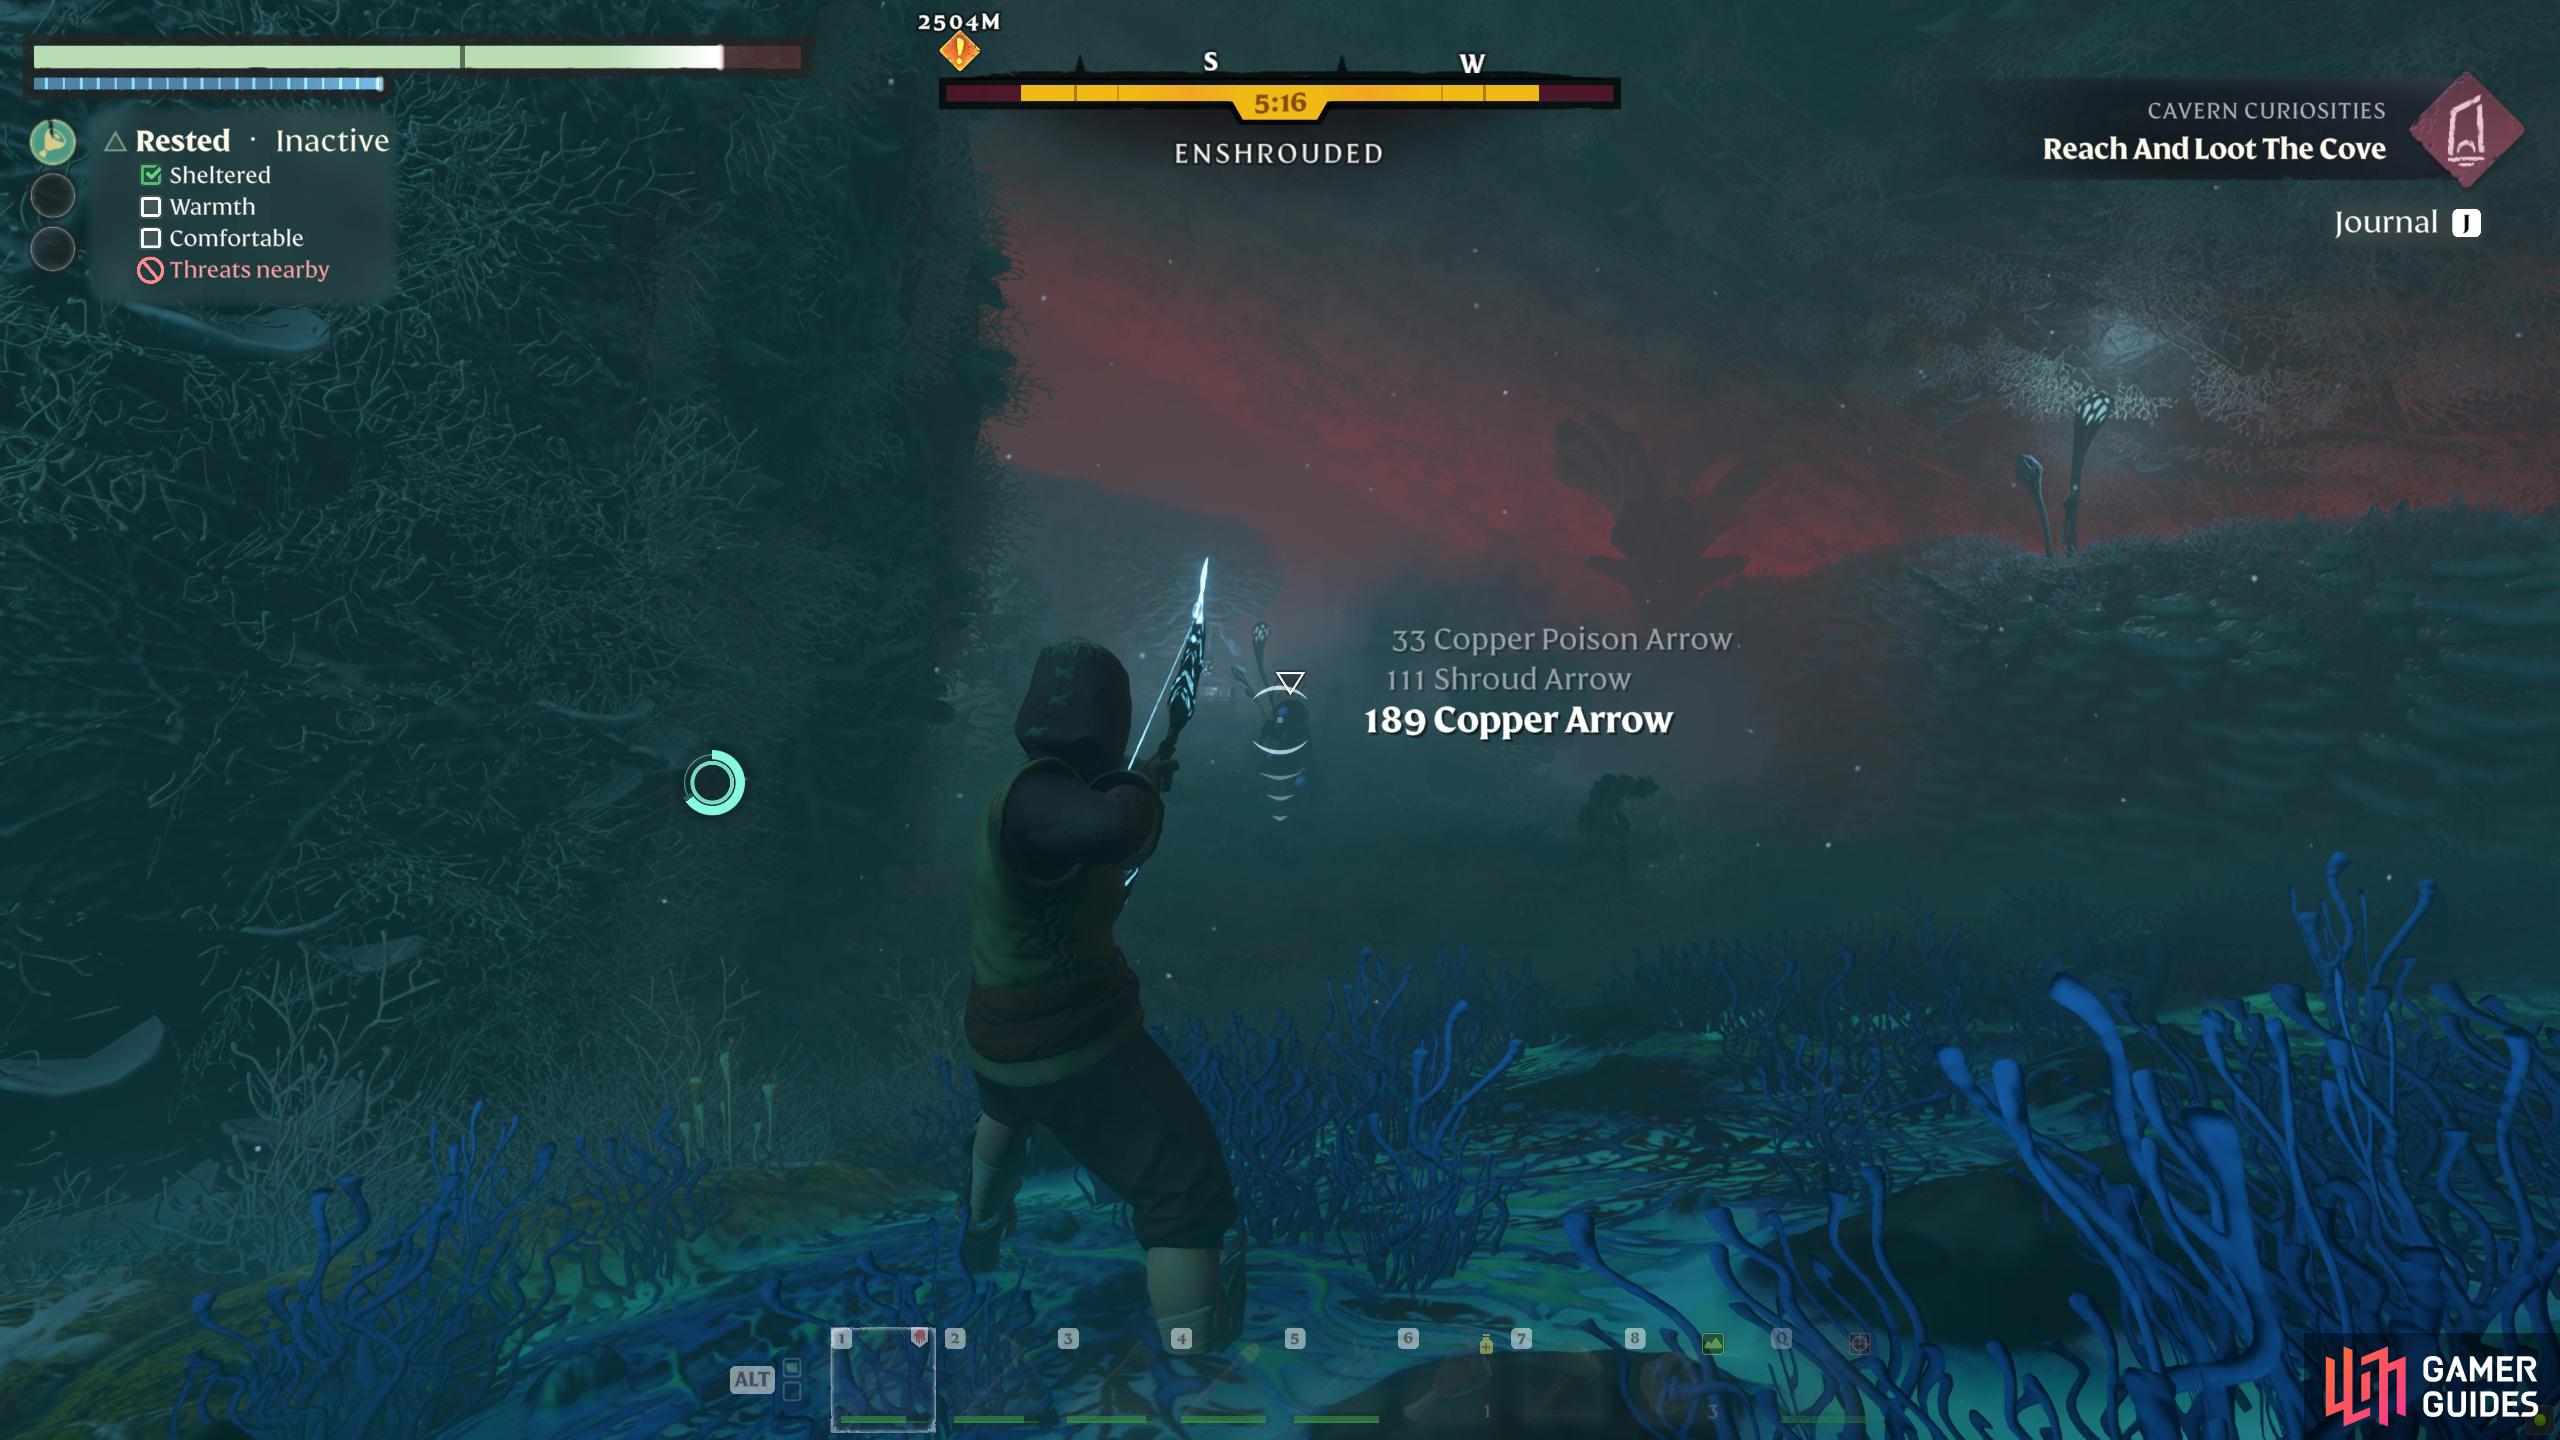
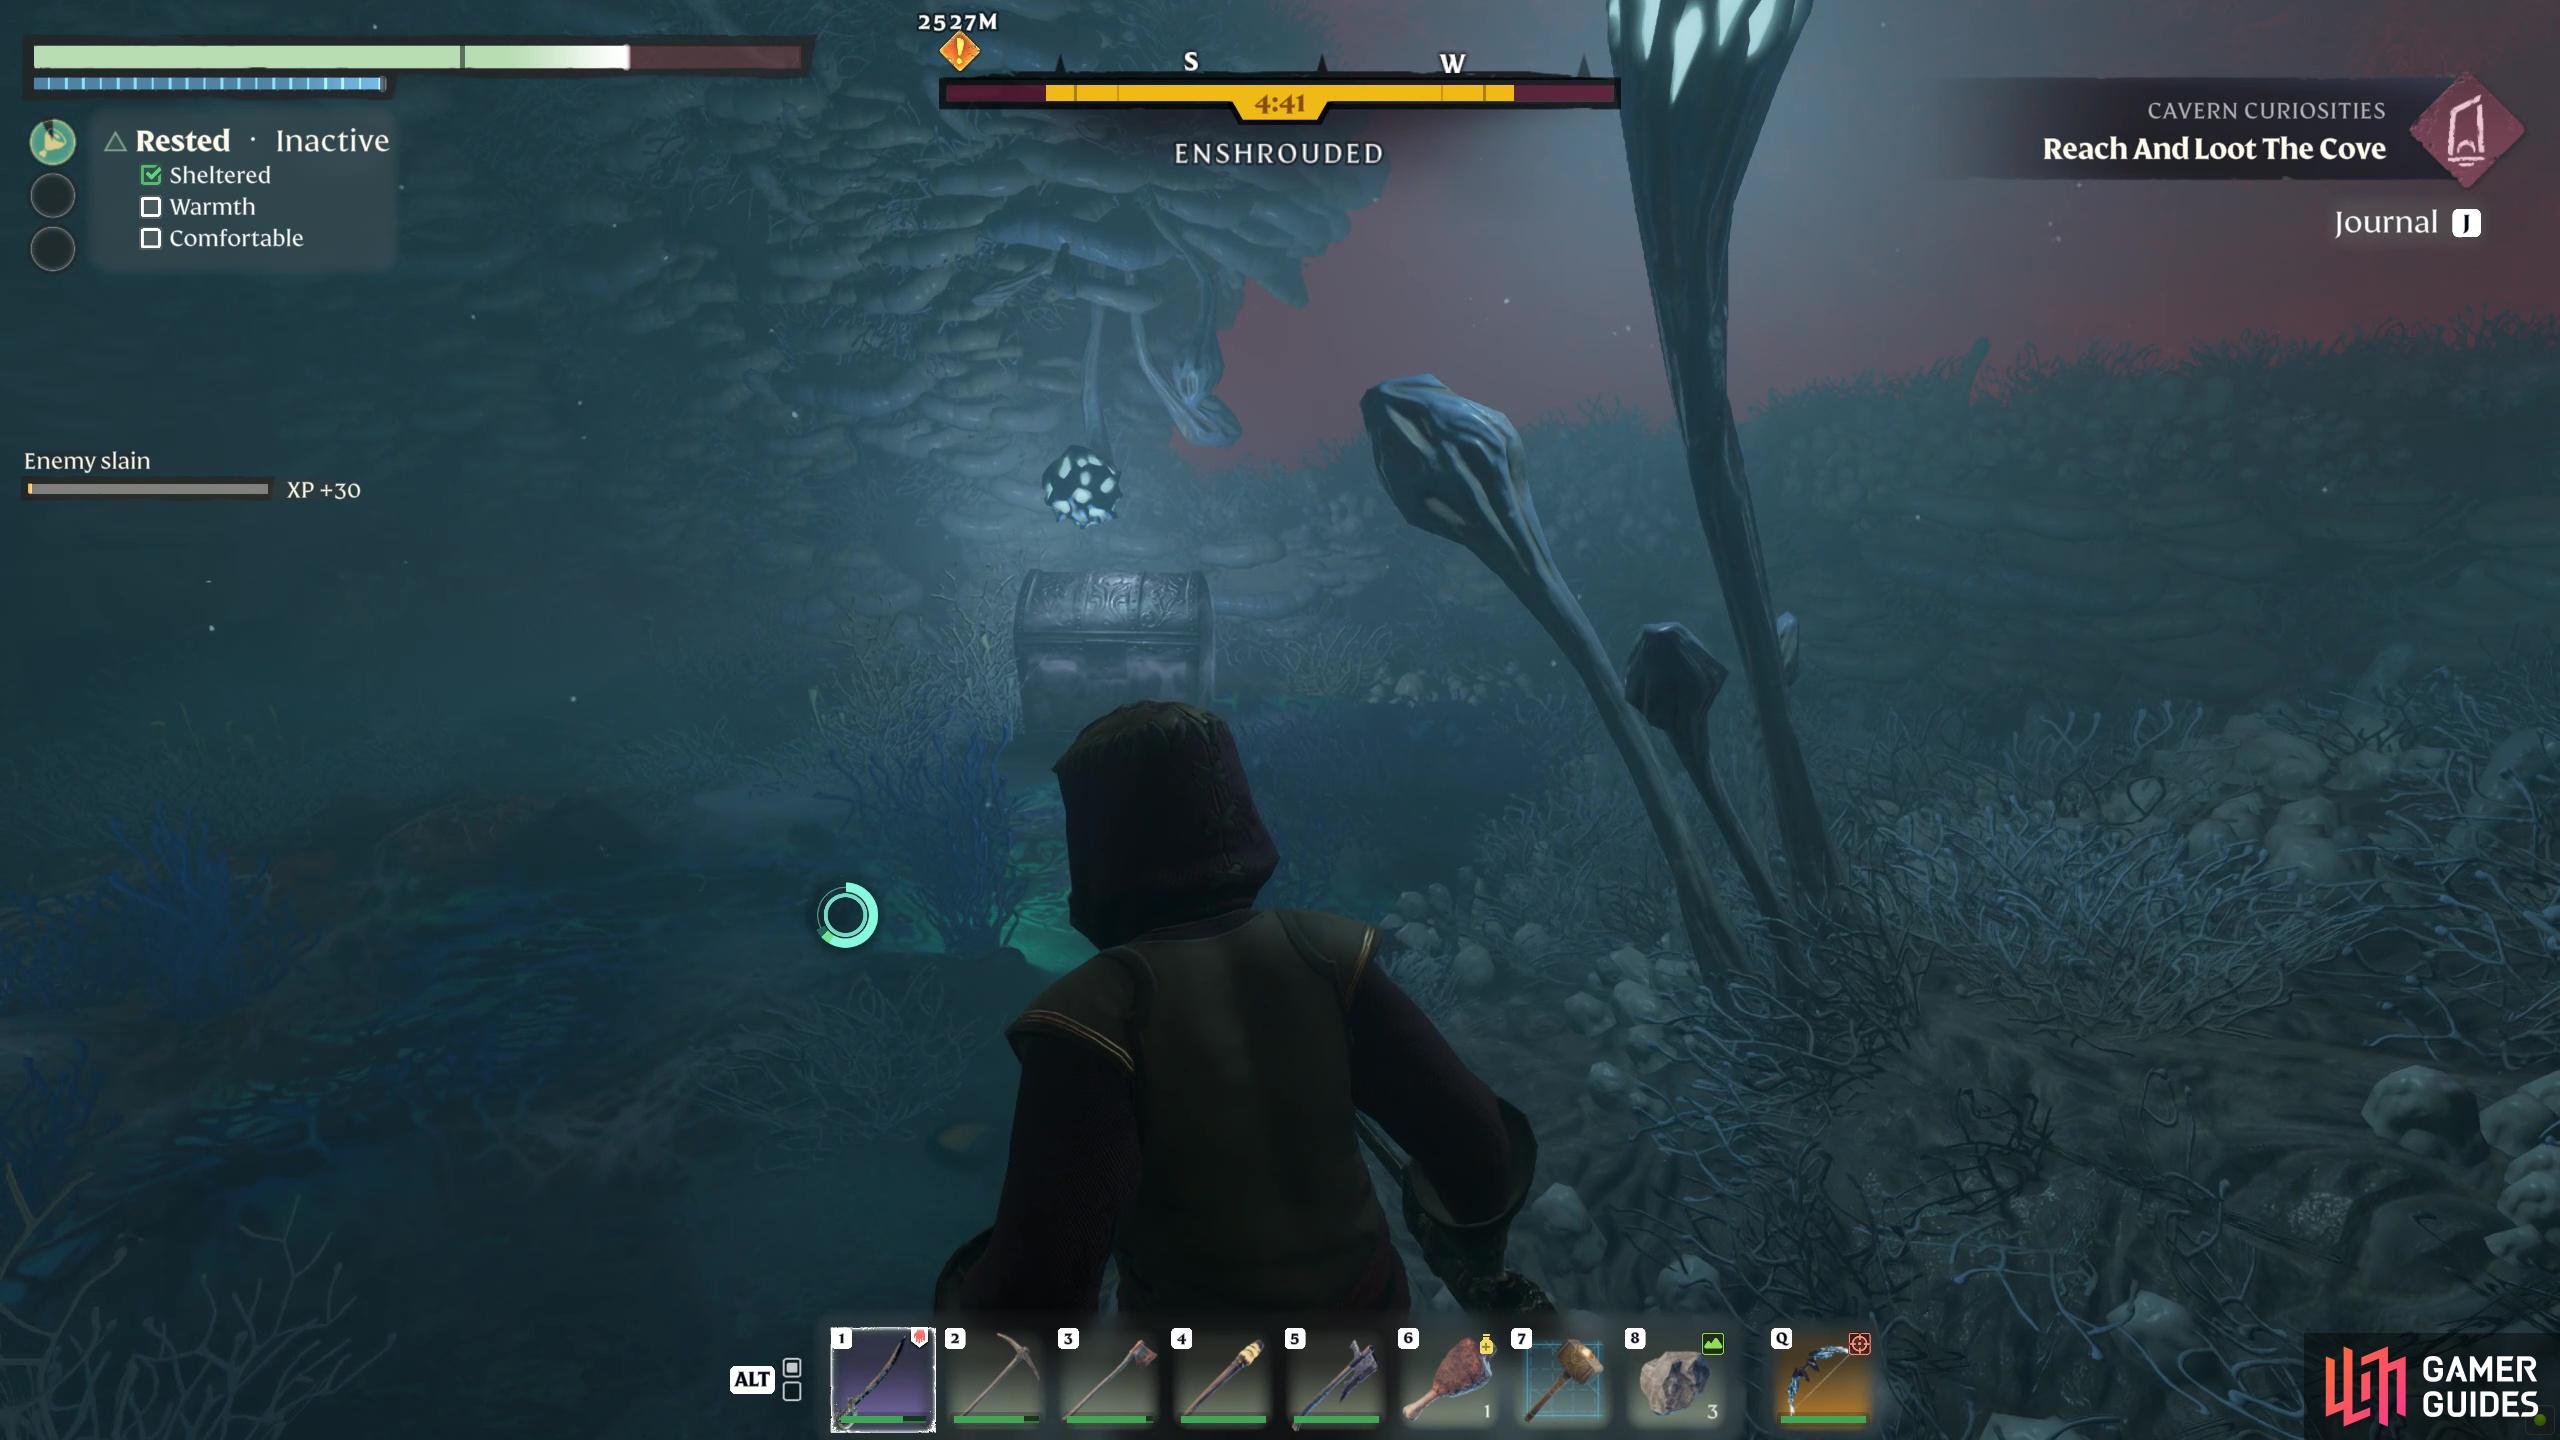
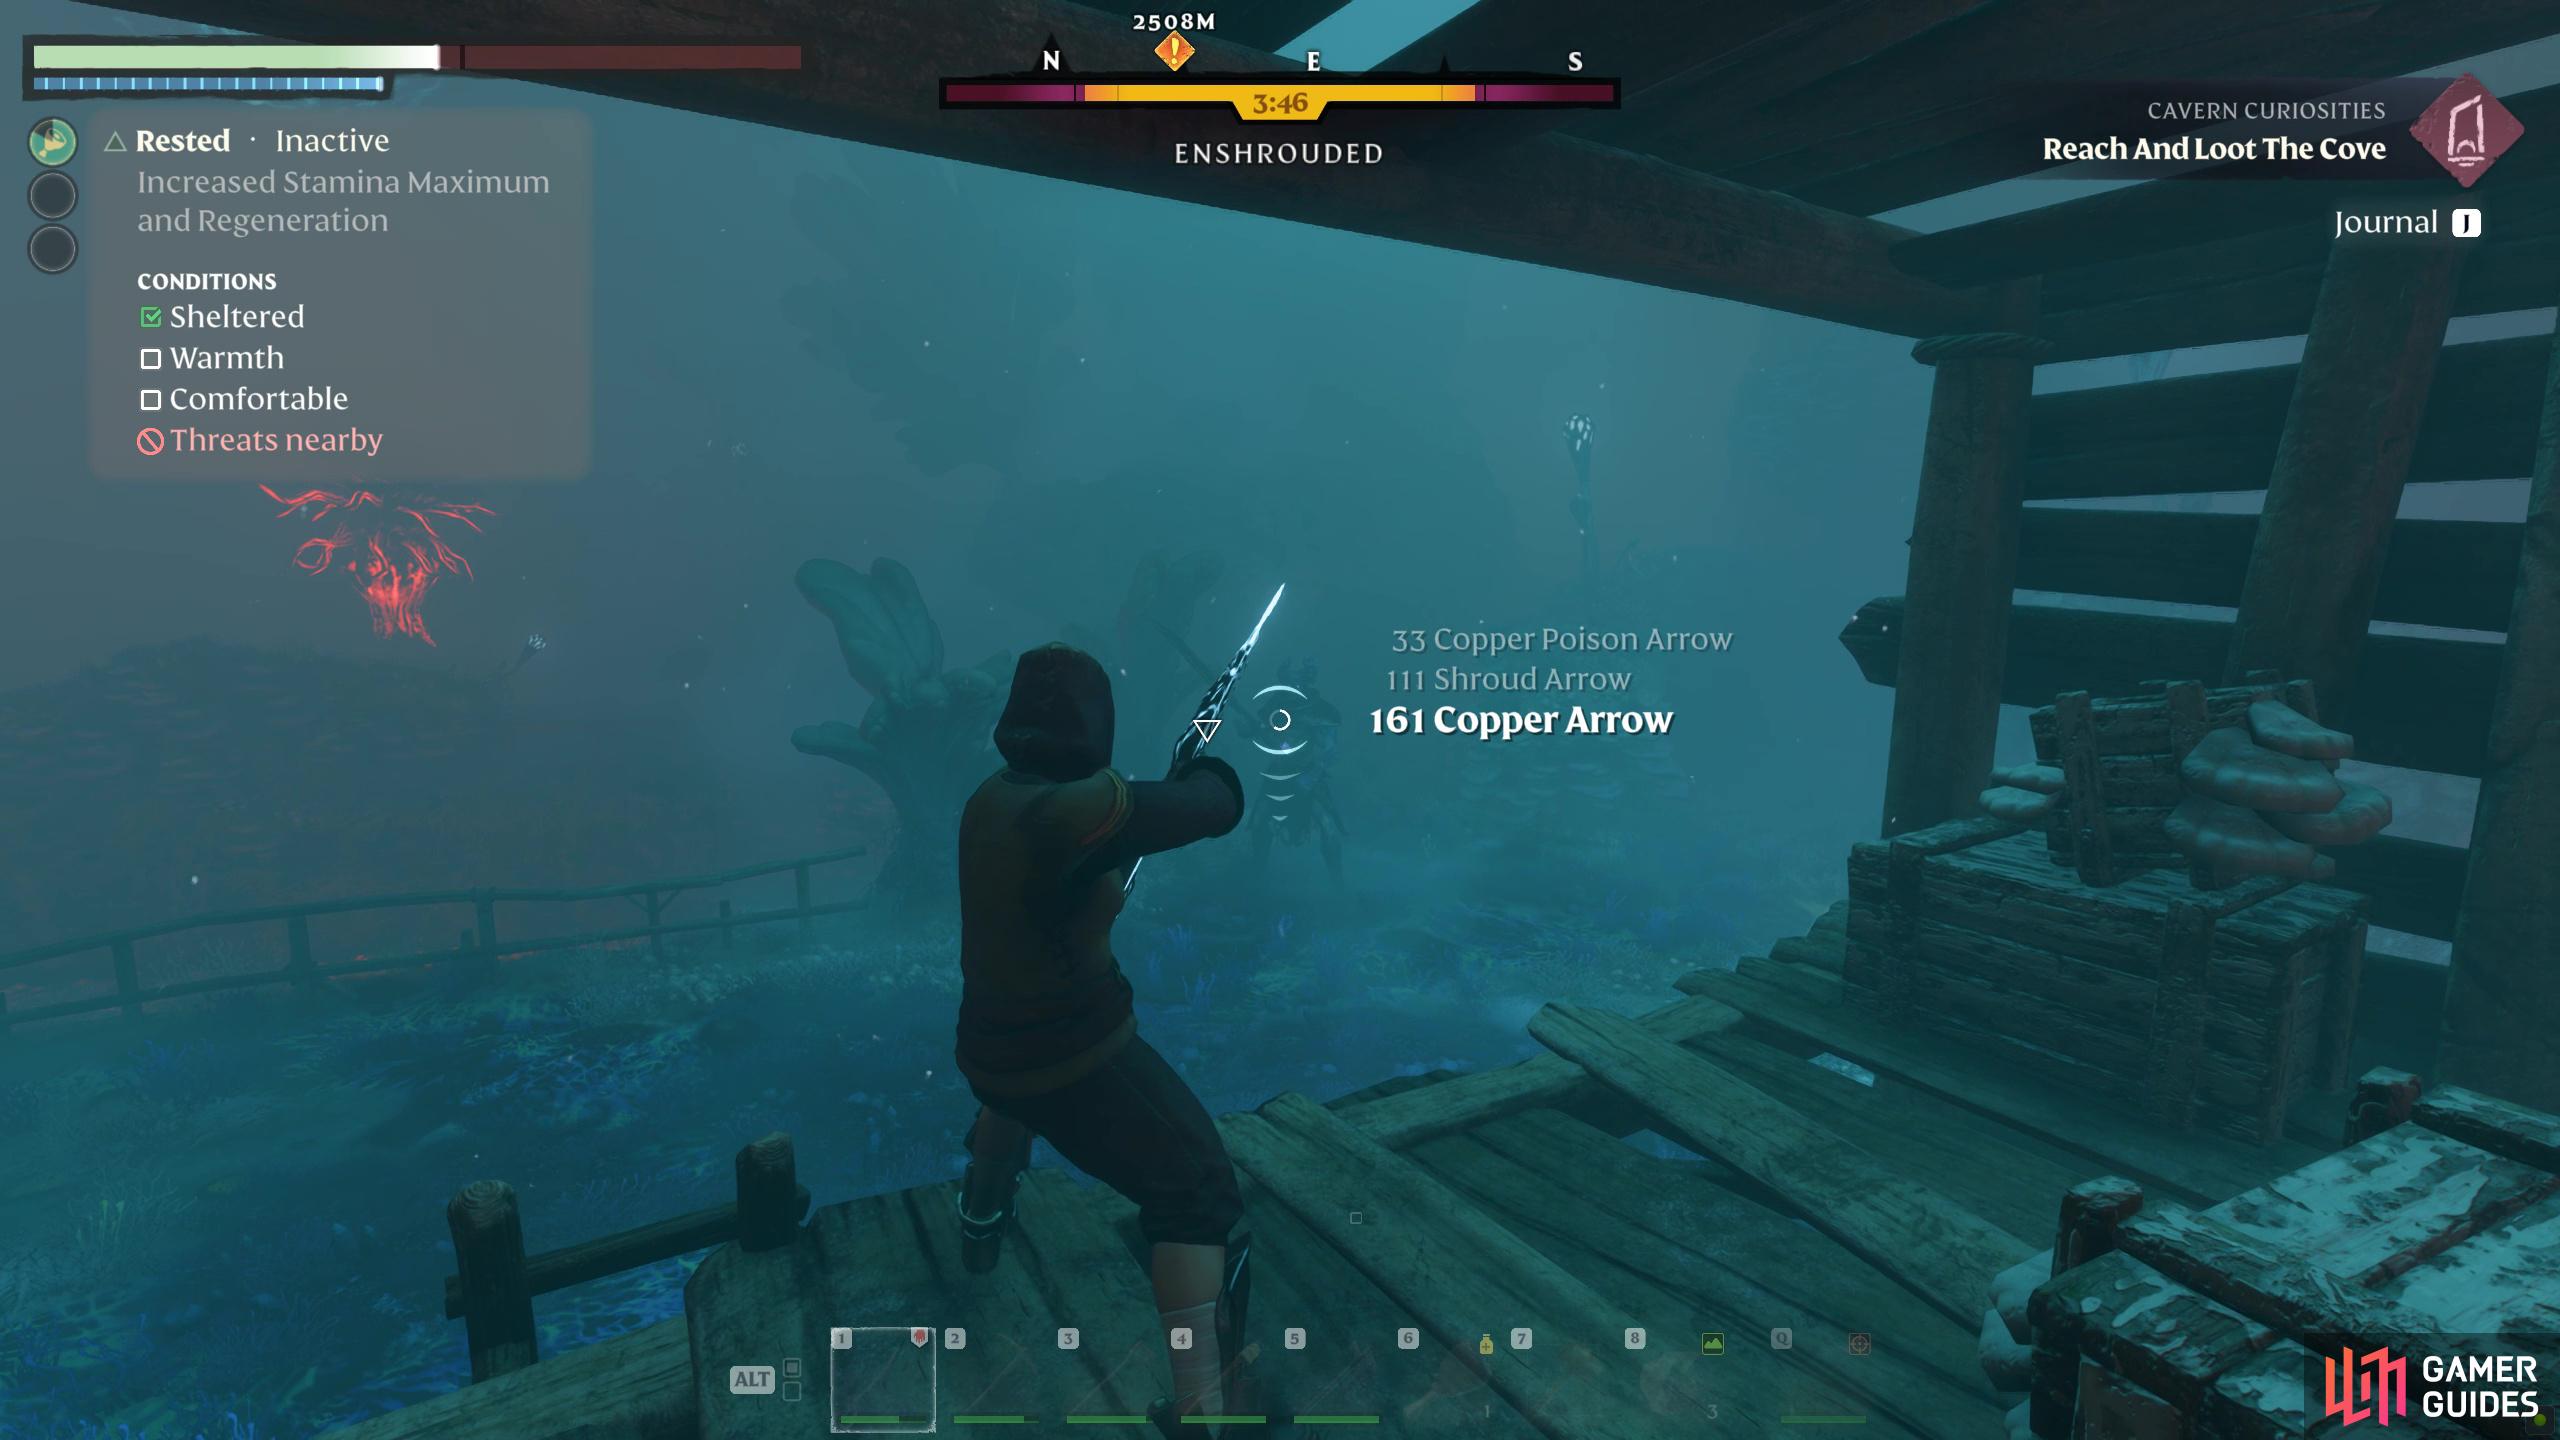
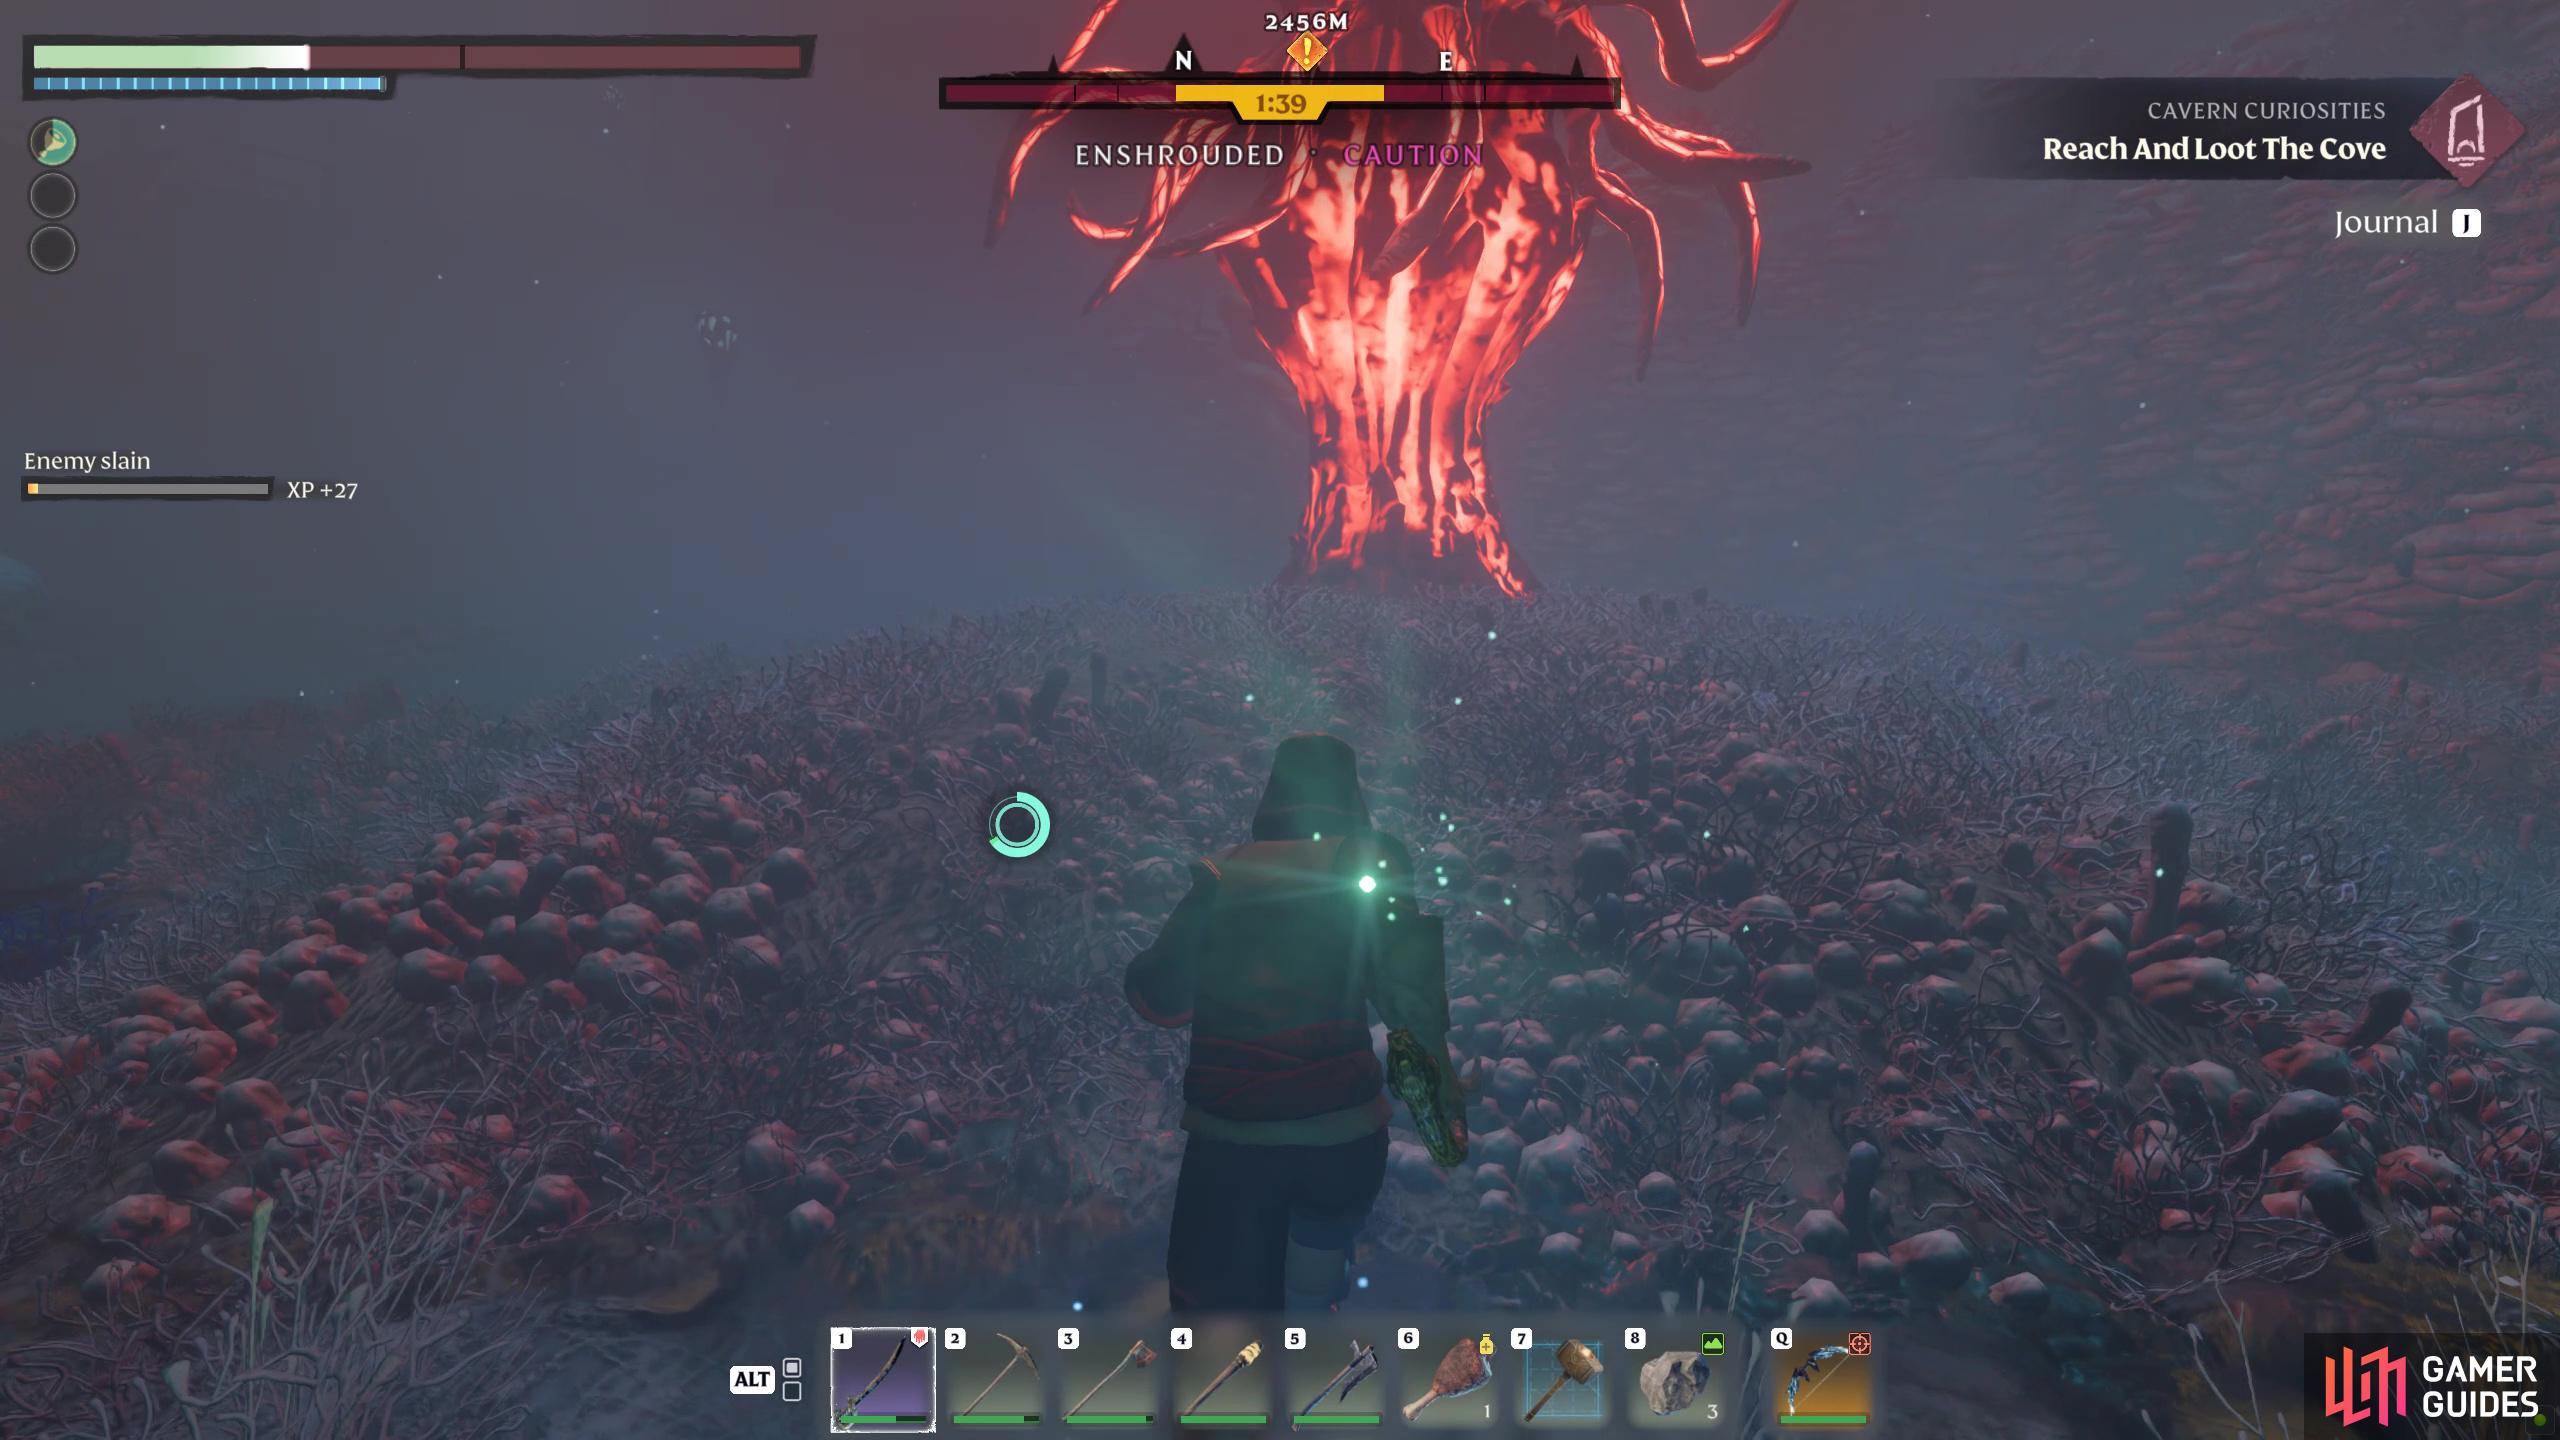
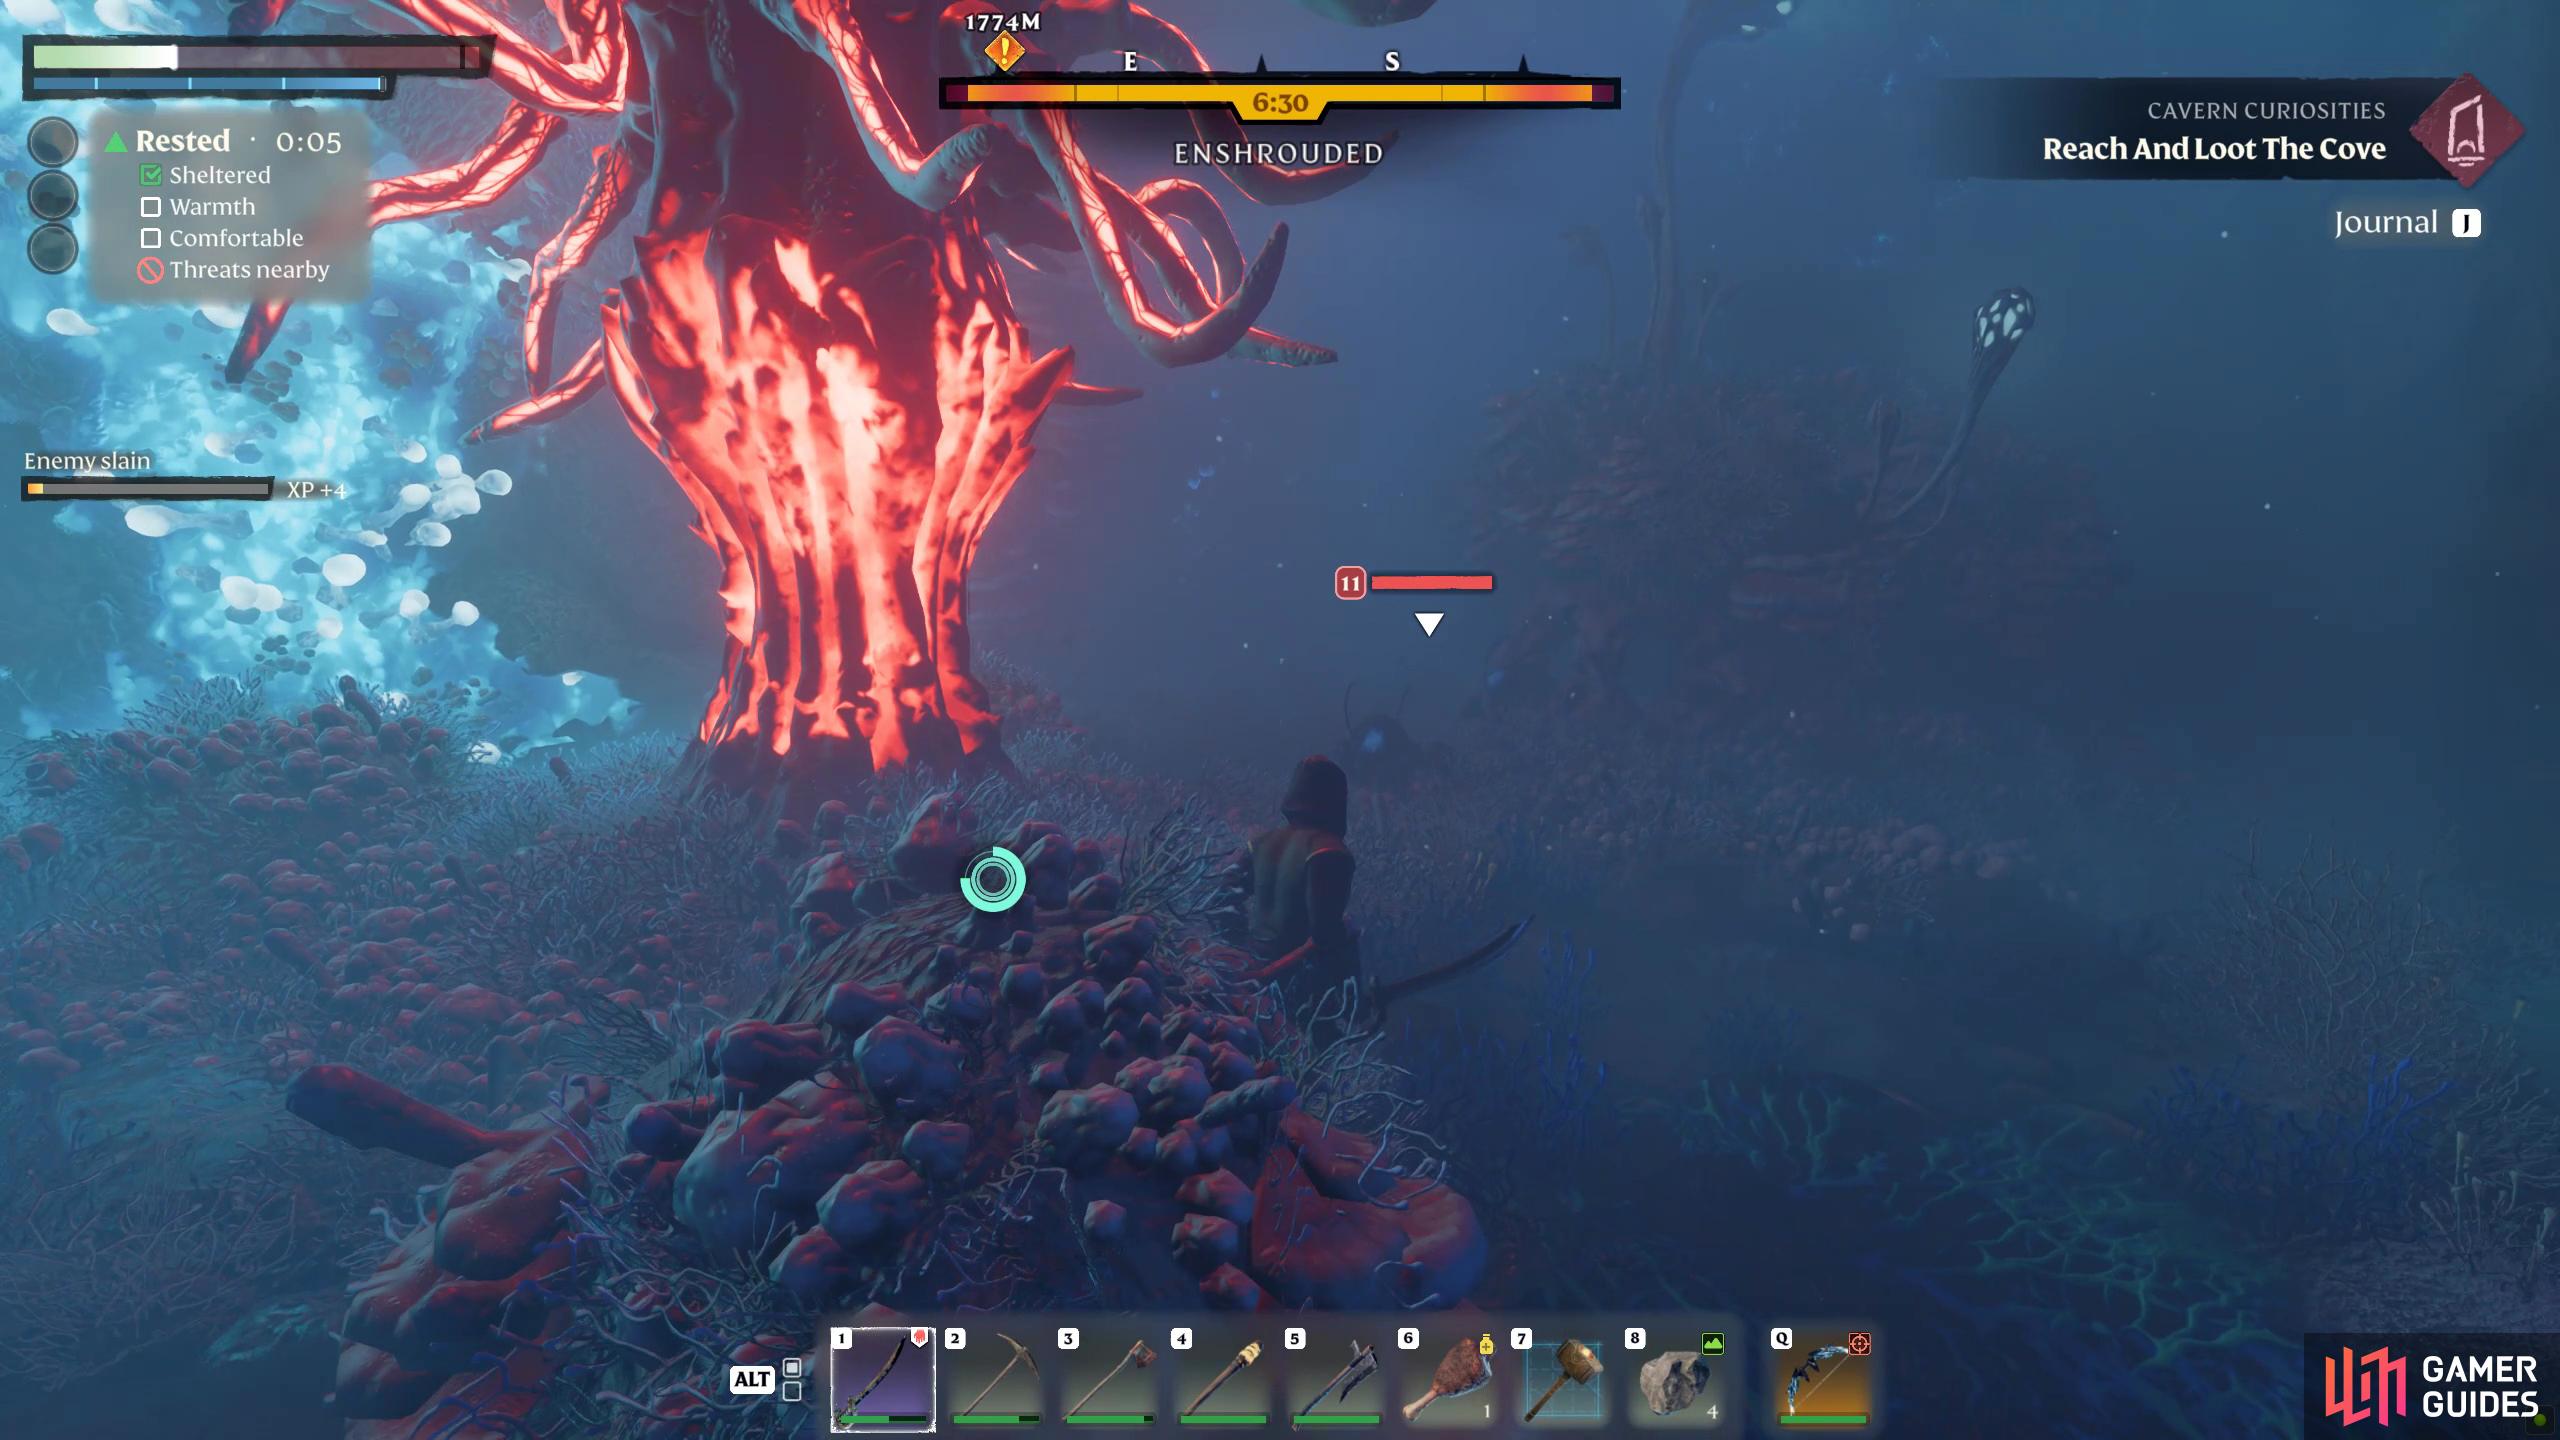
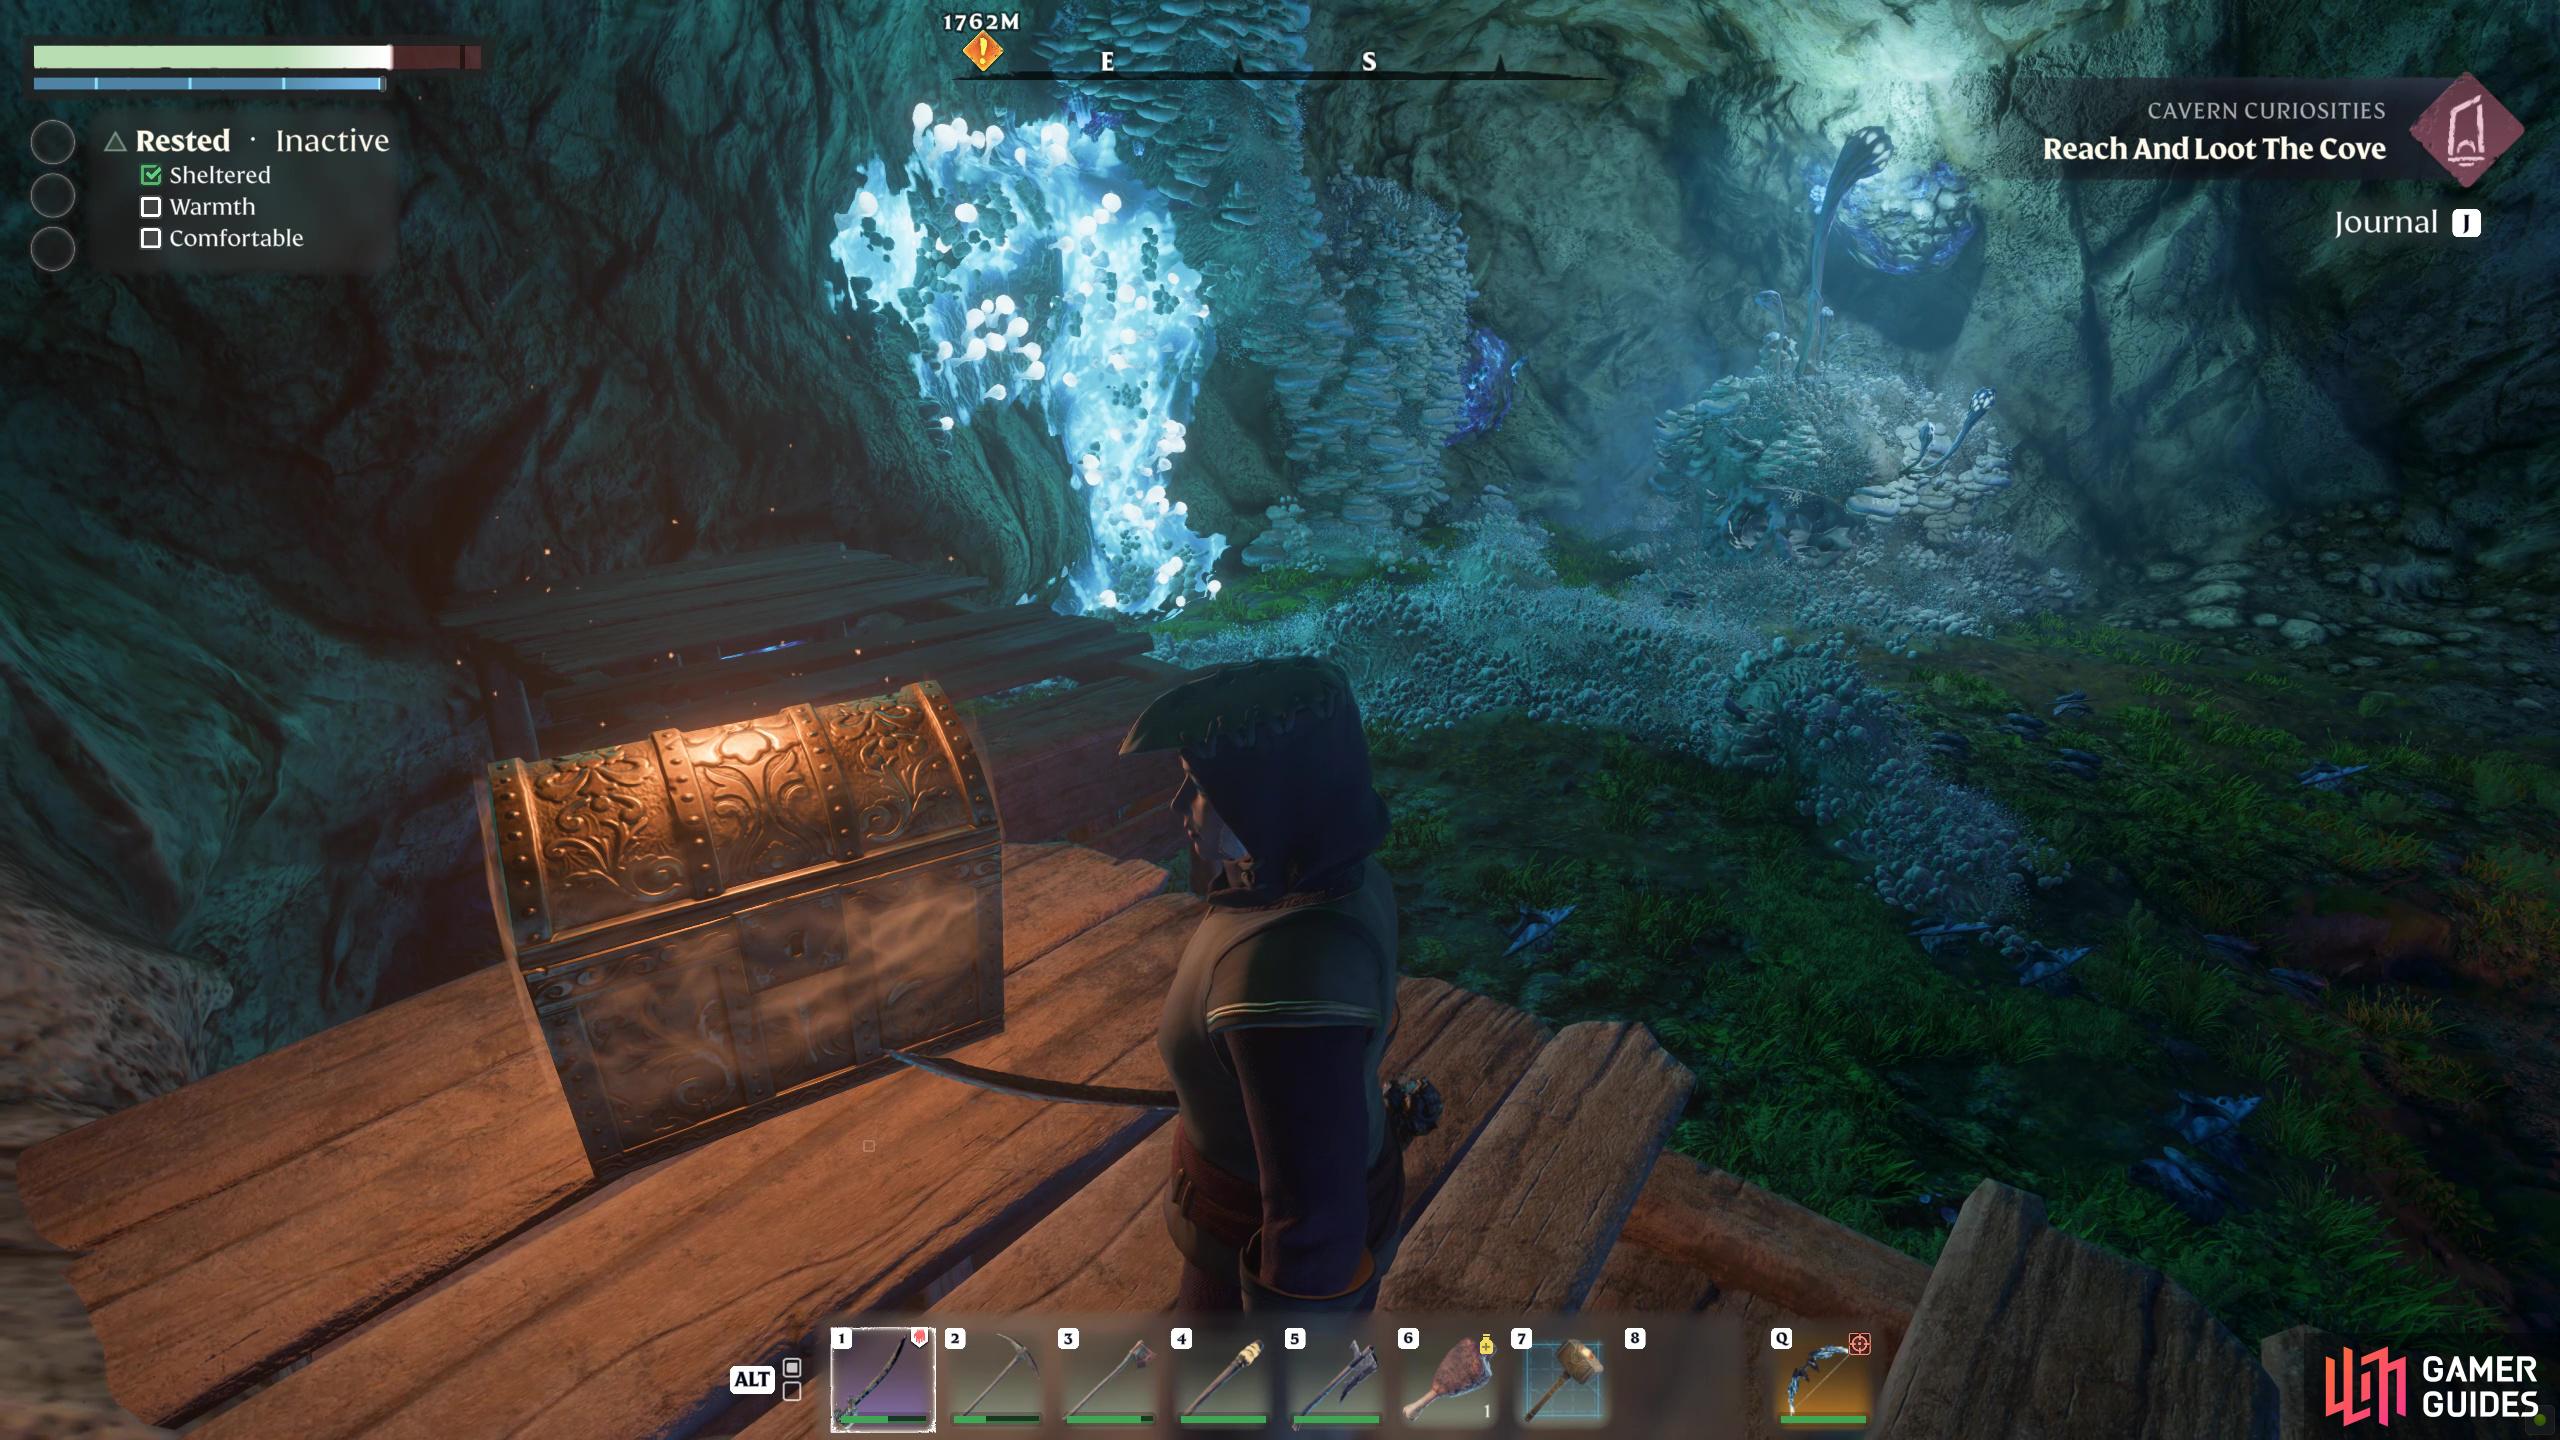
At the bottom, head around the corner to the southeast for a chest, and then head through the archway to the southwest, and you should see the large glowing Shroud Root at the back of the room. Now, all you need to do is chop it down with your felling axe, but you’ll need to defeat the Fell Thunderhead Brute “boss” who is guarding it. At first, these are difficult enemies, but once you realize they only have two attacks, they’re relatively easy. Both combos end with a slamming attack that sends out a shockwave, so bait out the attacks, run behind them, and use a few attacks on their backs, but don’t get too greedy. Continue using this method, and they’ll be down in no time. Note, you don’t have to defeat the enemies/bosses in the Wells to destroy the Shroud Root, but they will attack you while you’re chopping it down, so it is recommended you defeat them first. When the Well is complete, and you have the Skill Point, fast travel back to your base.
(1 of 4) At the bottom of the Well, head around the corner to your left for a chest.
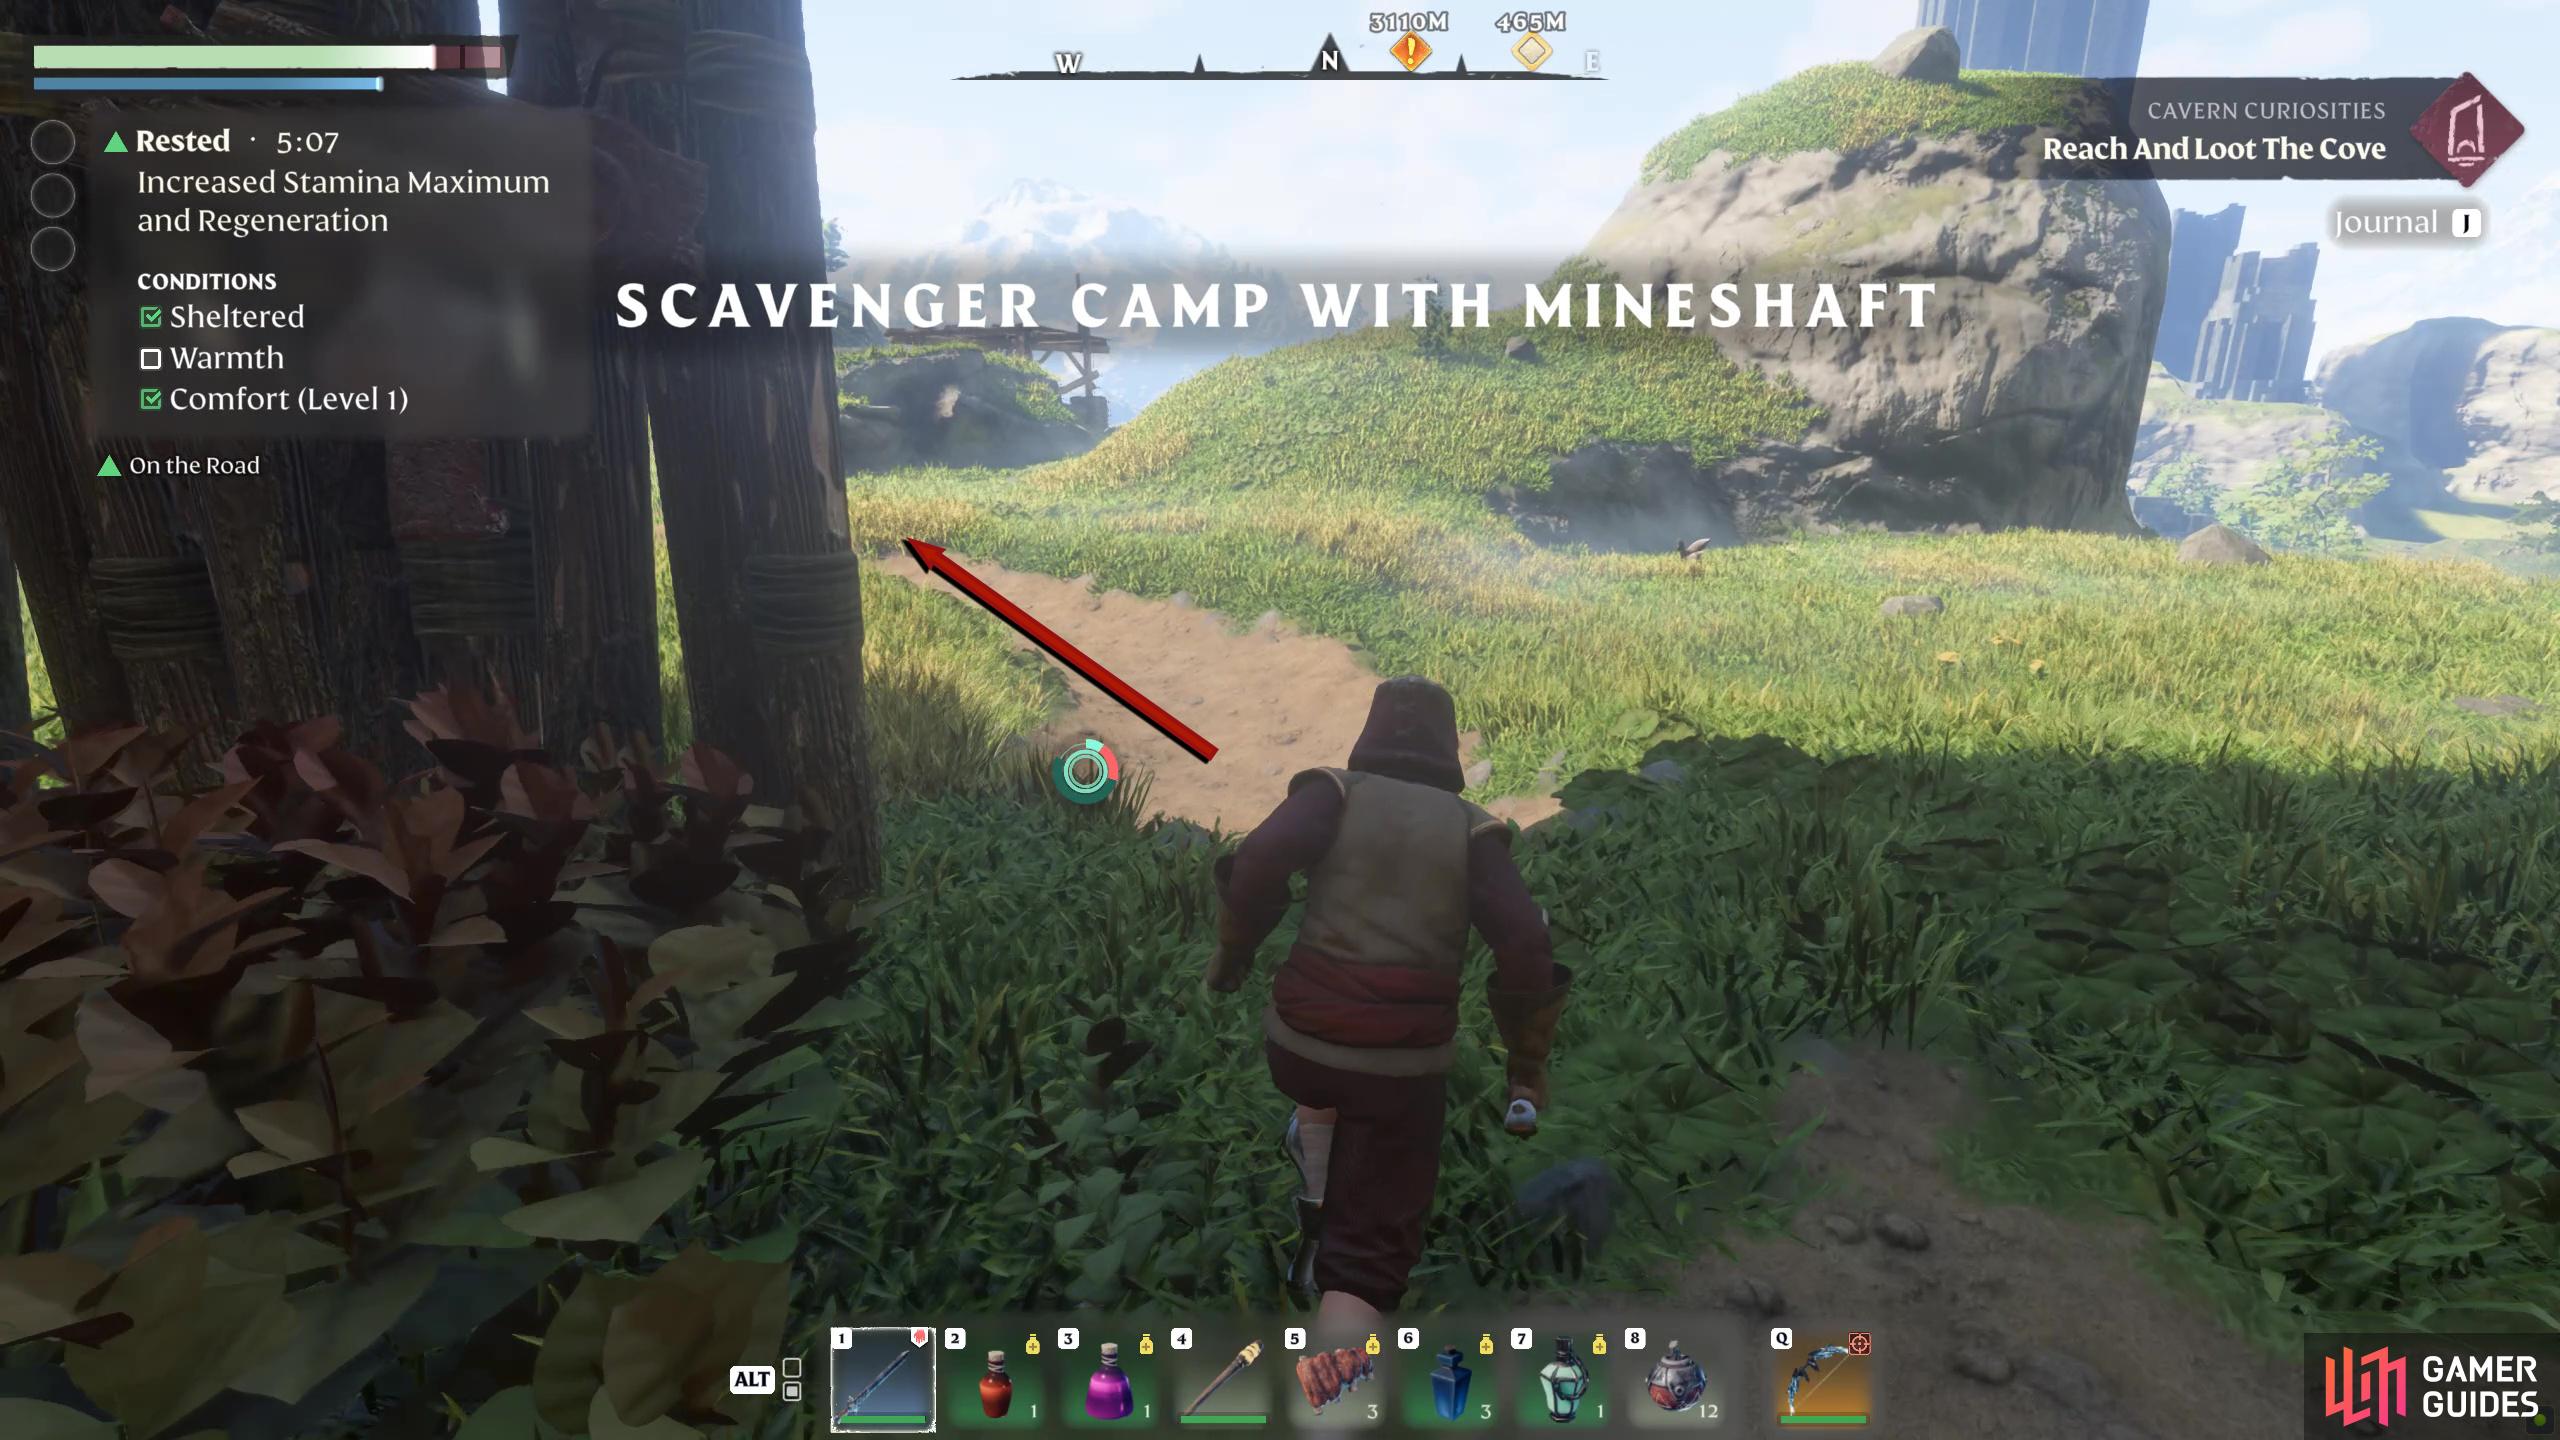
Elixir Well 2 - Southwest of Braelyn Bridge
The second Elixir Well requires more work to reach, as there isn’t a fast travel nearby except the starting base. Before you get started, make sure you have the Grappling Hook as you’ll need it. From the base, head northwest until you reach a wooden structure. It can be found to the west of Braelyn Bridge. When you get there, you’ll see a grappling point indicated with an 
(1 of 4) The second Elixir Well can be found southwest of Braelyn Bridge, west of the starting base.
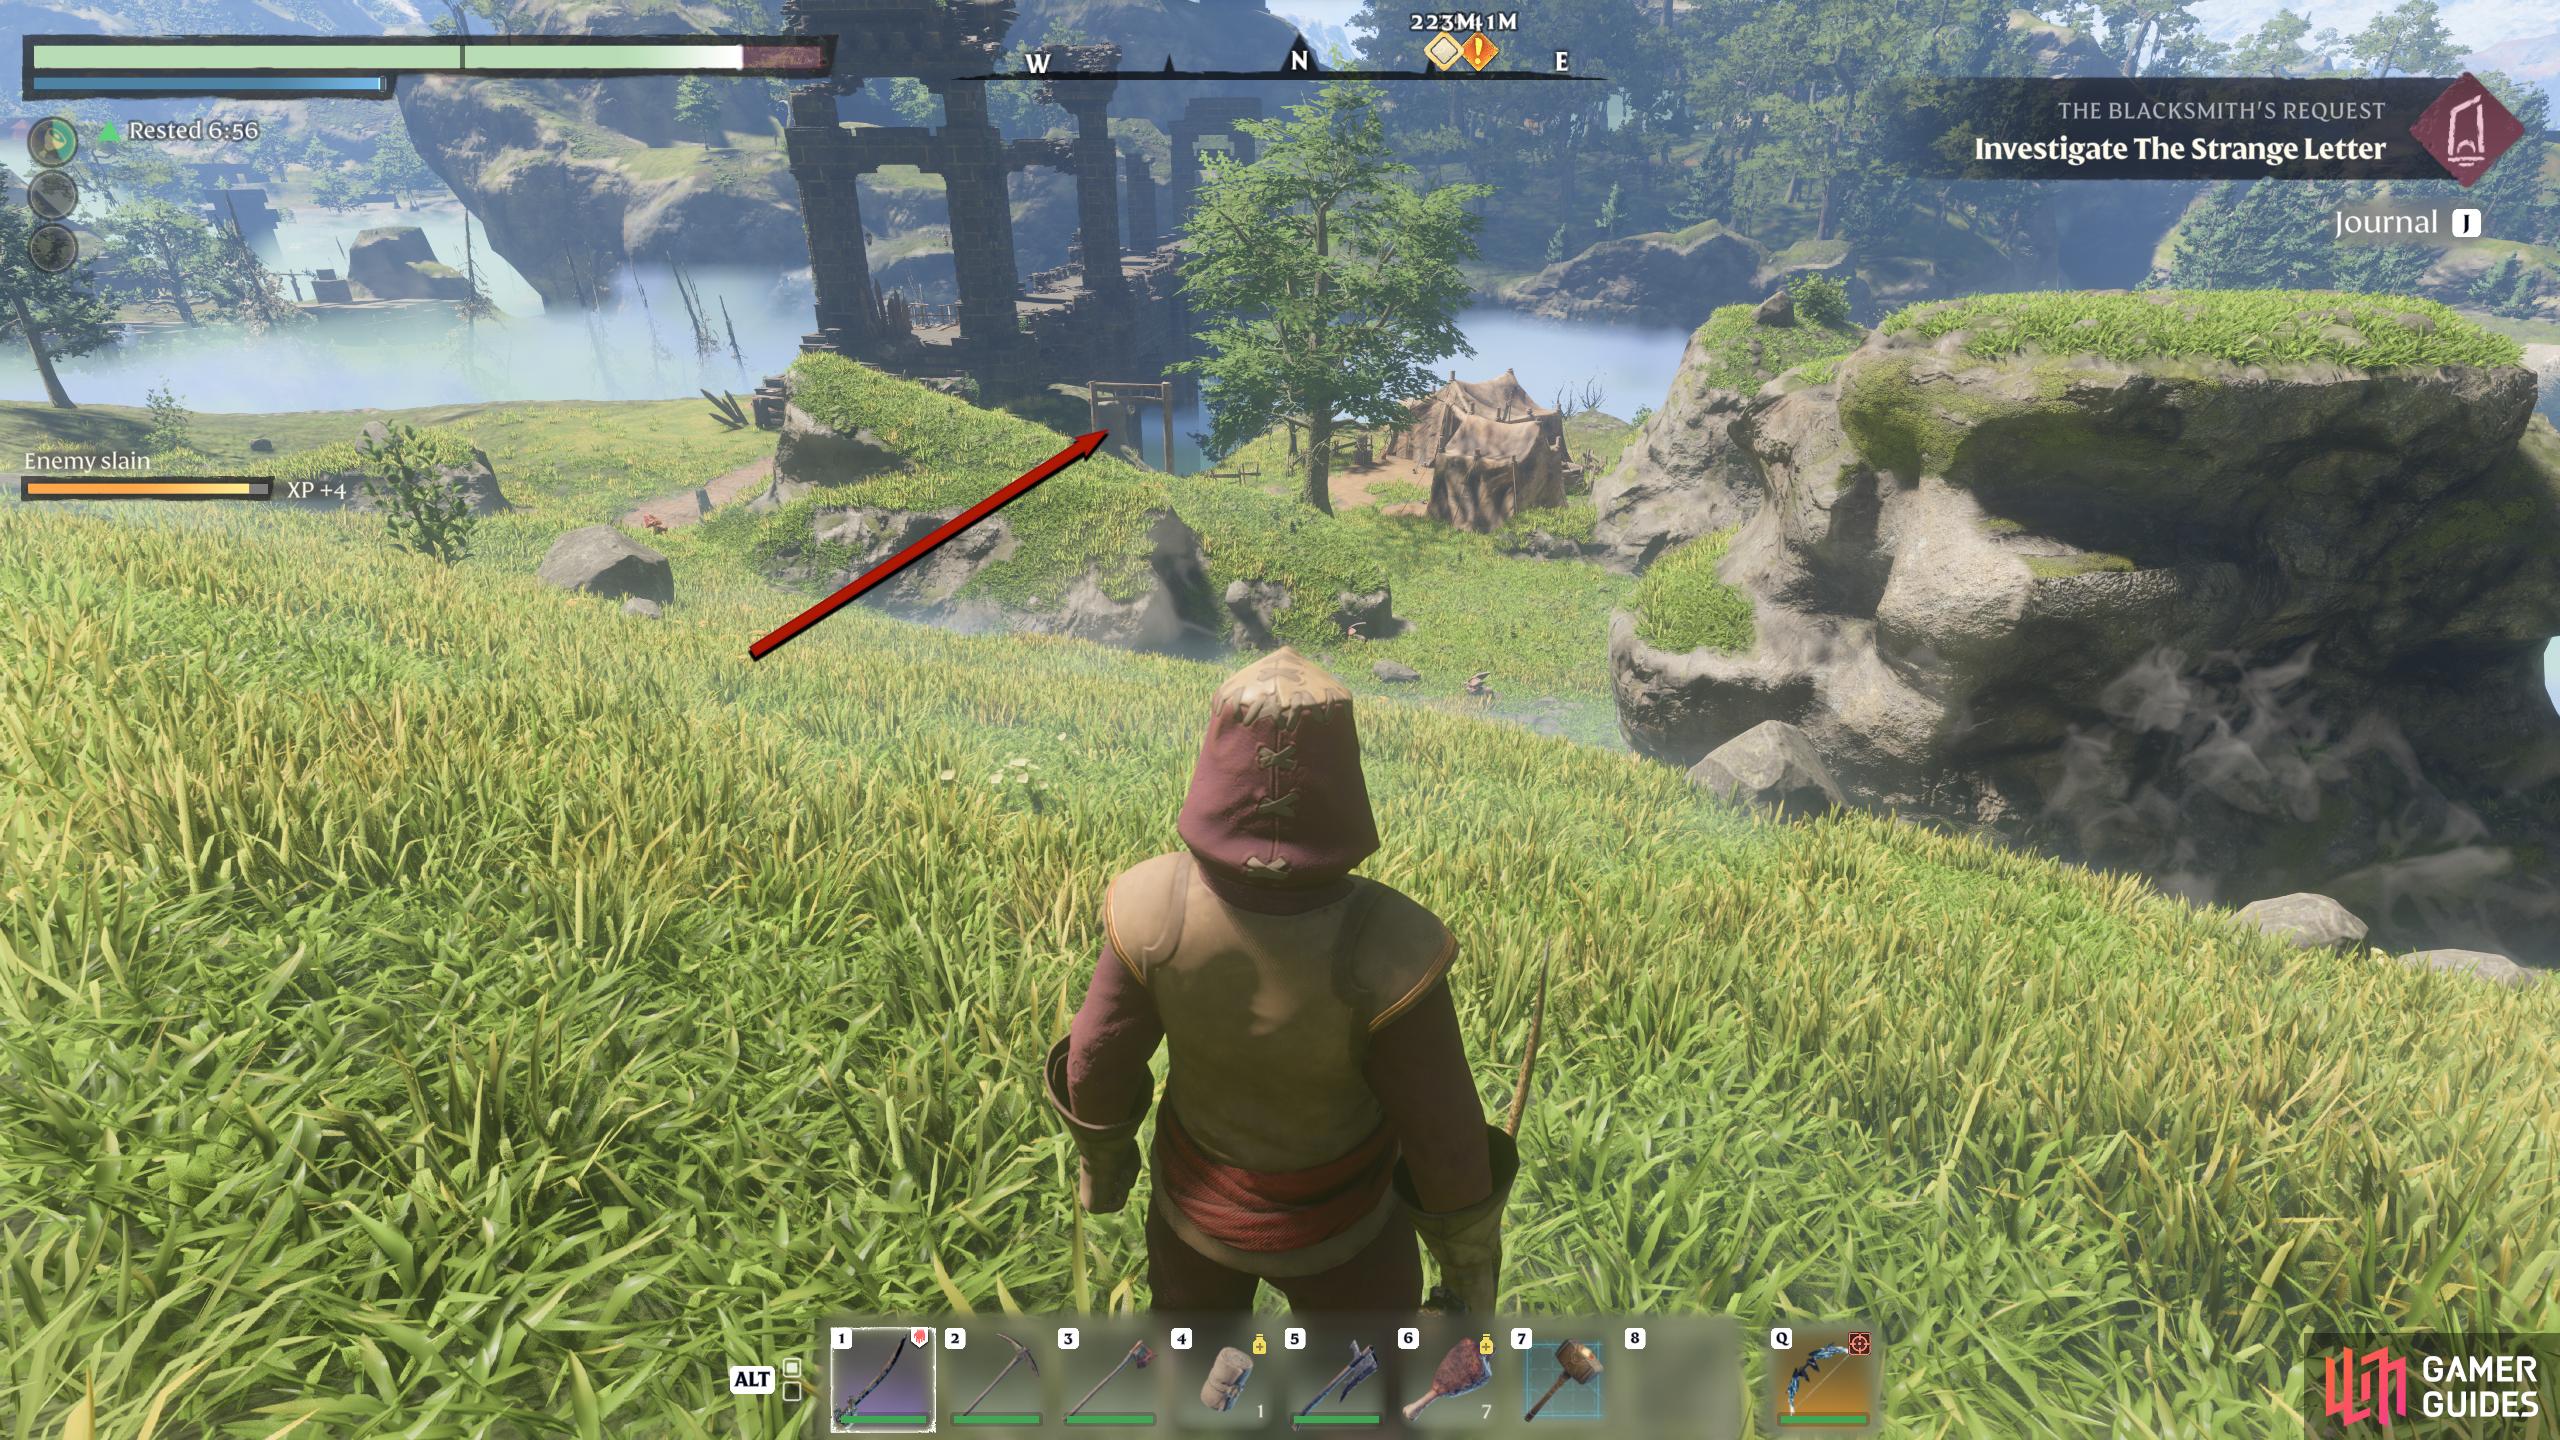
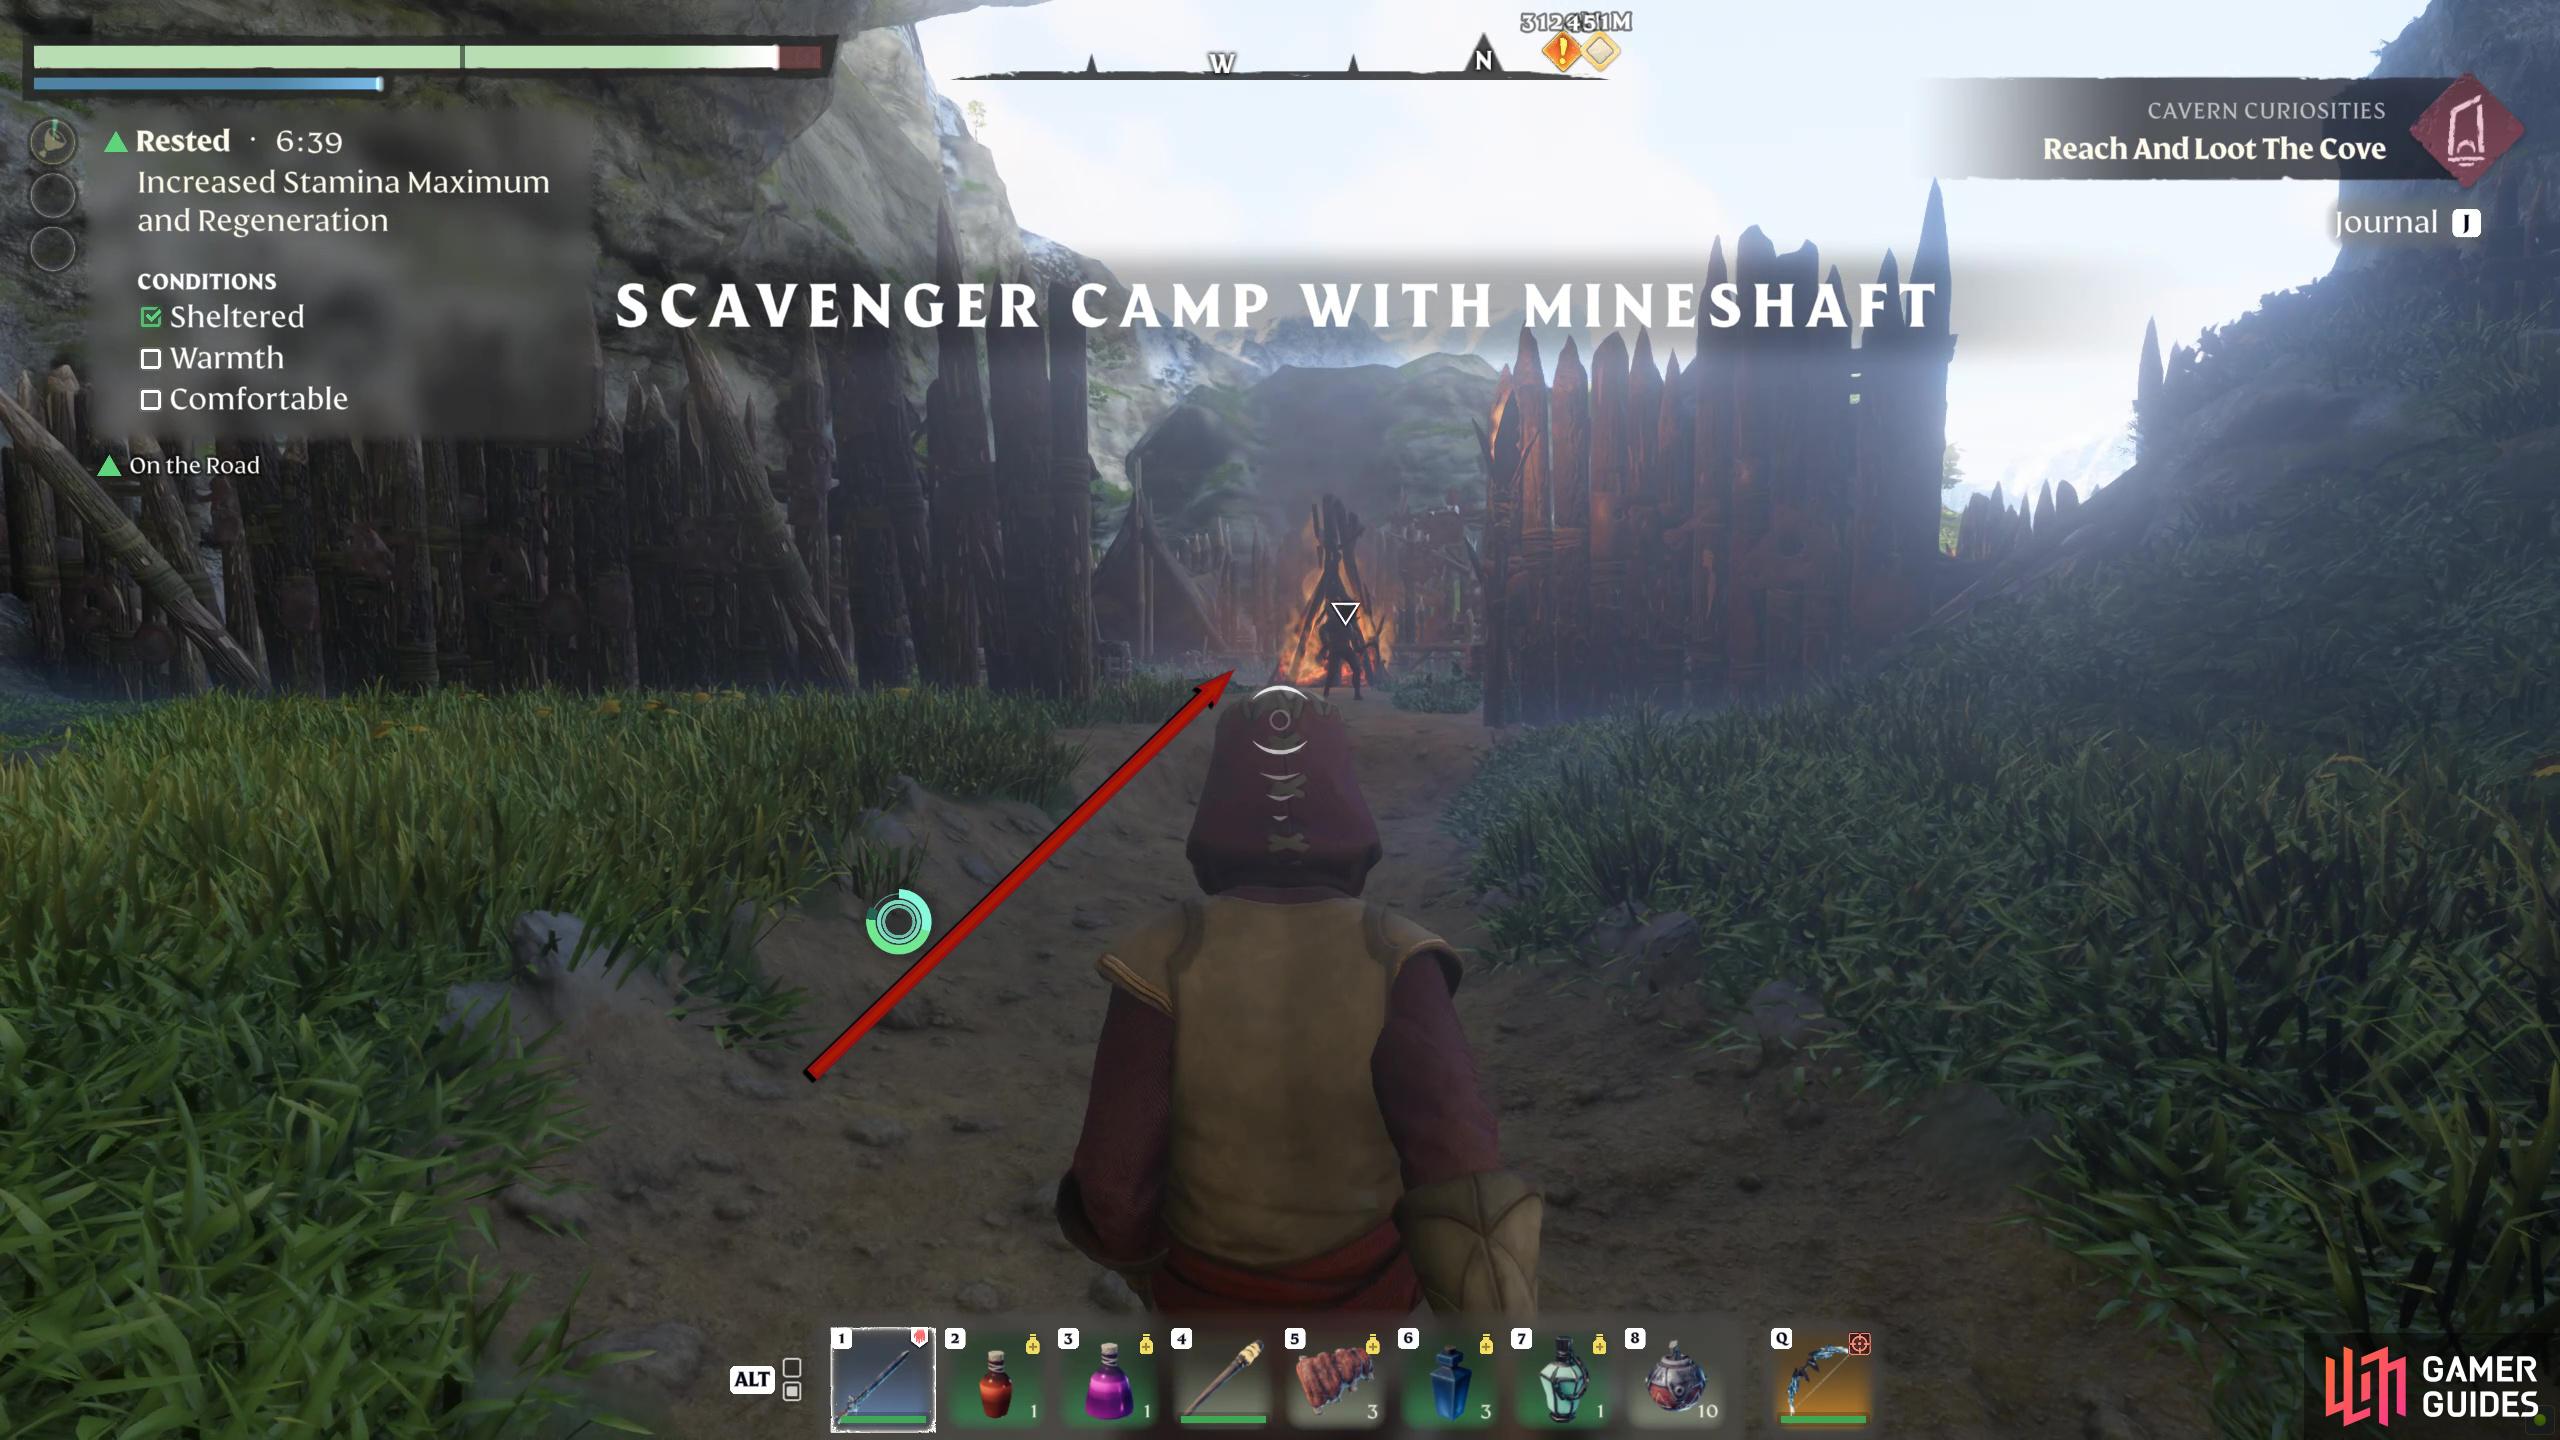
Go around the nearby building and follow the dusty path west, ignoring the path at the intersection. This will take you to a small Scavenger Camp. Defeat the enemies and loot the place (a note on the table, and a chest to the left of it) as you pass through. Continue following the path west once again ignoring the path at the intersection, and when you pass through the small canyon, turn south to find the Shroud in the distance, behind the boulder. Leave the path, run past the boulder, and go toward the Shroud. Keep heading south, and then southwest, and you will see the Shroud Root in the distance. Head toward the root, take out your axe and chop it down.
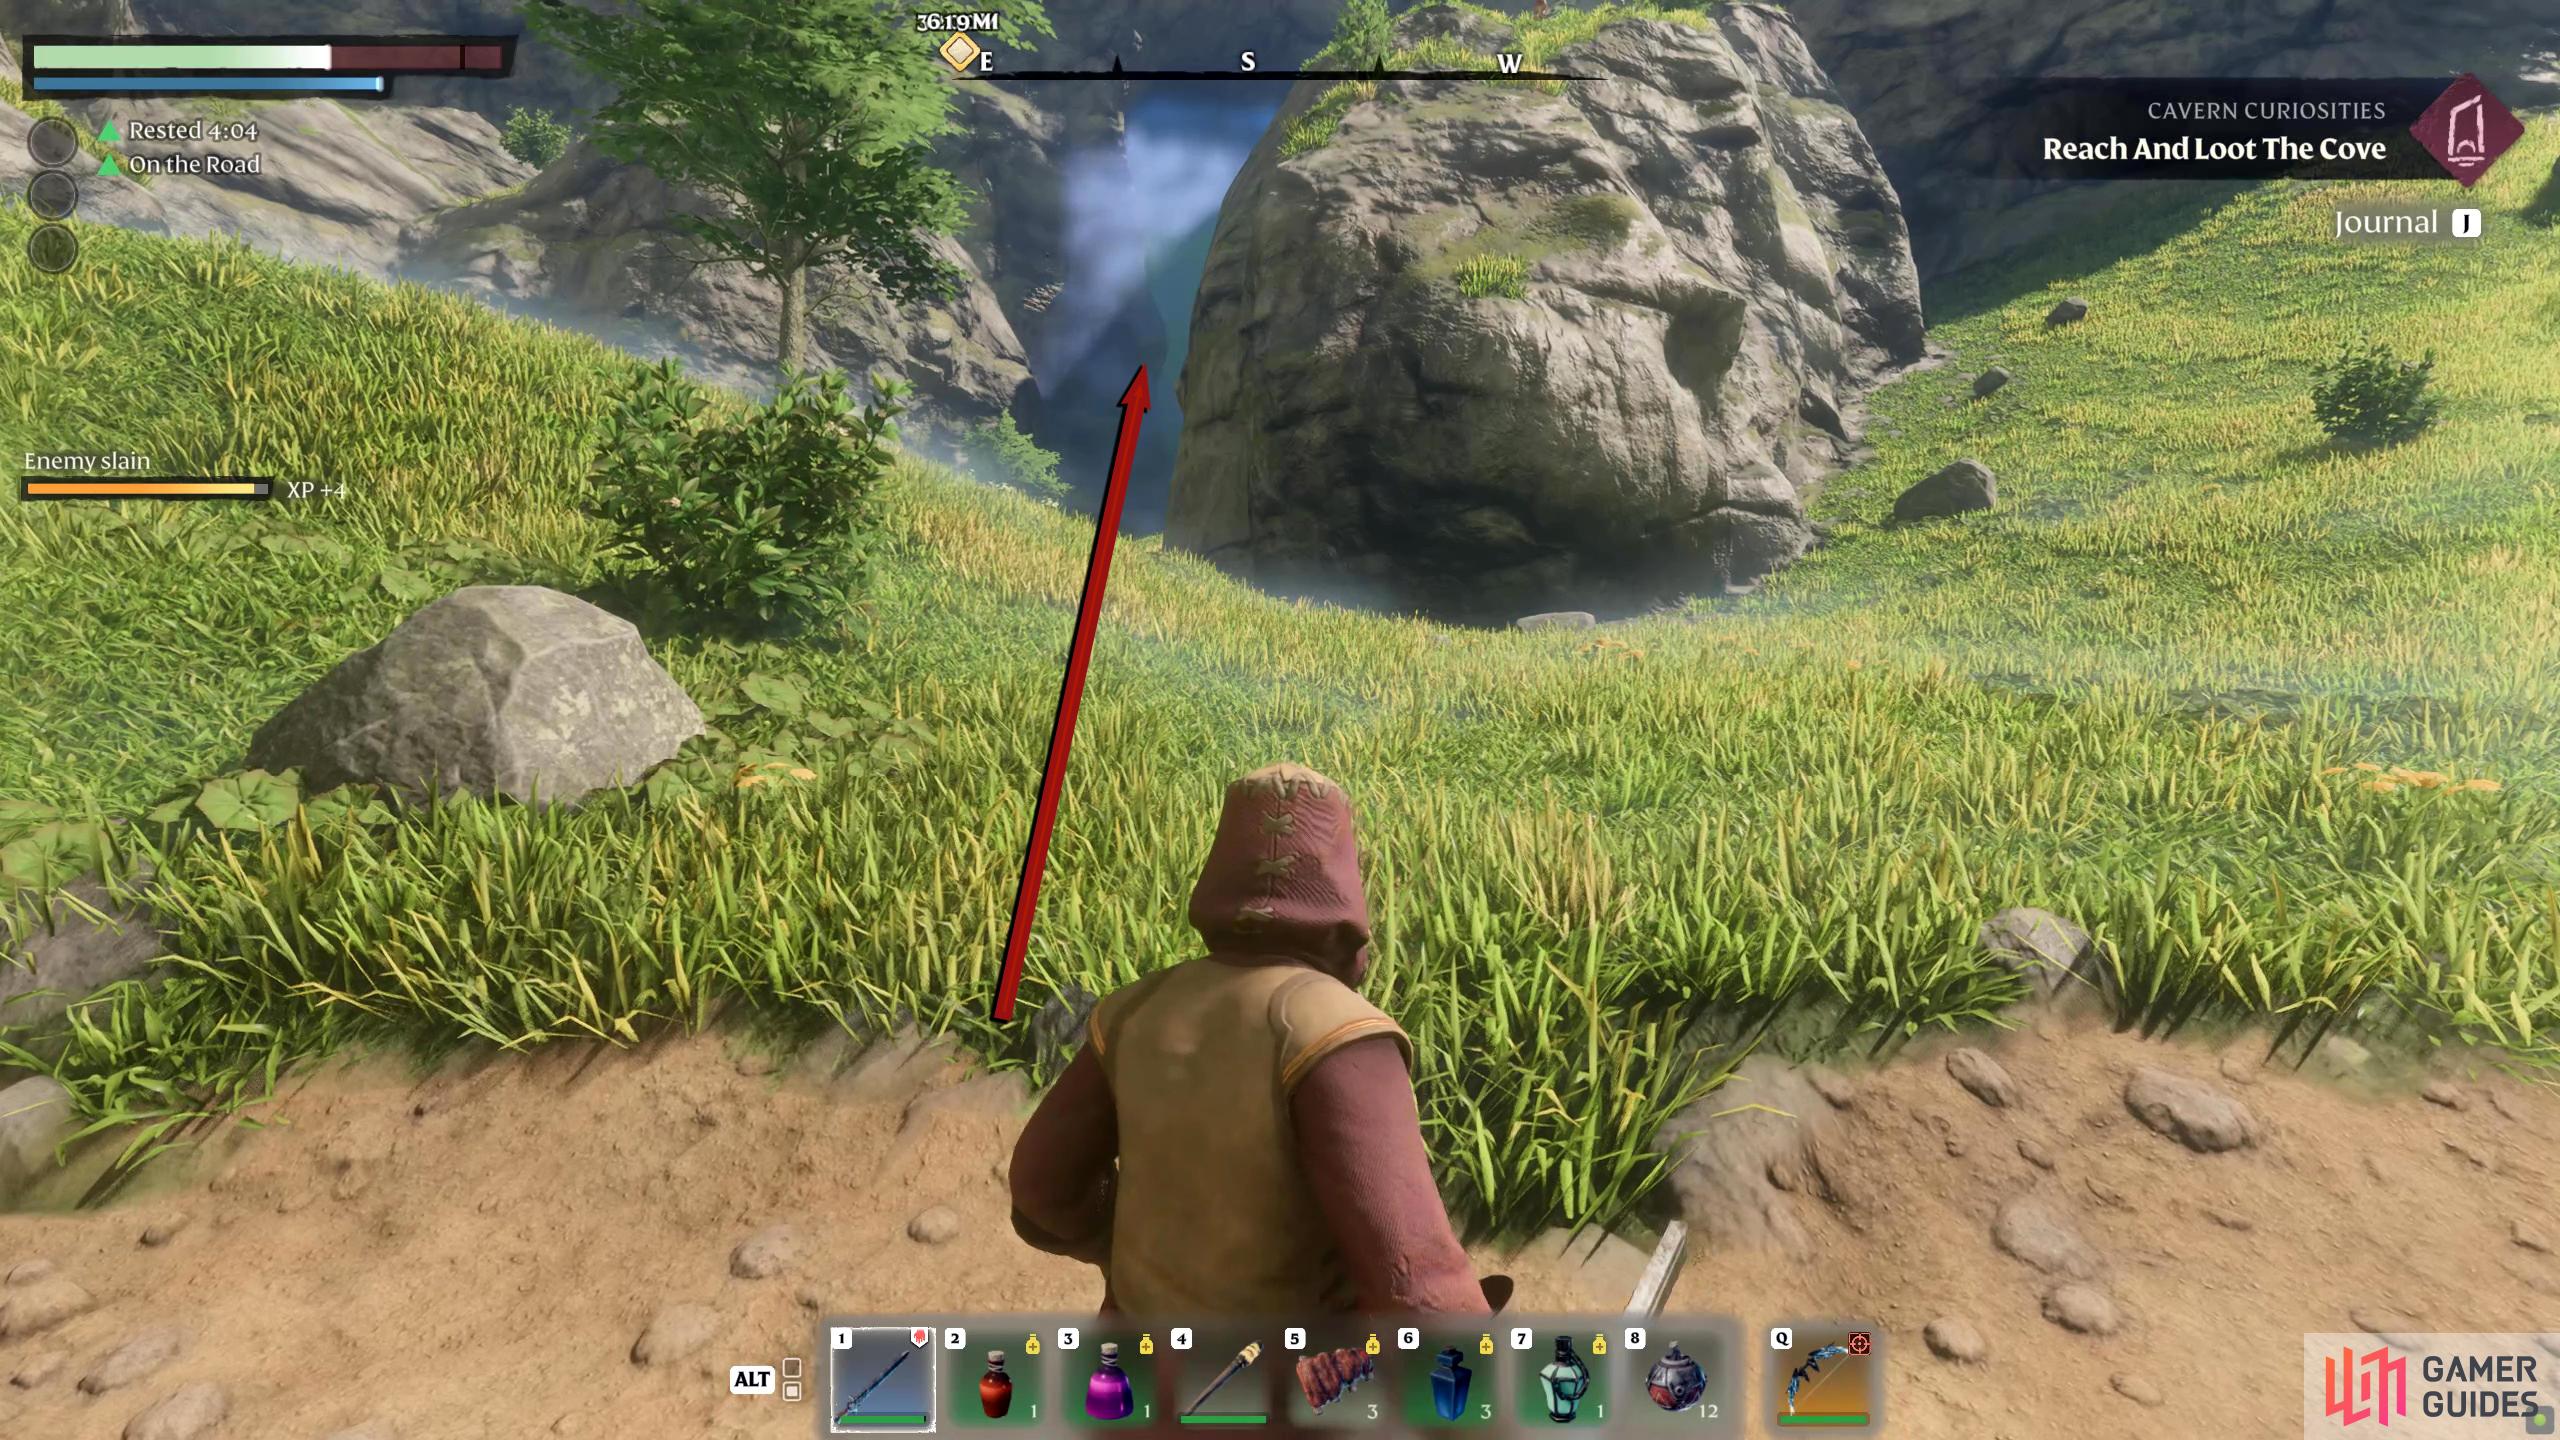


(1 of 4) Continue following the path that leads out from the Scavenger camp.
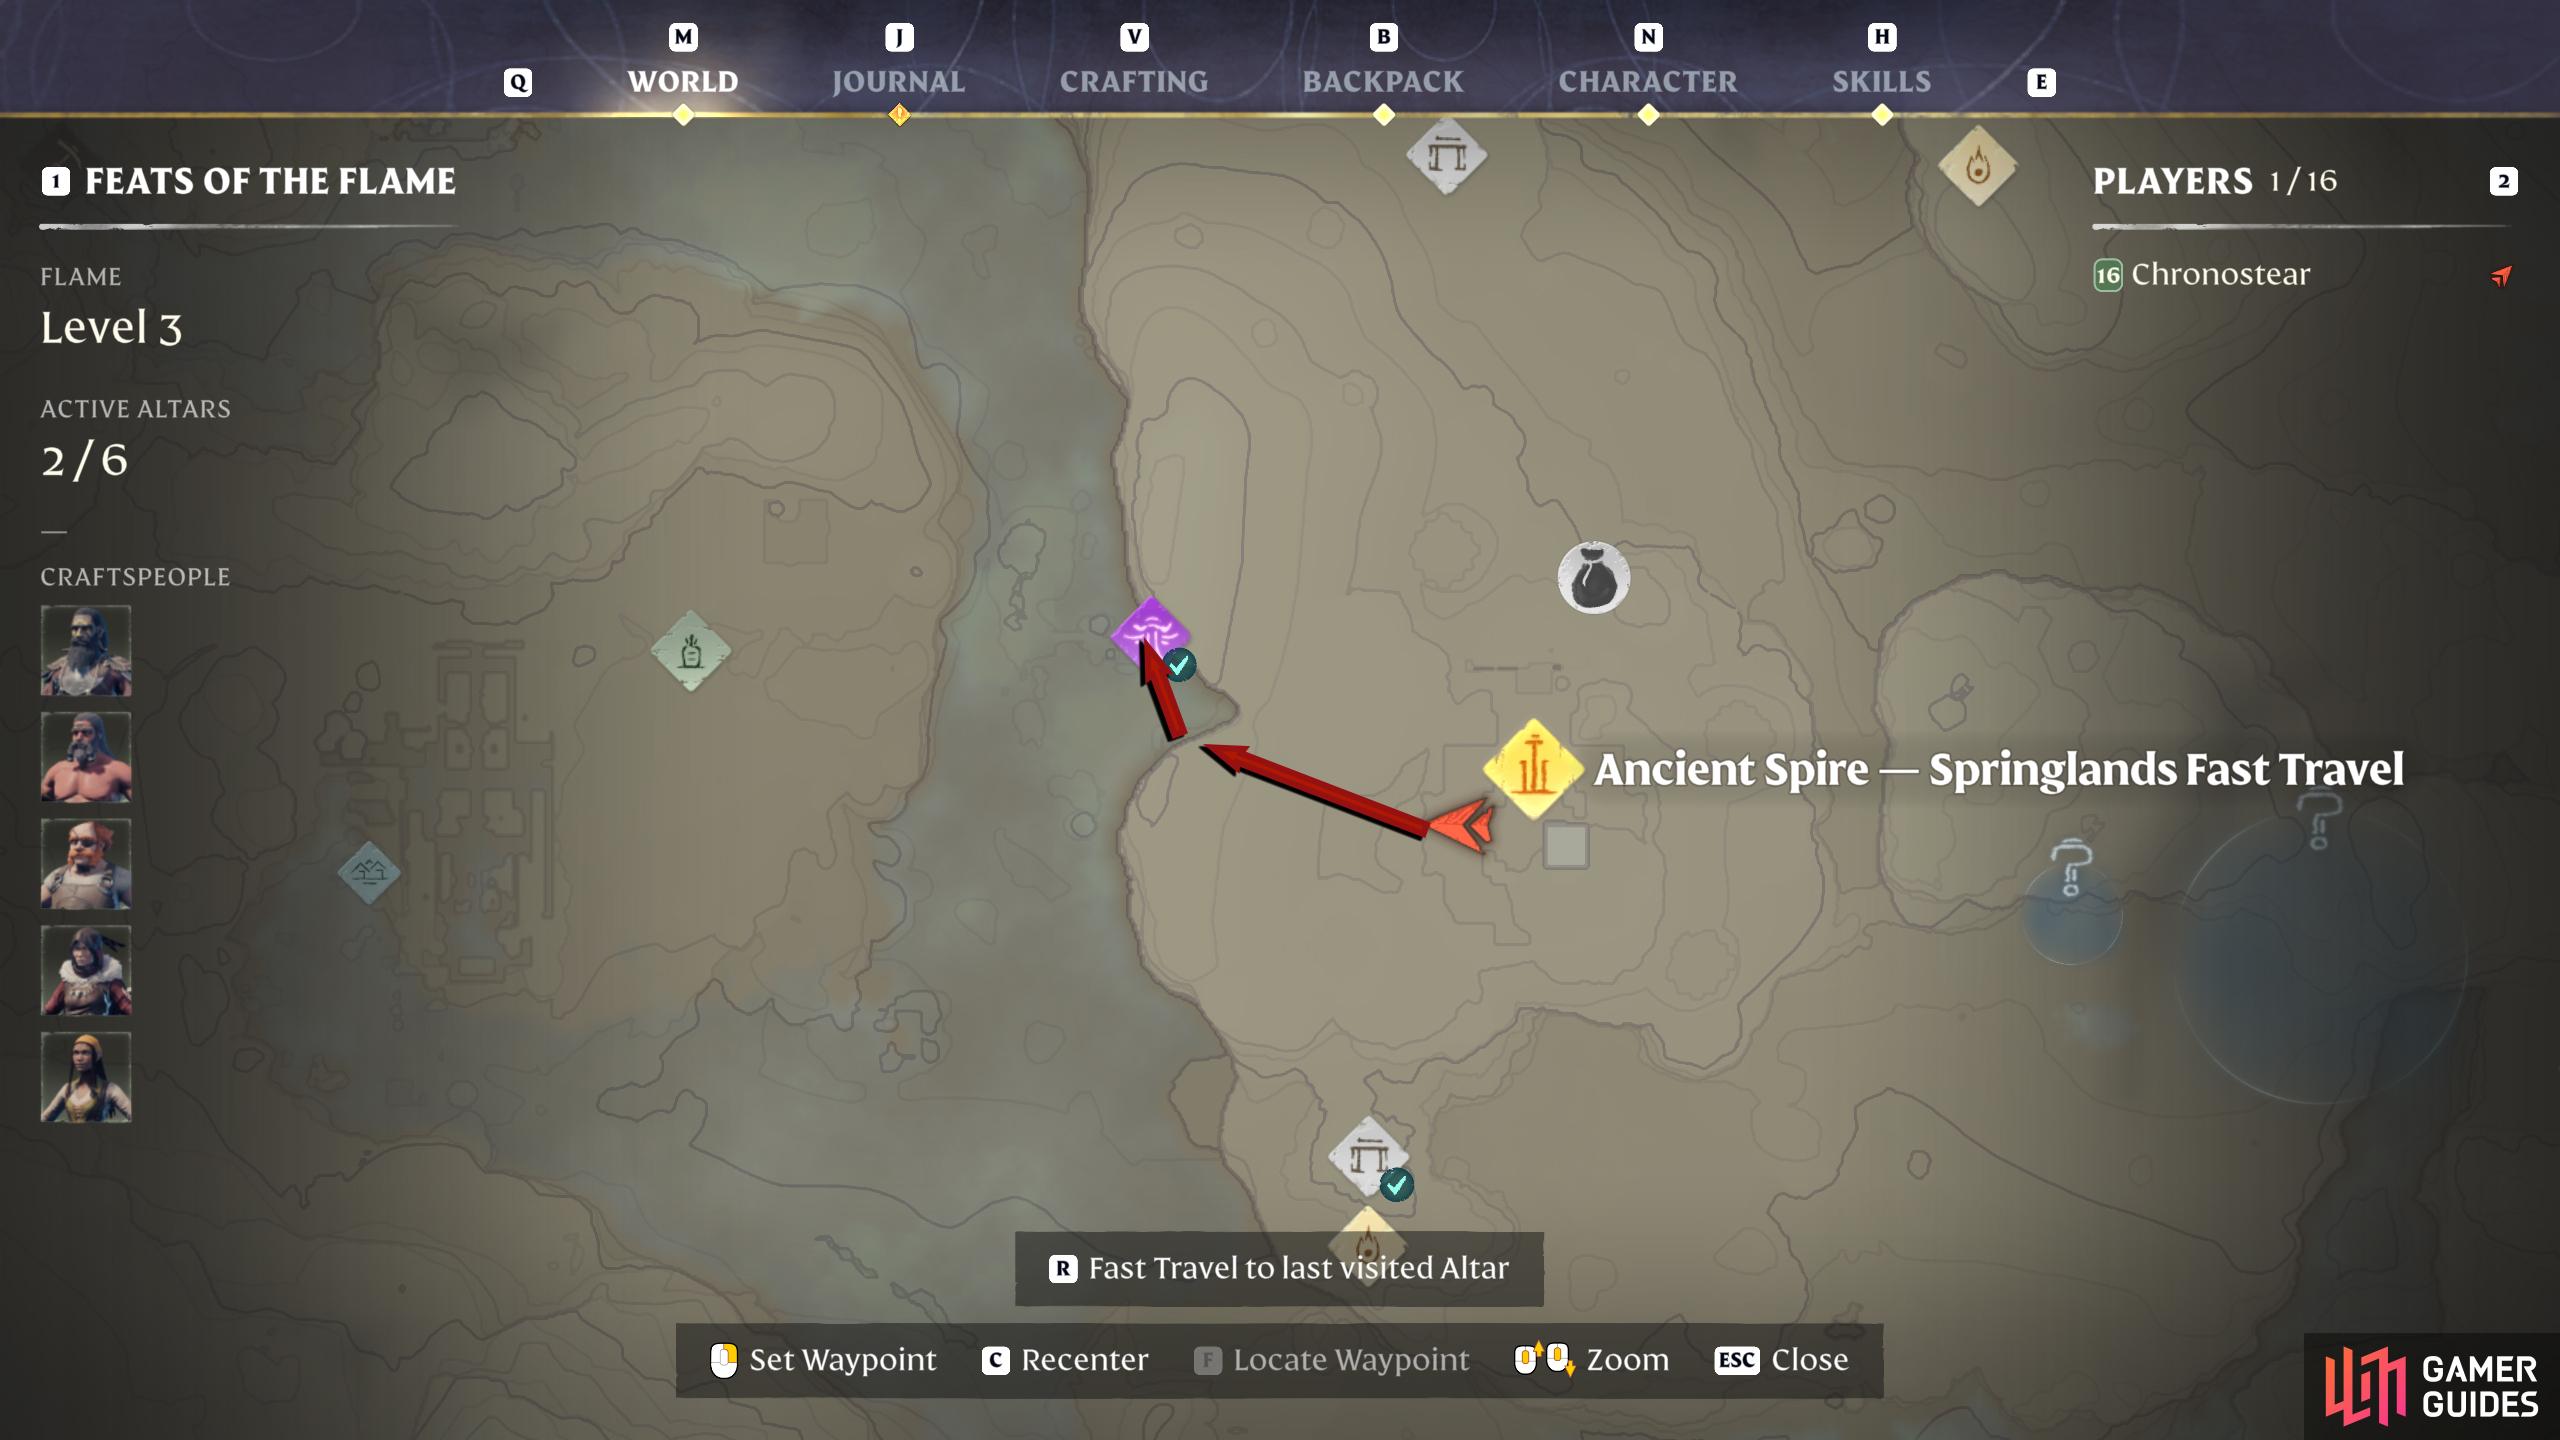
Elixir Well 3 - West of Springlands Ancient Spire
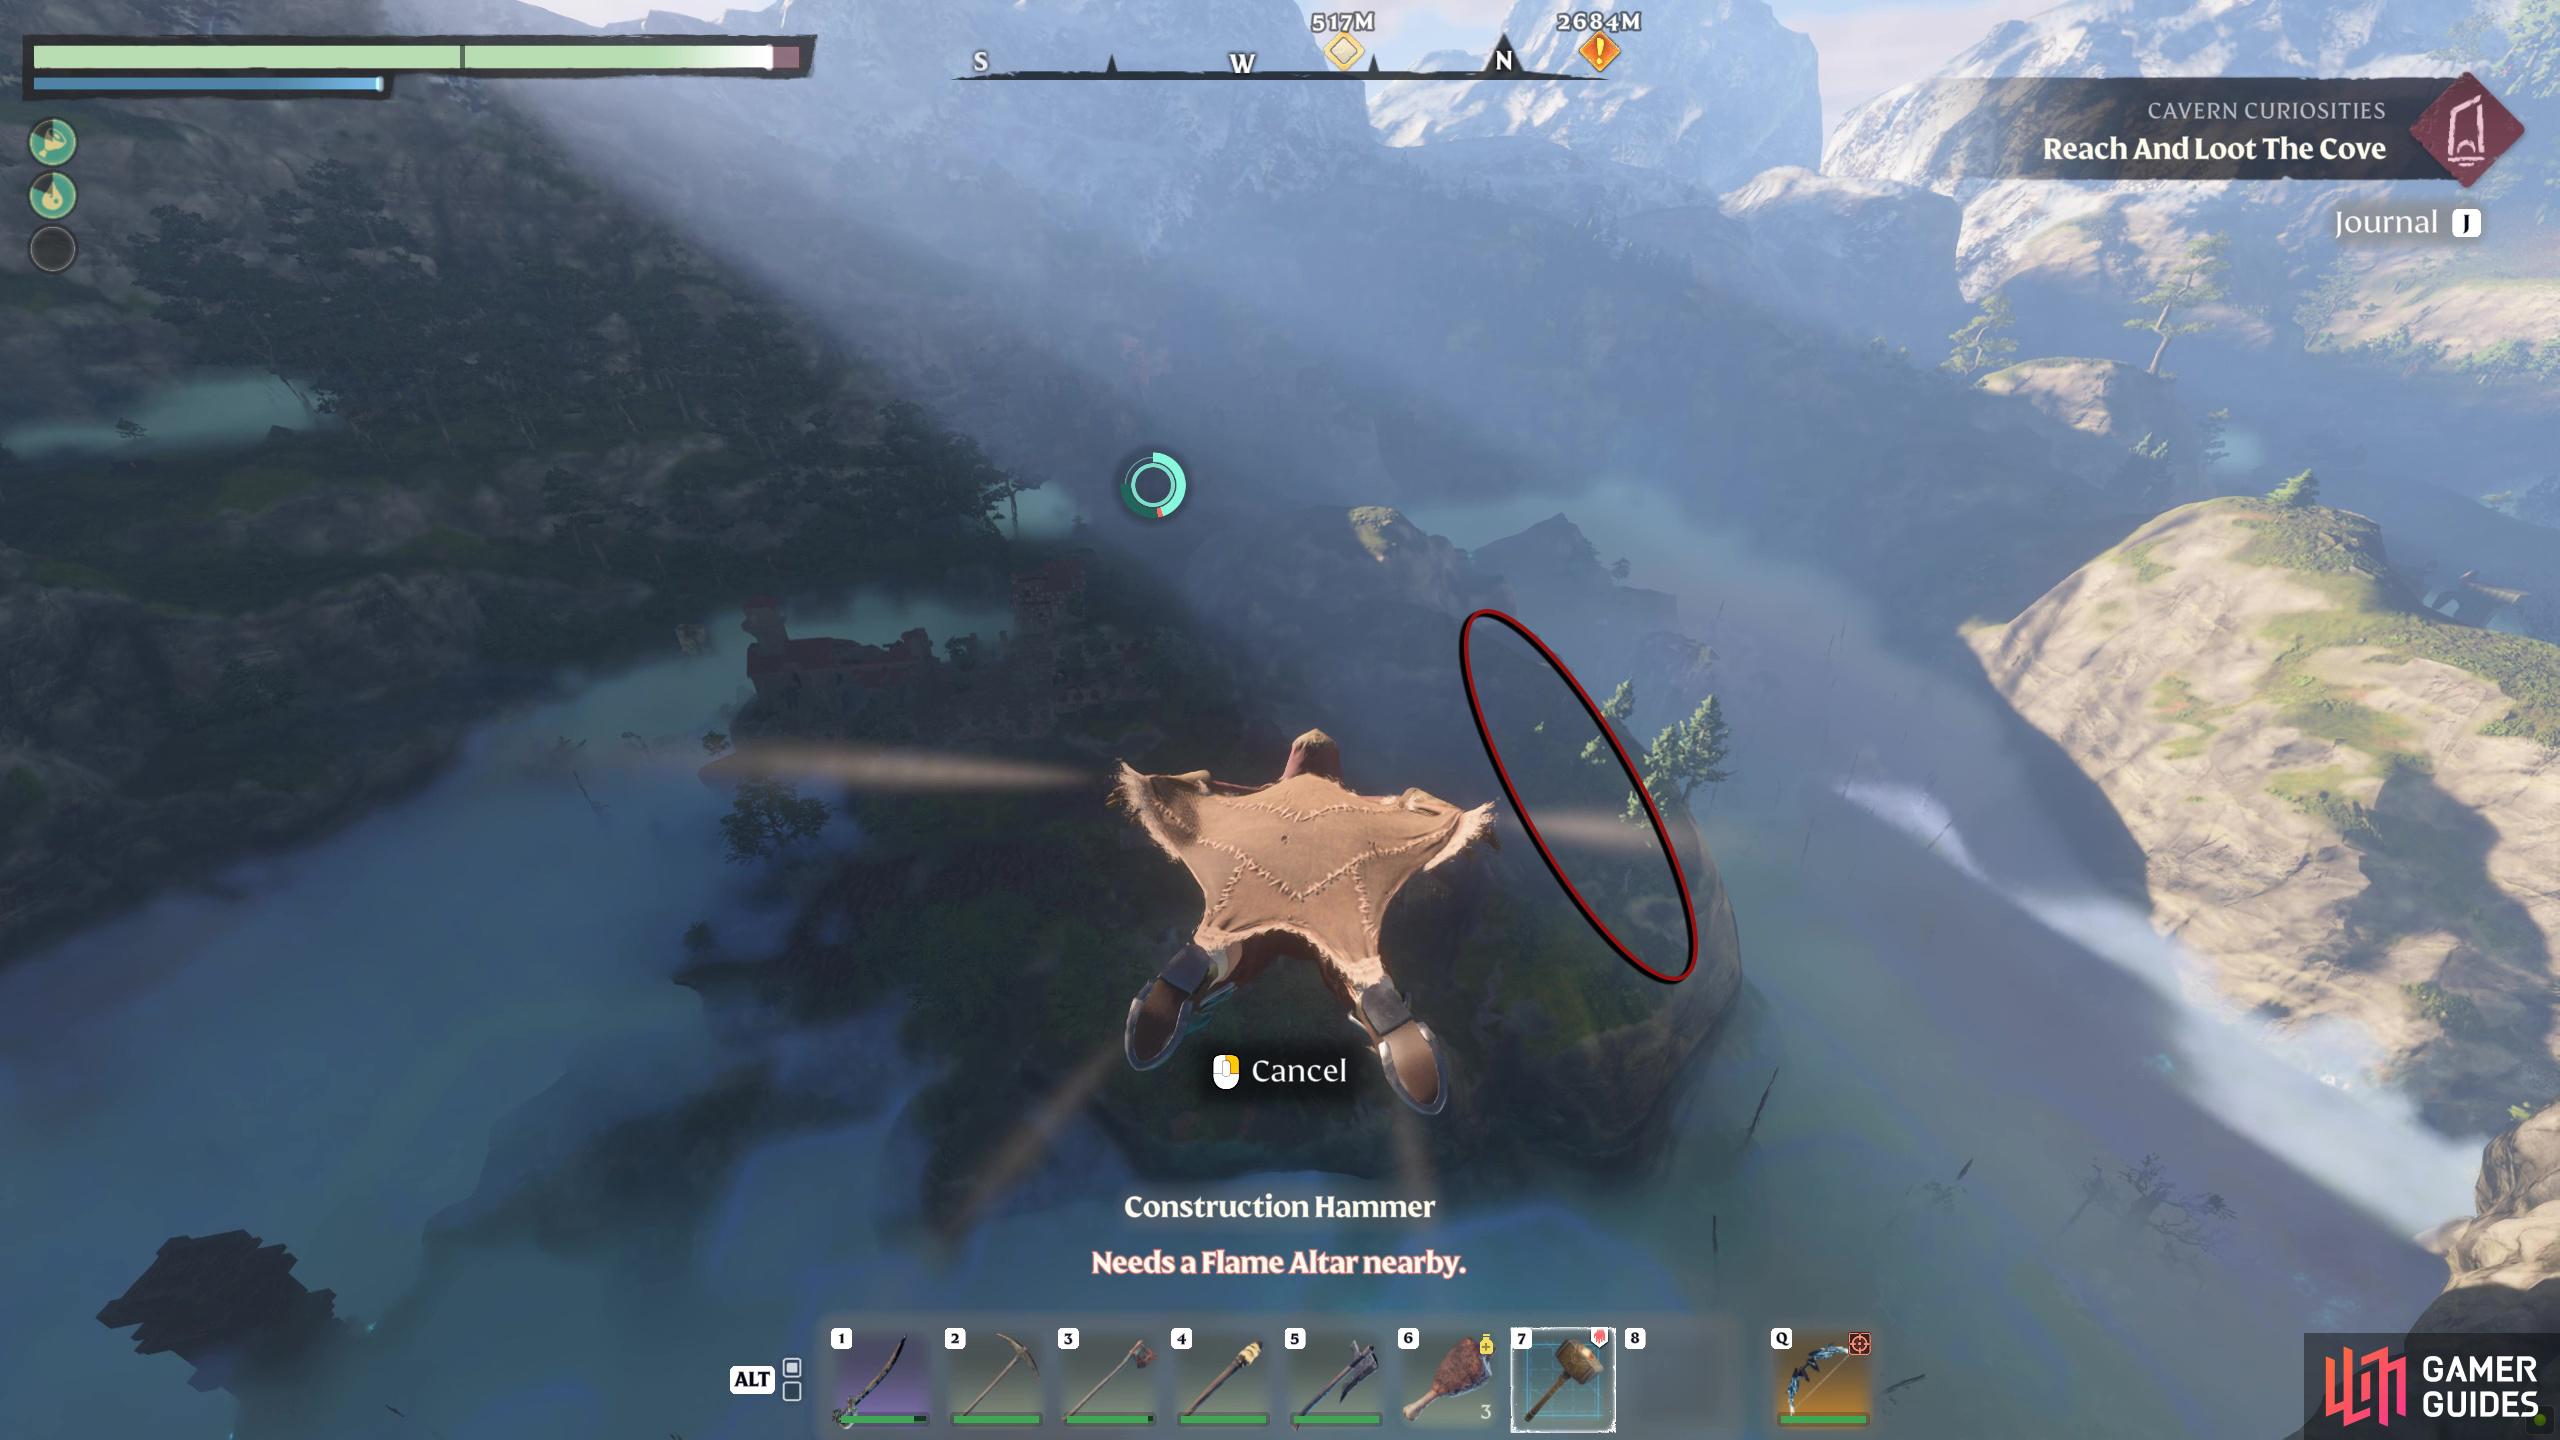
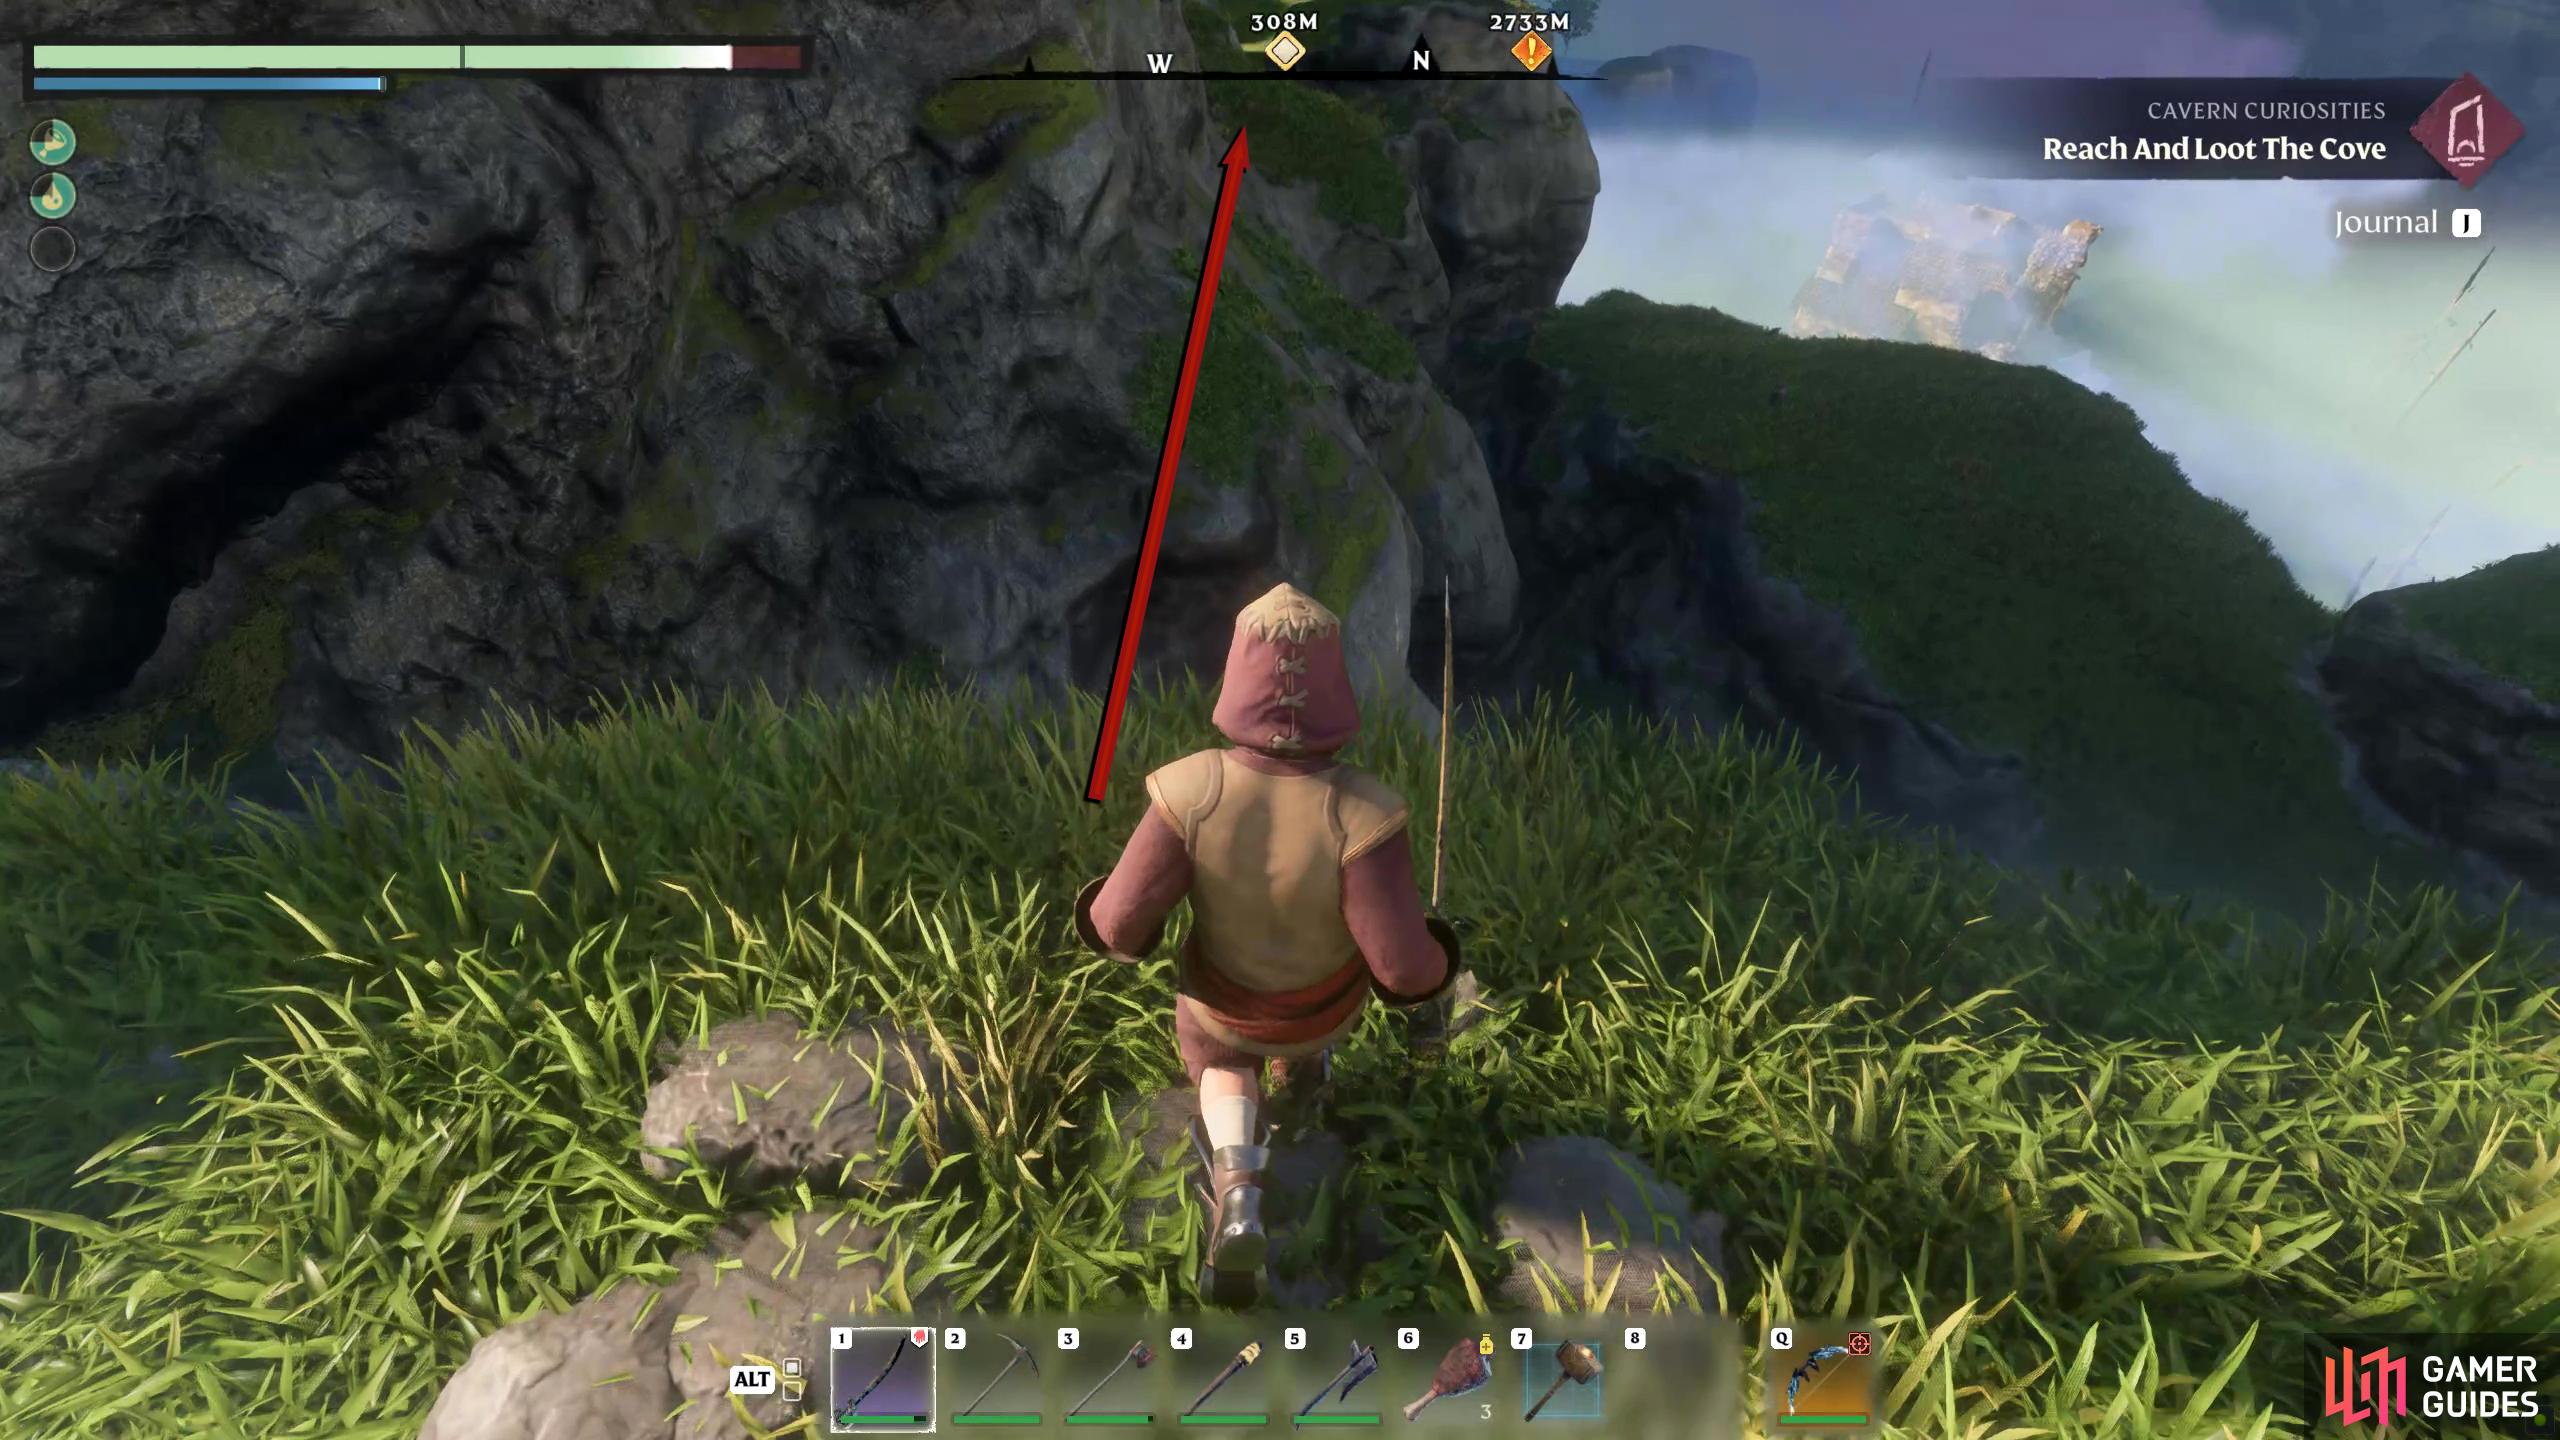
Ideally, you’ll want the Springlands Ancient Spire fast travel for this Elixir Well. You can get there without fast travel, but the Spire will save you a ton of time. By now, you should have the Glider, if not, craft it. Teleport to the Springlands Ancient Spire, head to the western edge, and glide west/northwest until you reach the edge of the cliff the Spire is on. The Elixir Well is in the Shroud below it, so get your stamina back, drop, and then glide to the floor. When you land, use the nearby scaffolding to get on top of the Well where you’ll find the entrance.
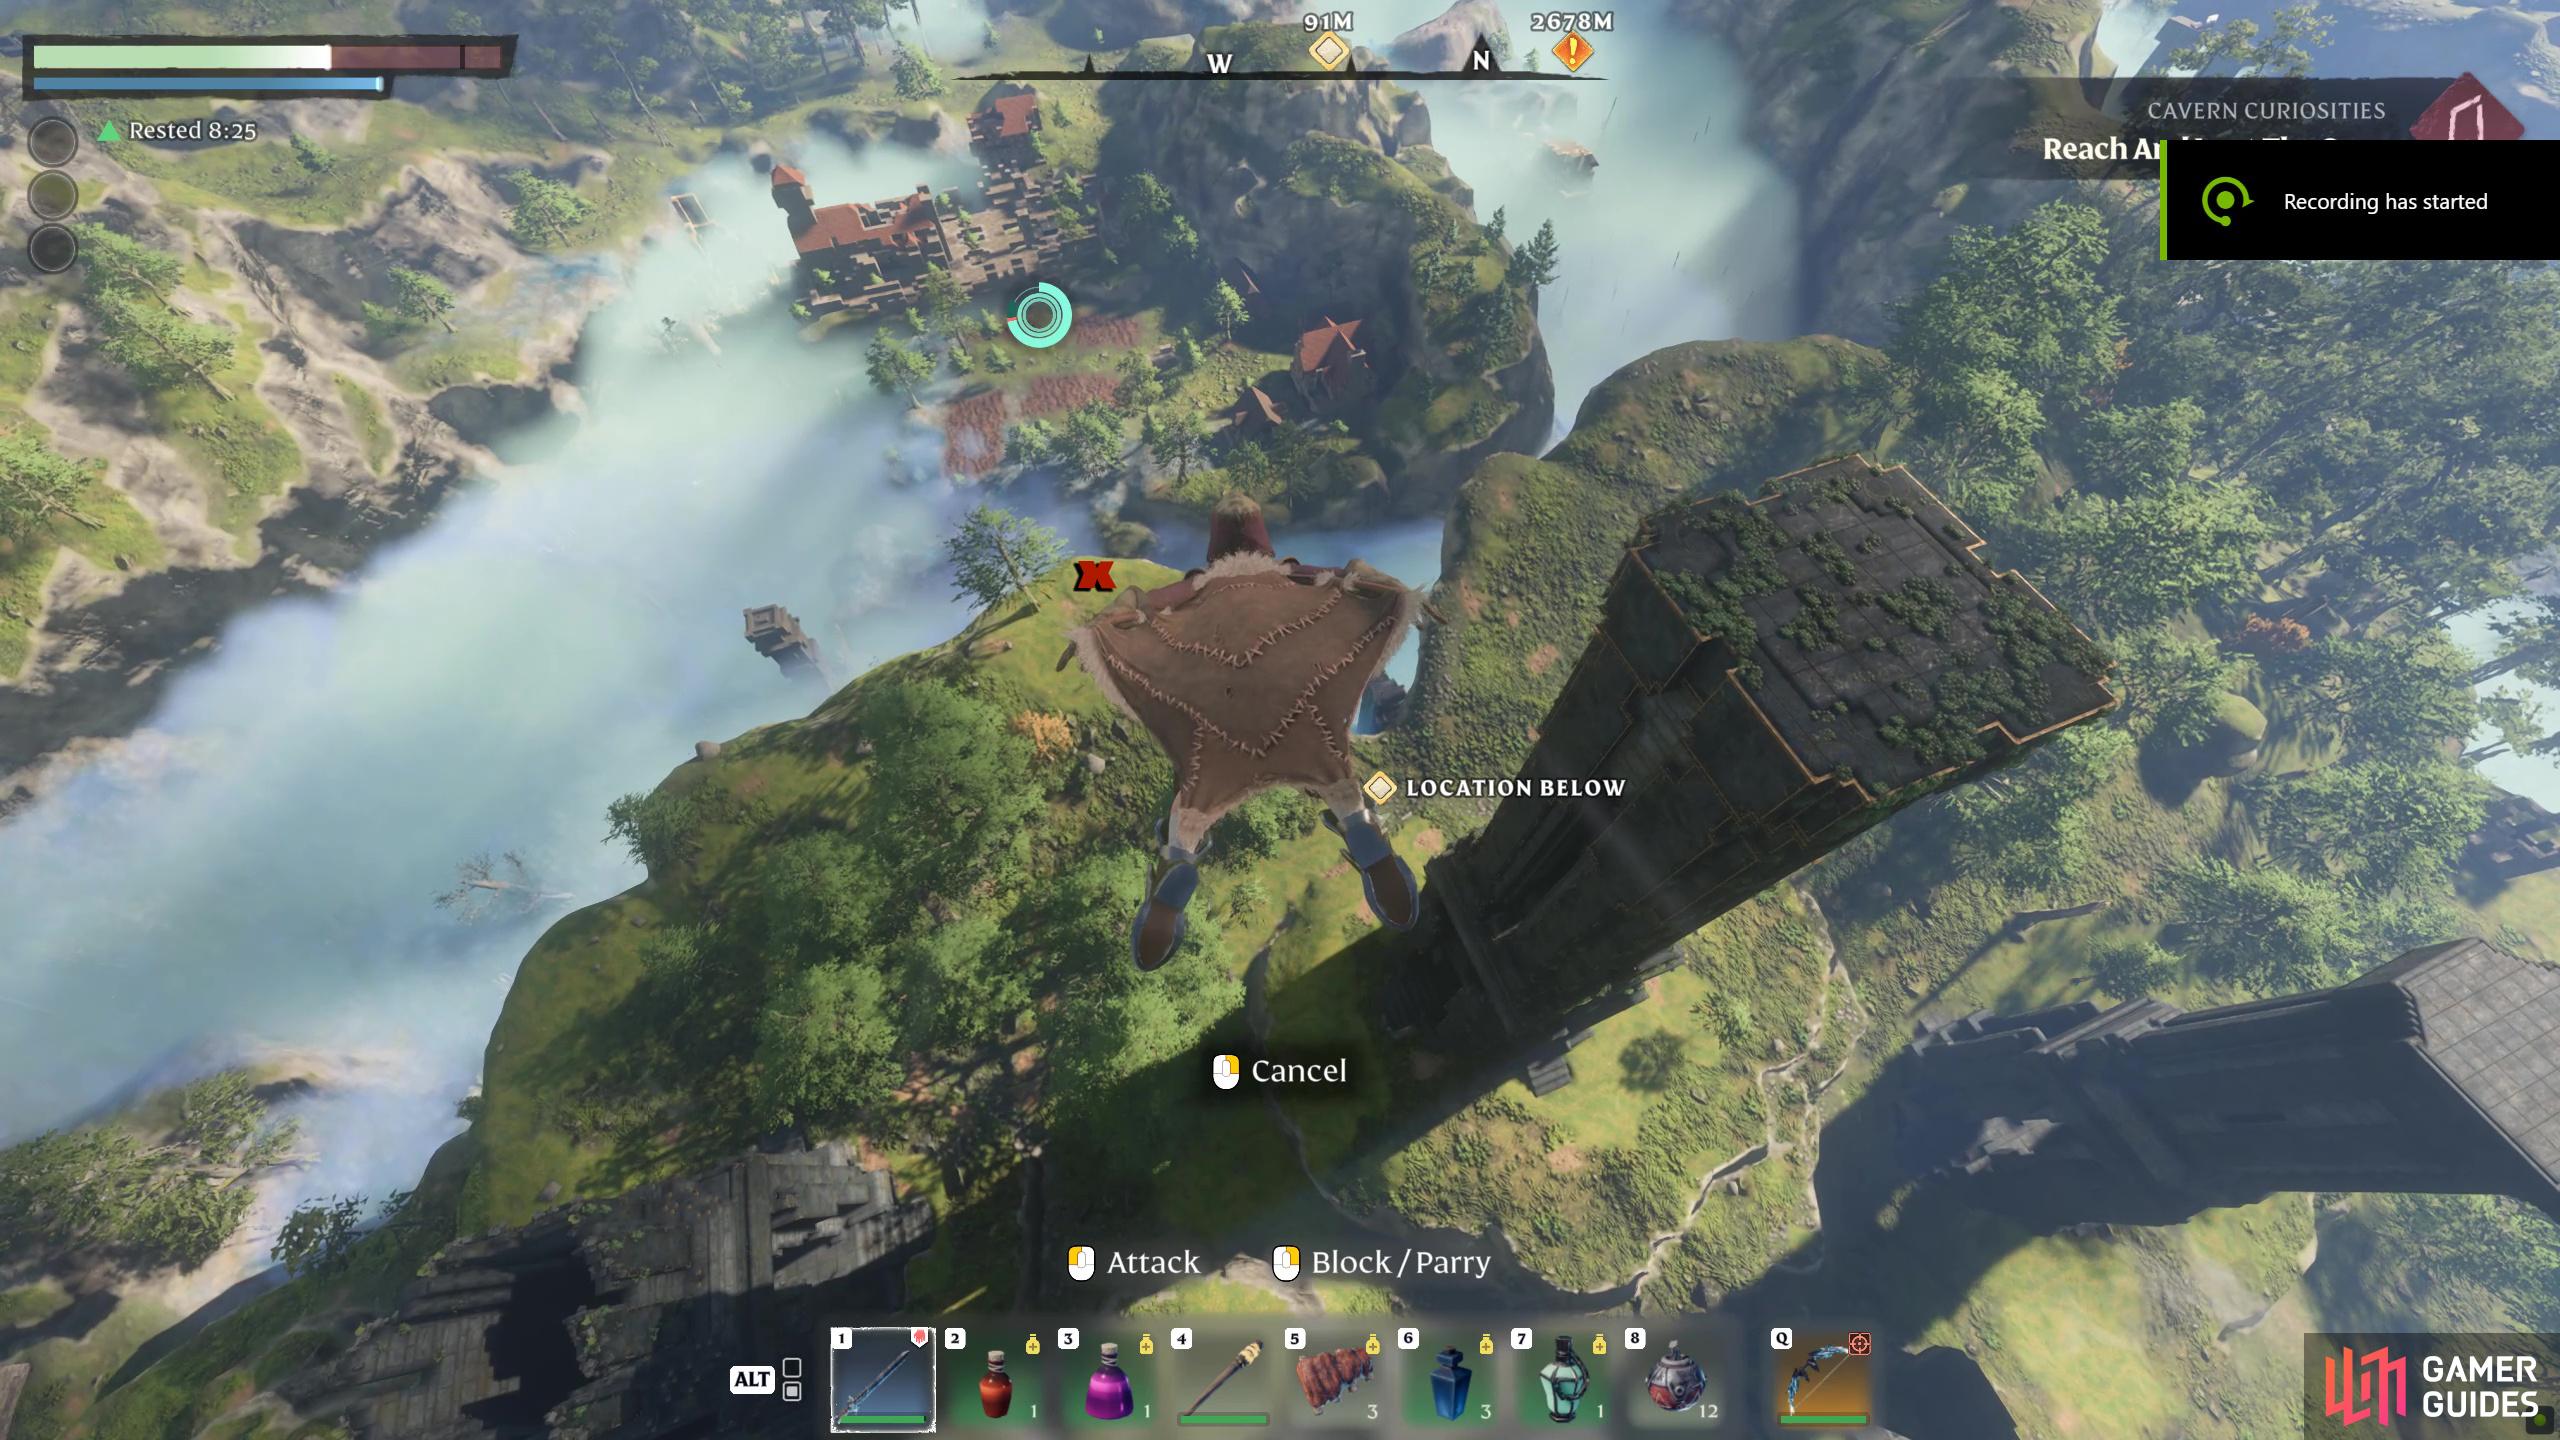
(1 of 4) Glide west from the top of the Ancient Spire.
As always, climb down using the provided ladders, stairs, and climbing frames; alternatively, drop and glide. When you reach the bottom, you’ll have two paths you can follow, northeast and southwest. The latter will lead you to a silver chest, but you’ll get ambushed by swarms of critters as you try to reach it. The former leads to the Shroud Root, and a gold chest. Follow the northeast path, defeating the enemies along the way, and go up the grassy ramp. Jump over the gap to the other side, and go around the infested column. Below, you’ll see the Shroud Root, but defeat the enemies with ranged attacks before heading down. There’s no boss, or even strong enemies here, but there are a fair few regular enemies. When they’re dealt with, chop down the root to get the skill point. Before you leave, head southeast toward the wooden platform and open the golden chest sitting there. Now, feel free to leave the area.


Elixir Well 4 - Northwest of Springlands Ancient Spire
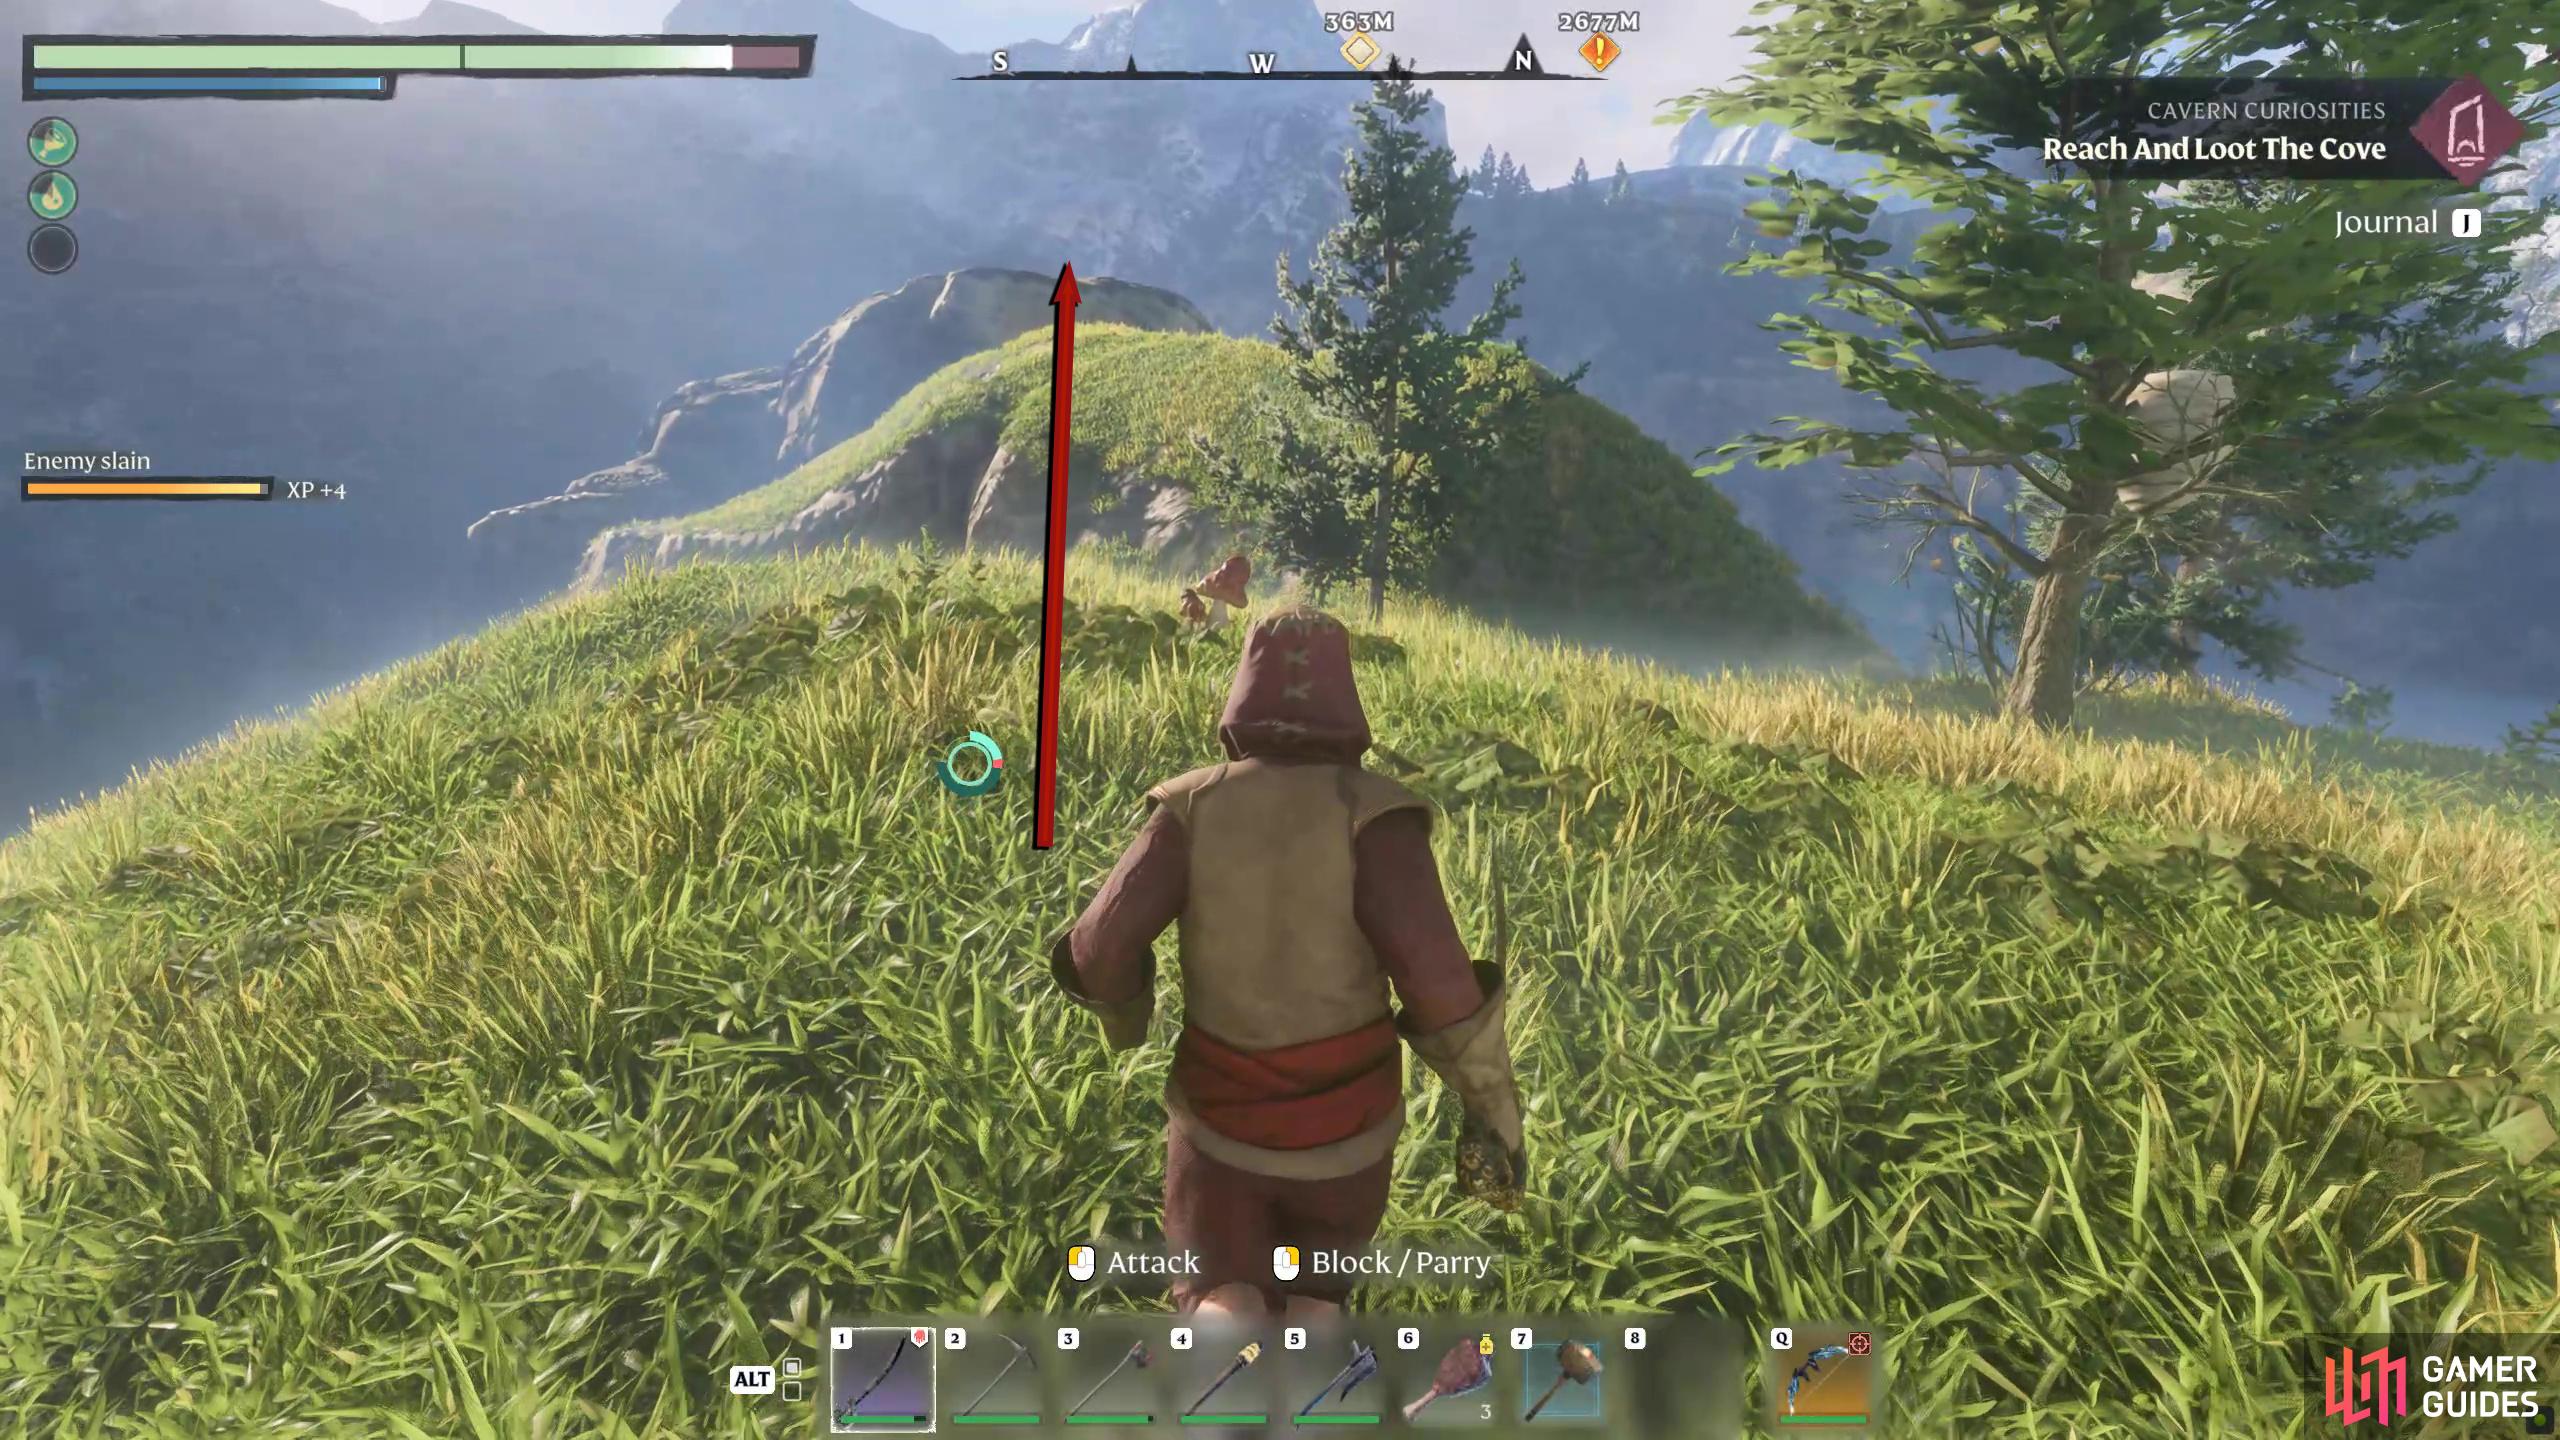
This Elixir Well can be found far to the northwest of the Ancient Spire. Once again, stand on the northwestern edge of the Spire, jump, and glide to the island surrounded by the Shroud. Ideally, you’ll want to land on the hills on the north side of the island (to your right). Now, follow the rolling hills northwest to the far northwestern edge, while staying as high up as you can. This may require jumping up some mountains and ledges. When you reach the northwestern edge, you’ll see another island in the distance that is also surrounded by the Shroud.
(1 of 4) For this Elixir Well, you’ll be gliding from island to island where until you reach the Well.
Jump and glide over to the mountain and make your way to the northwestern edge of that island as well. If you look through the Shroud, you should be able to make out the Shroud Root in the distance. If not, jump and glide northwest one more time, and you will land near it. When you do land, continue northwest until you reach the Shroud Root, and then chop it down for the skill point.
(1 of 3) When you reach the edge of the island, glide over to the next.
Elixir Well 5 - Southwest of the Ancient Vault - Farmer
Technically this is northwest of the Springlands Spire too; it can be found a little ways northeast of the previous Well, but it’s easier to get to if you go from the fast travel spire again. Atop the Spire, glide north, and continue heading north/northwest until you reach the cliff. Glide across to the lower northeast part of the next island, go between the mountains, and you’ll end up above Ferndale. Jump and glide northwest, and head toward the Shroud. Continue north/northwest, and you’ll soon reach the Elixir Well. As always, use the nearby environment to get to the entrance of the Well, and then descend.
(1 of 4) The fifth Elixir Well is also to the northwest of the Springlands.
When you reach the bottom, head southwest (northeast leads to the same place) and defeat the numerous Critters that will ambush you. Continue following the path southwest, and then the path will turn to the southeast. Proceed further down and follow the southwest edge until you reach another group of Critters and other enemies. Take them out, and open the silver chest behind the Critters’ nest, provided you have a lockpick. Once you’ve dealt with them, continue southeast, and you’ll see the Shroud Root nearby.


(1 of 4) When you reach the Shroud, go north/northwest to find the Well entrance.
Defeat any nearby enemies, and approach the Root, and you’ll have another Fell Thunderhead Brute to contend with, but this time it won’t have a boss health bar. If you have a ranged attack of some sort, climb on top of the wooden structure to your right, and take out the brute from up there. Note, that you’re not entirely safe from its attacks up there, so be careful. With the brute defeated, make your way to the Root defeating any enemy in your path, and chop it down to complete the Well.
(1 of 4) Once again, you’ll find more enemies including more Critters.
Elixir Well 6 - Northern Springlands
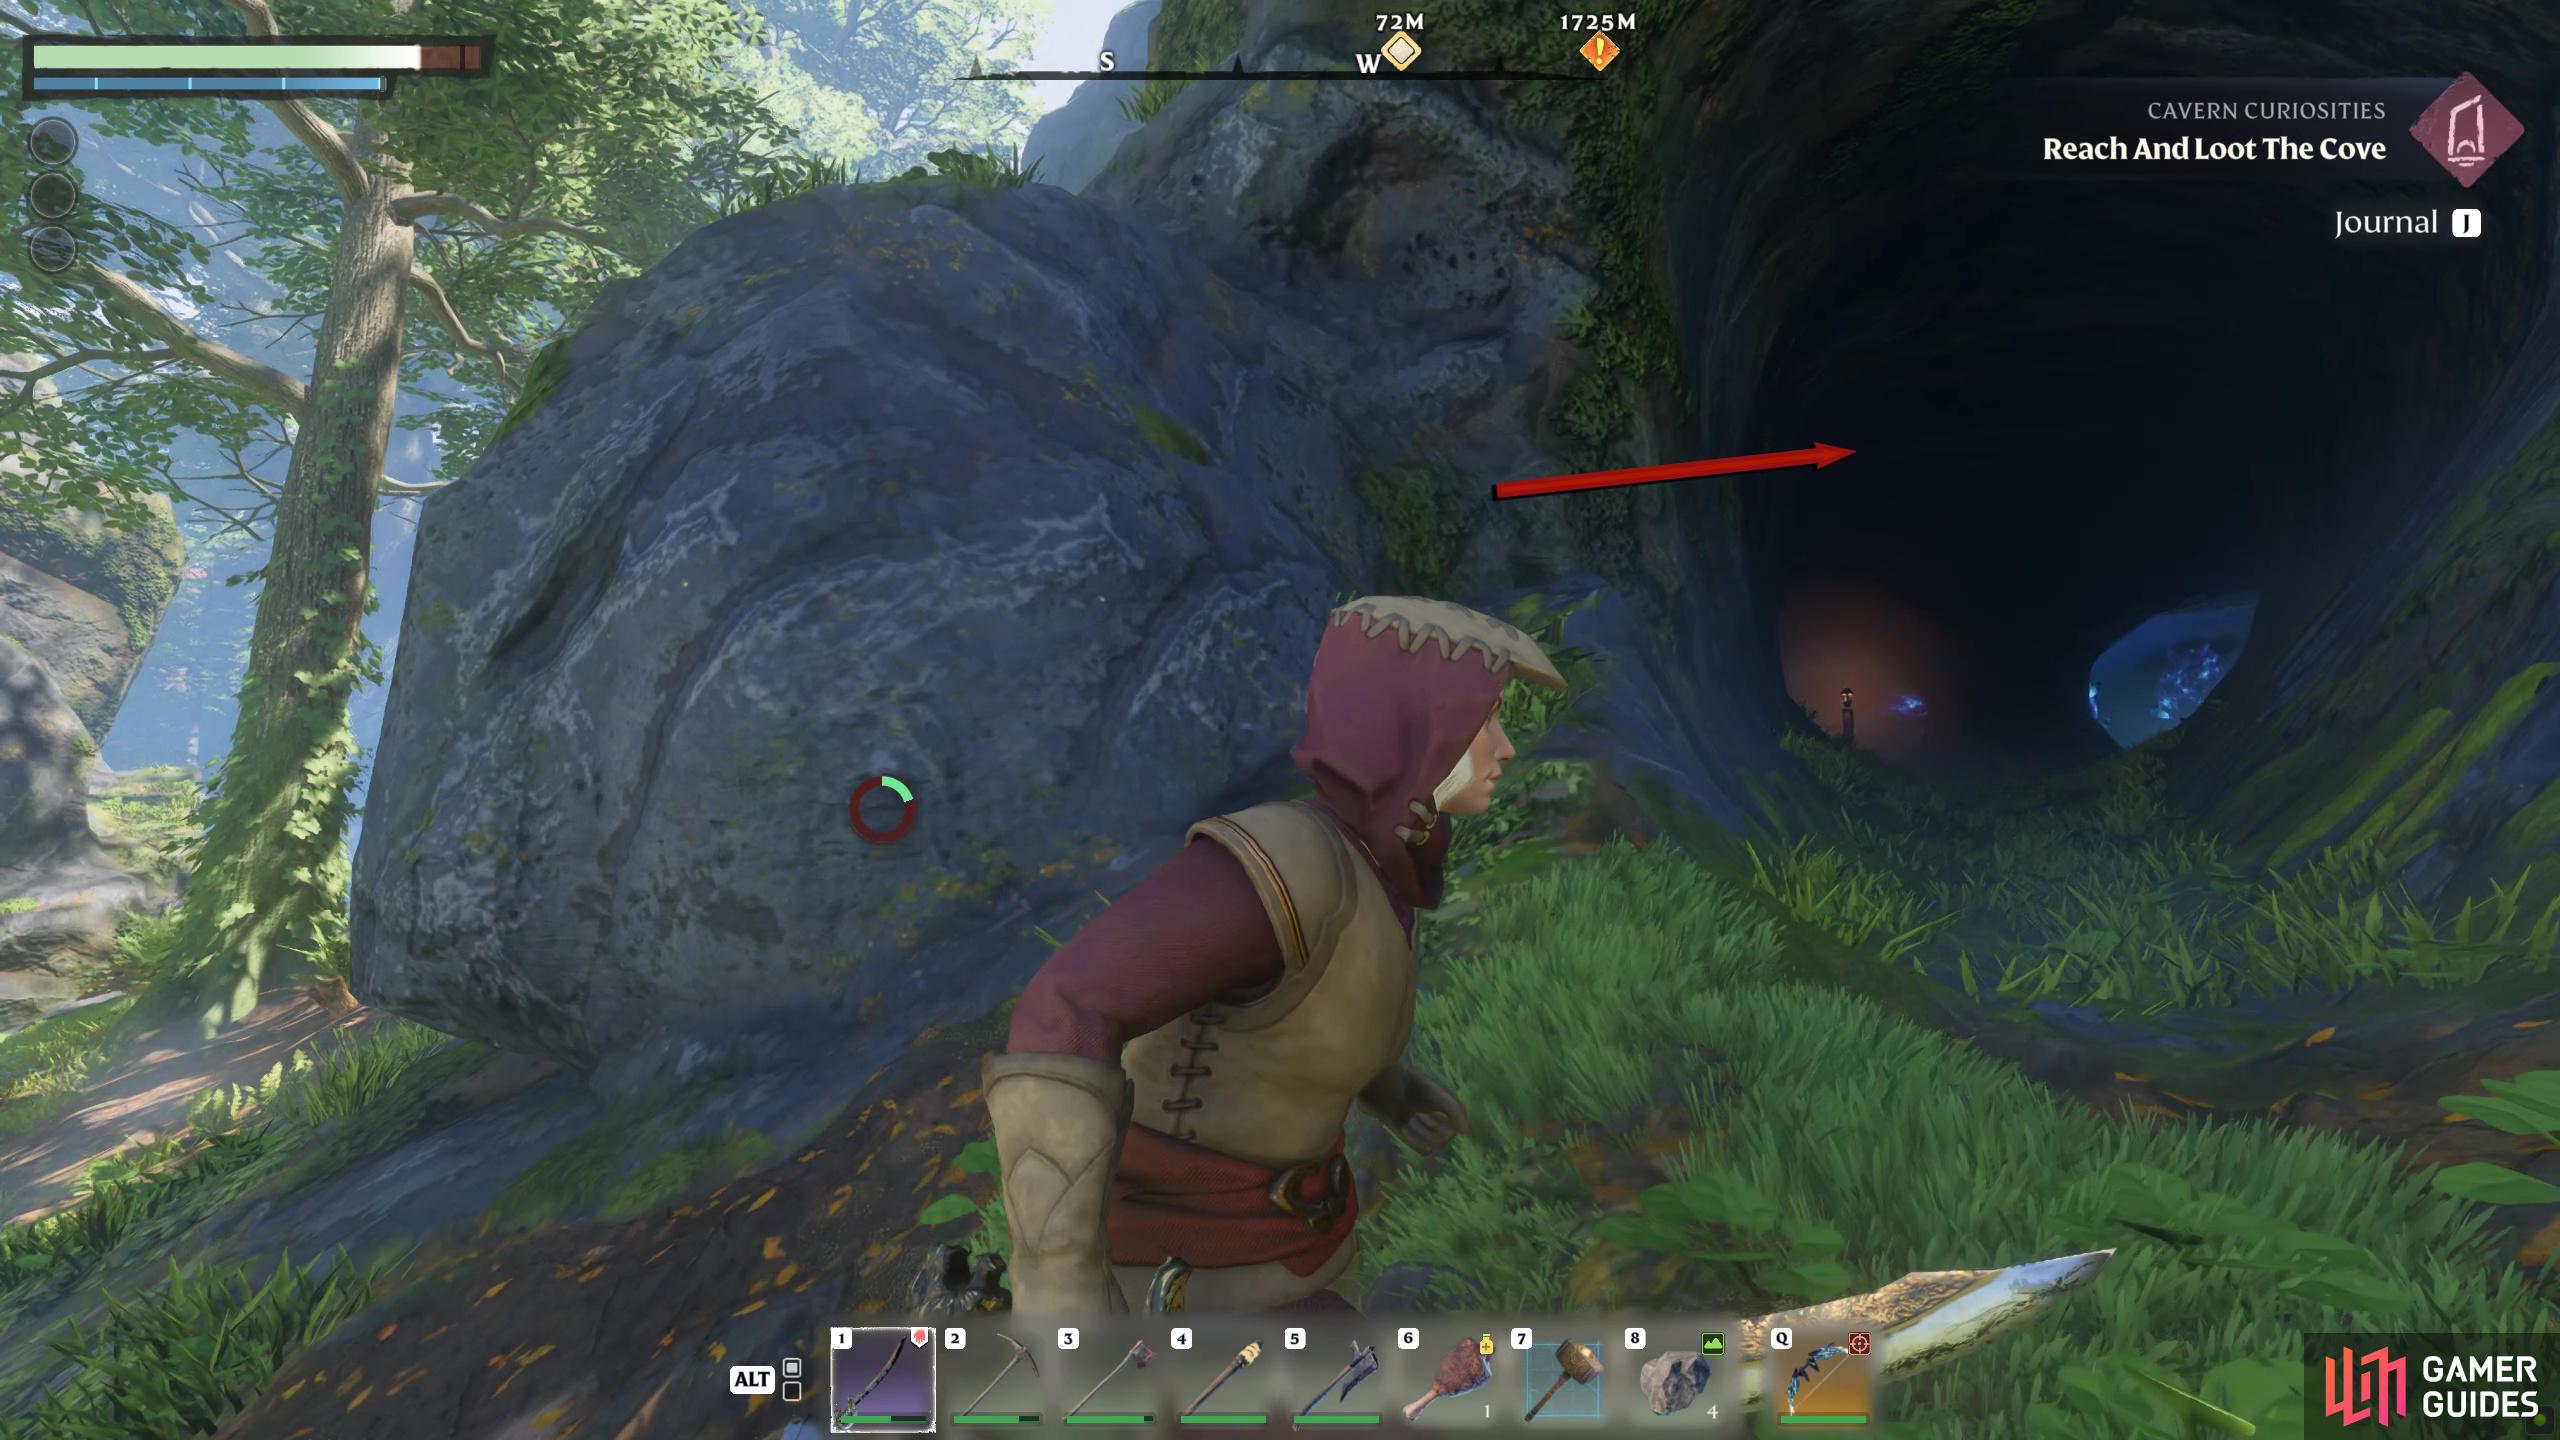
The last Well is worth saving until you head toward Revelwood in the north, as they’re not near any fast travels other than maybe the Revelwood Ancient Spire. When you make the walk to Revelwood, you’ll be heading north anyway, so you may as well plant two flowers with one seed. This particular Well can be found northeast of the Ancient Vault - Farmer, so do the Well when you get her. The easiest way to get there is by hugging the northern wall below the Ancient Vault - Farmer, and keep following the wall north until you eventually come across a cave entrance to the west (your left).
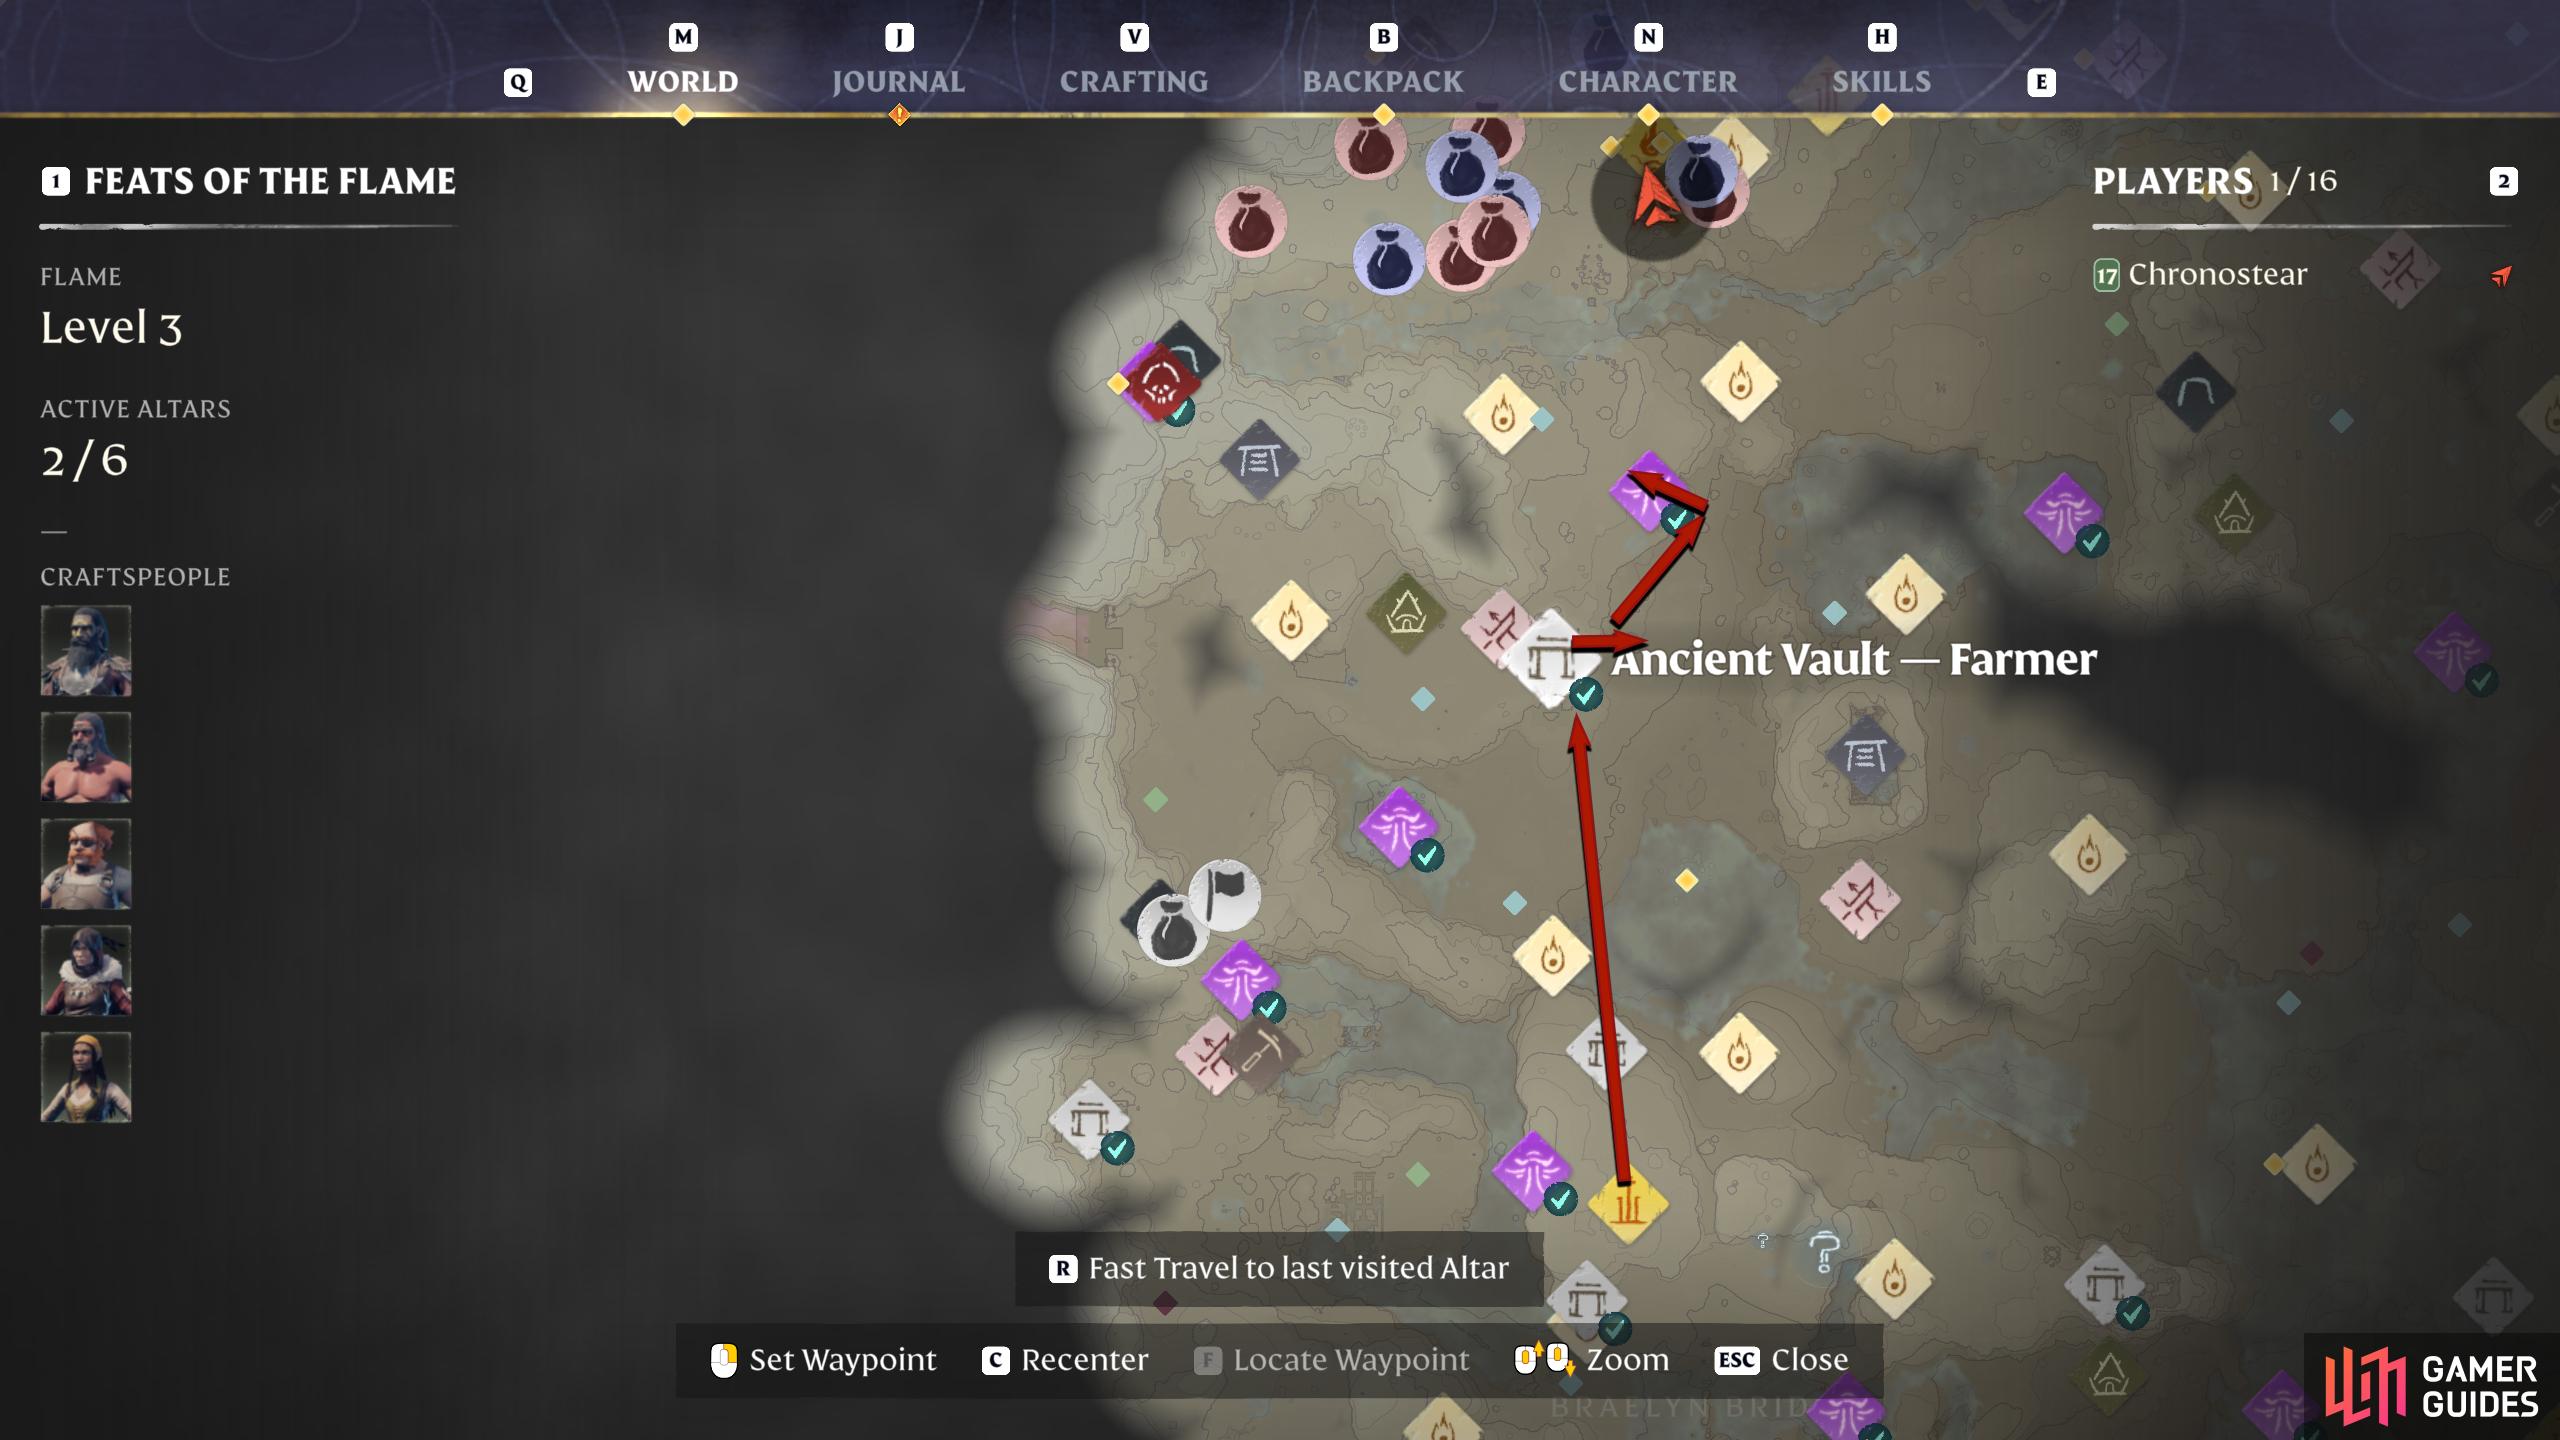
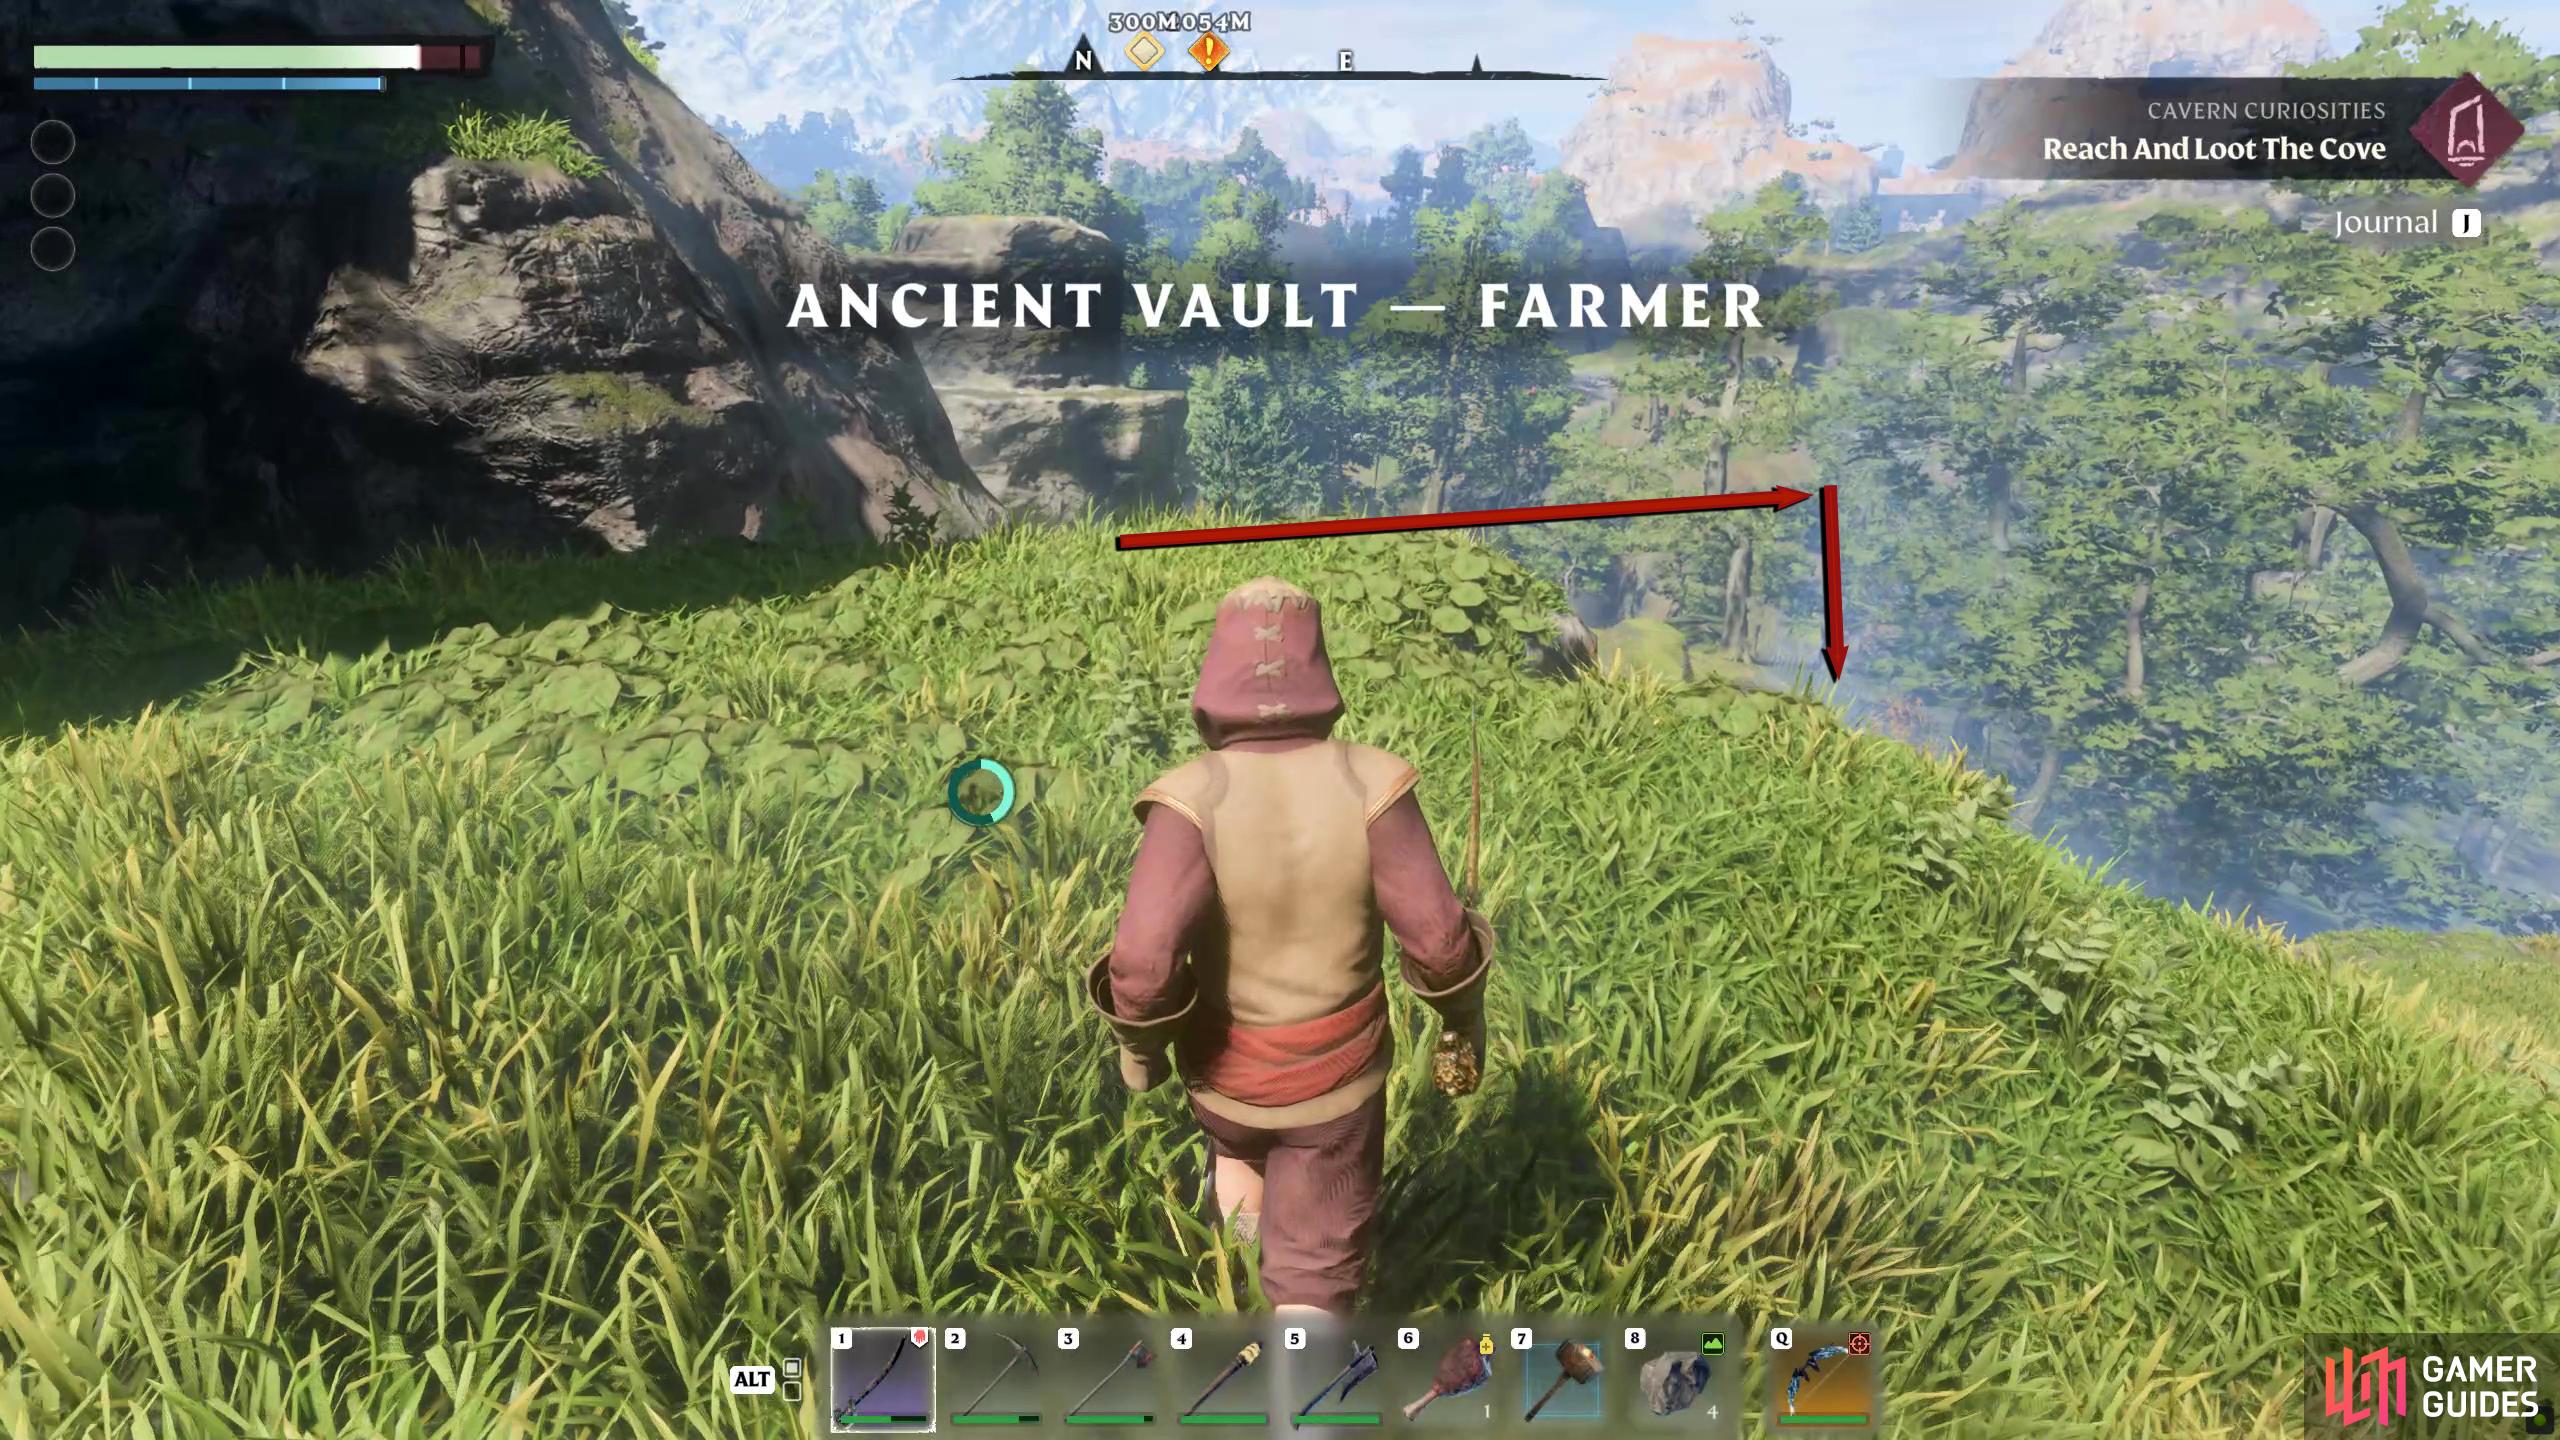
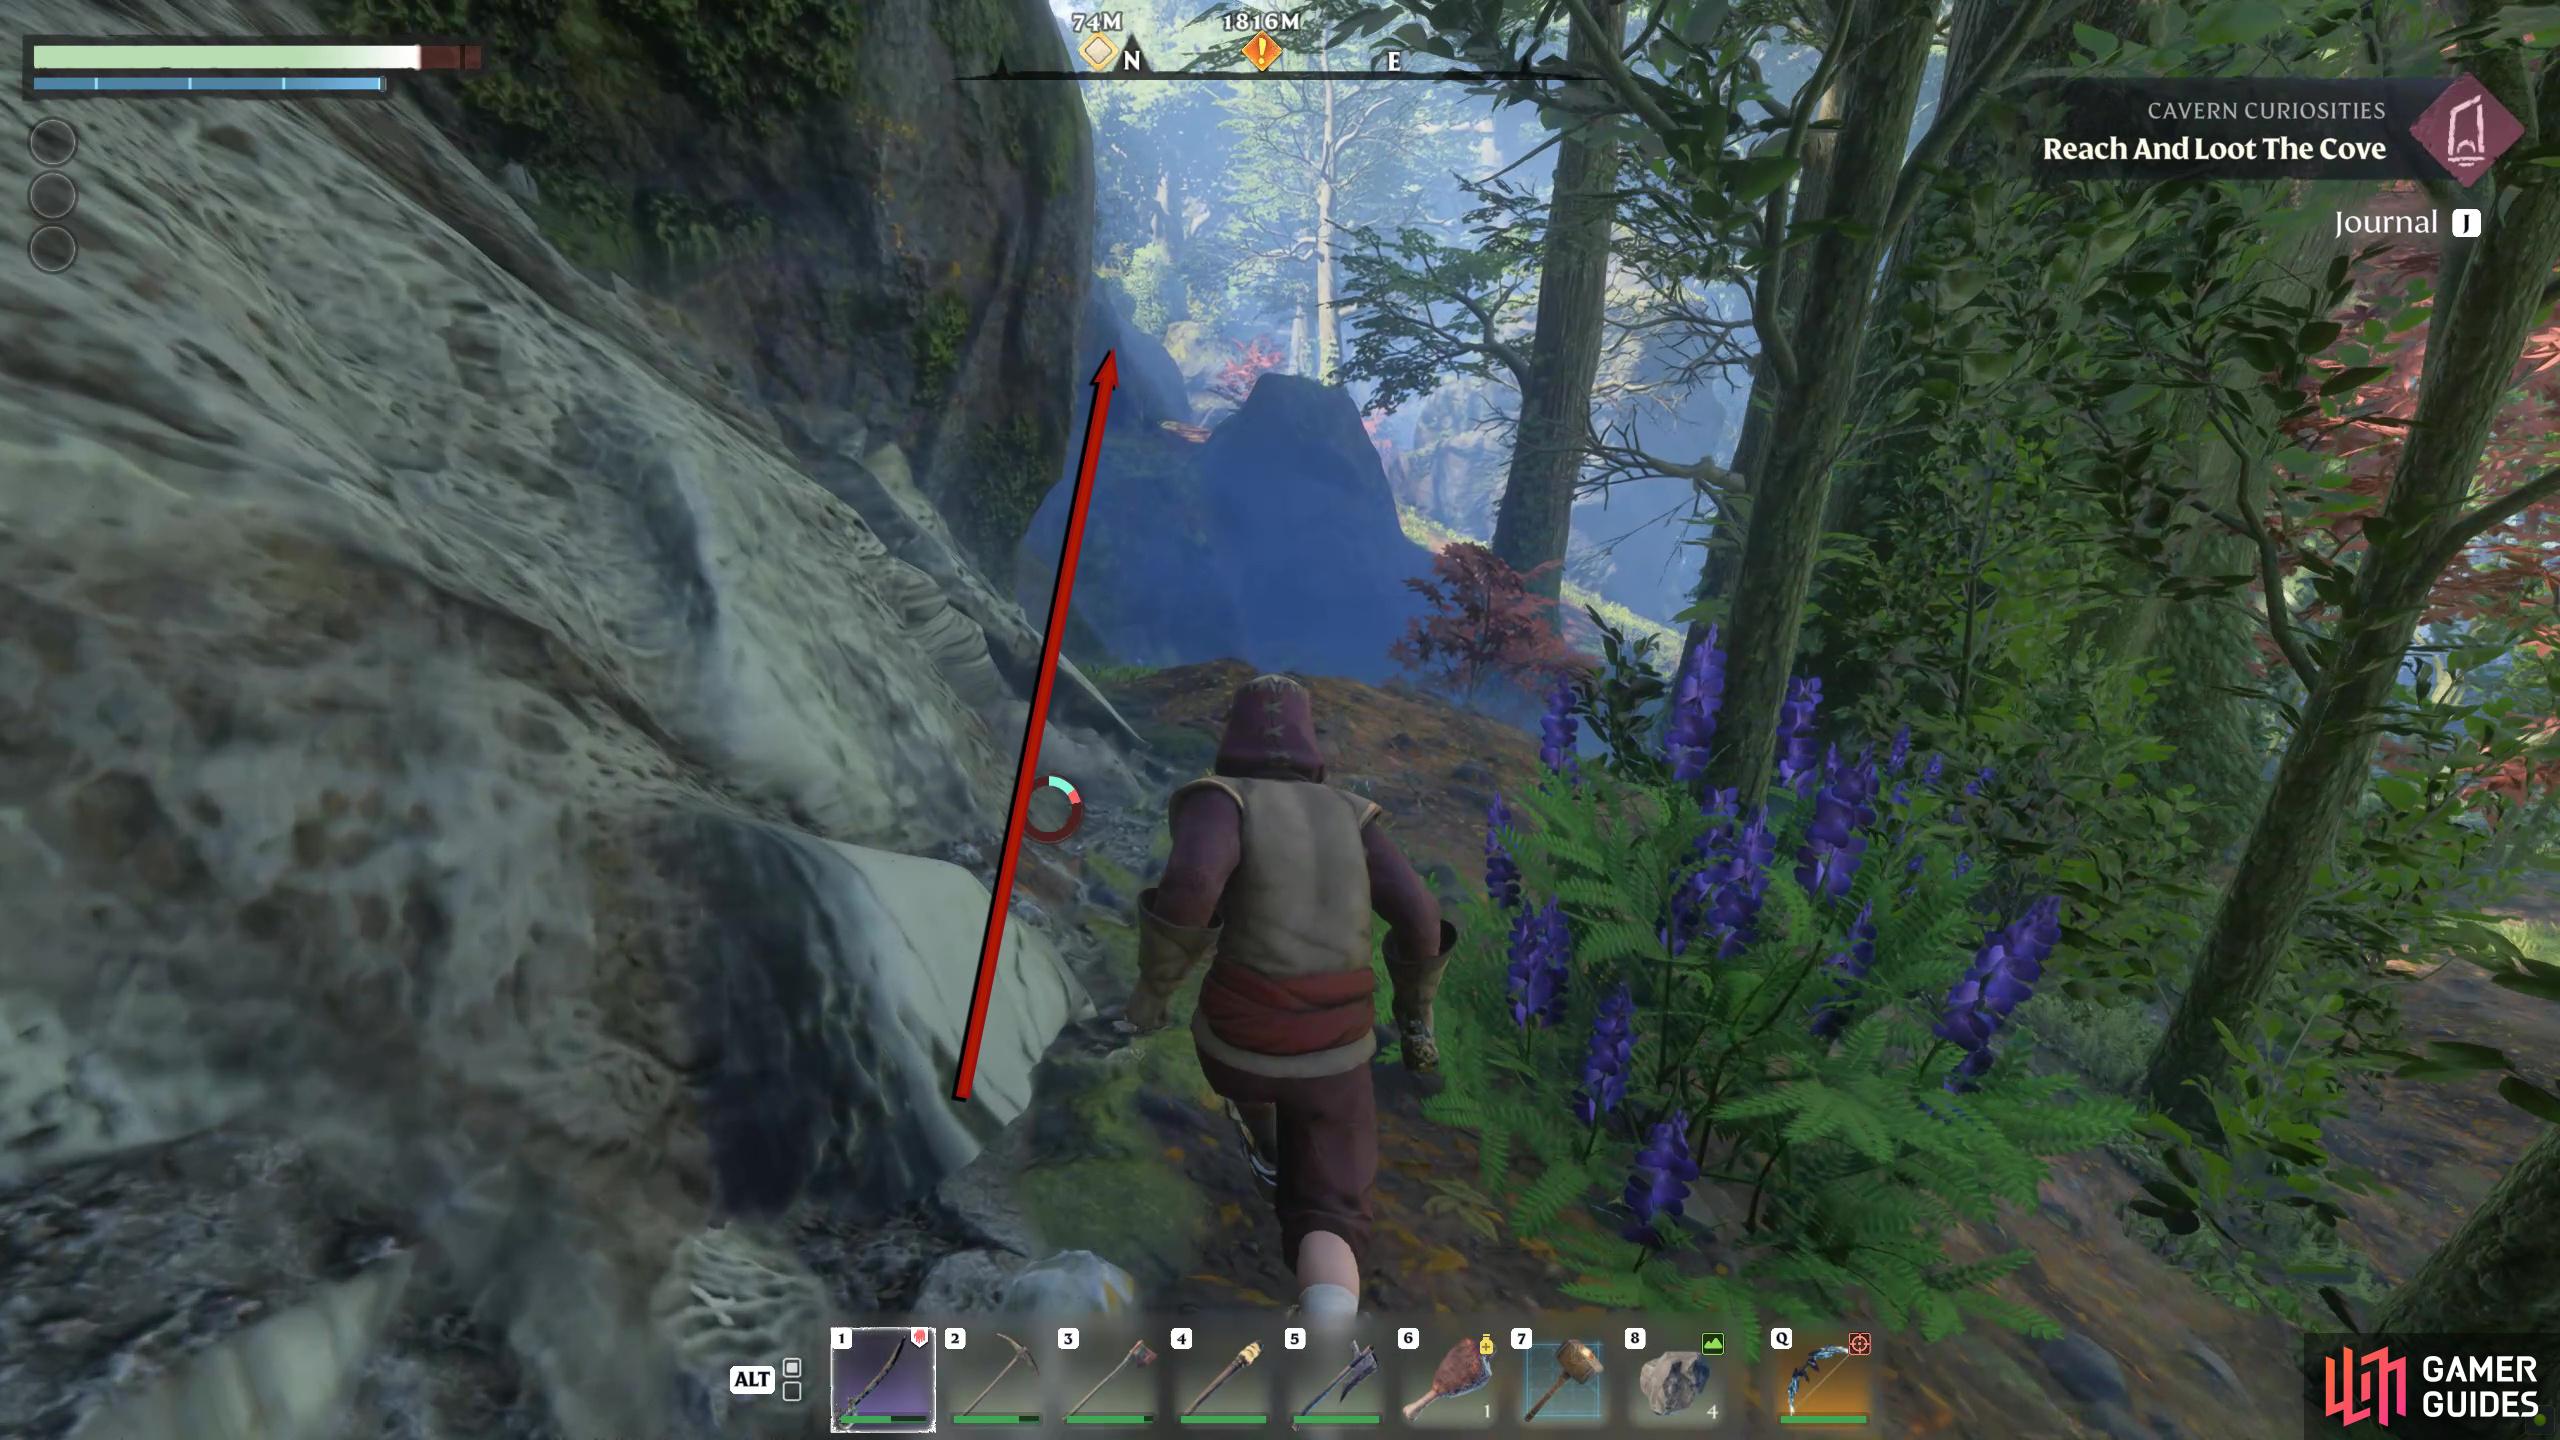
(1 of 7) Make your way to the Ancient Vault - Farmer by heading north from the Springlands Spire.
Inside the cave, follow the tunnel west until you reach the back, and then take the northern tunnel to find a wooden platform leading to another area below. Look down from the wooden platform and you’ll find a grapple point. Grapple or drop onto the next wooden platform, and turn your camera to the northeast, where you’ll see the Shroud Root. Drop to the floor below and make your way to the Root. When you approach it, you’ll get ambushed by some Critters. Defeat them, chop up the Root, but don’t leave just yet. Instead, you’ll find a few chests in the area. There are a couple of regular chests in the tents, a gold chest on top of the wooden platform in the northeast, and a regular chest under the adjacent wooden platform.

 Sign up
No Comments