The Vukah Brawler is one of the first bosses that you’ll encounter in Enshrouded. You’ll find it in the Low Meadows region, located in the far southeastern part of the starting area. The regular Vukah are easy enough to deal with, but their champion brawler is something else entirely. On this page, we’ll show you how to defeat the Vukah Brawler boss, including how to avoid its most devastating attacks.

You’ll find the Vukah Brawler boss at the Vukah Ceremony Hill in Enshrouded.
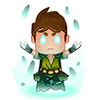
Location of the Vukah Ceremony Hill
The Vukah Brawler is first mentioned in the entry for the Vukah Ceremony side quest. This quest has only one objective, which is to defeat the Vukah Brawler, and you should first gain access to the quest when you upgrade the Flame Altar to level two. If you don’t get it at that point, just keep completing the available quests and continue to upgrade the altar. You’ll also need to make a habit of speaking with your crafting NPCs, who often have things to say which relate to starting new quests.
Once you get the Vukah Ceremony quest, you’ll soon realize that you need to travel to the Low Meadows to find the Vukah Ceremony Hill. This is a good time to explore and activate the Ancient Spire within the Low Meadows region, if you haven’t done so already. We strongly recommend doing this first, mostly because it provides easy access to the region, but it’ll also serve as a quick way to get back to the boss if you fail the first few attempts to defeat it.
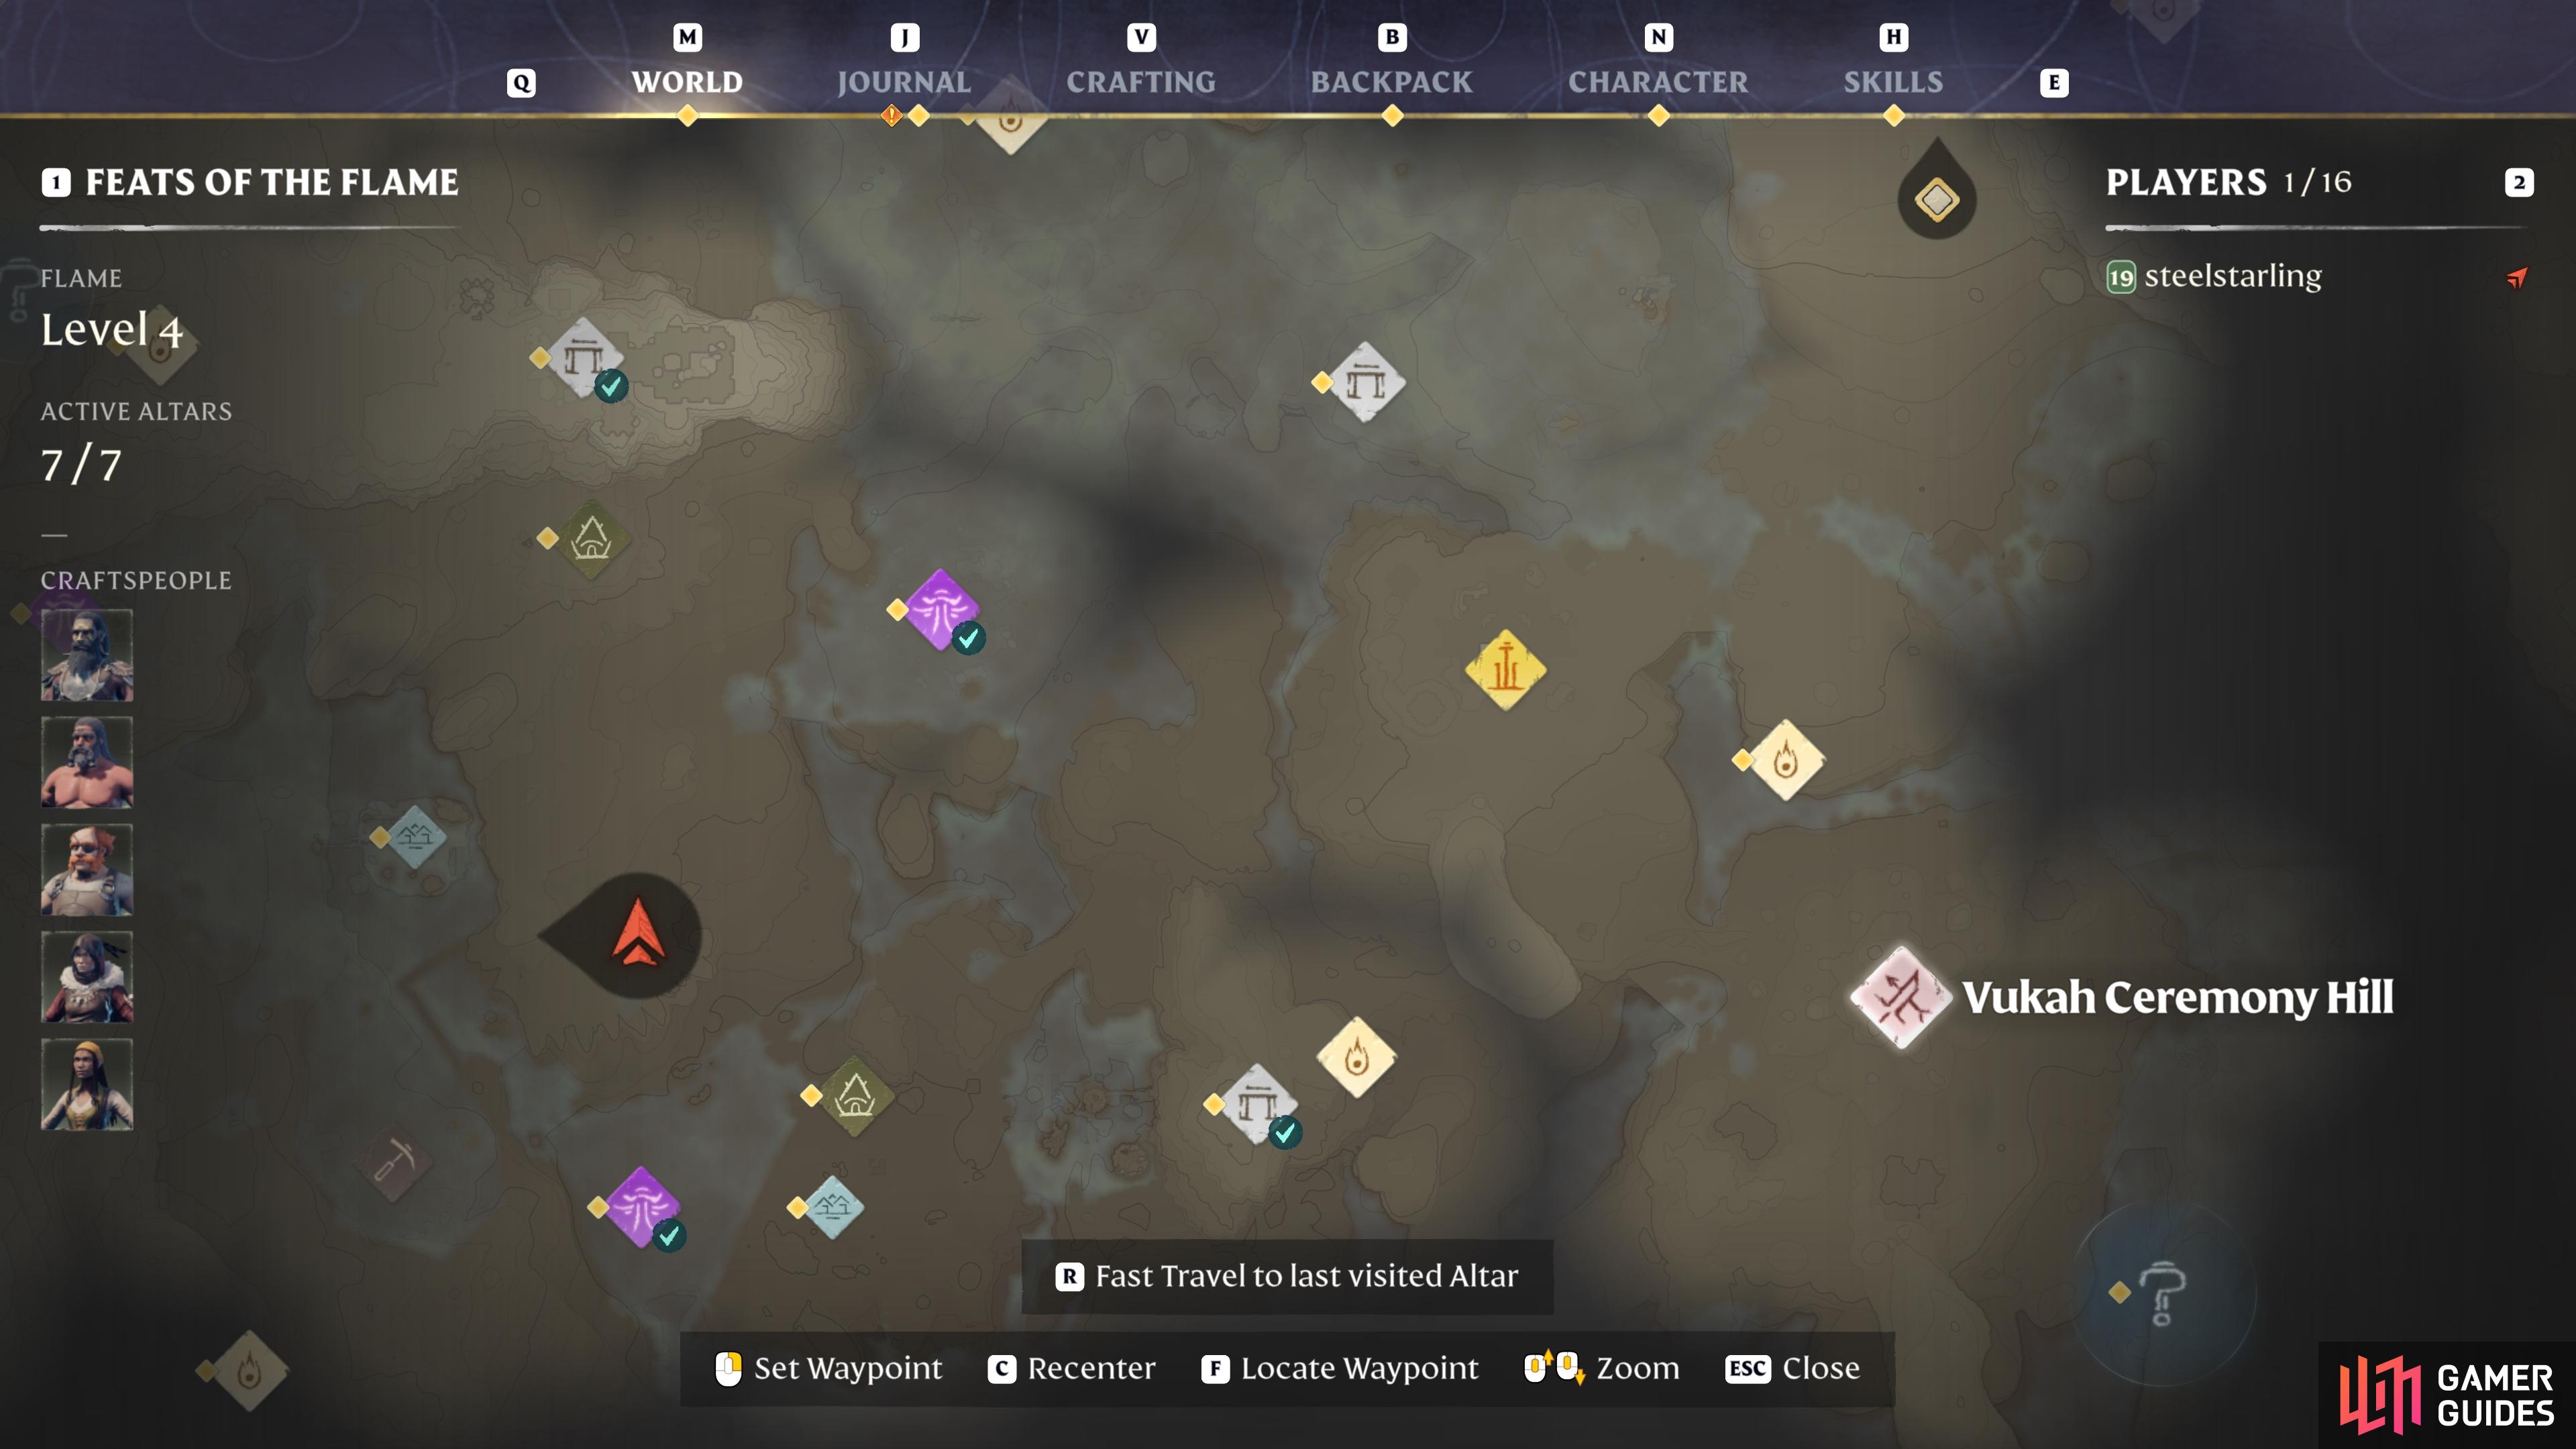
After activating the fast travel point at the Ancient Spire, all you need to do is glide toward the southeast to find the Vukah Ceremony Hill. As you get closer, you should see the hill come into view, with several Vukah enemies patrolling around it. The Vukah Brawler can be found at the top of the hill in a kind of battle arena, so be ready to fight it as soon as you reach the top.
(1 of 2) The location of the Vukah Ceremony Hill, southeast of the Low Meadows Ancient Spire.
The location of the Vukah Ceremony Hill, southeast of the Low Meadows Ancient Spire. (left), You can glide toward the hill to see the Vukah Brawler at its center point. (right)
How to Defeat the Vukah Brawler
The initial approach that you take to confront the Vukah Brawler will be slightly different depending on your playstyle. The first thing you’ll want to do, however, is defeat any Vukah enemies in the surrounding area that could threaten to enter the arena while you’re fighting the boss. These are fairly weak opponents, so it shouldn’t cause you much trouble. When all of them are dead, you’ll need to consider your approach to starting the fight.
The main difference in the approach to starting this fight will come down to whether you’re primarily a melee or ranged-based class. Any ranged class will be able to take advantage of getting a few hits on the boss at the start of the fight before it gets within melee range, but the main difference here comes for anyone who has invested in the Sneak Attack skill, which deals a massive 10x damage to unaware enemies.
This is the perfect way to start the fight if you have the Sneak Attack, but you’ll need to sneak up on the boss from behind to execute it. This is harder than it sounds, especially with the additional Vukah present within the battle arena, so you may want to kill these first, run away, and then come back to retrigger the fight when the boss is alone. None of the additional enemies will repsawn until you relog, so you can clear everything before you start.
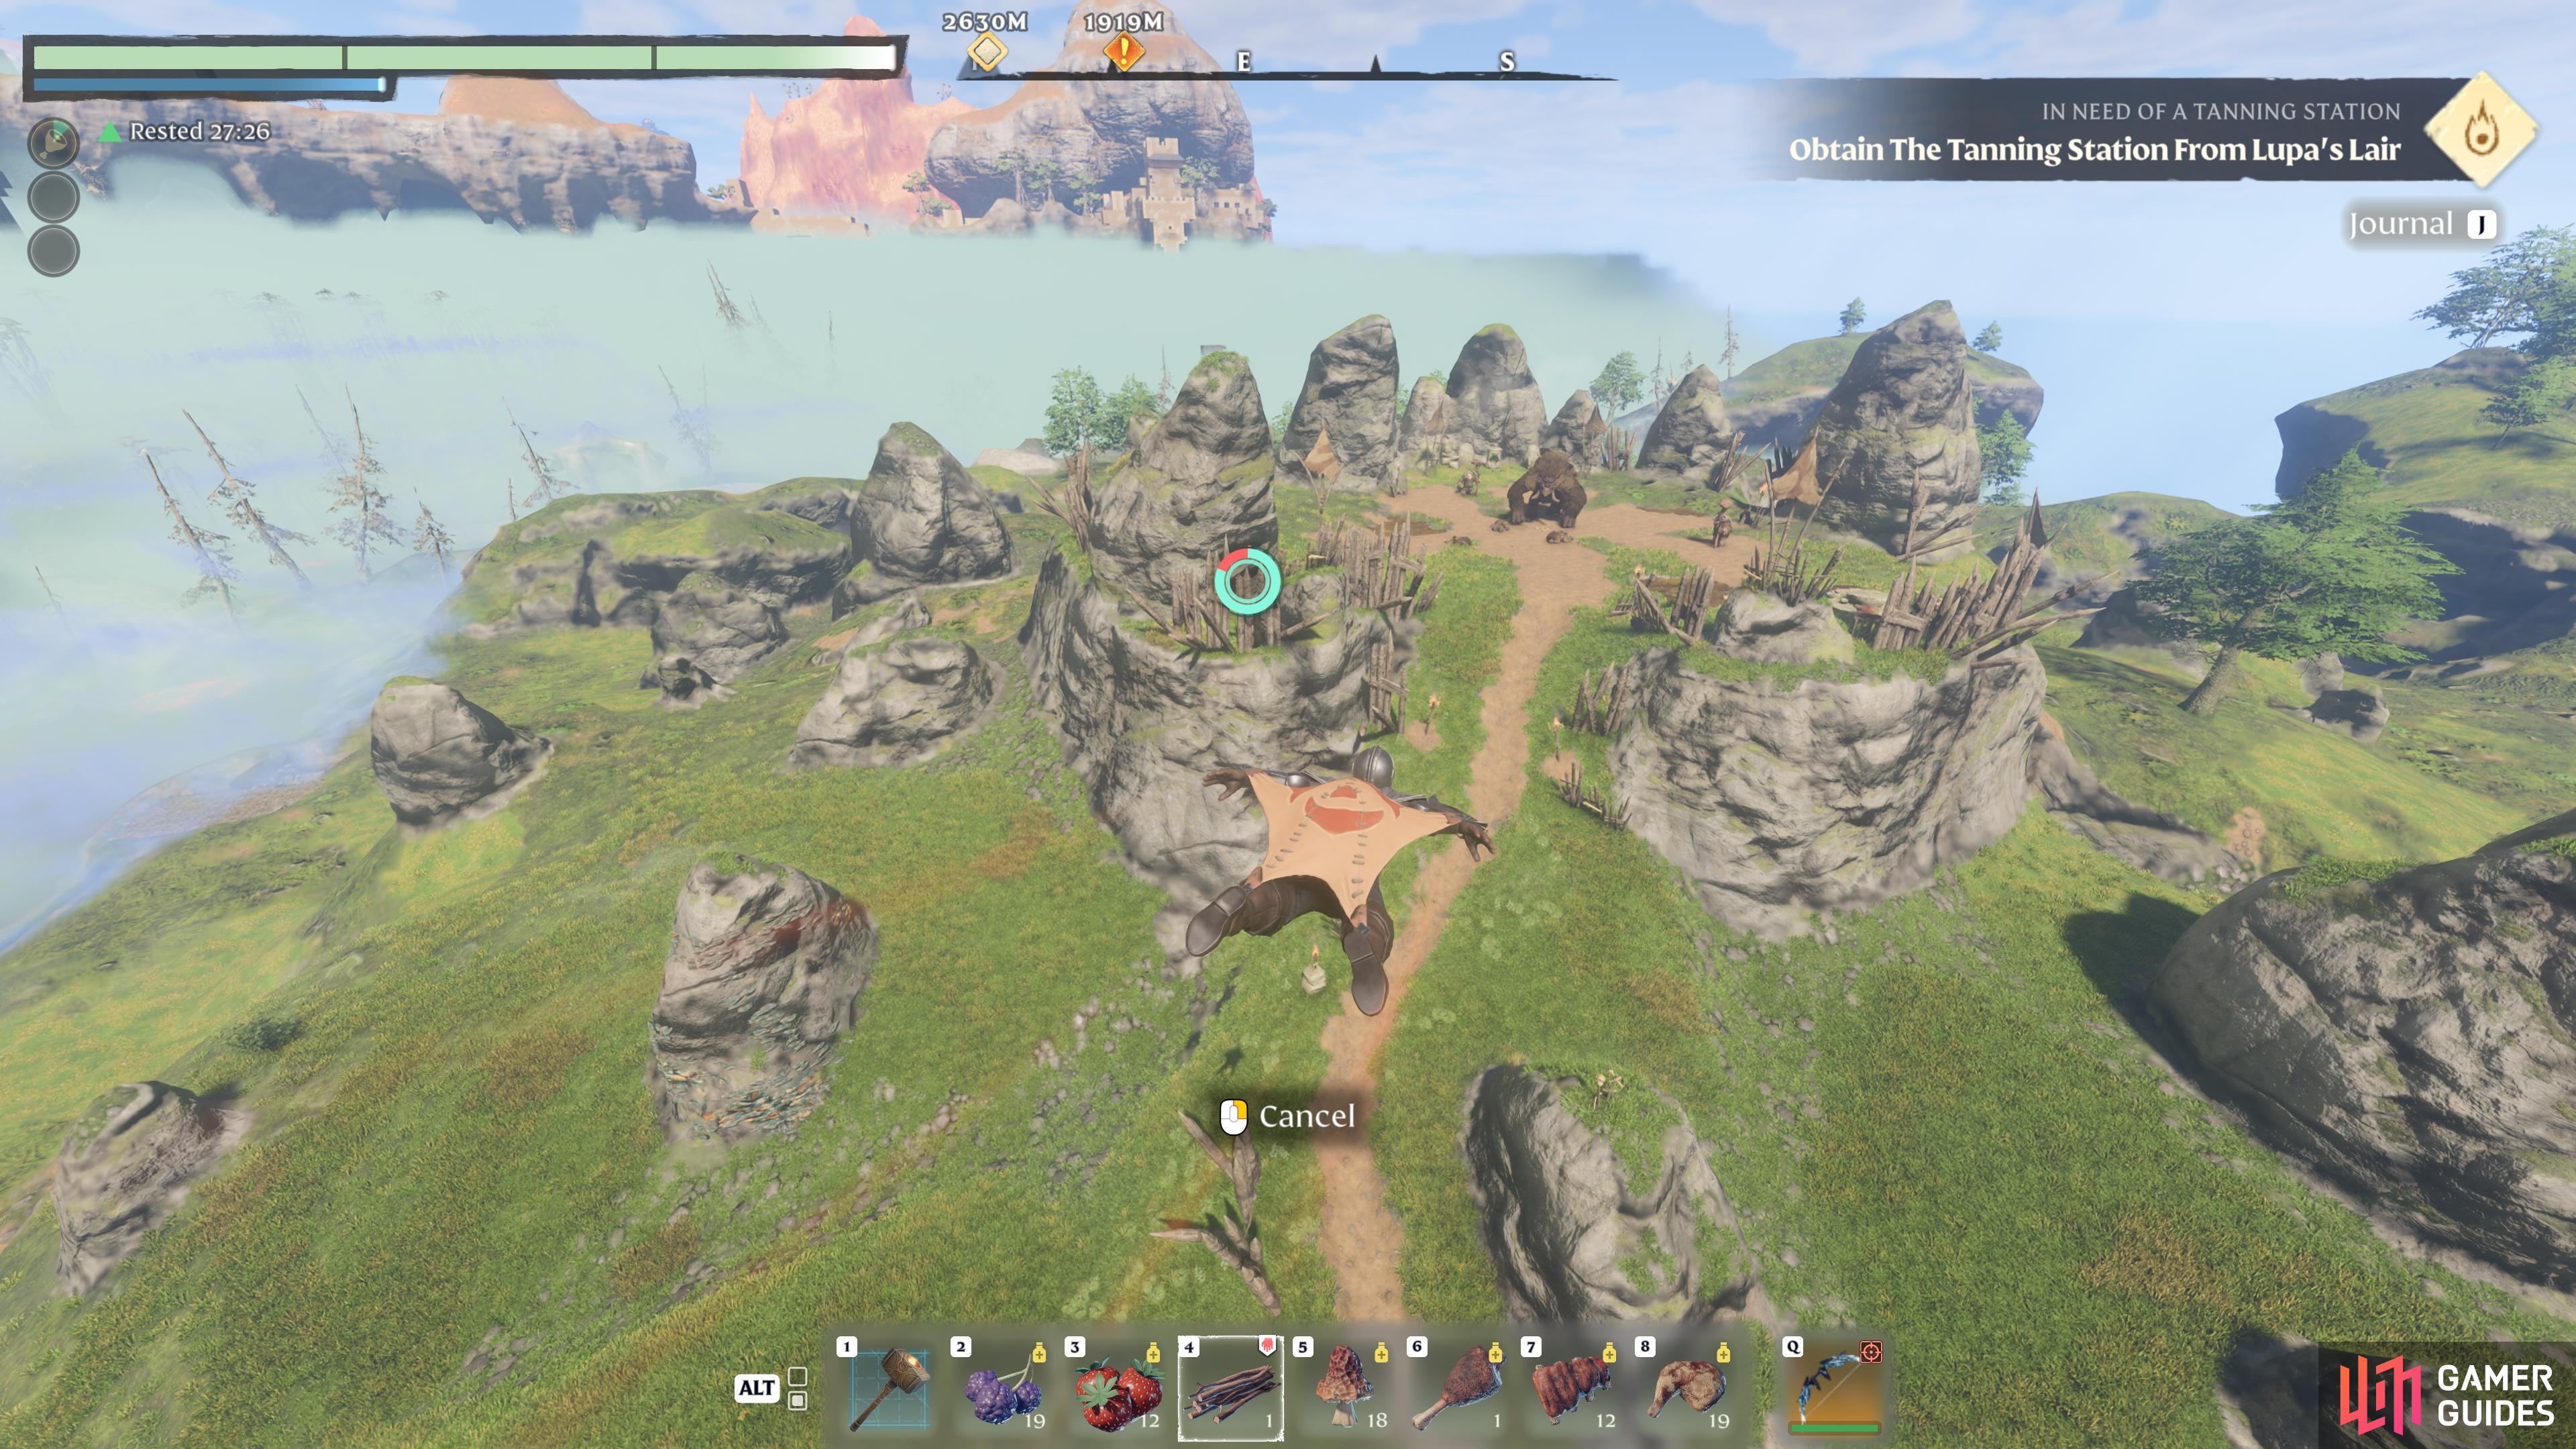
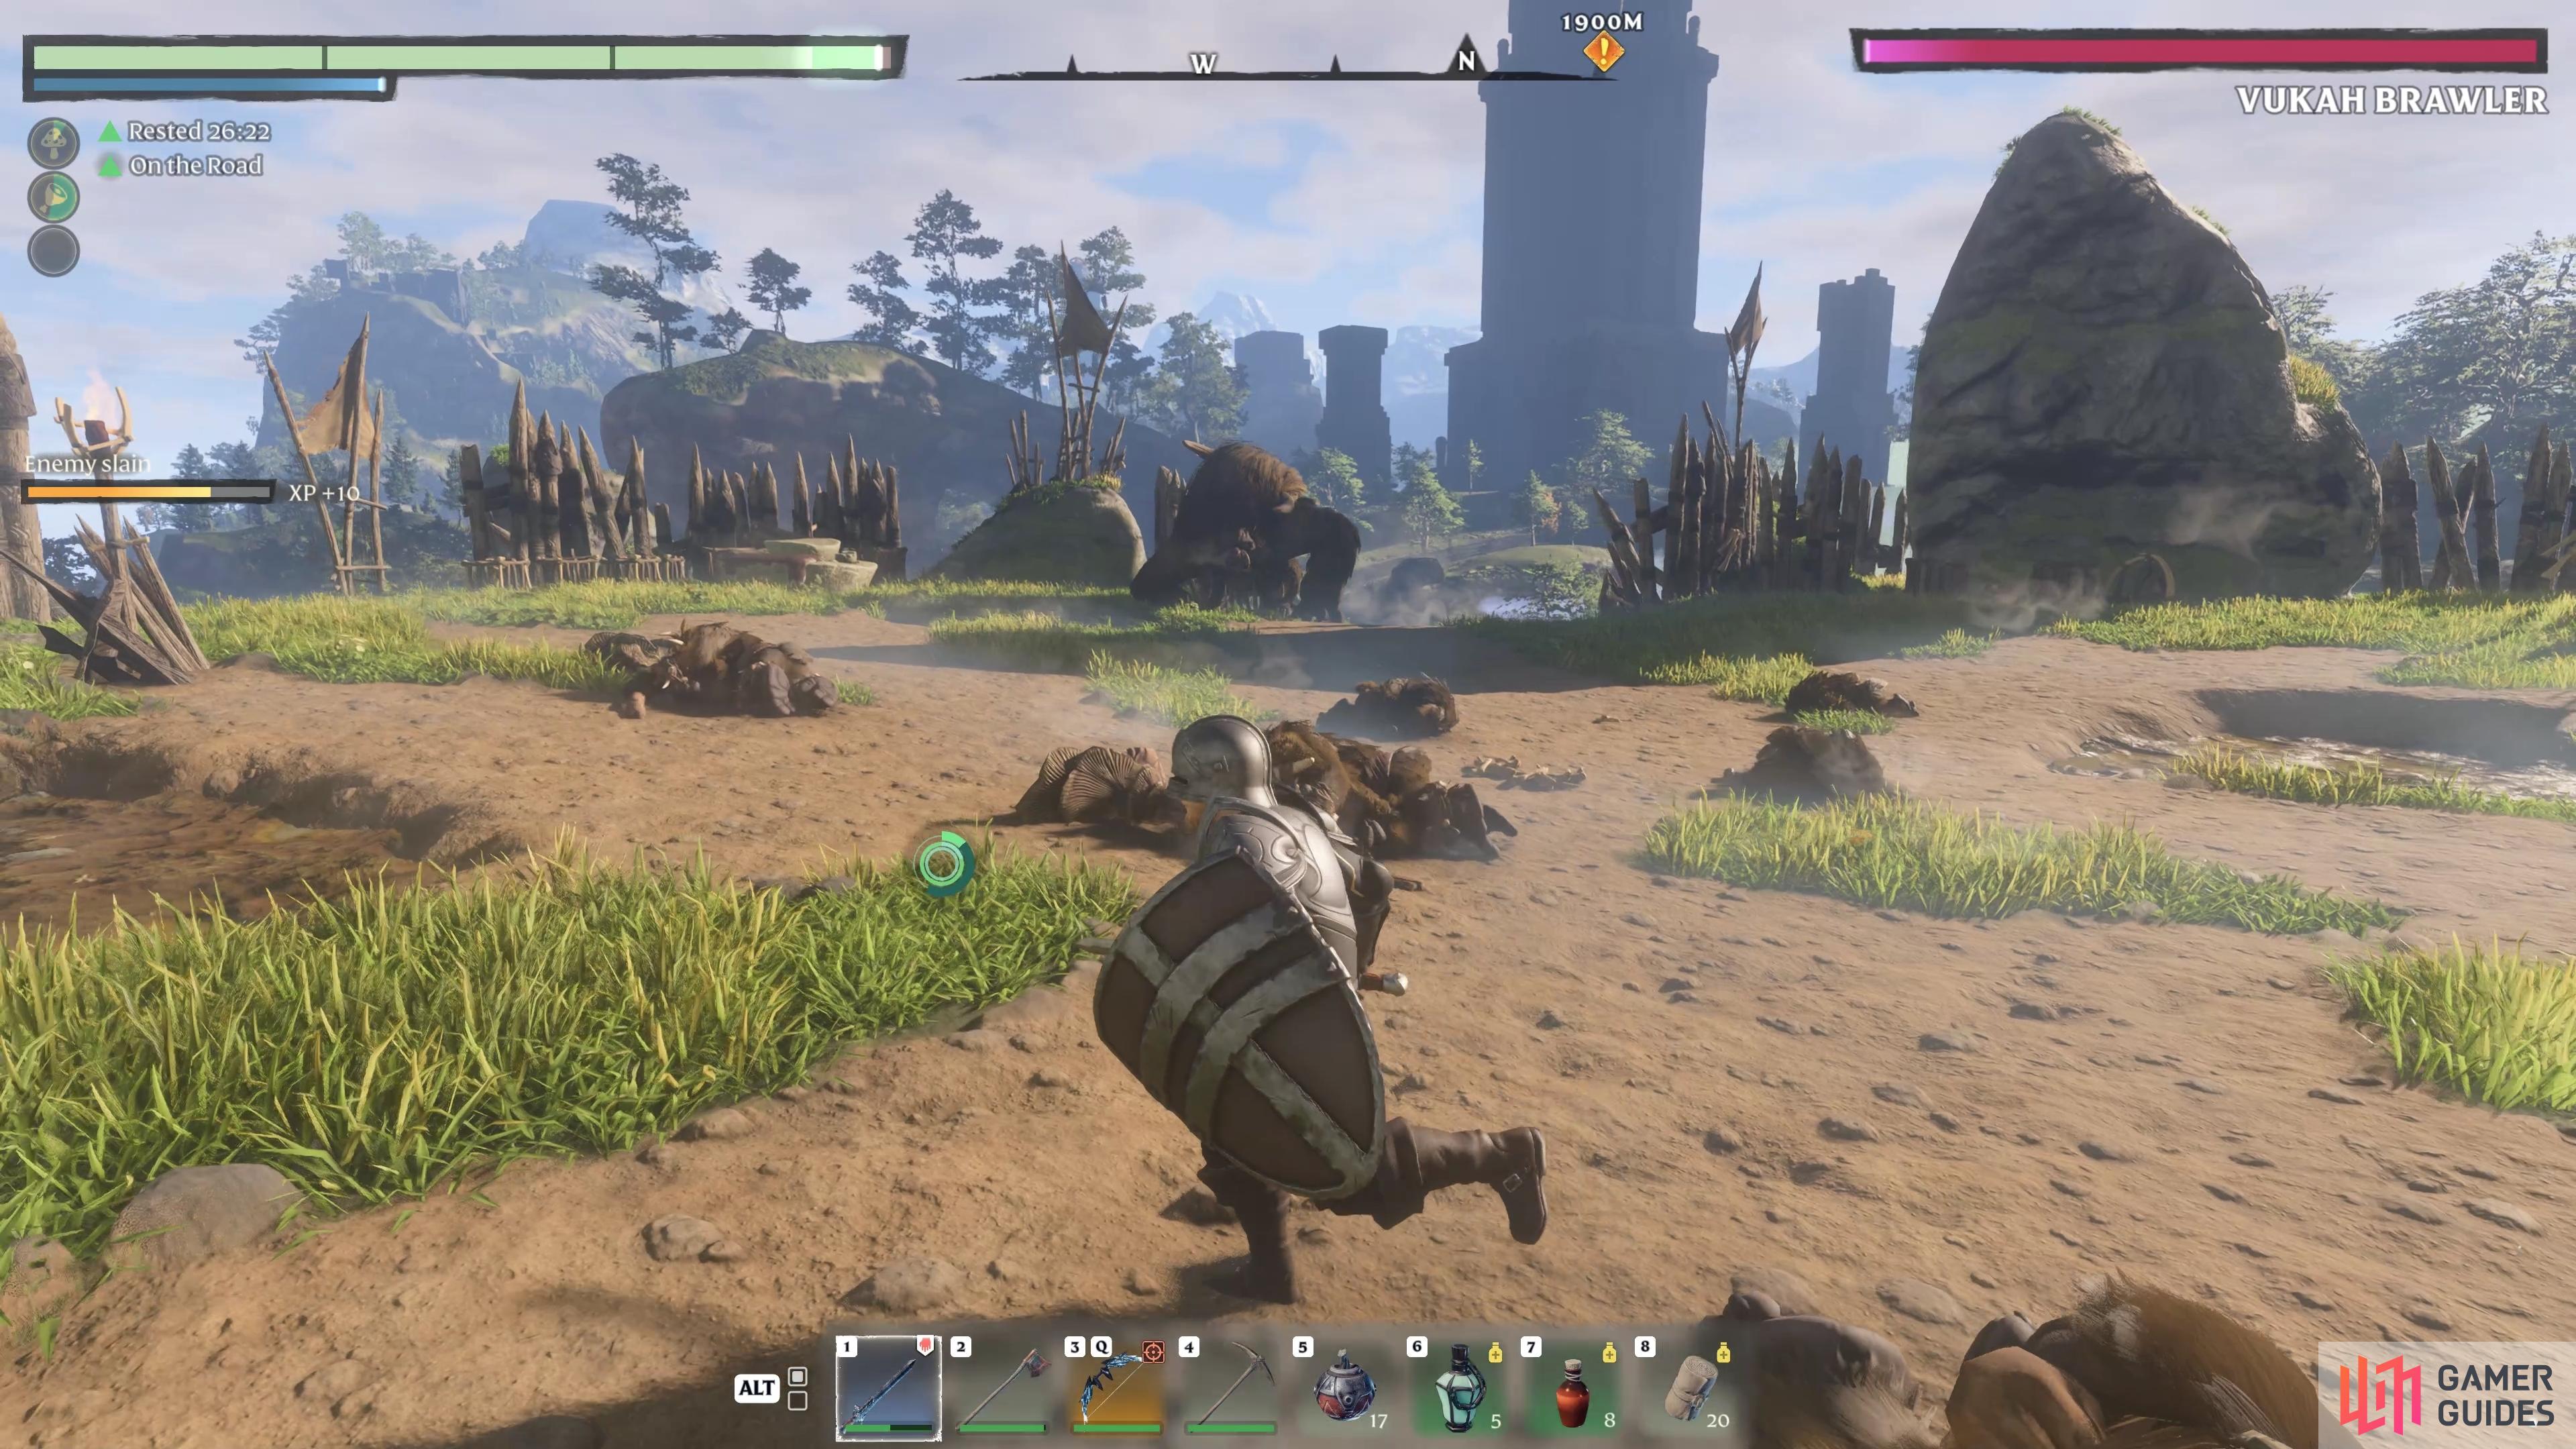
(1 of 2) Be sure to kill the lesser Vukah that surround the hill so they don’t interfere with the boss fight.
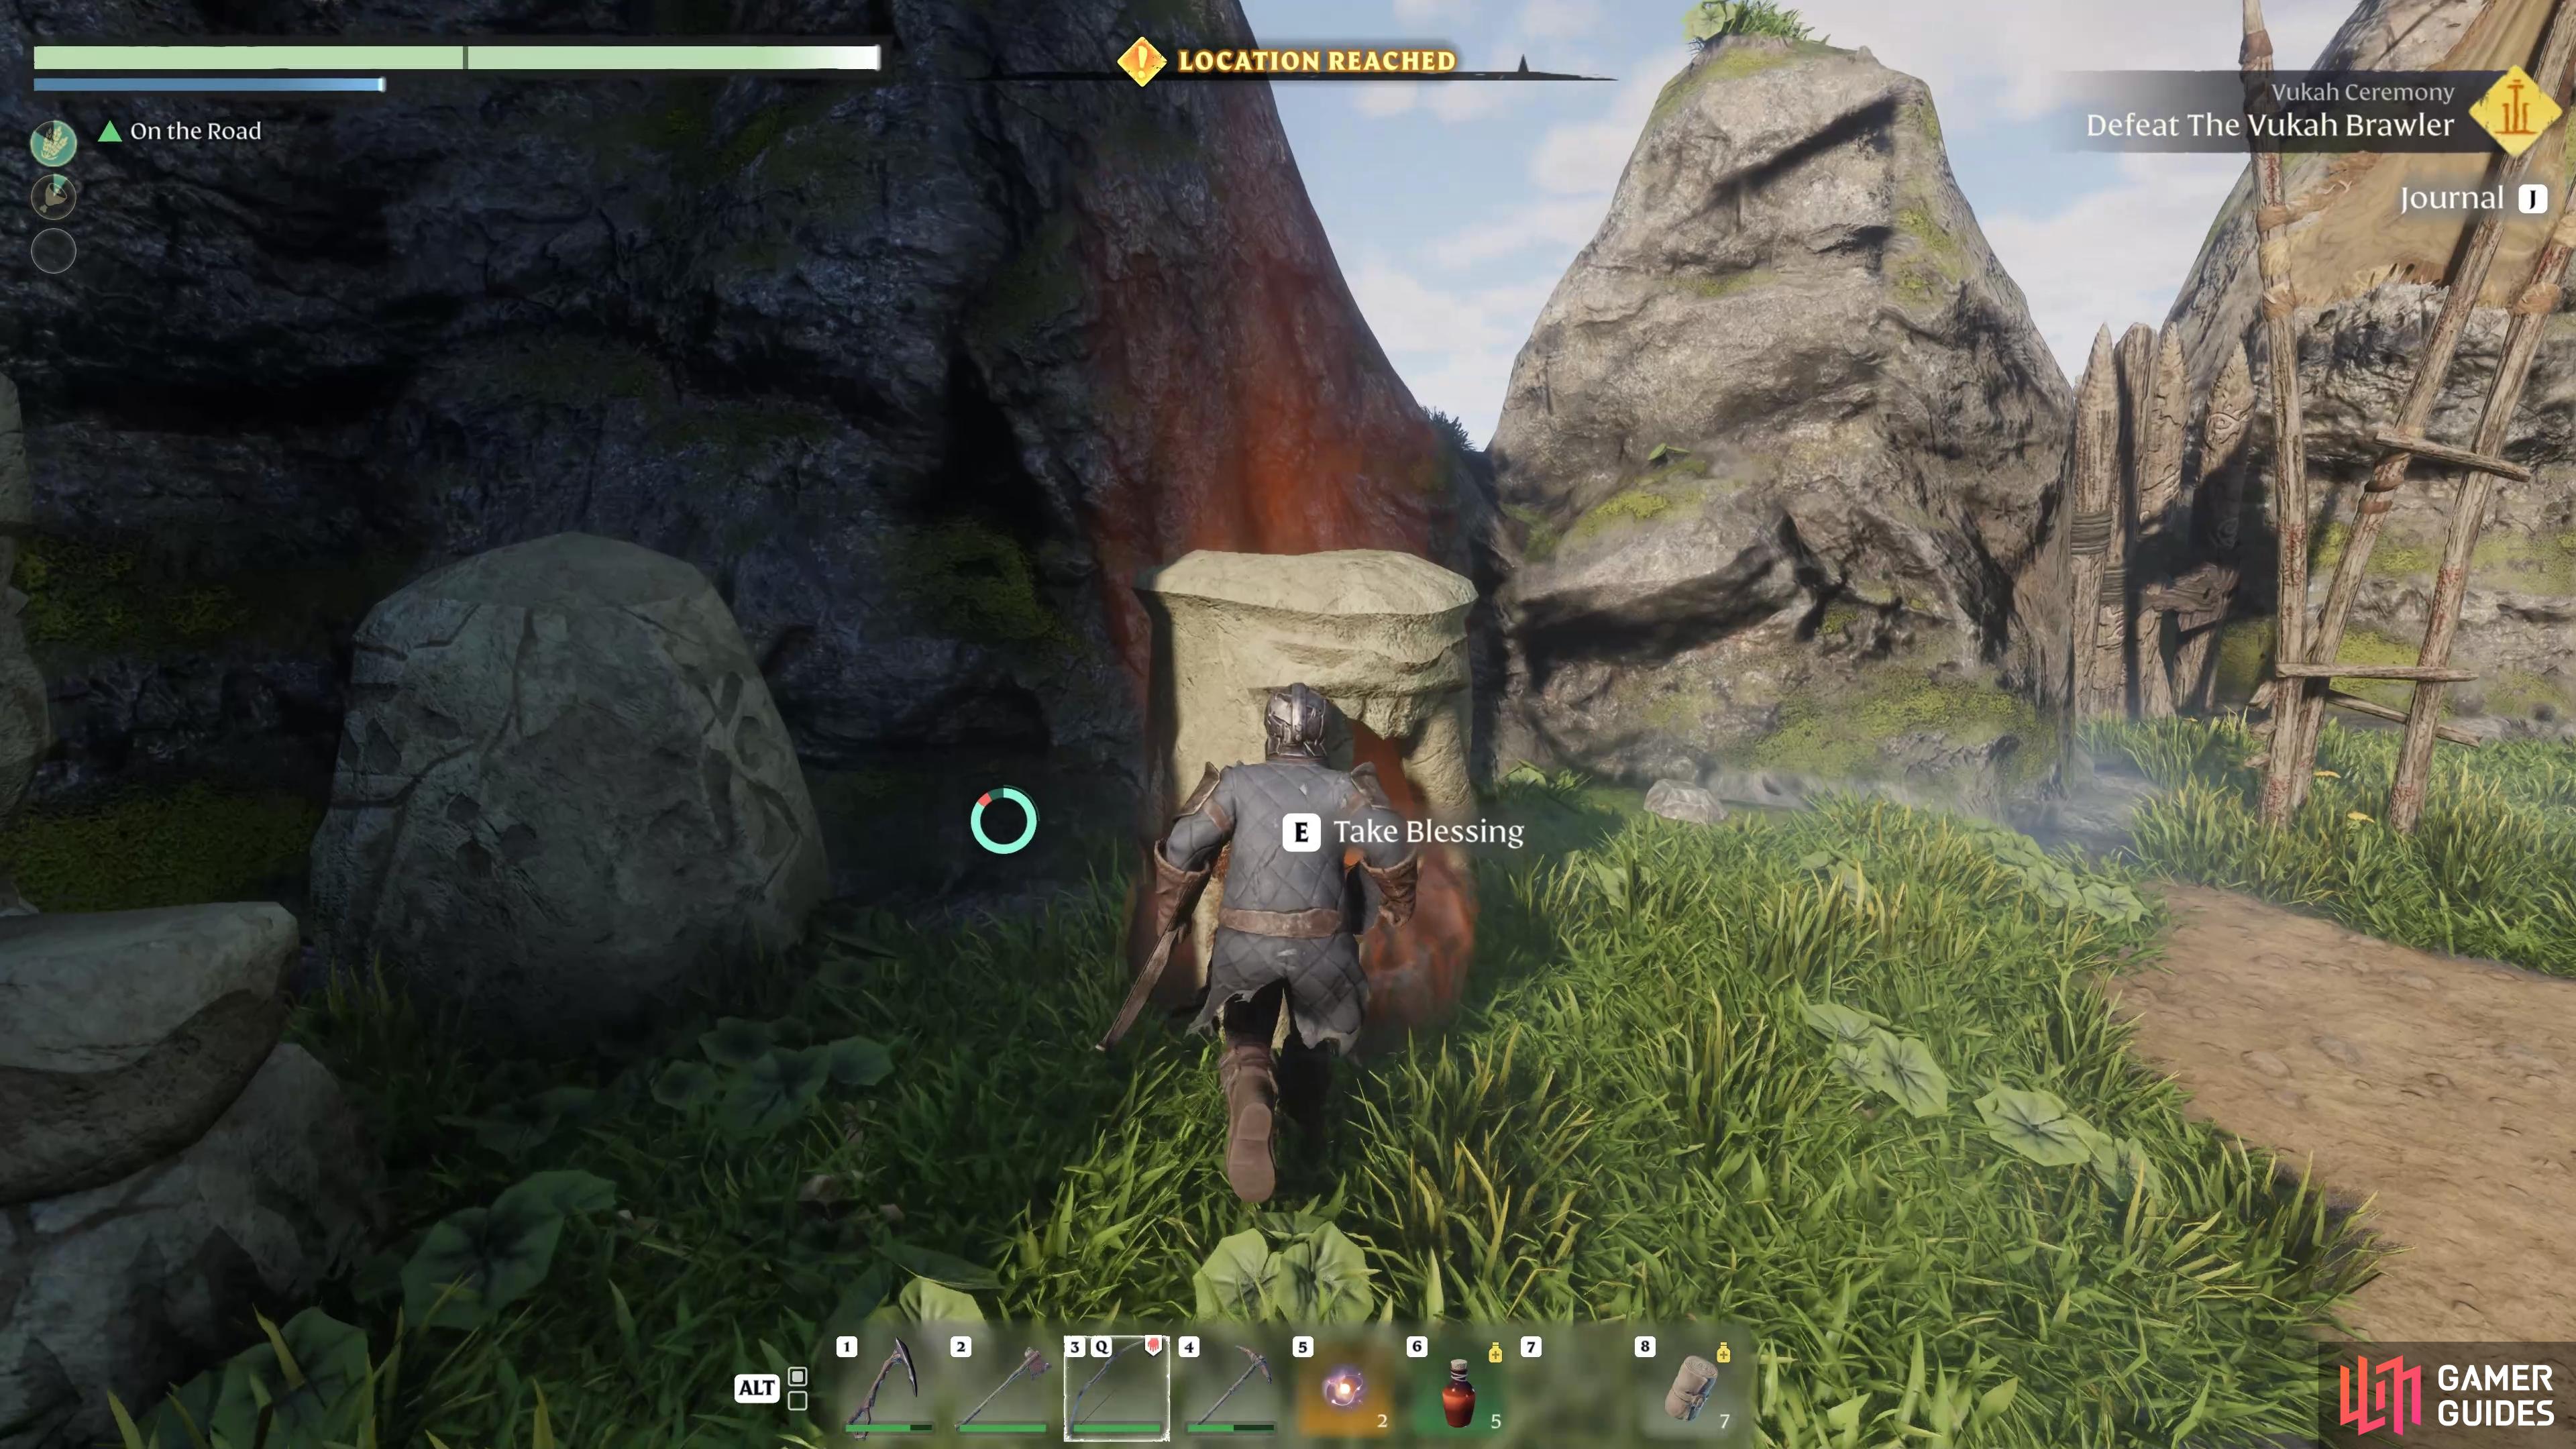
Be sure to kill the lesser Vukah that surround the hill so they don’t interfere with the boss fight. (left), You can interact with the stone totem to receive a Vukah blessing for some extra buffs. (right)
One final thing to note before you enter the arena, is that you can interact with a stone totem located at the back to receive a Vukah blessing buff that shows up as “Vuk’ahrrrrr”. The buffs you get from this aren’t specified, but after testing we found that it boosted our maximum health and stamina primarily, but it also increased our melee damage slightly. However, the results may vary depending on your build since we weren’t able to test with another build. Either way, it’s worth getting as you start the fight, but be ready to evade any incoming attacks from the boss in the process!
Vukah Brawler Attacks
So, you’ve cleared all the lesser Vukah and it’s now just you and the boss. If you want to survive this encounter, you’ll need to learn how to avoid its three main attacks. These come in the form of a lethal dive attack, and two melee attacks where the boss will either smash the ground or swipe at you with its long arms. We’ll explain how to avoid all three below.
Dive Attack
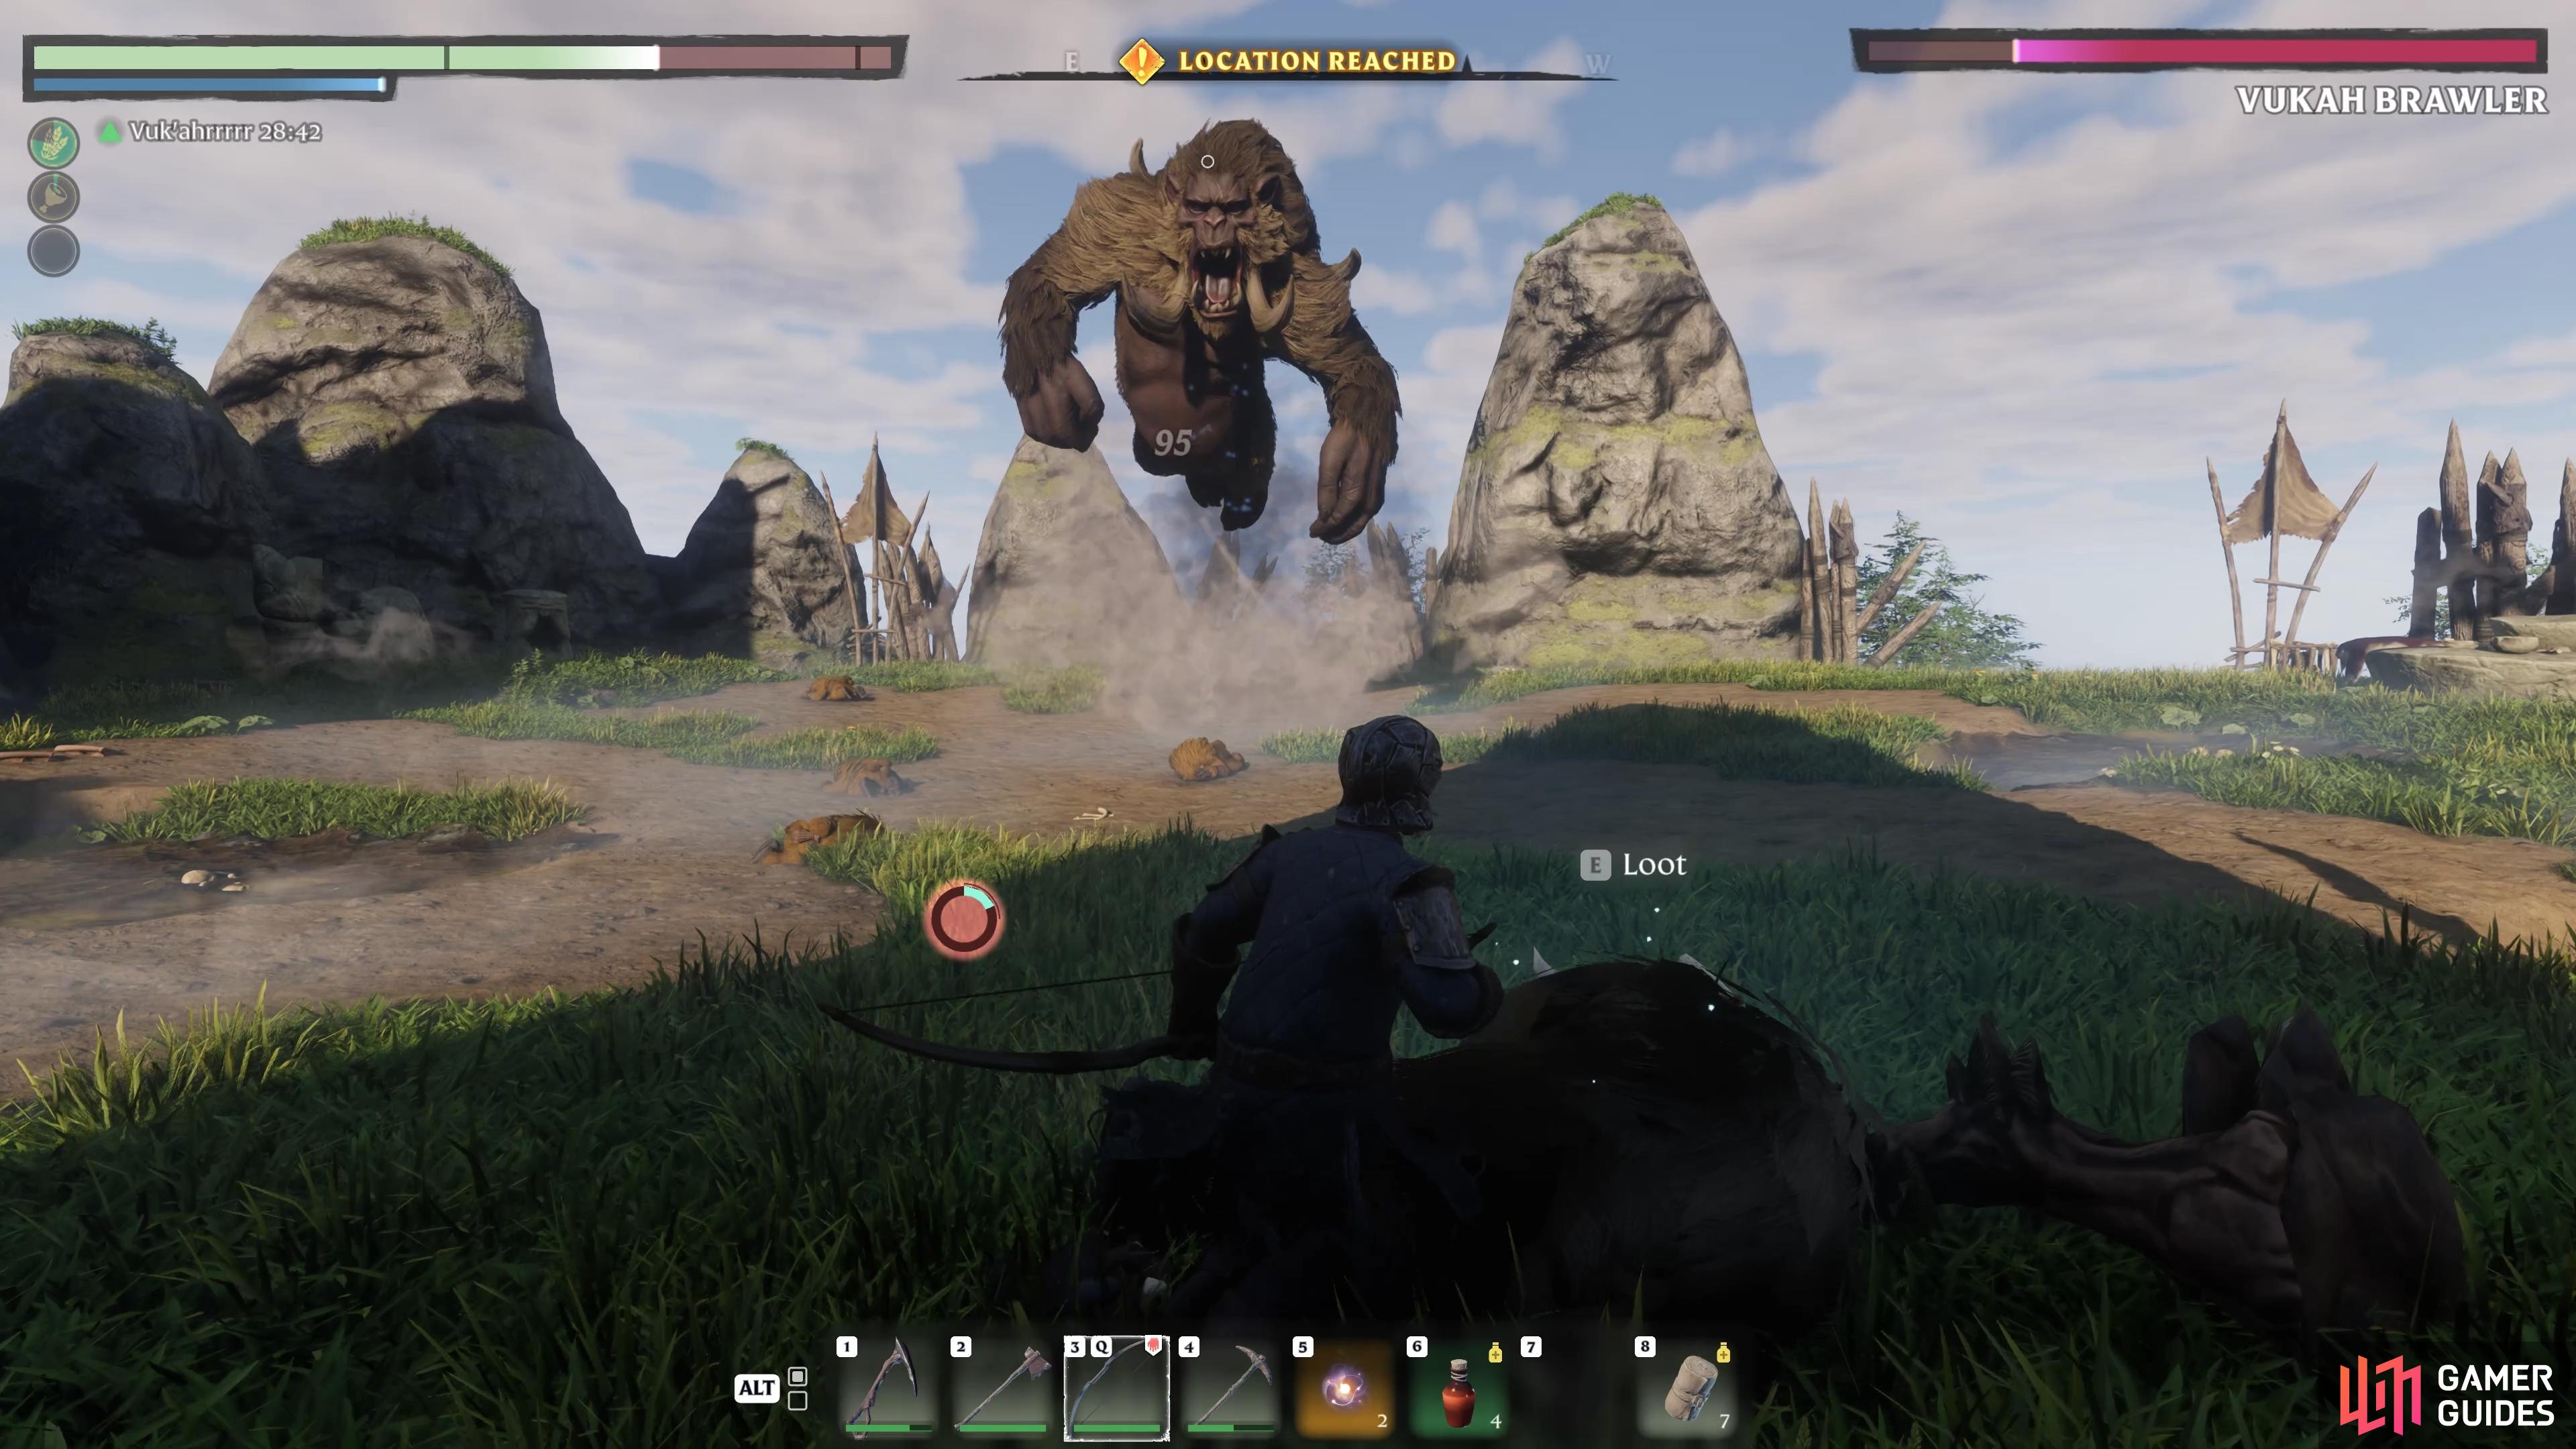
The dive attack that the Vukah Brawler can perform is arguably its most dangerous. The dive will inflict massive damage, even to heavily armored builds, so you really don’t want to get caught by this multiple times in a row. The boss will execute this attack pretty much whenever you’re at a distance from it, so ranged classes in particular will want to perfect the methods for evading it.
Thankfully, the animation for the dive attack is easy to spot just before it’s executed. You’ll see the boss move closer to the ground as it prepares to leap forward, and this is your cue to be ready to dodge-roll to evade the attack. You can try to dodge either to the left or the right, away from the boss, but the most effective method is actually to dive into the direction that the boss is coming from, with a slight angle either to the left or the right.
(1 of 2) Be ready to move when you see the boss enter this stance just before it dives at you.
Be ready to move when you see the boss enter this stance just before it dives at you. (left), You need to dodge-roll or sprint into or away from the boss to avoid its dive attack. (right)
We found this to be the most reliable way to dodge-roll away from the dive attack, but it may take some practice. It may also be that you find a better way that you feel more comfortable with since it is possible to dodge away to the left or right, and still avoid the attack. Do whatever works for you, but we highly recommend dodge-rolling into the boss for consistency. If you’re feeling brave, you can just try to run or sprint slightly to the side of the boss whenever it dives, as this will often ensure that you avoid the attack, but it’s slightly less reliable than the dodge-roll at times.
Smash & Swipe Attack
The only other attacks that the boss can use are a smash and swipe attack, both of which generally only occur when you get too close to the boss within melee range. The brawler will either pound its chest just before executing the attack, giving you plenty of time to get out of the way, or it will immediately begin to smash the ground or swipe at you, which is slightly more difficult to avoid. Either way, the time window of the animation for the smash/swipe is much more generous than the one for the dive attack, so you should find it easier to avoid.
As you might expect, you’re much more likely to encounter the smash or swipe attack if you’re primarily using a melee-based build, so in some ways, those who prefer melee could have an easier time during this fight. With that said, you need to play to your strengths in terms of which method of attack provides the most amount of damage for your build, so we don’t advise trying to fight the boss in melee if you haven’t invested in that, unless you really can’t get the hang of avoiding the dive attack.
You can see a preview of the smash and swipe attacks in the screenshots below, giving you an idea of what they each look like. All you need to do is run away from these since the boss doesn’t track your location with the attacks as you move.

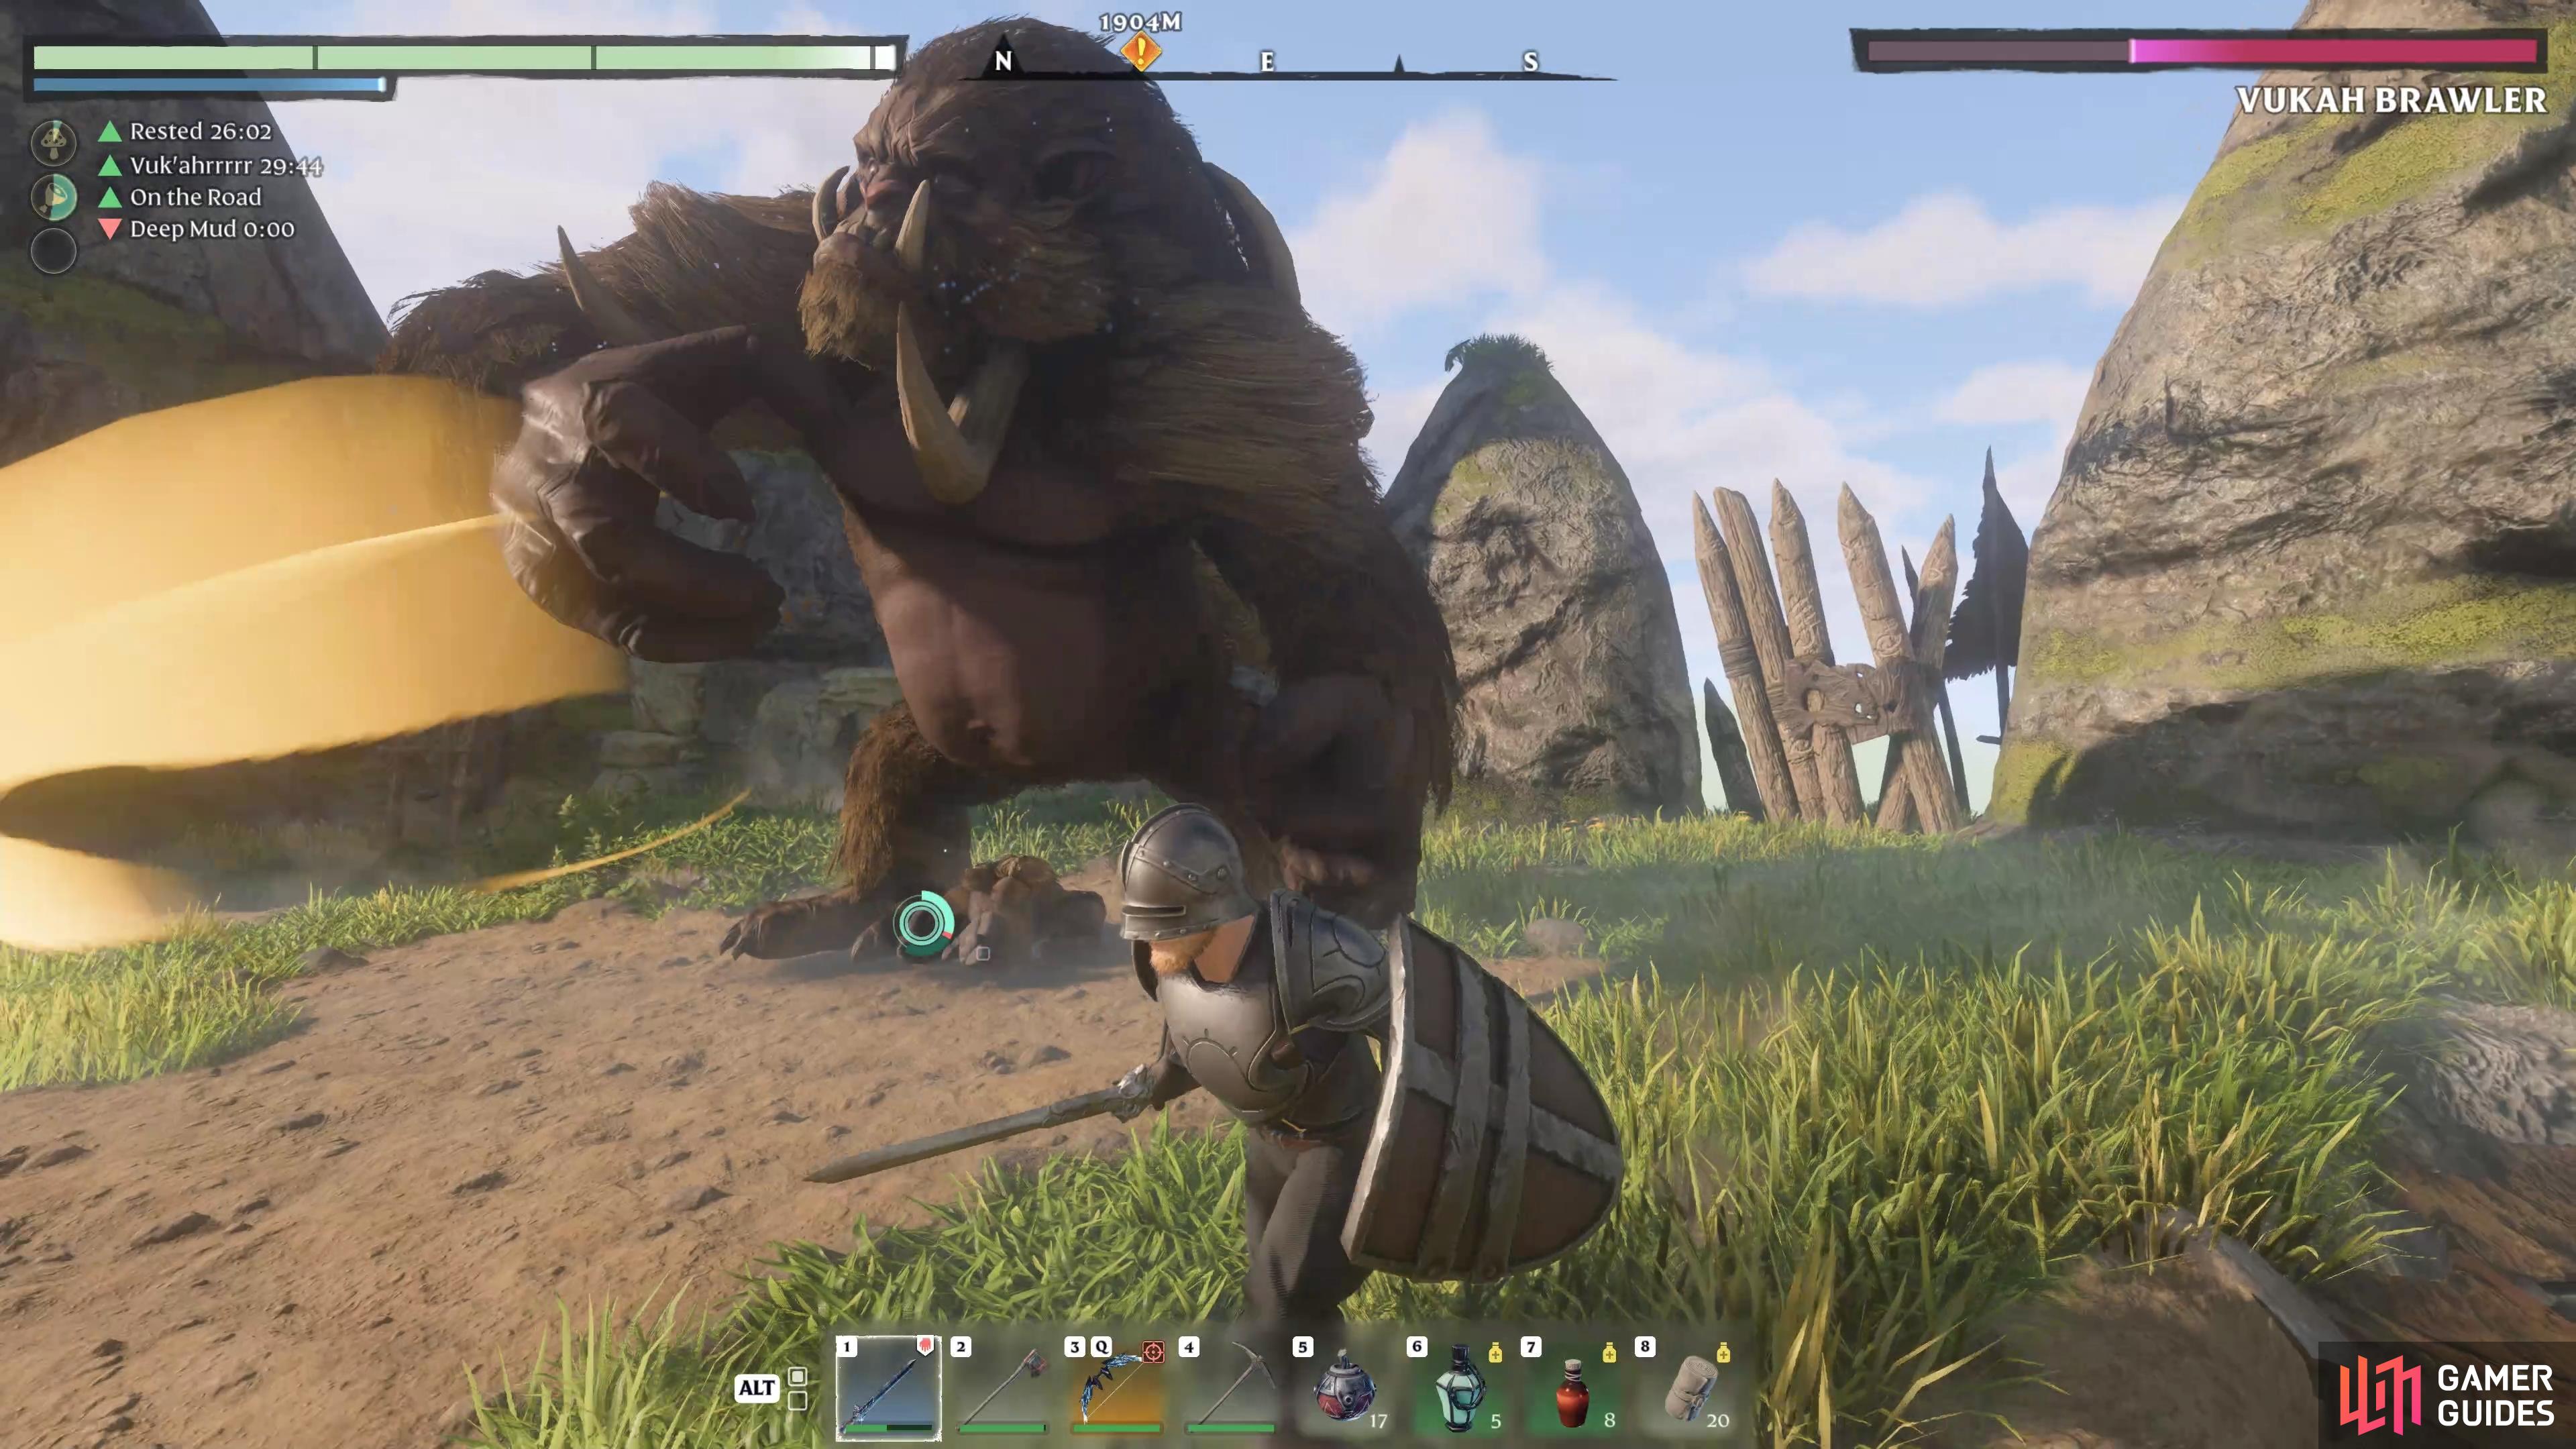
(1 of 2) The boss will smash the ground close to where it begins the attack, so you can easily run away.
The boss will smash the ground close to where it begins the attack, so you can easily run away. (left), You need to run further away from the swipe attack to avoid being hit. (right)
Avoid the Mud!
The only trouble that you might encounter when attempting to avoid either of the above attacks relates to the presence of mud in the arena. You’ll see the mud in brown patches, but they can be difficult to see at night, so we recommend fighting the boss during the day for the best visibility. It’s also important to note that although you’ll get the slowdown debuff instantly from the mud patches, you can also get it from the grass patches if you stay within them for too long. As a result, the best thing to do is to keep moving around the arena and not stay in one place for too long. You’ll find it much more difficult to avoid the attacks if you have lumps of mud stuck to your boots!
If you want to see some of the attacks described above in action, be sure to check our video below!
That just about covers our guide to the Vukah Brawler boss in Enshrouded. If you’re interested in improving your build to make these fights easier, see the links below for detailed guides on melee, ranged, and magic builds.

 Sign up
No Comments