The Fell Wispwyvern is one of the more difficult bosses that you’ll encounter in Enshrouded. You won’t meet it until you discover Pikemead’s Reach, the old capital city in the Revelwood region. The boss has several scripted attacks that can easily catch you off guard if you’re not prepared, so on this page we’ll show you how to avoid them and beat the boss for the Key to the Pike, which you’ll need to loot from the corpse of the Fell Wispwyvern if you want to explore the main keep in Pikemead’s Reach.
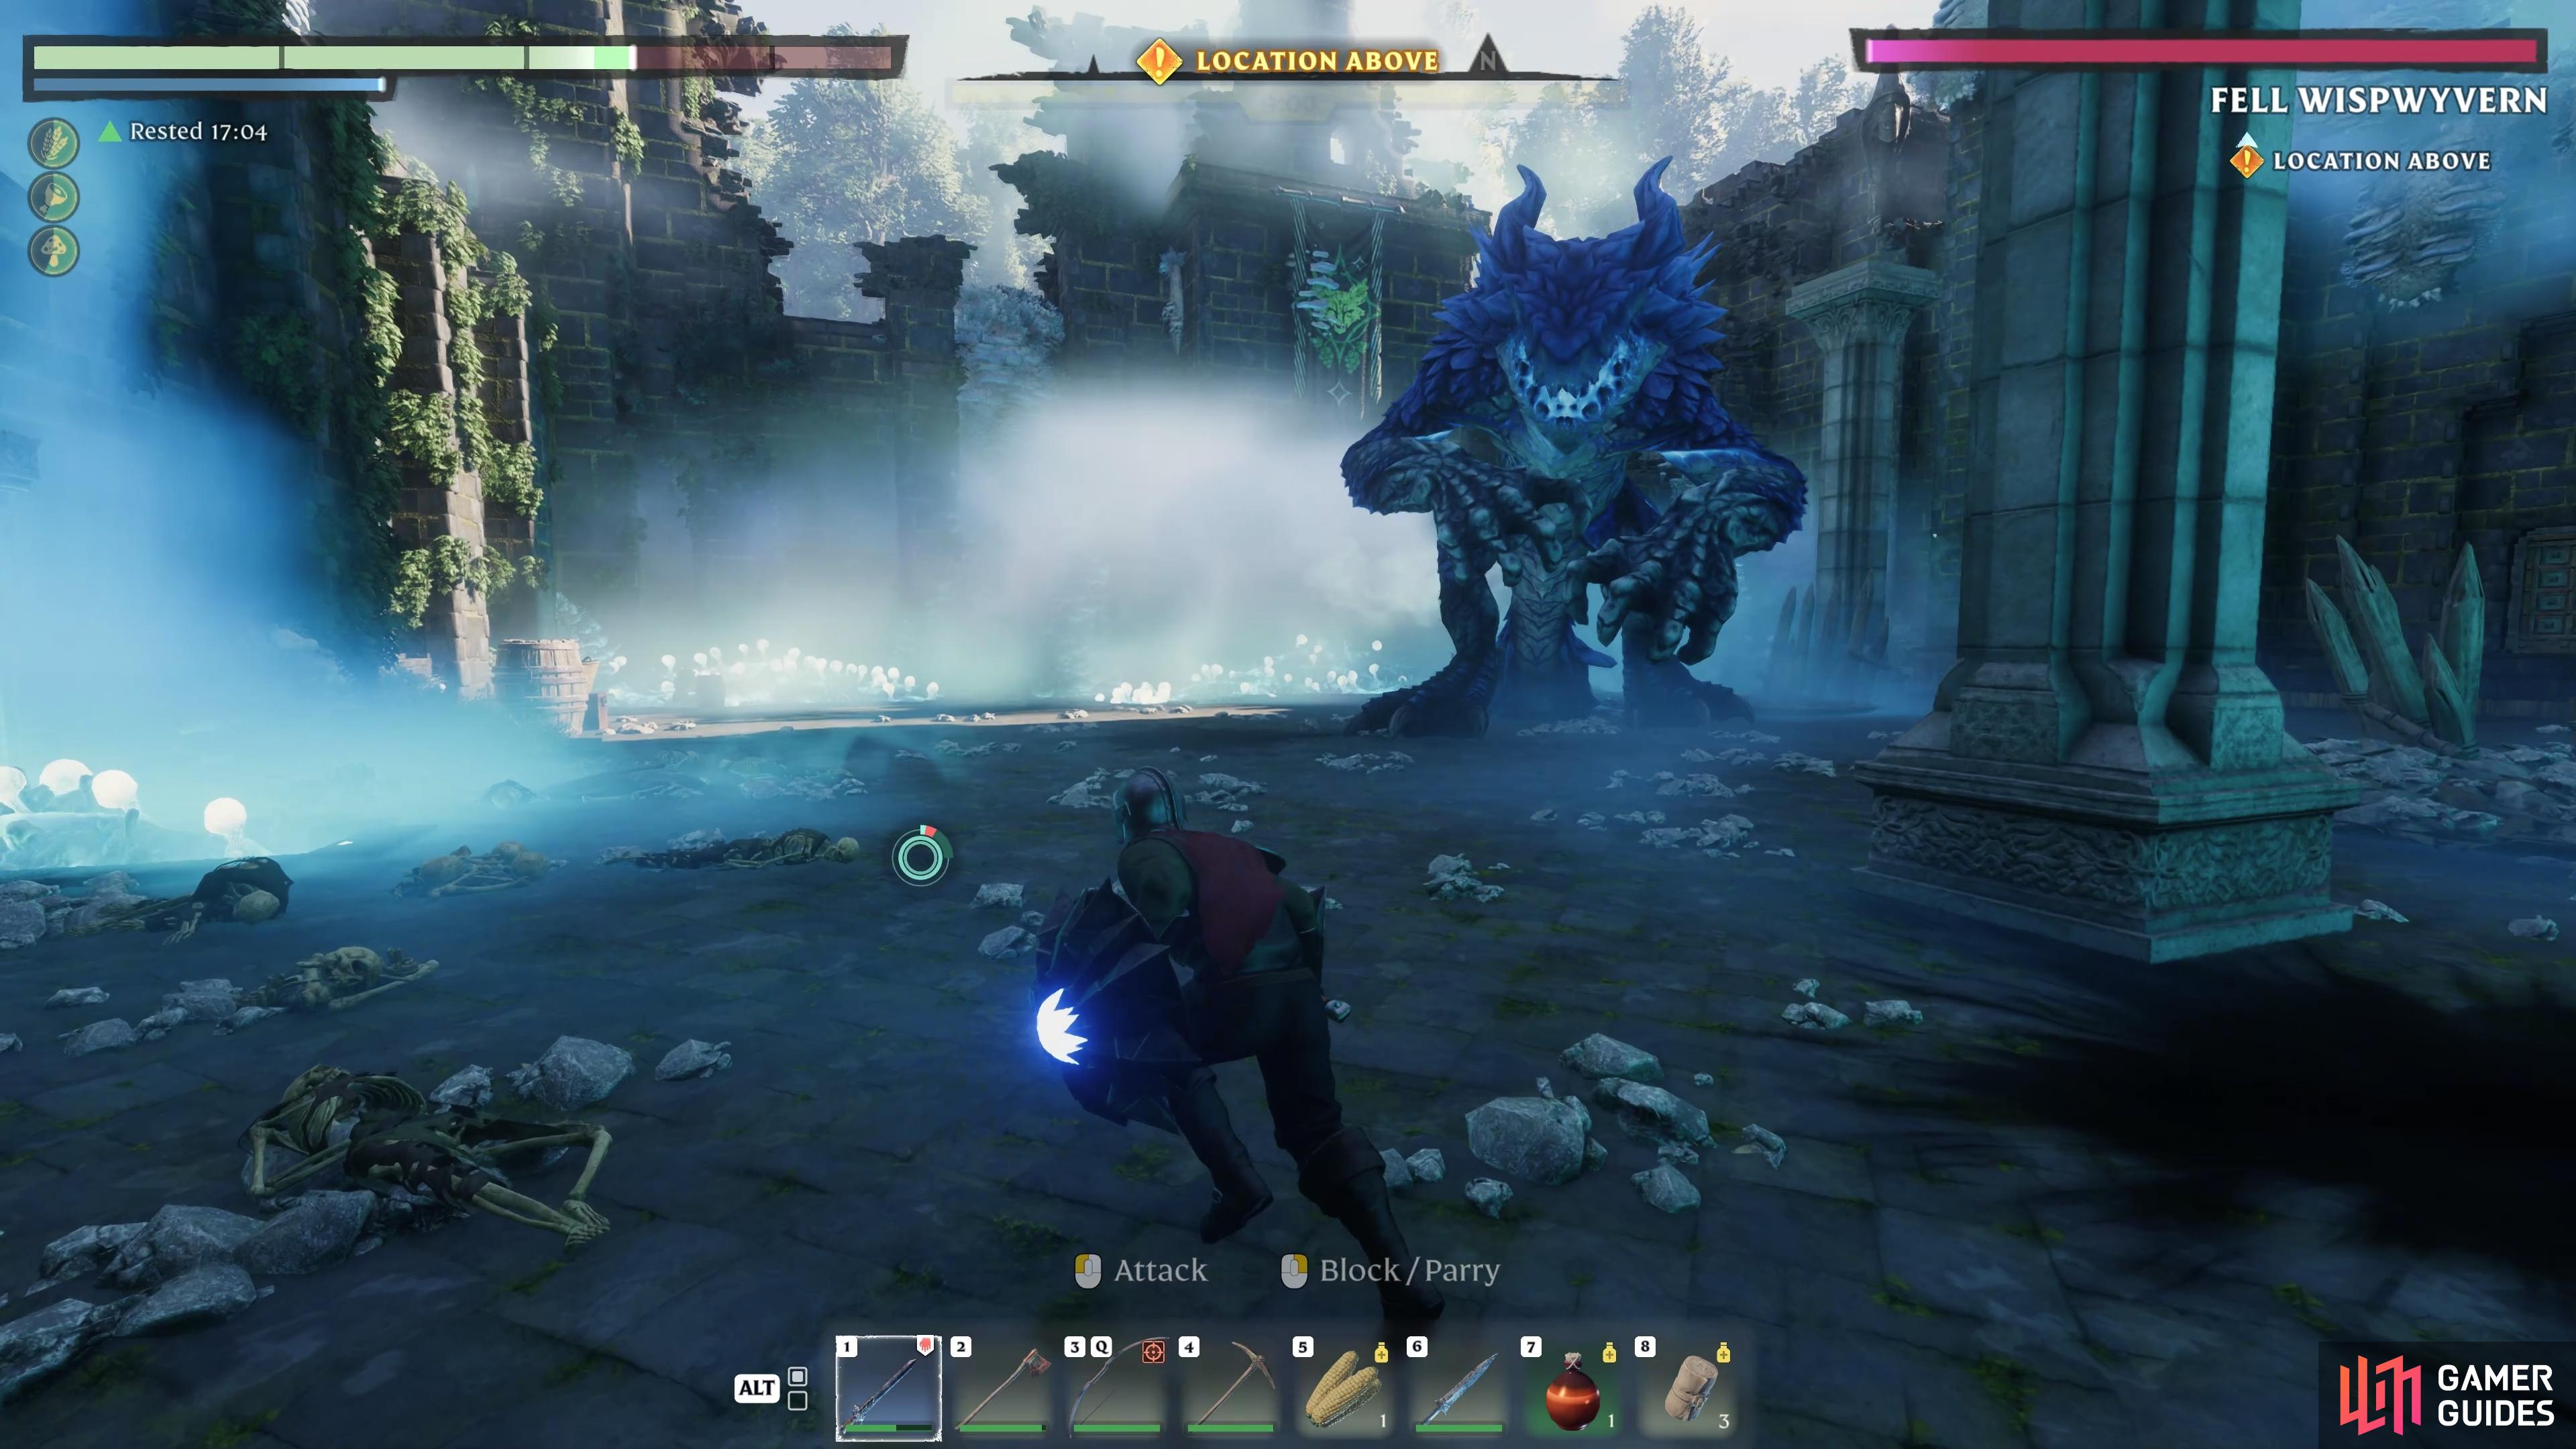
The Fell Wispwyvern can be one of the tougher bosses in Enshrouded.
Location of the Fell Wispwyvern
As mentioned above, you’ll find the Fell Wispwyvern within Pikemead’s Reach, the ancient capital located in Revelwood. This is in the far northeastern part of the map as it currently exists, and you can see a more specific visual of where it is on the map in the screenshot below. For a bit more context, this is just northeast of the Northern Caravan Camp, which is on the edge of the shroud patch that leads to the capital. You’ll also find Skimmer’s Cove to the west of the capital, and further southwest is the Fawnsong Frontier Scavenger camp.
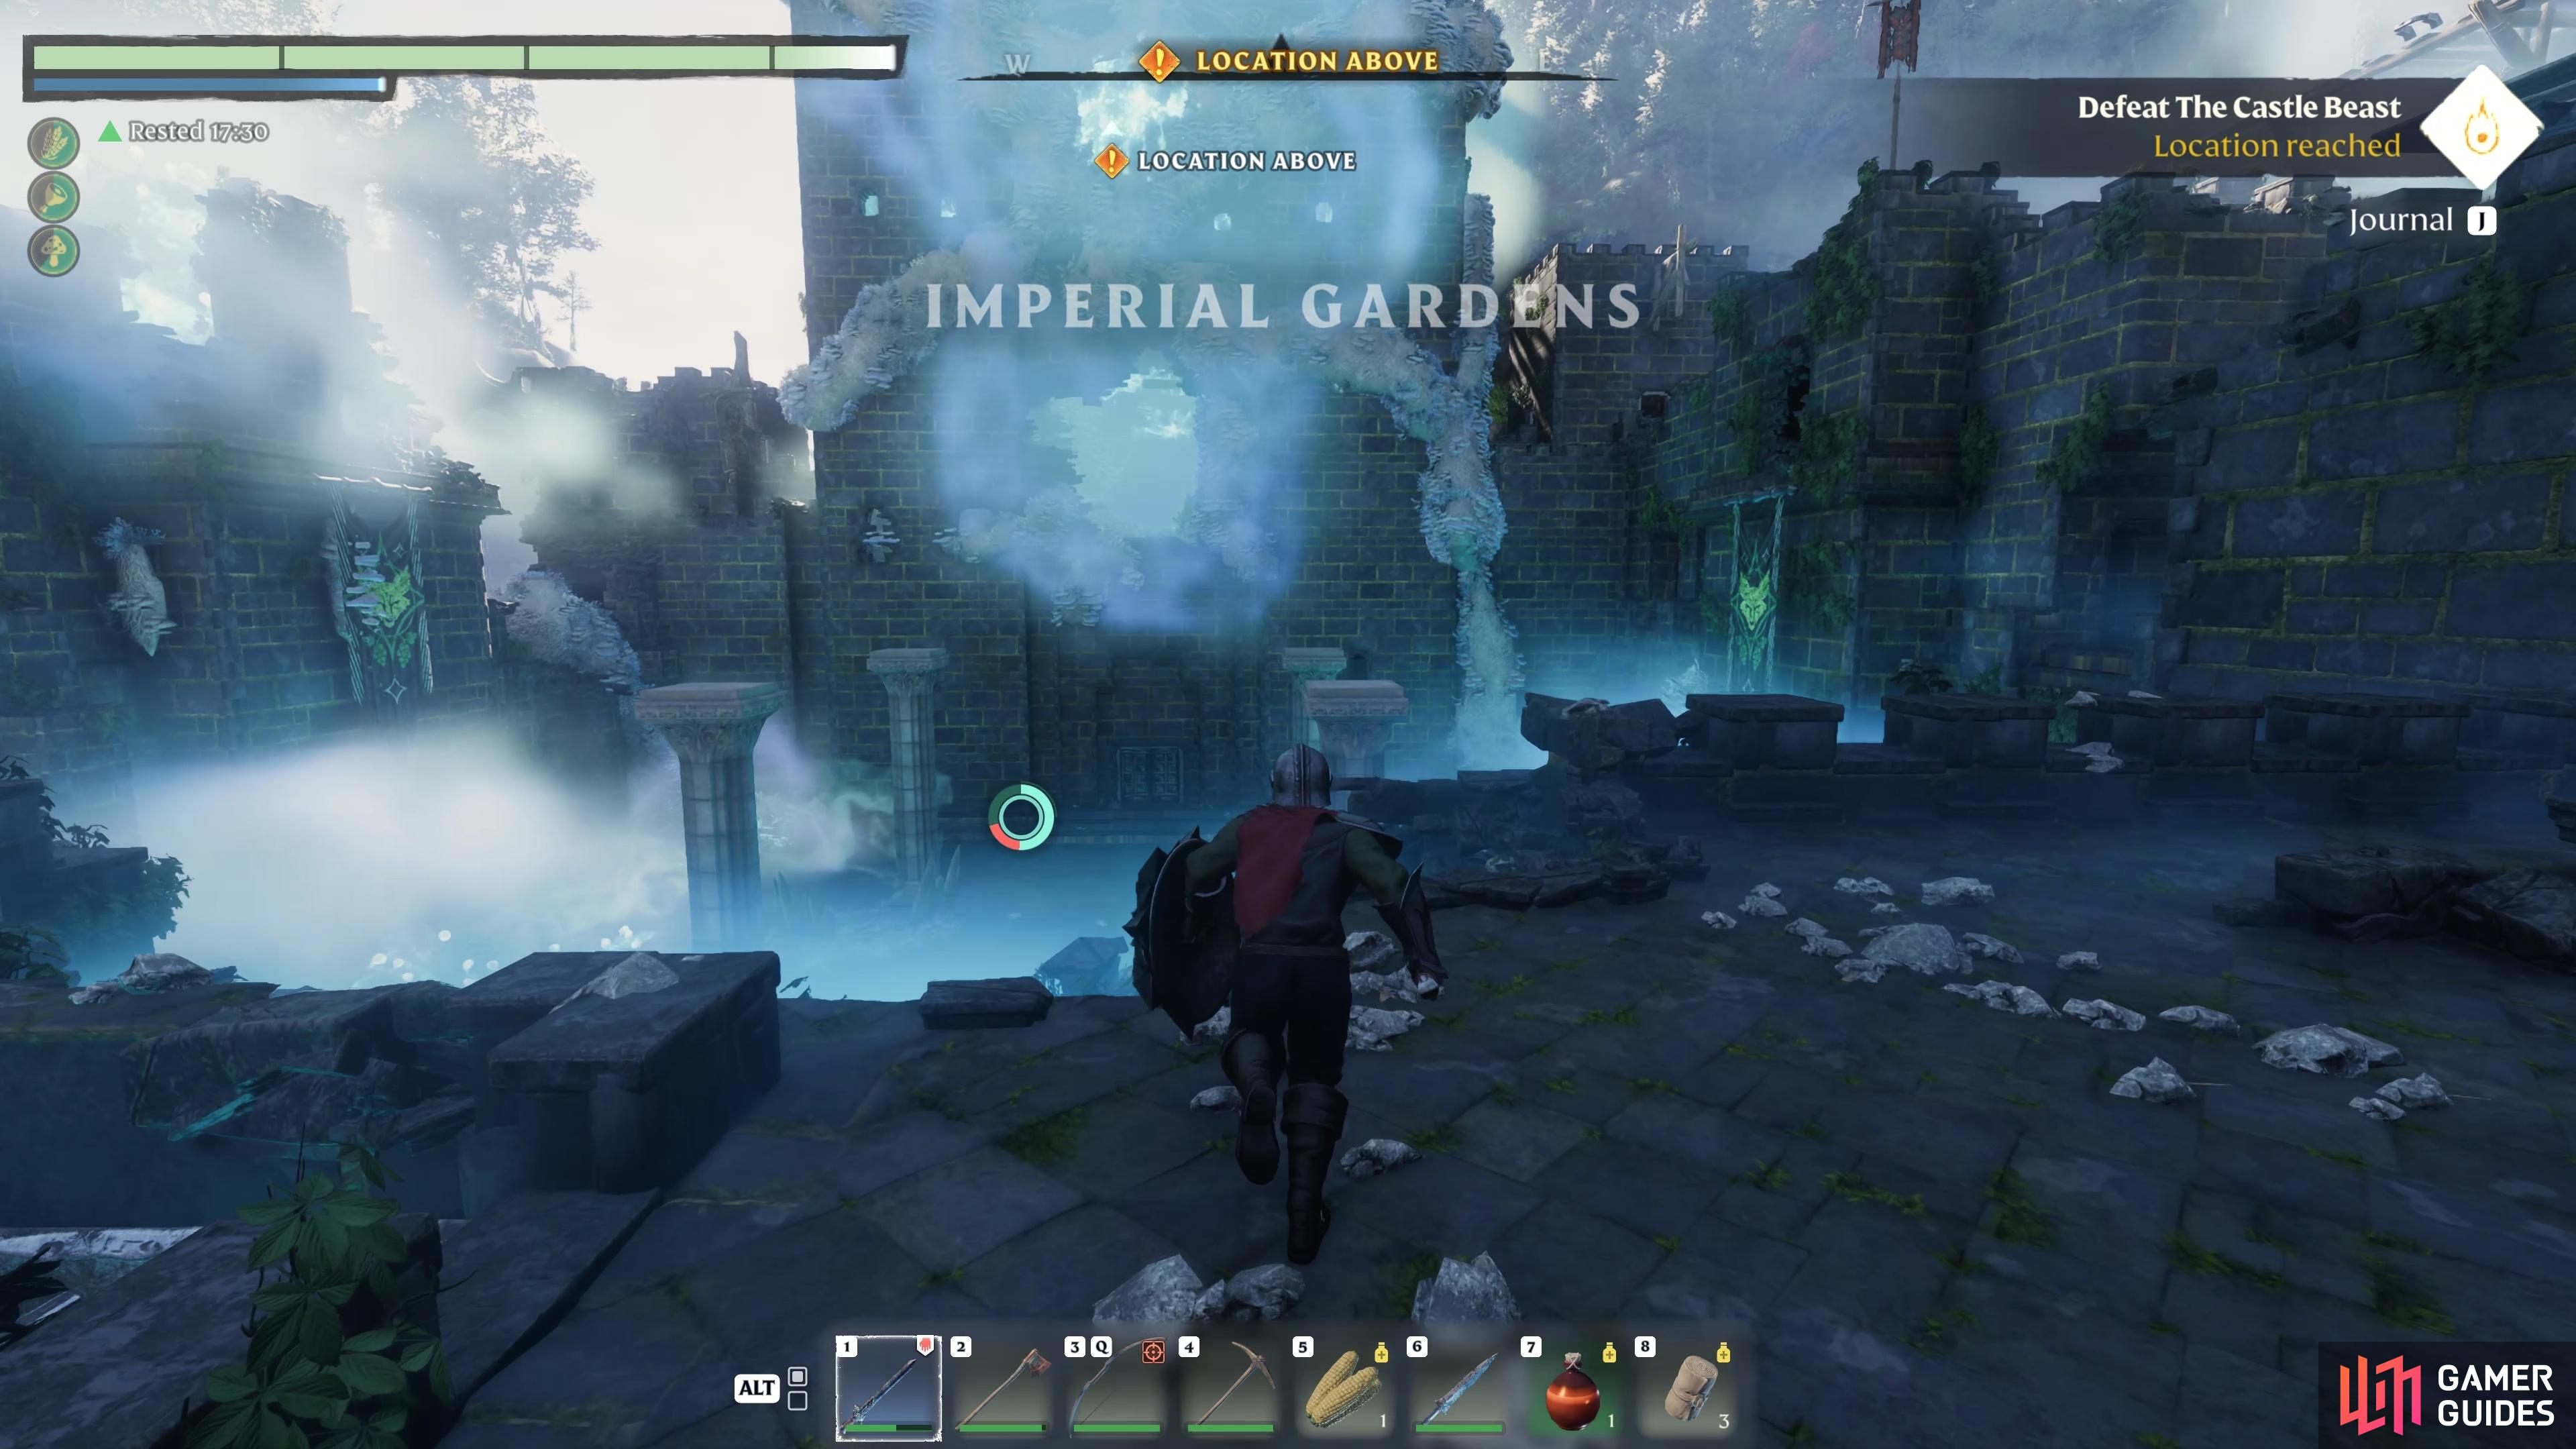
The path to the Wispwyvern is beset with foes, mostly shroud enemies including two Thunderbrutes. In addition, there’s a great deal of shroud and lava that surrounds the courtyard to The Pike (the main keep), so you’ll need to evade this by going around it to reach the Fell Wispwyvern. It’s for this reason that we highly recommend building a Flame Altar just south of the capital, providing easier access back to The Pike if you die.
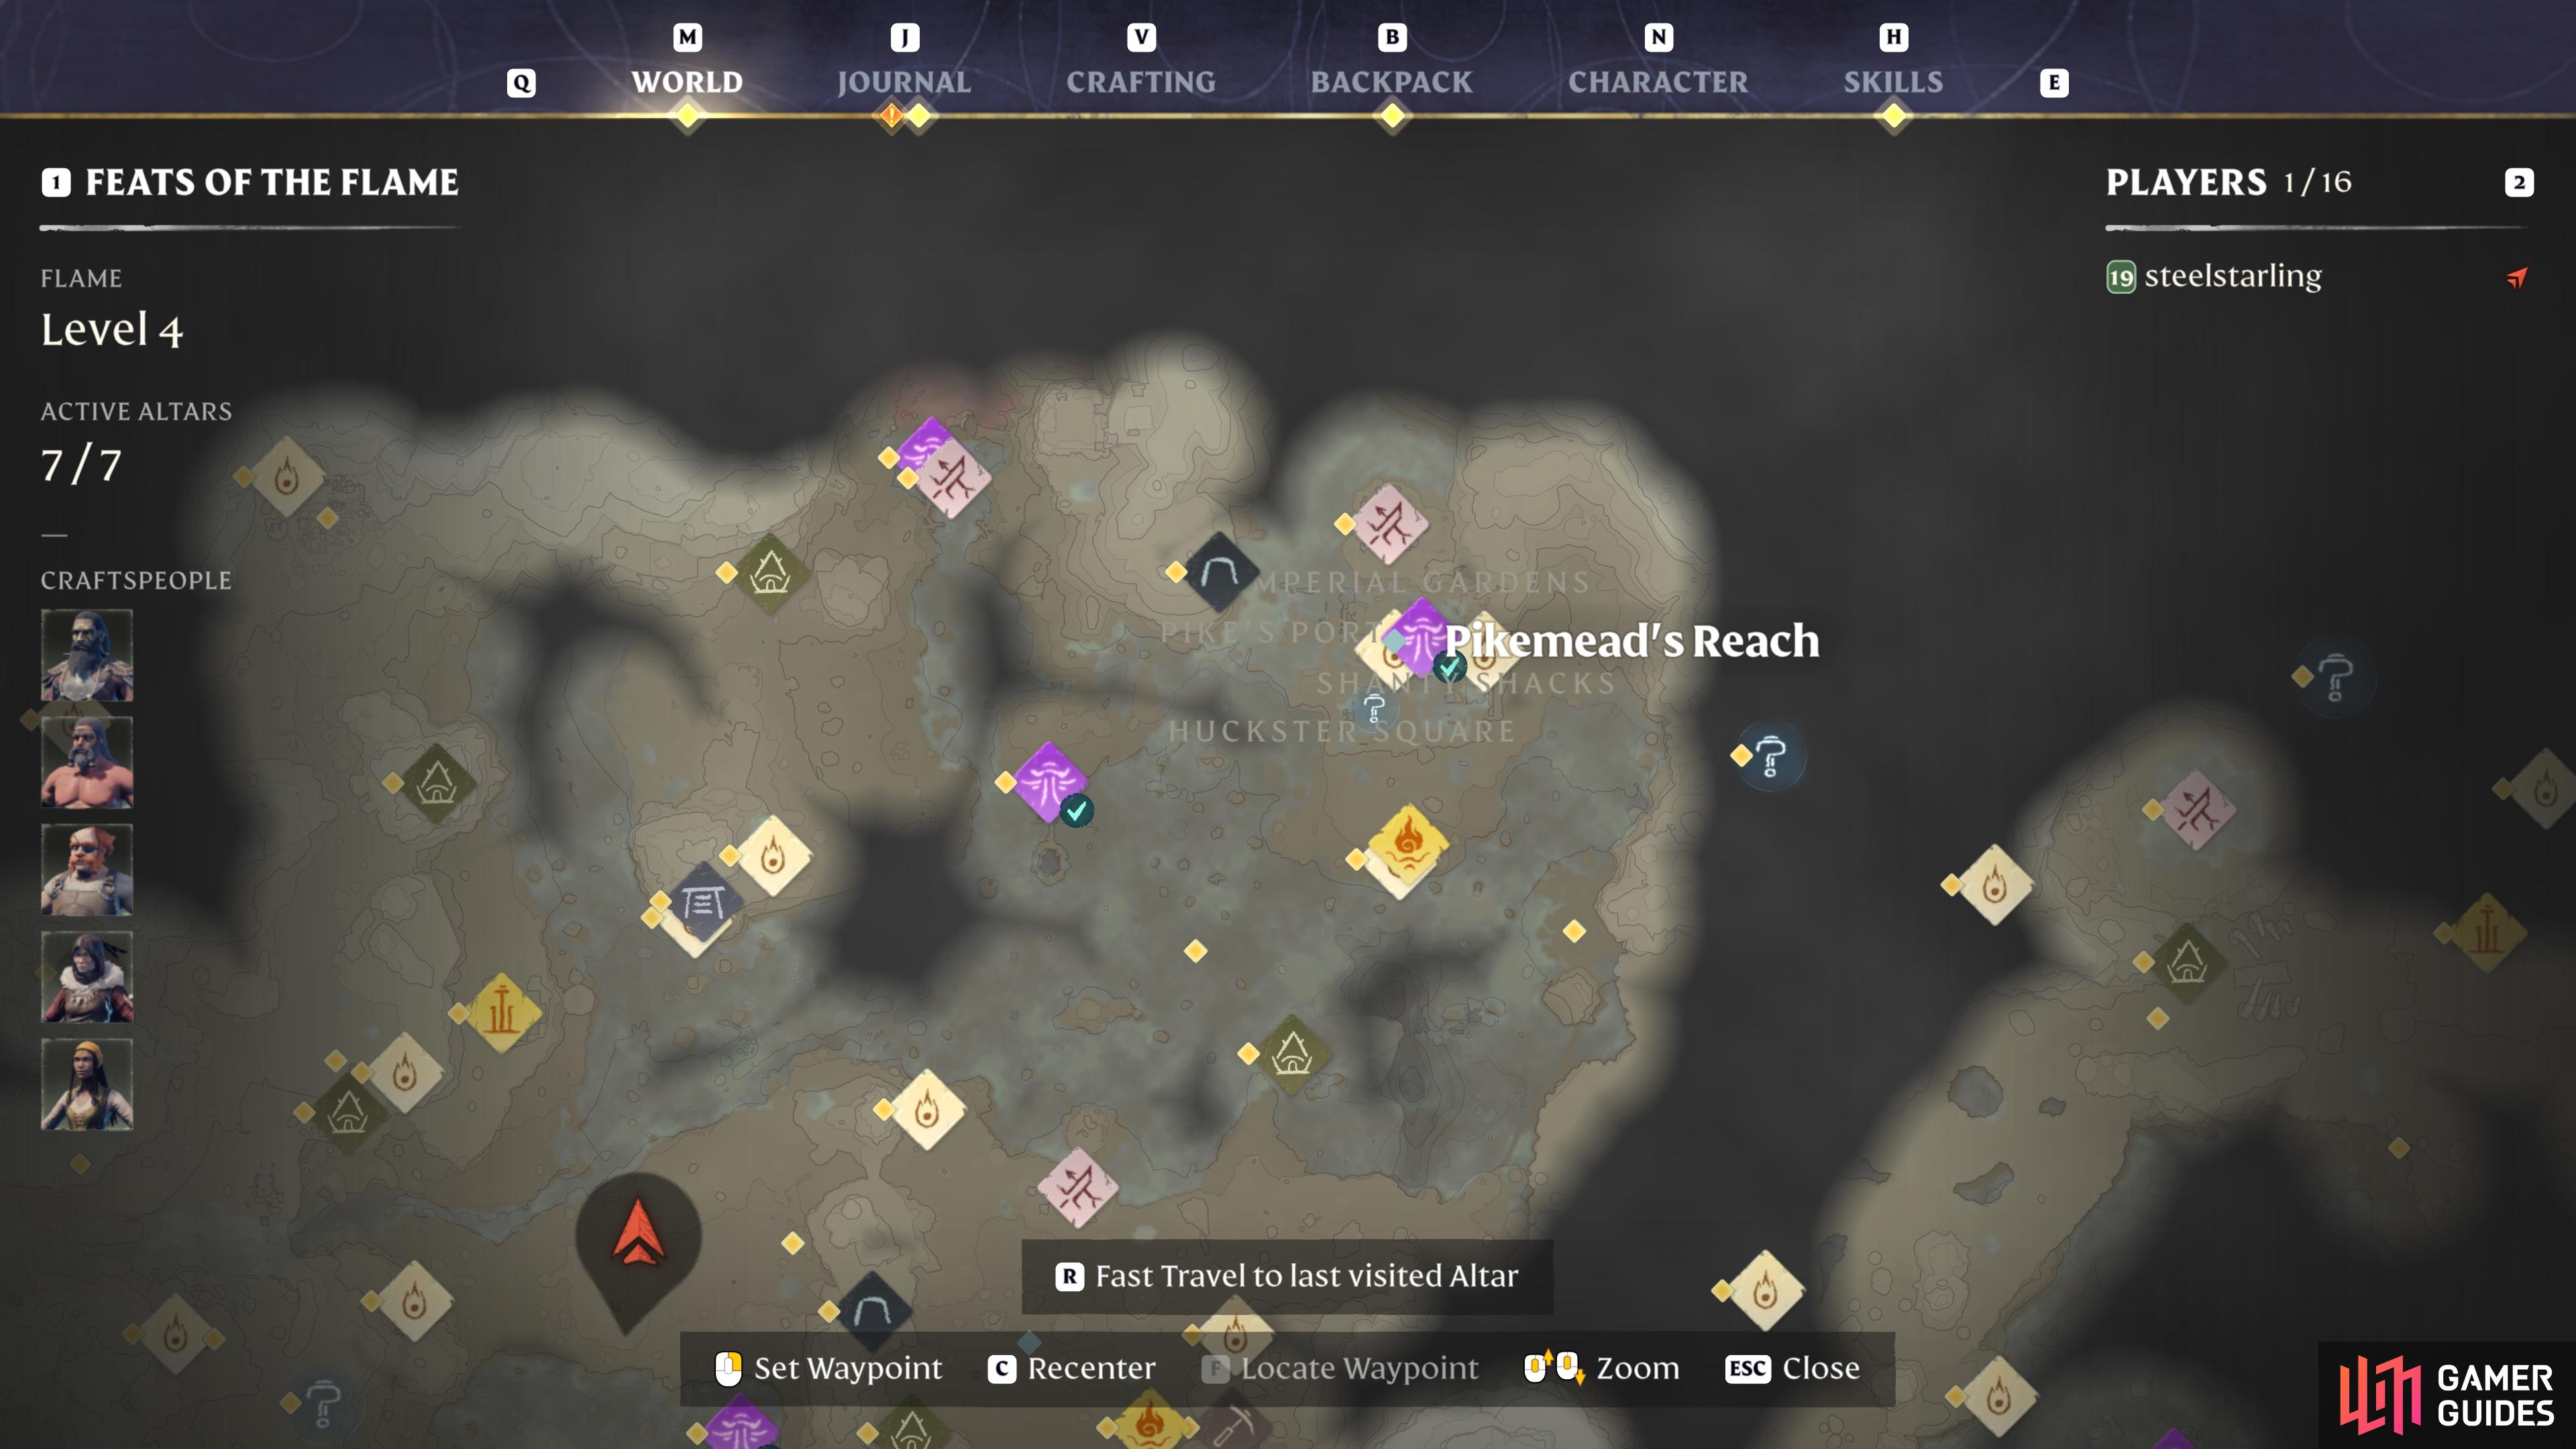
(1 of 2) The location of Pikemead’s Reach, in the far northwestern part of Revelwood.
The location of Pikemead’s Reach, in the far northwestern part of Revelwood. (left), The boss will spawn as soon as you jump into the courtyard north of the Imperial Gardens. (right)
Recommended Consumables
There are a few key items that you’ll benefit from having in your inventory before you enter The Pike and confront the Fell Wispwyvern. Chief among these are health potions of any kind, but preferably greater health potions if you want to ensure that you can recover most of your health in one go. These are easy enough to craft at the Alchemist, requiring basic ingredients such as Water, Honey, Purple Berries, and Chamomile, or Water, Red Mushrooms, and Purple Berries for the regular variant.
In addition to health potions, it’ll be handy to have a few bandages on your action bar, ready to use when you have a bit of breathing space for some healing over time. These are also easy to craft from your basic manual crafting menu, requiring only String and Torn Cloth. Don’t underestimate the usefulness of these bandages in a prolonged battle!
Aside from the above healing-based consumables, we strongly recommend crafting some of the more beneficial food items from the Farmer NPC. The recipes that you have unlocked will depend on what you’ve gathered in the open world, but you should have a fair amount unlocked by this point. Chamomile Tea is great for a boost to health regeneration, and it also increases your Endurance stat by +2, giving you an extra +20 stamina which is invaluable in a long fight.
In general, you should craft whatever food you can to improve your core stats, but also consider powerful potions such as the Flask of the Fell for an extra +20 stamina for 30 minutes. Max stamina is arguably more important than health here – if you run out, you won’t be able to dodge some of the high-damage attacks that the Fell Wispwyvern can inflict. It goes without saying that if you’re a mage-based character, you’ll want a few mana potions to hand as well.
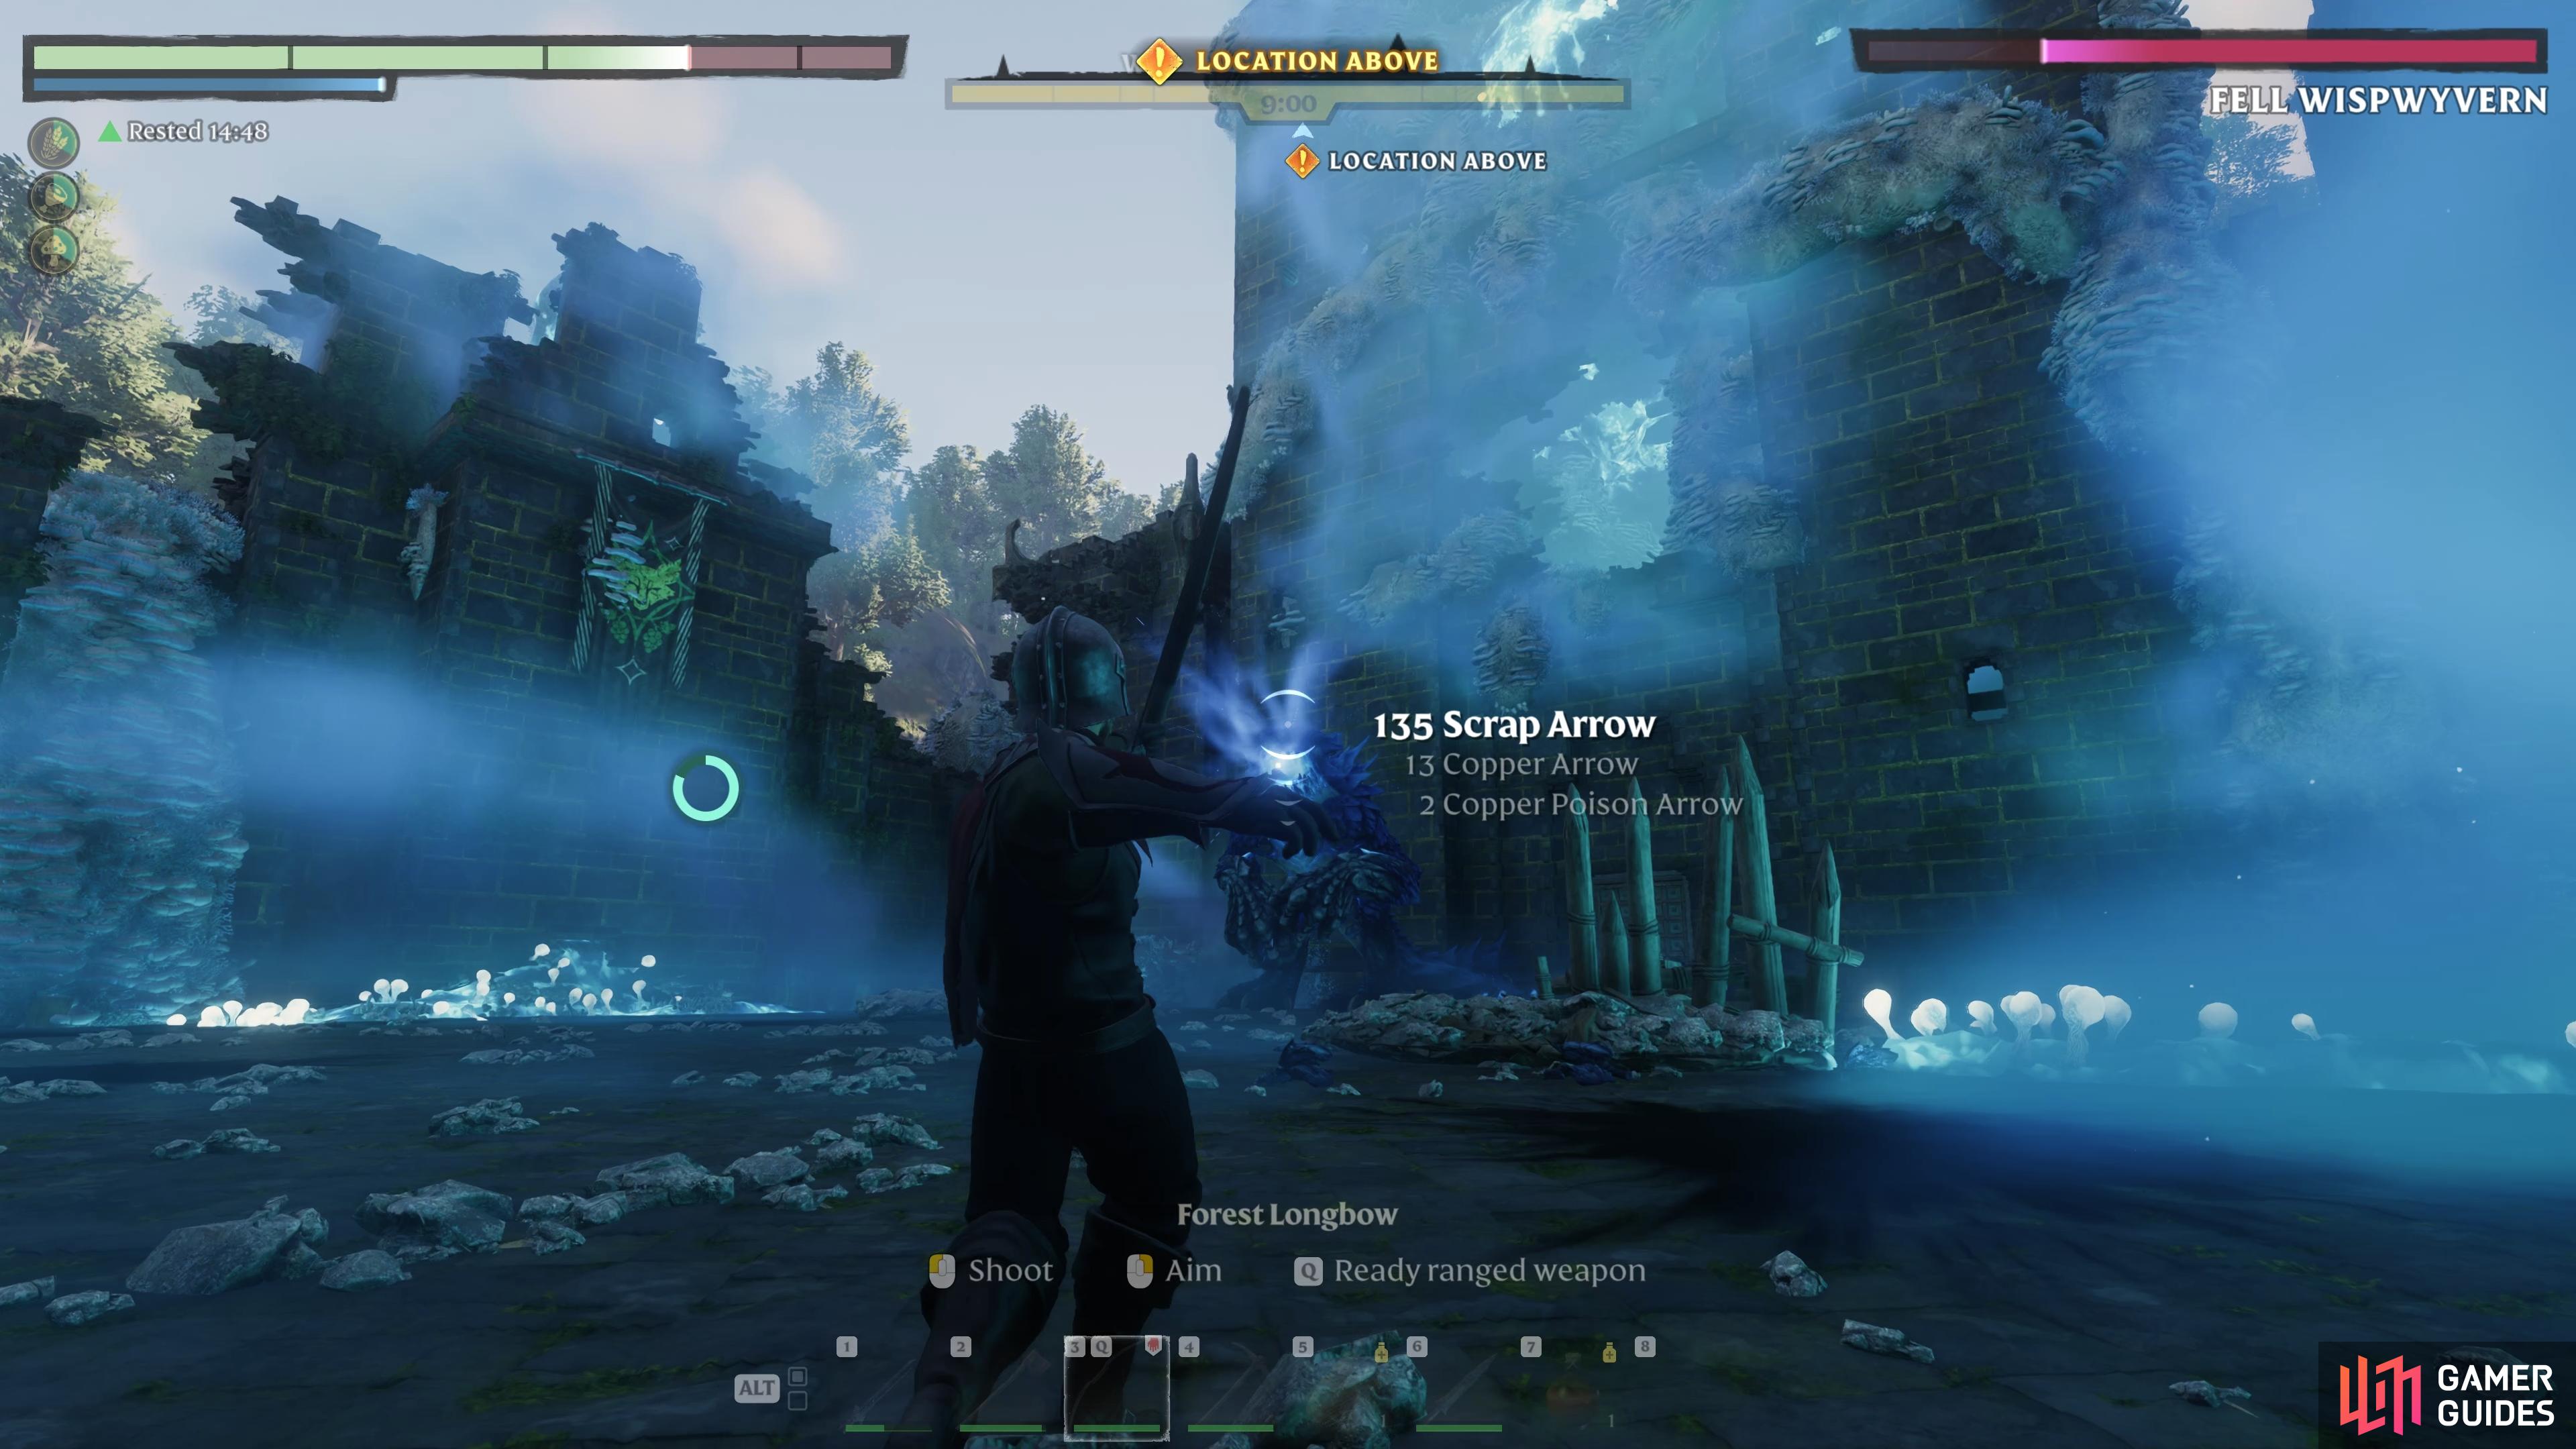
Finally, outside of stat and health-based consumables, you’ll want to make sure that you have plenty of arrows or spells to inflict ranged damage on the boss, depending on your playstyle. Even if your preferred attack style is usually entirely melee-based, you’ll gain a significant advantage over the boss if you have some ranged damage to inflict at key moments, especially when it’s about to perform the Critter Spawn move, as we discuss below.
Fell Wispwyvern – Attacks and Strategy
Now that you’re properly stocked for the fight ahead, we’ll get on to the strategy for defeating the Fell Wispwyvern. The first thing you should know is that once you’re on the ramparts above the courtyard of the keep (aka The Pike), this is the perfect time to use your consumables to boost stats. As soon as you enter the courtyard, the boss will spawn, and you’ll be locked into the fight with no way out of the courtyard until you defeat it. With that said, we’ll take you through the main attacks that the Fell Wispwyvern has and give you some tips on how to avoid them.
Shroud Projectiles
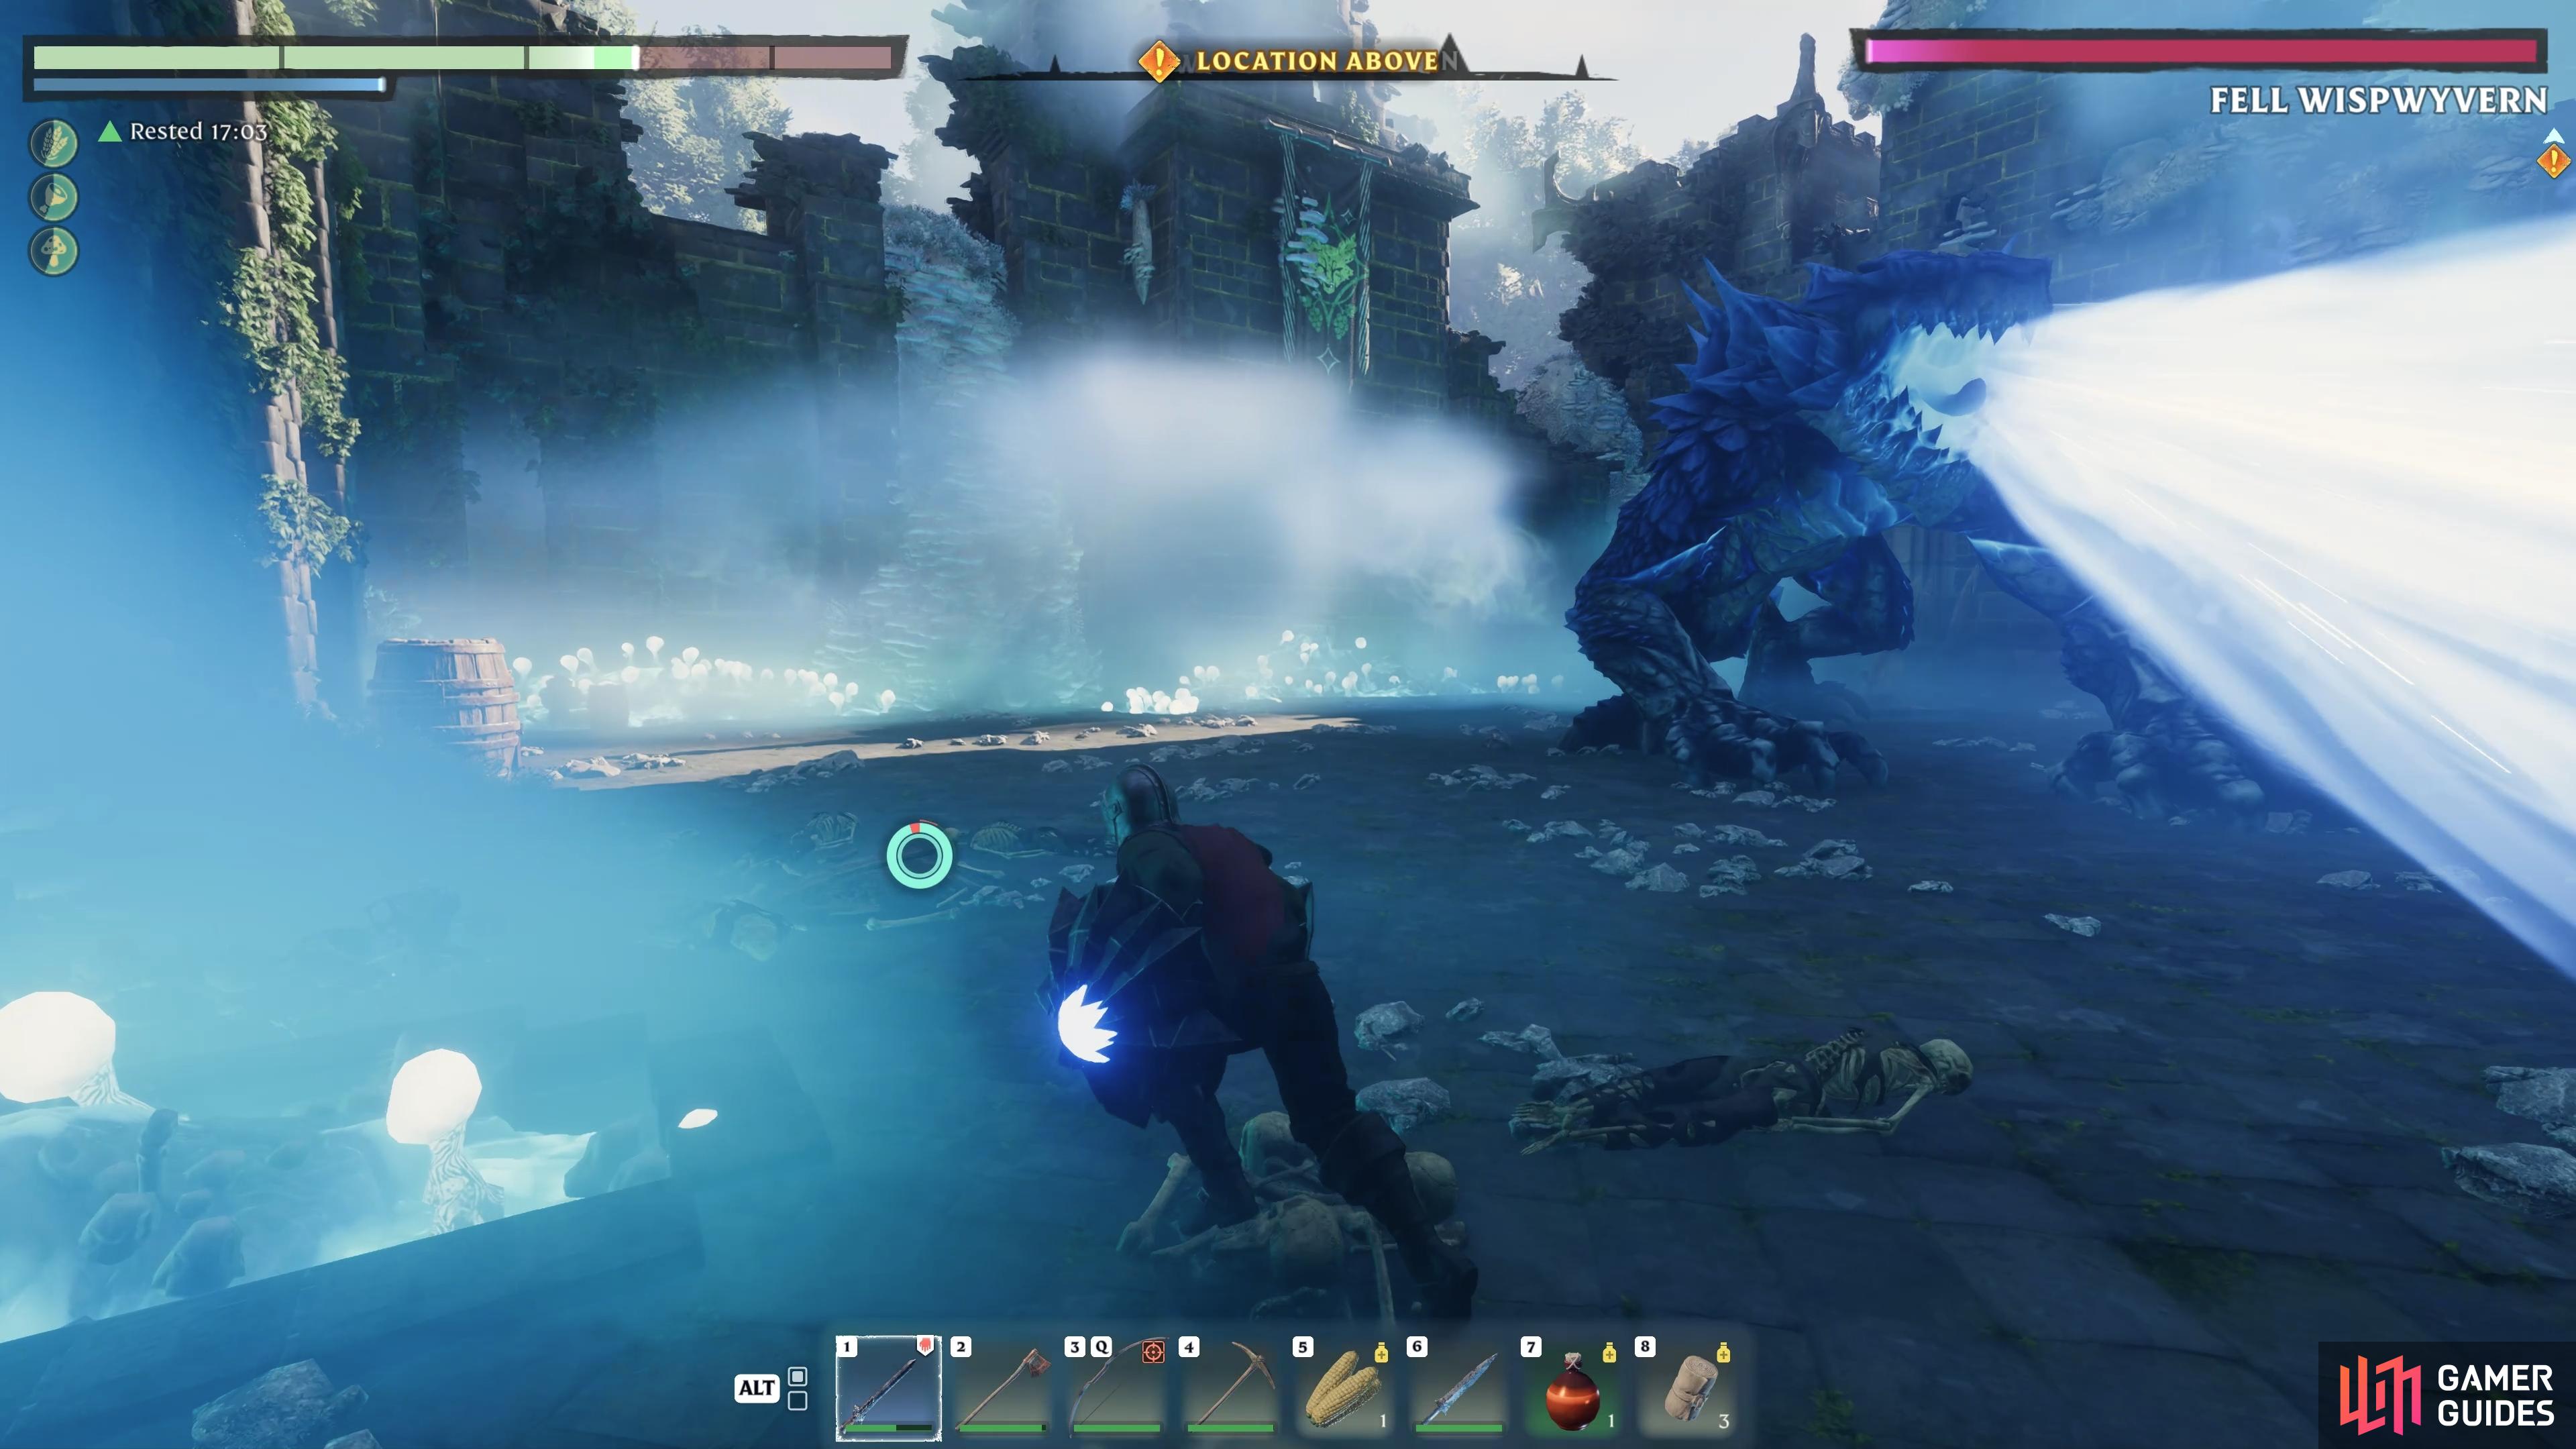
The first attack that the boss is likely to use when you enter the courtyard is a shroud projectile. The boss will stand on its hind limbs and face upwards, ready to spout the projectiles high into the air. This can throw you off guard since you can’t necessarily see where the projectiles are going to land, but the key here is to look at the ground. You’ll see a few circles pop up, each of which represents an area where the projectiles will land. All you need to do is run away from these to avoid being hit.
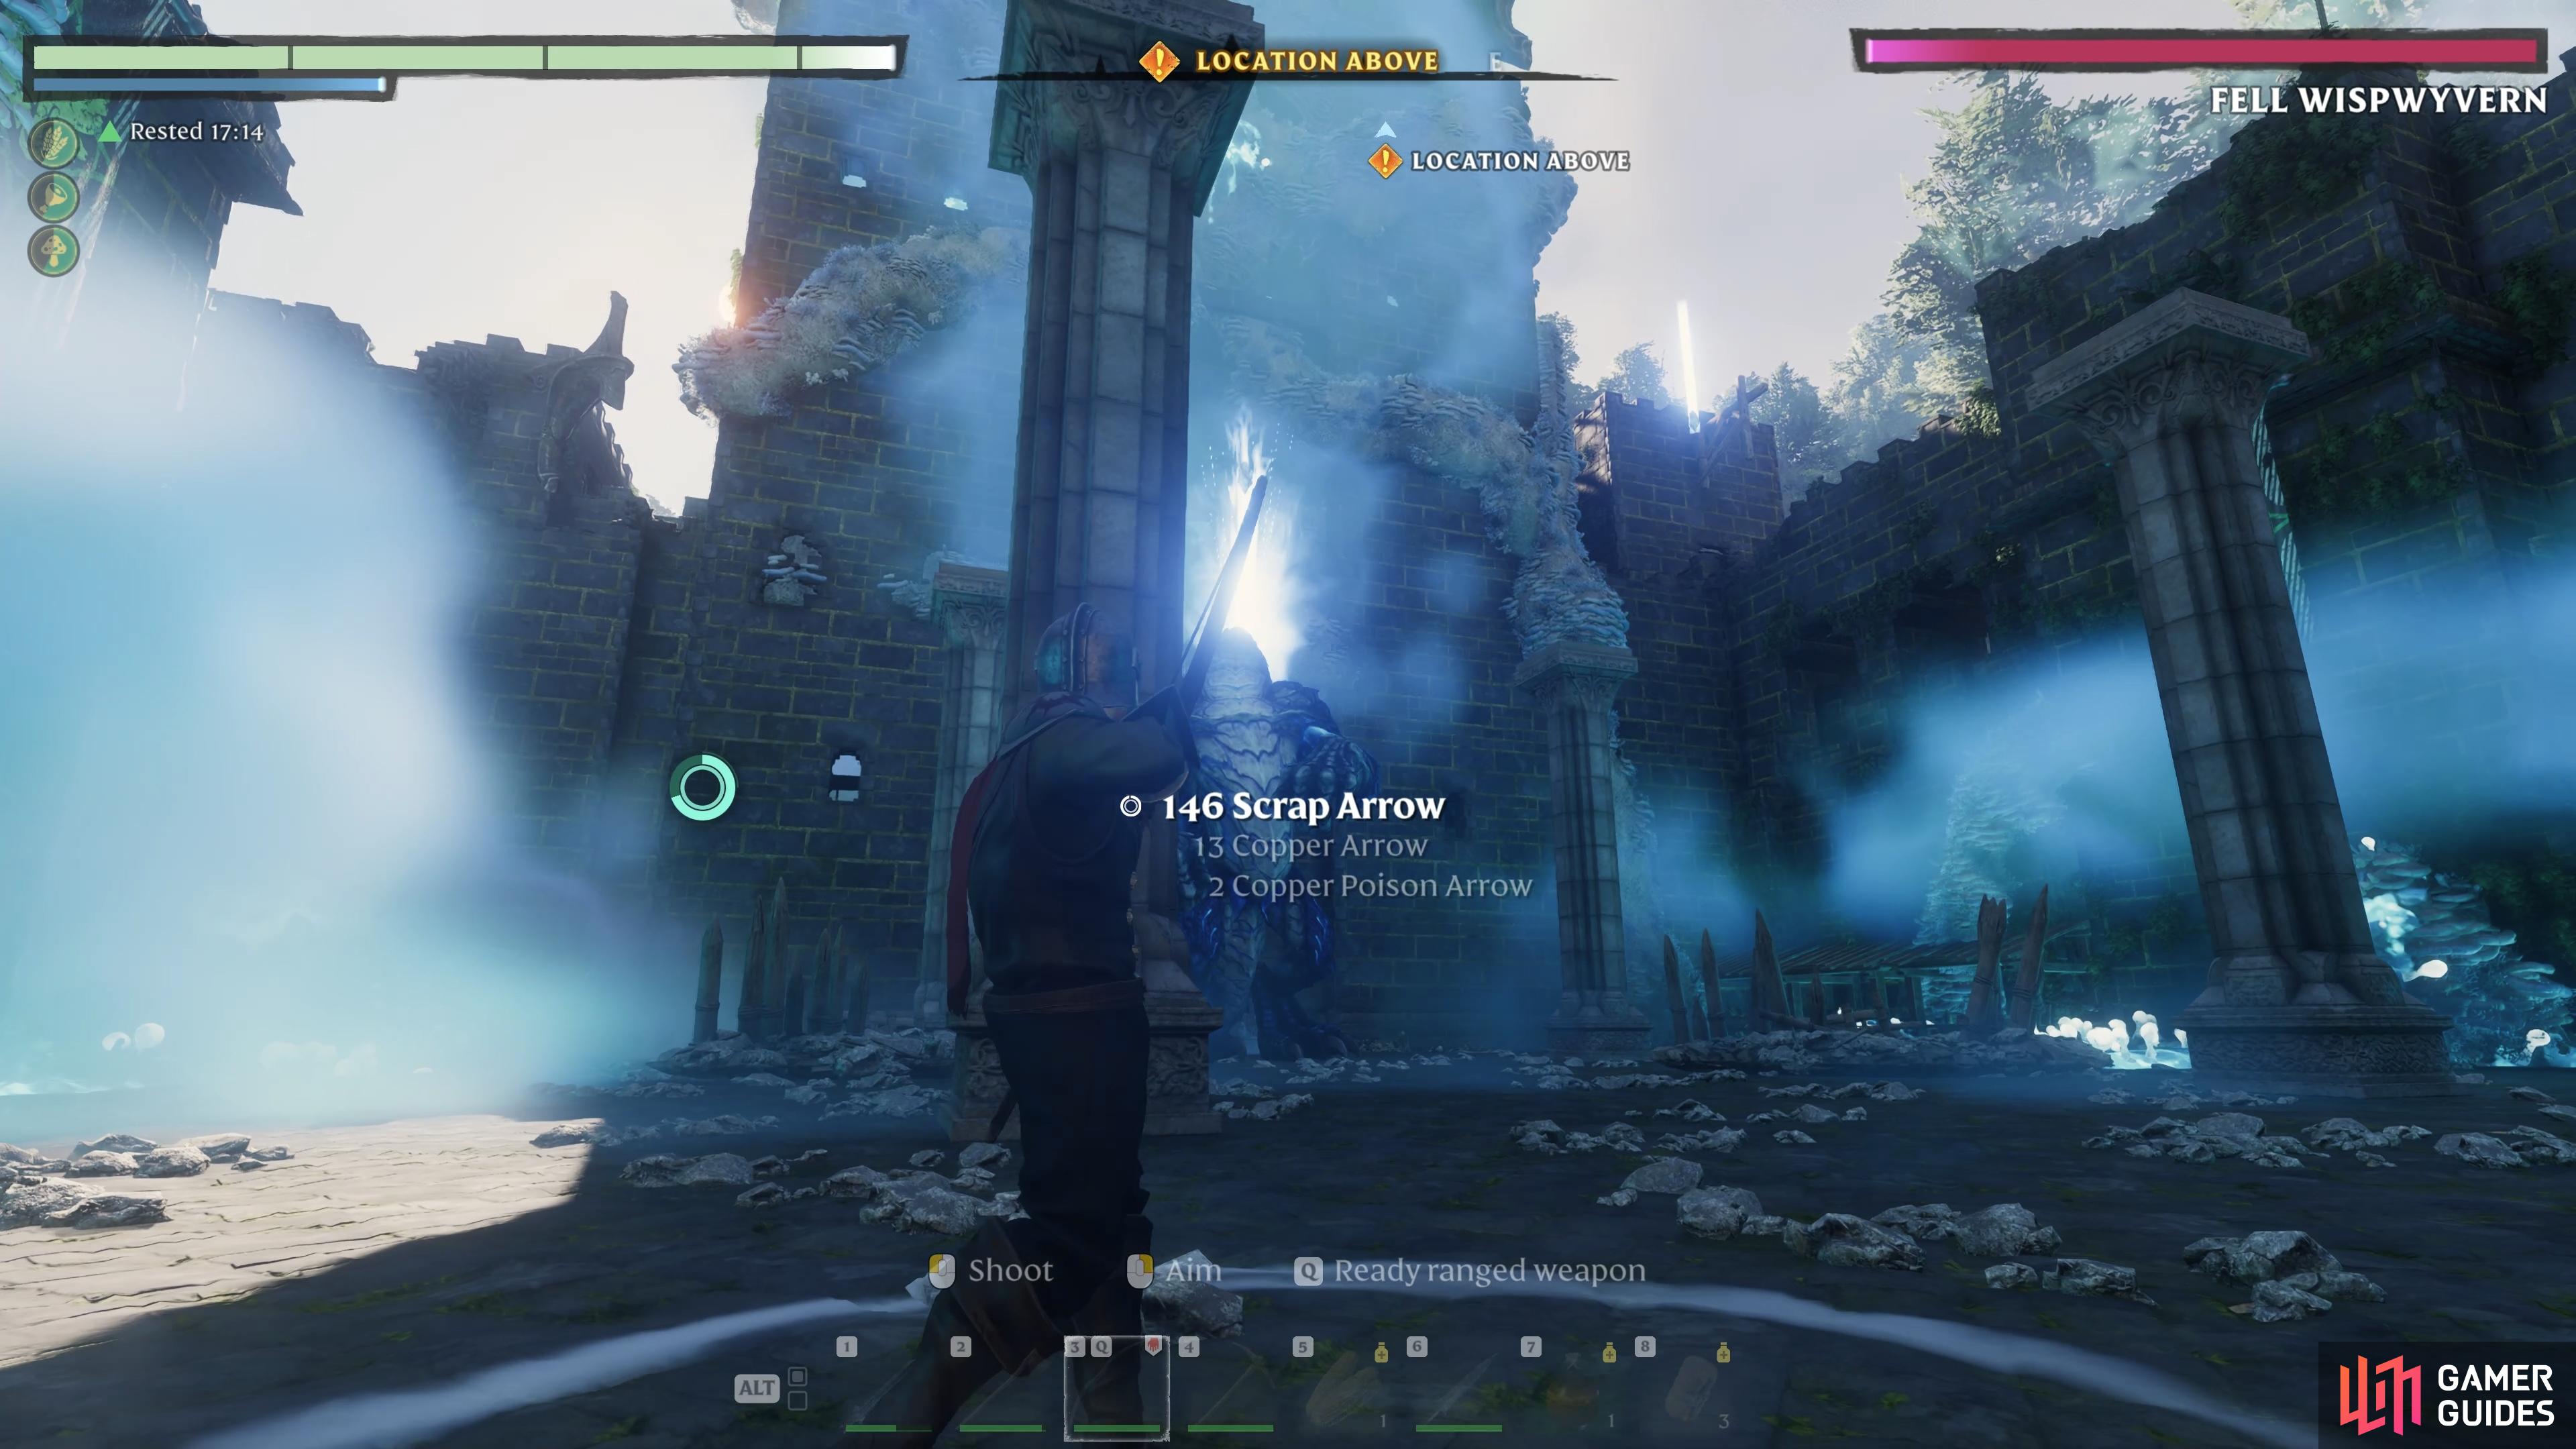
(1 of 2) Look out for the circles on the ground when the boss looks up in this stance.
Look out for the circles on the ground when the boss looks up in this stance. (left), If you’re within a circle when the projectiles land, you’ll receive significant damage. (right)
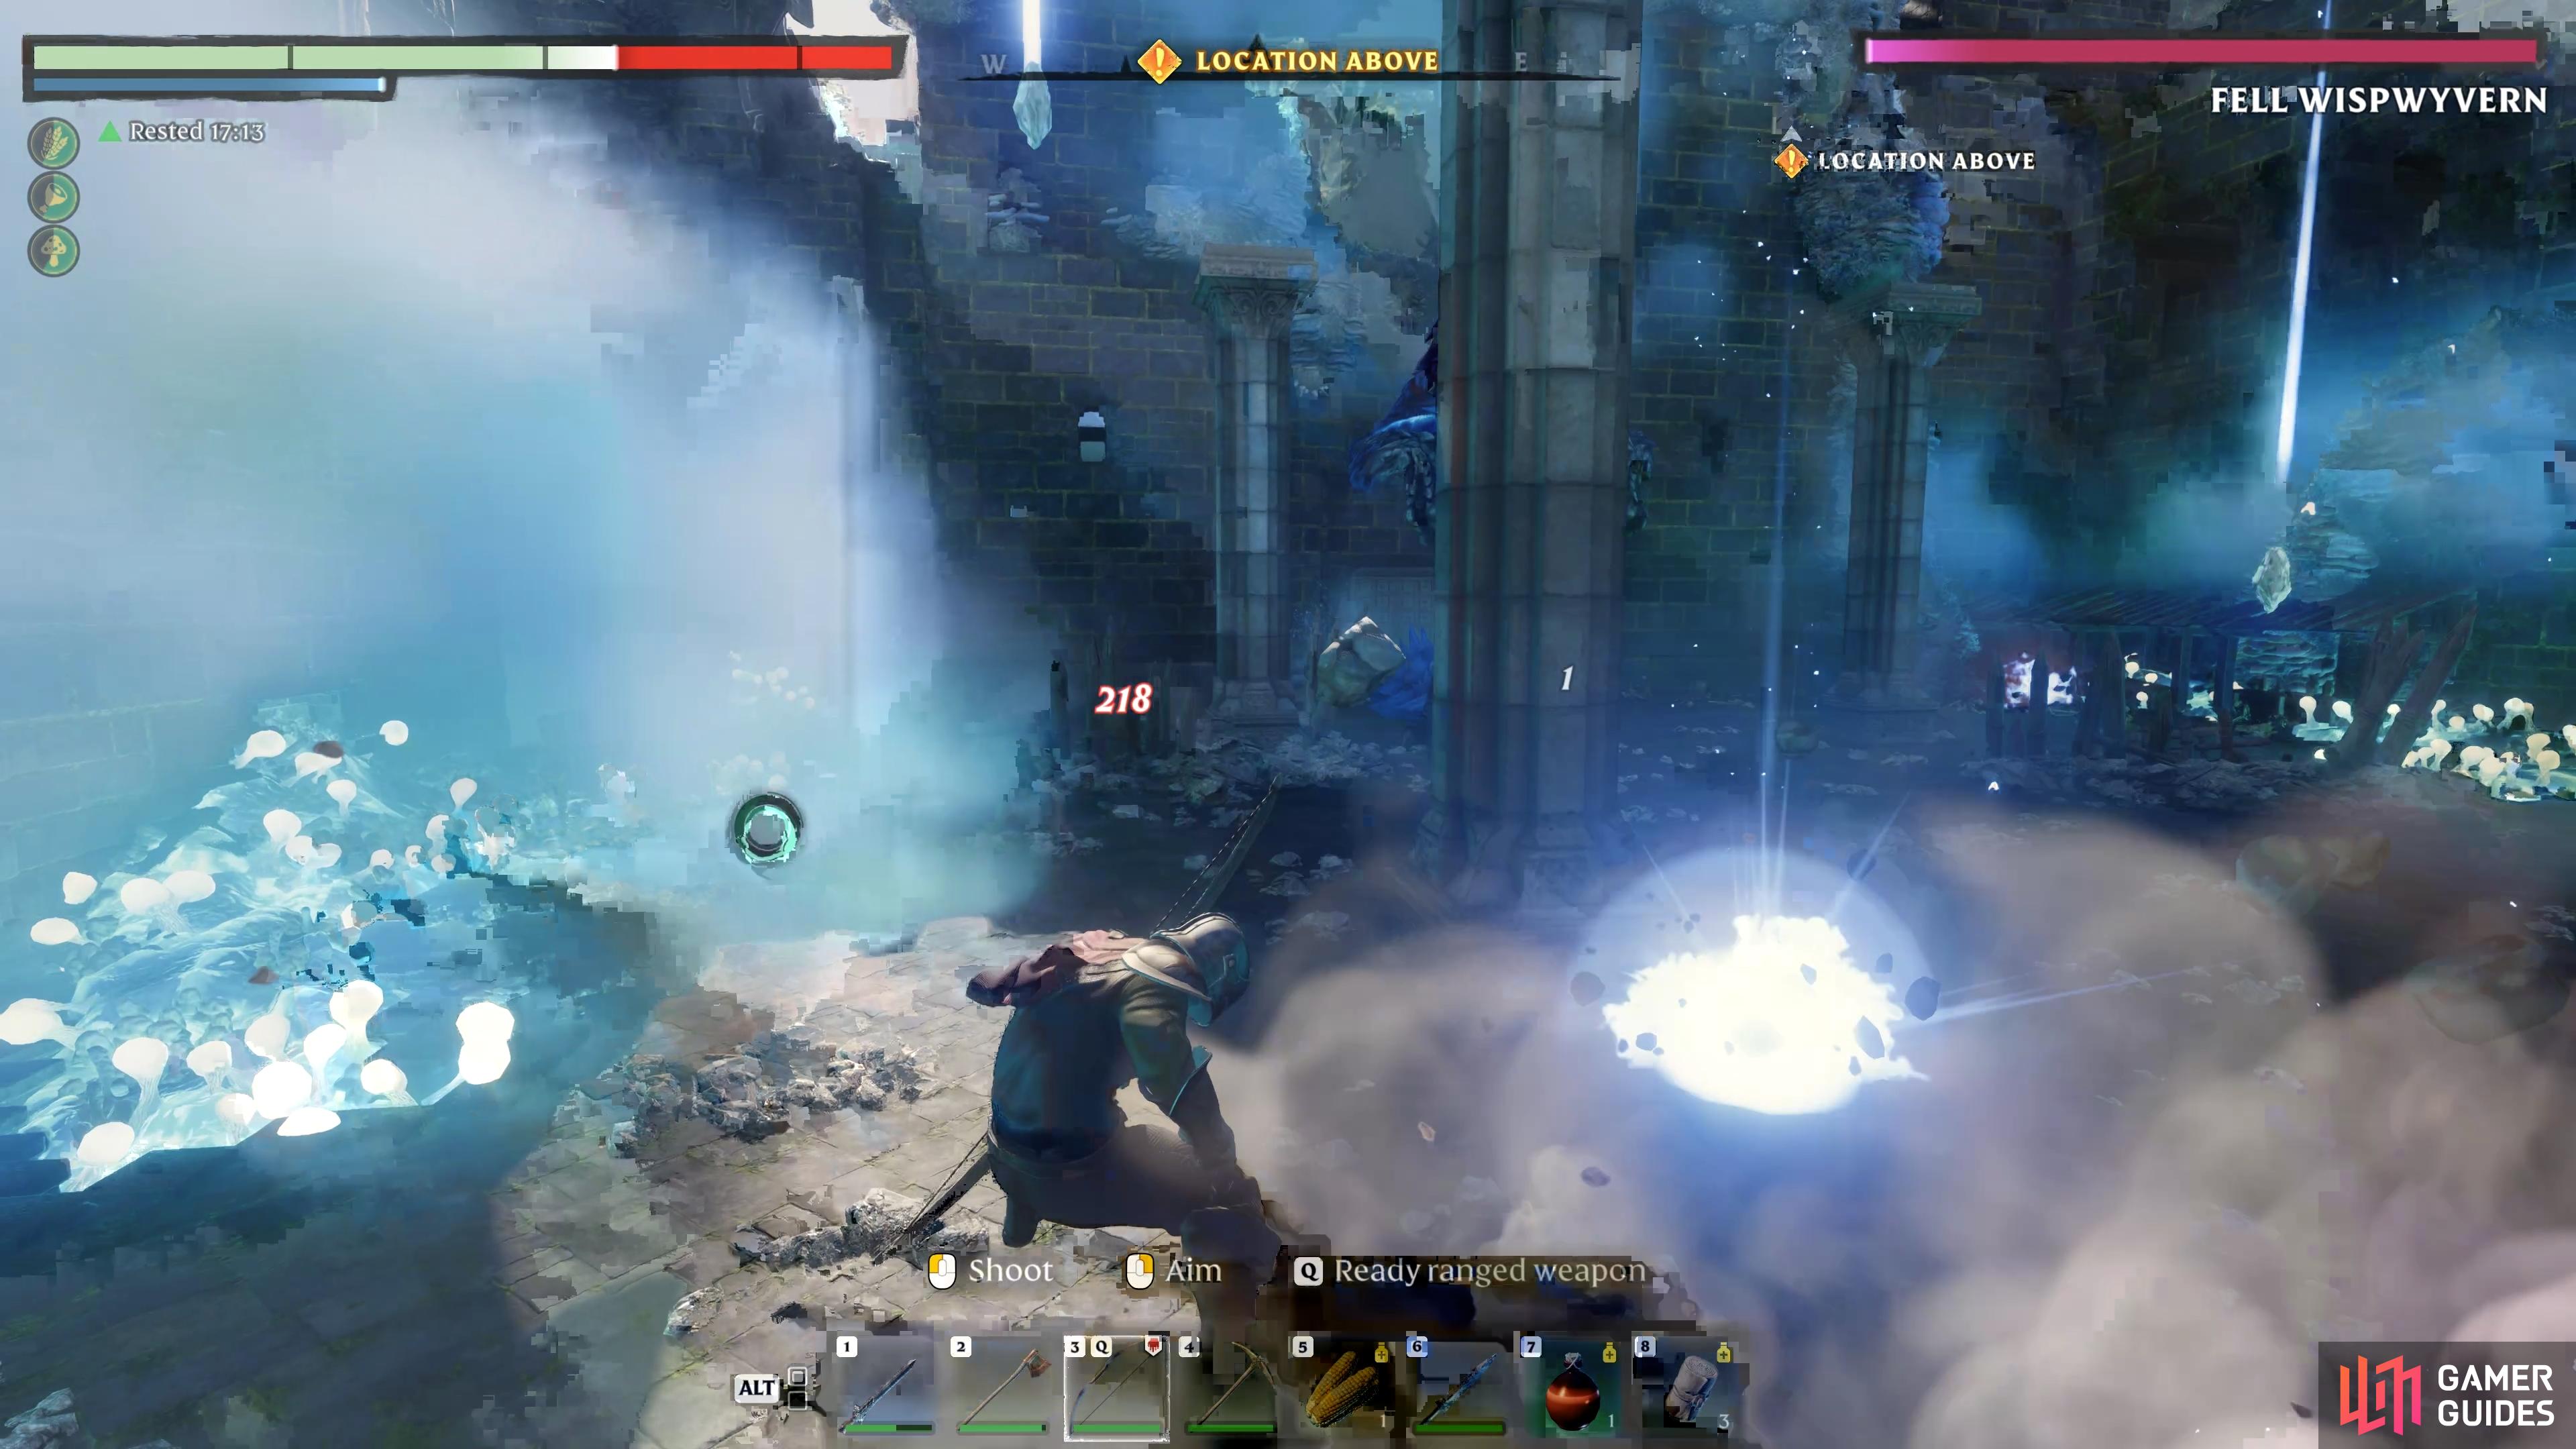
Dive Attack
This attack is characterized by the boss leaping forward to smash into you, and you should be able to see when they’re about to do it by observing its movements. The boss will crouch down on all four limbs before leaping toward you, and you may not have much time to respond, so it’s a good idea to keep moving around the courtyard in general. If there’s a stone pillar or another large object between you and the boss, they’re likely to hit that first which will break the animation and stop them in their place. Keep this in mind if you need to take cover quickly and use the surrounding materials to your advantage!

(1 of 2) Look out for when the boss is on all four limbs, indicating an incoming dive attack.
Look out for when the boss is on all four limbs, indicating an incoming dive attack. (left), The boss can be stopped by stone pillars and other objects if you’re standing behind them just before it dives. (right)
Shroud Spray
This is another shroud-based ability that consists of the boss spraying shroud-matter in an arc in front of it. You can easily see when the boss is about to do this by looking for when it stands on its hind limbs and faces toward you (rather than up in the air, as it does with the projectile attack). You’ll have 1-2 seconds to run either side of the spray to avoid it, and you can do this as soon as the boss stands up since it won’t track you as you move. The shroud spray will only emit in the direction that you were in when the boss first stood on its hind limbs.
(1 of 2) The boss will stand on its hind limbs and look directly at you before the shroud spray attack occurs.
The boss will stand on its hind limbs and look directly at you before the shroud spray attack occurs. (left), You can just run to the side of the direction that the boss is facing to avoid the shroud spray attack. (right)
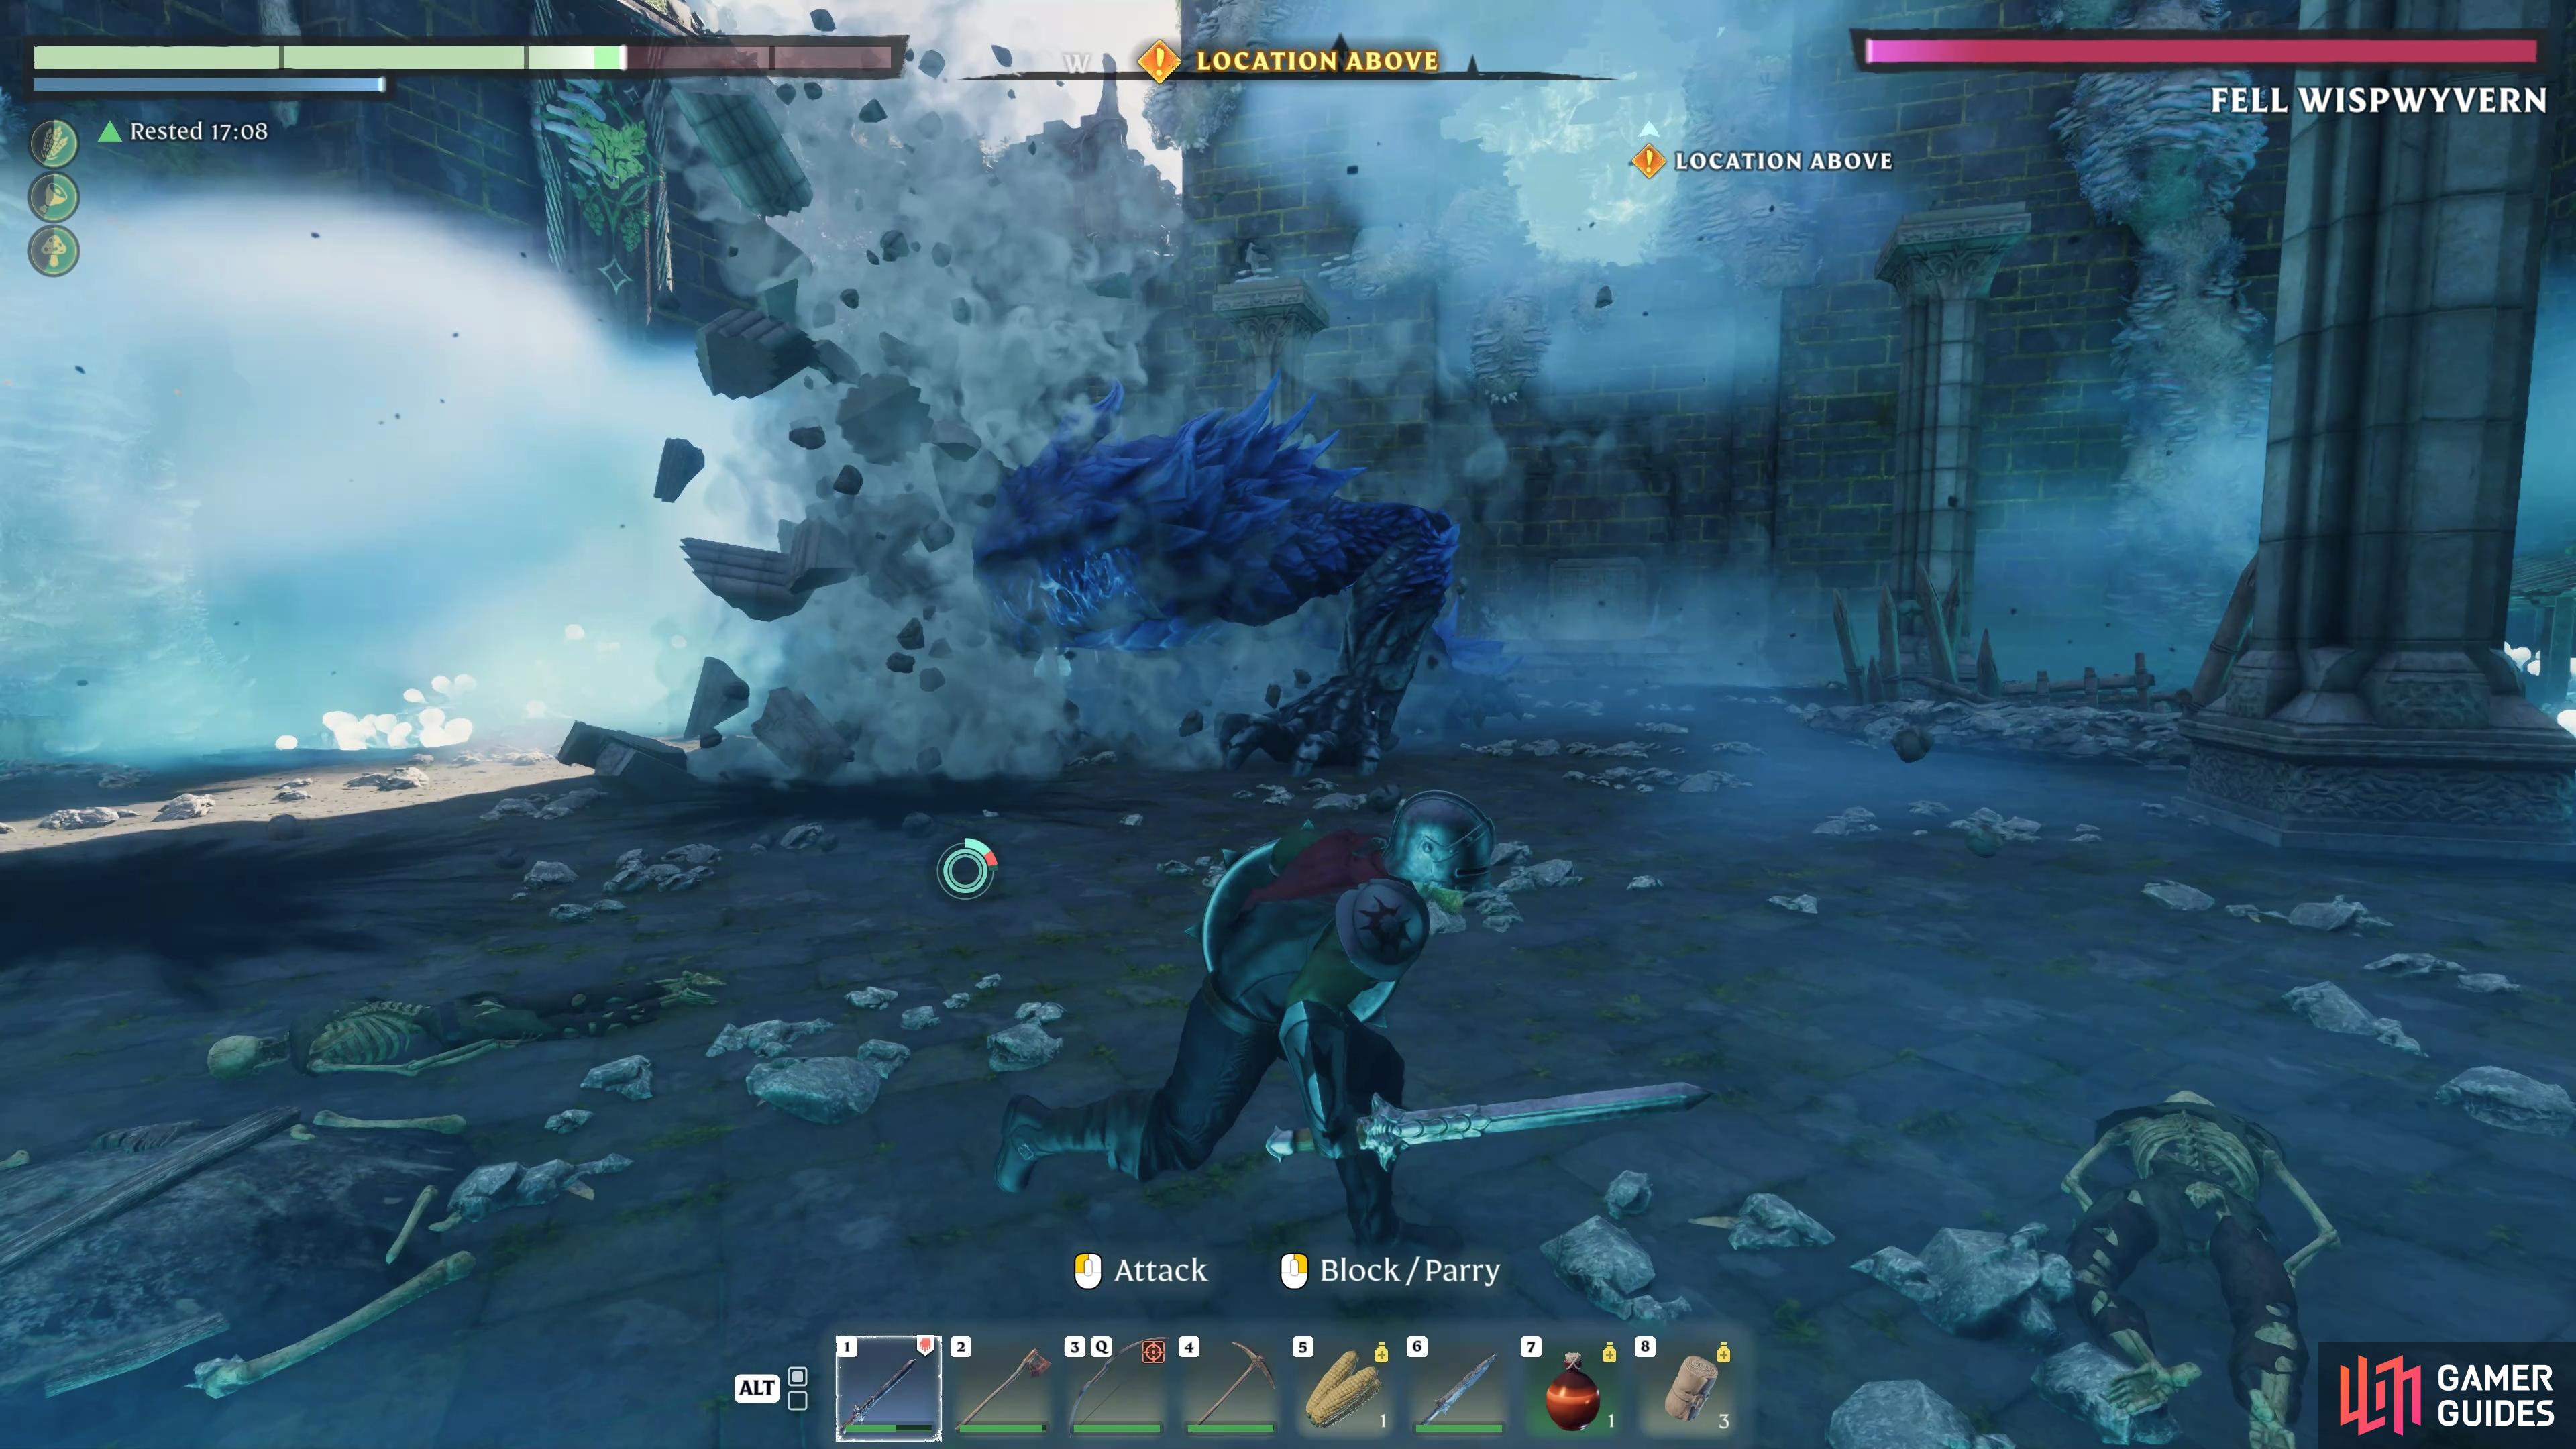
Tail Whip
This is a simple attack that the boss will perform whenever you stay too close to it for a prolonged period. It’ll only take about 3-4 seconds before the boss gets fed up with you and performs the attack, but this gives you plenty of time to get some melee hits in if that’s your playstyle. The only way to avoid the tail whip attack is by dodge-rolling away, but you won’t get much of a warning when it’s about to happen. The best thing to do is keep a close eye on the boss as you’re hitting it in melee, and as soon as you see it move, perform the dodge-roll. If you execute the roll in time, you shouldn’t receive any damage, but it may take some practice to perfect.
You’ll be stunned whenever the boss hits you with the tail whip attack, so it’s important that you learn how to avoid it as quickly as possible if you’re a melee character. Most ranged-based builds won’t require you to get this close to the boss, so you shouldn’t have to worry about it as much.
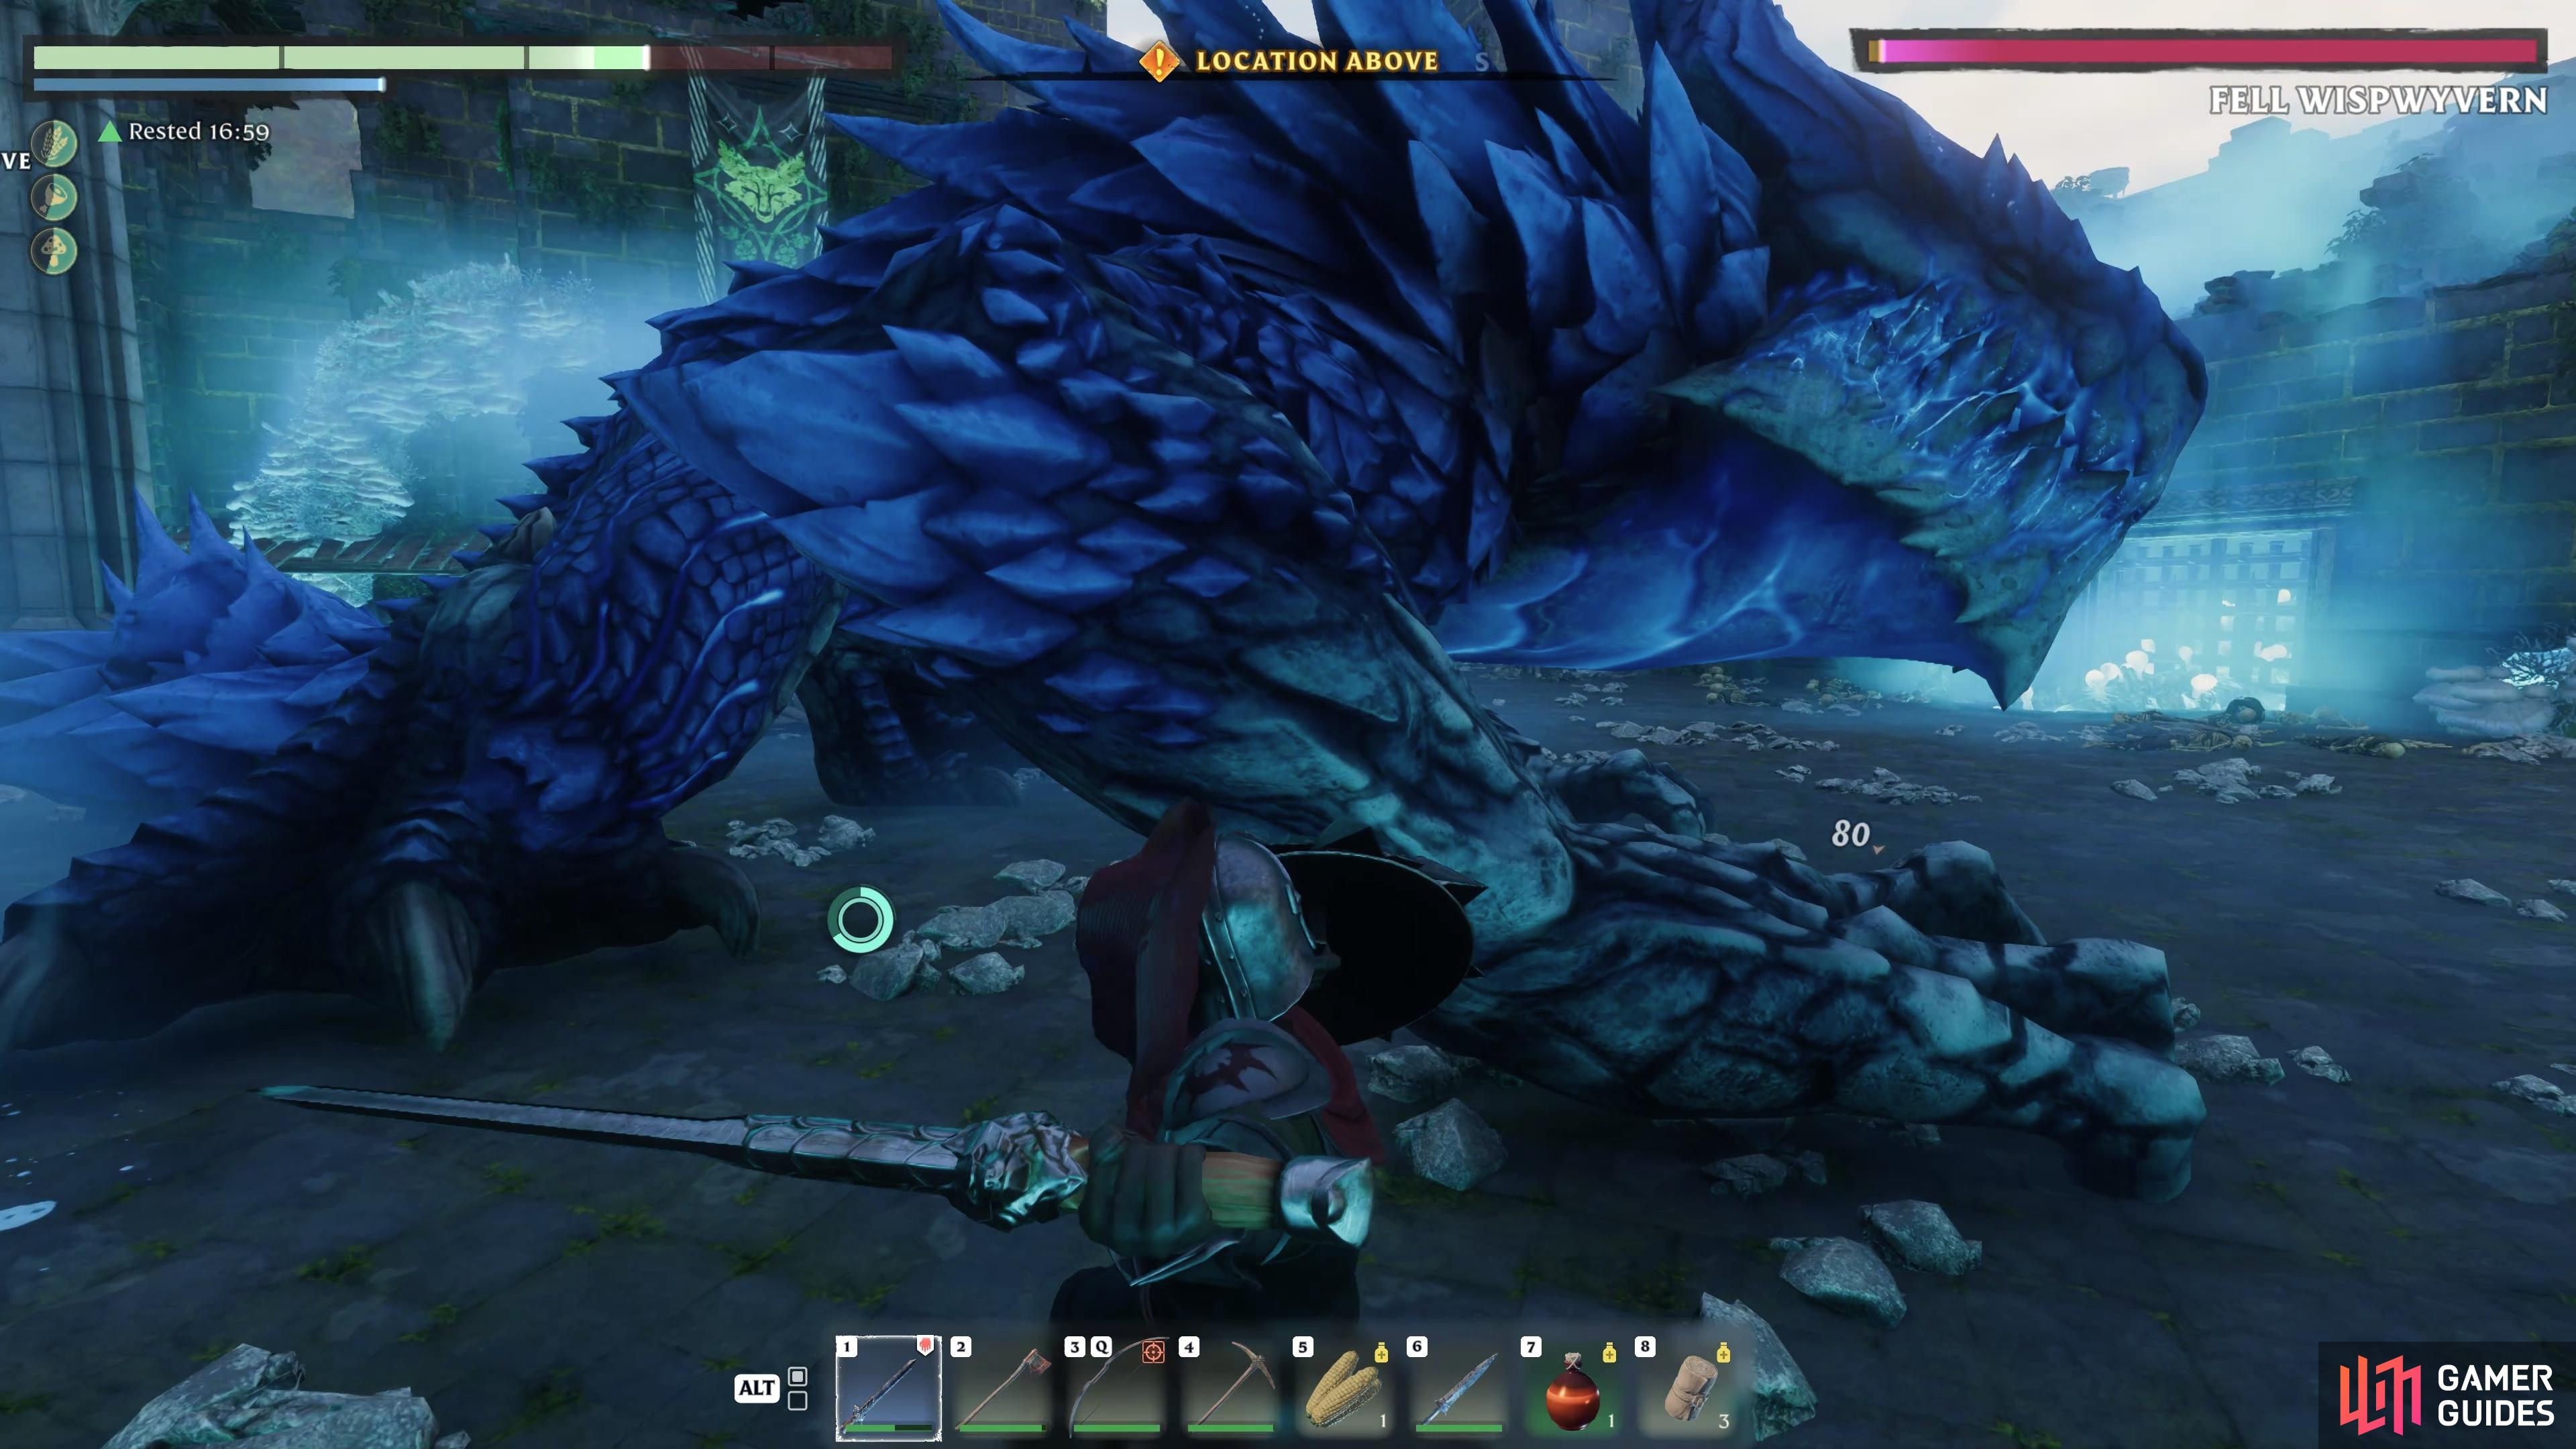
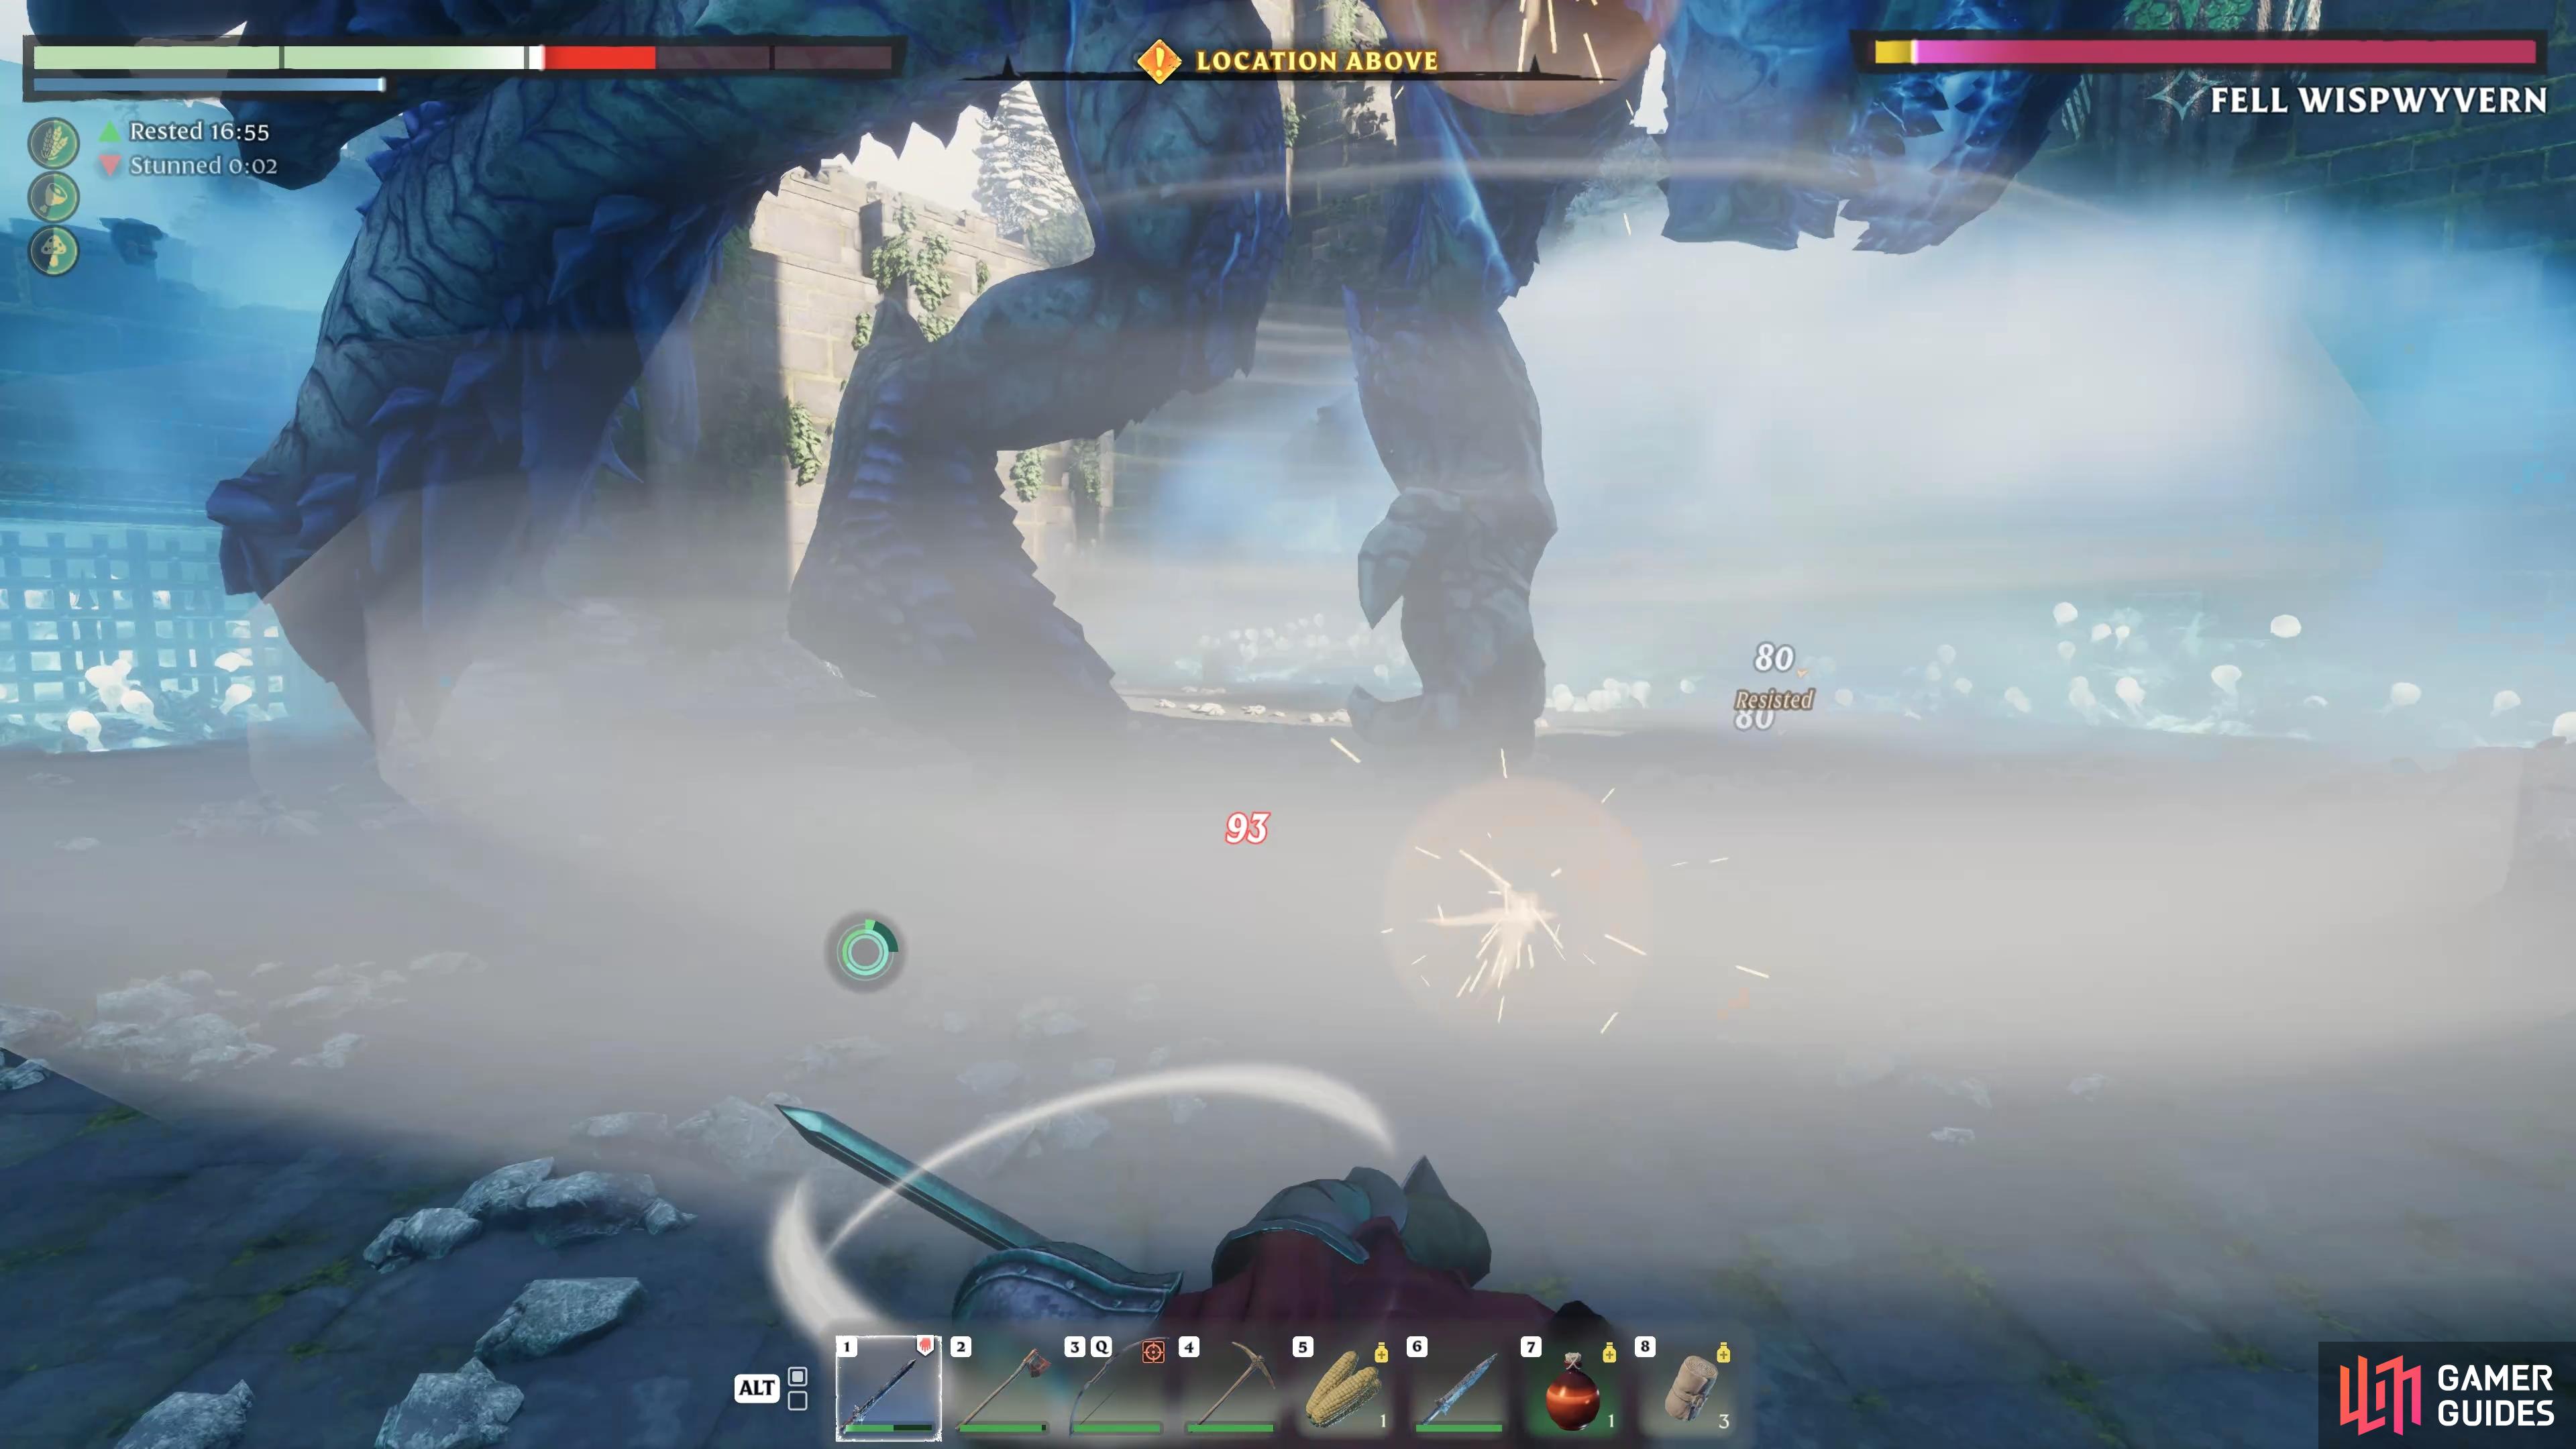
(1 of 2) You can attack the boss in melee for a short period before its tail whip attack comes.
You can attack the boss in melee for a short period before its tail whip attack comes. (left), If you don’t successfully dodge-roll from the tail whip attack, you’ll be stunned and receive massive damage. (right)
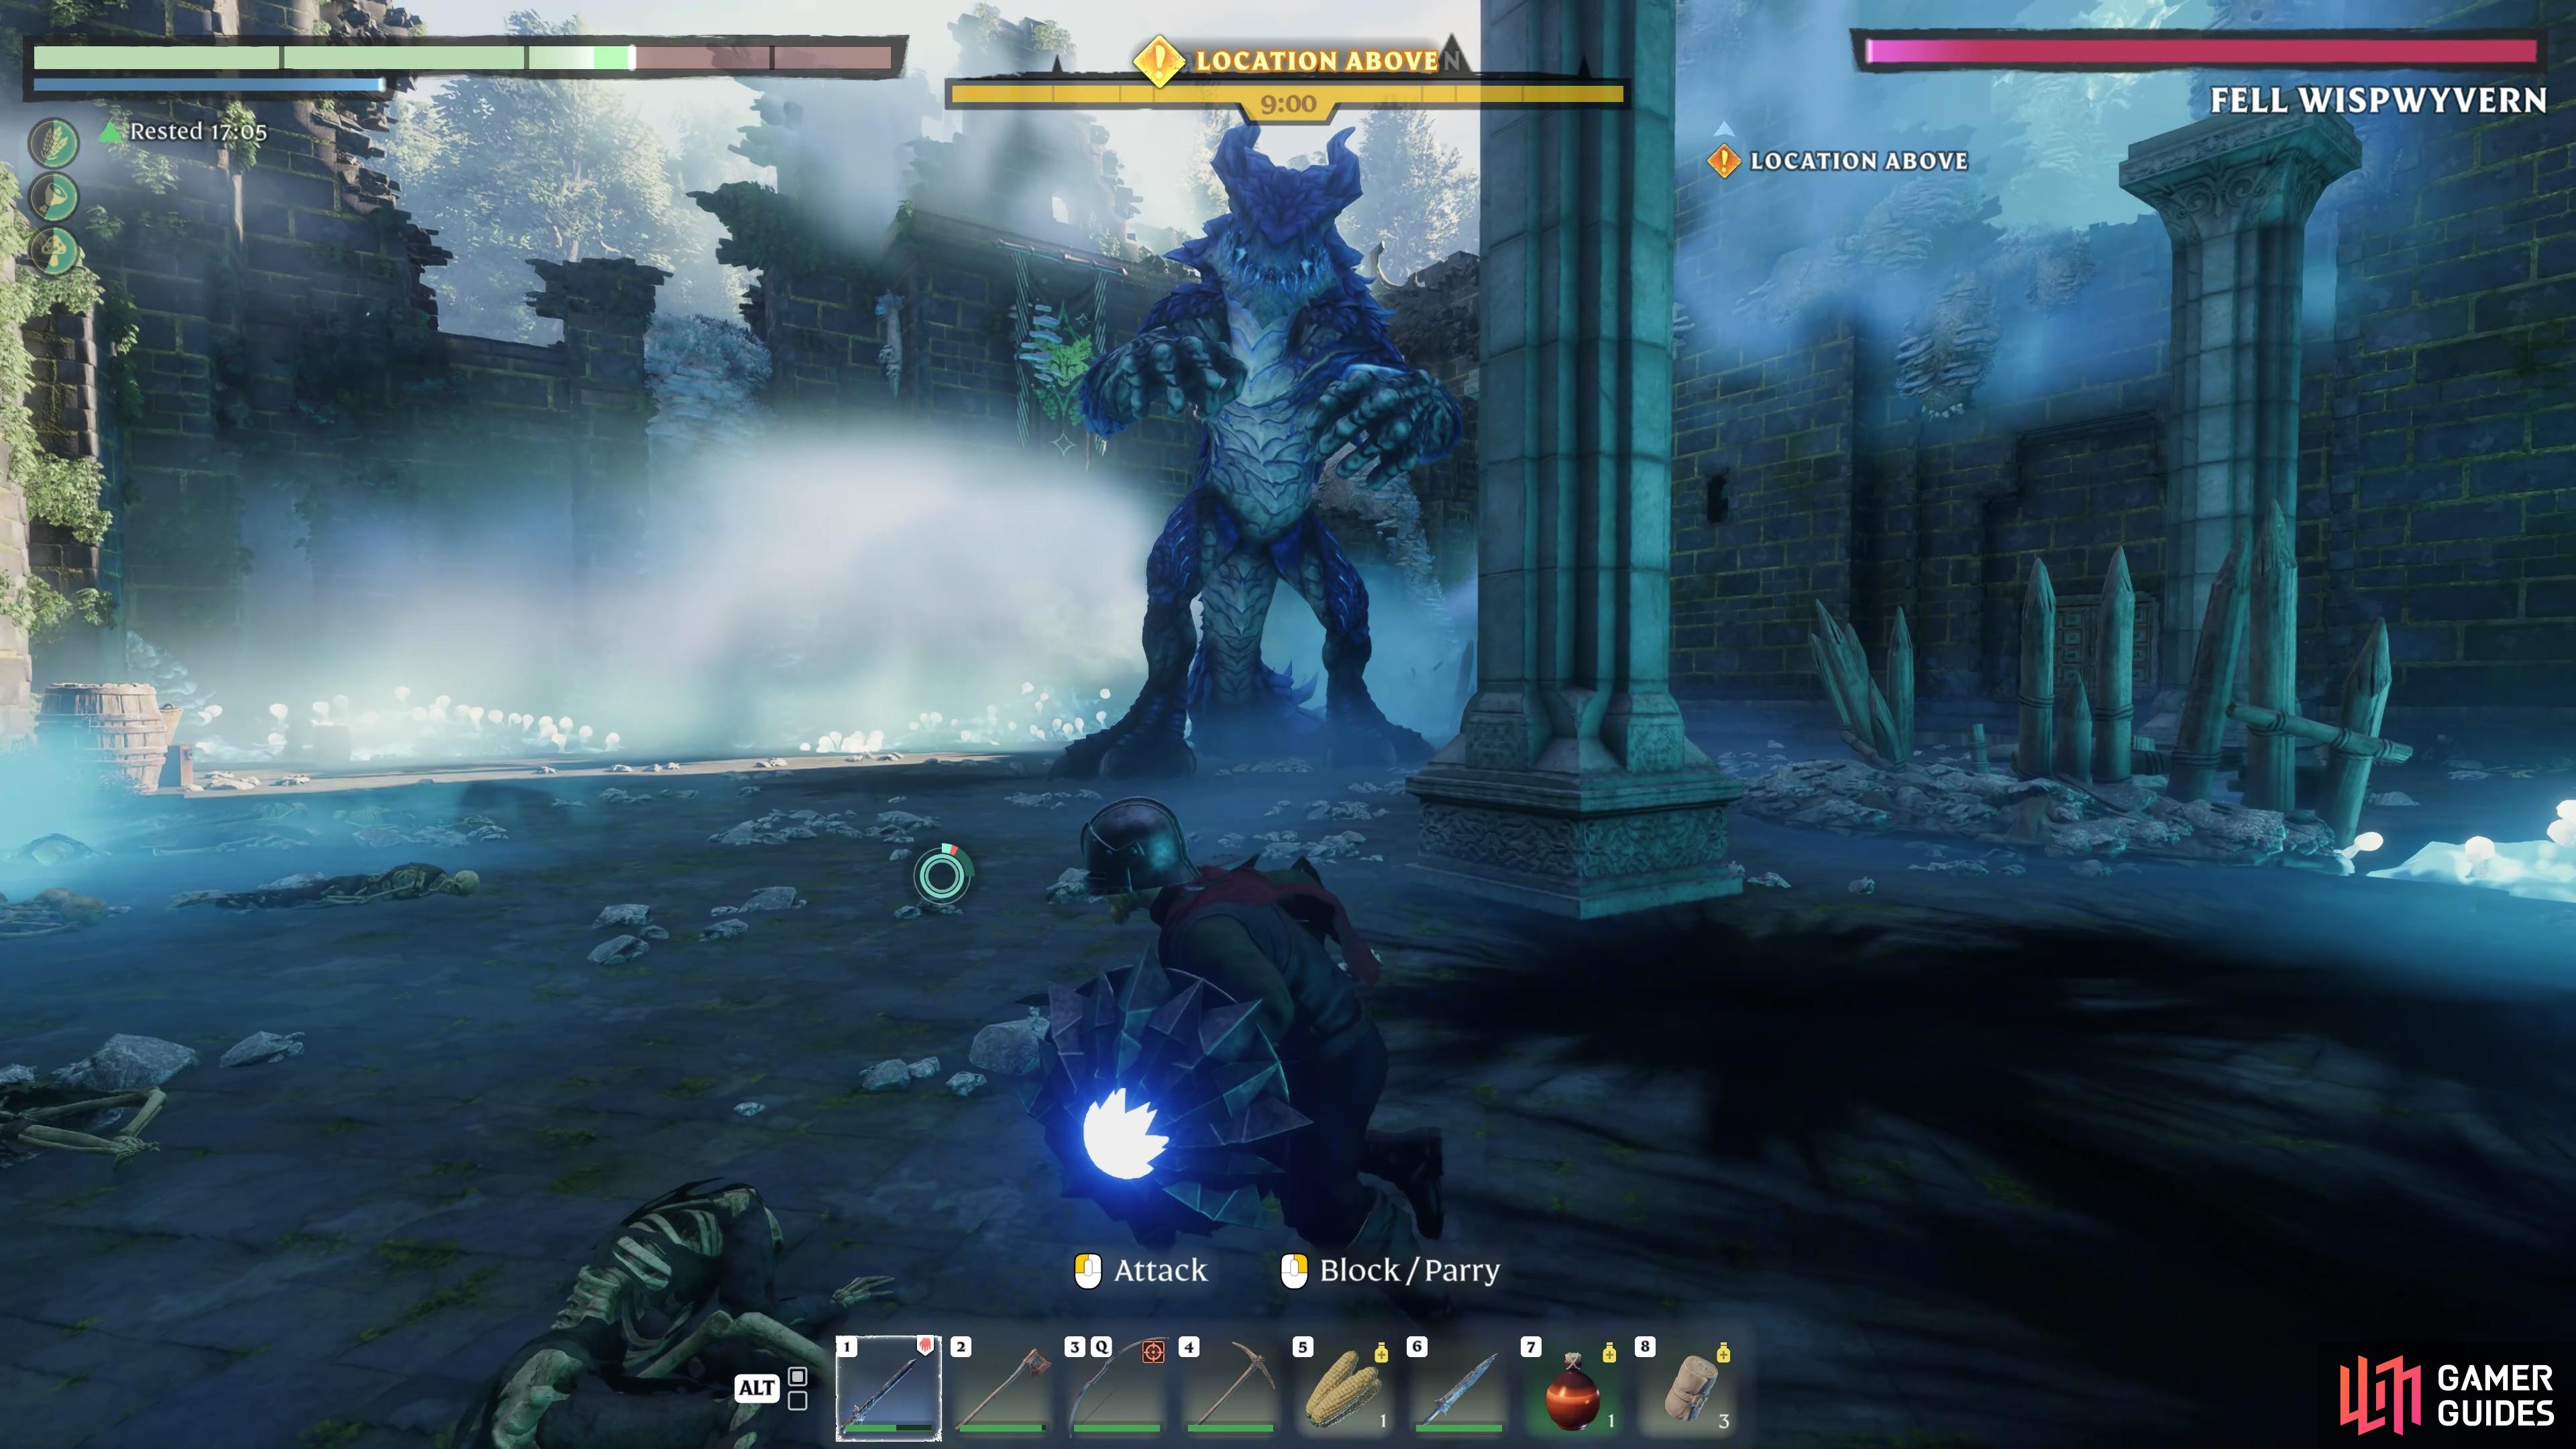
Critter Spawn
This move isn’t a direct attack from the boss, but it will spawn multiple shroud critters to distract and attack you. Again, it’s easy to tell when the boss is doing this since it’ll stand on its hind limbs, but for this attack, you’ll see a large ball of shroud “magic” in its mouth. It will remain in this stance while the critters are being summoned, so you should try to kill the critters as soon as they spawn to avoid having to fight both them and the boss at the same time. The critters can do a surprising amount of damage in a short period when they attack together, so do keep on top of them.

(1 of 2) The boss will stand on its hind limbs and summon critters in this stance.
The boss will stand on its hind limbs and summon critters in this stance. (left), You can stop the critters from spawning and stun the boss at the same time by hitting its mouth with a ranged attack at this point. (right)
Defeat the Fell Wispwyvern for the Key to The Pike
Now that we’ve covered all the attacks that the Fell Wispwyvern has at its disposal, to defeat the boss it’s just a matter of becoming familiar with them and avoiding them successfully. However, one of the most important things to keep in mind here is the tip mentioned above in relation to the Critter Spawn move. The ability to stun the boss by hitting it in the mouth just before it performs this attack is crucial. It’s the only time in the fight that you’ll have the ability to attack the boss freely, without worrying about any of its other special attacks.
The other thing to keep in mind here is that whenever the boss is locked into an animation where it’s stood on its hind limbs, you’ll have some time to replenish health where necessary by using a bandage. It’s a good idea to save your health potions for those last-minute refills, since there’s no animation involved when consuming them. The bandages will provide plenty of health recovery over time, especially if you continue to use them throughout the fight, and they’re much cheaper to craft than the health potions.
So long as you have plenty of ranged damage in the form of arrows, spells, or basic wand attacks to inflict on the boss when it’s stood on its hind limbs, you have the key to defeating it easily by consistently stun-locking it whenever it attempts to perform the critter spawn move. You can still beat the boss without stunning it in this way, but it’ll take a lot longer, especially since the boss actually receives more damage while it’s stunned.
If you want to see how this fight can play out, see the video below!
Once you’ve defeated the Fell Wispwyvern, you’ll unlock the Dethroned achievement. You’ll also get the Key to The Pike, which allows you to unlock the doors to the keep and explore it thoroughly for loot, including the Guard of the North gear set, which also provides an achievement once you’ve got all the pieces.

 Sign up
No Comments