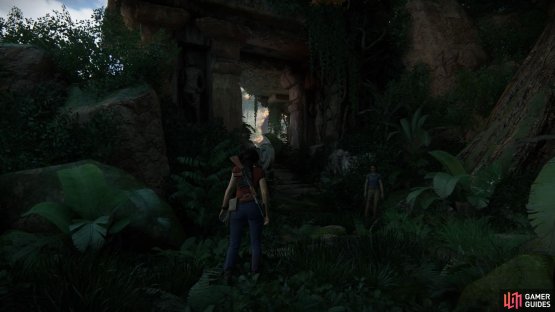
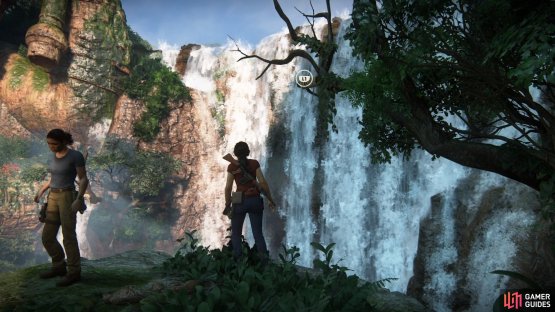
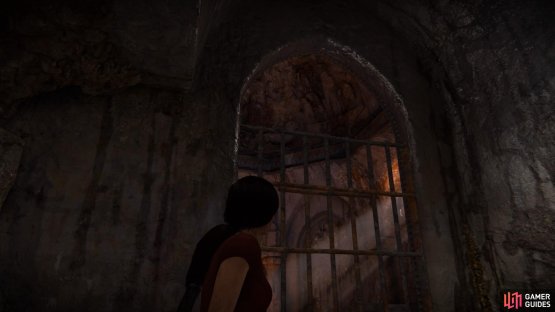
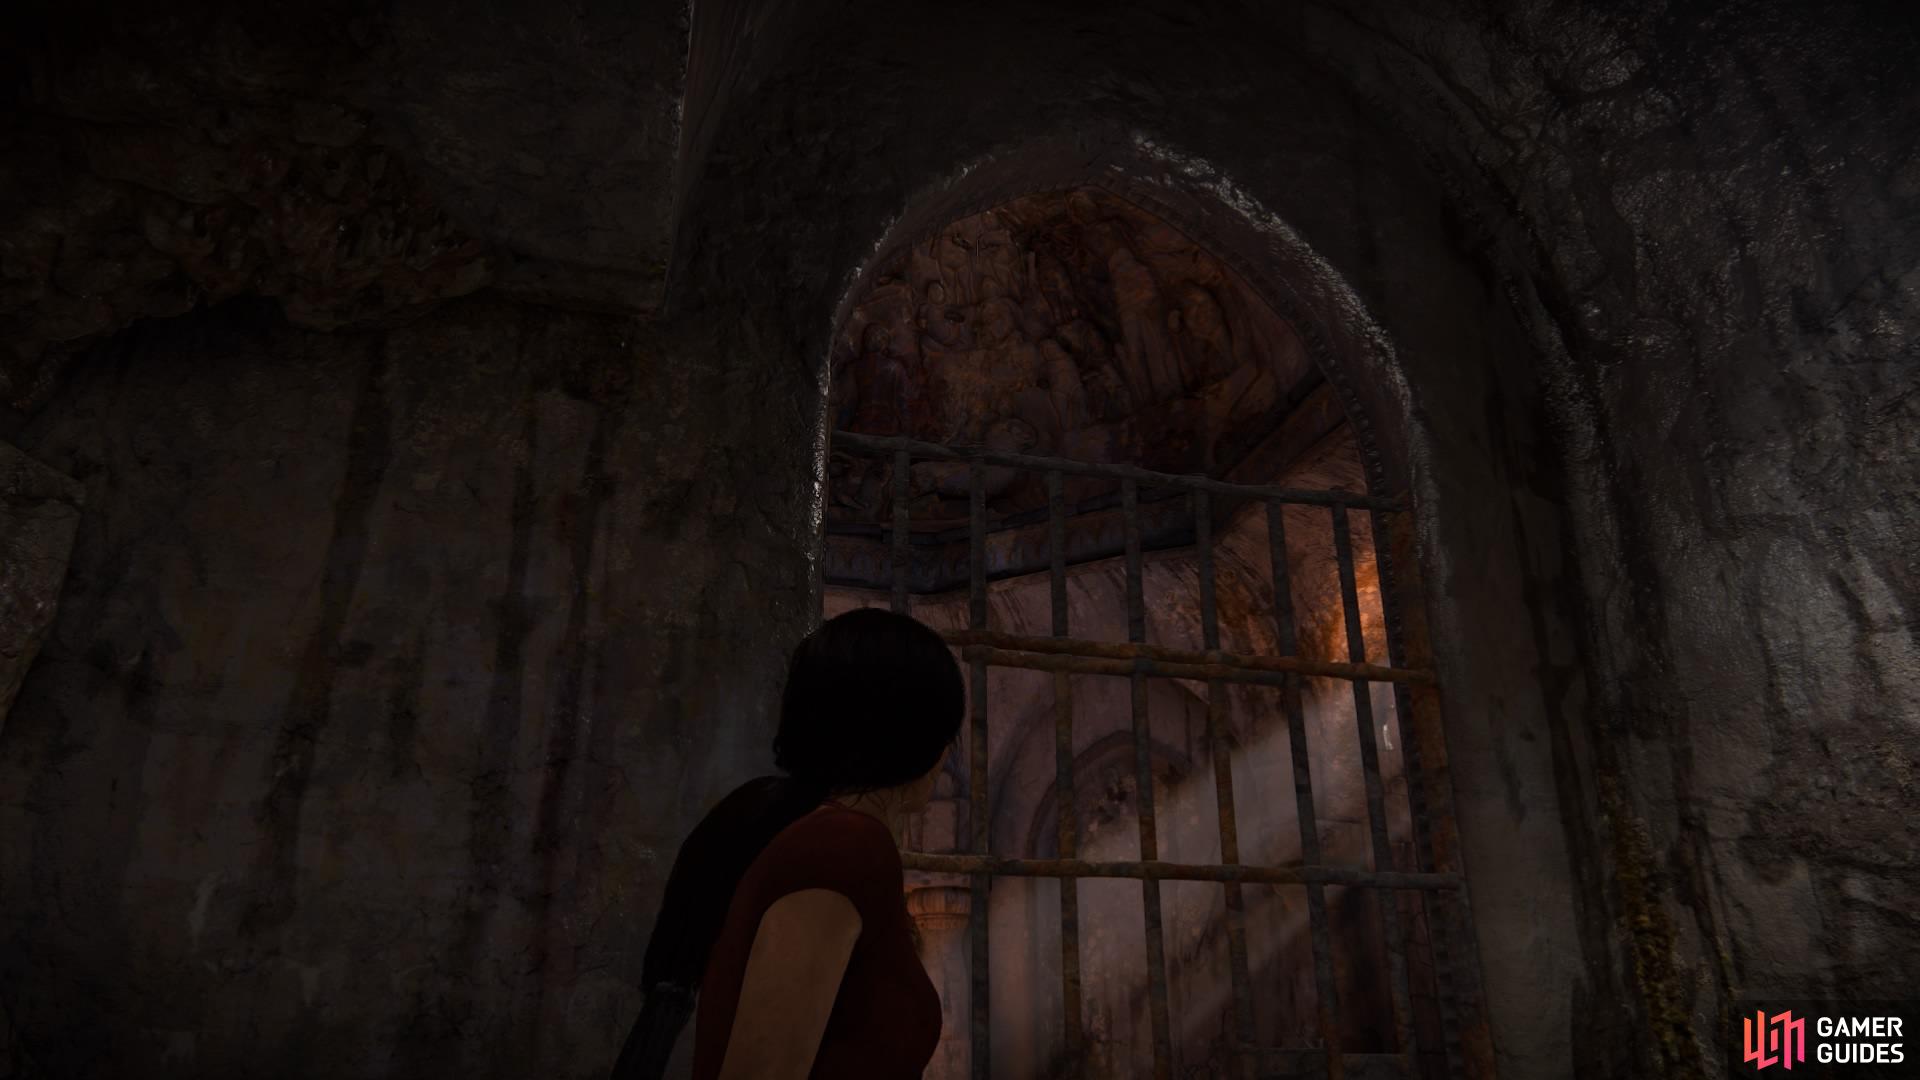
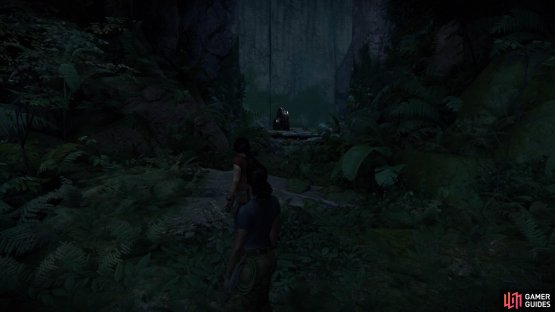
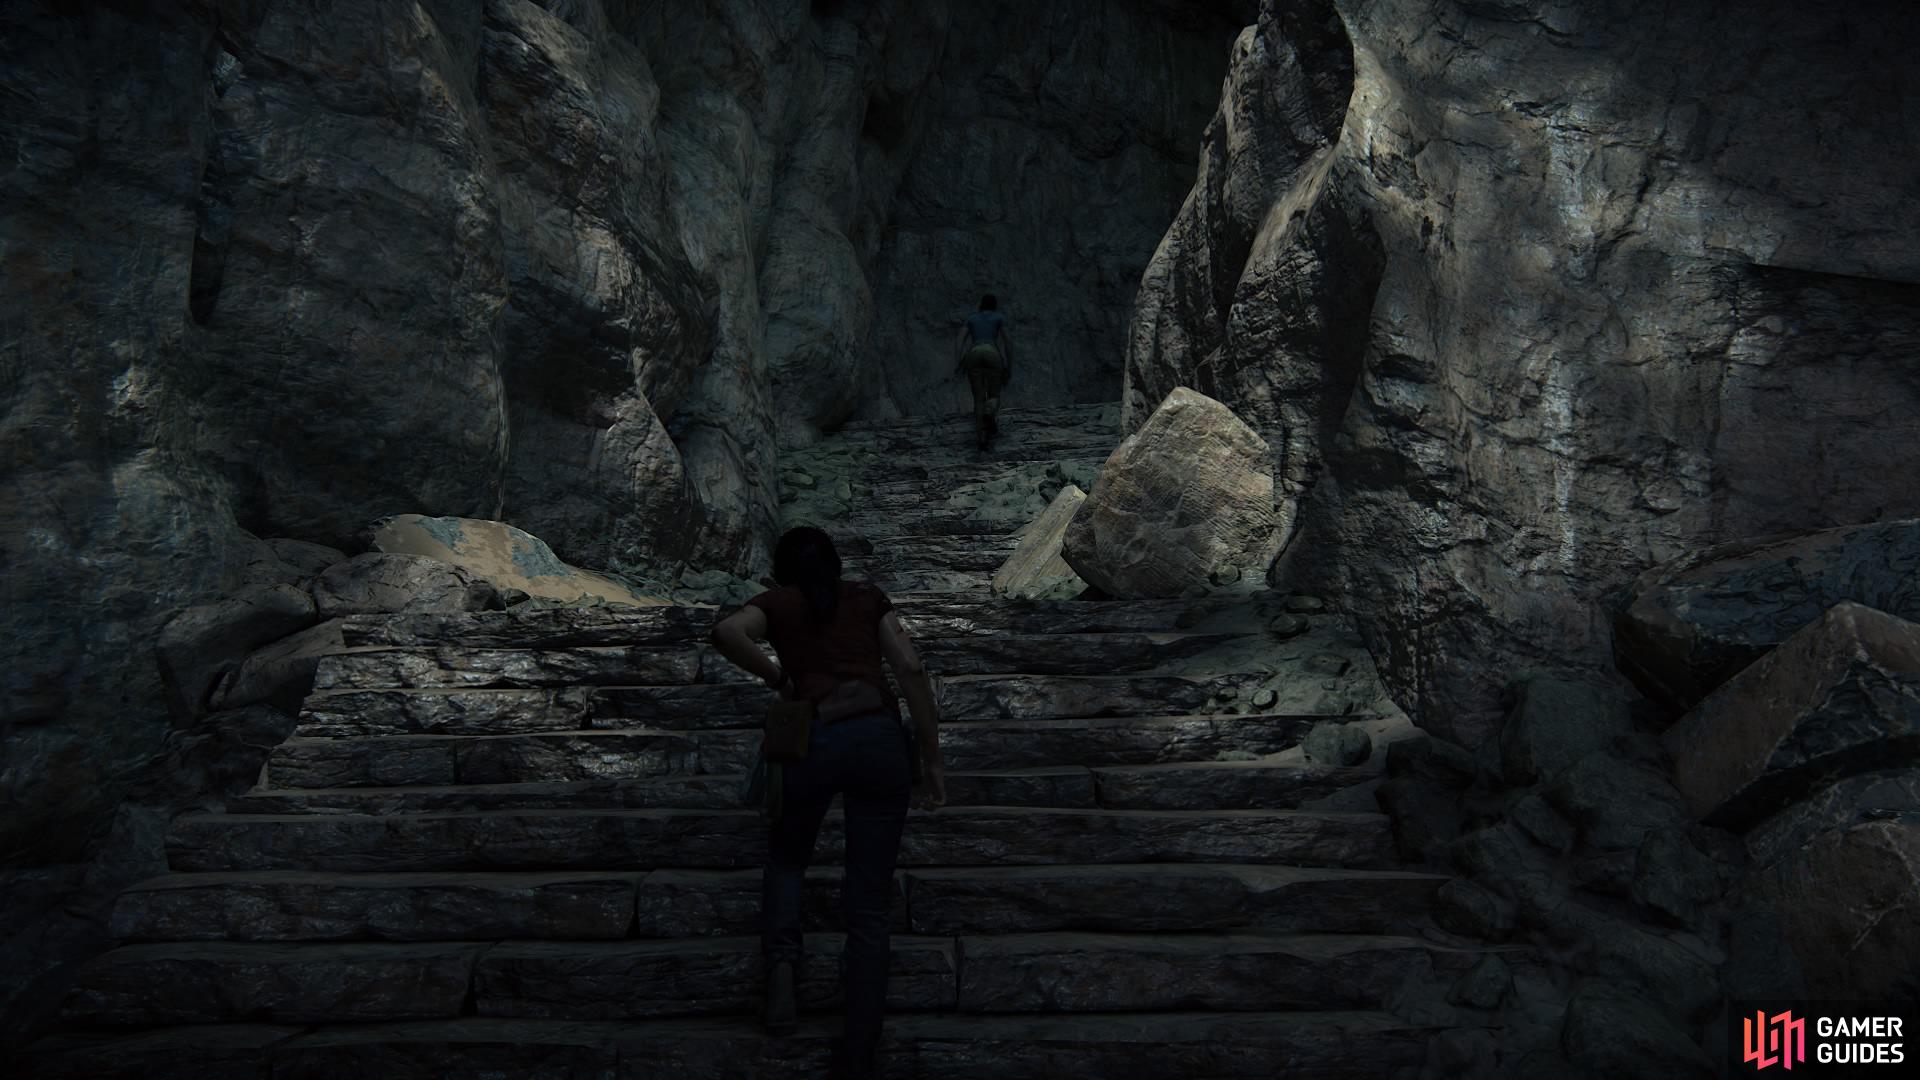
Follow the path to the right until you come to a stone archway with some steps – Nadine will lead on and stand outside of it until you go past her.

(1 of 2) Nadine will lead you in the right direction
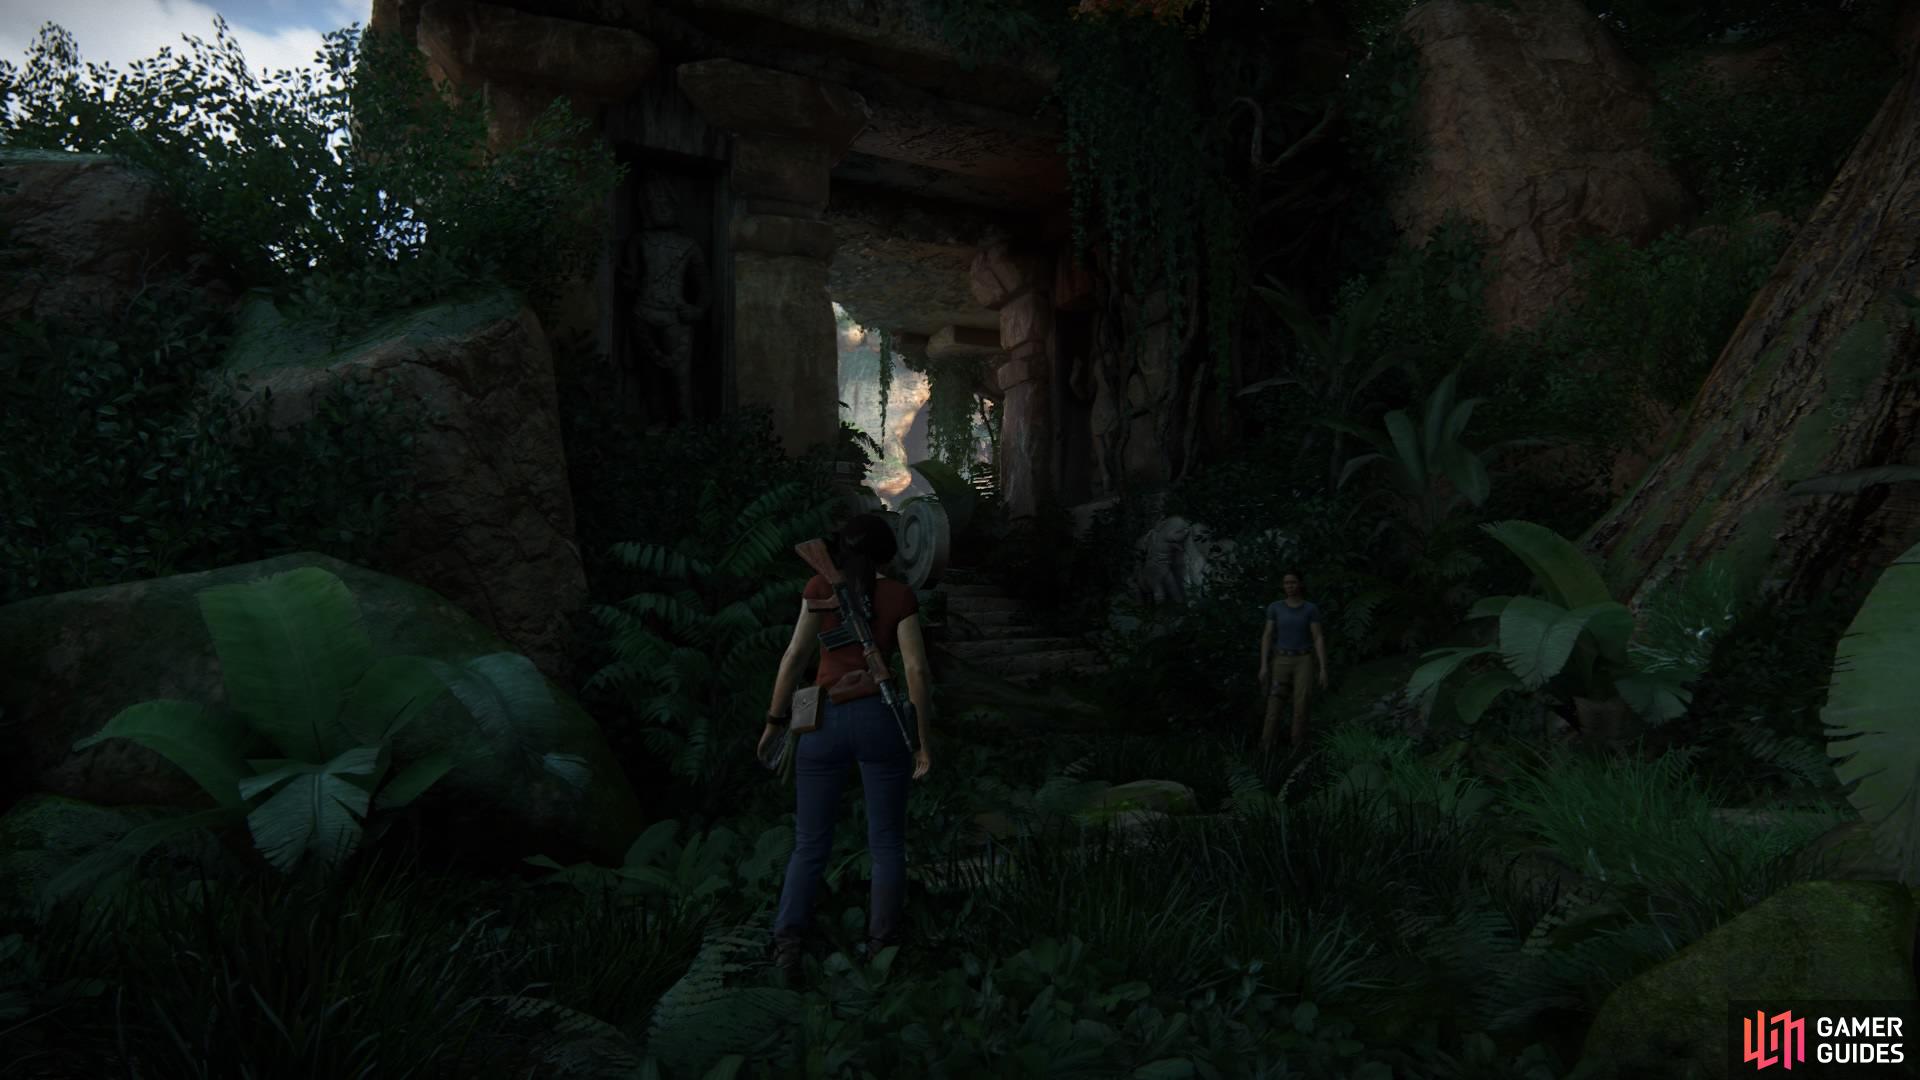
Nadine will lead you in the right direction (left), There are multiple rope swing prompts throughout the ascent (right)
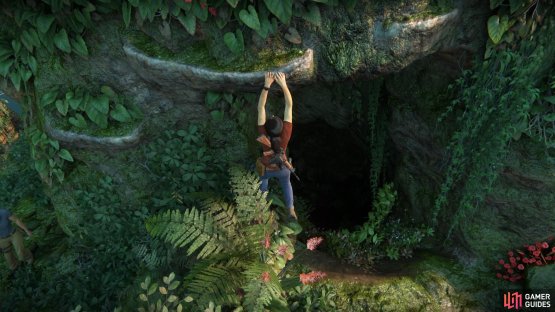
Go through the archway and drop down to the broken-off platform below, then head right again. There will be a tree for you to throw a rope to; swing to the handholds on the cliff to your left and climb up into the opening.


(1 of 2) Swing to the cliffs on the other side
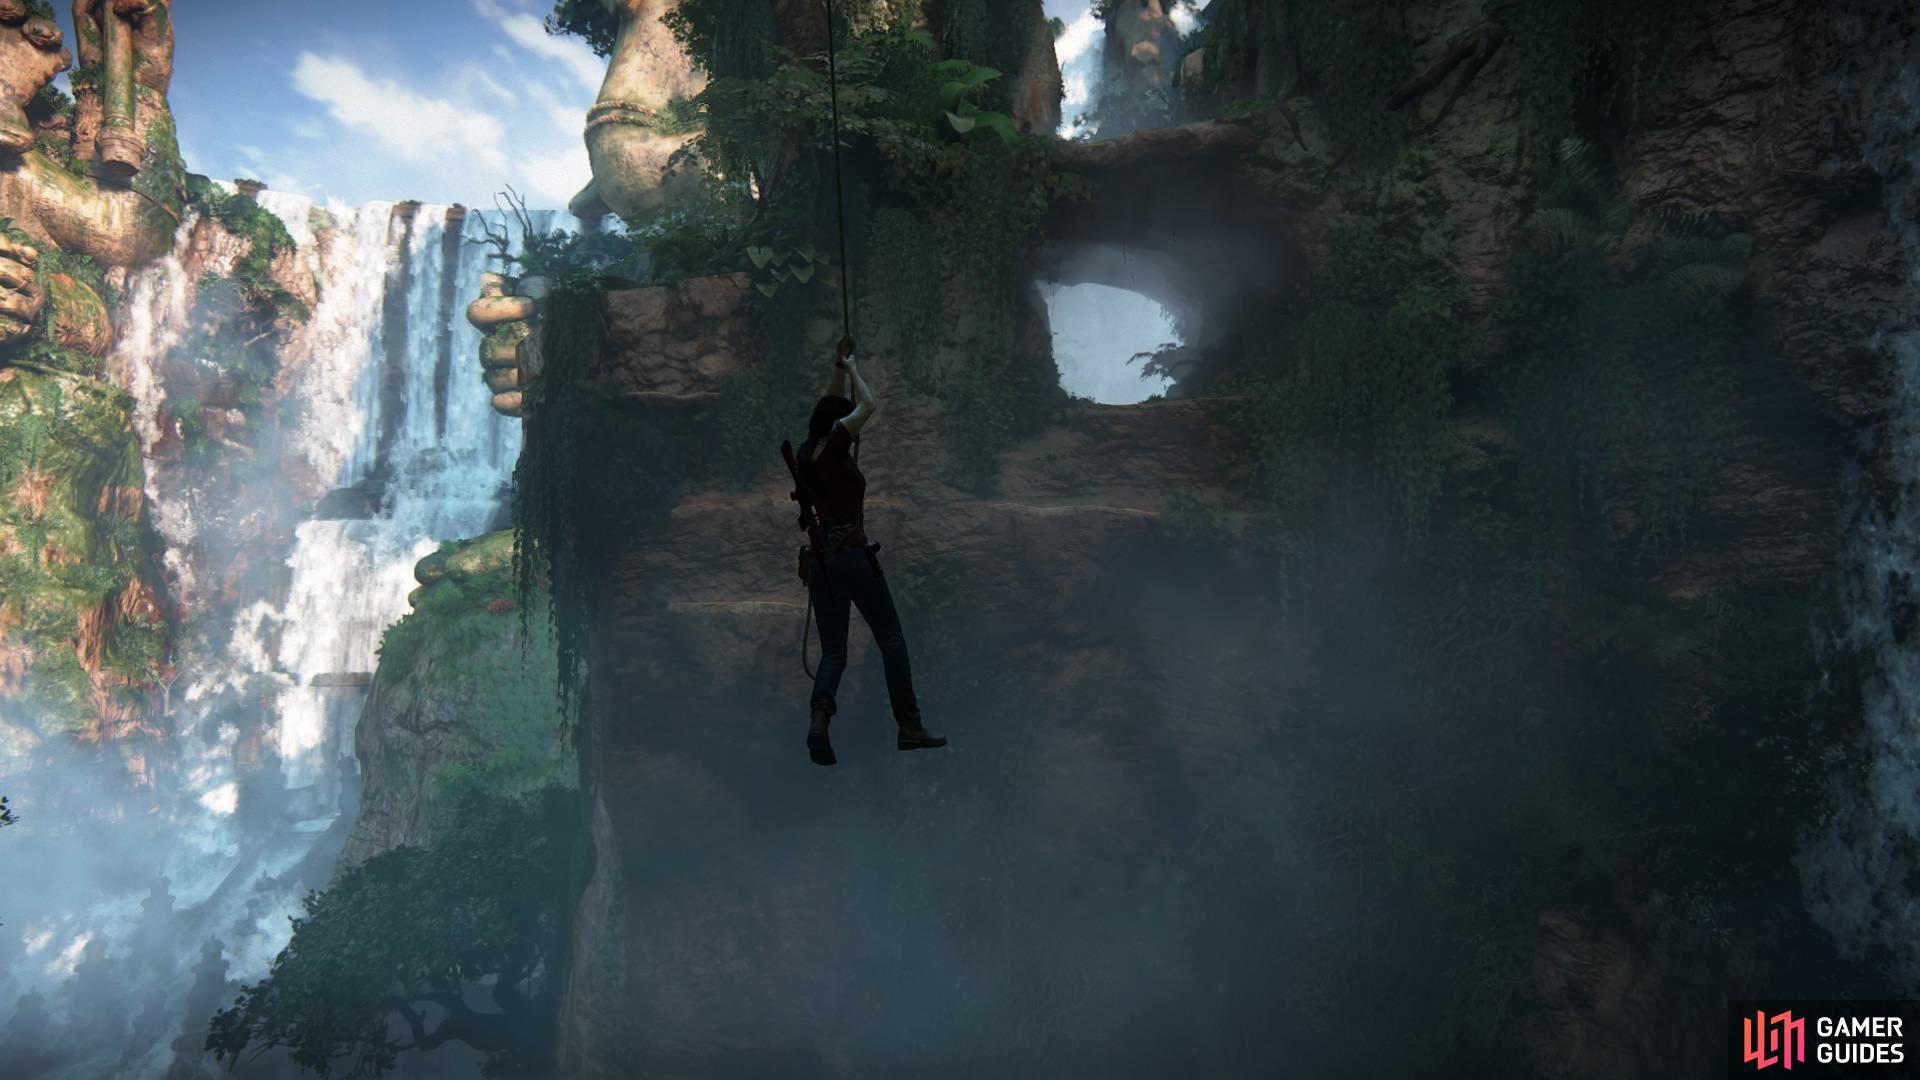
Swing to the cliffs on the other side (left), At the top, swing to the first monument (right)
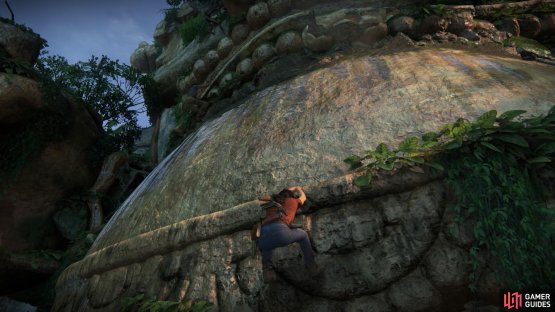
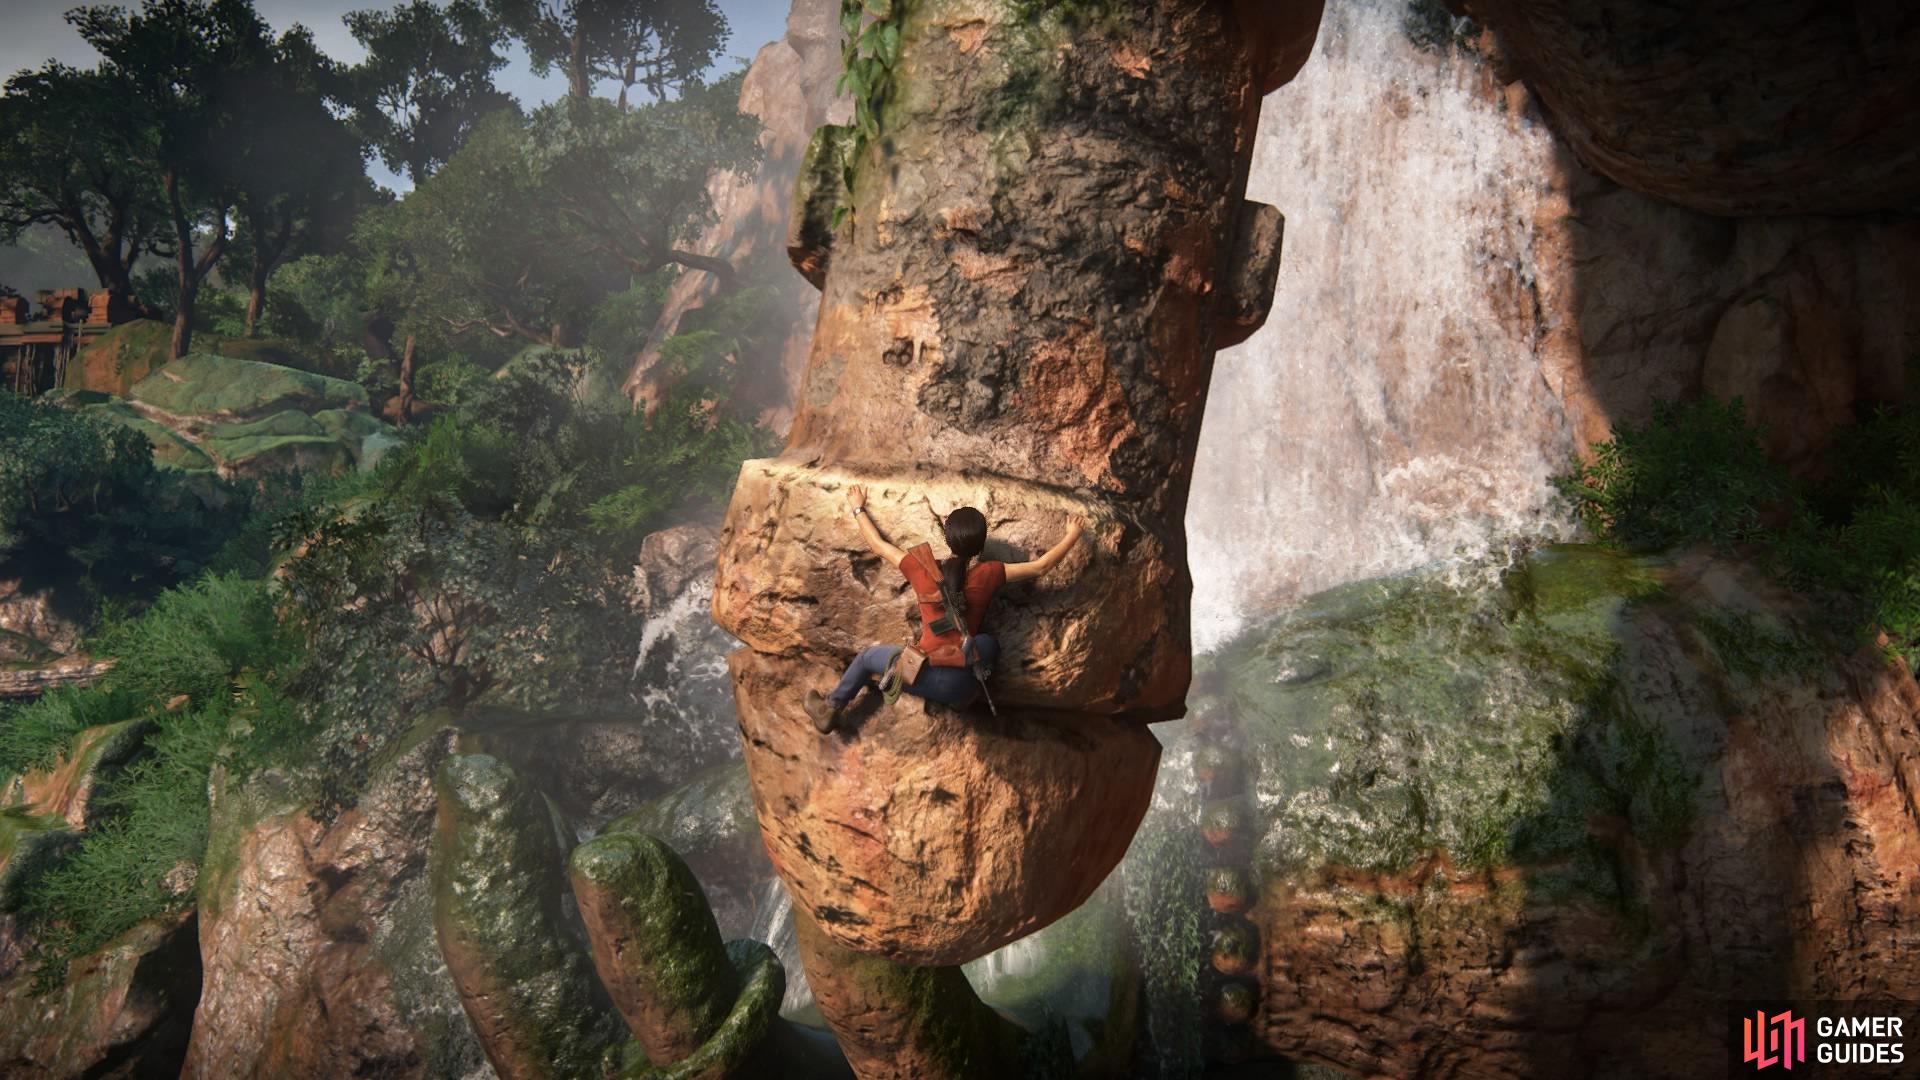
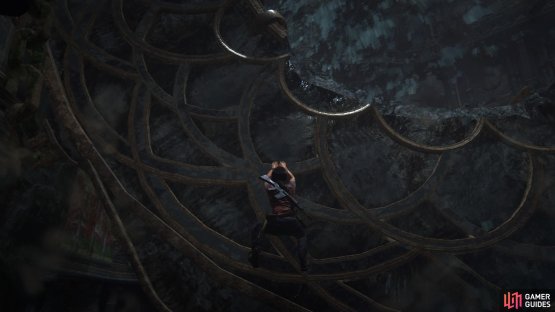
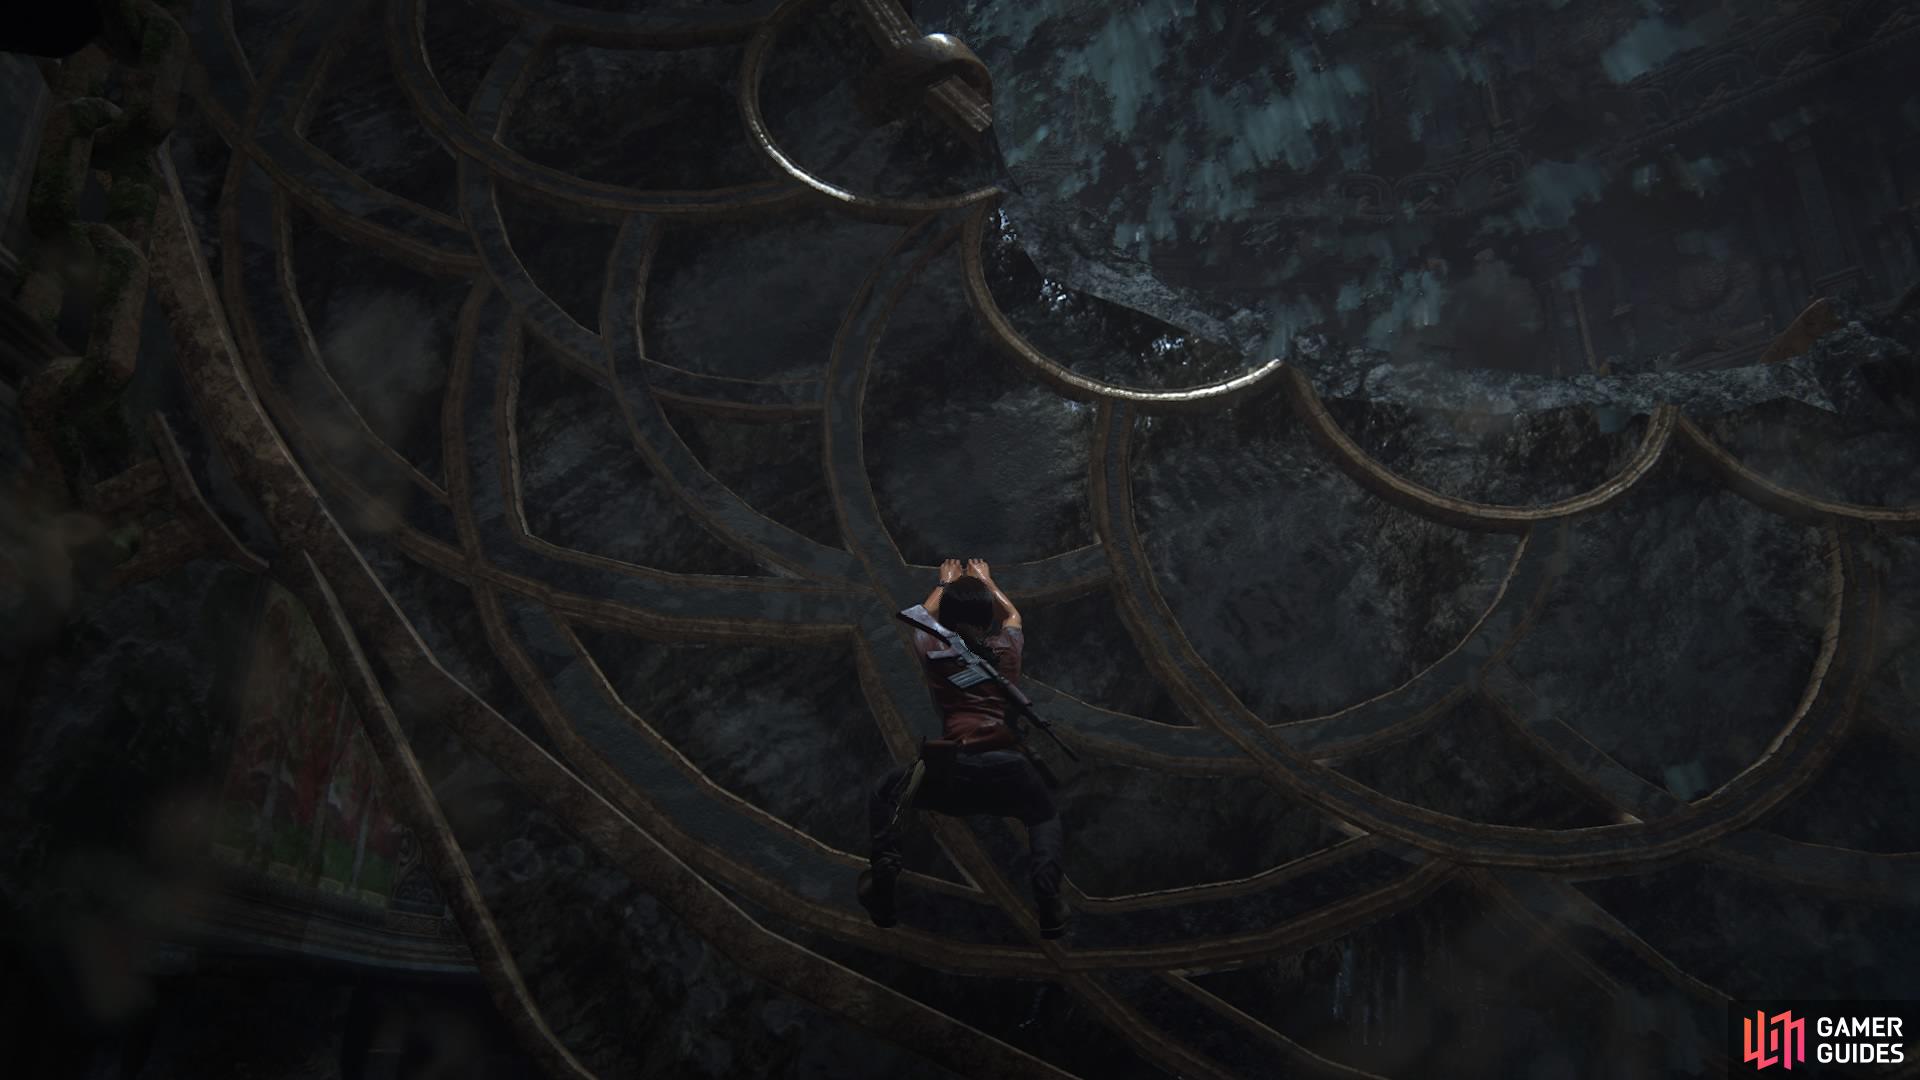
Go through, and immediately to your right will be a wall to scale with the piton. Keep climbing the cliff and rope swing over to the first monument.
(1 of 2) The handhold crumbles, but Chloe still hangs in there!

The handhold crumbles, but Chloe still hangs in there! (left), Keep making your way around until you reach Nadine (right)
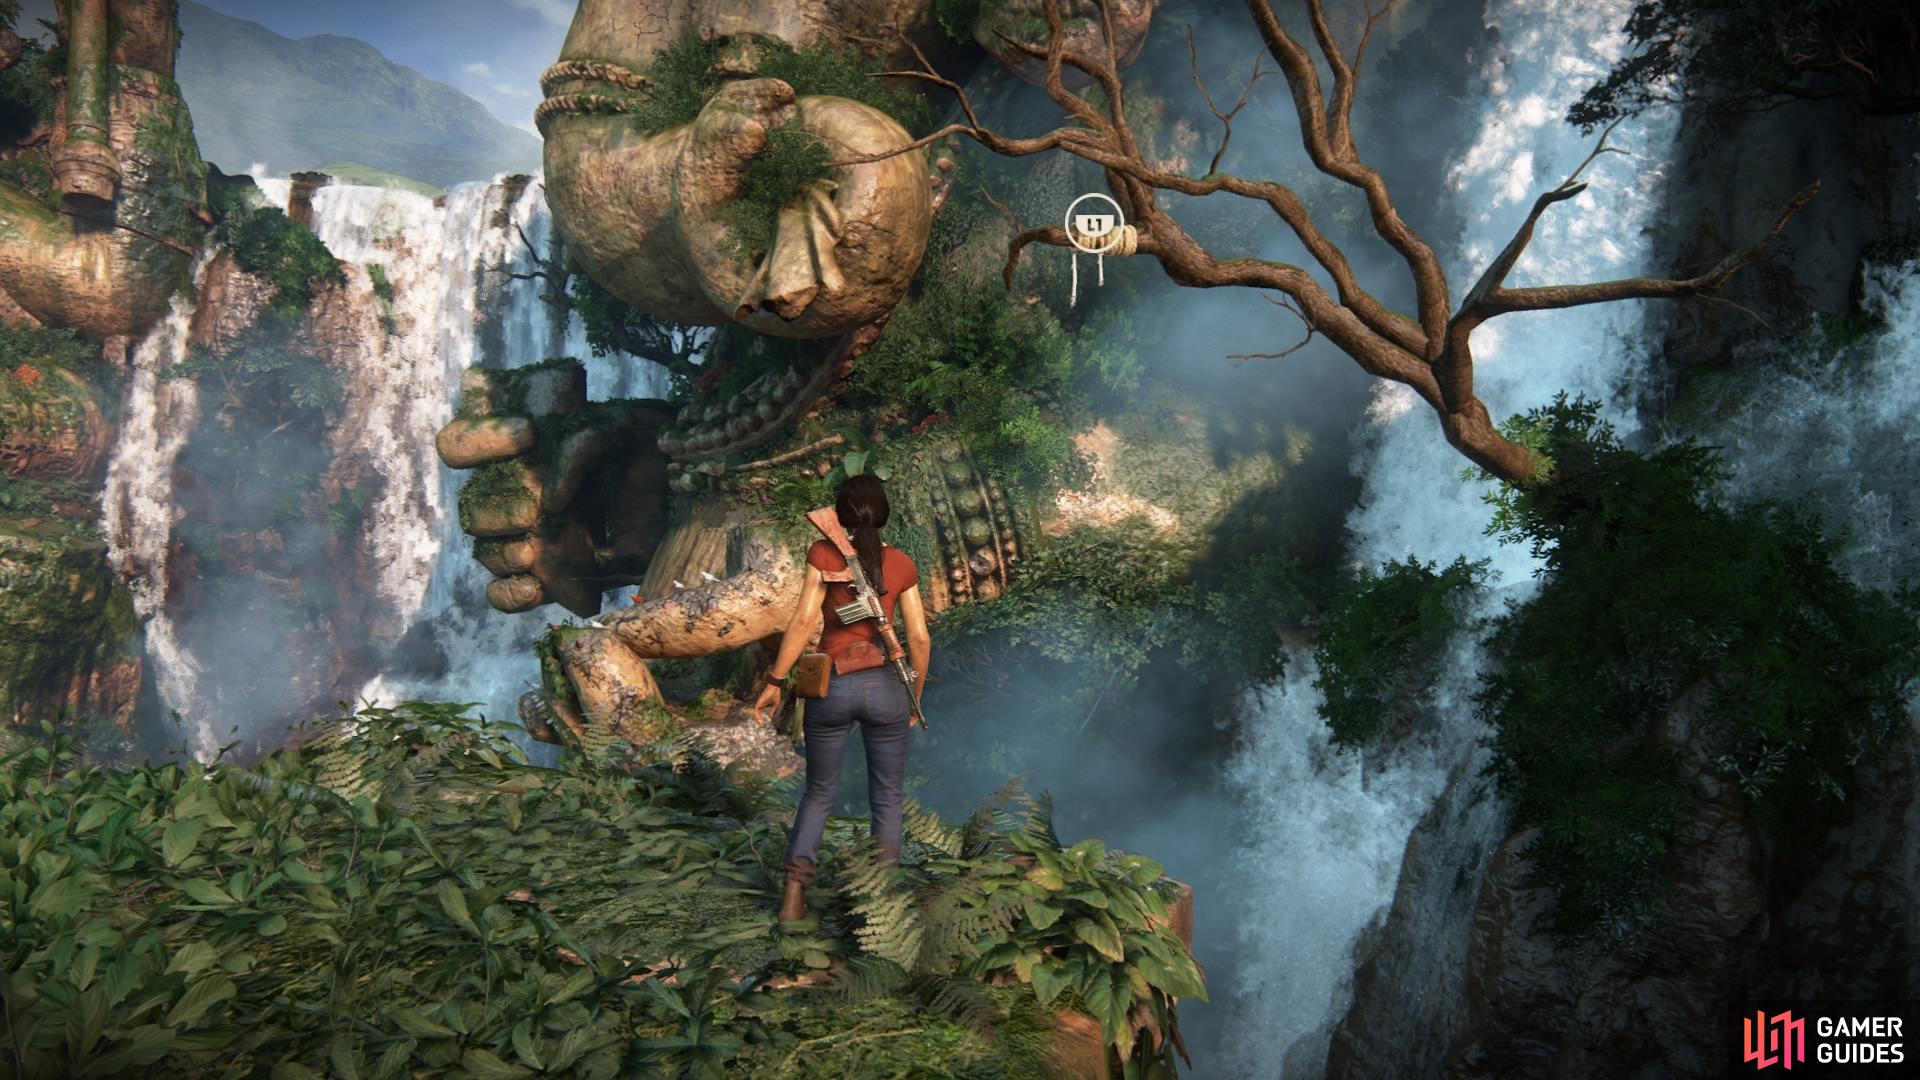
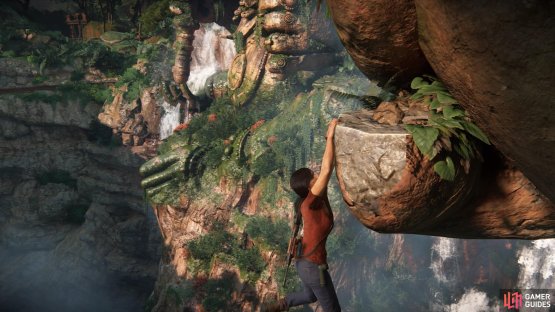
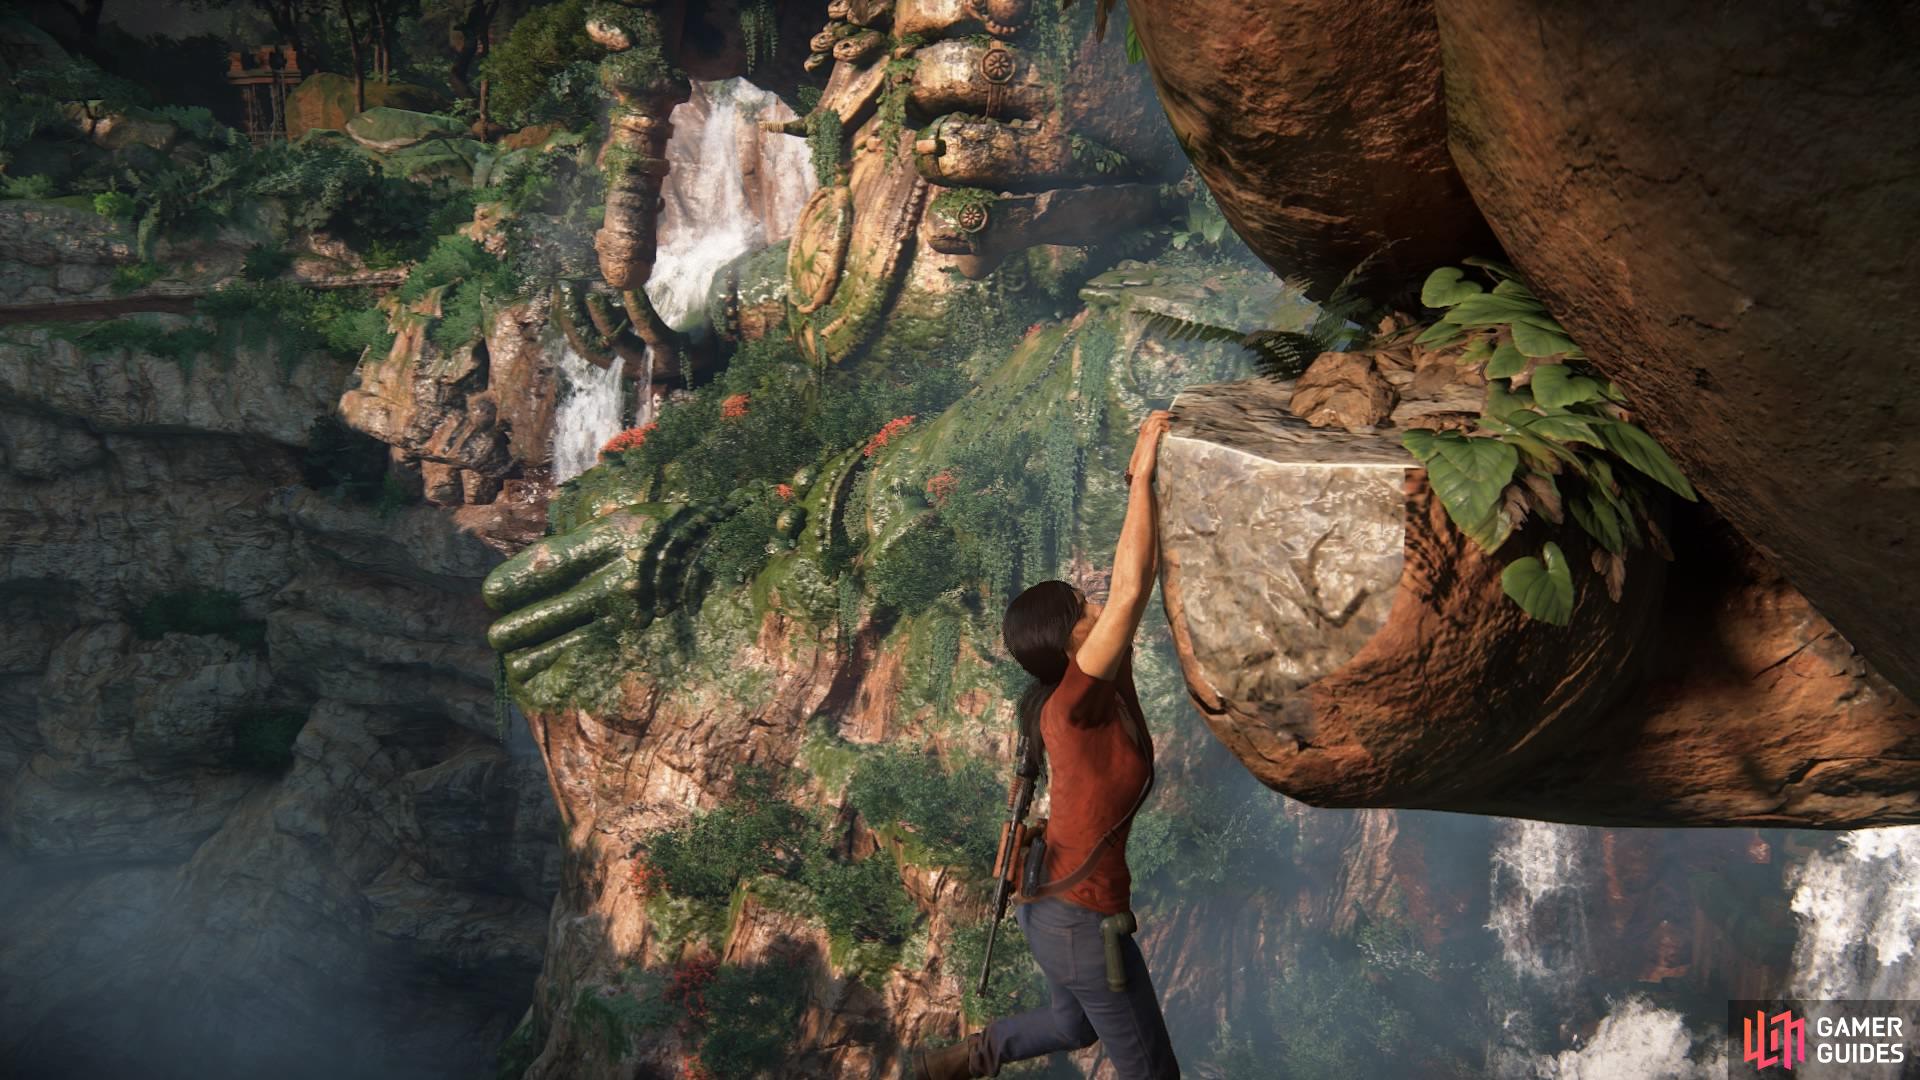
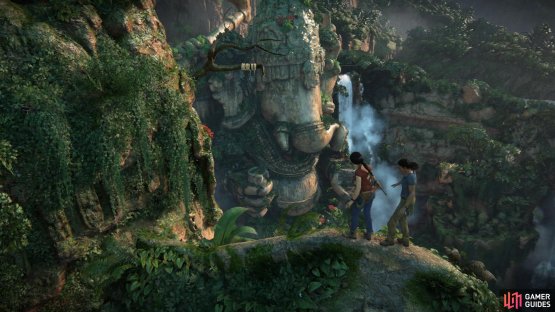
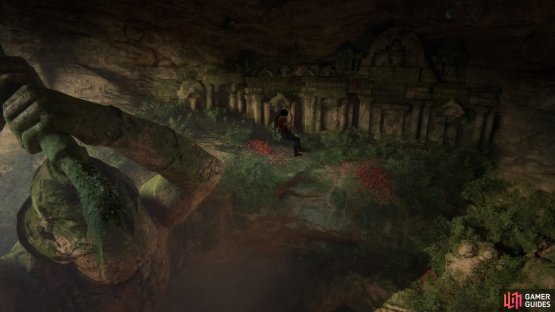
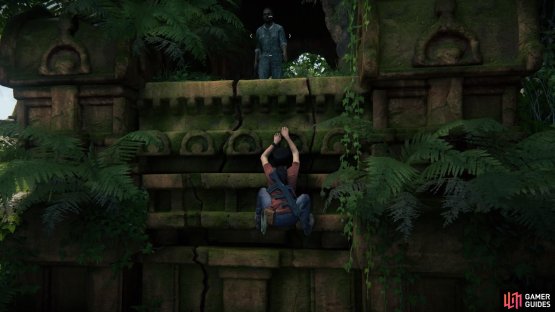
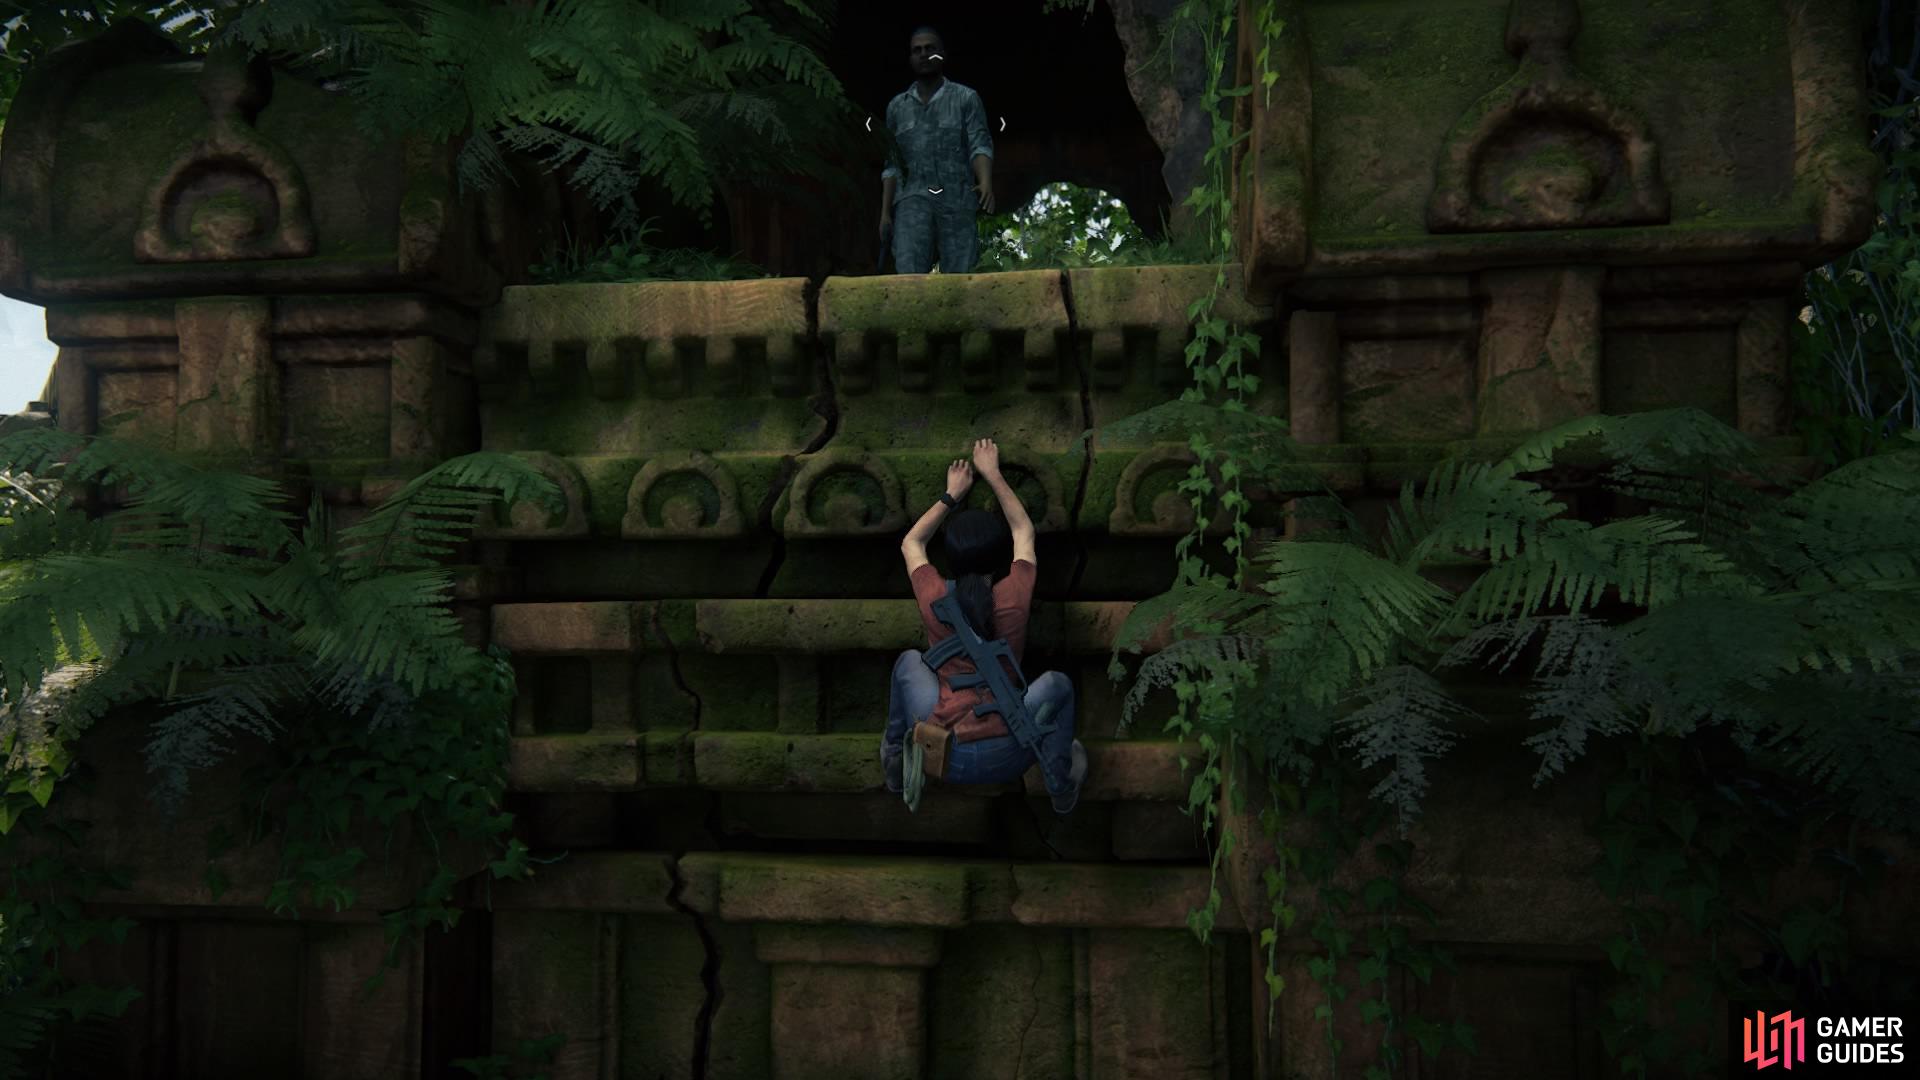
The aim here is to traverse the giant Ganesh statues; continue to follow the handholds and rope swing opportunities until you reach the hole in the side of Ganesh’s head at the very top.
After the ledge crumbles, traverse your way to the left of the statue until you have to climb up a giant hand. Nadine will be waiting for you at the top to help you up on to the platform.
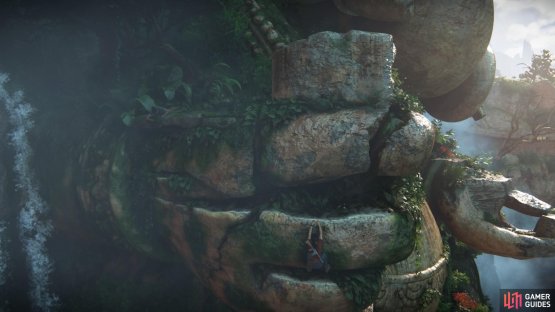
(1 of 2) Scale the giant hand towards Nadine


Scale the giant hand towards Nadine (left), Directly behind you will be the next rope swing (right)
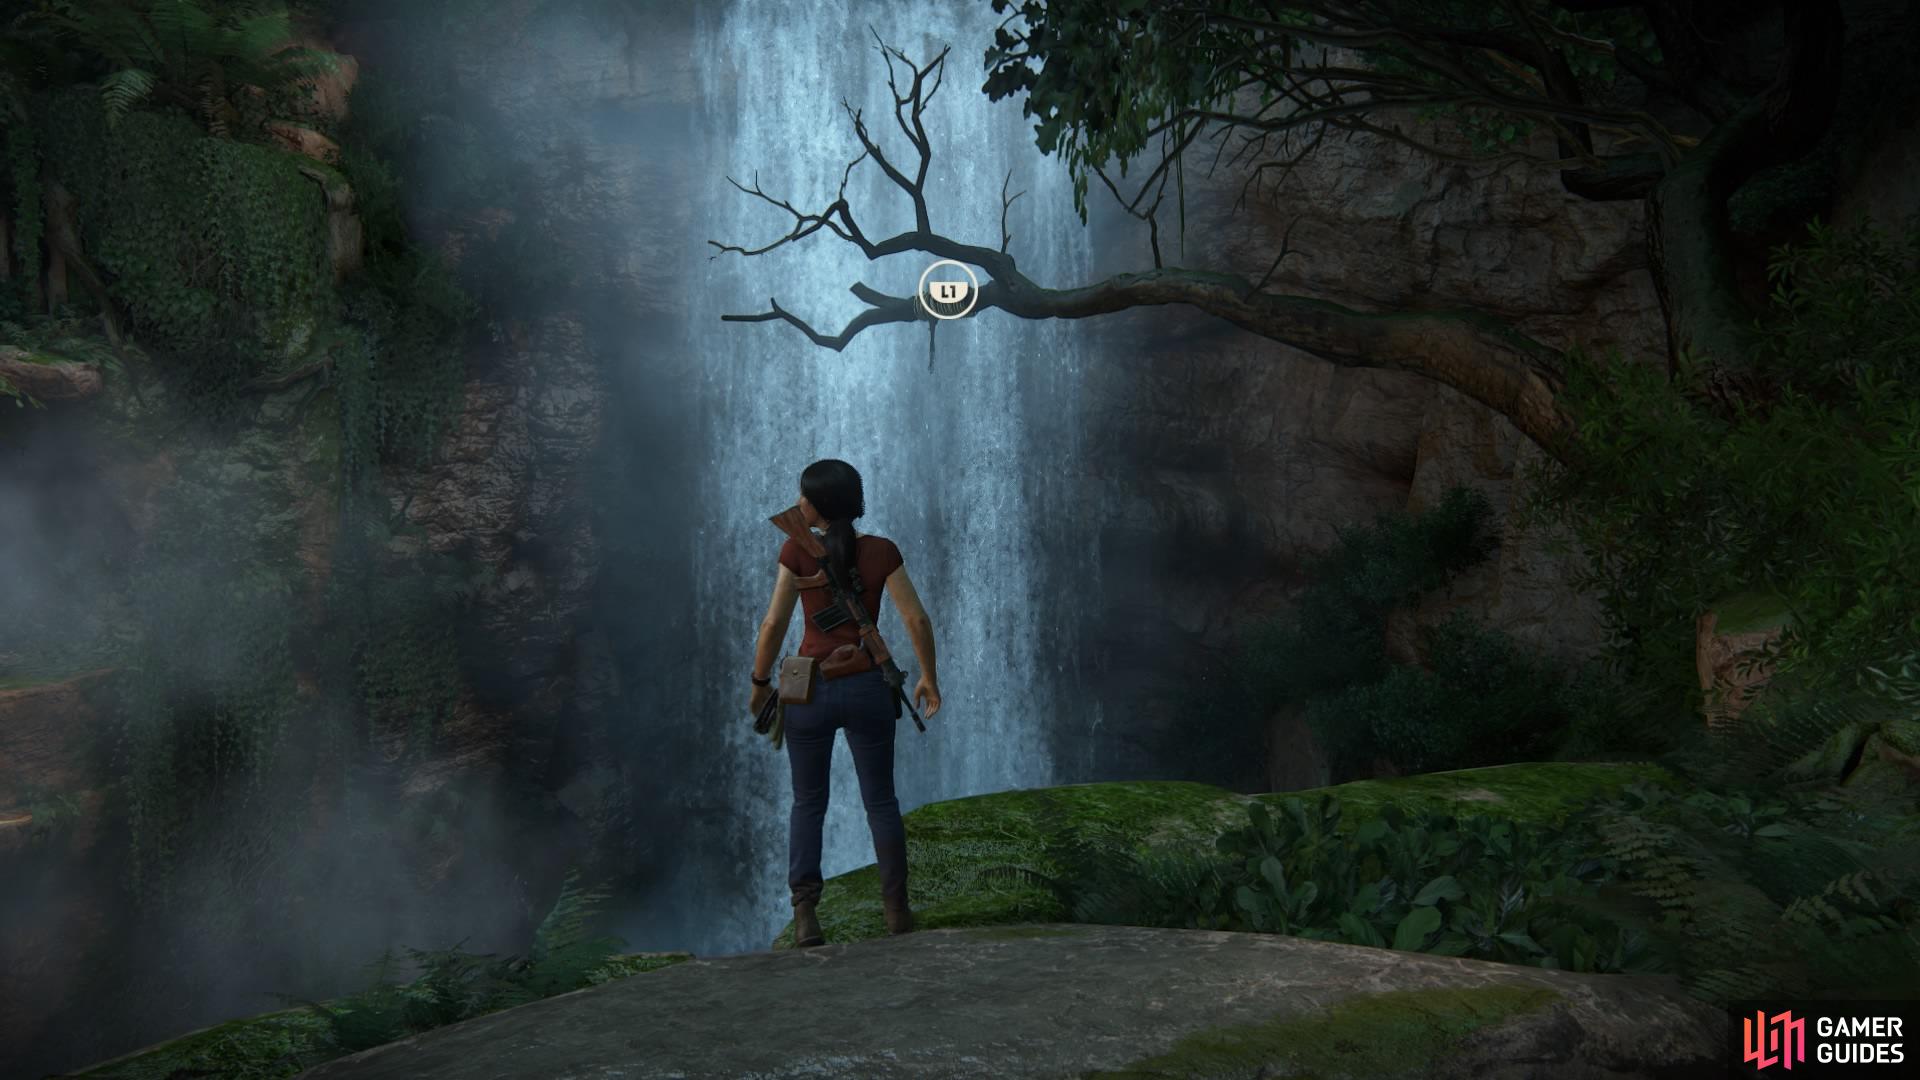
Follow Nadine to the small platform on your right and turn around to find the rope swing prompt. This time, it’s a double rope swing - as soon as you jump from the first rope with X, hit L1 to have Chloe immediately throw her grapple hook into the next tree branch to safely make it to the other side.
Continue to make your way up, as the route should be pretty clear from this point forward. You’ll have to swing across to the second statue’s hand holding the infamous axe. Keep going until it activates a cutscene, allowing you a moment to take in a beautiful landscape. When you have control again, balance down the curve of the axe and jump to the next tree branch – this is another double rope swing, so do the same as before and watch out for the handholds on the left.

(1 of 2) Climb Ganesh’s axe

Climb Ganesh’s axe (left), Rope swing around the side of the statue (right)
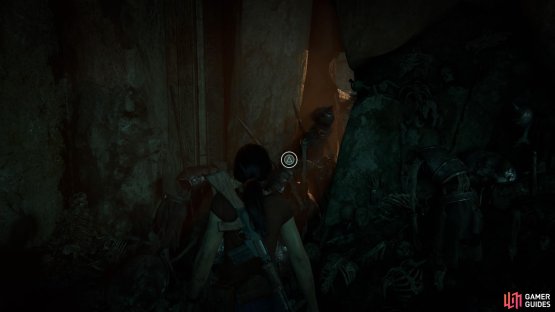
Climb up, make your way around, and drop into the hole at the top. As you wander through the tunnel, throw your grapple hook to a tree branch, and hold L1 while pushing down to lower yourself into the cavern.
(1 of 2) Drop into the hole in the head of the statue


Drop into the hole in the head of the statue (left), Lower yourself down safely with the grapple hook (right)
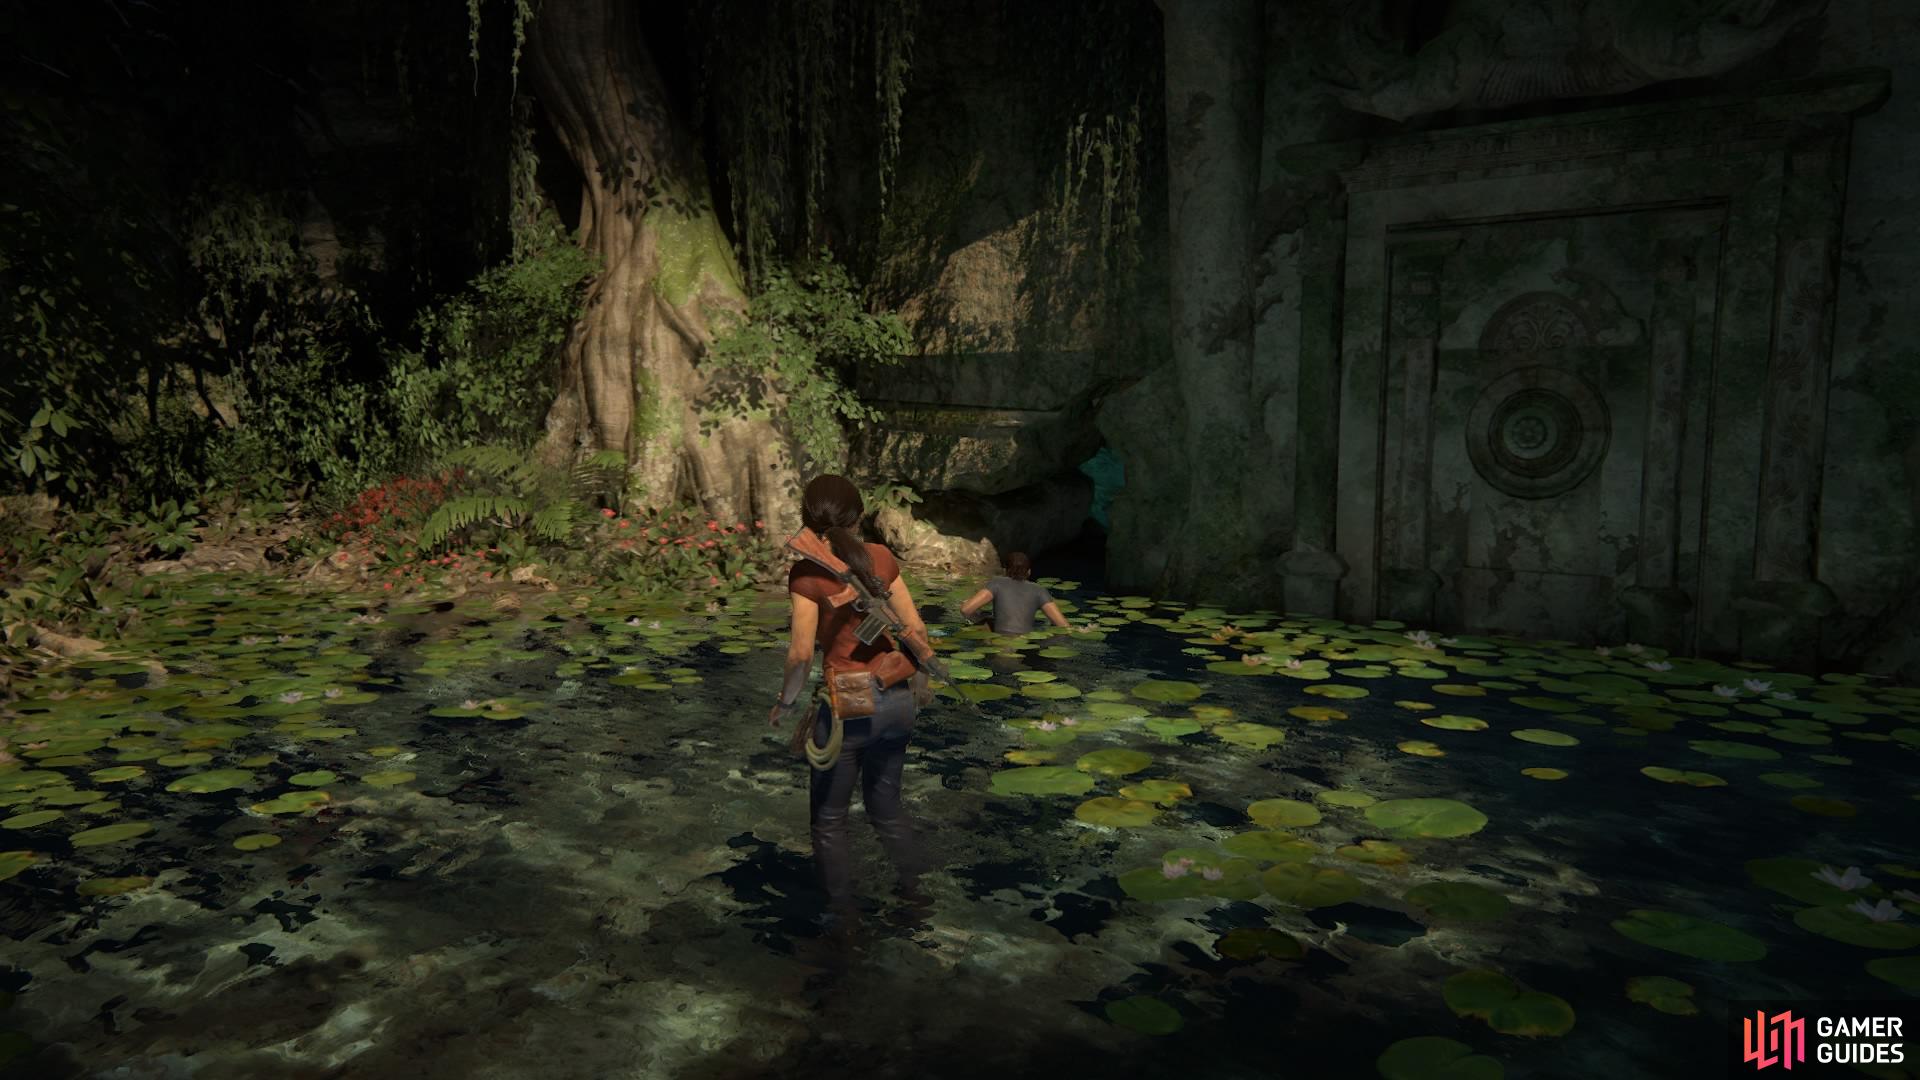
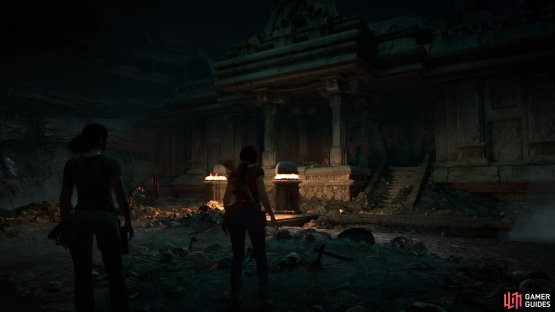
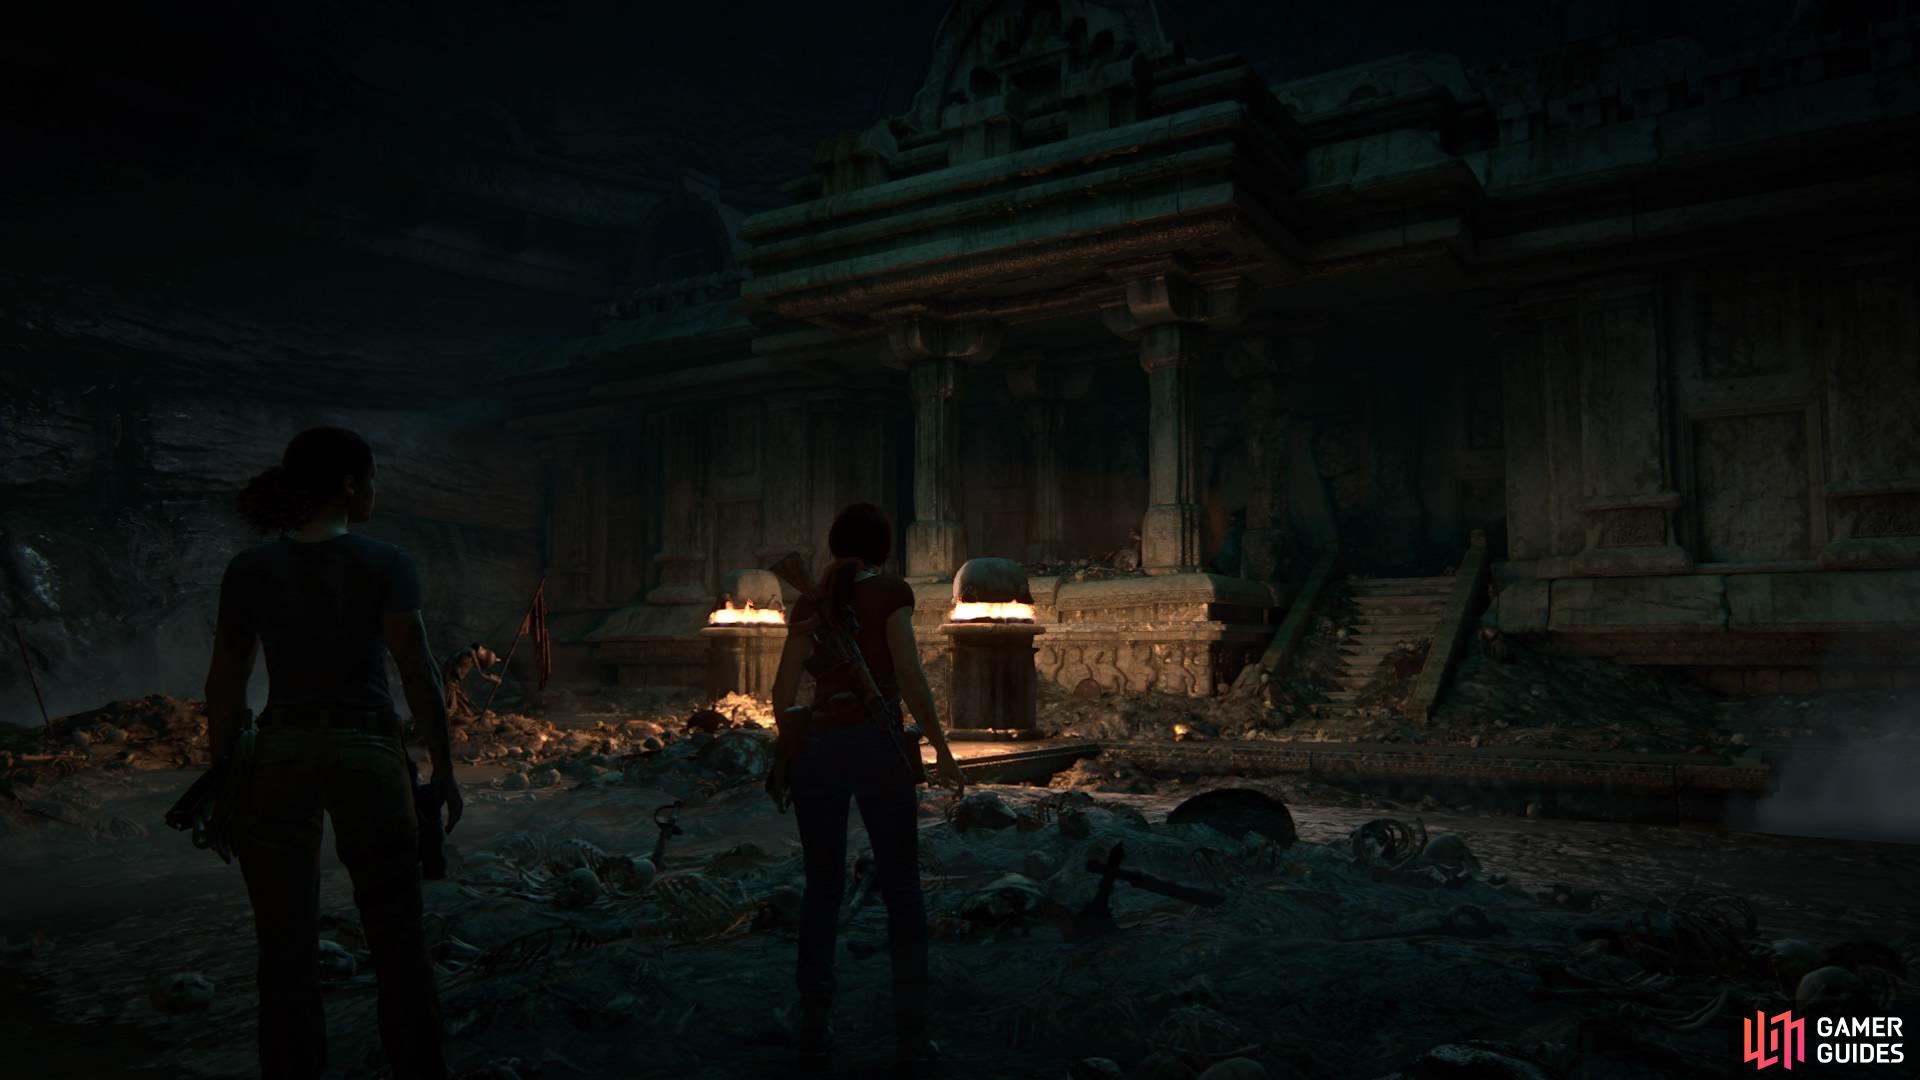
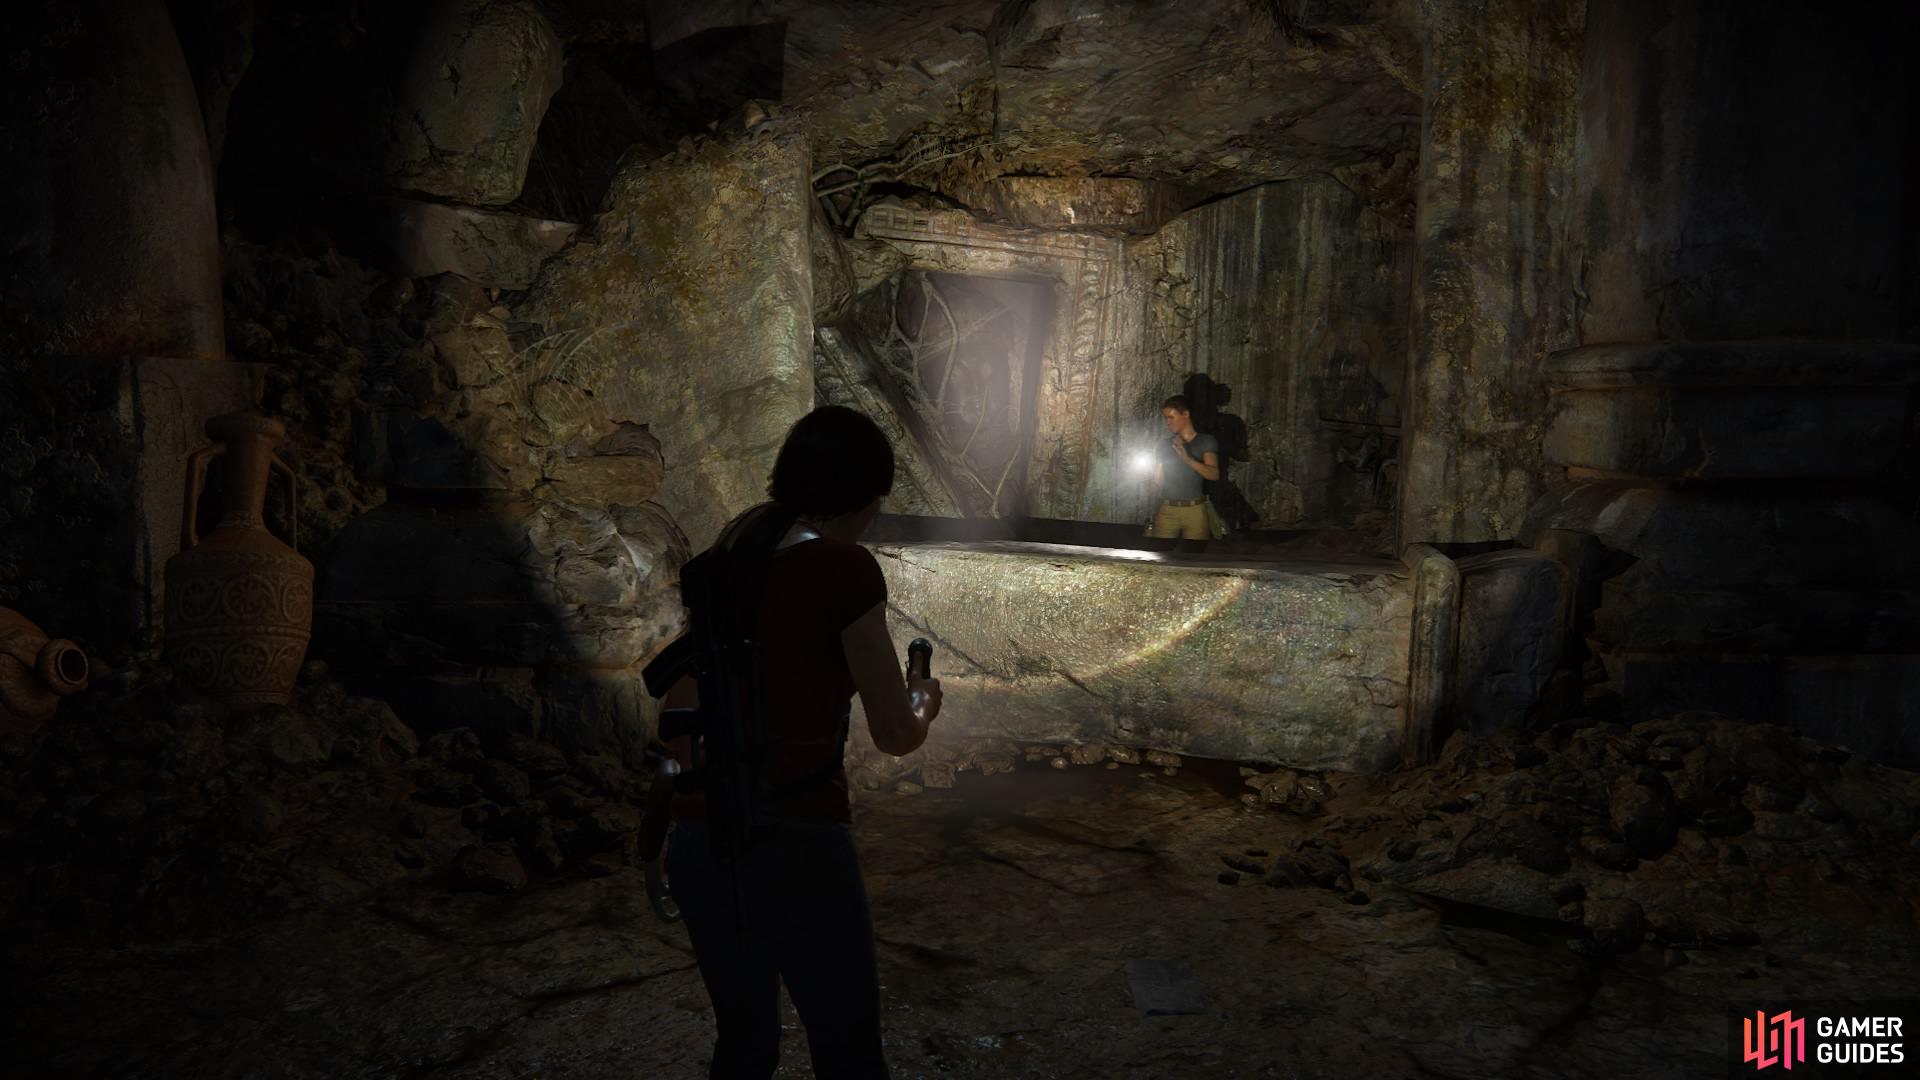
When you land on Ganesh, turn around and do the same again to reach the platform below. Then follow the steps down into the water to locate the opening in the wall that leads to a passageway. There are armoured skeletons everywhere. Keep going until you reach a room with a five-spoke lock, just like the one in the Western Ghats.
You don’t need to unlock this one yourself, so just have Chloe interact with it to get through to the next room.

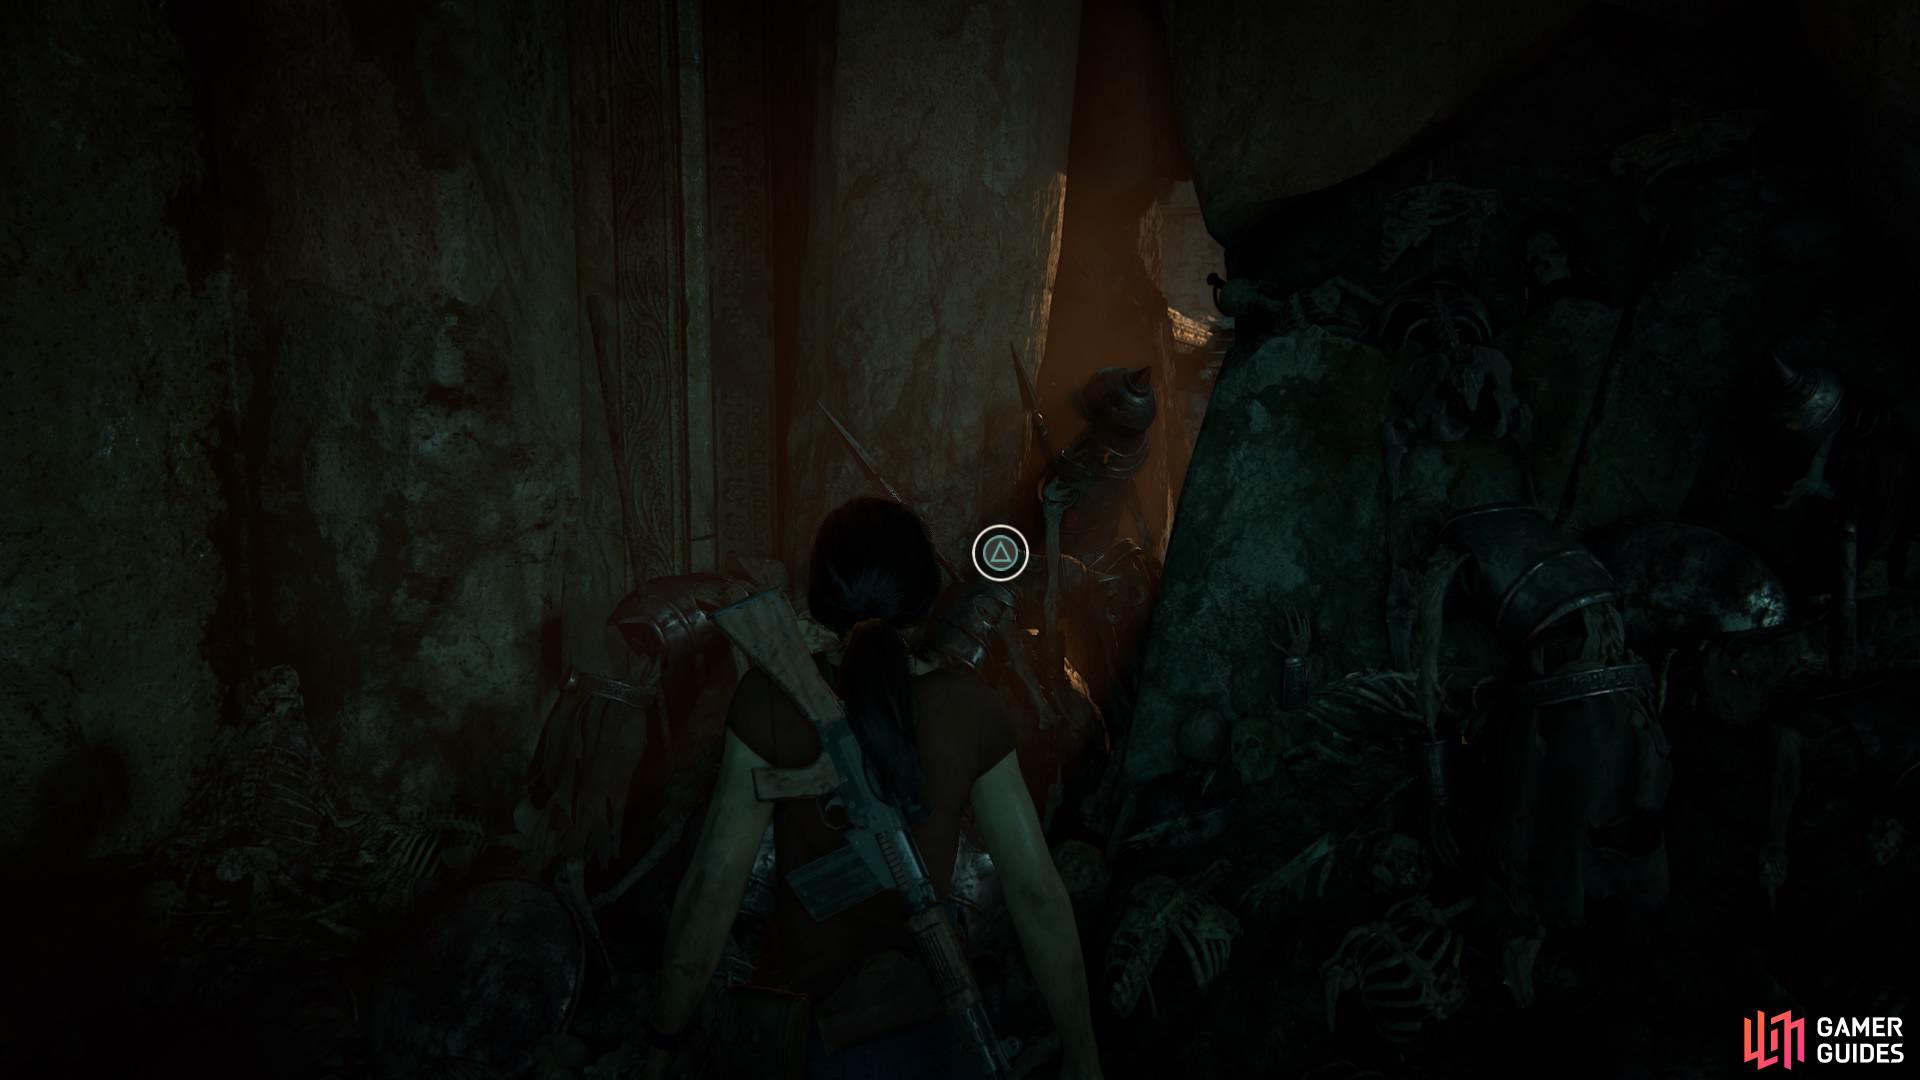
(1 of 2) Nadine will crouch by the hole in the wall to help you find it
Nadine will crouch by the hole in the wall to help you find it (left), Gain entry through the door to reach the next room (right)
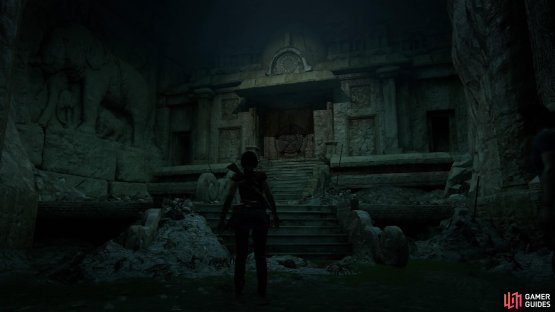
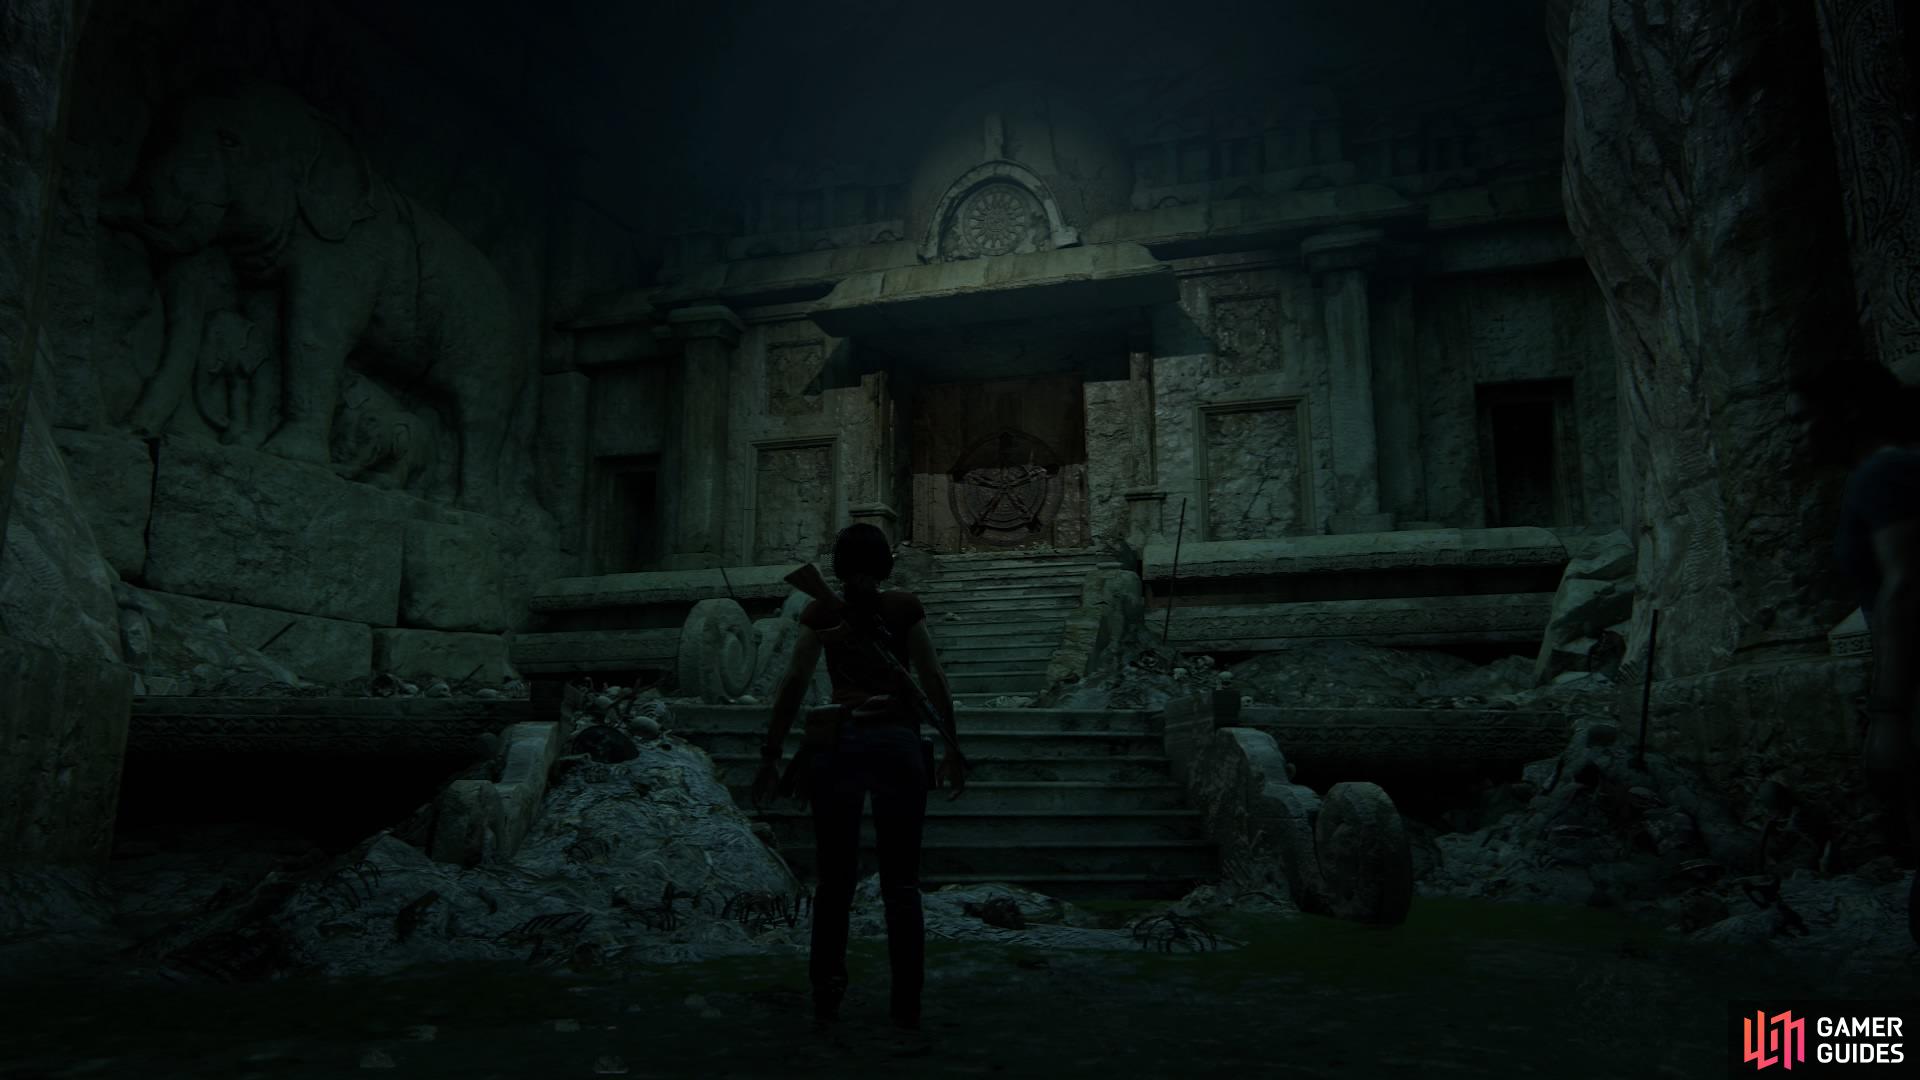
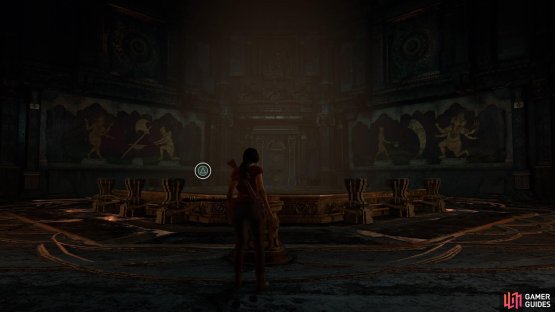
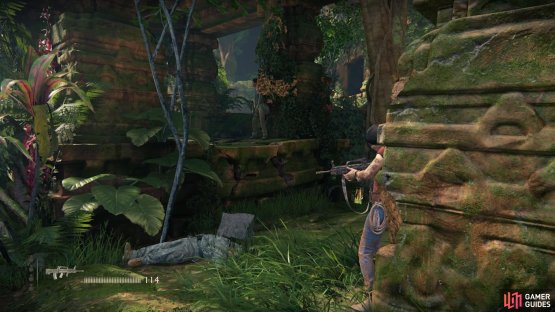
Go right of the fire-lit podium to vault over the wall and drop into the harrowing scene of the war’s final battle. Dust and bones litter every inch of the place.
Head straight for the doorway of the building in front of you and remove the skeletons to push your way through to the other side.
(1 of 2) The setting of the final battle
The setting of the final battle (left), Pull the skeleton from the wall to find a way through (right)
From here, find the corridor to the right where you will enter a puzzle room. On the left and right walls are two murals with a total of six images, but you’ll see that the puzzle only has four pieces. Each piece has been moulded to create two images at once, at different angles, to fit their corresponding murals. Turn the crank to activate the lock mechanism and begin the puzzle.
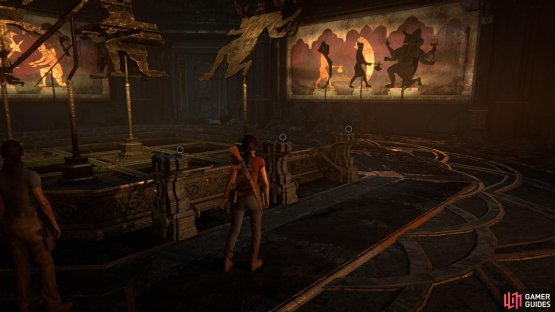
(1 of 2) Turn the crank to start the puzzle

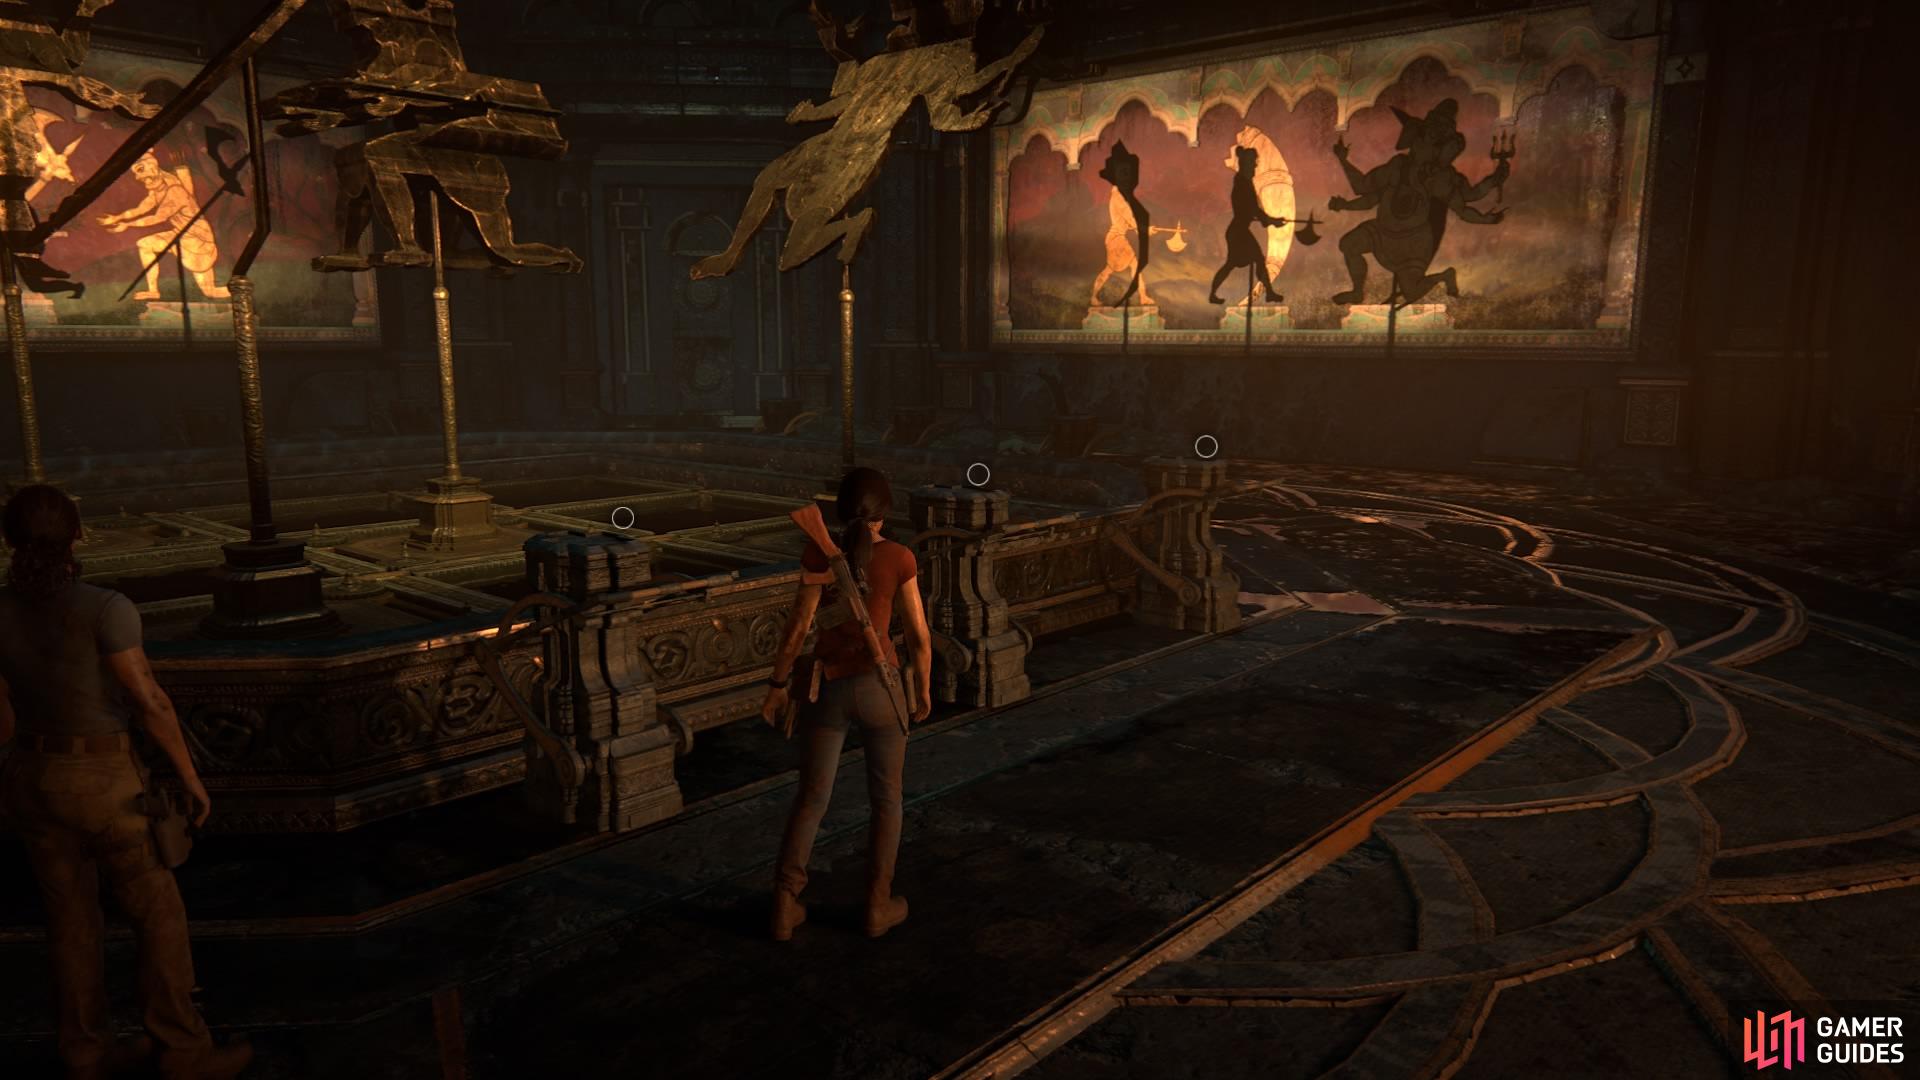
Turn the crank to start the puzzle (left), Match the shadows of the puzzle pieces to their corresponding murals (right)
You need to fit the shadows of the puzzle pieces to their correct image on the wall; there are 12 levers that manoeuvre the pieces across the board in the middle. The board has nine spaces, and every time you pull a level, the column tilts up and away from you to slide the pieces into a new position.
We’re not going to tell you the solution to the puzzle, as it’s much more fun to figure it out for yourself. Just know that if you complete it in 10 moves or less, you’ll receive a trophy for your efforts!
When the puzzle is complete and the door unlocks, make your way through proudly to place your handy trinket-key into the Ganesh vs. the tiger sculpture and activate a cutsene.

As soon as Chloe and Nadine figure out the truth of the city, the elevator they’re riding suddenly caves in. It’s time to cheat death and get out of there!
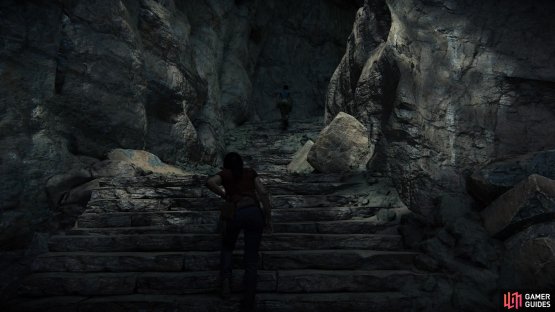
Climb the falling elevator platform and jump to the stairs circling the chamber until you reach the top. Once you’re out, watch the cutscene, and then continue on your way to the next objective.

(1 of 2) Climb the collapsing elevator platform

Climb the collapsing elevator platform (left), Follow Nadine up the chamber (right)
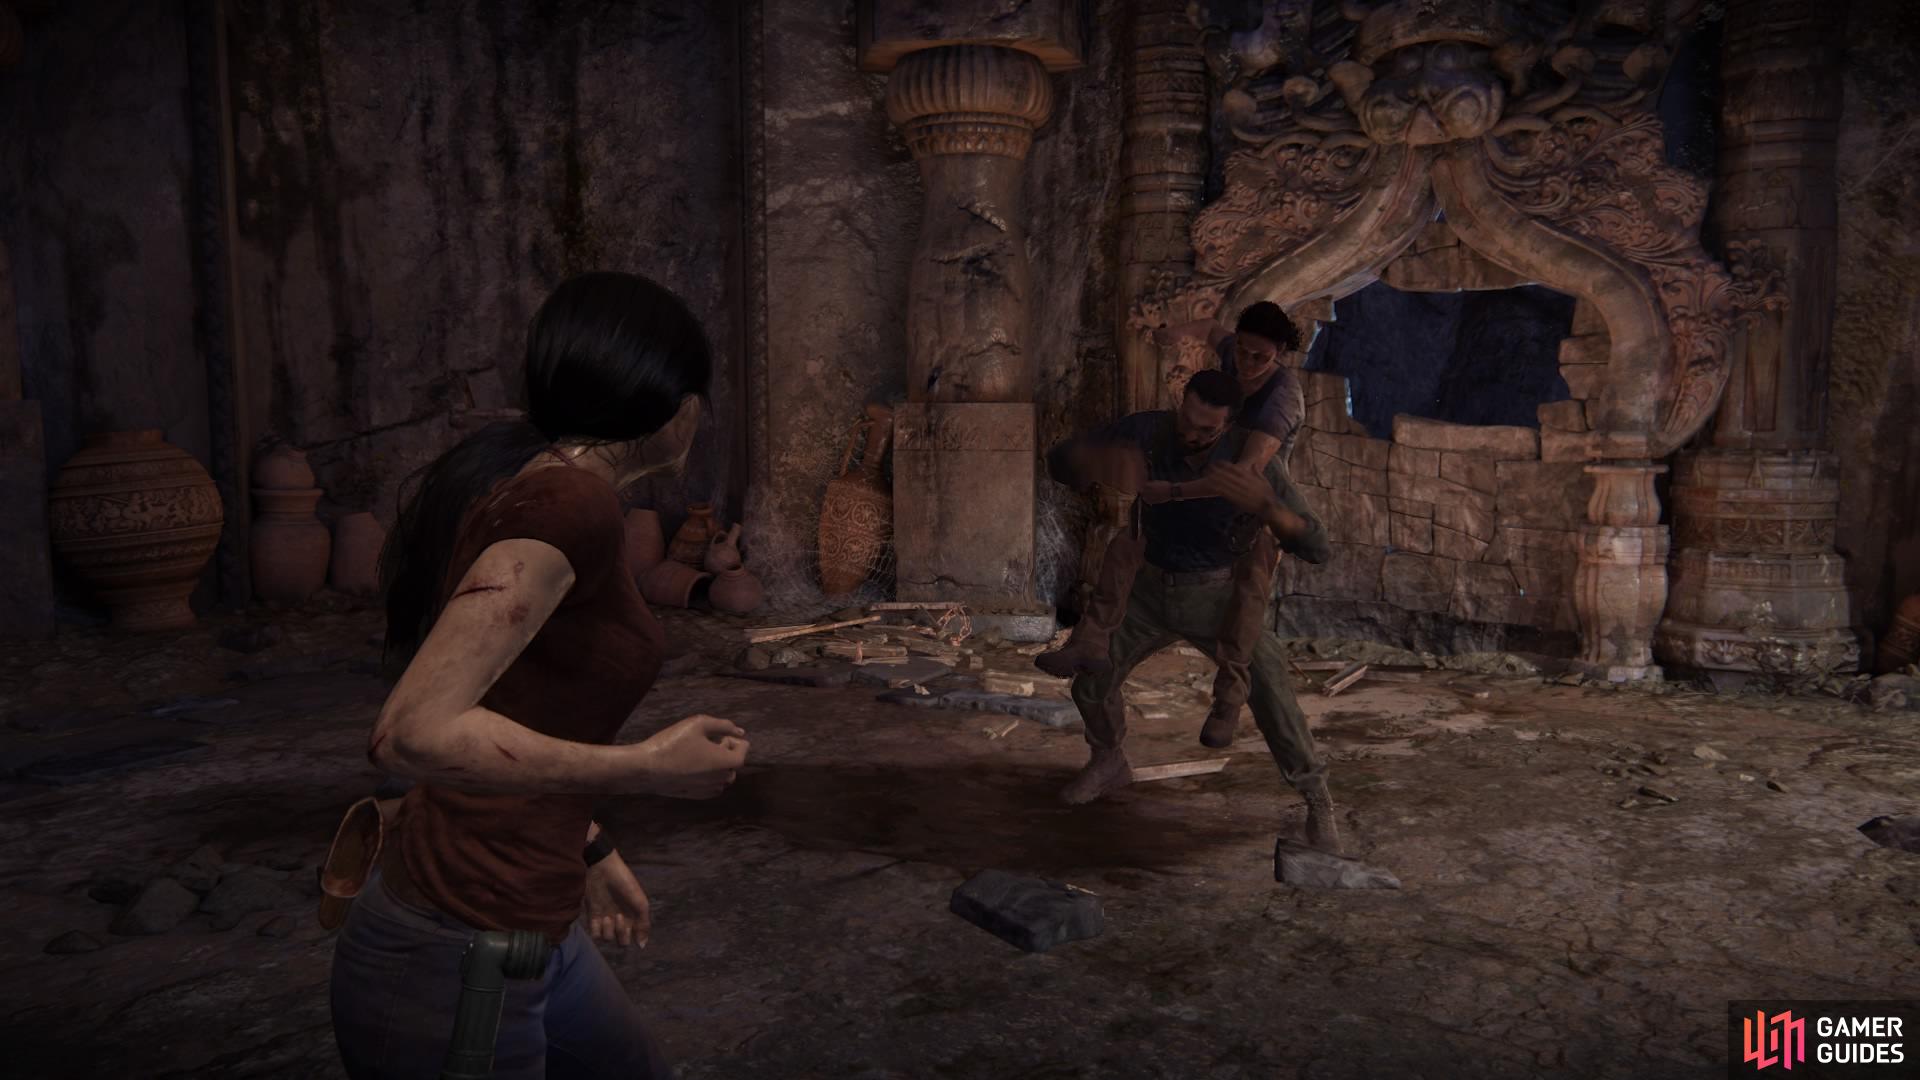
Nadine will take point from here, so follow her along the trail. She’ll take out the first two rebels and let you get rid of the third. When the ground collapses beneath you, jump from the muddy slope to stylishly K.O. the guy at the bottom!
Instantly take cover – in true Uncharted fashion, you’re about to be pursued by a heavily armoured vehicle with a manned turret.

(1 of 2) In stealth, knock the rebel unconscious and pull him over the ledge
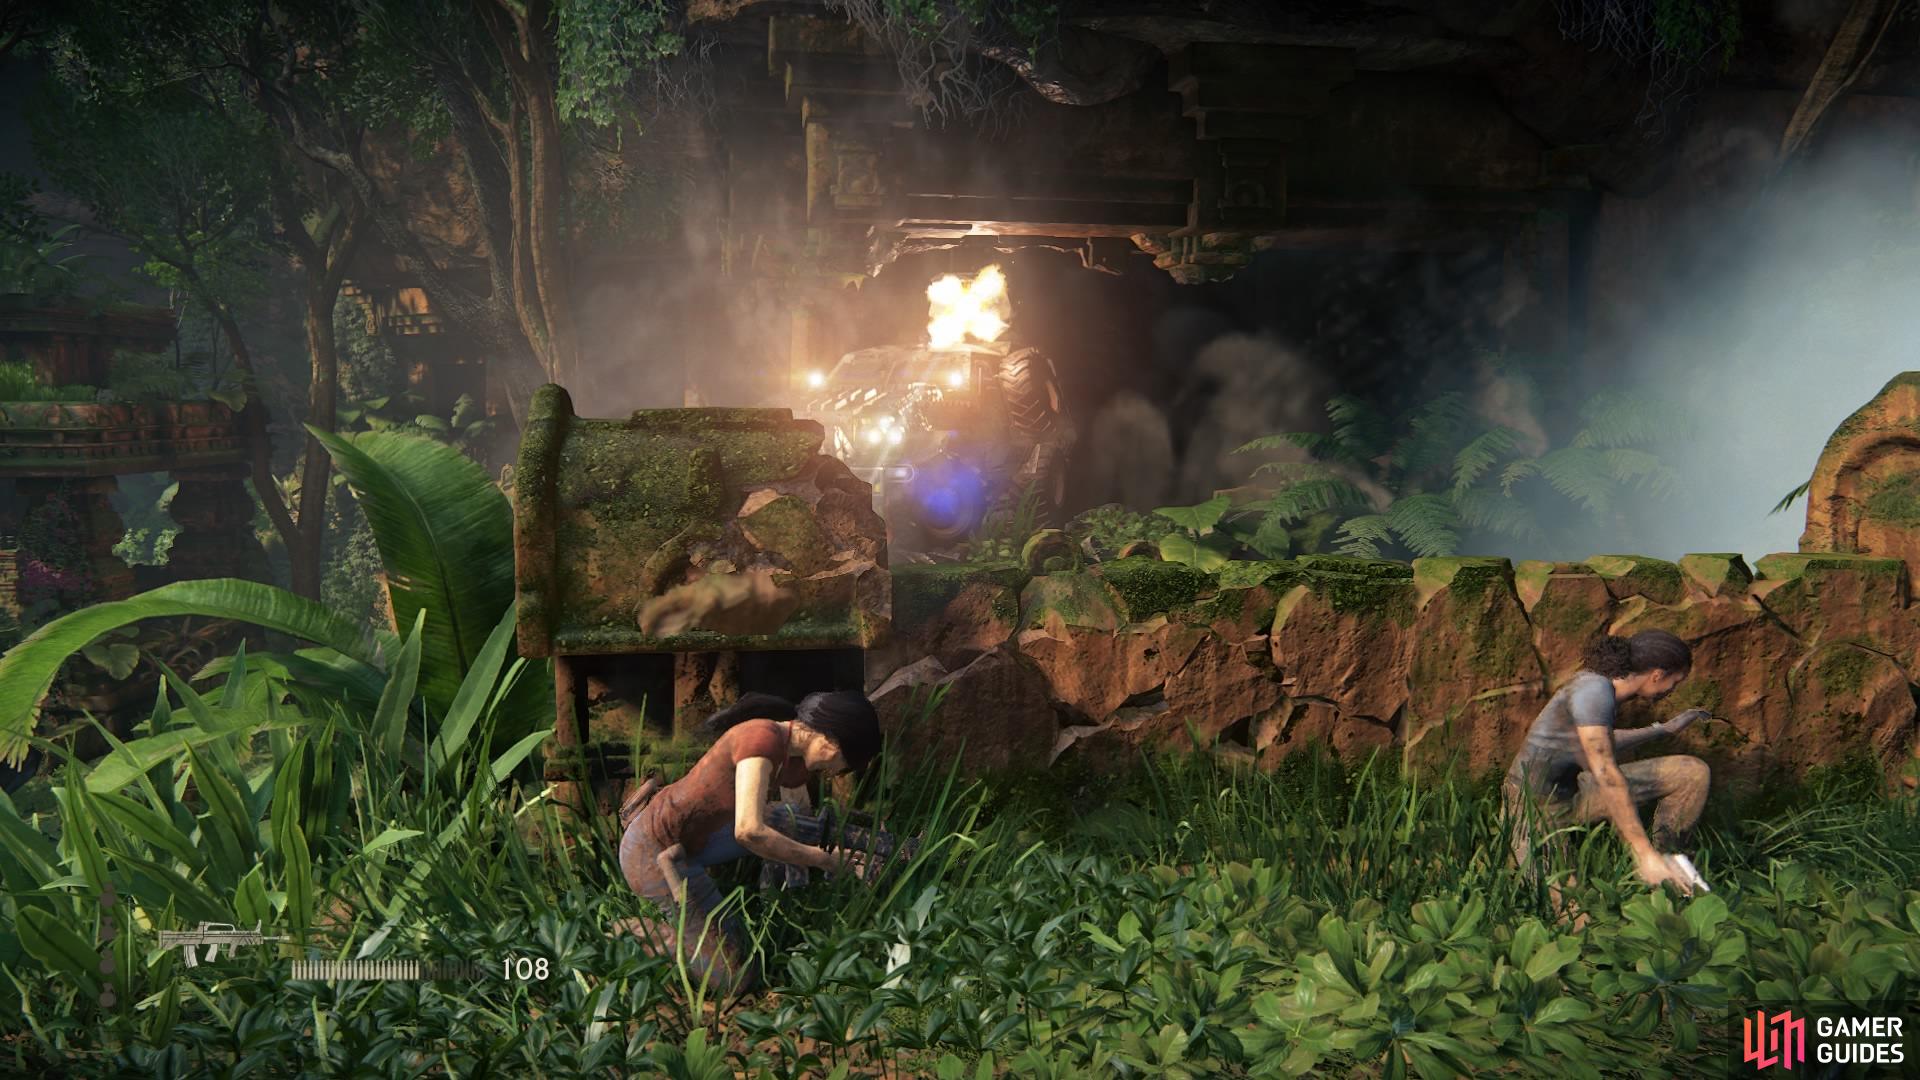
In stealth, knock the rebel unconscious and pull him over the ledge (left), Escape the heavy-armour vehicle (right)
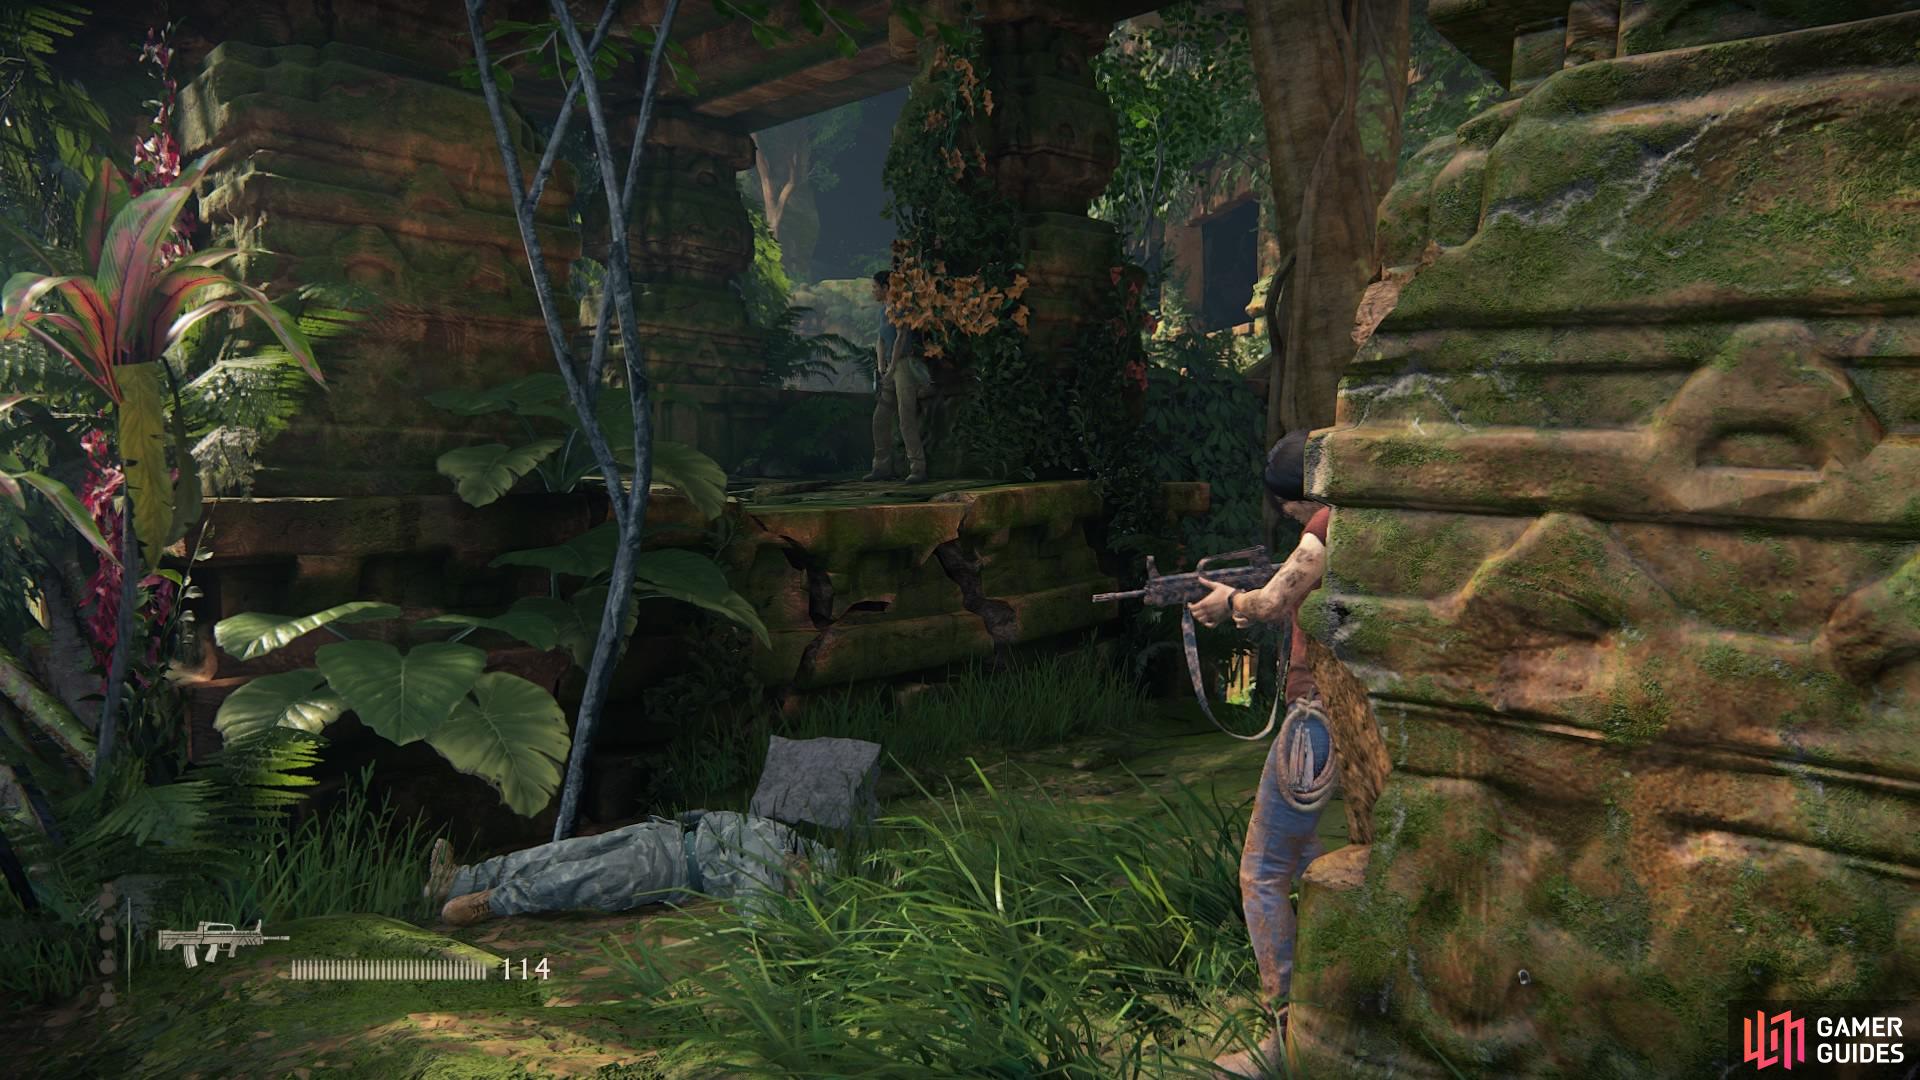
This area might appear tricky to navigate, what with having to jump to several platforms, none of which are in any linear order. And while it may seem as though Nadine is leading the way, she has a tendency to sometimes go missing.
From your starting point, crouched behind the wall, jump to the next platform to your left first. From here, find Nadine crouched behind a wall to your right and join her. Shoot some of the enemies to lessen the hail of bullets. Then, looking to your left again, jump over to the next platform – you’ll be attacked by two rebels, so take them out.
Sprint to the right side of the platform (assuming you’re facing forward from where you jumped across) and take cover. When you get the chance, drop down on to the next platform below you and climb up. Go left from here – Nadine might be marking the way.
You’ll get cut off by the truck and the ground will cave in, so ride the slope down and jump off the edge to throw your grapple hook and swing over to the other side. Nadine will be ahead kicking some rebel ass, so go right from here to vault up on to the next platform, then turn left and take out the rebels up ahead.

(1 of 2) Find Nadine marking the way
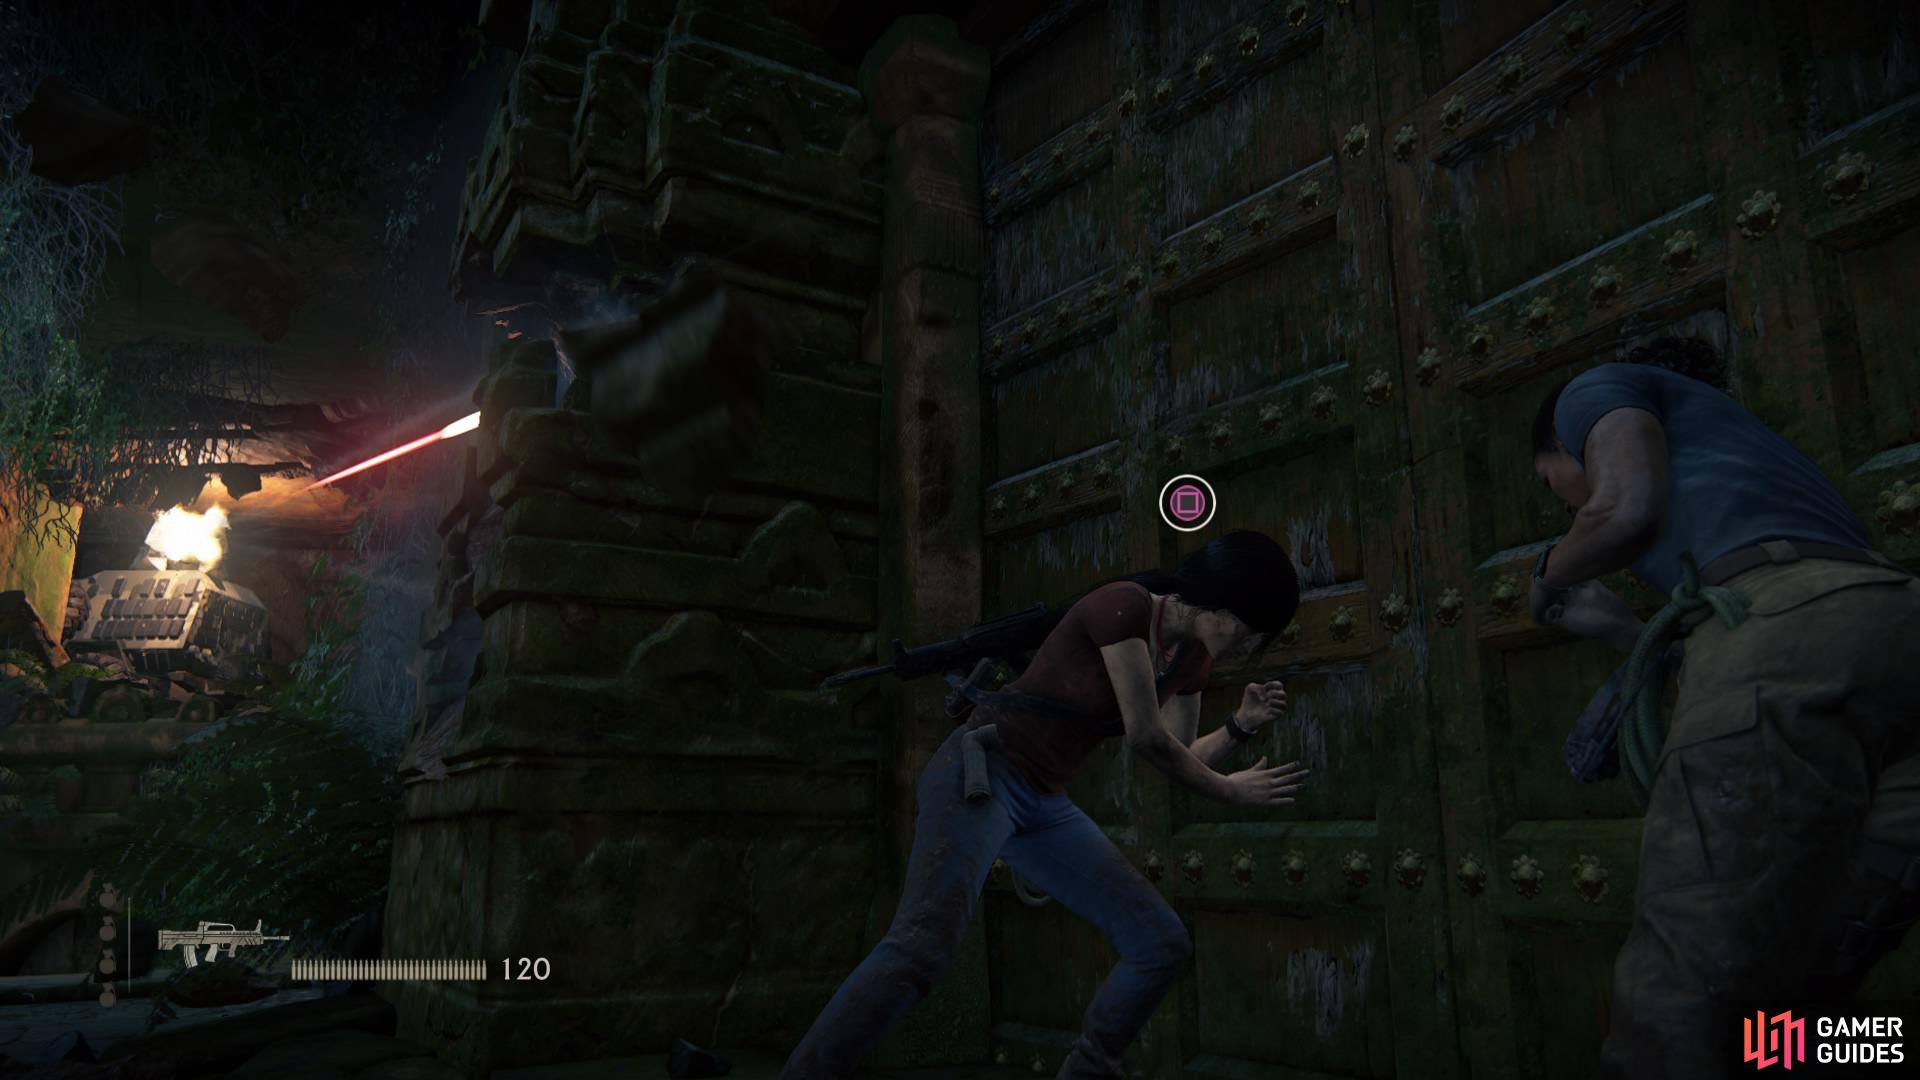
Find Nadine marking the way (left), Break open the doors to avoid the armoured vehicle (right)
Follow Nadine all the way to some doors and repeatedly press square to break it down. You’ll fall down into what looks like a mausoleum, but at least the armoured vehicle can no longer reach you.
Go forward to find the half-barricaded doorway, then vault up into the space to your left to drop down into the next room. Vault over the top of the gate and inspect the wall on the other side to see the aqueduct.

(1 of 2) Follow Nadine
Follow Nadine (left), Vault over the gate (right)
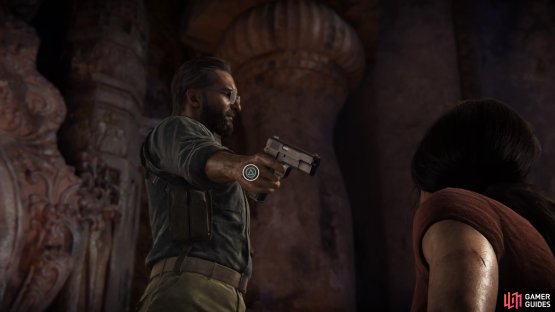
As you begin to climb the wall on your right, it’ll get knocked down by an armoured vehicle with Asav and two of his men.
A cutscene will occur, and as soon as Nadine distracts Asav’s focus, you can knock the gun from his hand by pressing triangle. Now you’ll be embroiled in hand-to-hand combat against the insurgent leader, but he hits hard.

(1 of 2) Knock the gun from Asav’s hand to start the fight
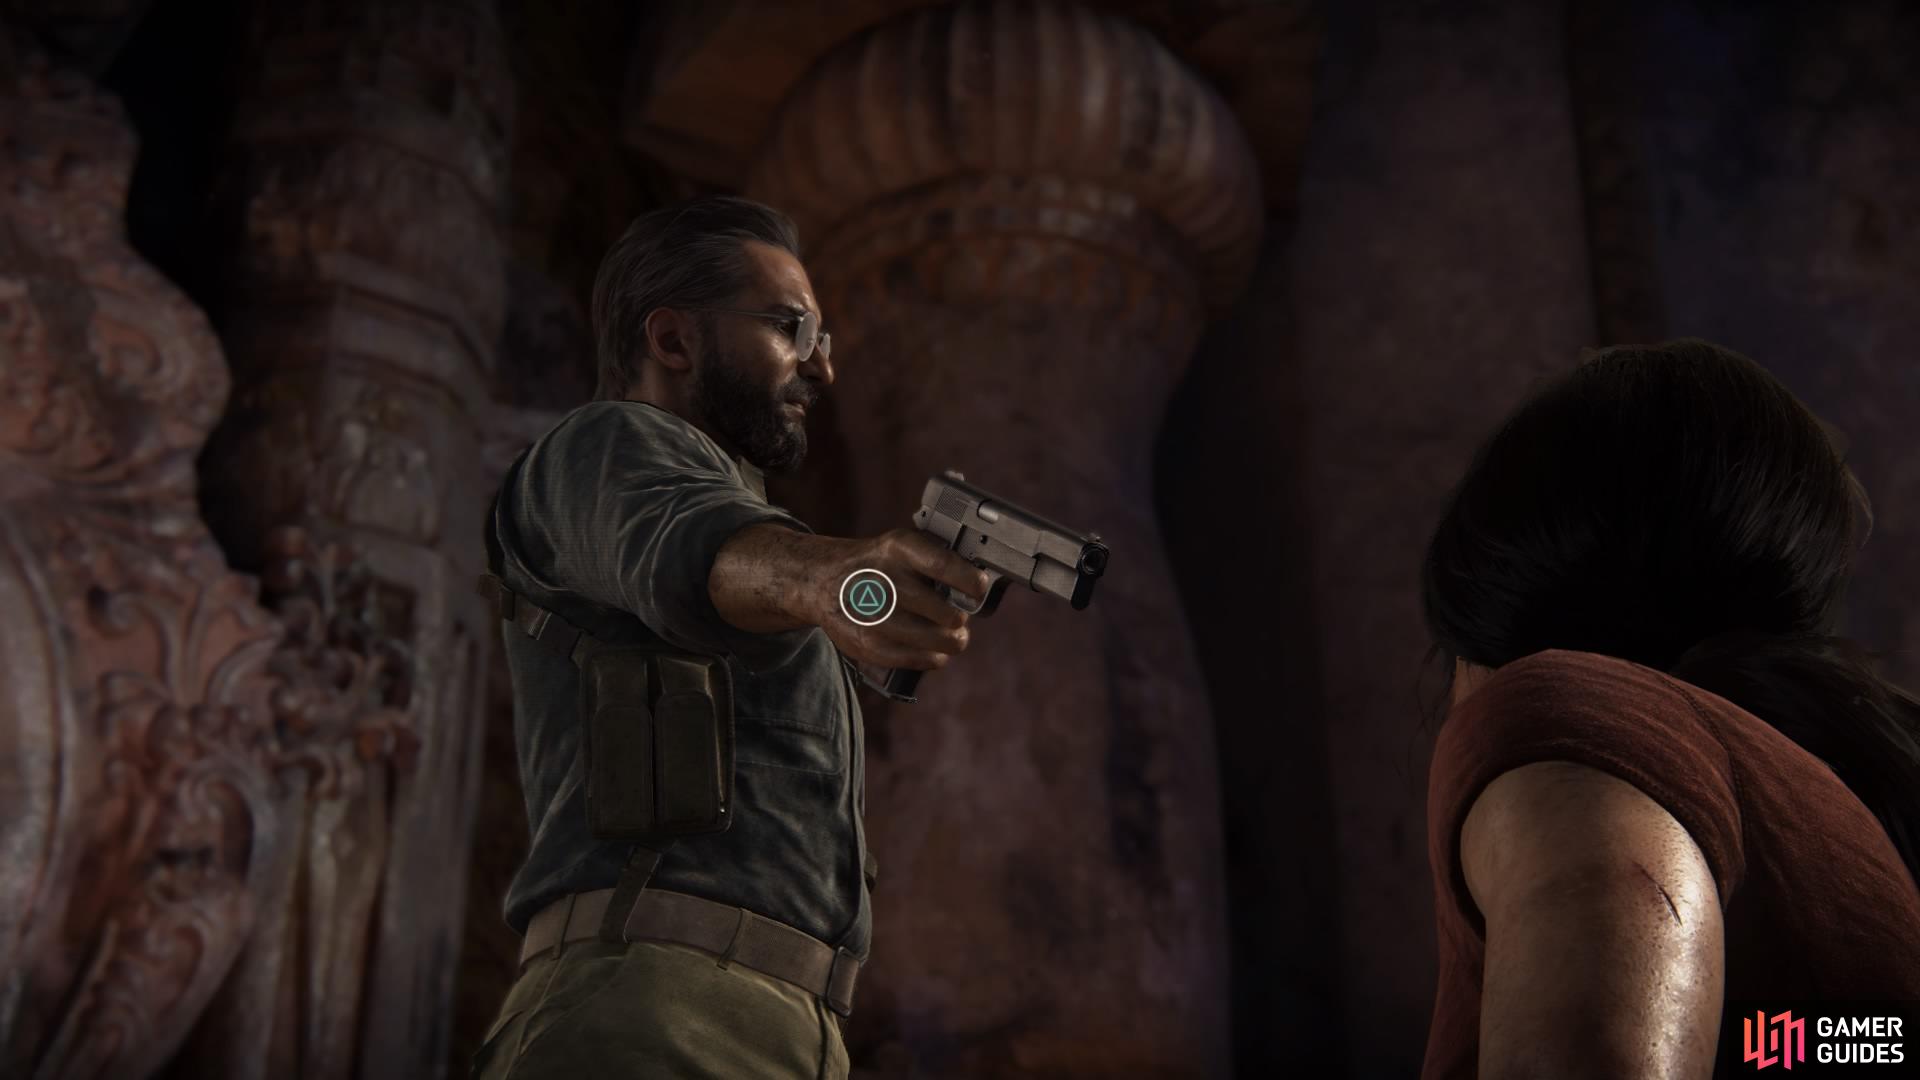
Knock the gun from Asav’s hand to start the fight (left), Press square to hit and circle to dodge (right)
Press circle to dodge his attacks and get the upper hand whenever Nadine jumps in to help. The fight won’t end well, though, as Asav will eventually get the better of you both and slam you through the wall to the aqueduct.
You don’t have much choice but to the ride the water. As you come to the drop, throw the grapple hook and swing to the ledge on the other side. The handhold crumbles, plummeting Chloe to the ground and activating the next cutscene.
(1 of 2) Follow Nadine along the new path

Follow Nadine along the new path (left), until you reach the wheel crank to open the door and leave (right)
When you have control again, follow Nadine. Chloe needs a minute to shake off her injuries. When she decides to take point again, drop down the platforms and go right to climb the cliff.
Take the path until you come to the wheel crank at the bottom of a slope. Activate it to open the doors, and you’ll come out right back where you started the chapter.
No Comments