| Chapter 4 | . |
|---|---|
| Lockboxes | 11 |
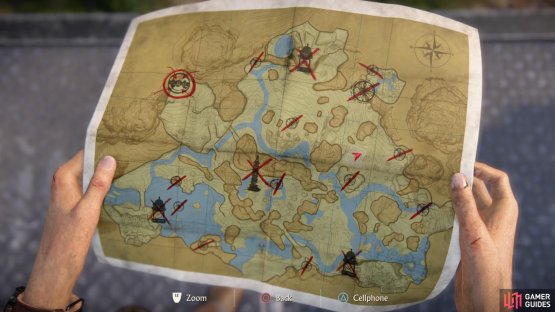
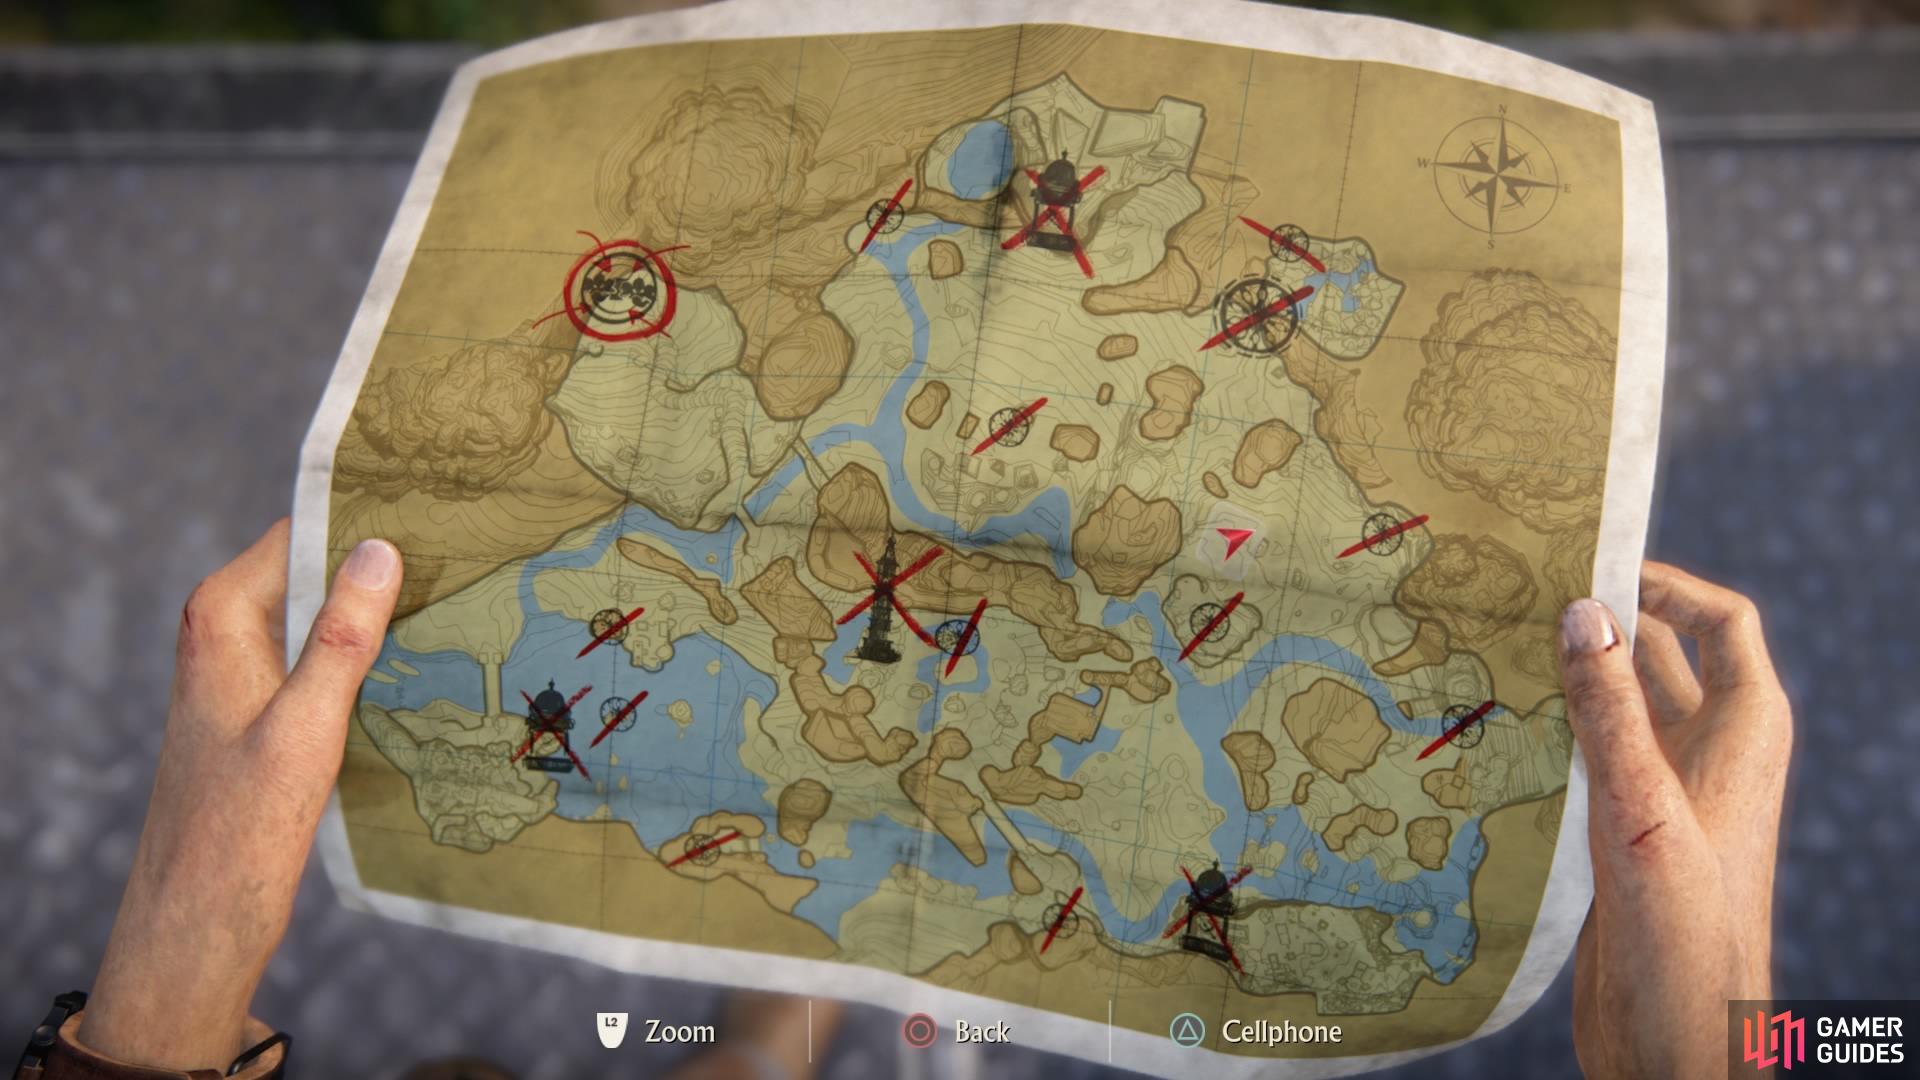
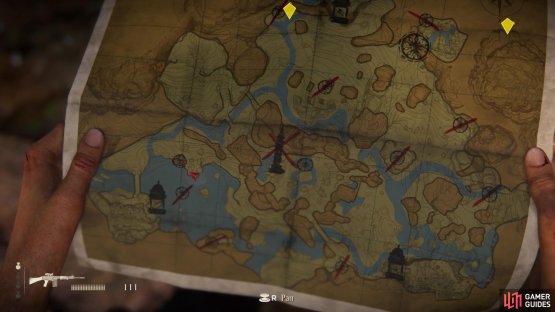
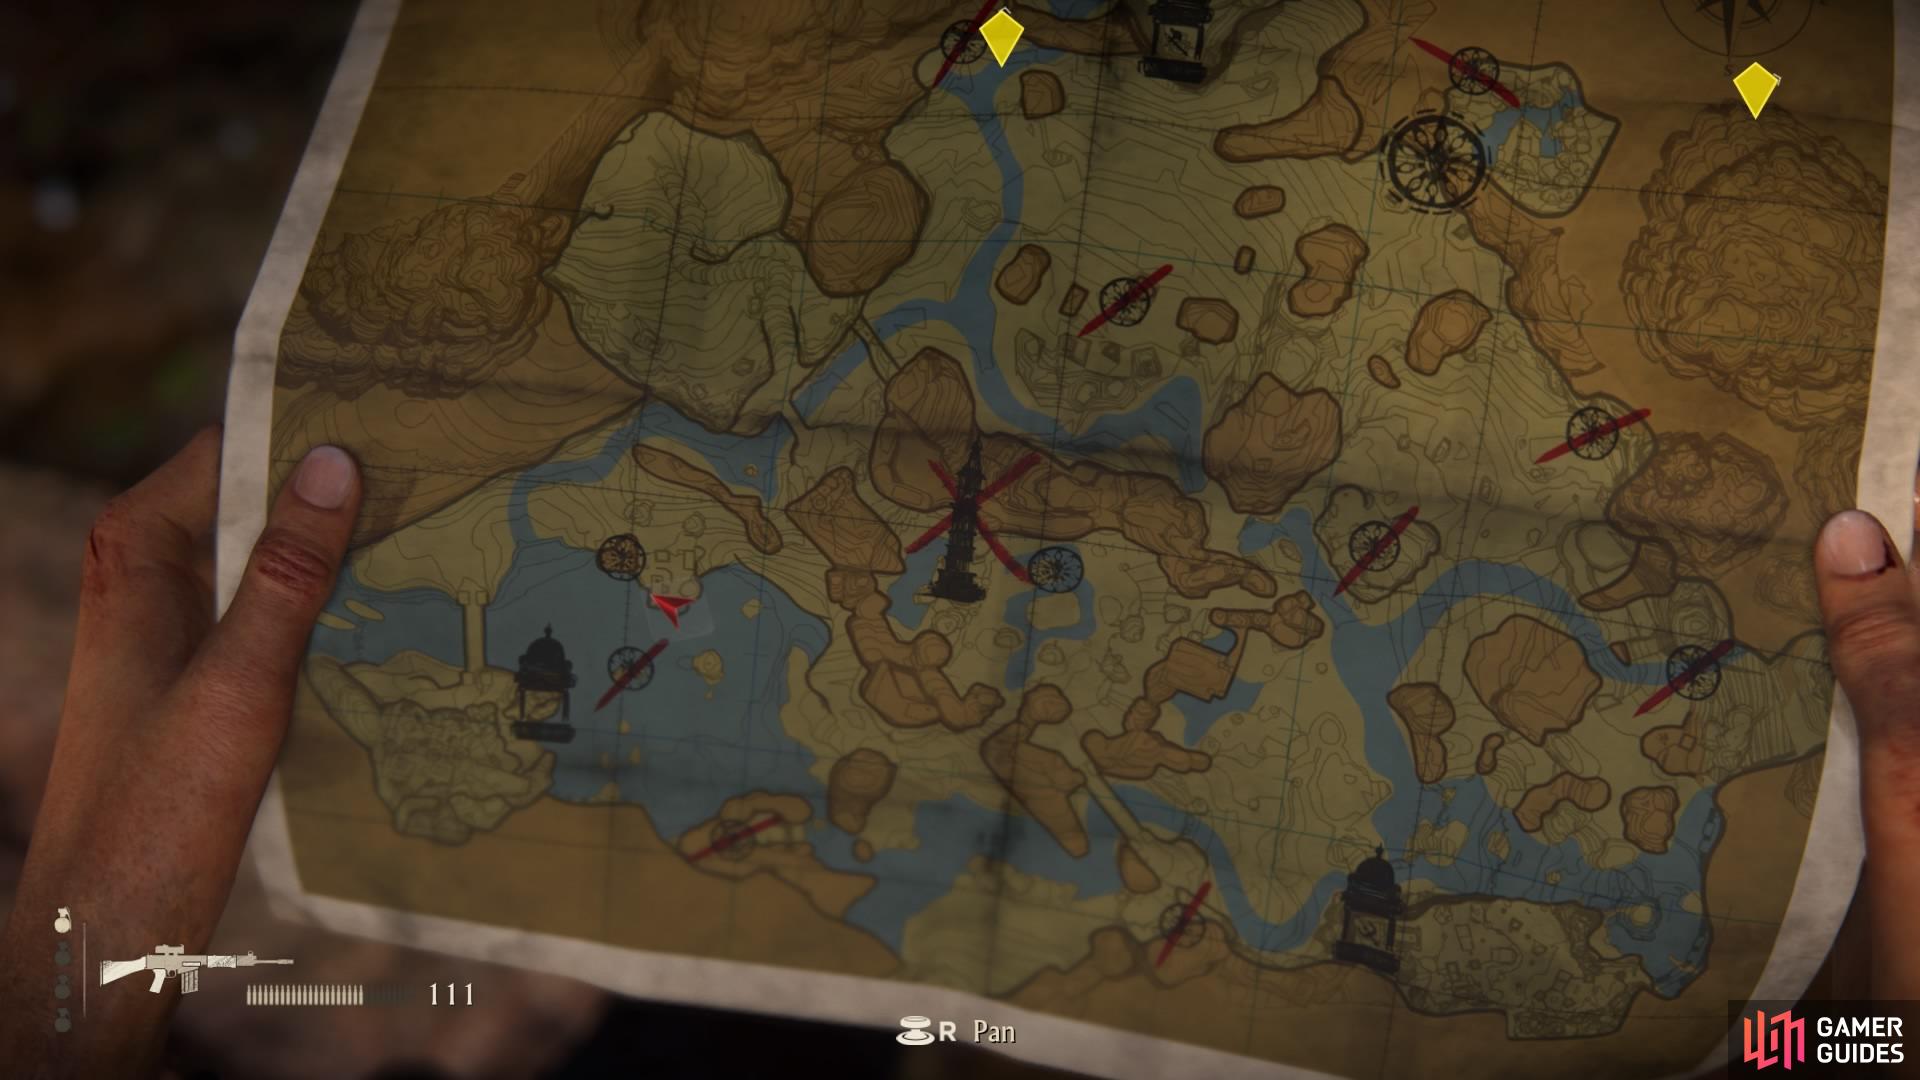
As usual for this chapter, we begin at the token ruin in the north after visiting the central tower.
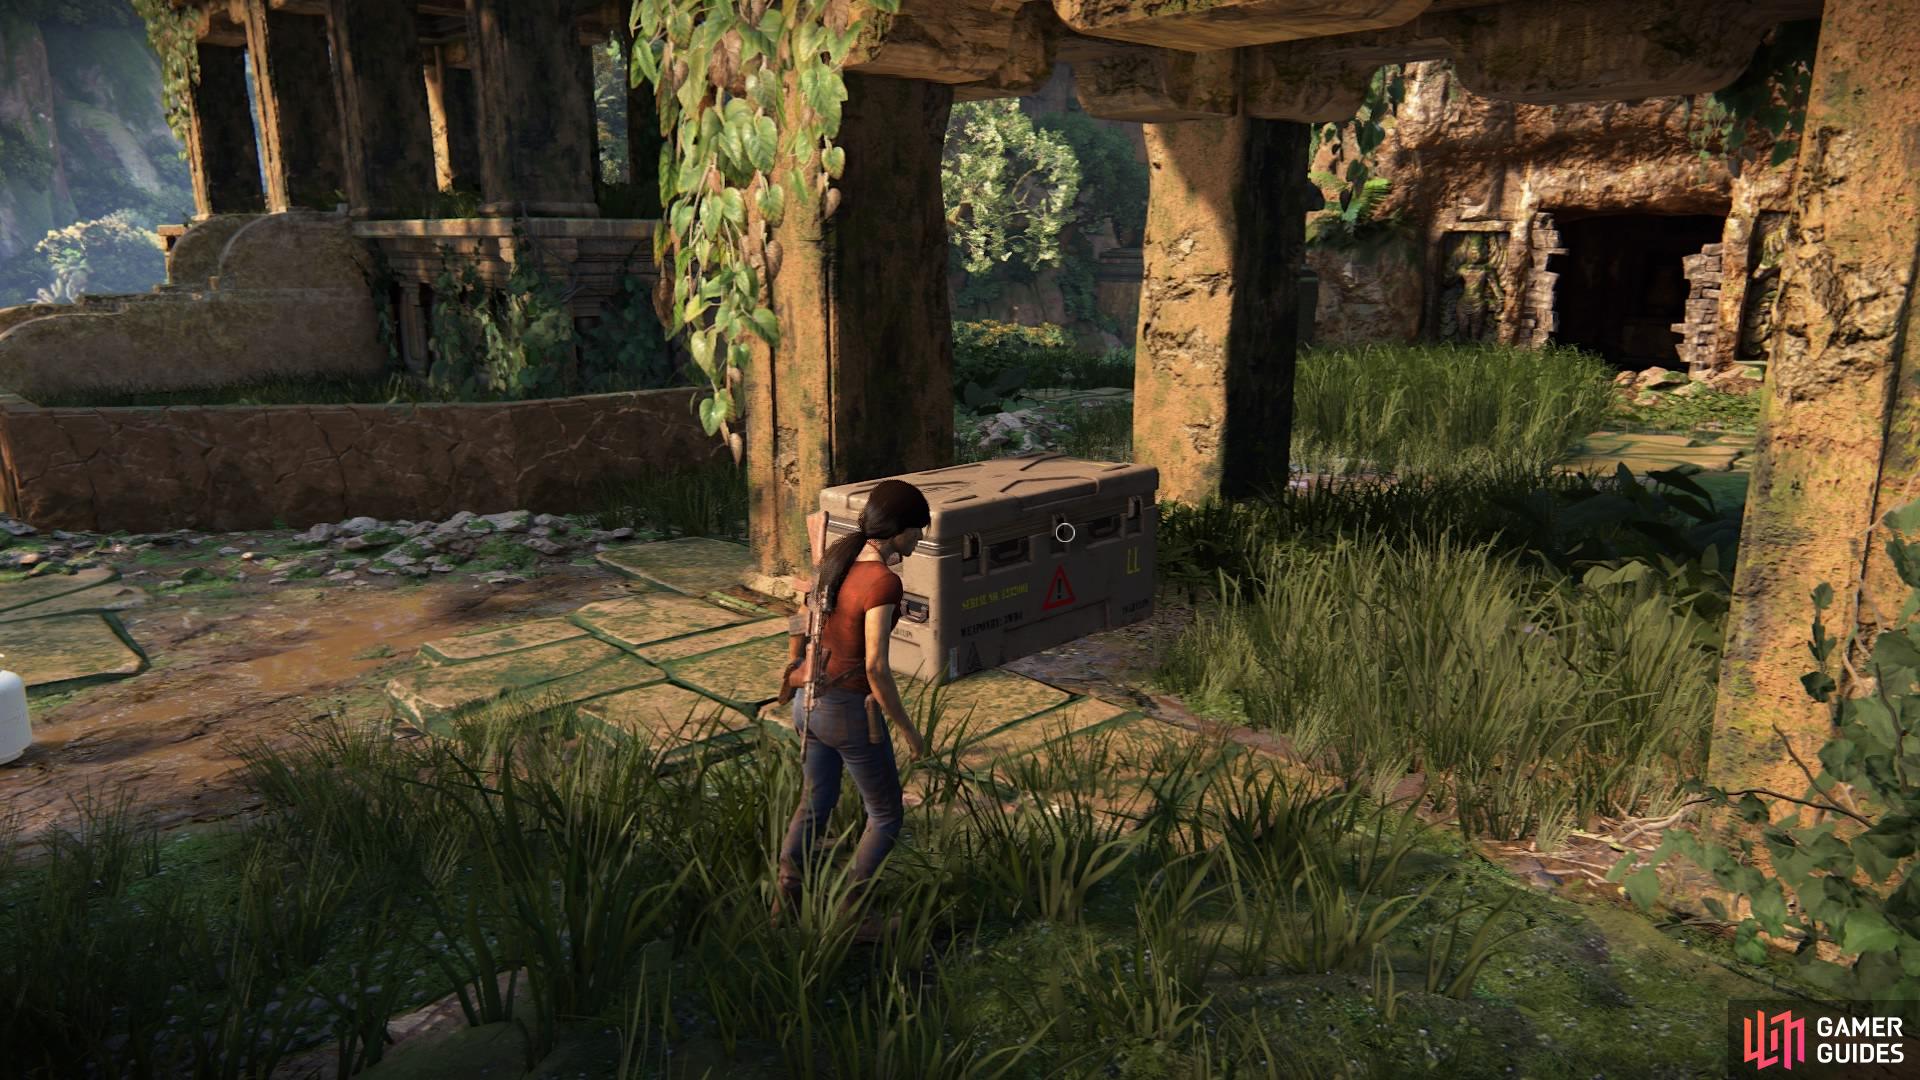
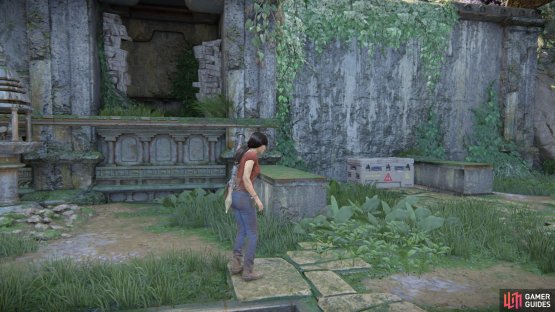
Directly in front of the ruin is where you’ll find lockbox #2.


(1 of 2) In front of the token ruin in the north
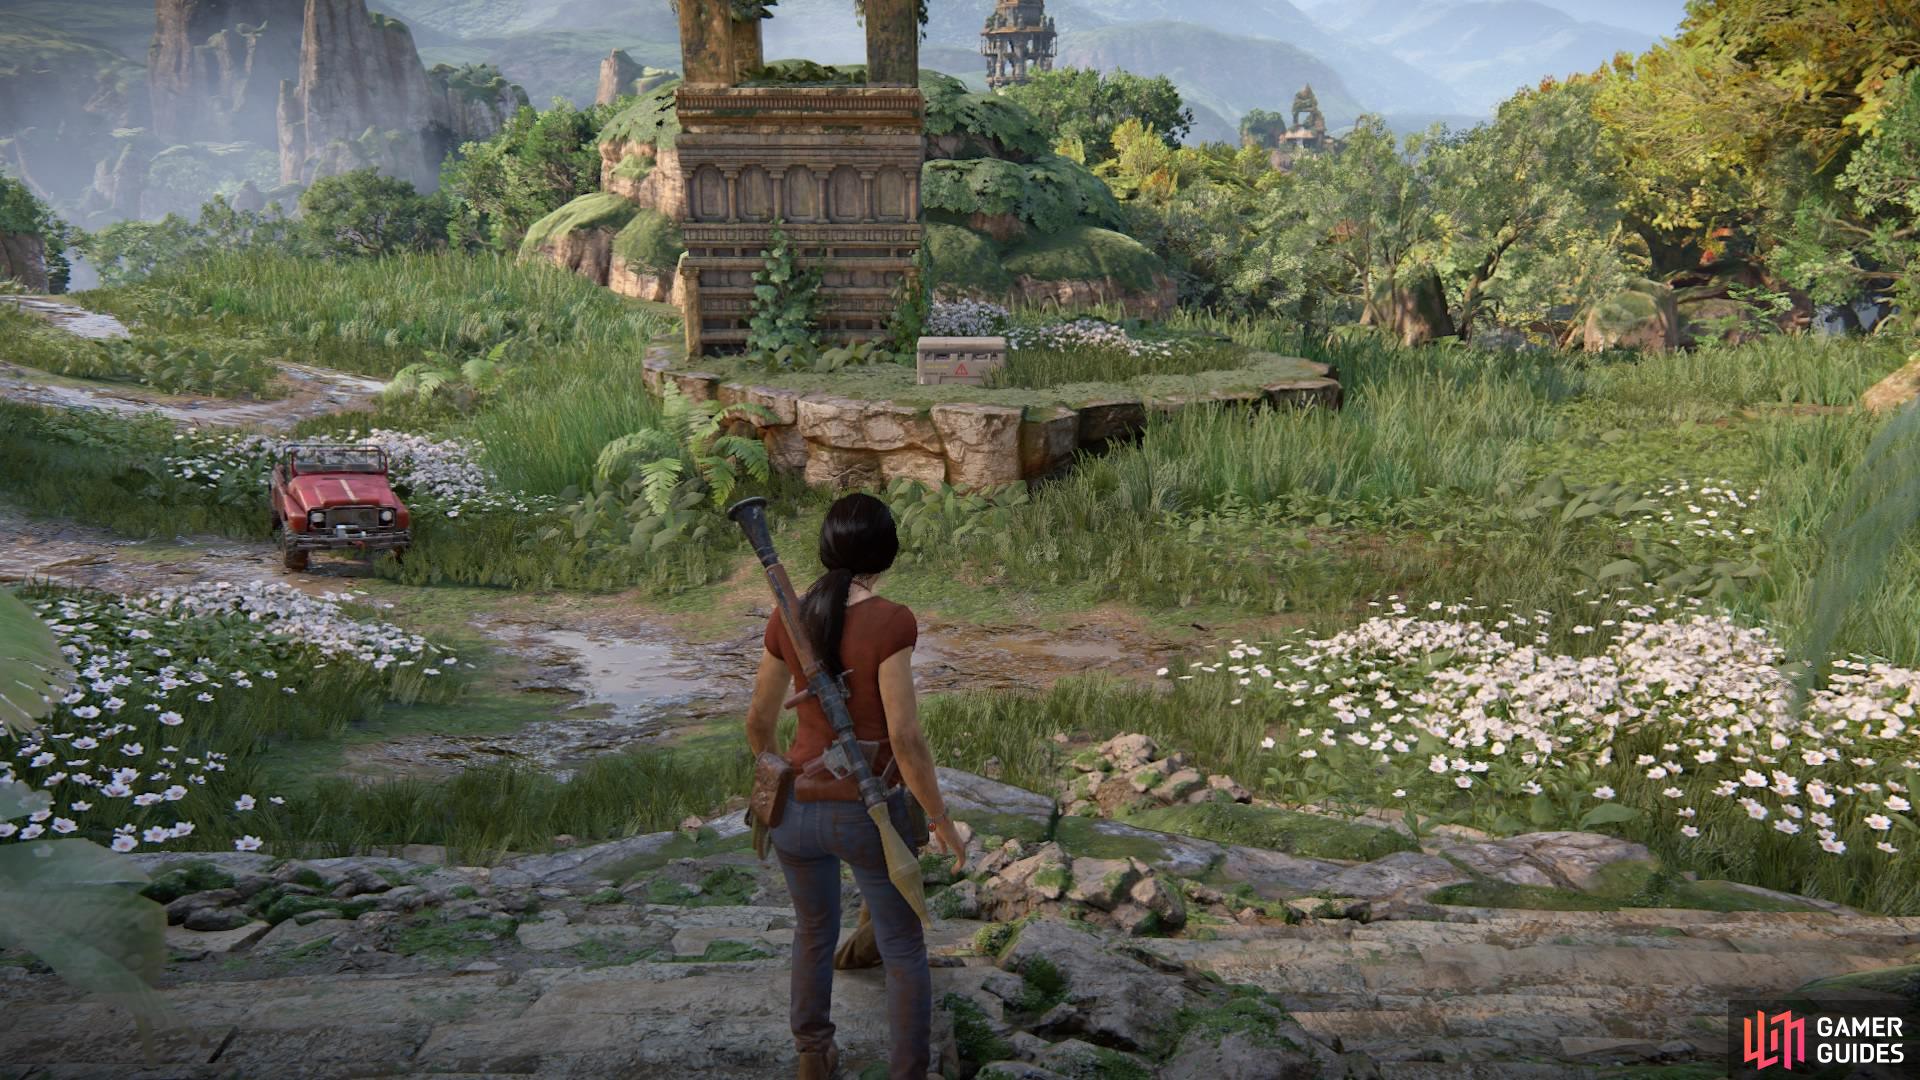
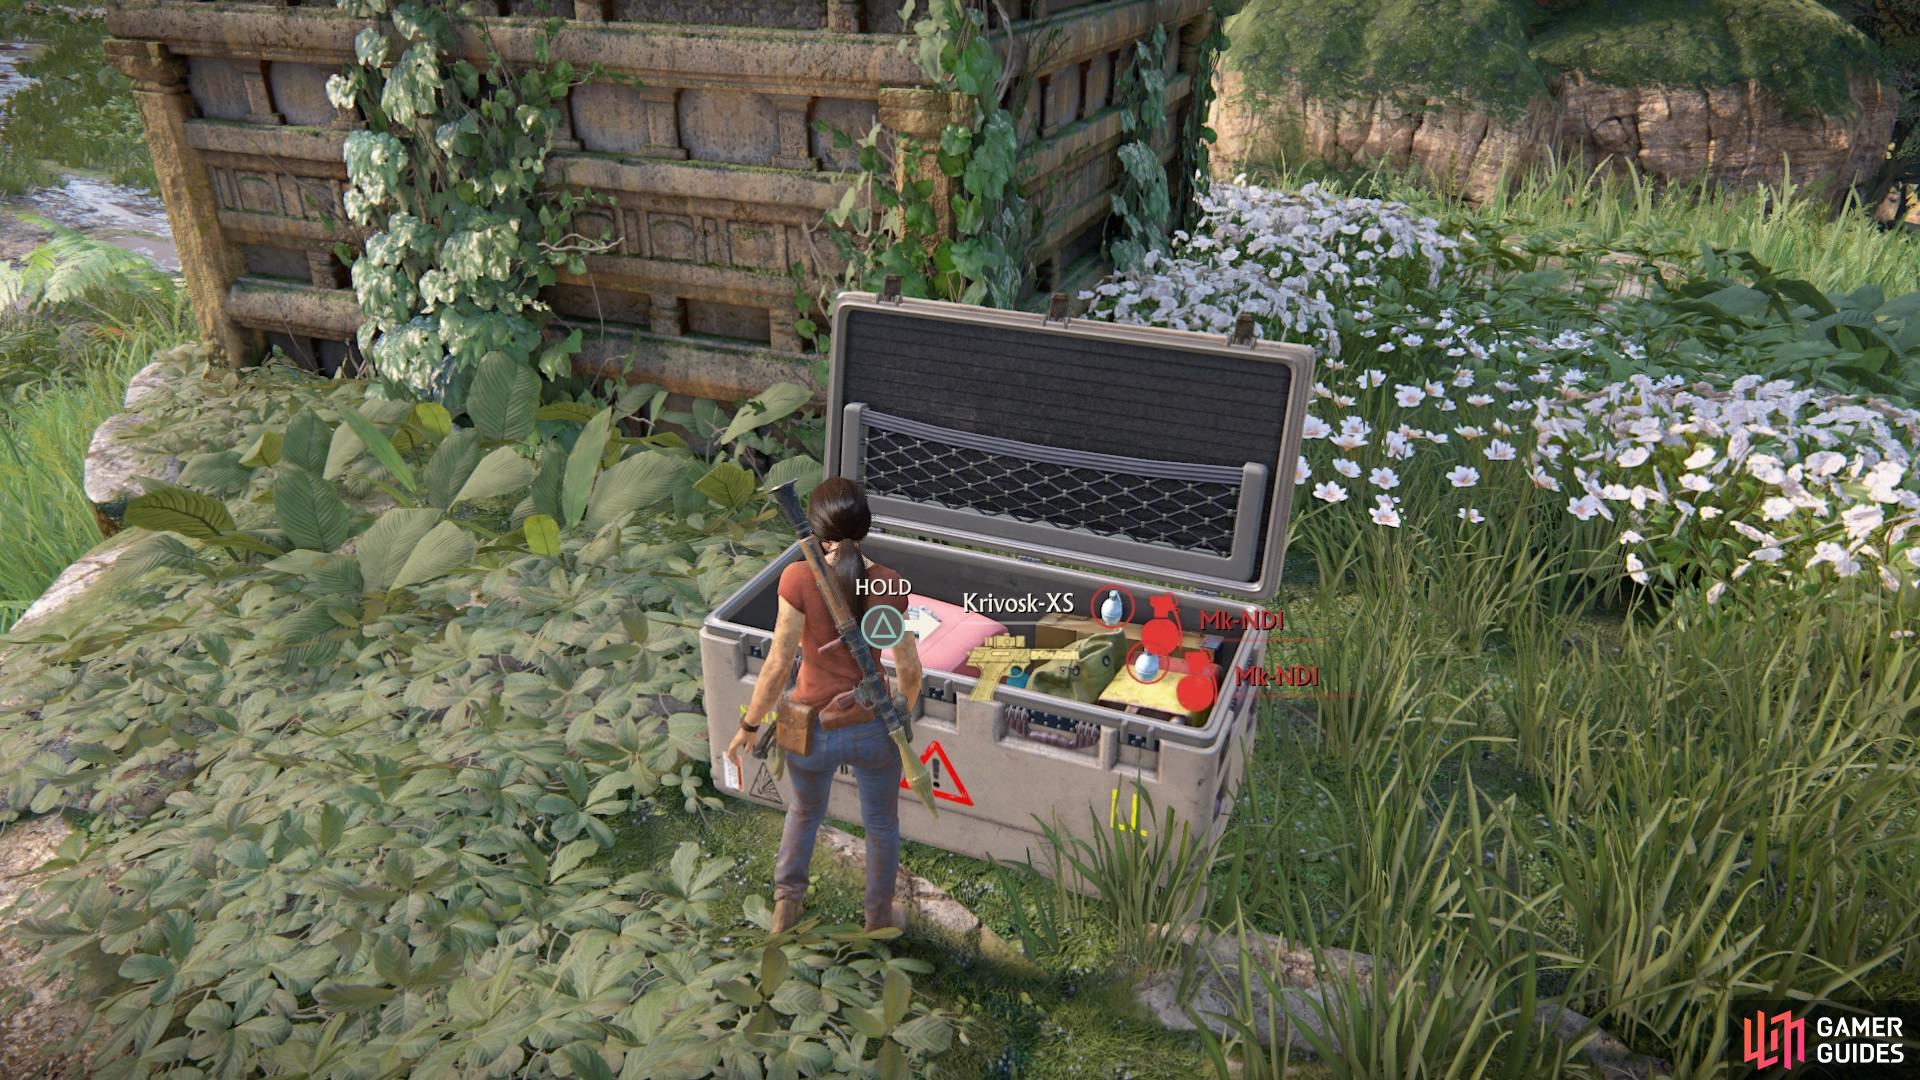
In front of the token ruin in the north (left), Lockbox #2 (right)
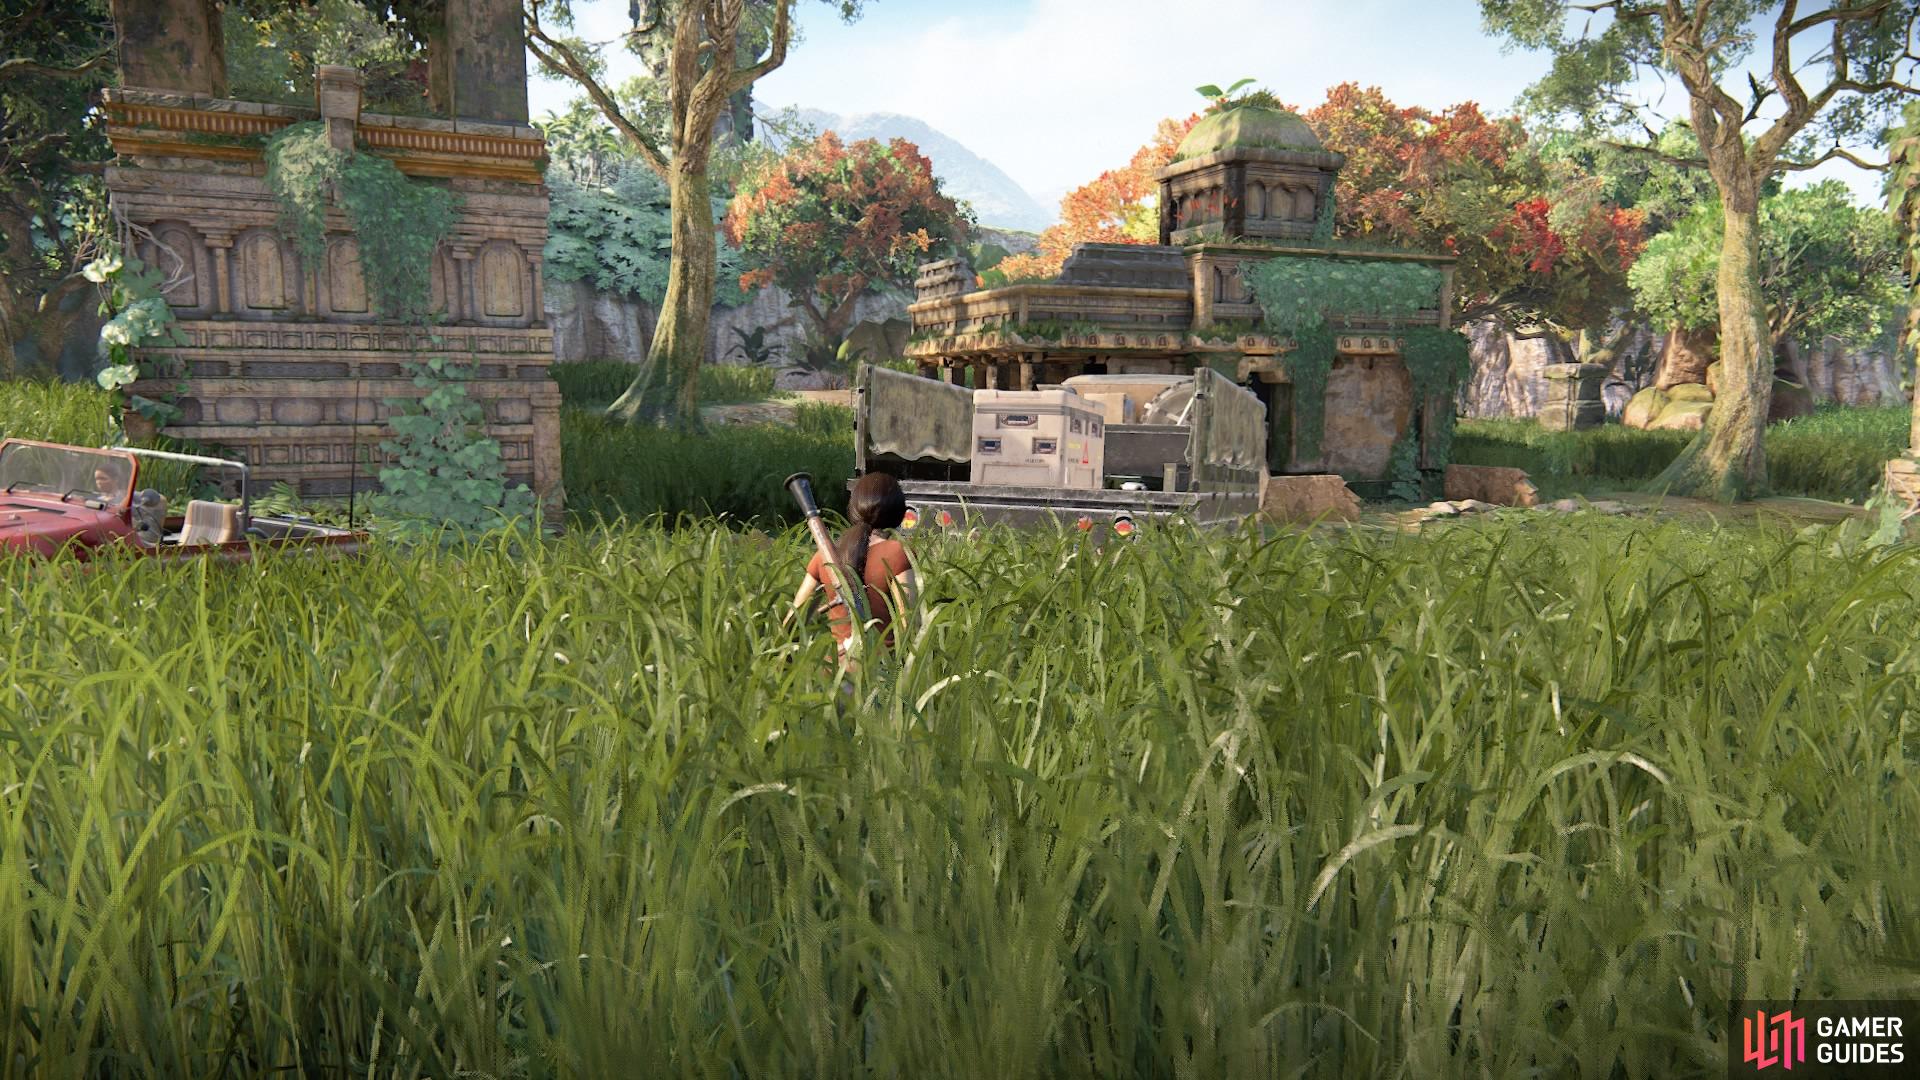
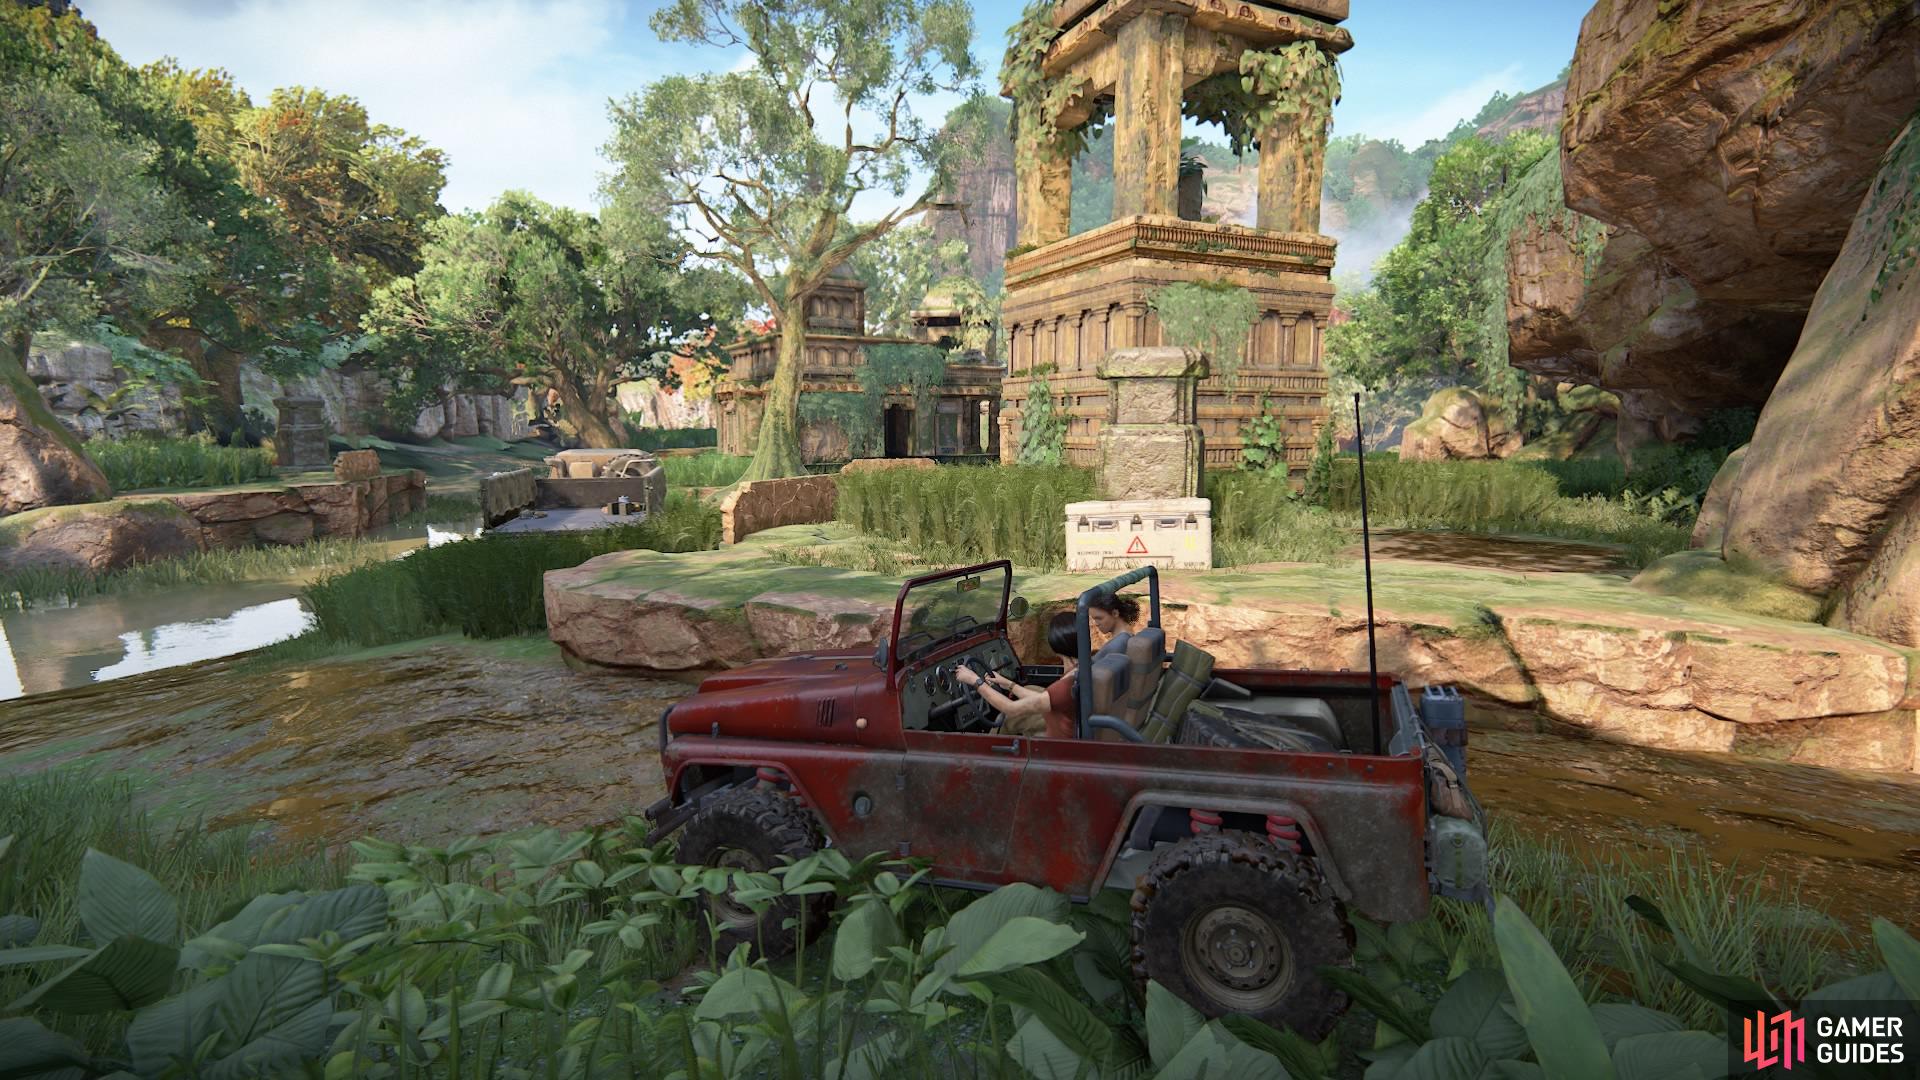
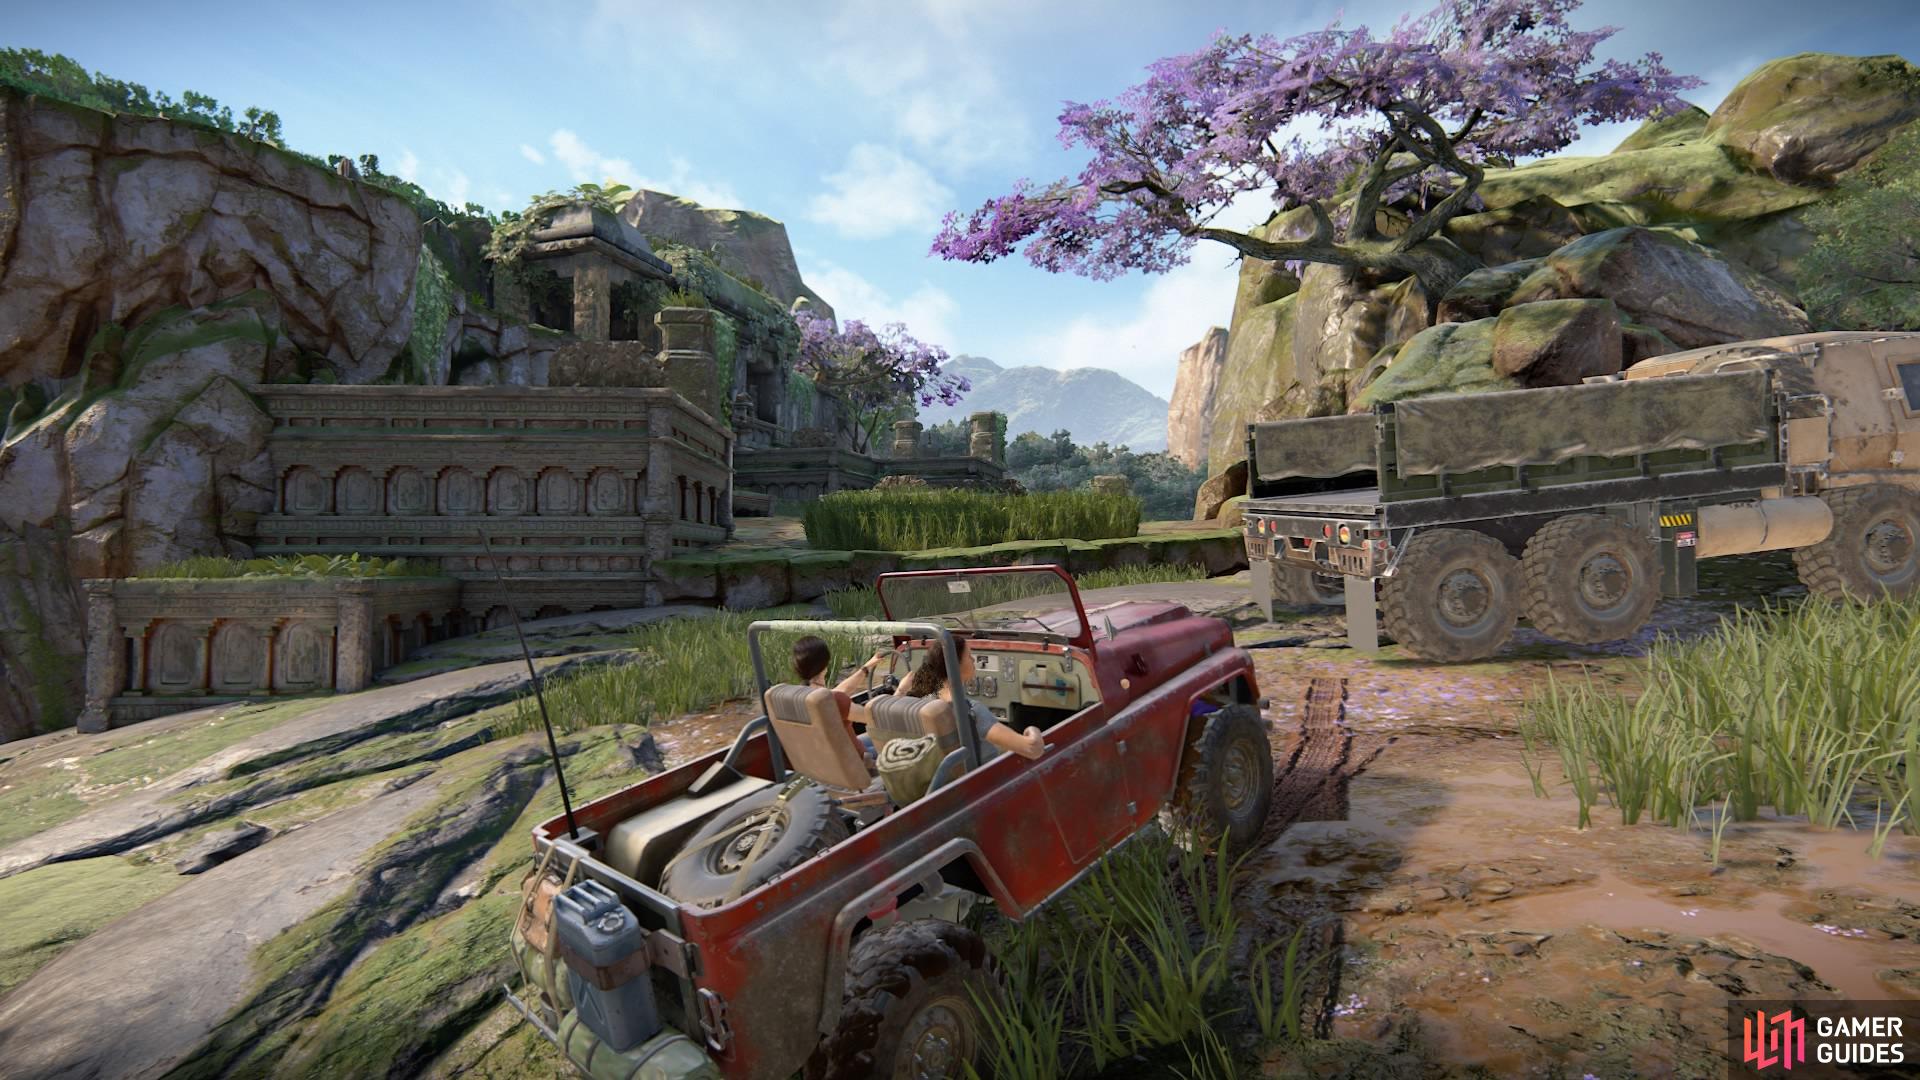
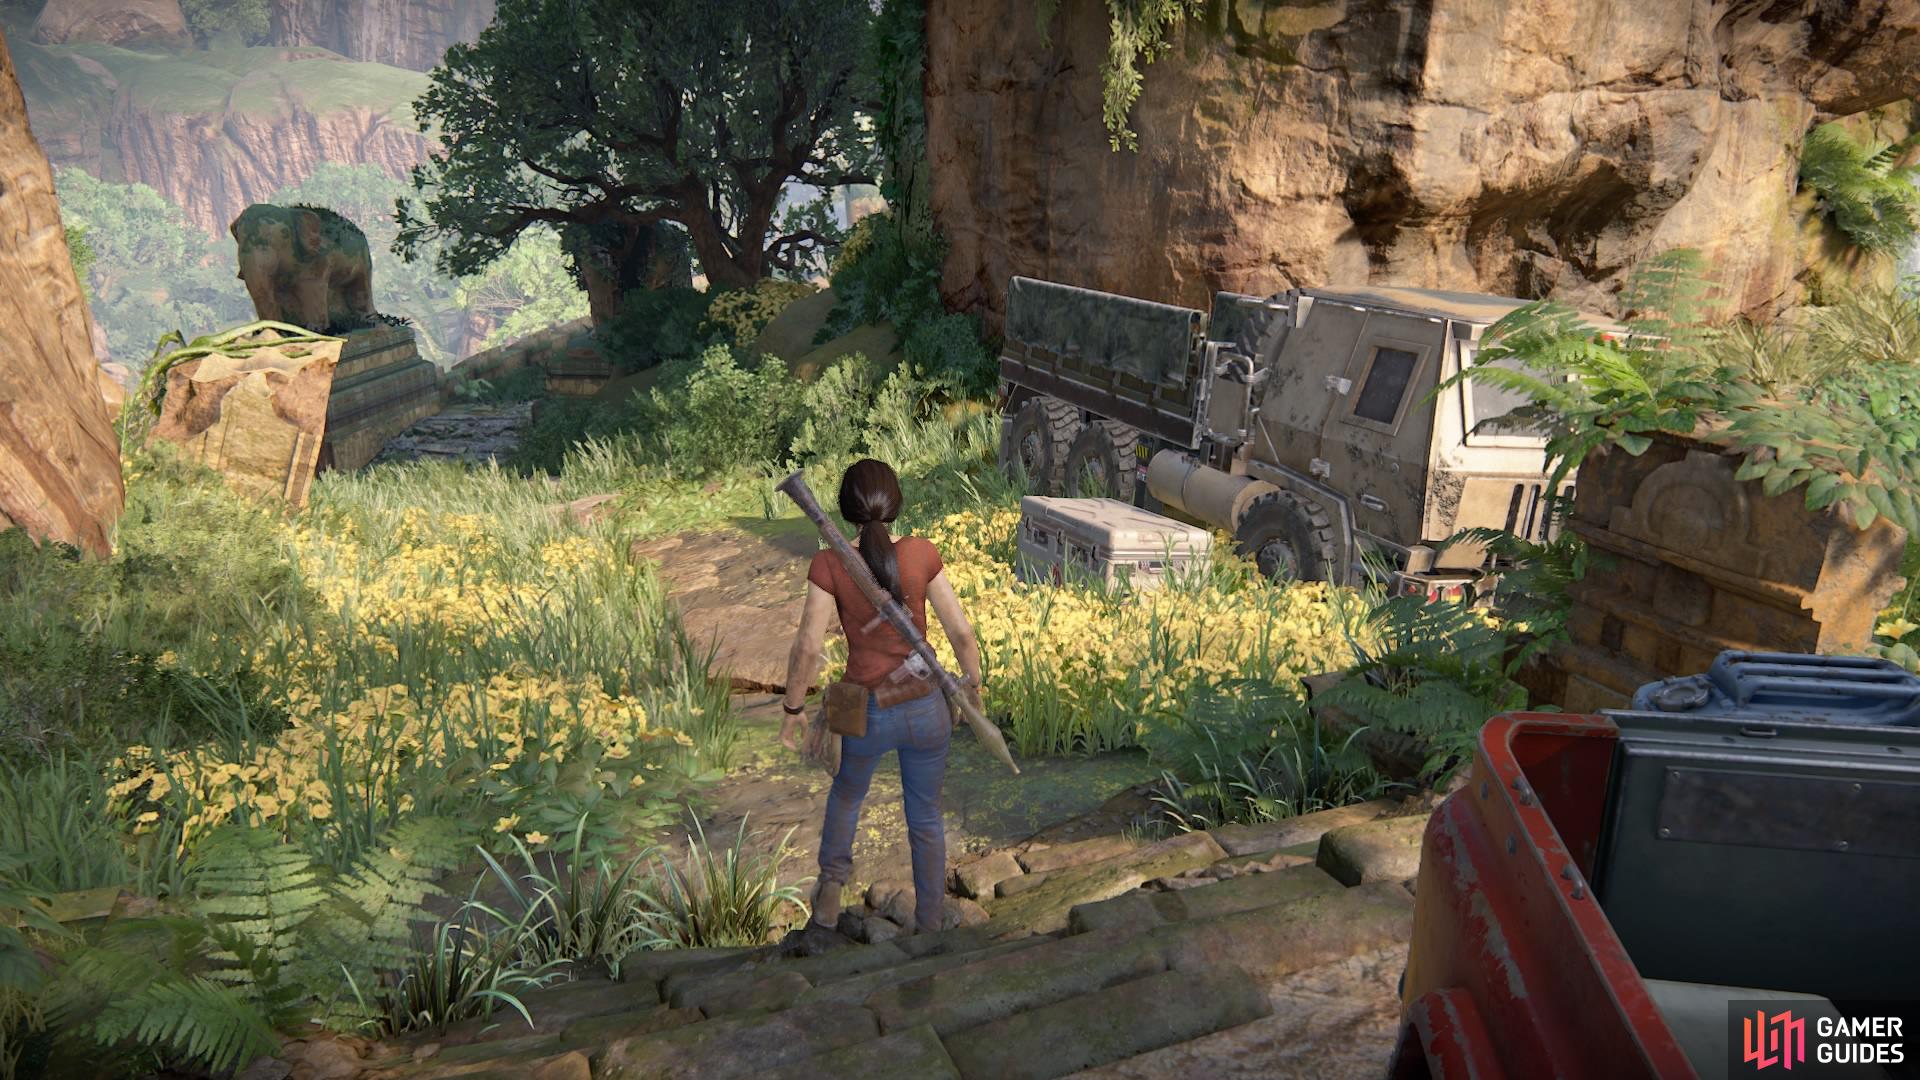
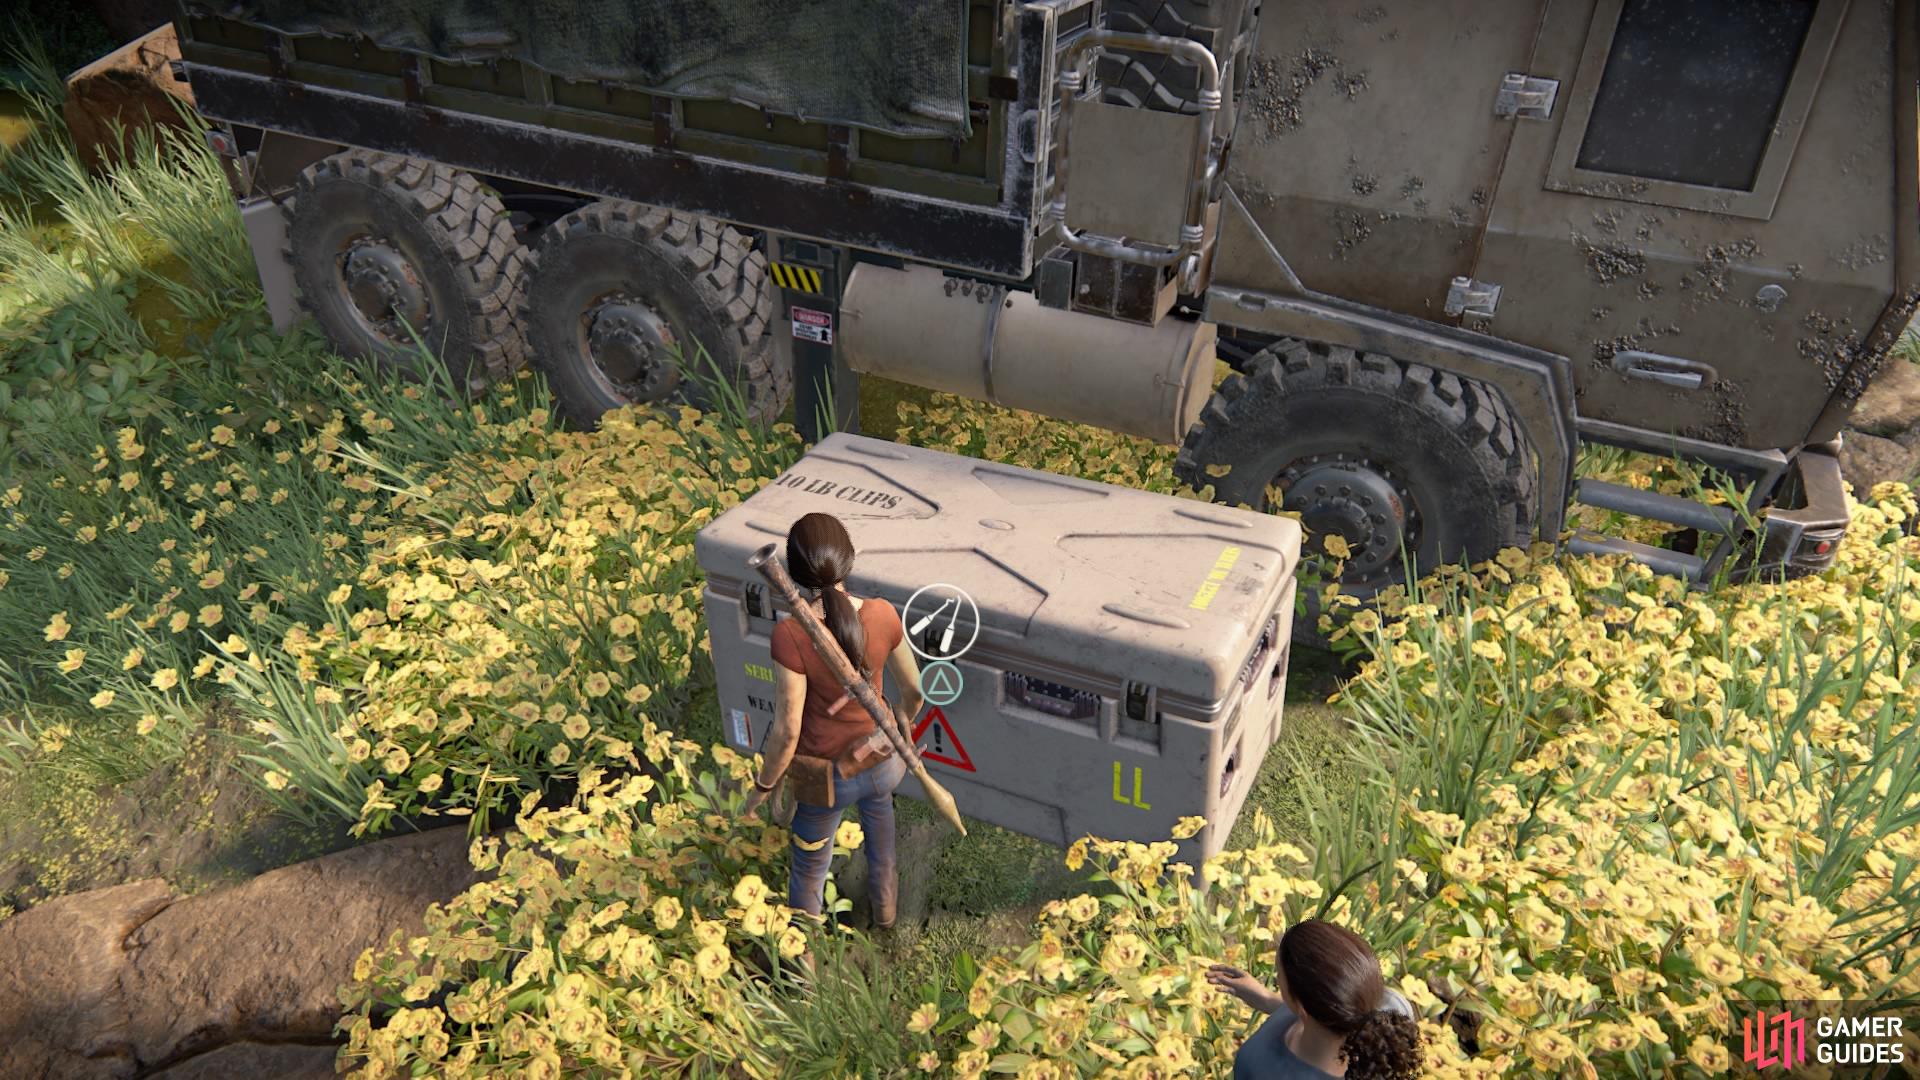
Go towards the left where the stone elephant statue is. There’s a ramp with a parked truck next to it. It will only appear once you’ve recovered the elephant token from the ruins nearby.
Find lockbox #3 in the back of the truck.
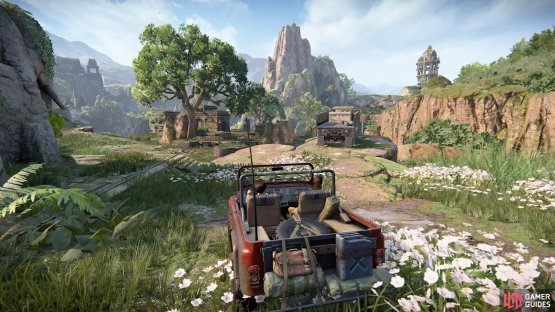
(1 of 2) Near the elephant token location

Near the elephant token location (left), Find the truck parked by the stone elephant statue (right)
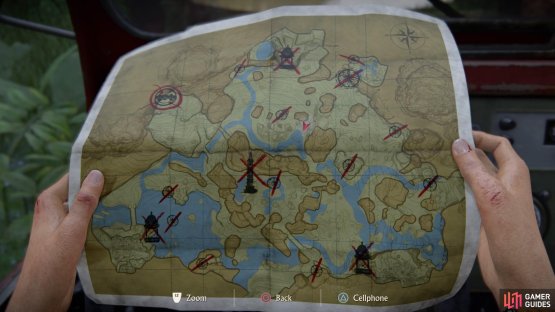
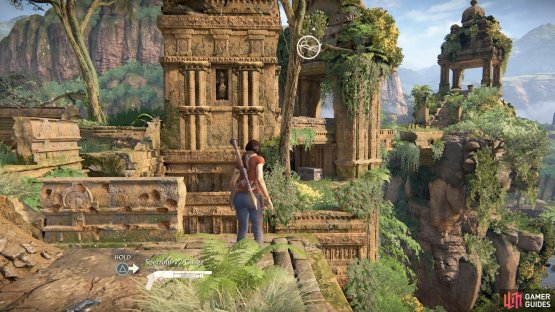
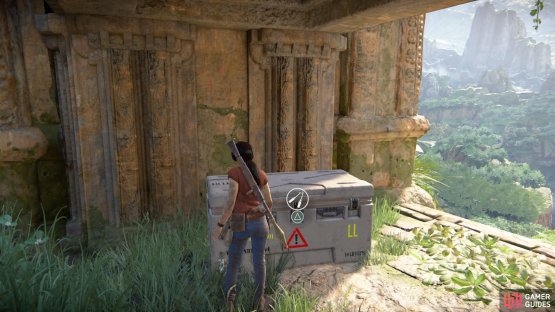
From here, head down towards the ruins where the lion token is situated behind a breakable wall. Just before this wall is lockbox #4 sitting in the back of another truck.


(1 of 2) In front of the lion token location in the upper centre of the map

In front of the lion token location in the upper centre of the map (left), Find the lockbox in the truck (right)
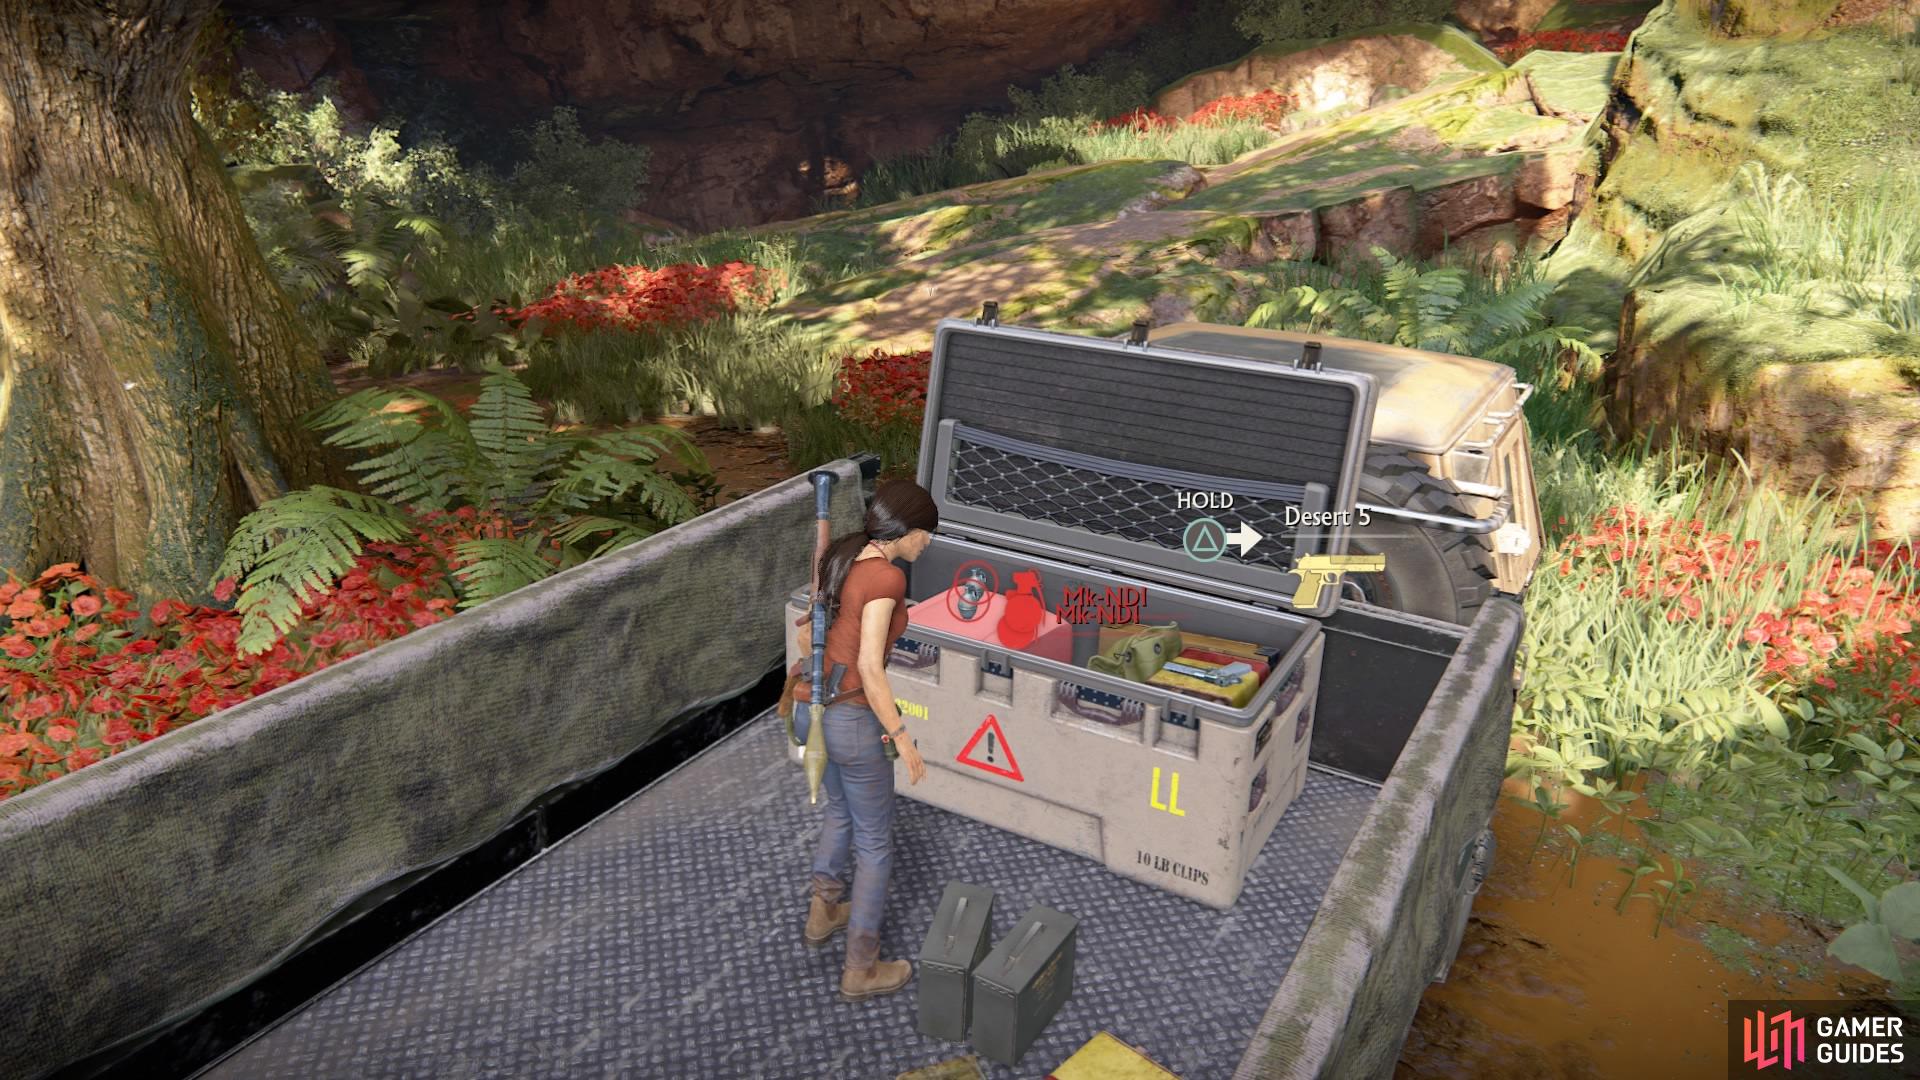
Head left to find lockbox #5 in front of a podium and a short tower. Inside you’ll find a silenced pistol.

(1 of 2) Find the lockbox nearby
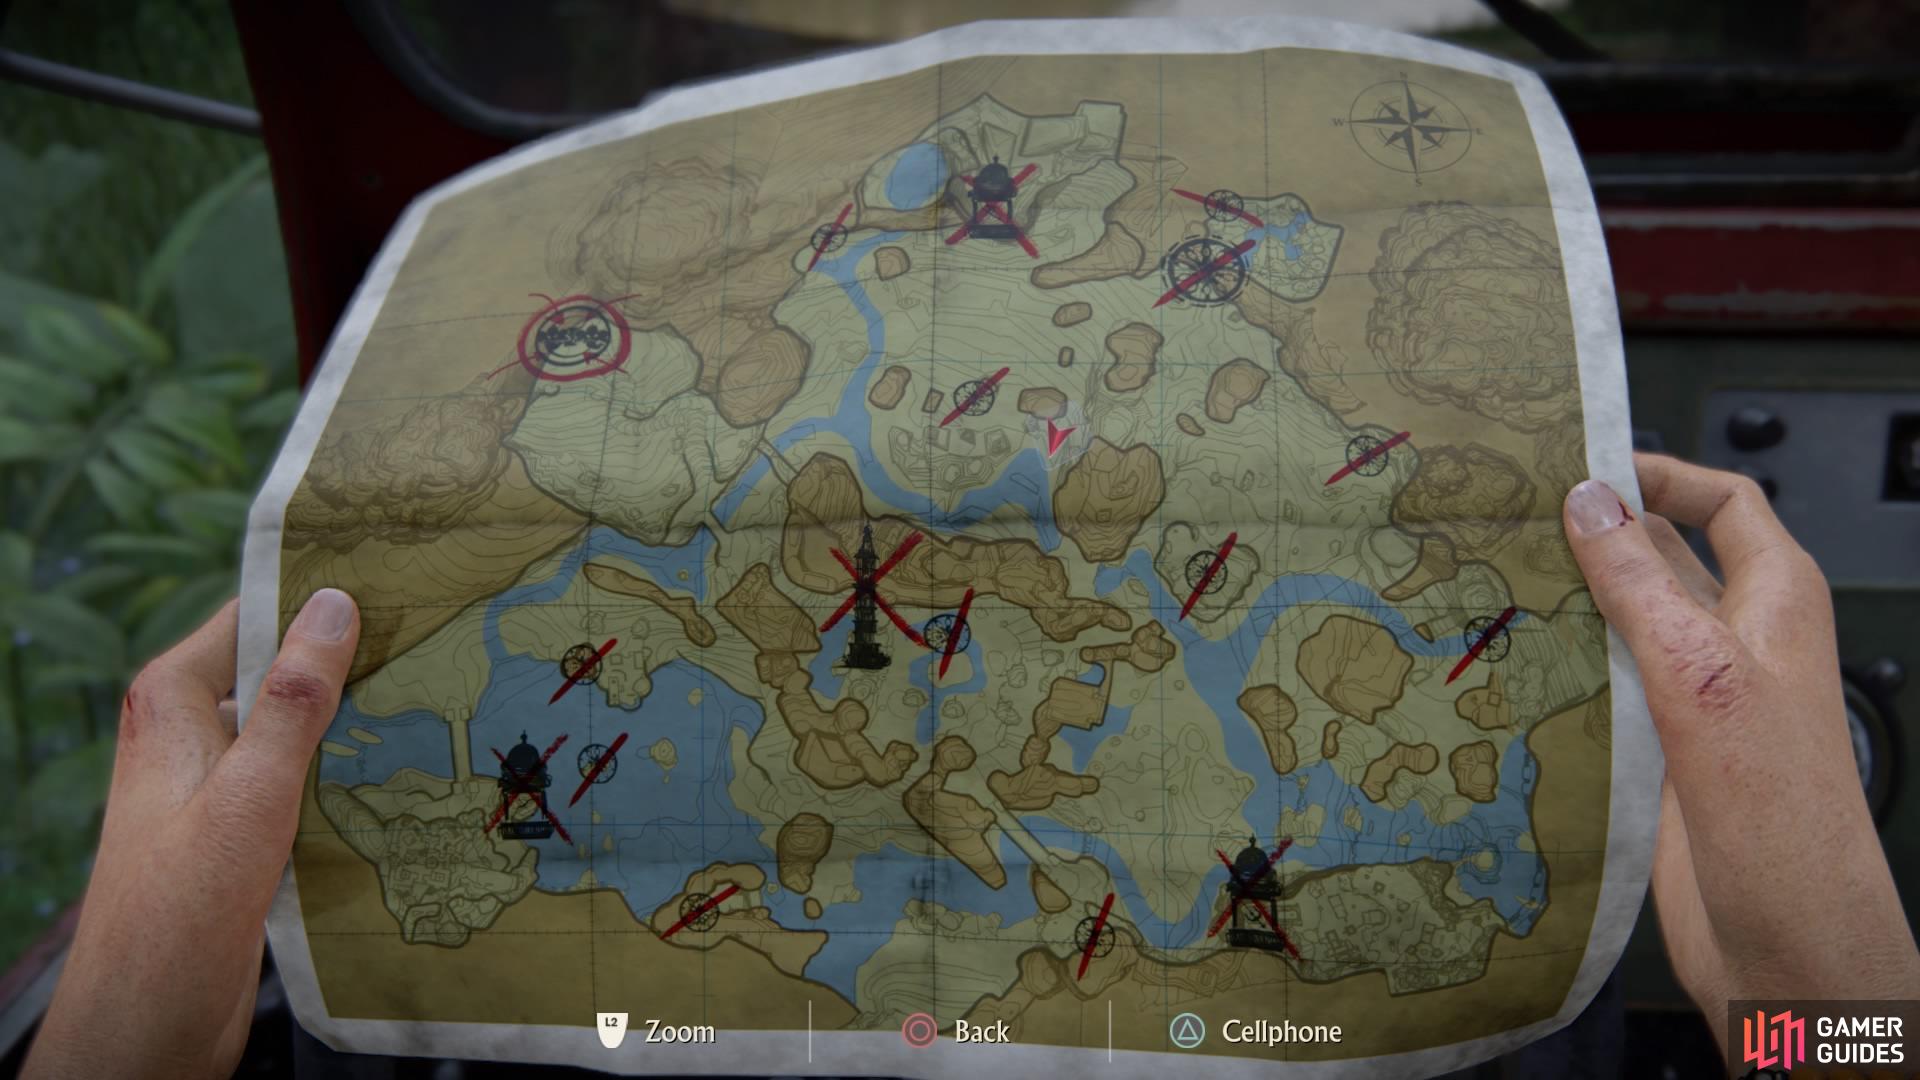
Find the lockbox nearby (left), beside a post (right)
Now head up to Shiva’s ruin, marked by the axe in the north. Once you arrive, there’ll be a parked truck next to the water.
Hop in the back for lockbox #6.


(1 of 2) Go to Shiva’s Fort
Go to Shiva’s Fort (left), Open the box in the back of the truck (right)
Remember the eagle token ruin where you had to swing from five branches? Go back there, and swing across the first two points to land on the platform above the mud-slope.
Open lockbox #7 here, then leave.

(1 of 2) Go to the cliffs at the eagle token location


Go to the cliffs at the eagle token location (left), Swing halfway across for the next lockbox (right)
Jump back in the car and head to the elephant statue in the middle the water nearby. The tiger token was located at the ruins to the right of the statue and locked in a box between four pillars.
If you already opened it, then it already counted as lockbox #8.

(1 of 2) The lion token cliffs
The lion token cliffs (left), Lockbox #8 (right)
Now head all the way back to the southeast area of the map, towards the bridge that leads to the central tower at the beginning of the chapter.
This was the area patrolled by rebels with a manned turret. This is also where you would have found another token.
To the right of the breakable wall (by the turret) is lockbox #9.

(1 of 2) Return to the bridge at the start of the chapter

Return to the bridge at the start of the chapter (left), Find the lockbox between the breakable wall and the turret (right)
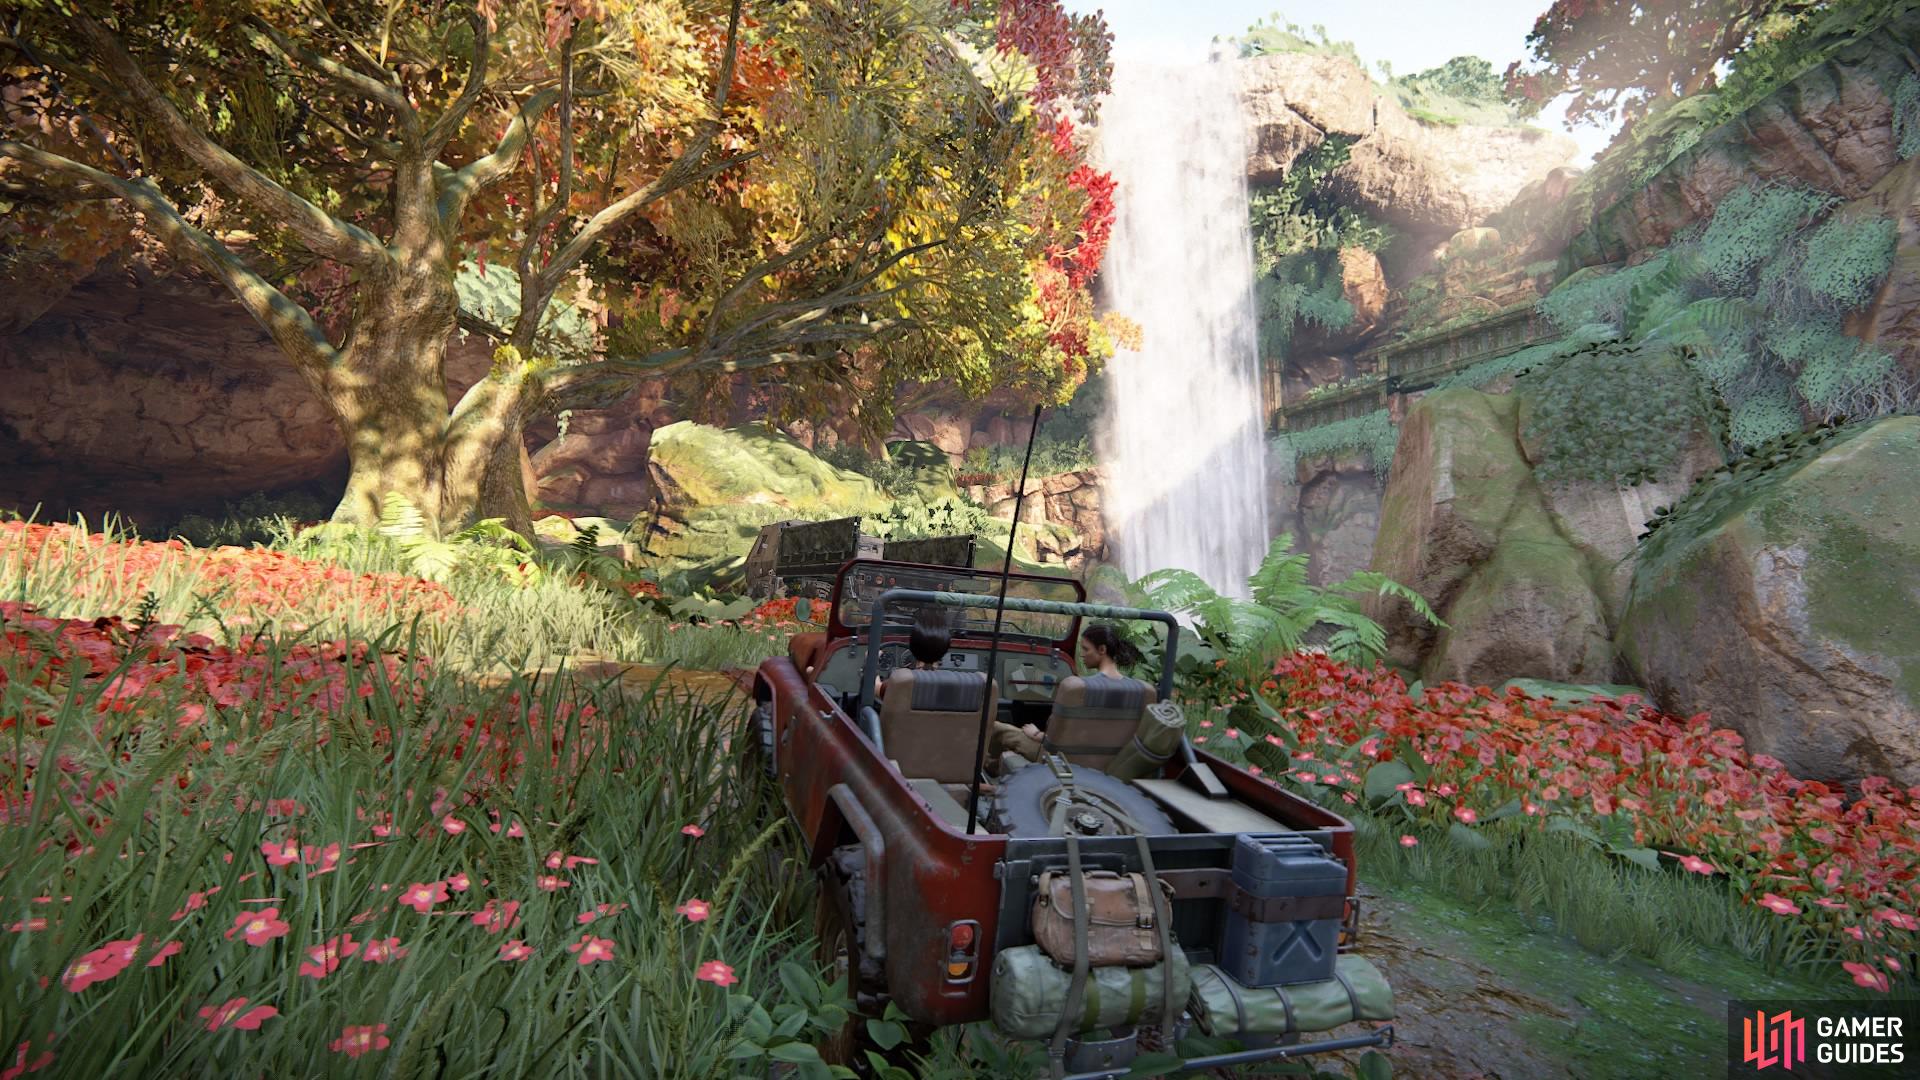
From here, make your way up the waterfalls ahead of you. If you have already completed the trident ruin, then a second truck will have appeared on your way out. If not, complete the ruin to activate it.
As you leave the ruin to return to the car, hop into the back of the truck for lockbox #10.
(1 of 2) On the way out of the trident ruin


On the way out of the trident ruin (left), hop into the second truck for the lockbox (right)
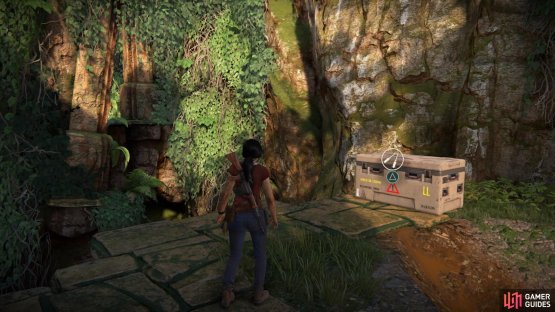
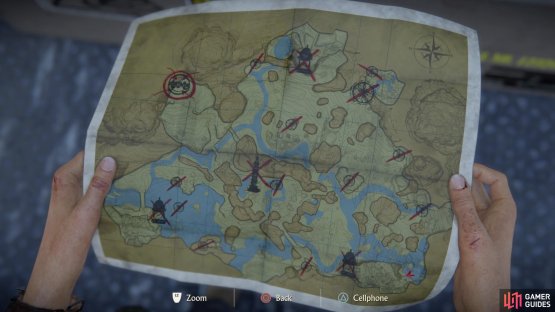
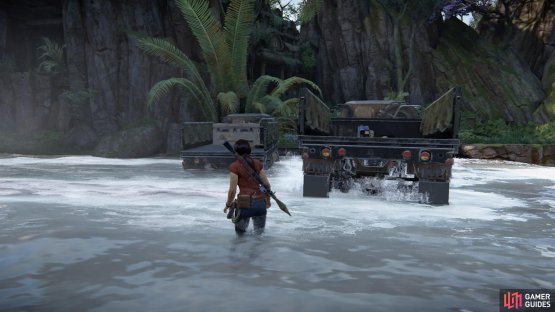
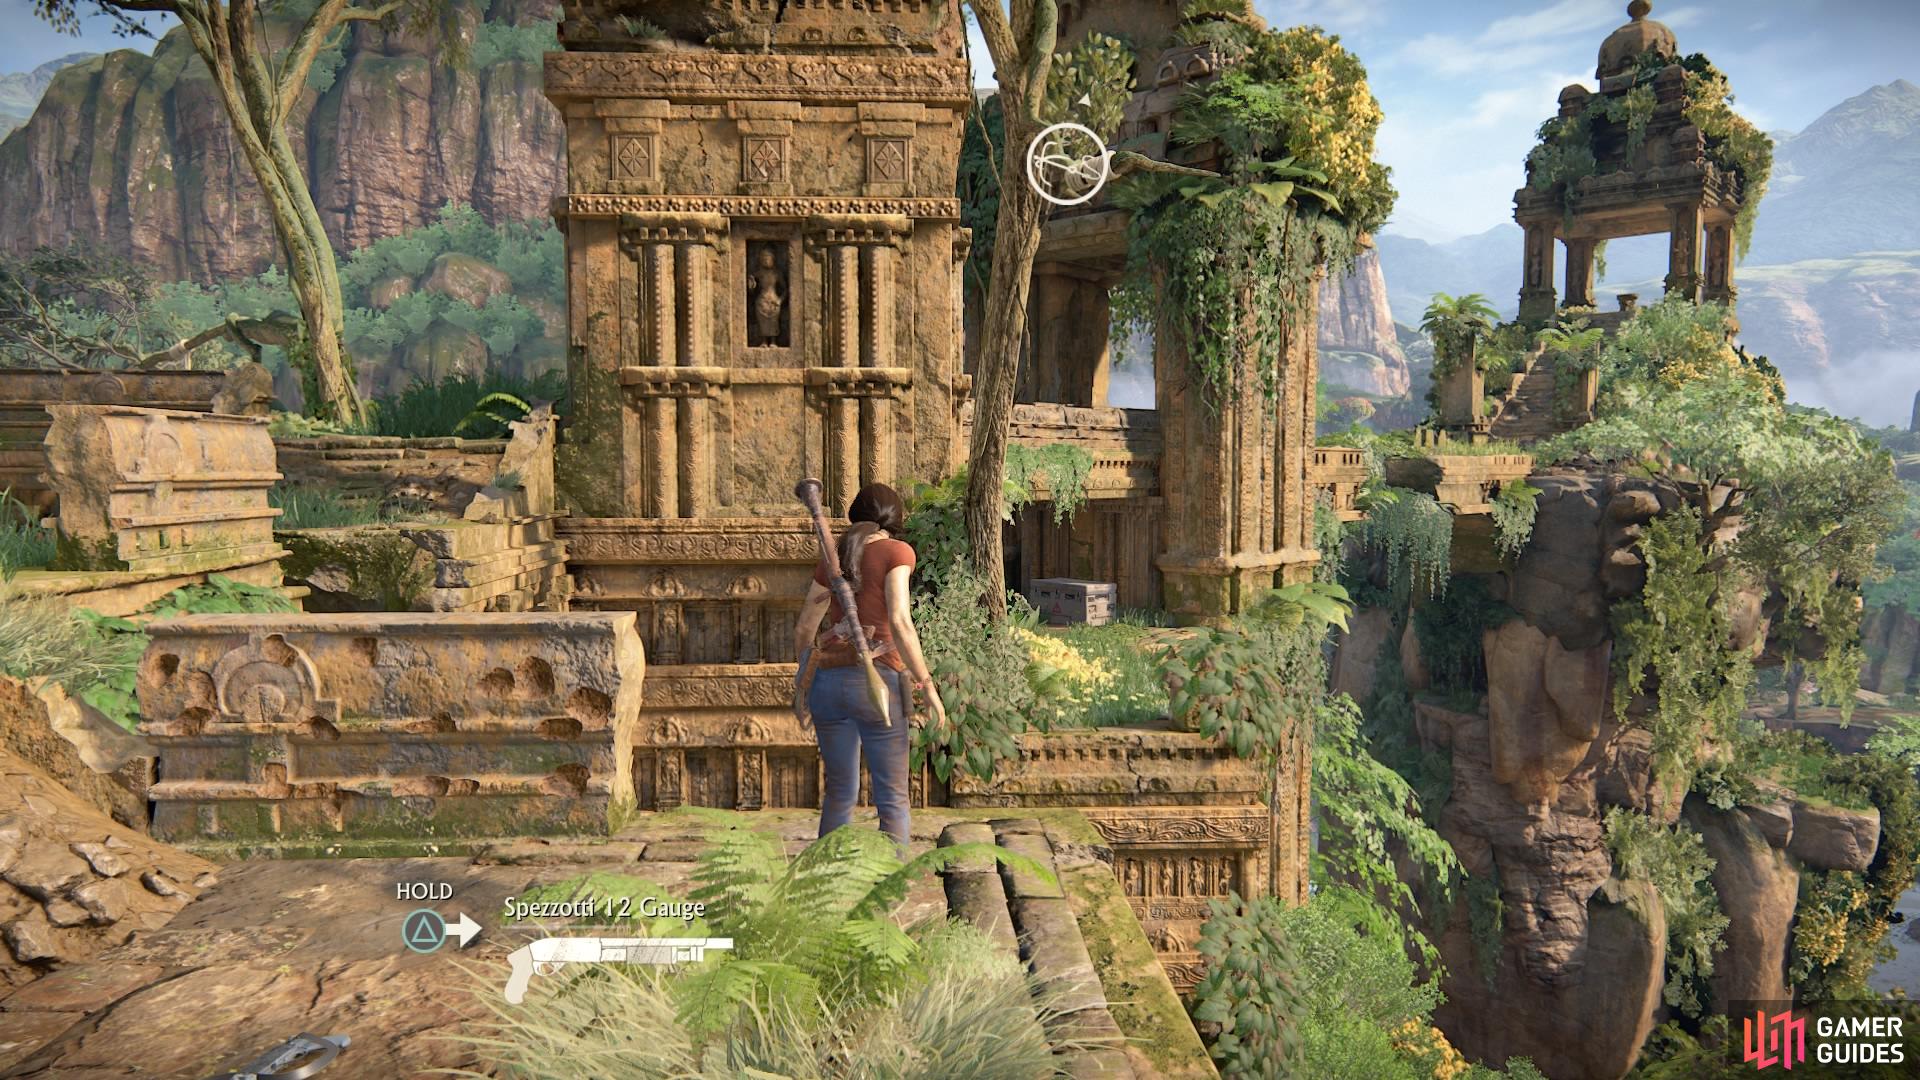
The last two boxes can be found at Parashurama’s ruin in the southwest, marked on the map with a bow and arrow.
As you approach the entrance to the ruin you’ll see a truck outside with lockbox #11 sitting next to it.

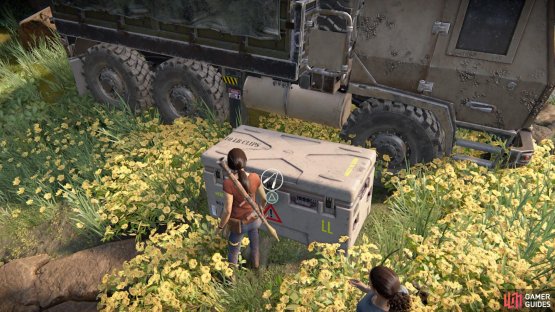
(1 of 2) The truck outside the ruin’s entrance
The truck outside the ruin’s entrance (left), Lockbox #11 (right)
Inside the ruin, you’ll eventually drop into the area where the insurgents are patrolling. There are platforms surrounding the area, and lockbox #12 is sheltered beneath one of them on the right-hand side.
Make sure to take out the enemies first.
(1 of 2) Right side of the platforms
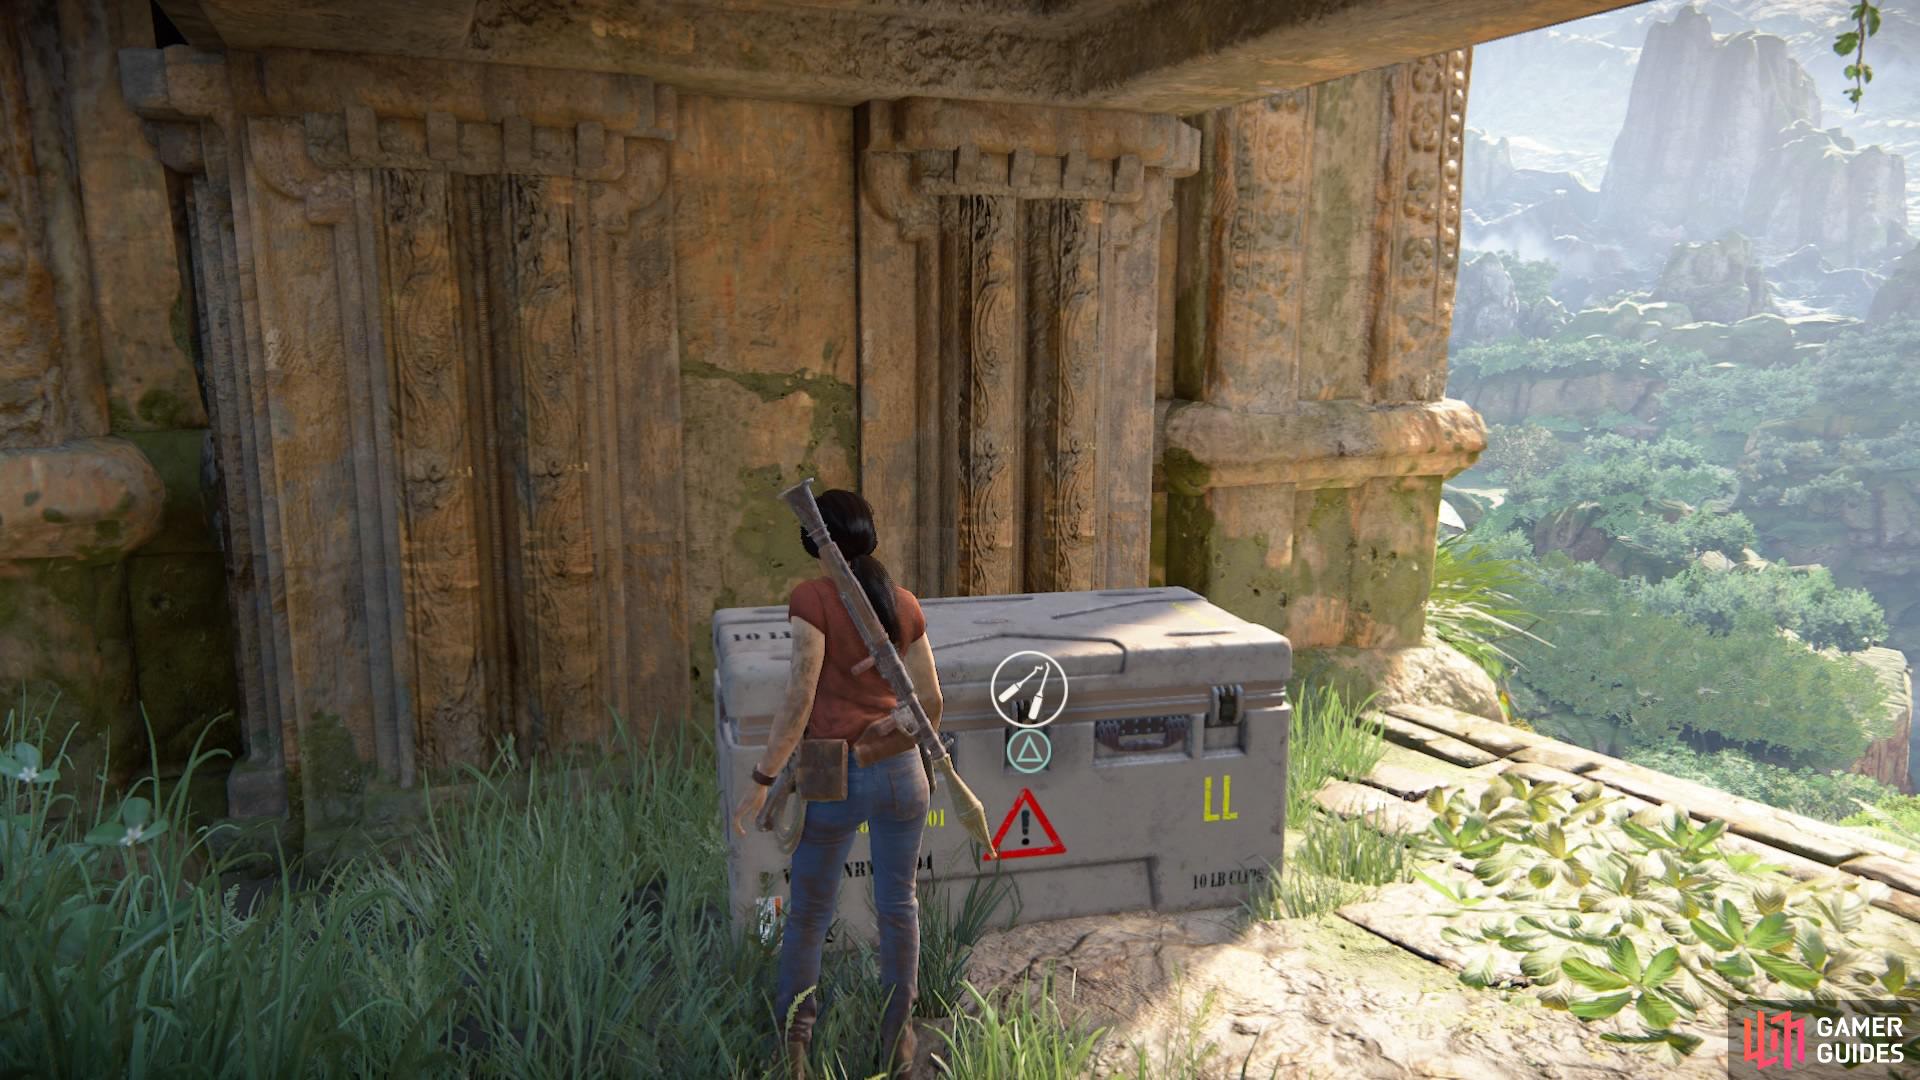
Right side of the platforms (left), Lockbox #12 (right)
No Comments