
This page offers a walkthrough on how to complete Chapter 1 - 01 Astra Shelter in the Tower of Fantasy story quest.
A New Beginning
When you first arrive at the Astra Shelter, you’ll be welcomed in by Shirli and Zeke. After a brief cut scene, your first task will be to retrieve your weapon from the boxes just outside. Once you’ve picked up your weapon you’ll be subjected to another cut scene, this time you’ll meet Mi-a, Shirli’s assistant.


(1 of 2) Shirli and Zeke saved you and have brought you to Astra Shelter


Shirli and Zeke saved you and have brought you to Astra Shelter (left), after speaking with them, pick up your weapon. (right)
After exiting the cut scene, follow Shirli and M-ia down the path to speak to Celine, who can be found in the ruins of the plane up ahead. Once you speak to Celine, you’ll be allowed to customise your character. We won’t go into too much detail but here you can customise the presets, change your hair, facial structure and clothing!

You can change the color of the outfits too!
Once you’ve spent a bit of time customising your character to your liking, speak to Celine and Shirli again. Shirli will then offer to give you a tour of the battleship at Astra Shelter. She’ll take you down the steps and you’ll have a brief chat with Palu.
Collect Environmental Data with the Drone
Palu will ask you to take his drone out to retrieve some environmental data. The drone can be found 20m outside the battleship. Interact with it and it’ll take you out towards the lake where you can then collect some water sample data. It’ll then take you further out to collect some plant sample data. Then a little further on you’ll be able to collect rock sample data. And finally, the drone will take you up a hill and you’ll be able to retrieve some geological sample data.
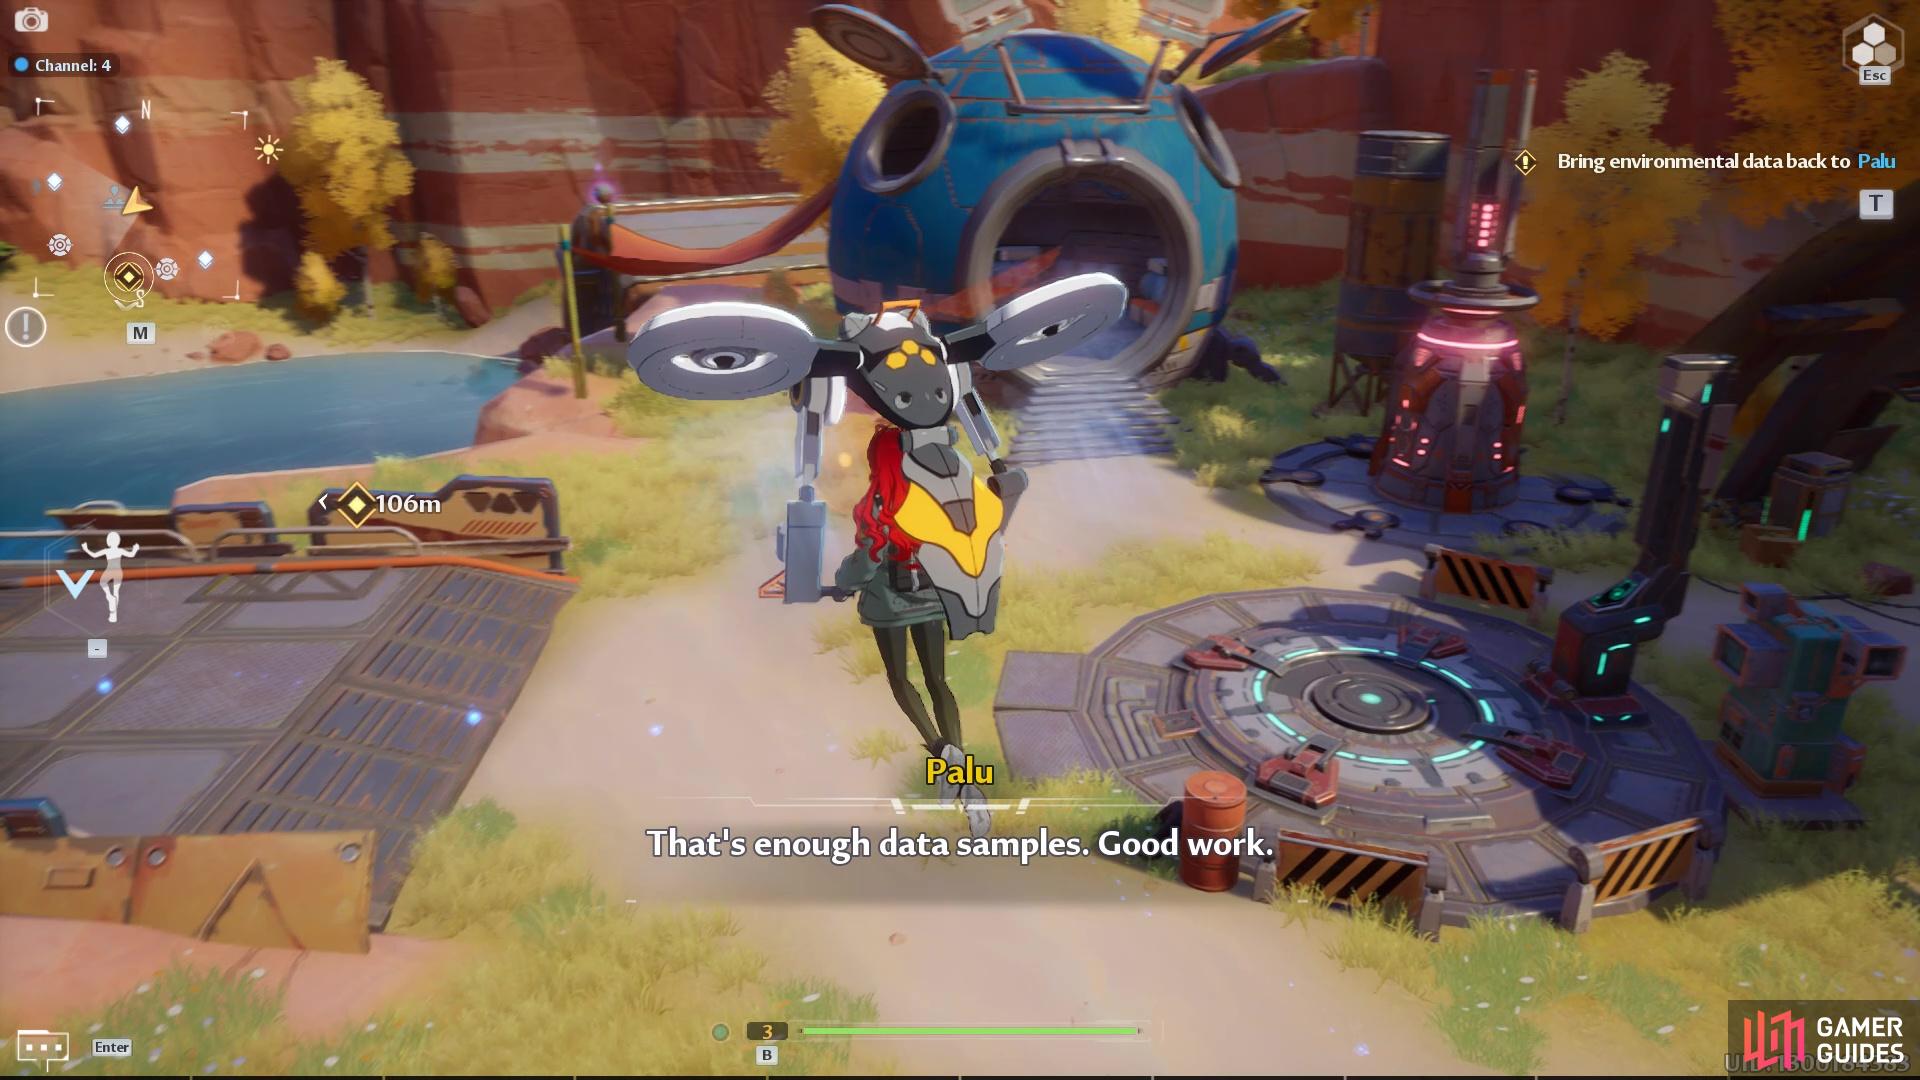
The drone will take you around and you can pick up samples.
Once you’ve got all the data, return to the shelter and speak with Palu. After telling him the good news, Shirli will take you to meet Fennie. Fennie will offer to cook you stuff but first she wants you to fix the spacerift.
How to Fix the Spacerift
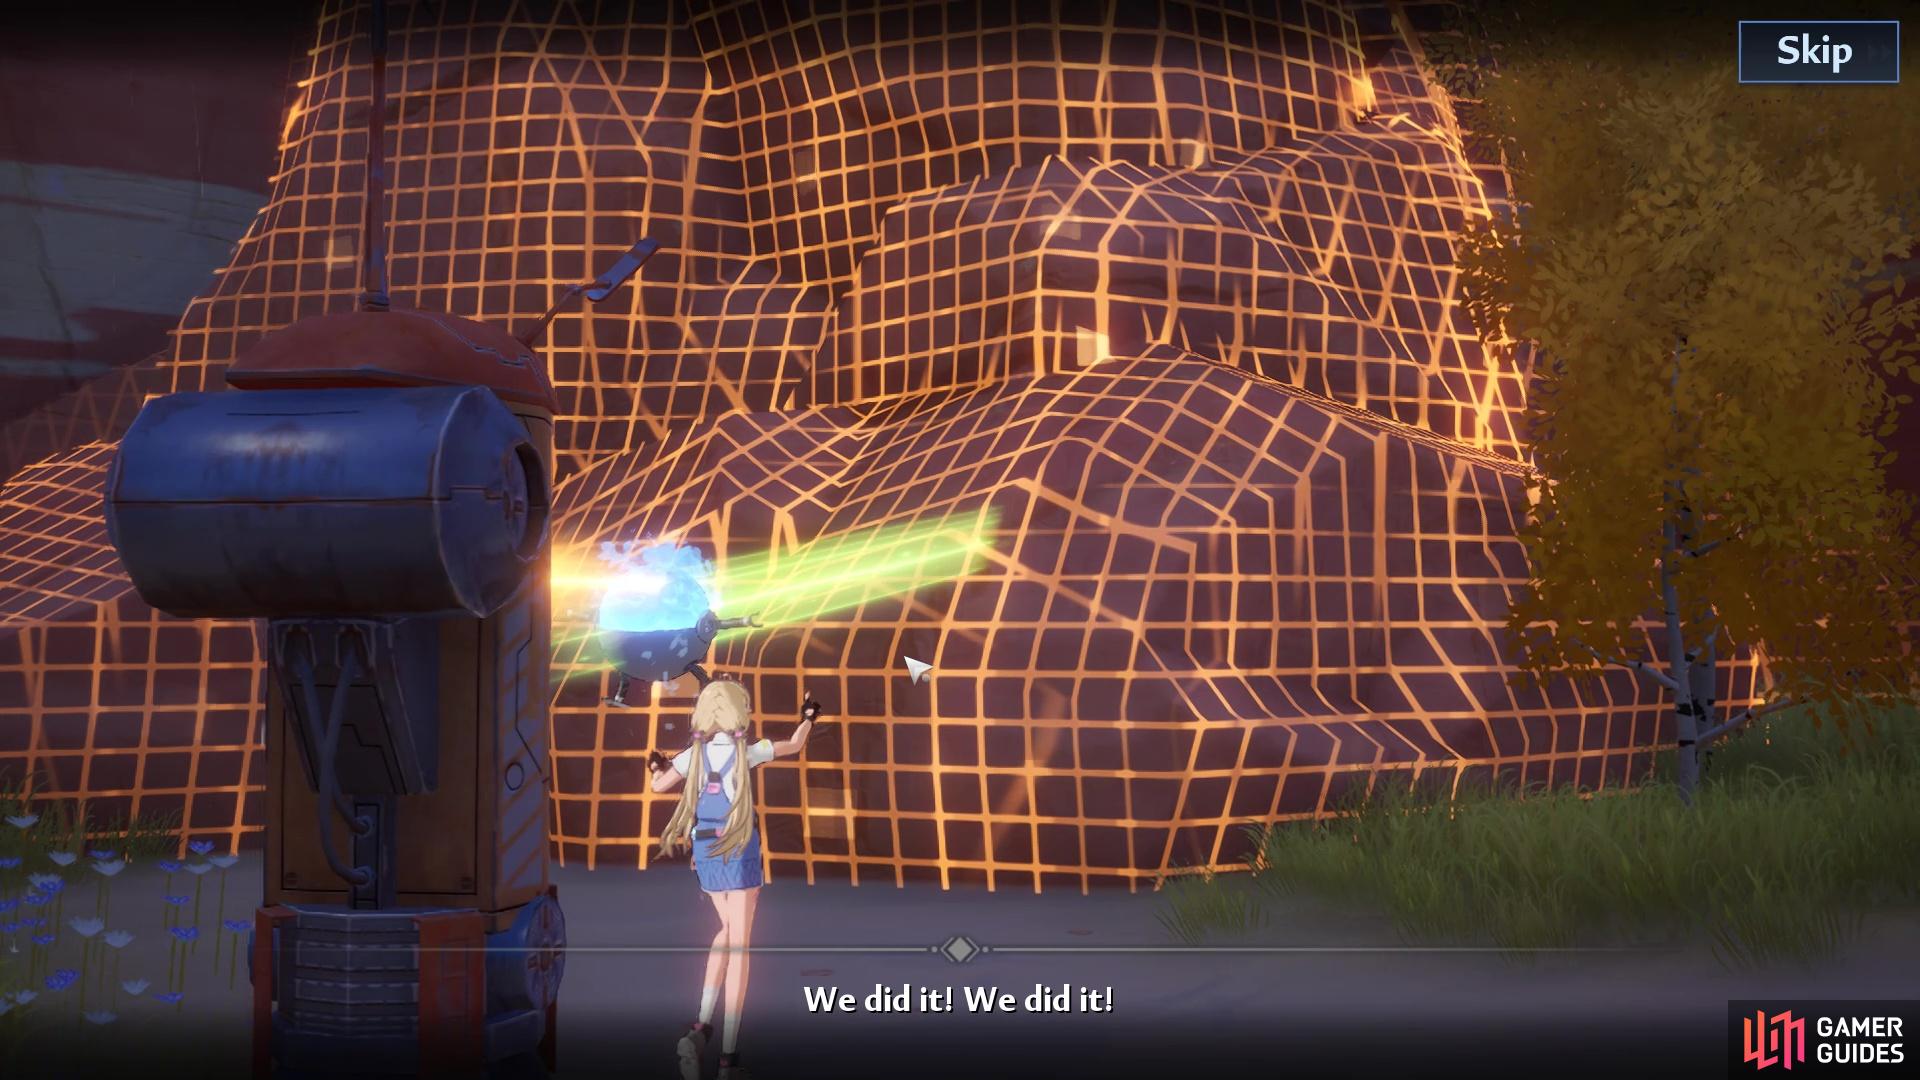
Next up on your list of tasks is to head to the spacerift, which is just across the bridge. Once you’ve arrived speak to Shirli. After a brief explanation of the spacerift, she’ll come to the conclusion that the energy conversion filter is broken and needs replacing.
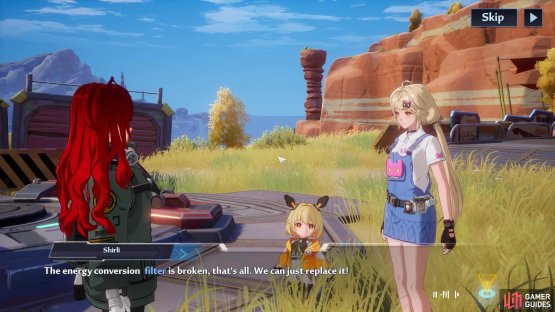
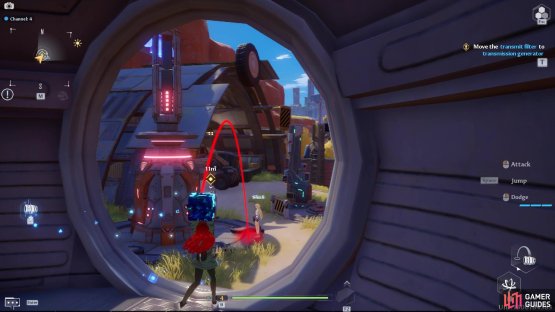
(1 of 2) The Spacerift needs to be fixed
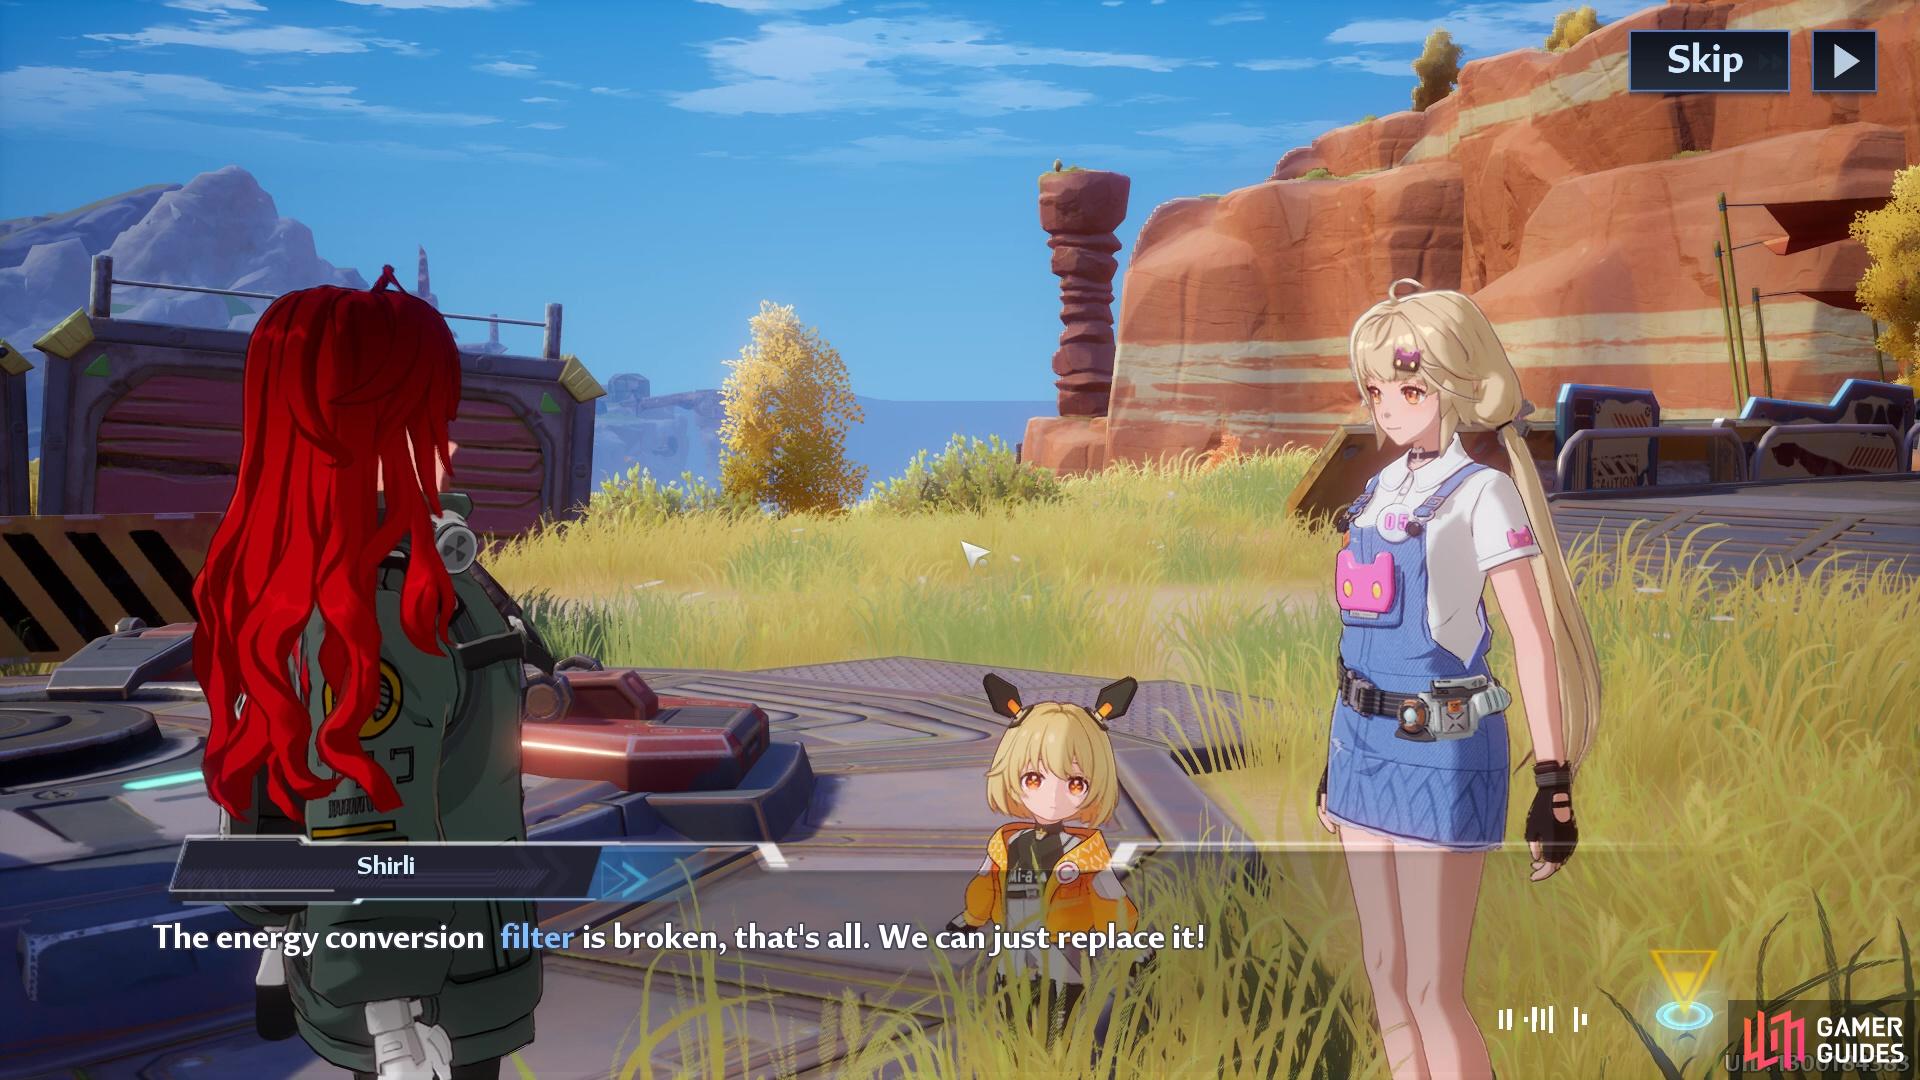

The Spacerift needs to be fixed (left), and the first task will be to throw one of these filters at the machine! (right)
You can grab a new filter from the orb room to the left of the spacerift. Just pick up one of the blue boxes and literally throw it at the spacerift to fix it. Later in the game you’ll be able to use the spacerift to travel between other spacerifts.
How to Defeat the Watcher Enemies
Since you probably don’t have any other spacerifts registered, Shirli will test the Astra Shelter Spacerift. When she tests it, she’ll come back in a panic and she’s bought along with her some robotic enemies. There are three Watcher enemies to fight and during this combat, you’ll learn how to discharge attacks, which is when you swap weapons when your current weapon charge fills up during combat. When you swap weapons at full gauge, you’ll trigger a powerful discharge attack!
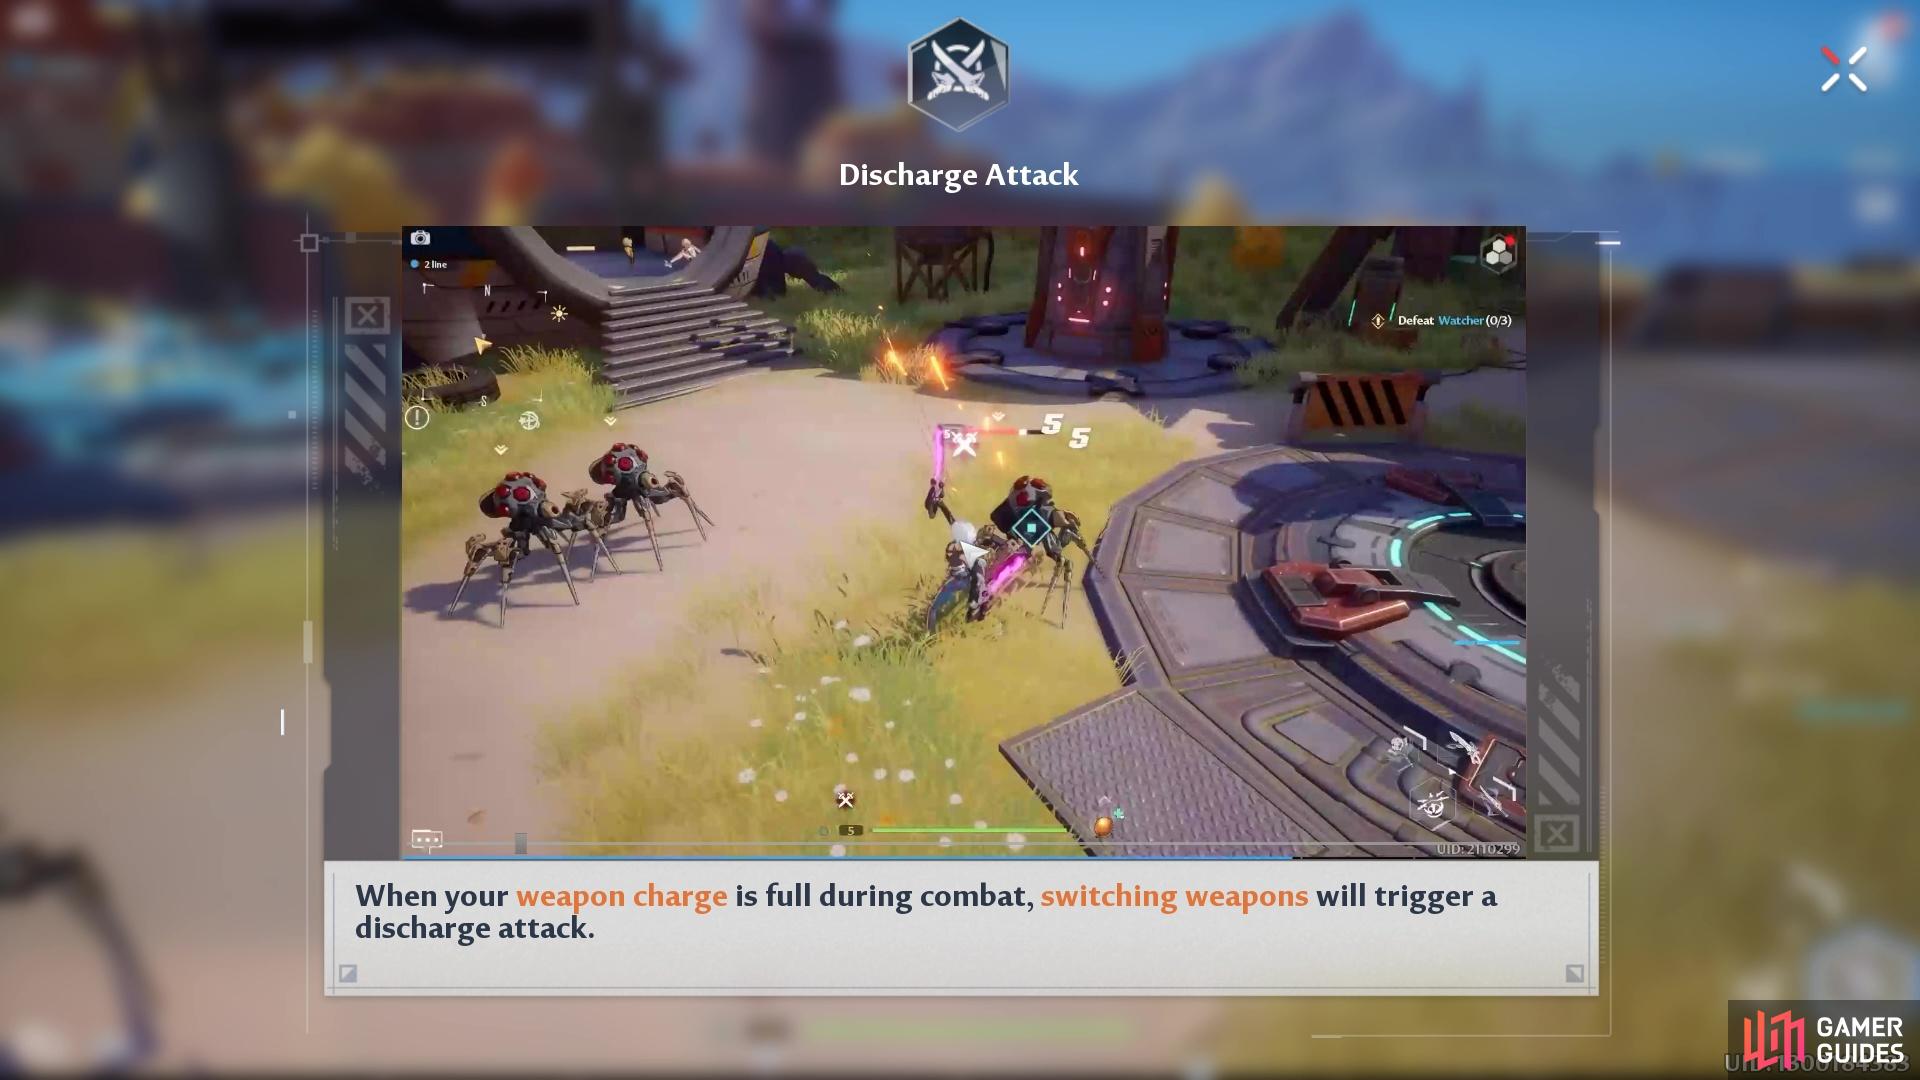
Discharge attacks are powerful moves.
Use this opportunity to actually try out these discharge attacks - they’ll speed up the combat process. During the fight, make sure to use your disengage moves to dodge attacks - especially when the watcher starts to emit a red glowing circle as this usually signals a pretty strong explosion attack. The Altered Watcher enemy is the elite enemy of this fight so you may find it beneficial to take out the weaker enemies before taking on the big enemy.
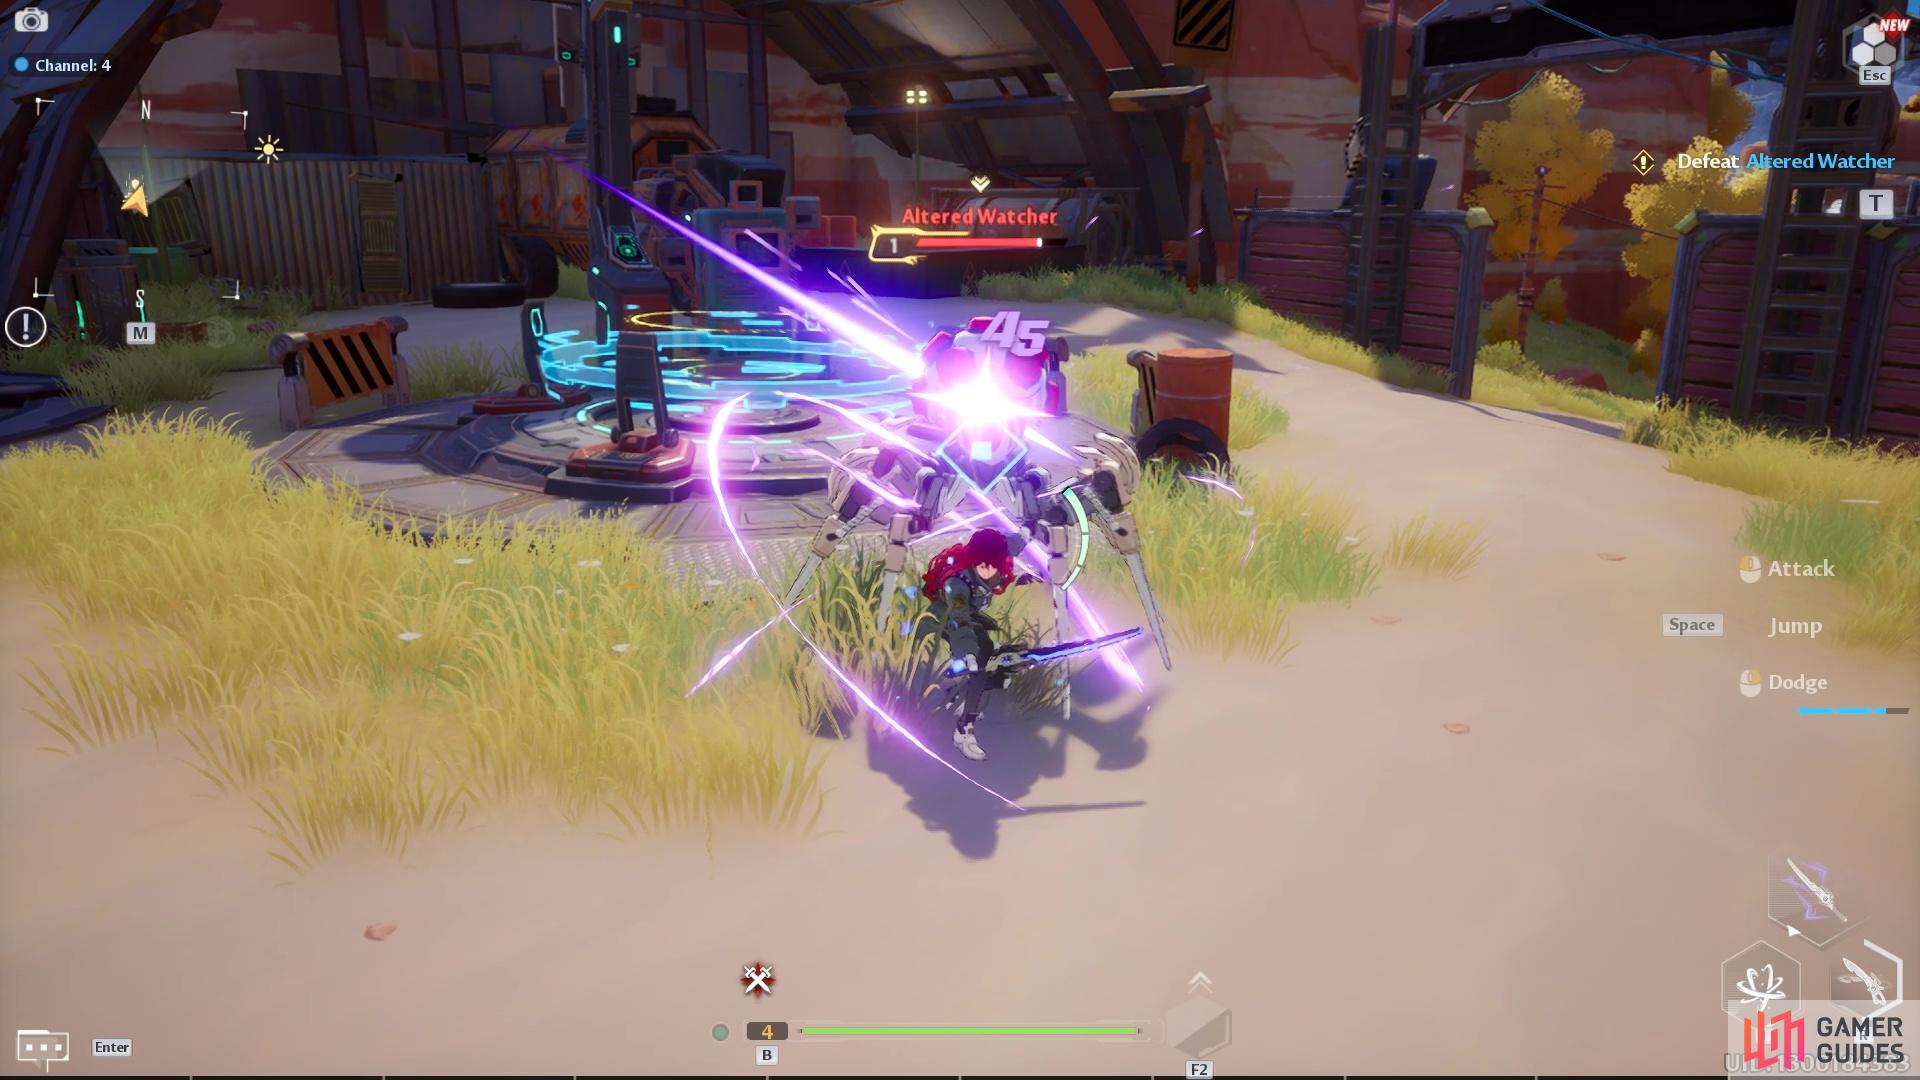
The Altered Watcher is the mini boss of this fight!
After fighting off the watcher enemies, head to the orb building near the spacerift to check up on Shirli. Understandably, she’s a little shaken up. She comes to the conclusion that the spacerift’s locating technology is all messed up and her and M-ia decide that you’ll need to talk to Franz about fixing the spacerift.
How to Find Franz
Afte concluding your conversation with M-ia and Shirli, follow Shirli to find Franz. Franz can be found across the river, investigating a boulder. In order to get across to the boulder, Shirli will show you how to jump on bouncy mushrooms to break your fall when getting down to lower levels. There are mushrooms all across the world and they can be used to help reduce fall damage when traversing cliffs. Continue across the river and speak to Franz. He’s trying to fix the Deconstructor so he can disable the boulder disguise and use the Simulacrum system.

Head over to the boulder to find Franz.
Franz will agree to fix the Spacerift in the meantime. After he leaves, speak to Shirli and she’ll decide she wants to fix the deconstructor whilst Franz is occupied. She believes the power source is fried so she sends you out to Astra Omnium Tower to get a backup power source from the Scrapper there.
How to Reach Astra Omnium Tower
In order to reach the tower, Shirli will give you her Jetback. You’ll then get a mini tutorial on how to equip and use the Jetback to navigate difficult terrain. Your first task with the jetback will be to fly up the cliff nearby and land on the mushroom by targeting it. From this cliff, equip the jetback and follow the river towards the marker. The tower is just to the left of the river, behind a cliff. When you approach it, you’ll get a little cutscene and then you can take the elevator up to the top to meet with the Scrapper.


(1 of 2) Use the jet pack to head over to the tower
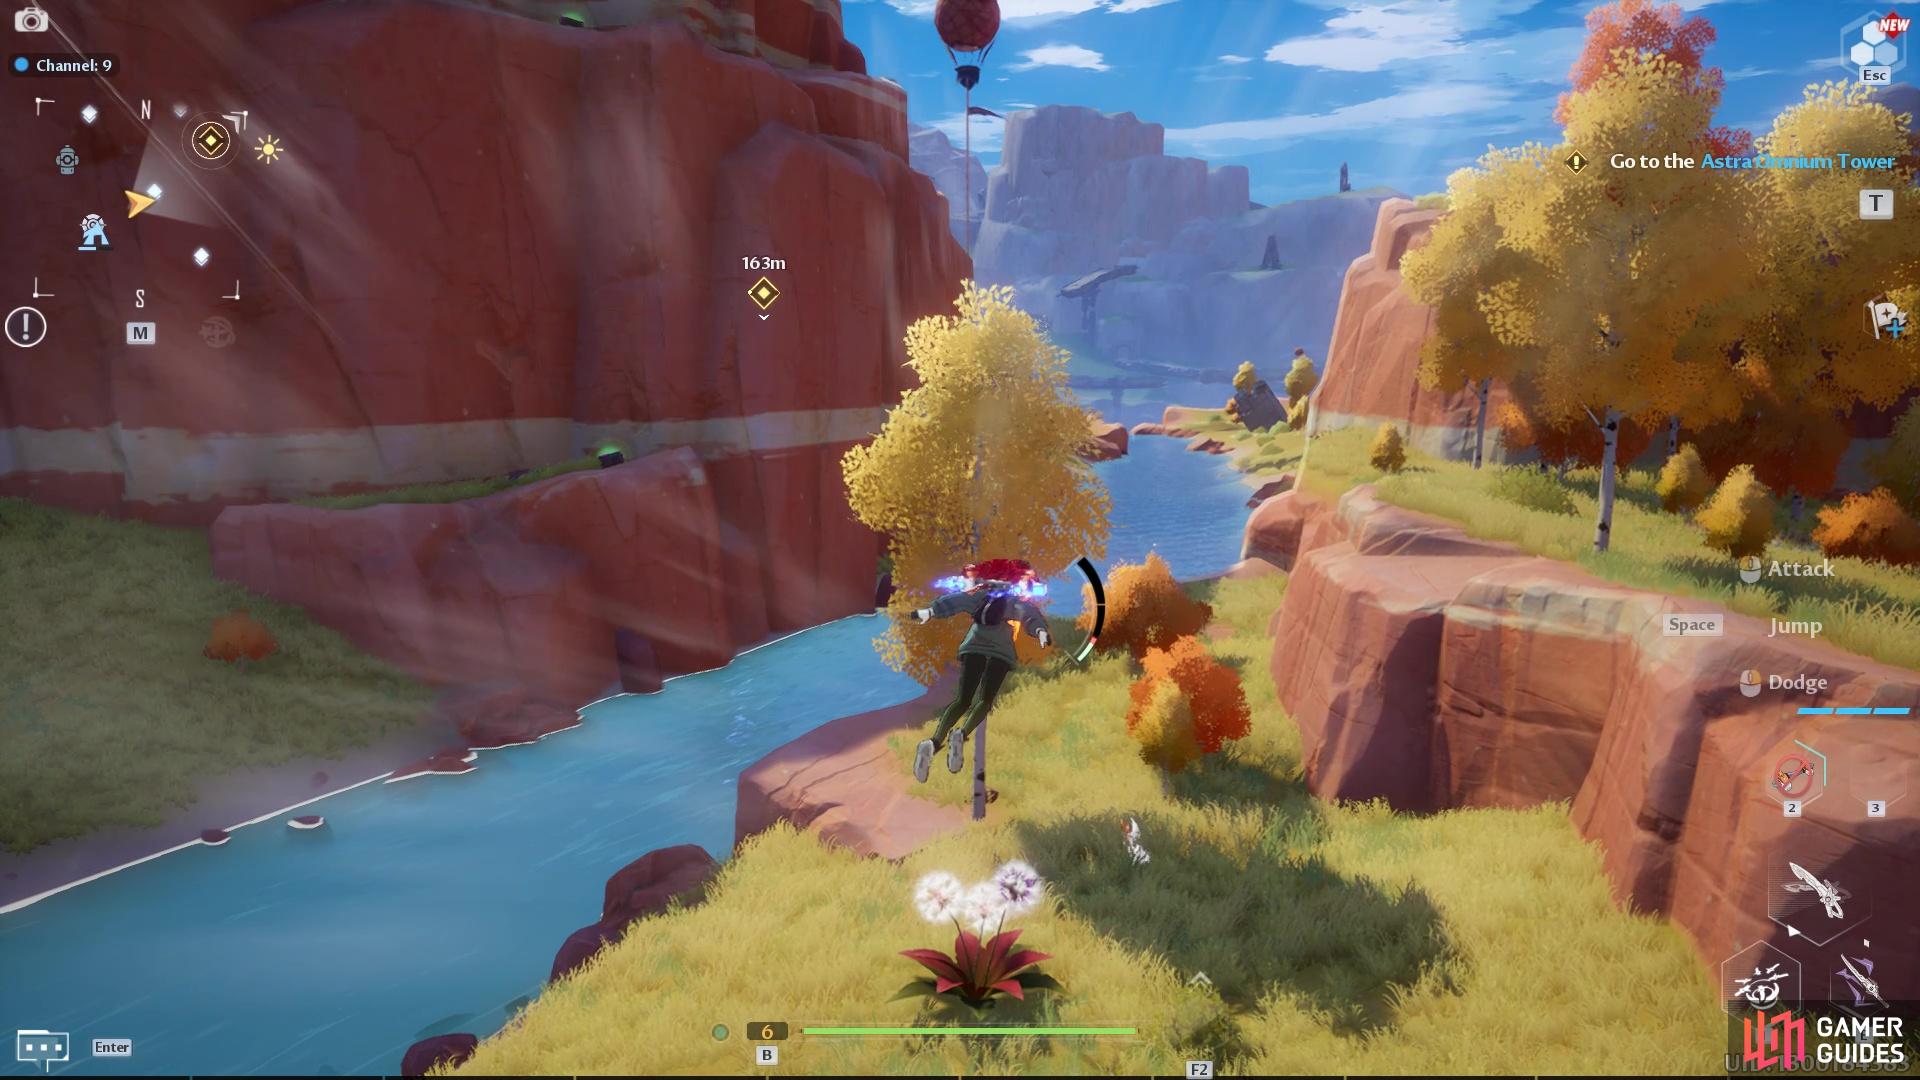

Use the jet pack to head over to the tower (left), its just down near the river! (right)
He is more than happy to give you the backup power source and he’ll also synchronize geographical data for you so you have access to a map of the Astra Island area - woo!
Help Scrapper - Clear Out the Astra Ecological Station
Before you head back to Astra Shelter, you’ll want to help Scrapper since he’s been so nice to you. The Astra Ecological Station has been taken over by hostile units, so you’ll want to head over there with Scrapper to deal with the intruders! You can use your Jetpack to drop down and get there quicker.
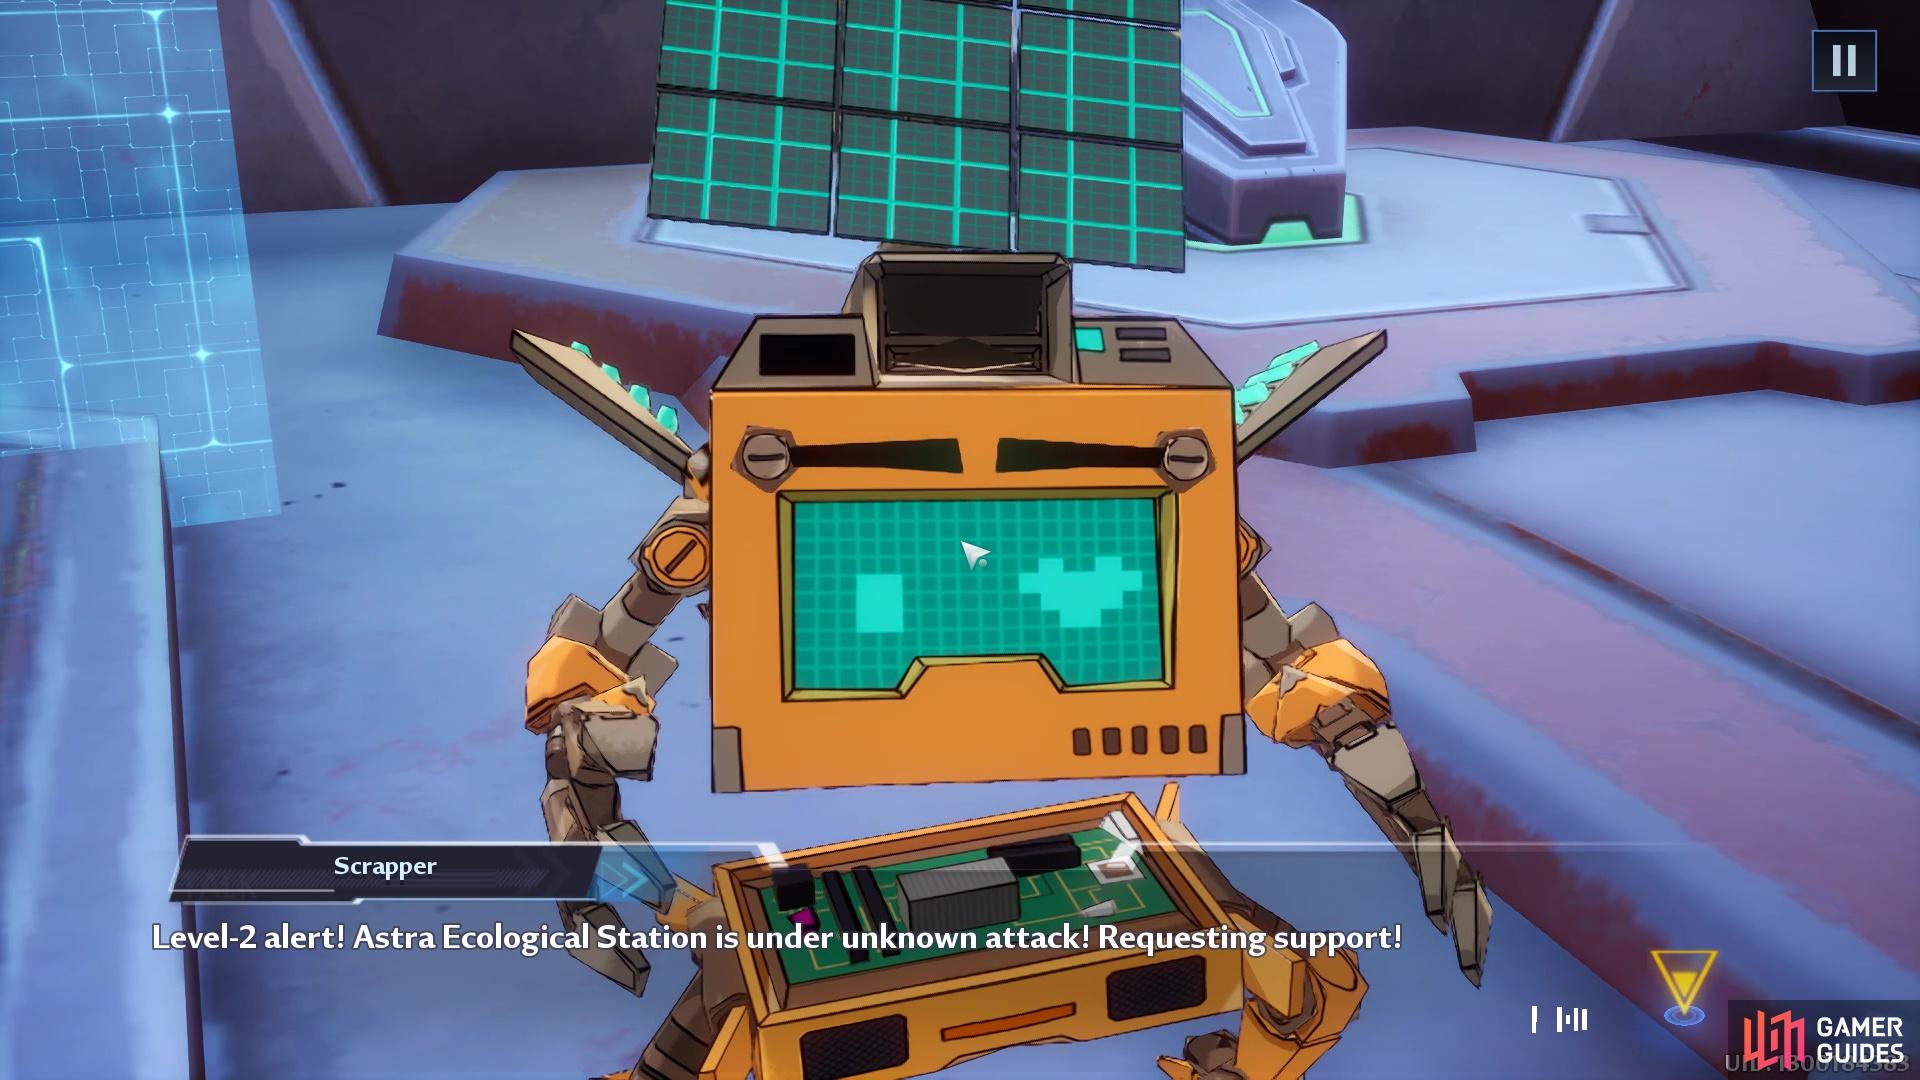
Scrapper needs your help!
When you arrive, you’ll need to defeat several Hyena thugs and a Steelspine enemy. The thugs are quite weak so you’ll want to focus on those first before turning your attention to the Steelspine. Don’t forget to implement your newly learned discharge attacks and make sure to dodge their attacks to avoid taking too much damage.

Defeat the Hyena enemies to take back the station.
After defeating all the intruders, speak to the Scrapper. He’ll set up a link to the Hykros Simulacrum Database which will unlock a new weapon database. You can then set up a special order in the menu and you’ll get a Thunderous Halberd which you can then equip. You can also equip a new fighting form which simulates a lady called Echo.

A shiny new halberd just for you!
Activate the Harvesters
Next, Scrapper asks that you head across and activate Harvester E-01, which is found just across the field from the station. The second harvester, Harvester E-02 is found near Barrenstown nearby. After activating that one, follow the path southeast to Harvester E-03. After activating all three harvesters, use the Spacerift to return to Astra Shelter by opening up your map.

Activate all three harvesters.
Fix the Deconstructor
You’ll need to follow the path back down to the Deconstructor across the river. You can use your jetpack to fly down or use the bouncy mushrooms. Speak to Shirli and tell her of your success in grabbing the backup power source. Whilst Shirli is fixing up the deconstrcutor, use the cooking pot to whip up a tasty meal. You’ll first need to head out into the river and grab a fish. Then, interact with the cooking pot to make a Crispy Grilled Fish. After making yourself a tasty snack, speak to Shirli for an update on the deconstructor.
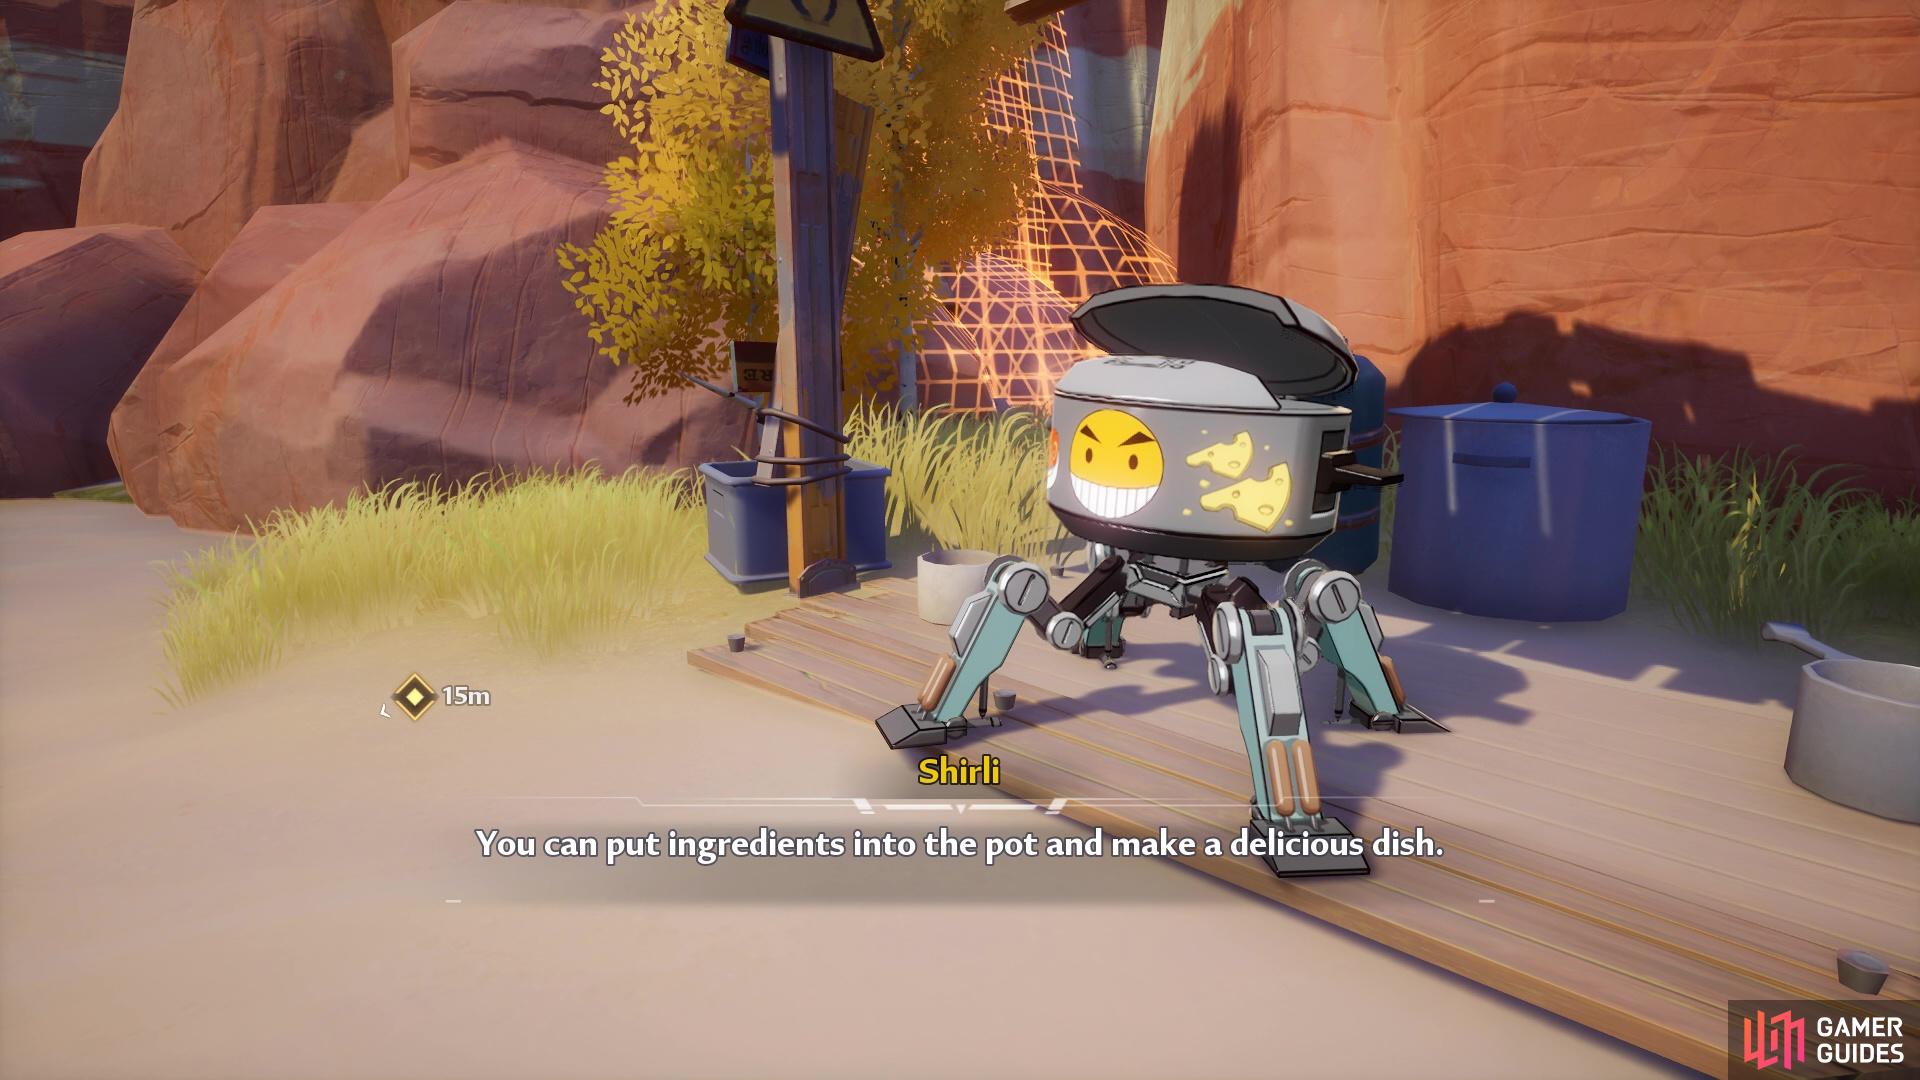
Grab some fish for the cooking pot.
She’s replaced the power source but it’s still not working. You’ll need to grab one of the Water cores nearby and throw it at the deconstructor so it acts as a prism.
This will fix the deconstructor and disables the boulder disguise! Unfortunately, before you can go inside, Zeke and Franz return and shout at Shirli for being dangerous. She’ll run away and before you go after her, you’ll want to apologise to Zeke.
Use the water core as a prism.
After a brief discussion, go up to the shelter to find Shirli. She can be found in the orb building near the spacerift. You’ll convince her to speak to Zeke, and once you’ve spoken to her you’ll need to follow her up to where Zeke is.
Defeat the Ravagers
Whilst Zeke and Shirli make up, Astra Shelter will be attacked by Ravagers. Your first task is to take out the 3 Ravager Raiders attacking you. There’s more than 3 around but you’ll need to focus on the 3 attacking you for now. They’re quite tanky but utilising your discharge attacks and elemental attacks will help you cut through them easily enough. After defeating the 3 of them, speak to Zeke and he’ll instruct you to go up and activate the Omnium Guards. They can be found just up the steps and once you’ve activated them, they’ll head out and battle the invaders alongside you.

First, defeat the three Ravager raiders around you.
Your next task wil be to head over to the bridge and defend against a new wave of Ravagers. You’ll learn how to use a bow, which you can use quickly to whittle down the enemies in front of you. You’ll want to shoot at the wings of the Ravagers to stop their flying.
After they’ve been dealt with you’ll need to continue further onto the bridge to use the defense turret. The defense turret is easy to use and you can use it to continually shoot down the Ravagers. It’ll help you make light work of the wave of raiders.
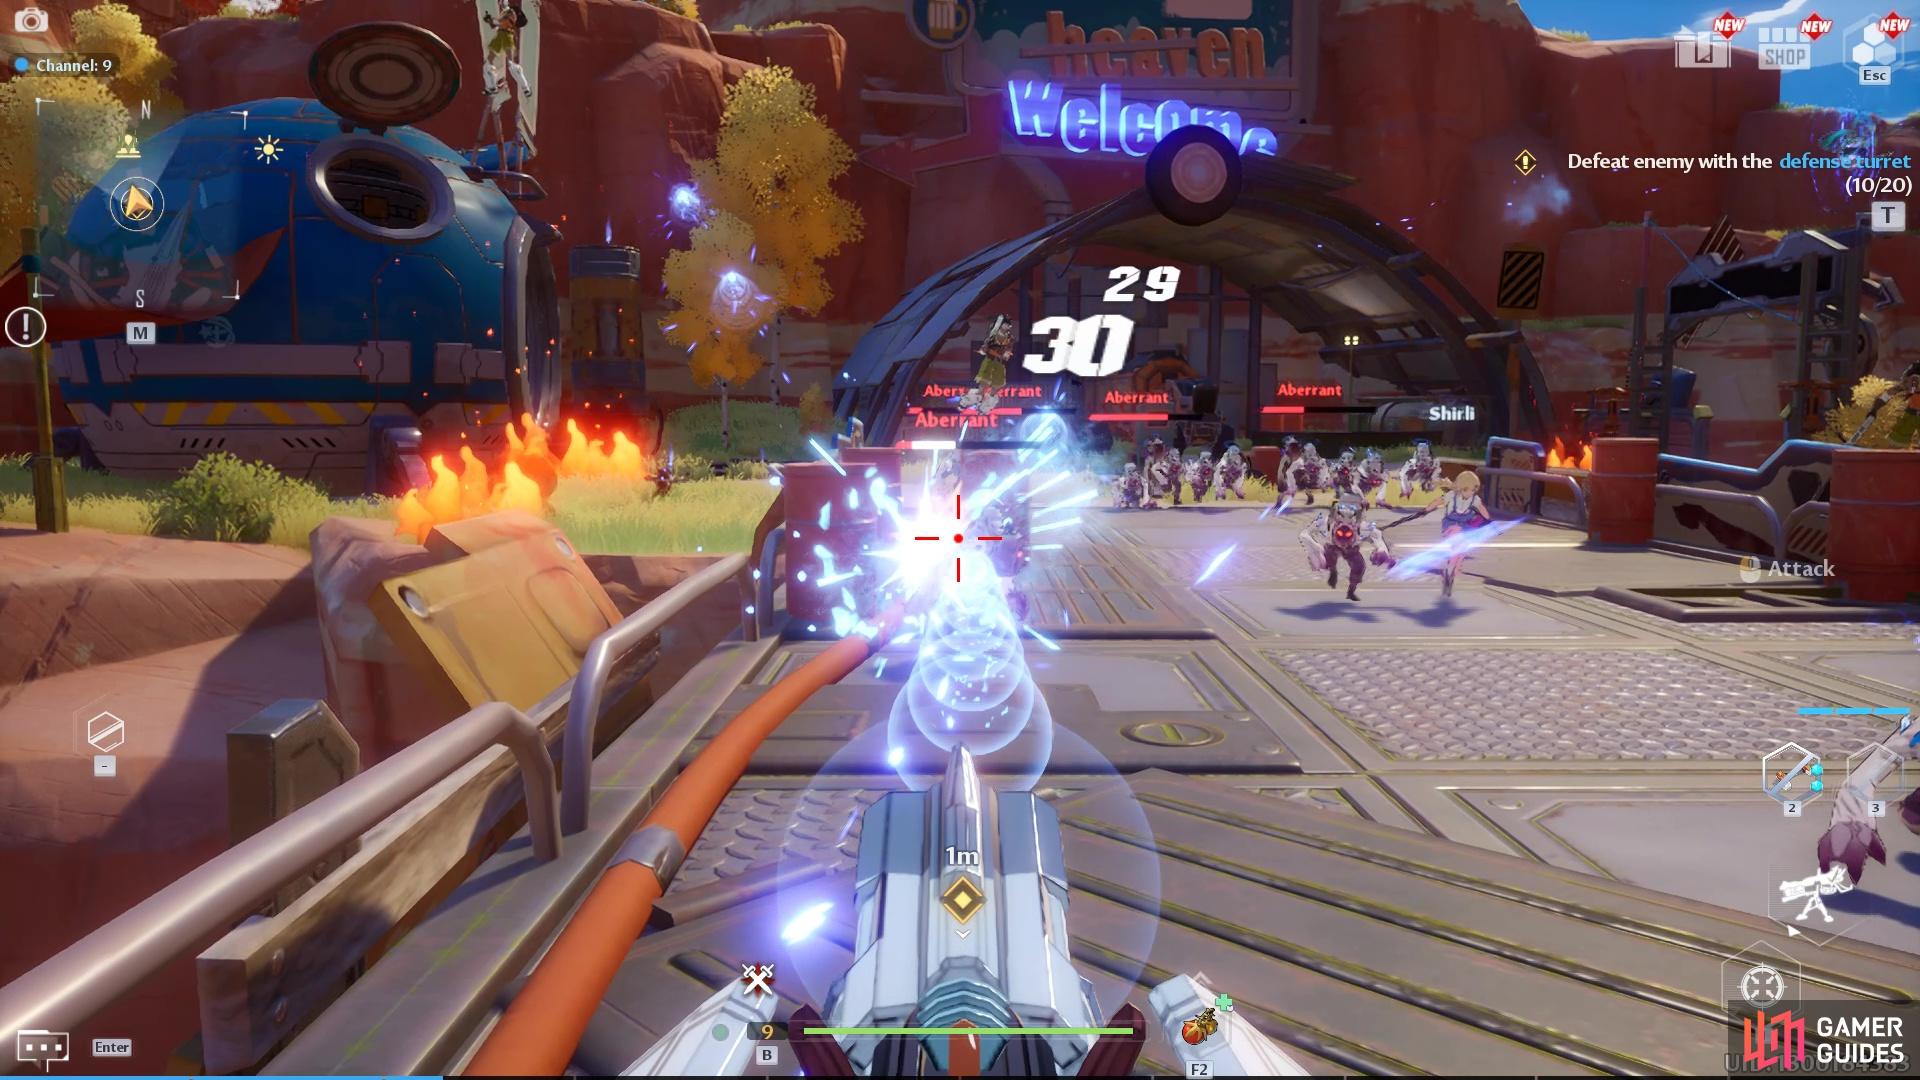
You’ll be able to continually shoot at the wave of ravagers using the turret!
Once you’ve defended the bridge, you’ll need to check up on Shirli, who’s been injured in the battle. You’ll need to then head to the flight path down the hill from the spacecraft. During your little surf session you can direct your board to hit the Ravager enemies.
Shoot the Battleship
When you’re at the flight path, you’ll be required to intercept the Battleship’s missiles by shooting at them. You’ll need to shoot several missiles as you approach the Battleship. Then, once the missiles have been taken care of you’ll need to shoot down the Battleship.

Shoot at the missiles and the ship.
After the Battleship falls, you’ll be required to land and investigate the battleship wreckage. As you approach, a Ravager enemy emerges from the wreckage, injecting himself with a green liquid. It turns him into a horrifying enemy and this will commence your first boss fight against Commander Habaka!
How to Defeat Commander Habaka
During this battle, you’ll learn how to trigger Phantasia. To do so, you’ll need to dodge right before an incoming attack to trigger Phantasia. This will then fully recharge the weapon’s omnium, allowing you to then switch weapons to activate a discharge attack.

Phantasia is triggered when you dodge.
Commander Habaka is a Level 7 enemy and has a reasonably hefty health bar. He has three health bars so when you whittle it down, the first time, you’ll need to continue to fight him until you deplete the bar two more times. Luckily due to his big size, anticipating his attacks is pretty easy and therefore, dodging them and triggering phantasia shouldn’t be too difficult.
He often tries to punch or kick you and these attacks are easy to anticipate and dodge because he’s quite slow. One attack that may catch you out initially is when he disappears into the air and slams down onto you. Right before he lands a glowing red circle will appear and you’ll have a split second to dodge out of the way before he lands. The attack won’t one shot you or anything so if you are caught in it, don’t panic!
After whittling his health down to the end of the first bar, he’ll walk over to the wreckage and equip a large hammer. When he’s using this, he’ll wield it and slam it chaotically for a few seconds. If you’re not quick to dodge you’ll probably get caught in at least a couple of the hammer slams. But again, his attacks aren’t too brutal so you shouldn’t lose all that much health. After a few seconds, he gets rid of the hammer and goes back to spin kicks, punches and slashing attacks.

Watch out for when he brings out the hammer!
If you’d prefer to keep your distance to minimise getting caught in his attacks, consider using the bow a lot during this fight. It does a fair bit of damage and the shots are quick too.
When he’s on his final health bar he’ll start phasing in and out and leaving behind phantom versions of himself. His attacks become a lot quicker when he’s doing this so you may want to be careful using the bow as he can reduce the distance between you and him quite quickly. Using your melee weapon may be preferable in this phase.
After defeating him, this will conclude the first portion of the first chapter!
No Comments