Take the PT Boat up the River to the Monastery
When you’re ready to continue, head to the boat on the beach. [100 XP]
Enter the Monastery
Turn around and create a rope bridge to the rocky wall and then follow the linear path to find Mathius, Sam, and Whitman. After the scene, which is rather satisfying if you dislike Whitman, head to the post to the right of the bridge and shoot an arrow into the rocky wall. From here you can climb up to enter the monastery. [100 XP]

Create a rope bridge to the opposite wall and catch up with Mathius.
Search the Monastery for Sam
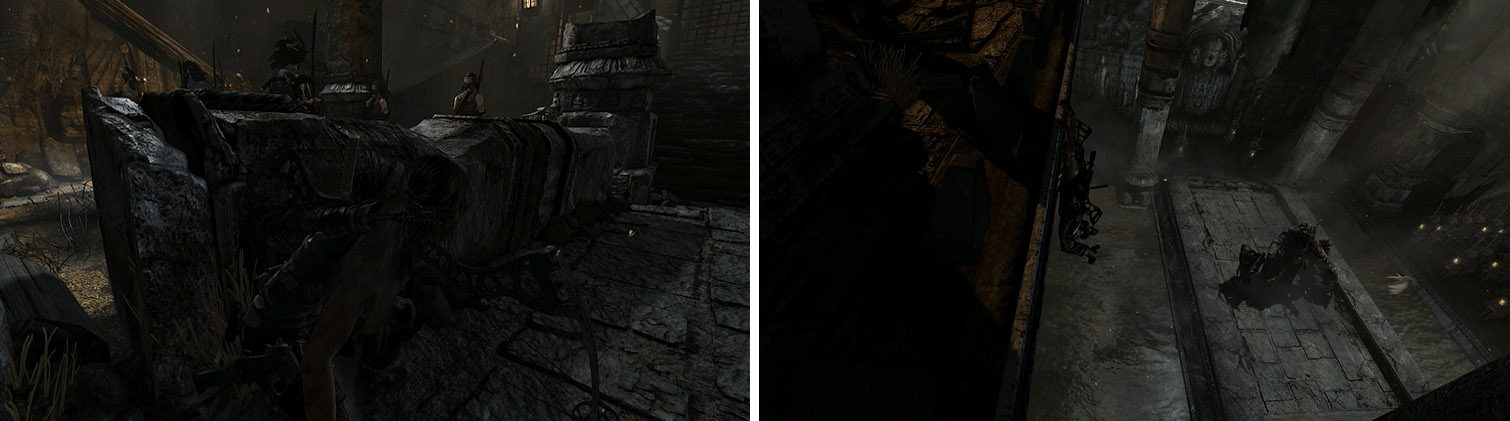
Follow the hall and wait for the Stormguard to leave before you shoot a fire arrow into the debris across the way and then follow the tunnel. On the other side, stay low and close to the wall to avoid being spotted by the marching guard and make your way up the stairs.
Collect the Food Cache before you cross the beam to the other side of the stairs and jump up to the ledge on the right. Shimmy along the ledge, watching the scene above and below, and then jump to the gap for a scene.
Hold the L Analog toward the camera to run as the Stormguard fires on Lara until she falls down a shaft and escapes. [100 XP]
Sneak through the shrine, avoiding detection from the Stormguard.
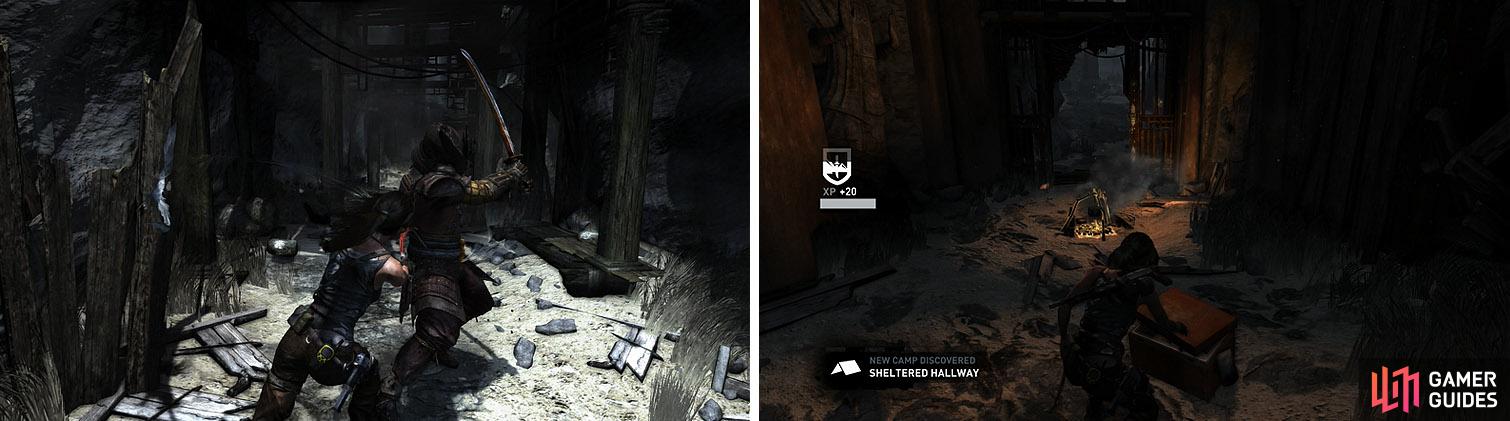
The crate of ammo is a good indication that you should equip a weapon, so move forward to trigger the appearance of three Stormguard members. Dispatch them quickly and continue forward to a camp with a Food Cache nearby and then make sure to sit down to hear Lara’s Journals: The Monastery .
You can now continue down the tunnel for another Food Cache before prying open the doors to spot Sam. [100 XP]
Dispatch the Stormguard and continue to a Food Cache near a camp.
Rescue Sam From Mathias
Follow the path until your get a small scene in which the whole Stormguard seems to converge on Lara. Luckily, the whole area is full of explosive barrels that can be used to kill any Stormguard that is silly enough to stand next to one and the environment offers plenty of cover.
Focus on standing next to the corners of building, allowing you to take out the aggressive ground units while avoiding fire from the archers. Keep moving toward the monastery, using the Dodge Counter to easily take out the heavily armored units, until the wind reveals a roped barricade.
Pull the barricade down and continue for a scene and then enter the shrine.
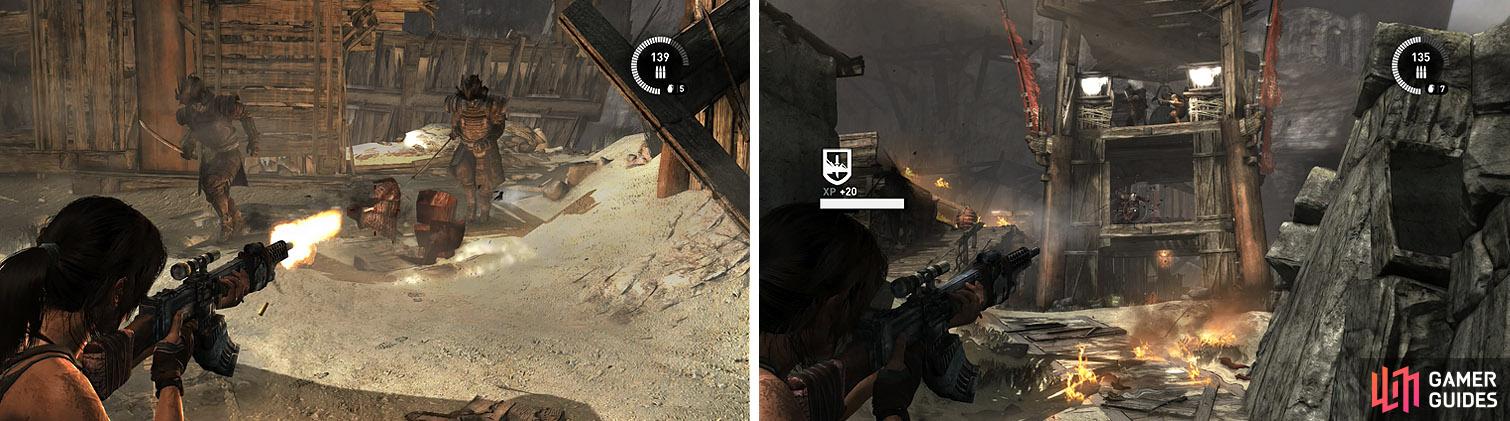
Use the explosive barrels for the ground units and then finish off the archers.
At the Sacred Hall Base Camp you can finish off any weapon or skill upgrades needed to complete them and earn the attached trophy/achievements.


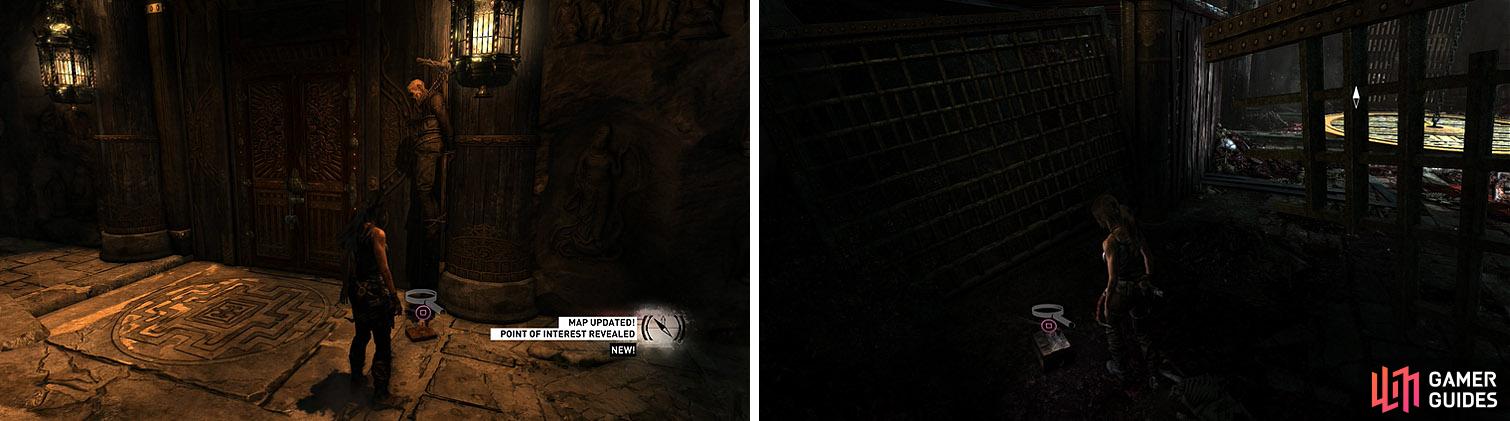
Collect the Kansu Bural Urn relic from the nearby table and the Wartime Intelligence - Soldier: Last Stand document near the large doors. You can now shoot the Salvage hanging from the ceiling before prying open the doors to a large puzzle room.
Drop to the floor and check beneath the walkway to find a Ban Chiang Vase and then face the center of the room. There is a lever on each side of the room, one of which opens a grate in the floor while the other raises a cage. Use the lever on the right side of the room to open the grate and then cross the room and raise the cage.
There are plenty of collectibles near the campsite and a few in the puzzle room.
Grab the Endurance Officers - Whitman: Crossing the Line document near the second lever and then turn around and use the ramp to reach the upper level. Follow the walkway to the end to collect the Chasm Shrine Treasure Map and a metal crate of Salvage and then return to the center of the platform and face the cage.
Rope arrow the cage to break through the opposite wall and then drop down to the main level again. You’ll need to close the grate and then drop the cage, which will land on the grate instead of disappearing down the hole, before returning to the upper level. You can now pull the cage once more and use it to reach the cracked wall to continue.
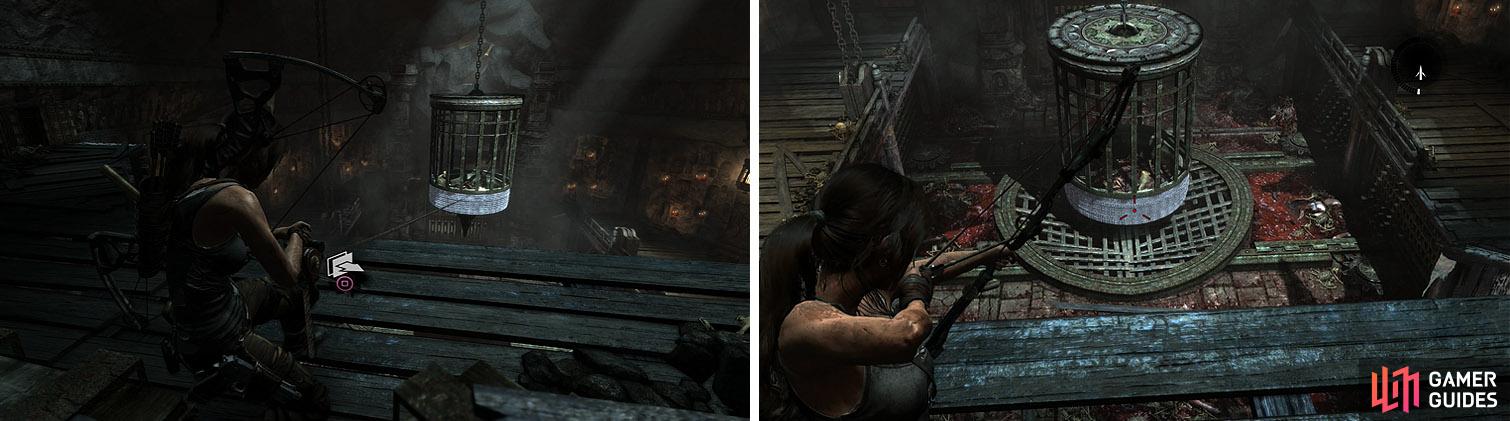
Rope arrow the cage when it is raised, to break through the wall (left), and then drop it and pull it again to jump on top and cross the room (right).
After the scene in the room of the Sun Queens, head to the room on the right for the Ancient Scrolls - Hoshi: An End document and then follow the path to find Salvage x2 . At the end, collect the Satsuma Vase near the Sacred Passage Base Camp and then finish up any areas.
No Comments