Find a Way Down to the Beach
Hop onto the zipline to reach the tower in Shantytown, where Grim was lost, and then cross another zipline to the gondolas. Wait for one of the gondola to pass by and hop on for a scene. [100 XP]
Travel to the Survivors Camp
When the gondola stops, shoot a rope arrow into the nearby tower and circle it to find a ladder. Climb up and then zipline to the suspended shipwreck. A major fight commences, with Solarii ziplining in from the right and left, so if you haven’t gained the trophy/achievement for shooting men off zipline then this is a great place for it.
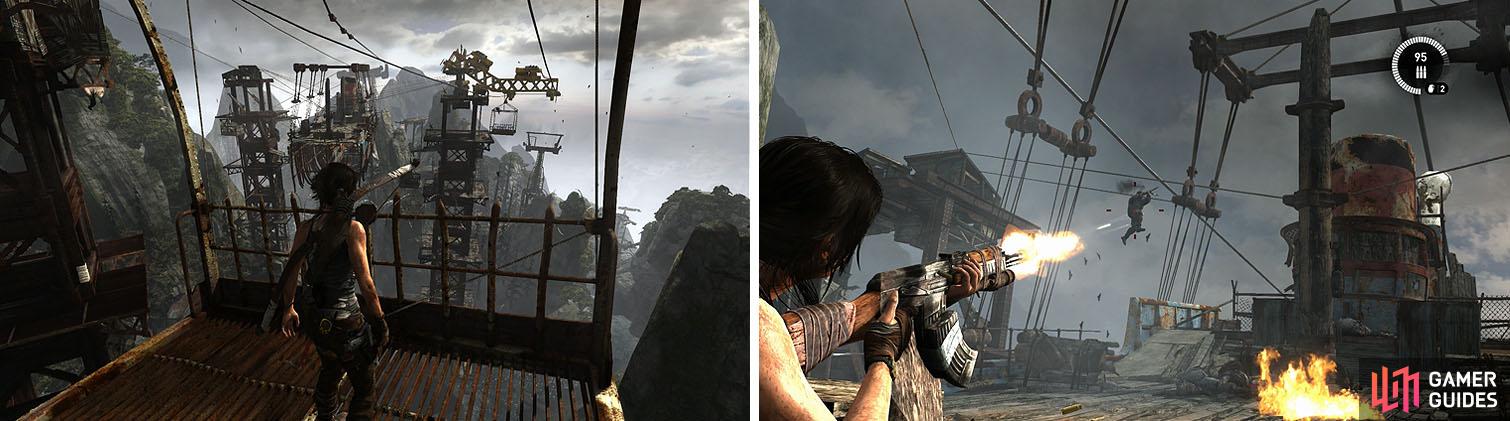
Take the gondola and then head for the suspended ship to start a major fight.
As the fight goes on you’ll likely want to loot the bodies, since you won’t have a chance to at the end of the fight, and blow through the remaining enemies with the Grenade Launcher. After a short scene, climb the yellow rungs to the other side of the ship and leap across the gap for another scene.
Lara finds herself sliding down rope into a dead end, but luckily there is another rope beneath her. Drop from one zipline to another with O/B twice and then shoot through the barricade. Drop from a zipline onto another again and then drop into the water, blasting through the barricade to reach the beach.
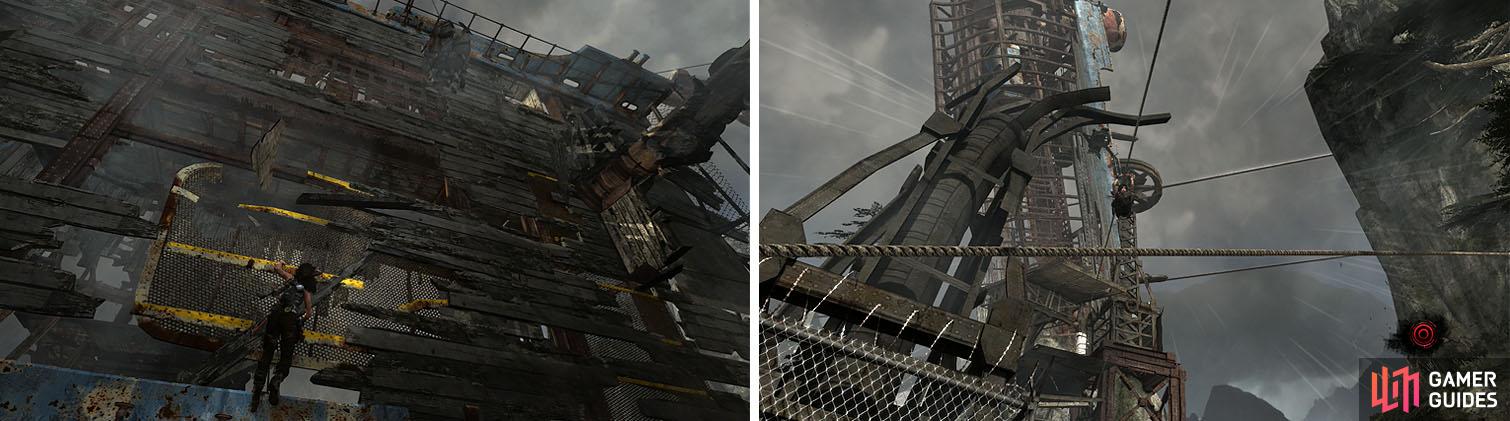
As the turret shoots the pulleys, causing the ship to turn, climb the side of the ship (left) until Lara escapes onto the ziplines (right).
Squeeze through the crack and follow the path to a broken section of the bridge and then hop across and check the rocks to the left for a GPS Cache 1 . Cross to the other side of the walkway to crack open some Salvage and then follow the sandy path down.
When the path branches off downhill or back uphill, take the right path to some Salvage and then hop into the water. On the north side of the column is a rocky wall, but in order to reach it you’ll need to move the buoy next to the column and then jump on top to climb up.
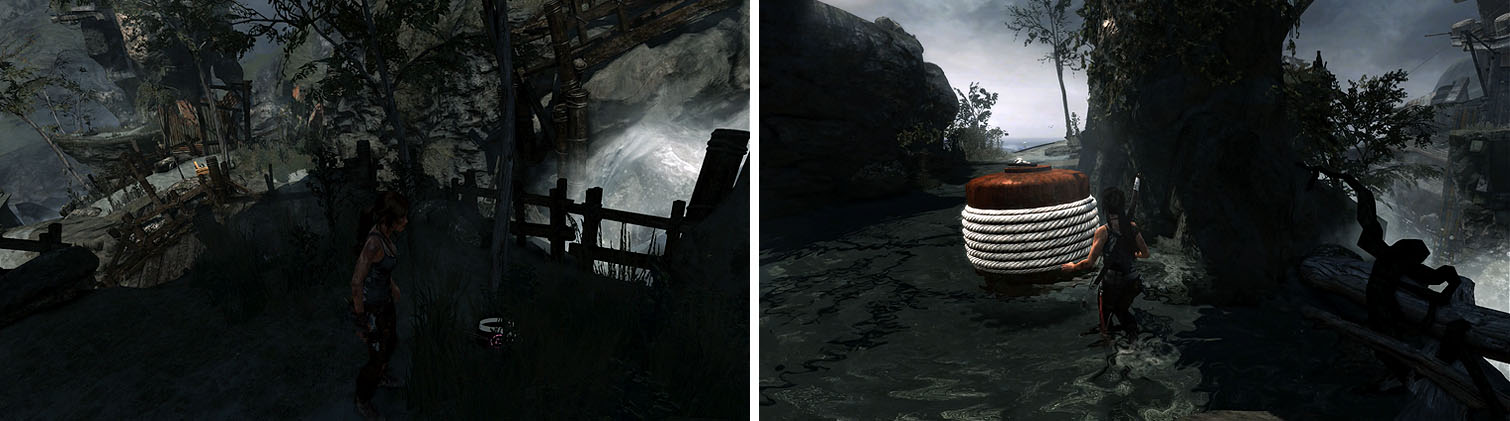
Look for the GPS Cache on one side of the road (left) and then drop into the water and move the buoy into place (right).
Dismantle the Cairn (1/5) to begin the Challenge: Cairn Raider and then return to where the road branches.
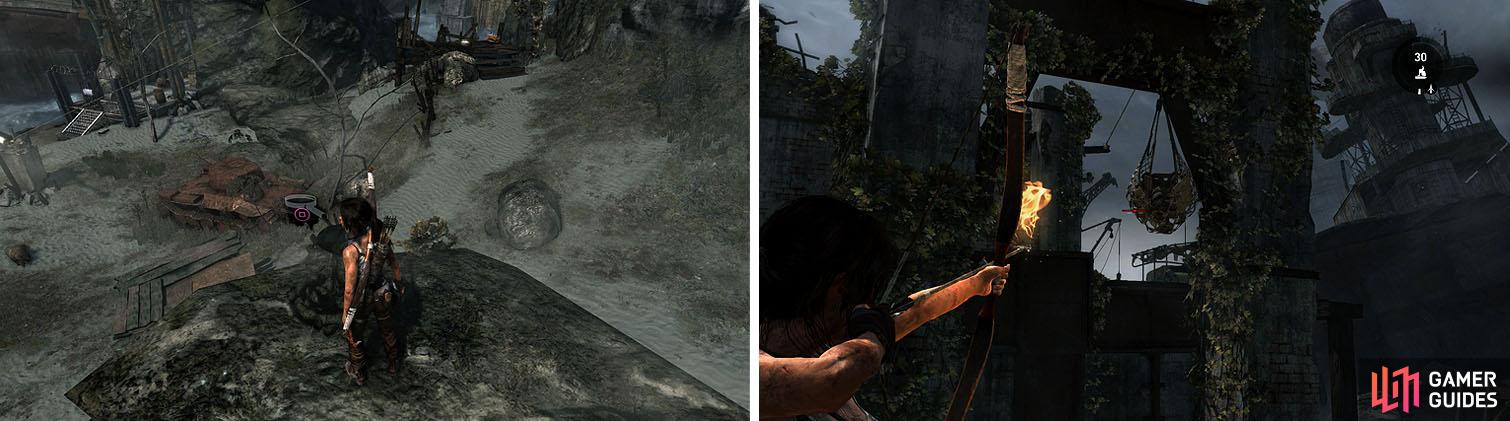
Take the left (east) rock path that circles a rock formation to collect a Food Cache and another Cairn (2/5) and then drop to the ground for some Salvage . Shoot the Mine (1/10) to the east to start the Challenge: Mine Sweeper and then walk over and collect the GPS Cache 2 where it was.
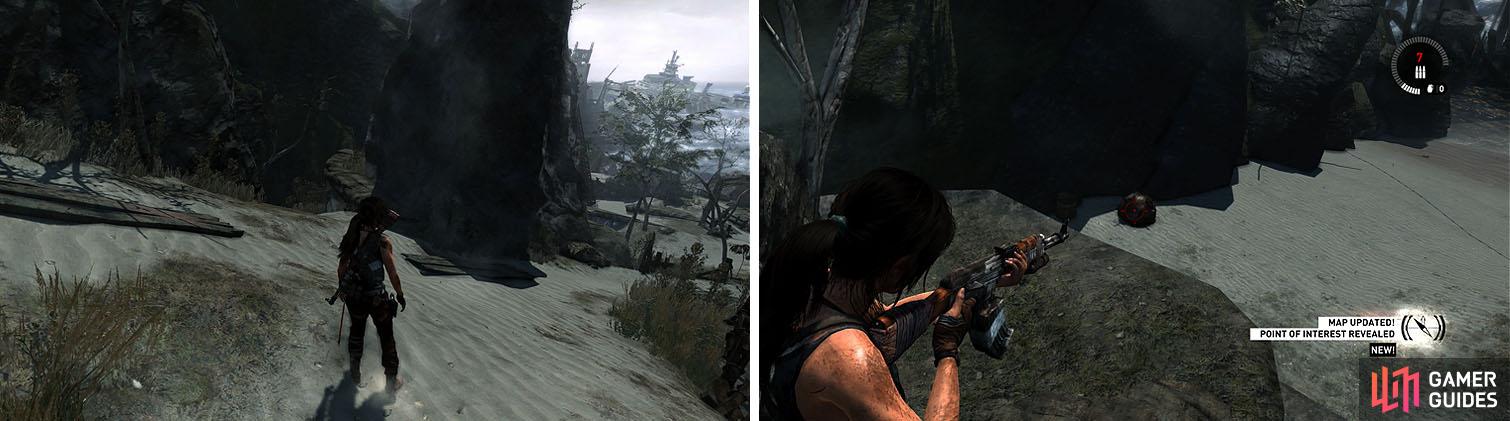
At the split, take the walkway around a rock formation to reach a Cairn (left) and then turn around to spot a Mine (right).
Head northwest toward the main path, passing a hidden tomb that you can’t access at the moment, and then head back up the path a few feet to an overturned truck. Check the front of the truck for some Salvage and then dismantle the Cairn (3/5) on the rocks.
Head toward the water to the northwest for some Salvage and then pass the rusted tank, heading toward the objective, to find a net of Salvage hanging from a cement arch near the water. You can now climb up to the building to the south for some Salvage before stopping at the Survivors’ Base Camp .
Dismantle the Cairn to the north of the camp and collect the salvage nearby.
Enter the nearby building for the Endurance Officers - Reyes: About Lara and then scramble to the top of the building for the GPS Cache 3 near the crumbled wall. Drop down between the two buildings and pry open the door to the other building to find the Endurance Crew - Jonah: Recognizing the Truth document inside.
Drop onto the beach to the south and check near the anchor for the GPS Cache 4 and then turn around to spot a Mine (2/10) in the water. You can now move the boat with the rope arrow so that it sits between the rocks and the blue container, allowing you to jump on top to collect a Food Cache .
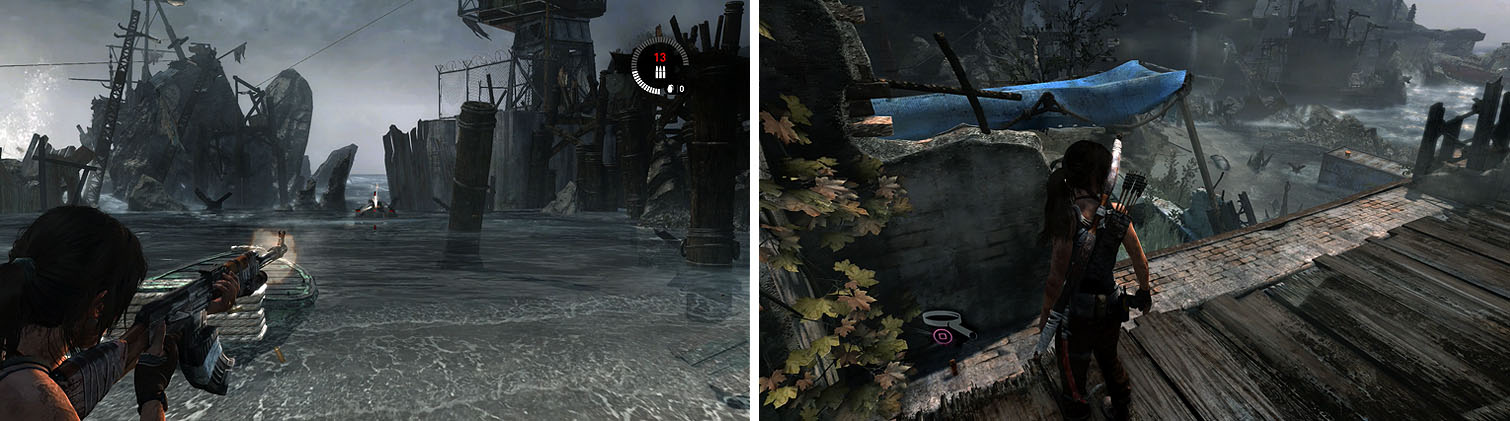
Check the roof of the building near the campfire for a GPS Cache (left). To the south, shoot the Mine in the ocean (right).
Continue down the coast to shoot another Mine (3/10) and then enter the crumbled building to the north for some Salvage . You can now check under the pier behind you for the GPS Cache 5 before returning to the camp, where you can approach the boat for a scene. [400 XP]
No Comments