Reach the Gate Under the Bridge
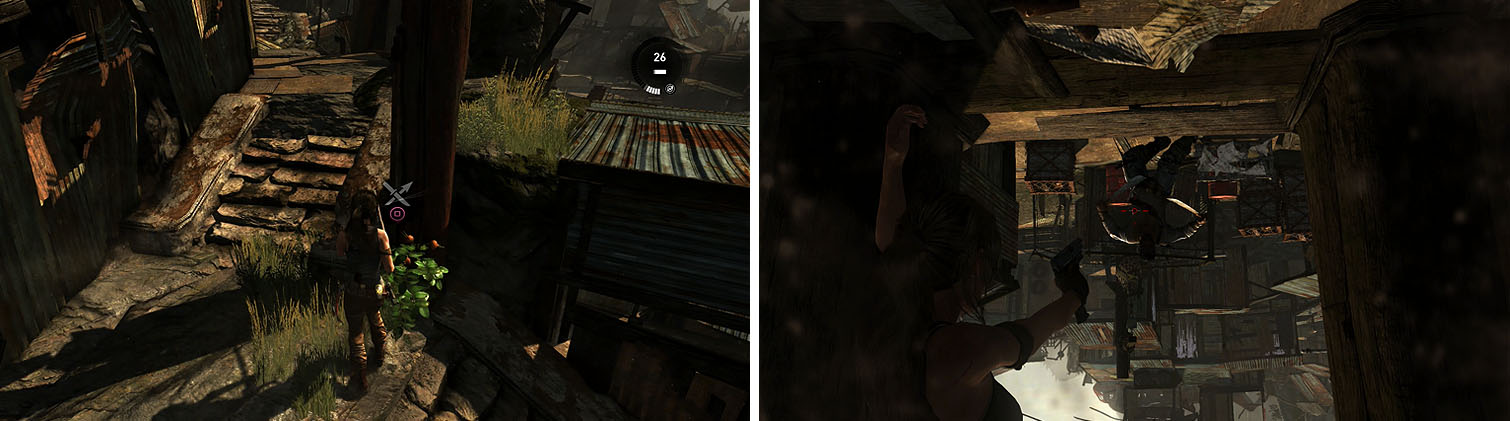
Lara finds herself ambushed, but her newly acquired fire arrows she can shoot the sewage below to deal with the three Solarii below. Focus your fire on the cloth covered barricades to prevent the enemies from taking cover and then kill the Solarii in the tower across the way.
You’ll want to move up the steps to the right after the initial wave and watch the stairs to the right, since many of the Solarii will start to approach from here. Use the explosive barrels to take out many of the Solarii and finish off the remainder to clear out the area.
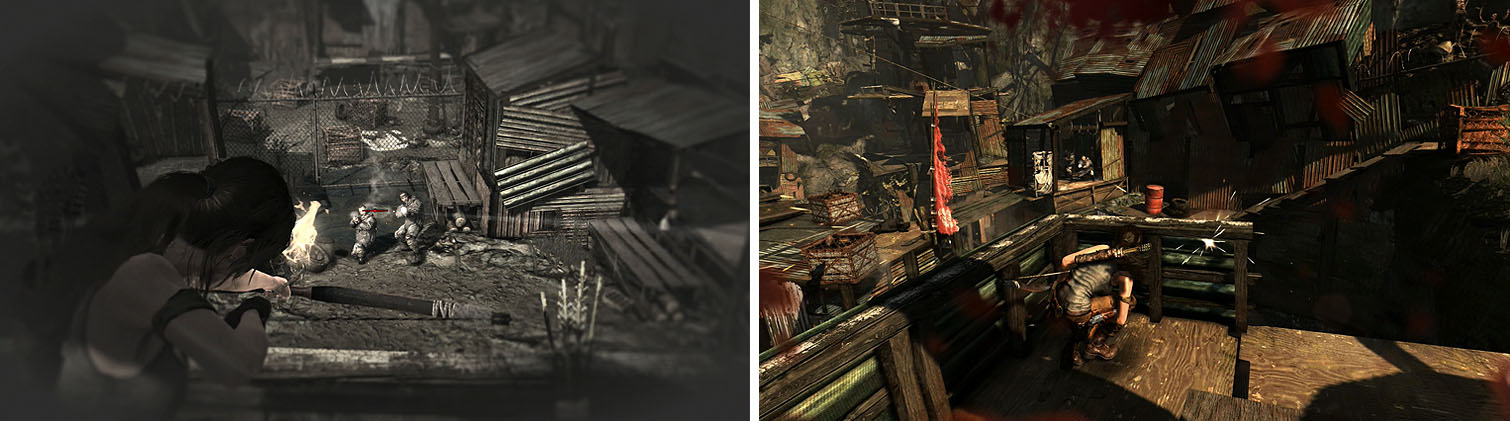
Use the fire arrows on the sewage at the start of the fight (left). After the initial attack, keep an eye on the right to avoid being blindsided (right).
The Shantytown is extremely expansive and complicated, with multiple levels and collectibles. Make sure to follow the instruction carefully, so you won’t get lost.
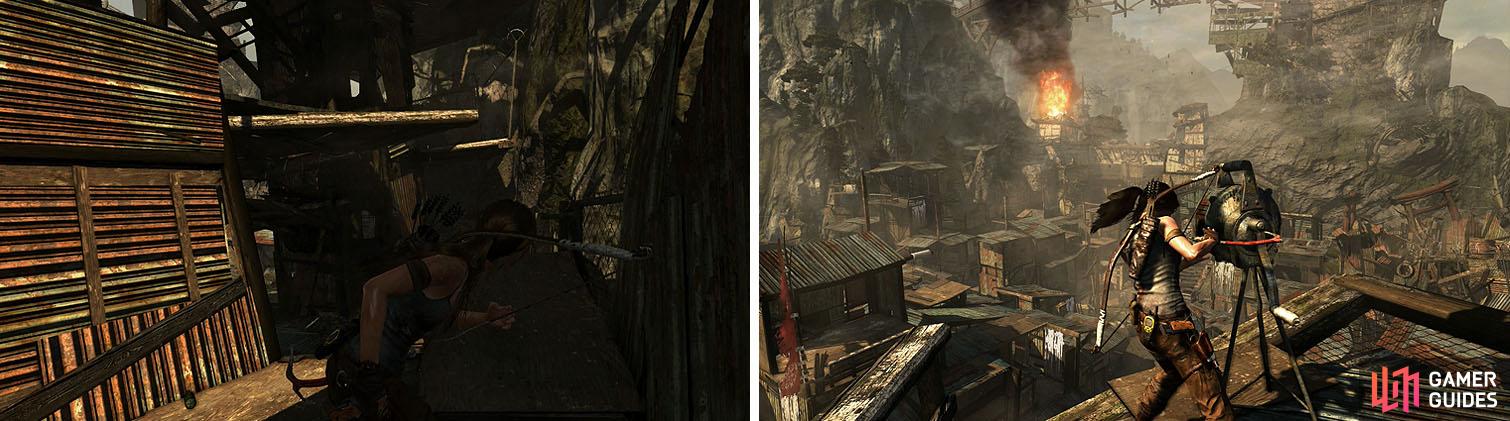
Stop at the Helicopter Hill Base Camp to use any skill points or upgrade your weapons and then check the fencing behind the camp to spot a cloth covered statue. Aim a fire arrow on the upper portion of the cloth, since the arrow will travel through the cloth without burning it on the lower portion, and once the cloth is gone you can rope arrow the Effigy (1/5) to pull it down and begin the Challenge: Laid to Rest .

Use your skill points and salvage and then check the fence for an Effigy.
Head south, down the first set of stairs, and cross the walkway to the left and then turn around to spot another Effigy (2/5) beneath the helicopter area. Backtrack across the wooden platform and turn left to reach a tower with a net of Salvage and then circle around the tower to find the GPS Cache 1 .
Backtrack north to a ramp that can be used to reach the second floor of the tower and search the back side for some Salvage . Hop to the opposite building and climb up to the roof to reach the third floor and disable the Alarm (1/4) to start the Challenge: Silencer .
Use the ramp to reach the upper floors of the tower to start another challenge.
Make your way back to the camp and head down the first set of stairs to the south and cross the walkway again. Look toward the tower you just climbed to spot another Effigy (3/5) and then scramble up the wall to reach the top of the tower in the center of this area for a Food Cache . Return to the stairs and take them all the way down.
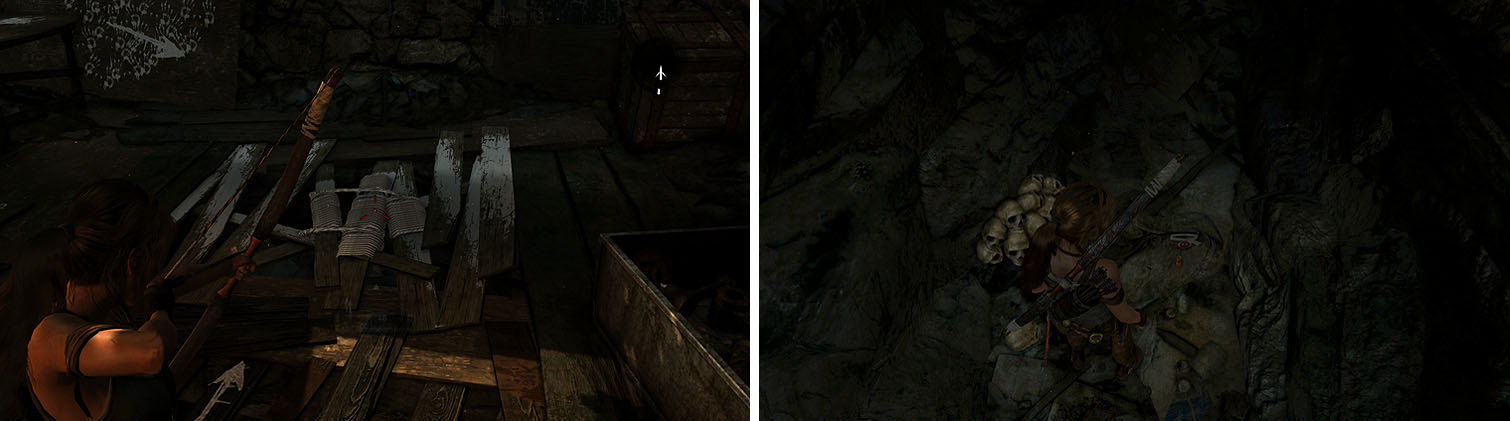
Check the building beneath the stairs to find a room with some Salvage and then head south to a barricade and blast it open to find a Decorative Inro . Shoot through the next barricade, followed by two more barricades to the south, and then check the table for the Endurance Crew - Grim: The Good Old Days document.
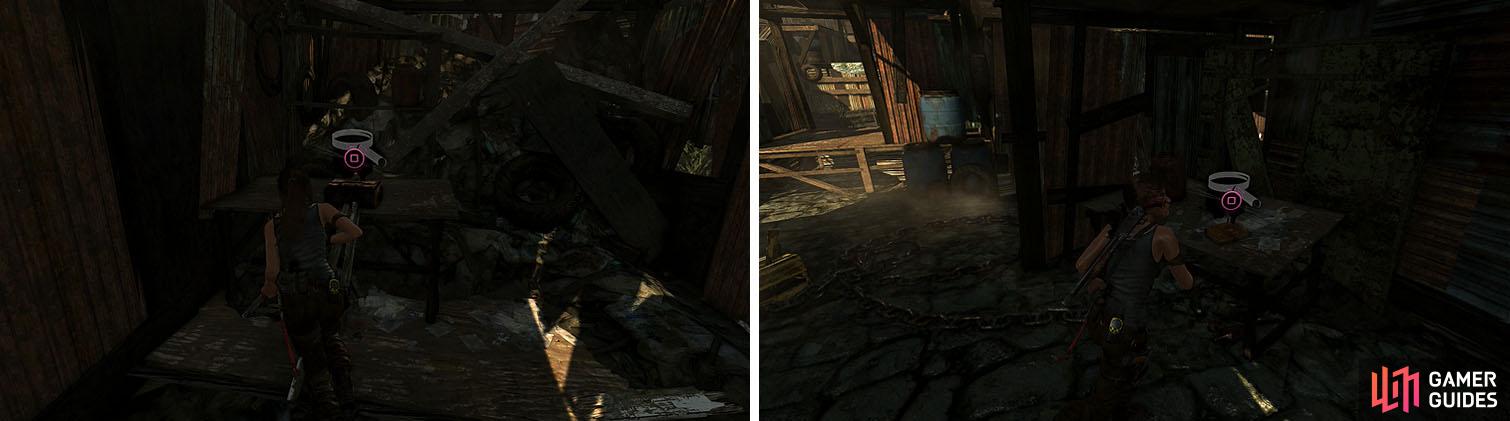
Blast through the barricades to find an Inro and a document from Grim.
Open the Salvage and use the blue cloth covered crate on the left to reach the upper floor and open the Food Cache straight ahead. Enter the second floor of the building to read the Confessions of a Solarii: Toil and Distraction document and then open the nearby Salvage .
Drop back down and head south to find another barricade, blocking the GPS Cache 2 , and then blast through another barricade. Head toward the building with a painting of a white mountain to the right and blast through the barricade behind it for some Salvage .
Don’t miss the GPS Cache on the floor between two barricades (left). The building with the painting had two barricades, each with items (right).
Follow the side of the building and turn the corner to find another barricade that you can blast through to find the Jade Horse and then scramble up the building across from the white mountain painting. Turn around and scramble up the planks to find a Food Cache and exit the other side, turning right to spot a Plant near the pillar of the arch.
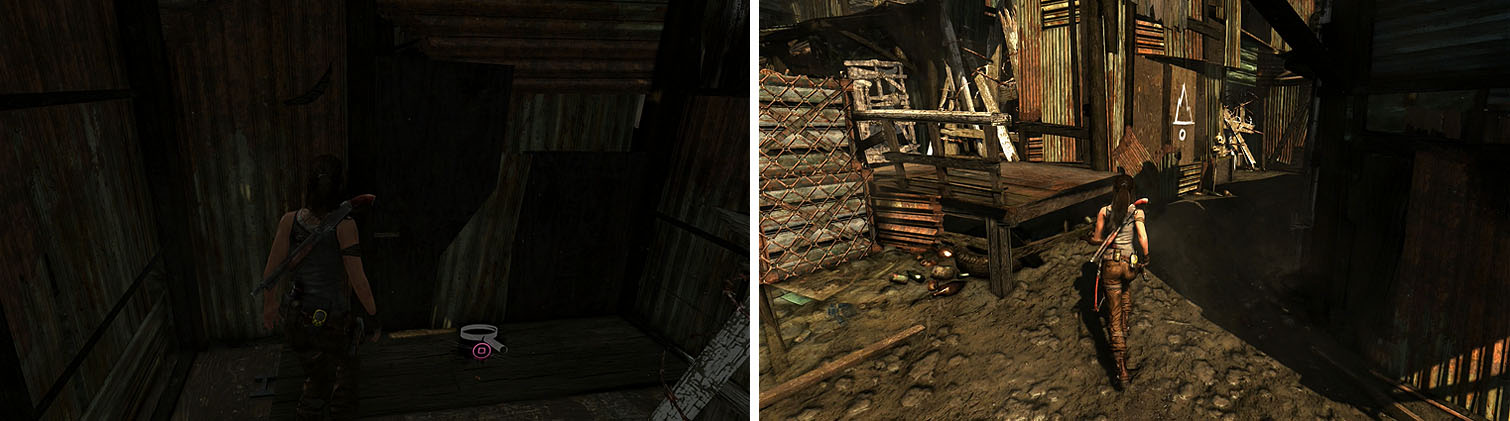
Head down the first set of stairs and enter the first building on the right to find some Salvage and then head all the way down to the area with explosive barrels. There is a snare trap at the entrance to the chapel building that will trigger some enemies, so trigger it and shoot the barrels to defeat the enemies.
Don’t miss the Plant near the arch and then enter the chapel to trigger a snare.
Once you’ve released yourself from the pulley you can loot the Solarii and collect the Salvage in the metal fence, which was dropped from a net when the barrels exploded, and then head inside the building again and collect the Salvage crate and large Salvage box.
Use a rope arrow on the floor to find a hidden path and drop down to find the GPS Cache 3 . You can then follow this cave to enter the hidden tomb.
Rope arrow the floor to reveal a hidden path with a GPS Cache on the ground.
- Well of Tears -
Follow the linear path down the well while collecting the Salvage x2 on the ground and then shoot the Salvage x2 in nets over the next two ledge with fire arrows.
When you enter the tomb you’ll notice a cage above and some yellow cans. You’ll need to toss three cans on the cage to lower it to the ground and then stand on the cage and toss one can off. Once you step off the cage it will begin to raise, so rush up to the camp and jump on the cage before quickly jumping off to the ledge on the left. This will lead to the treasure for 1250 XP , 250 Salvage , and the Shantytown Relic Map .
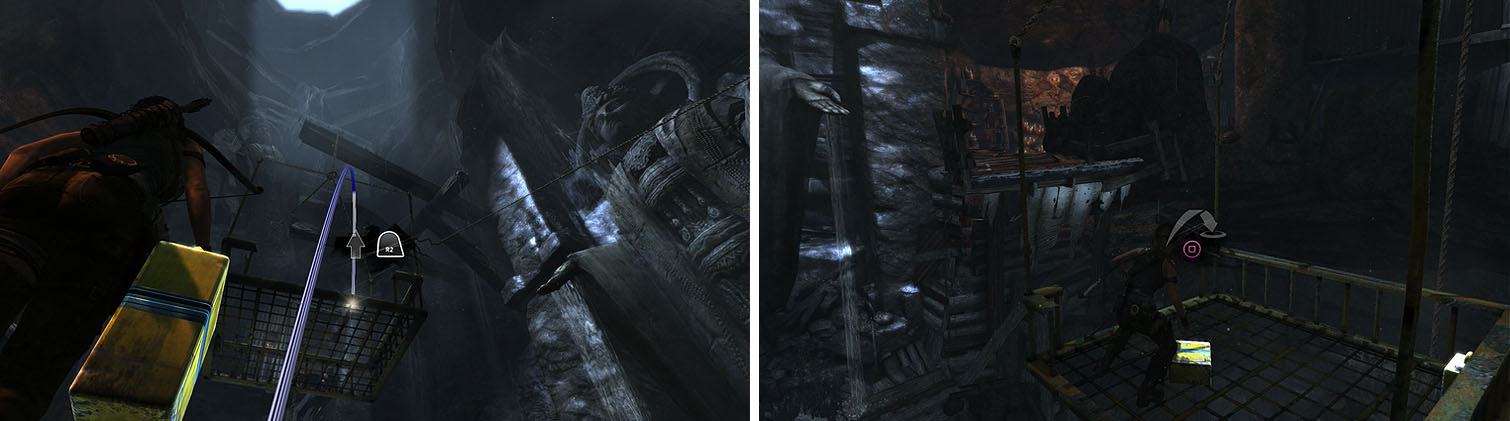
Toss the containers on the cage to drop it to the ground (left). When you let it raise back up, quickly jump on and then to the left (right).
No Comments