Find a Way into the Solarii Stronghold
Use the rope to reach the opposite tower and climb up to the next level. Use the rope at the back to continue to the south and after a scene make sure to grab the rocky wall, while Roth saves your ass. [100 XP]
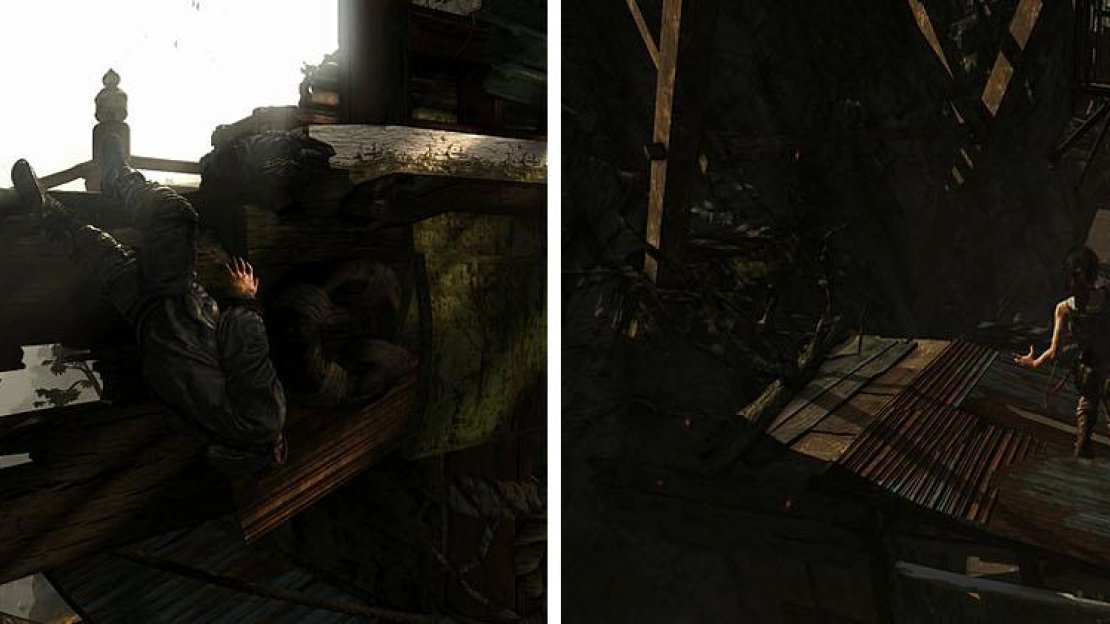
Scramble up to reach a day camp and then continue across the first bridge to a tower. This will lead to the underbelly of the bridge, where you’ll need to follow the linear path while you listen to Roth’s instructions. After a scene in which Lara falls, climb up and jump across the platforms to escape enemy fire. [100 XP]
Cross the bridge with Roth’s help and then escape over the collapsing buildings.
Speak with Roth as you enter the tunnel [100 XP] and then head through the water to reach the deeper part of the cave. [100 XP] Check the dead end to the left for a Plant and then continue for a scene.
Rescue the Captured Endurance Crew
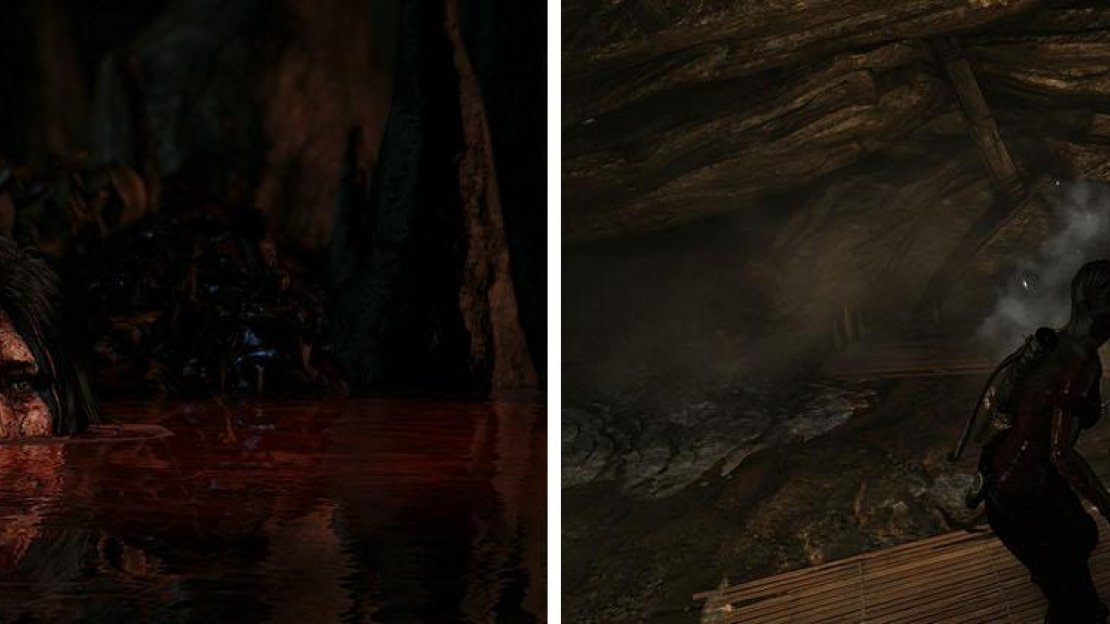
Wade through the river of blood and head up the path until you find some arrows on a corpse. Use a burning arrow shoot the gas up ahead, clearing the debris, and then shoot it again to rid the tunnel of the deadly gas and allow Lara to crawl through.
Stop at the camp to listen to Lara’s Journal: No Escape and then collect the Salvage and Confessions of a Solarii: In Her Honor document from the room.
After escaping via the river of blood, head through the gas to the campsite.
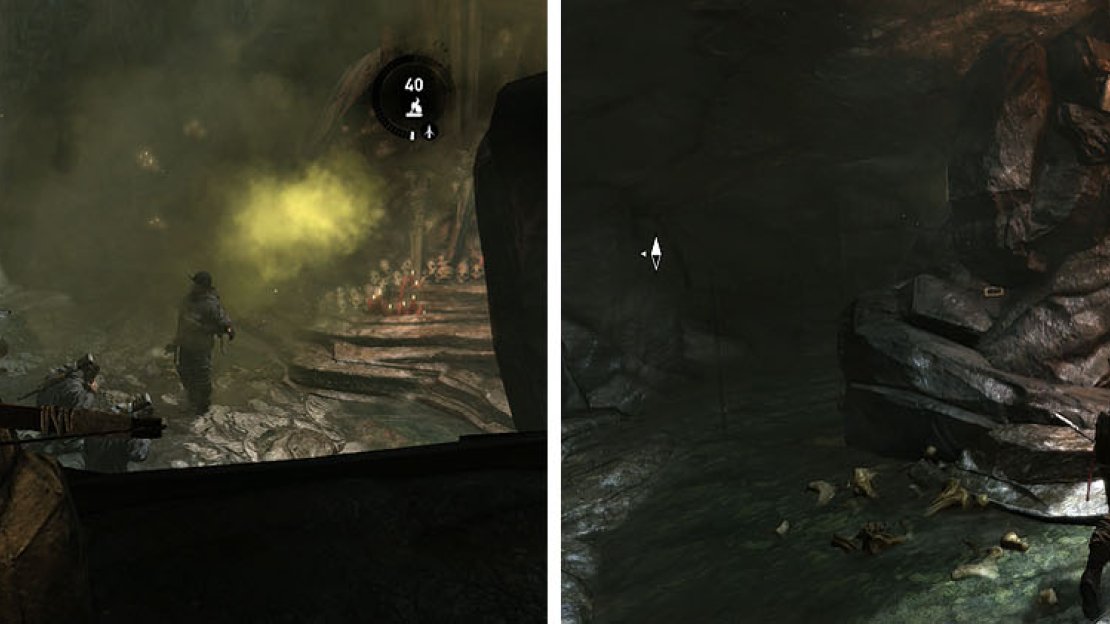
Move through the crack up ahead to trigger a scene, but don’t waste your arrows trying to save the man. Instead, head to the right and check the second “window” to shoot a fire arrow into the gas behind the monsters to kill the majority of them.
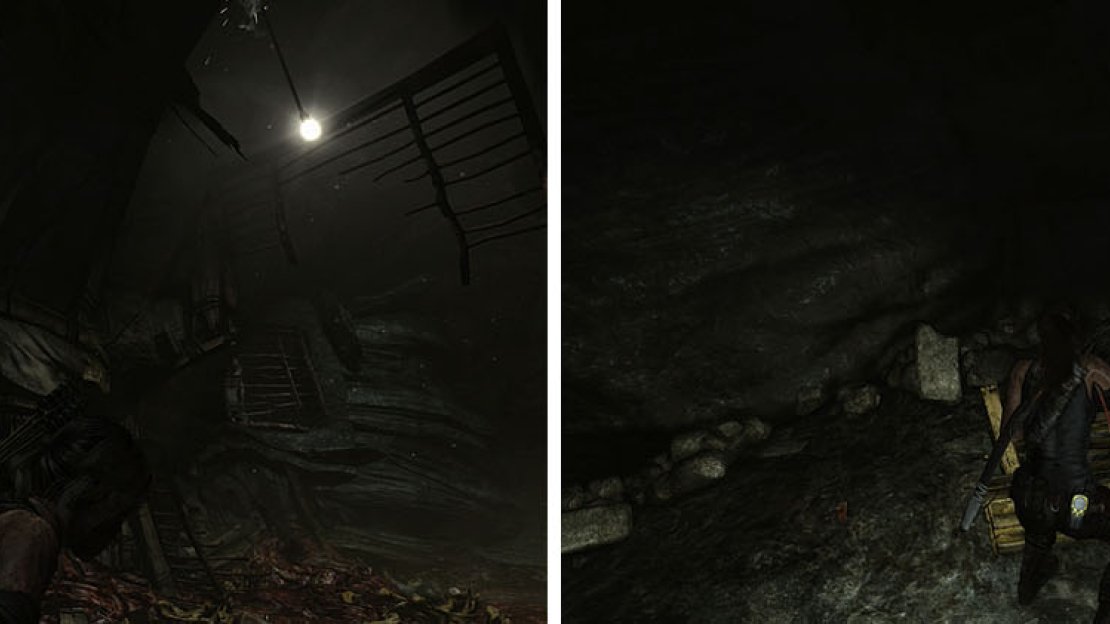
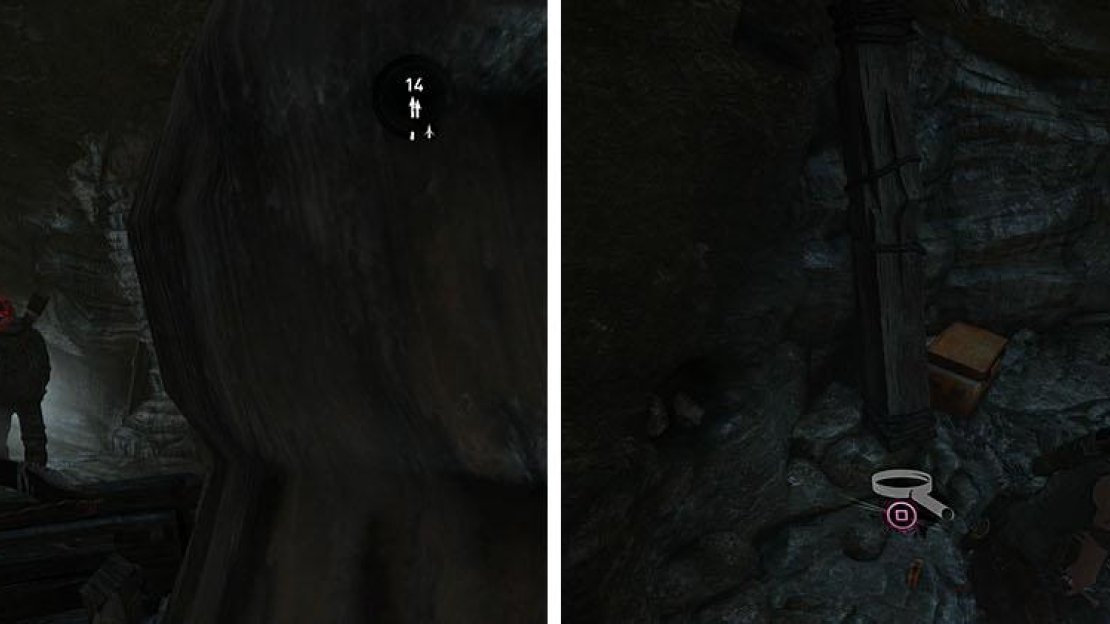
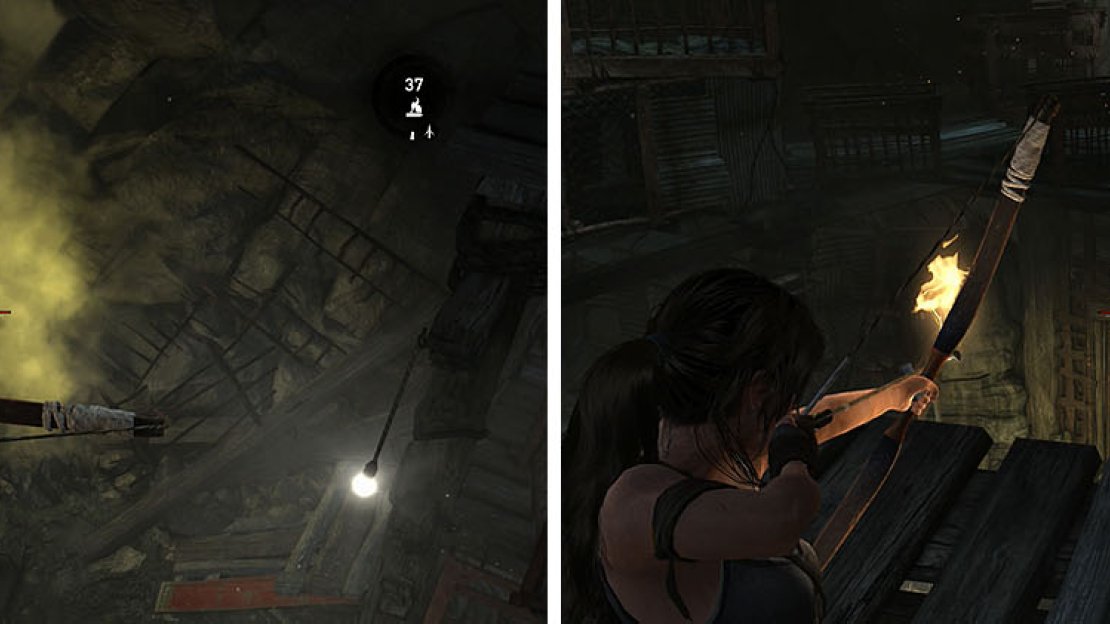
Continue down the tunnel until you reach a light and then use Survival Instincts to find a Sack (1/6) on the ceiling, which can be burned with a fire arrow to start the Challenge: Firestarter . Enter the cavern and circle the outside of the area to the left to find some Salvage and then enter the tunnel further down to find more Salvage x2 .
Locate the sack on the ceiling to start a challenge (left) before you head down the nearest tunnel to find salvage (right).
As you exit, kill the enemy that drops down and then head toward the gas. Ignore the valve for now and head left towards the cages to find a Sack (2/6) on the ceiling near the first captive. Walk toward the next light bulb to find the GPS Cache 1 a few steps further and then look back toward the light bulb to spot a ledge to the left, which you can climb for a metal Salvage crate.
Drop into the tunnel and continue to return to the main room and head into the tunnel on the right with some gas. Kill the enemy on the other side and then hop up on the ledge to collect some Salvage and the GPS Cache 2 . As you make your way to the main room, look up at the ceiling to spot another Sack (3/6) .
In the tunnel with the captives, check the ledge for a metal crate of salvage (left). The tunnel to the right leads to a dead end with salvage and a GPS Cache (right).
Climb the ledges in the center of the room to find a Funeral Fan and then head toward the valve and spin it to break the pipe, allowing you to blow it up with a fire arrow to clear the gate.
As you head up the steps some Solarii will come down to check on the noise, so quickly run to the right and take cover behind then wooden wall. Wait for the two men to split up and then take out the one in the room with you before you go after the other. You can now check the back of the area for a Plant , Food Cache , and the GPS Cache 3 .
Carefully take out the two men when the split before looting the area.
Carefully move forward to a wooden fence and spy on the two men playing checkers until the light breaks and one goes to investigate. Headshot both men with an arrow and then check near the game table for the Endurance Officers - Reyes: Dear Alisha document.
Grab the Food Cache on the other side of the room and start your way up the steps, jumping to the top of the wooden structure about halfway up the steps to find the Geothermal Caverns Treasure Map . You can now head up to the Catacombs Base Camp to find some Salvage and a Wedding Fan .
Climb the wooden structure halfway up the stairs for treasure (left) and then head to the camp for more collectibles (right).
Walk toward the valve and look left to spot a netted Salvage and then use the valve to release some gas. Shoot the gas with a fire arrow to push the cage from its position and then head down the steps to climb up into a new area.
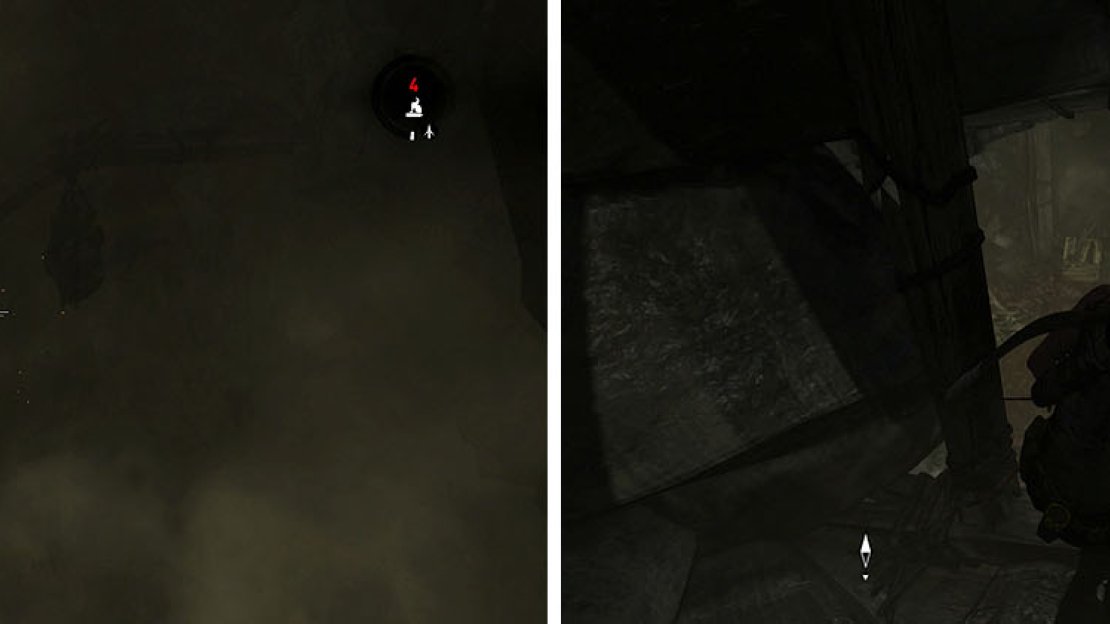
Hide behind the cages while you wait for the three men below to finish walking all the way to the left and then move deeper into the room and turn around to shoot the gas and kill all three men. Collect the Food Cache near the cages and then look up at the ceiling to spot another Sack (4/6) before you drop down and shoot another Sack (5/6) near the dead men.
Kill the three men with the gas before you target the sack hanging below.
Check the other side of the area for another Food Cache and the GPS Cache 4 and then return to the walkway above and collect the Plant near the rocky wall.
Climb the wall and continue down a tunnel to dispatch the unaware Solarii guard and then head right to get a look at the room below, shooting the gas to finish the remainder of the men. Shoot the final Sack (6/6) above your head and then head down to loot the bodies in the room below, as well as Plant x2 . You can now collect the Diaries of a Madman: Lost document from the altar and then check behind it for some Salvage and the Inscribed Silk Fan .
Give the praying Solarii what they are asking for by shooting a fire arrow into the gas (left) and then check the altar for a diary entry (right).
Head up the steps to find a Food Cache and the GPS Cache 5 and then pop the valve open. In order to proceed you’ll need to use the rope arrow to pull the cage closer to the gate and then shoot a fire arrow into the gas to force the cage into the gate, allowing you to pass.
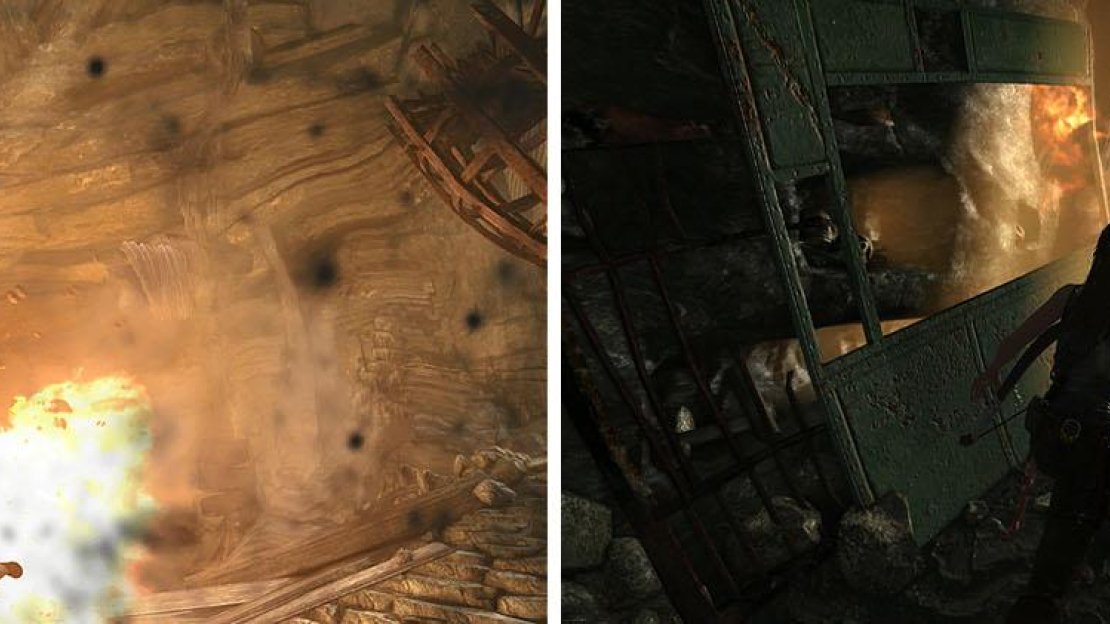
Run through the tunnel as the area collapses around you until Lara slides down a gap and then continue running forward to escape the deadly gas.
Pull the cage toward you and then shoot the gas (left) and then run down the collapsing tunnel (right).
There are three guards around the Endurance teams cage that you should be able to easily kill and then pop the valve and fire an arrow to release some of the hanging debris. Climb up the steps and hop on the new platform to reach the Endurance team and then look for the cage near two natural gas pockets.
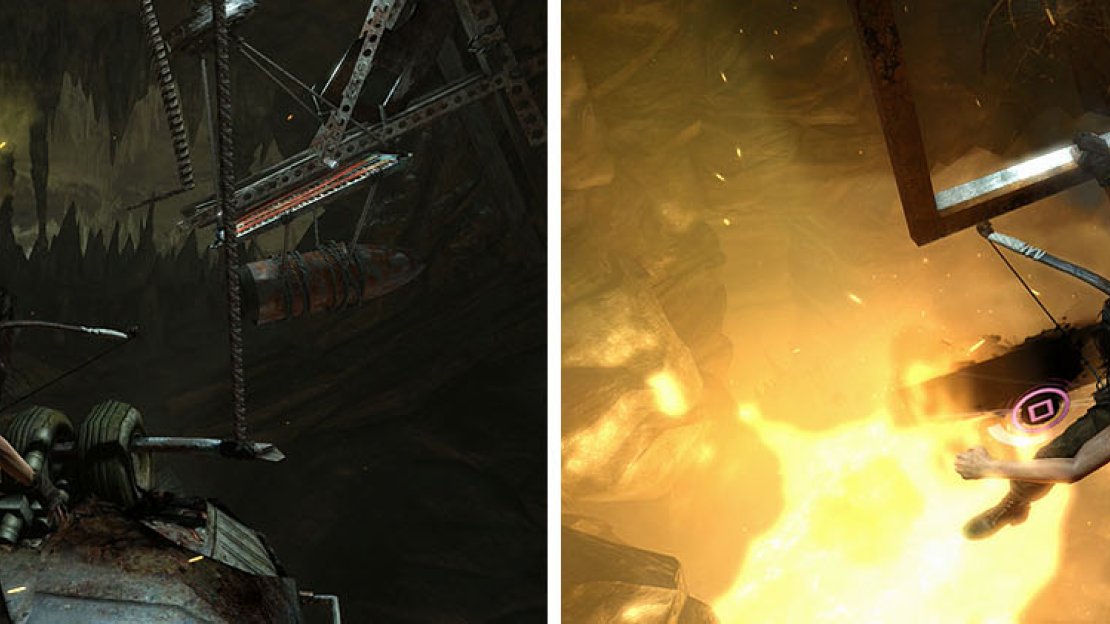
To release the Endurance team you’ll need to shoot the left gas pocket, followed quickly by the right one, to trigger a scene and then climb the outside of the cage to return to the top. Once there, hop to the ledge with two valves, release both valves, and then shoot one to move the cage across the room. [100 XP]
When you reach the top of the chopper, use the gas to break the cage (left). Unfortunately, this will also cause the floor to collapse (right).
Escape the Cavern
With the crew safe you can now hop across the yellow cages to escape the cavern as it falls apart. [400 XP]
Find a Way into the Temple
Continue through the tunnel until you reach the underbelly of the temple and open the doors. [100 XP]
No Comments