Find the Communication Console
Wade through the water and exit to collect the Confessions of a Solarii: The Best Job document on the desk straight ahead and you’ll overhear two guards talking about Mathias. Go around the corner and turn the valve to stop the gas; this is poisonous and whenever Lara stands in or too close to it she’ll take damage.
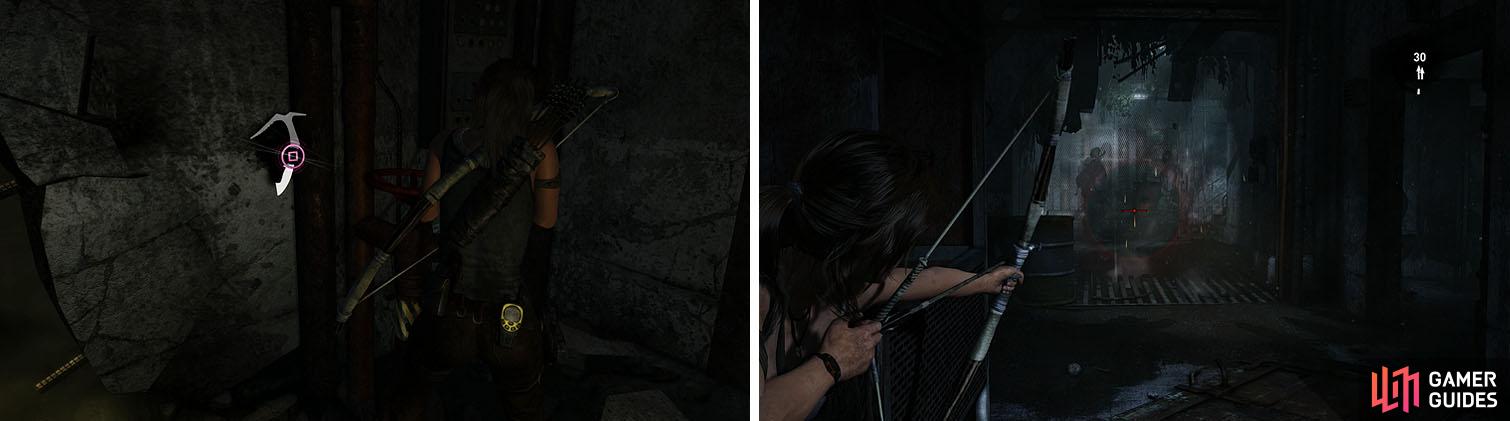
Collect the Salvage from the crate and look around the corner to spot two guards moving an explosive barrel. As soon as they’re both standing next to it, shoot it to instantly waste them both and a third comes running down the hall, so pop an arrow in his head, then move on.
Use the valve to shut off the gas and allow you to proceed to the next area.
The room across from the one you exited has a Food Cache next to the burning barrel and in the adjacent room you can crack open a locker for Salvage . Light your torch at the barrel, then head to the room left of the stairs to Banner (1/5) that can be burned for the Challenge: Non-Believer .
Upstairs a guard jumps down from the ceiling, no matter how you approach, so quickly dispatch him. Move over the debris at the end of this hall and scramble up the wall to reach a generator room, where one of the lanterns can be throw at the Banner (2/5) immediately to the left as you enter.
Head through the vent above the green machine and turn the valve. Head back through the vent, grab one of the lanterns and hurl it through the vent to blow the area ;to smithereens. [250 XP] .
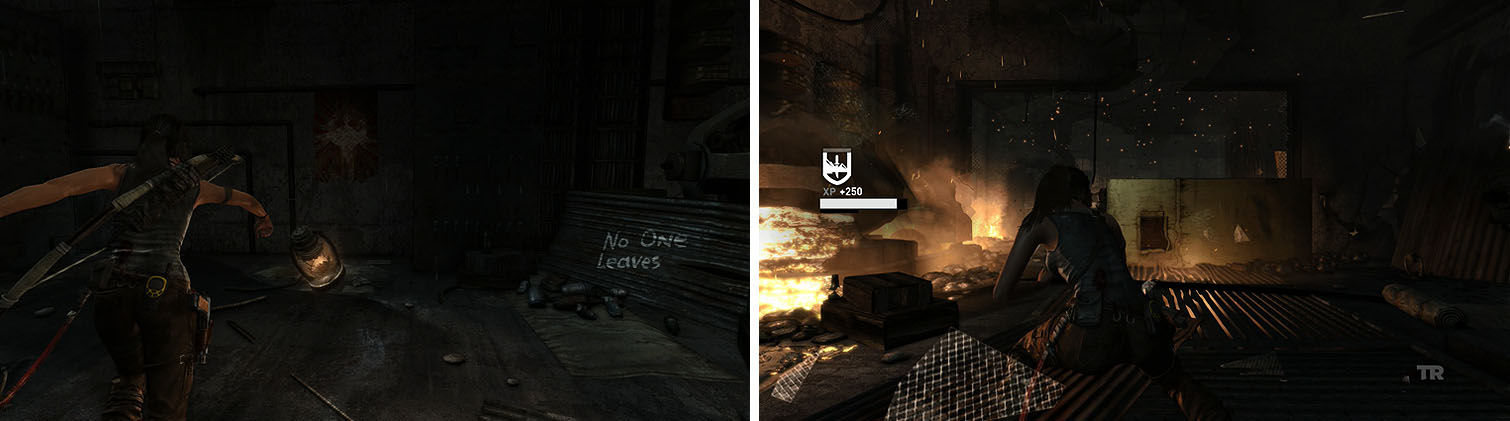
Use the lanterns to burn the banner and blow up the control room.
To the left of the destroyed control room is a door that has been blown open that leads back to the beginning area. Backtrack to the fire barrel to light your torch and return to the generator room. Check the back wall for another Banner (3/5) and then approach the hurt Solarii to gain the WWII Submachine Gun . [250 XP]
You can choose to kill the Solarii, then enter the next room to find the Wartime Intelligence - Scientist: Secret Project on the desk and GPS Cache 1 in the corner.
You’ll be ambushed as soon as you enter the next room. During the slow-mo, quickly dispatch one or two enemies rushing you and then focus on the Solarii on the upper level. After killing the remaining enemies more will enter from the left, including some with molotov cocktails.
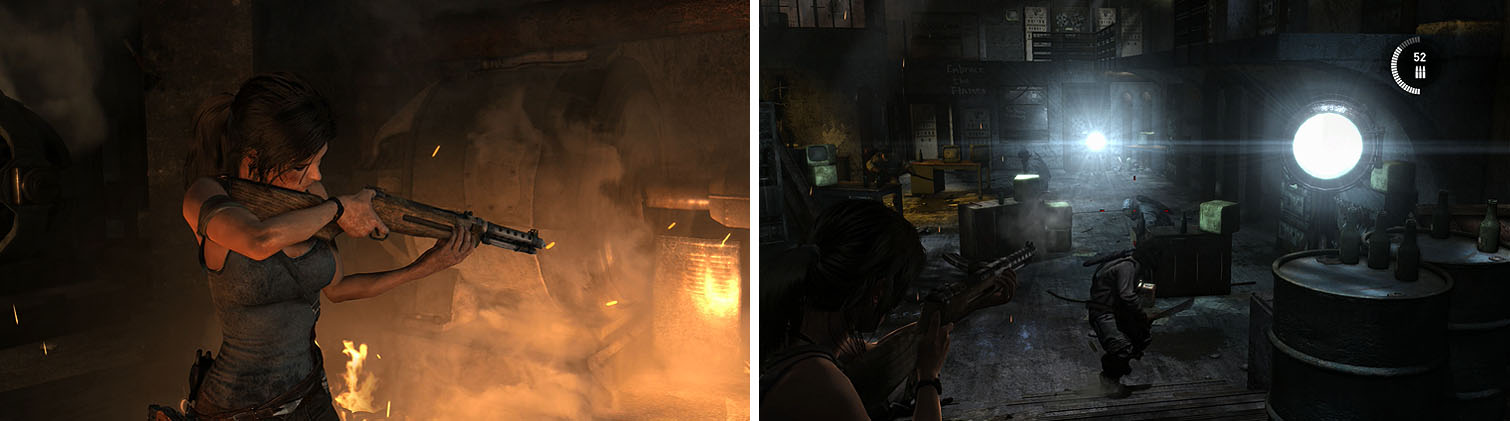
You’ll need the WWII Submachine Gun for the ambush waiting in the next room.
When you’ve dispatched all enemies, search behind some pipes on the right side of the area for the GPS Cache 2 . The back room contains some Salvage and a banner, which you’ll have to come back for, and then return to the entrance where you were ambushed. Use the ramp nearby to reach the upper walkway and follow it to the Map Room Base Camp .
Head through the next hall, with a light above it, and dispatch the last guard. Here you can light your torch to burn the Banner (4/5) in the previous area before entering the control center. The final Banner (5/5) is located on your right, so burn it and then move forward to trigger a scene. [250 XP]
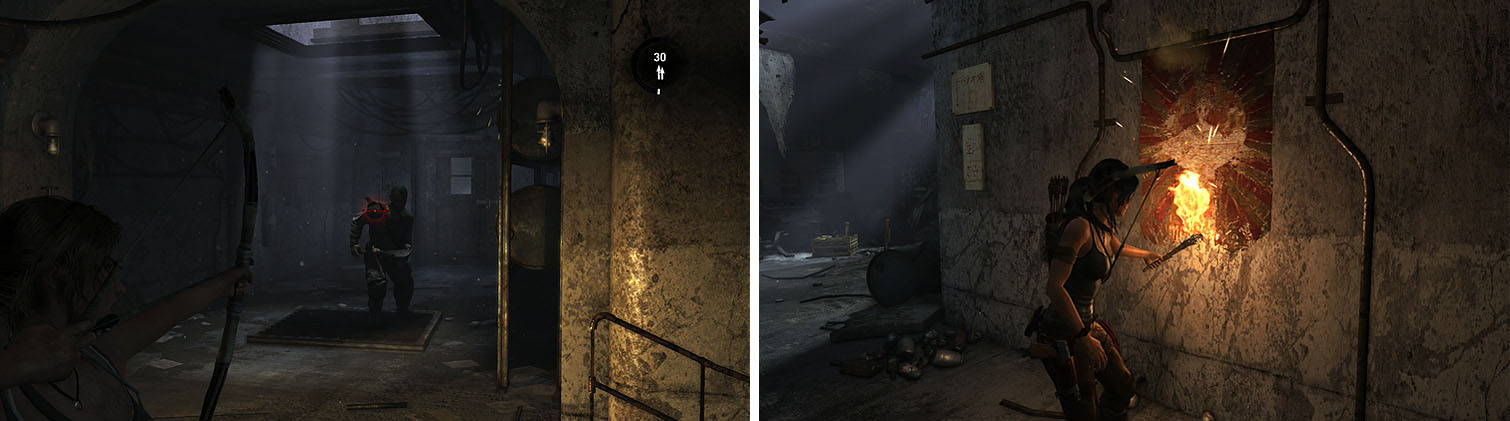
Defeat the final Solarii and burn the final Banners to complete the challenge.
Climb the Radio Tower to Send an SOS
Make sure to check the control center for the Diaries of a Madman: Alone document and some more Salvage before entering the nearby crack. You can’t actually get hurt during the part, just hold the L Analog forward to press onward.
Activate the Bridge Overlook Base Camp as you enter this snowy region and then cross the bridge. As soon as you move over the bridge you’ll be grabbed by a Solarii, so quickly wiggle the L Analog to the right and left and press Triangle/Y to correctly perform the QTE.
There are more aggressive enemies further up the road, but first grab the area’s only GPS Cache before shooting the Solarii further up the road. Grab the Plant on the right side of the path and then more enemies drop from the building to your right. You can backtrack to take cover to kill the men with machetes and then dispatch the archers.
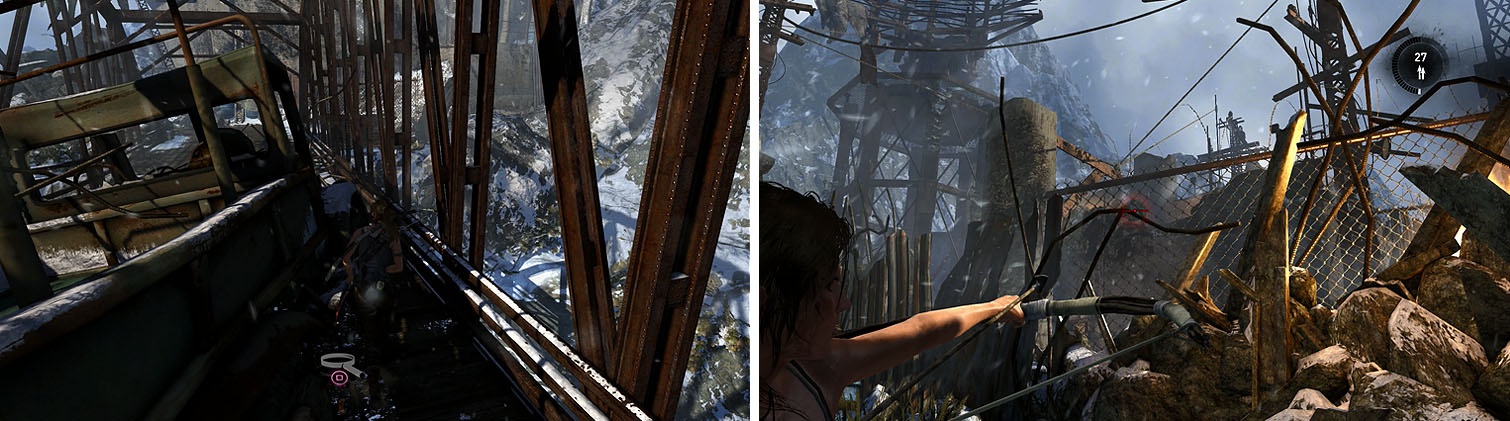
Make sure to get the GPS near the bridge (left) before moving on and dealing with the enemies to your right.
Head for the building straight ahead and walk around the walkway to get your sights on more enemies in the multi-story building across the way. Quickly aim at the red explosive barrels on the first floor to waste all of them at once and then grab the Japanese Dogtags on the ground nearby.
With the ranged enemies all dead you can now approach the multi-story building to trigger some more Solarii who enter from the left. The area now clear, scramble up the multi-story building to find a Food Cache and the Diaries of a Madman: The Solarii document.
Scramble up the wall to the west of the multi-story building to encounter the next wave of enemies. Do not drop and focus on killing the two molotov cocktail bastards in the building across the street while shooting anyone who ziplines toward you for instant kills. After dispatching all Solarii, drop down for a scene to encounter a new, tougher enemy type: a guard with a riot shield.
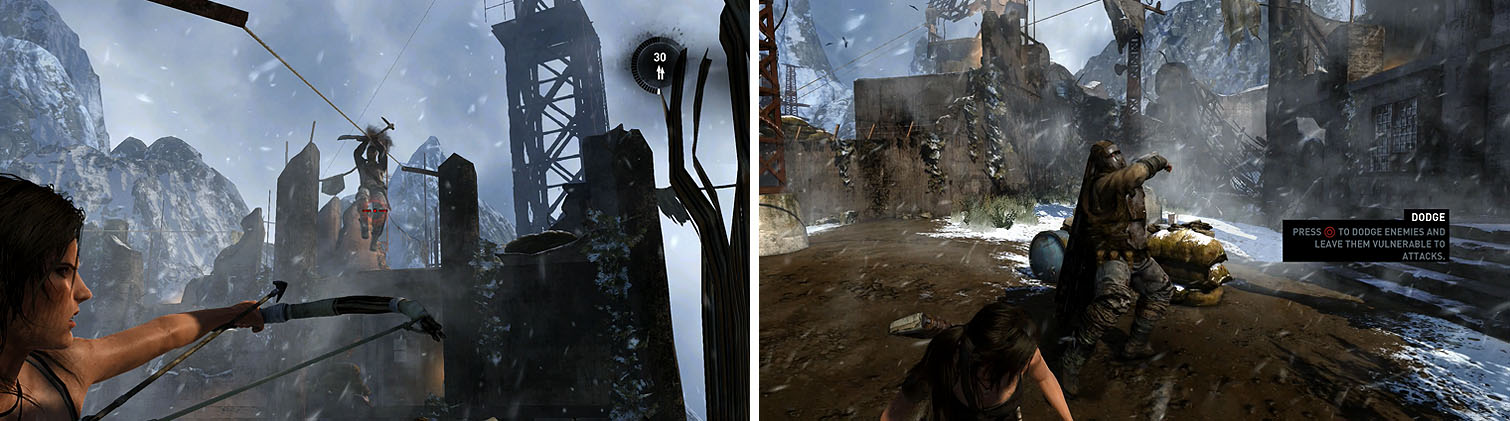
Shoot any Solarii that zipline down the drop for easy kills (left). When you are forced to fight the riot shield Solarii, use dodge to expose his body (right).
While he may appear to be nearly invincible, it’s actually incredibly easy to defeat him once you learn to adequately dodge. Whenever he goes to strike you with his machete, press O/B to dodge and immediately draw your weapon to fire at his exposed body. Do this several times to defeat him and then deal with the Solarii that exits the building afterwards.
Loot the riot shield Solarii to get the first of the gear parts, a Bow part, and clear out the Plant to the south. Inside the building, head immediately right to find a locker with Salvage and then head upstairs. You’ll find Salvage at the back of the room, as well as Salvage hanging above the stairs.
Pry open the door to find a Marksmanship Badge and make your way to the top of the building to find the Radio Tower Base Camp .
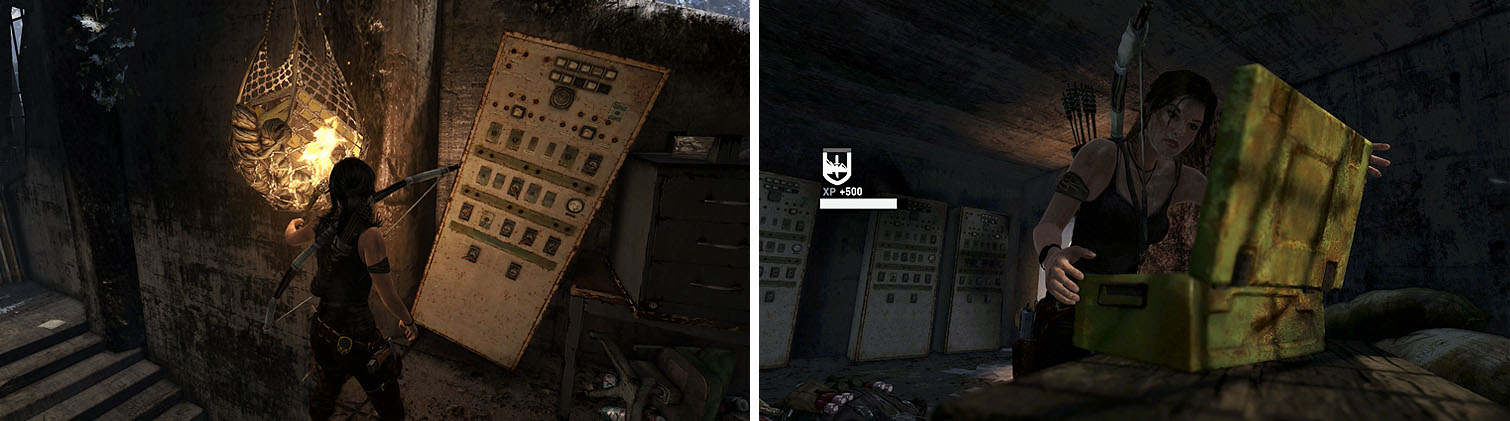
Clear out the salvage and the Marksmanship Badge from the second floor.
Inspect the carpet lying next to the base camp to find the Diaries of a Madman: Research document and then slide down the rope nearby to find the Mountain Base Treasure Map and a Food Cache . Return to the camp and climb the rope to the radio tower, and all all the way to the top to trigger a scene.
You’ll then have to tune the radio by moving the L Analog until you hear the Emergency Broadcast Channel and then switch to the tuner and move the L Analog once again until you hear a clear voice to then broadcast your message. [100 XP]
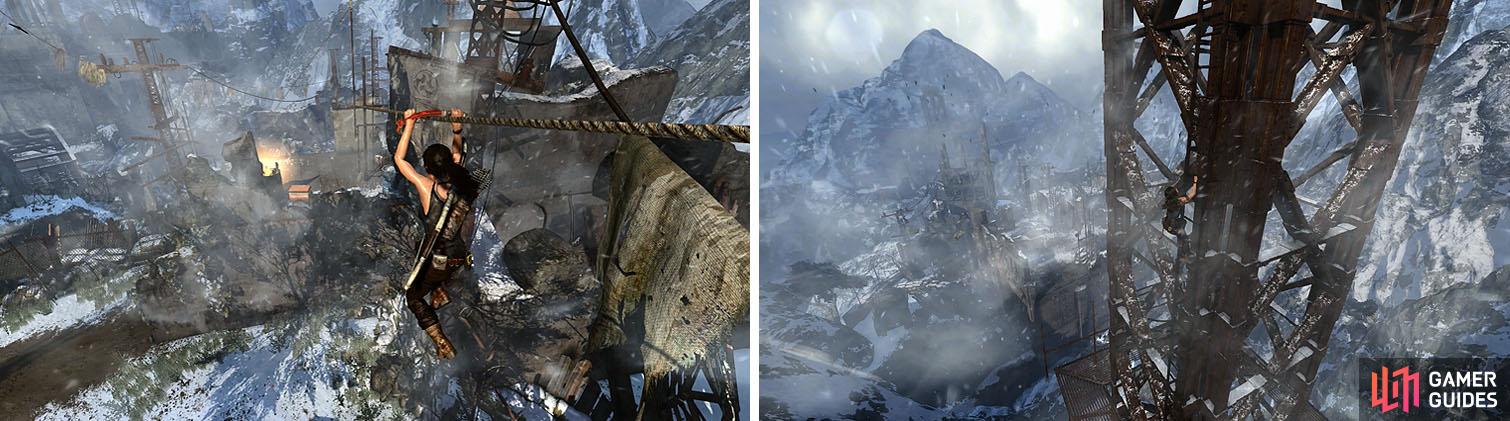
Take the zipline near the camp down for loot before you climb the radio tower.
Start a Signal Fire
Slide down the rope and approach the fuel tanks to turn the valve and release the gas, but without fire you have no way to light it. Enter the nearby building to find the Fire Striker and use it to light Lara’s torch anytime she wants. You can now light the gas to explode the tanks for a scene. [400 XP]
With plane debris on your tail, safely maneuver Lara down the slope without hitting the sharp obstacles along the way. At the end, get a good grip, quickly climb up, then immediately jump to the walkway to the right. [100 XP] .
No Comments