| Quest Information | . |
|---|---|
| Location: | Terra 2 - Byzantium |
| How to Start: | Talk to Hortense Ingalsbee |
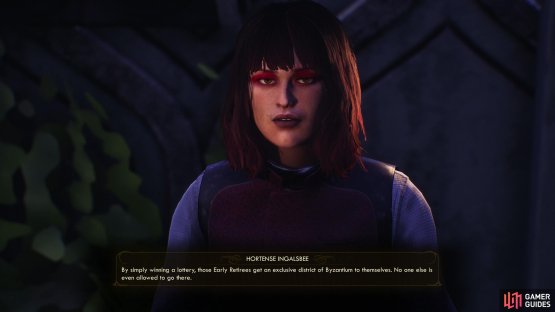
You’ll find an insufferable socialite named Hortense Ingalsbee in the Estates district of Byzantium, who seems more worried about the wrong sort of people existing in her vicinity than she is keen to just enjoy the luxury she has. Talk to her and after enduring some obnoxious chatter with her ask “What’s wrong with more people coming to Byzantium?” to get her whining about early retirees to find out what this is really all about. Agree to help her to start this quest. Simply put, she’s upset she doesn’t get to visit whatever district the lucky retirees go to, and she wants to see what extravagances she’s missing out on. The rich and spoiled never have enough that they can’t hold a grudge against those who get something they don’t also possess, no matter how trivial.
(1 of 2) An entitled socialite named Hortense Ingalsbee will ask you to snoop on luxuries she’s been denied.
An entitled socialite named Hortense Ingalsbee will ask you to snoop on luxuries she’s been denied. (left), Make your way to the Early Retirement Center, which decidedly has the veneer of opulence. (right)
To get a glimpse at this utopia which Hortense has been denied you’ll need to head to the northeastern edge of Byzantium (head northeast from Prosperity Plaza) and ride the freight elevator down. If you came to Byzantium via the Board’s quests (Balance Due and The Puppet Masters) you’ll need to use a lever outside of the sealed door to said elevator to get it to rise, while if you came to Byzantium by assisting Phineas (in this case after the quest Radio Free Monarch) you’ll need to ascend this elevator to reach Byzantium in the first place, so…
In any event, ride the elevator down and head south until you reach a fork. The large bay door to the left (east) just leads to the Byzantium Freight Landing Pad, so head west, then south instead to find the “Retirees” processing area. Go up a short flight of stairs, use a terminal and pick the option [Unseal Door] to open the door to the east, then head through said door to reach the Early Retirement District.
When you arrive you’ll be treated to a surprising display of luxury, and will be encouraged to enjoy some corporate-approved activities by a recording over the intercom. A life of luxury at the Board’s expense? Yeah, if our time in Halcyon has taught us anything, there’s something rotten under the veneer of generosity. Read various messages on either side of the room for more flavor (read: propaganda) then continue up some stairs to the south. Use a terminal and pick the option [I consent], pass through a door and ride the elevator down to reach the Early Retirement Center, which you’ll find through a large bay door to the south.
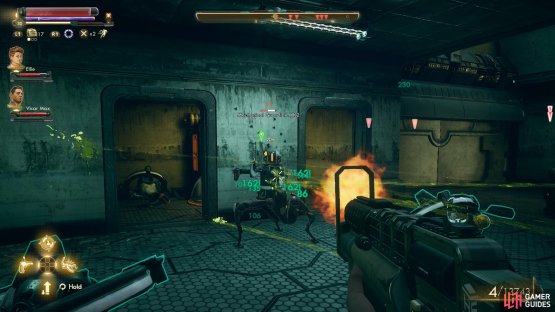
(1 of 2) Either fight you way through an automechanical ambush
Either fight you way through an automechanical ambush (left), or sneak past them and disable them via a terminal. (right)
Turns out, the reality isn’t as pretty as the promises, as janitor automechanicals prowl about, watering corpses. If you continue into the corpse-filled room to the south you’ll find out exactly how these retirees became corpses, as automechanicals - including drones, guardians and scrap mechanicals - will emerge from side chambers to the east, west and south. They’re rather numerous, come in waves, and are around level twenty, so be prepared for a fairly large battle.
If you’re not keen on combat, stealth is a fairly easy way to bypass these bots. From the large bay door where you entered, just sneak over to a room to the southeast, beyond which two drones lurk. As you approach the room they’re in, they’ll start to float out to the larger, somewhat corpsier chamber, making it a trivial matter to avoid them by sliding through the doorway as they exit. From here, just head down a hallway to the south, then west to reach a room where some Scrap Mechanicals stand facing north. Since their backs are to you it should be a trivial matter to interact with a terminal in the southeastern corner of the room, where you can pass a [Hack 65] check to disable the bots, or failing that, simply pick the [Unseal Hatch] option to open the way out - a hatch in the southwestern corner of the room.
Should you dispatch or disable the automechanicals, feel free to loot around the area. There’s plenty of ammo to be found, but otherwise the most interesting item is a Shock Cannon Ultra near a corpse in the eastern hallway which… is useful enough against automechanicals, but by no means unique.
When you’re done here, go through the hatch to find yourself in the southern end of the maintenance tunnels under Byzantium, which you should be familiar with if you completed the quest Cupid of the Laboratory… albeit not this section of the tunnels. Just go through the door to the north to reach a larger room and go through another doorway to the right (east), beyond which is a barred door that connects to the main part of the maintenance tunnels.
You don’t need to worry about the automechanicals along the way, as they’re docile, and furthermore you’ll gain negative Reputation with the Board if you destroy them. That said, if you search the left (west) side of the room you can find a locked [Lockpick 60] door beyond which you’ll find some loot. None of the loot here counts as stealing, bit getting caught picking locks may get you in trouble - a natural Lockpick score of 80 may be necessary to avoid detection, but none of the loot here is really worth going out of your way for.
Go through the barred door to reach the main part of the maintenance tunnels, then return to Byzantium by heading north, east up some stairs, then go north, east and north again to reach the elevator.
(1 of 3) Hortense will be livid if you lie to her about the luxuries being denied to her,
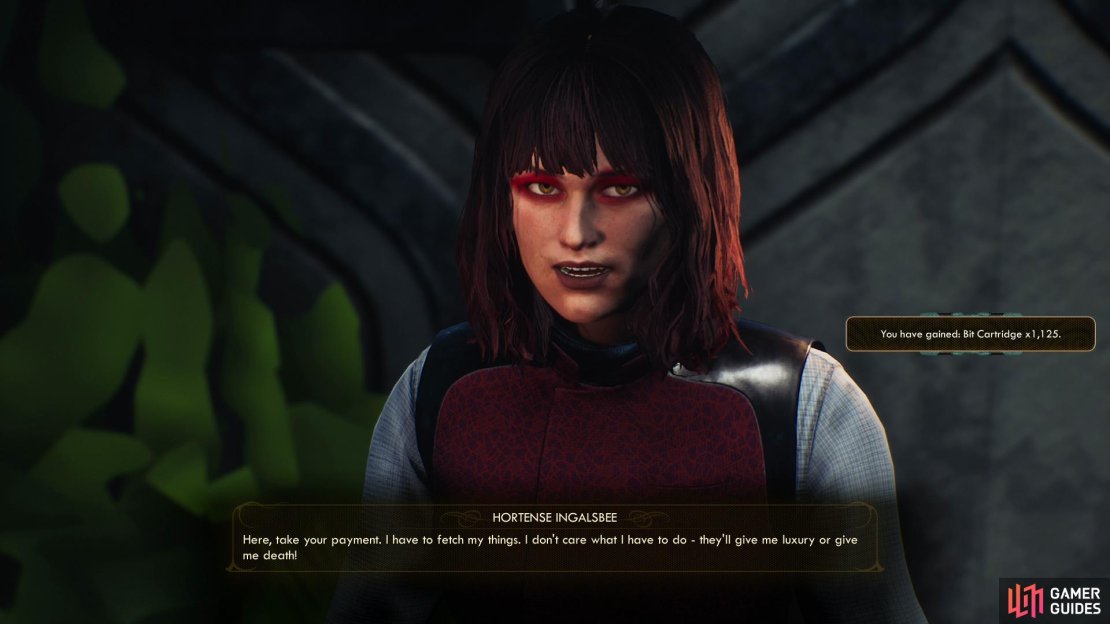
Return to Hortense and tell her the truth about the Early Retirement program, which will naturally delight her. You can then follow up with a [Persuade 100] or [Intimidate 65] dialogue check to score a reward of 2,188 Bits. If you take the standard reward you’ll merely gain 1,125 Bits, while if you decline a reward you will, of course, get nothing. Either way, telling Hortense the truth will also earn you a tiny bit of negative Reputation with the Board.
On the other hand if you pick the [Lie 40] option you can pretend the Early Retirement district is… well, not a murder pit. Whatever embellishment you tell, Hortense will be outraged and fear of missing out and her own special brand of entitlement will compel her to visit the Early Retirement district at all costs. It’s a fitting end for such a wretched person, and if you return to the Early Retirement district you’ll find her corpse, although there’s nothing you can pilfer from her. You’ll get the standard 1,125 Bits for this, and no negative Reputation with the Board.


No Comments