
| Quest Information | . |
|---|---|
| Location: | Terra 2 - Roseway |
| How to Start: | Talk to Anton Crane |
During the quest Passage to Anywhere, talk to Gladys on Groundbreaker to start the quest The Distress Signal, which will allow you to access the Rosewater location on Terra 2. Land there, then make your way to the town of Rosewater and talk to Anton Crane to start this quest. Seems that you’re not the only opportunistic outsider here trying to profit off of stolen corporate secrets, but for now you’re the more subtle of the subversive forces in Roseway. The lab was attacked, and Anton wants you to kill the outlaws responsible, recover his research and neutralize the escaped Raptidons - ideally by subduing the Raptidon matriarch.


(1 of 2) The Covert Lab has some… issues with secrecy.
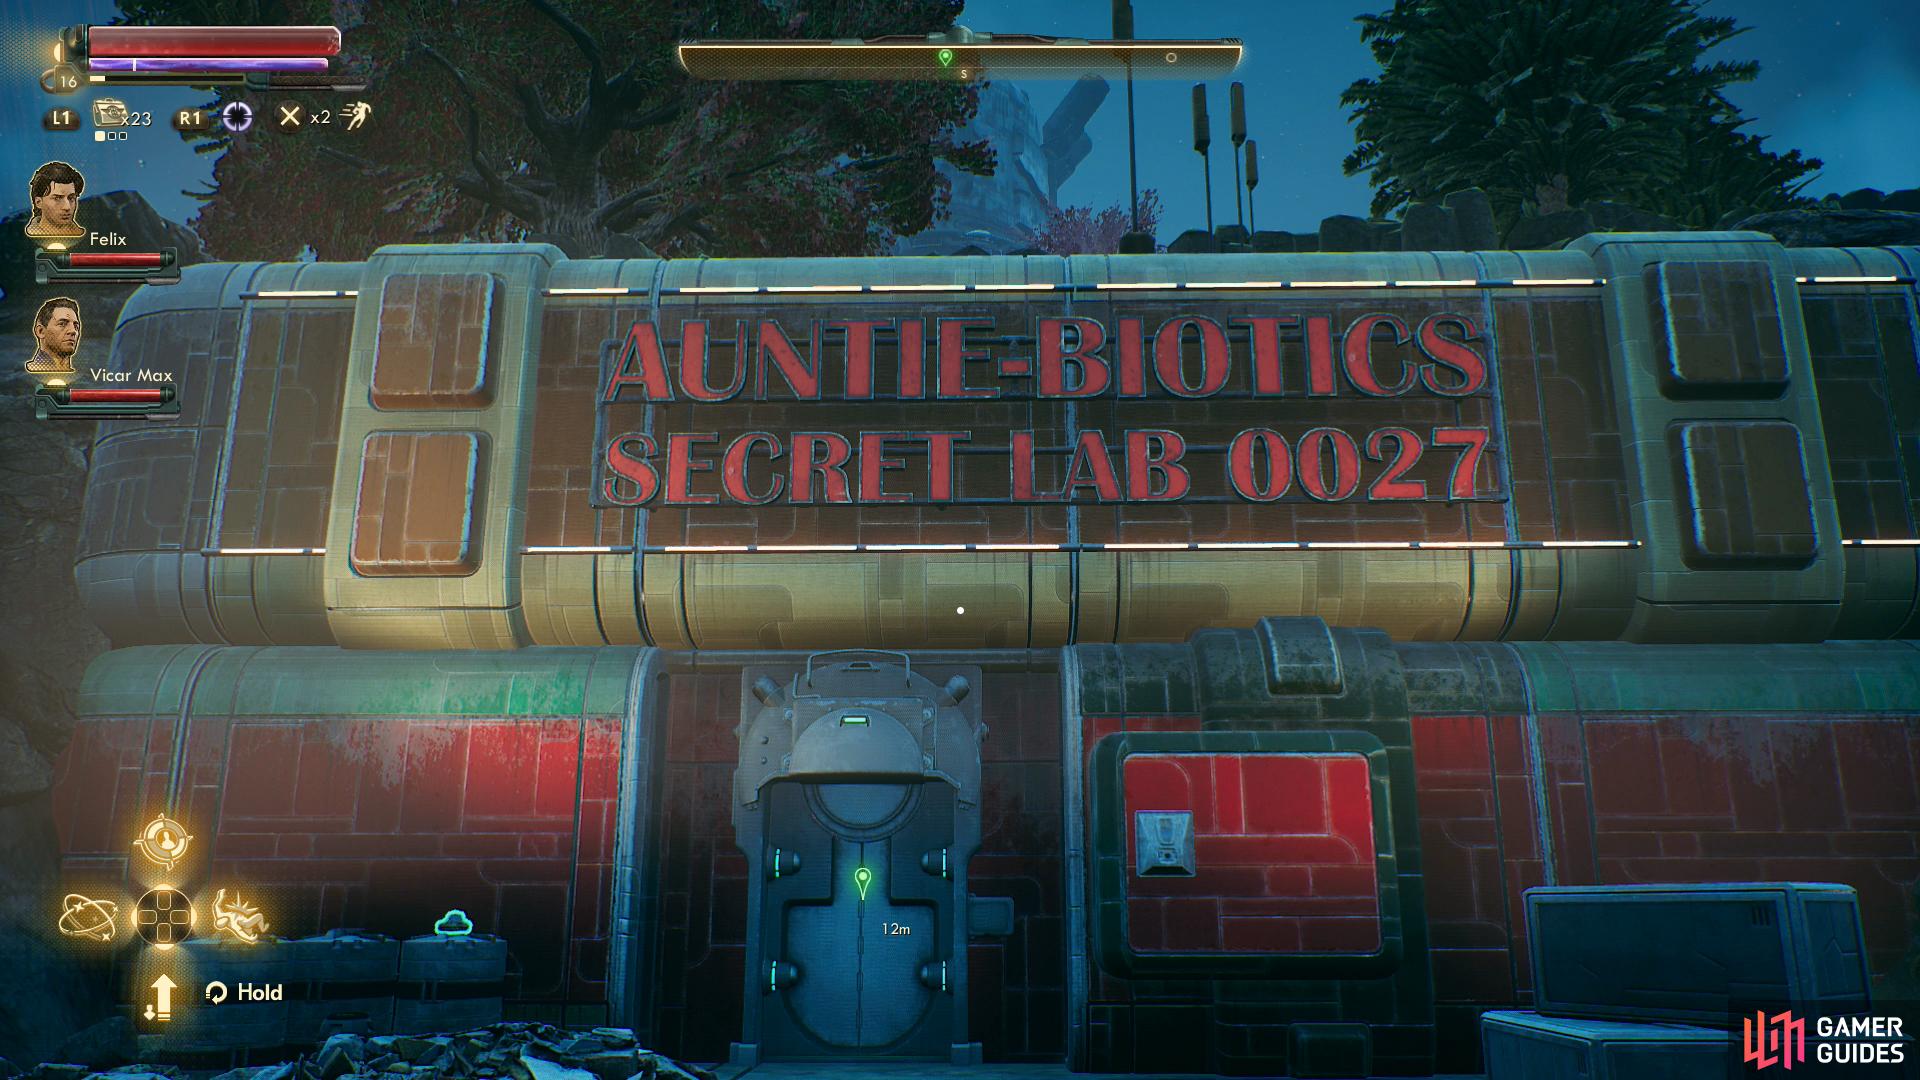
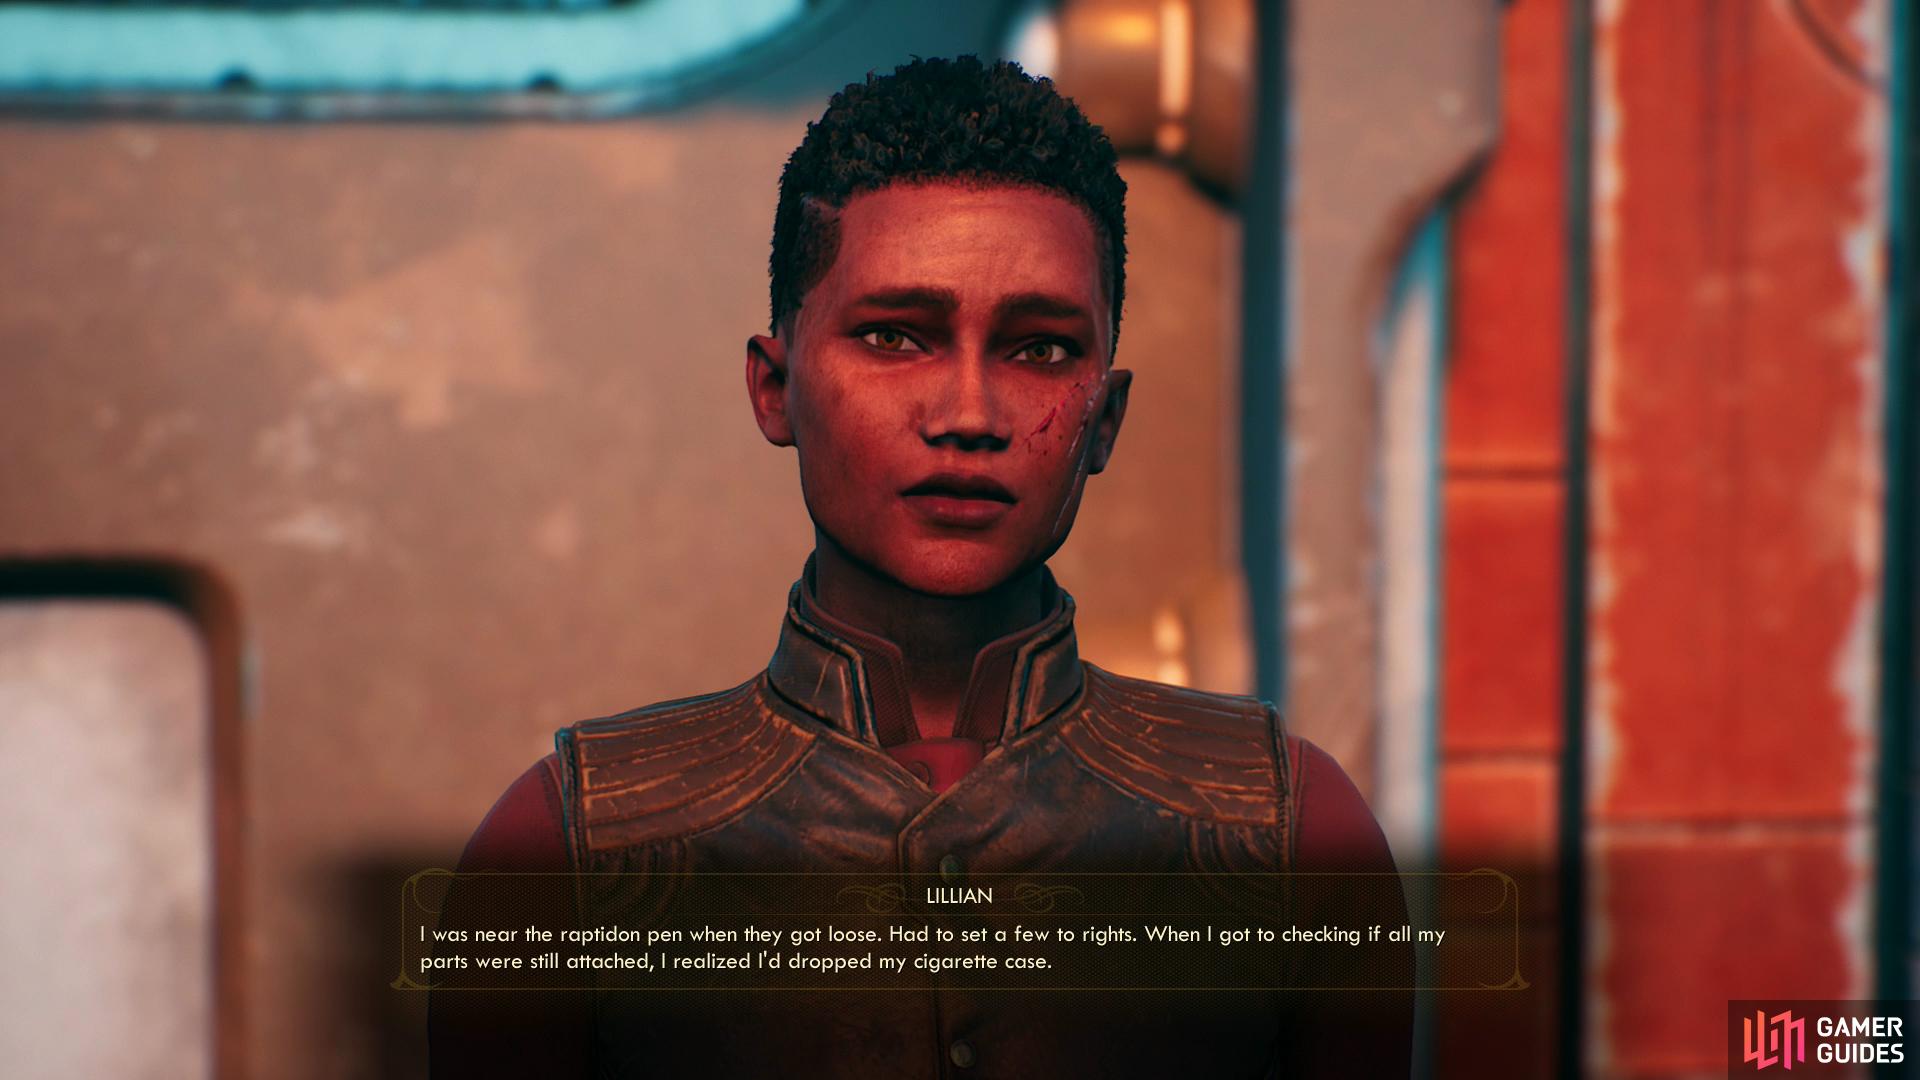
The Covert Lab has some… issues with secrecy. (left), Outside of one of the entrances you’ll find an outlaw named Lillian, who will tell you what happened within and potentially give you the quest “Journey Into Smoke”. (right)
To the Covert Lab
You’ll find the “secret” lab along the far southeastern end of the Roseway area. Not really much of a secret when there’s a road leading right to it, and when… you know, there’s a huge “Auntie-Biotics Secret Lab 0027” sign right on the front of the building. Anyways, you can reach this lab by just following the road from the southern gate of Roseway, bypassing the another, less important lab along the way (where the quest By His Bootstraps can be advanced). Expect plenty of opposition on the road, especially when you reach a fork near the secret lab, as you may encounter as many as a half-dozen marauders and a scrap automechanical there.
Speaking of the fork, going south or east at the fork will both take you to different entrances to the secret lab… well, technically the “Covert Lab”. In front of the door at the end of the southern fork you’ll be hailed by a woman named Lillian, who apparently works for the outlaws who attacked the lab. Depending on your past actions (particularly who you sided with at the end of Comes Now the Power) you may need to pass a [Persuade 45] to get her to open up and tell you what’s bothering her.
Obviously this mission hasn’t gone exactly to plan, and between that complication, getting attacked by raptidons and losing comrades in battle, there’s a lot she could be upset about… but of all things it’s her cigarette case that she seems most broken up about. Offer to fetch it for yet - yes, really - to start the quest Journey Into Smoke. You should consider doing this quest now, before you go into the Covert Lab, as you’ll be forced to make decisions therein which may effect this quest. No sense in having that hanging over your head if you don’t need to, but the choice is, of course, up to you.
Whatever your decision regarding Lillian’s quest, your main purpose in the Covert Lab is to find Anton’s research data. The Covert Labs are also where you need to go to complete The Amateur Alchemist, as well, so all told there’s three quests (including The Distress Signal, which The Doom that Came to Roseway is part of) you’ll advance in the Covert Lab. If that’s not enough to worry about, there’s actually a third entrance to this lab (everybody knows the secrecy of a lab increases the more ways to find it there are!) - just head uphill to the south from the entrance that Lillian guards to find it.
There are multiple ways to go about resolving this quest, one way or another, and these options in some small way roughly correspond with which entrance you take. If you go in the unguarded entrance to the east (the door under the big “secret lab” sign) you’ll run into Porter, the head of security for the corporate troopers here. Going through the door by Lillian will lead you to a warehouse occupied by rapitdons, which can be tricky to sneak through, while going through the ventilation shaft atop the hill to the south will take you through a passage that’ll get you somewhat near the outlaw leader. Between the outlaws, the corporate troopers and the raptidons, it’s a bit of a stalemate, a situation waiting for some outside force to come tip the balance of power one way or the other. Not only will the outlaw leader and the corporate troopers have different goals, but there’s also the matter of not killing as many raptidons as possible.
That said, there is a bit of universality that’ll make this quest easier to resolve, however you choose to go about it. If you want to just go in a door and shoot your way through your foes… well, you don’t really need a guide for that. If, however, you want to neutralize as many foes as possible with as little fuss as necessary, a bit of sneaking will go a long way, so that’ll be our first objective - sneak in, neutralize the raptidons, then we’ll deal with the corporate troopers and the outlaws unimpeded by these pests.
Neutralizing the Raptidons
Sneak into the Covert Lab via the ventilation duct atop the hill south of the entrance guarded by Lillian and once inside make your way down a walkway to the east. Unbar a door (otherwise inaccessible) and enter the main lab area. You’ll find yourself in a hallway, and if you turn north you’ll find a warehouse full of raptidons - a room you avoided by not going through the door Lillian guards, so head south instead and go through a door.
Down a ramp to the south you’ll find a lone Outlaw Sniper patrolling, who can be relatively easily sneaked past by using some crates as cover. That said, he’s wandering around in front of the main raptidon lab you’ll need to access, so if you can snipe him from the doorway it’ll make your upcoming work much easier. The reason you’ll need to do this covertly (read: kill your foe in one shot) is because to the west, just outside the main raptidon lab, is a Outlaw Squad Leader and a Tamed Canid, which on their own are non-factors, since they won’t see you unless you go out of your way to provoke them.
Talking the outlaw leader and offering to help her (you’ll get this shortly, just past the Outlaw Sniper) will turn these foes neutral, but the whole point of this section is to deal with the raptidons without boxing yourself in as far as the corporate troopers and the outlaws go… although killing the Outlaw Sniper will not have any impact on matters whatsoever. Or all the outlaws (and their little dog, too) in this area, for that matter.
Anywho, snipe the sniper or sneak past him and work your way south to the end of the hallway, then turn east and head down a ramp. When you pass through a more open area to the east you’ll be hailed by a woman behind some bars - the outlaw leader, Cassandra O’Malley. Again, talking to her and agreeing to help her escape will turn all the outlaws neutral (rather than hostile) which will make getting around a bit easier, but you might not want to get involved with her right now - if you do, the corporate troopers led by Porter will be aware of it, which will limit your options with Porter, which is what we’d prefer to avoid during this phase of the quest. Ignore her and settle for gunning down or avoiding the patrolling sniper - other than that one outlaw, none of the others are any immediate bother to you.
Now, you know where the raptidons are - the main lab is just west of the sniper - but before you can neutralize them you’ll need to get the chems necessary. There are three Sedative Gas Canisters stored throughout this lab, and you’ll need to go collect them. You’ve already passed one, but it’s best saved for last. Don’t worry, the sneaking for these things is pretty trivial, so let’s get ’em! (see the provided map for the rough locations of these canisters):

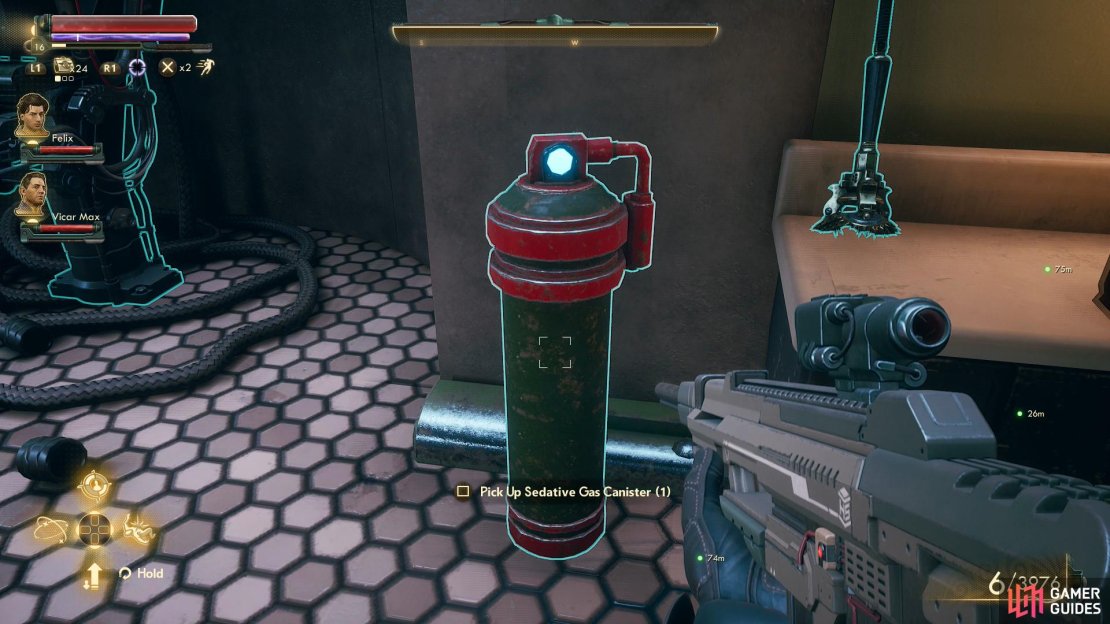


(1 of 3) You can find a Sedative Canister in Vaughn’s Lab,
– The first Sedative Gas Canister can be found in Vaughn’s Lab, which is just south of where Cassandra O’Malley is currently confined - it’s the southern-most room on the map. There are no foes in this lab, so just waltz in and grab the canister, which can be found along the western wall, near a terminal.
– From outside of Vaughn’s Lab turn east and sneak up a ramp. Atop the ramp, immediately to your left (north) you’ll find a Scrap Mechanical, while a number of outlaws lurk in the room to the east. Neither the automechanical nor the outlaws are terribly observant, since the former has its back to you by default, and the latter only have a small doorway through which they can even gain a line of sight on you. Sneak your way past them down a hallway to the south and enter a room at the end of the hall. There’s plenty of loot in here, along with a terminal - seems to be Orson’s office. Anyways, grab the second Sedative Gas Canister, which is standing in the center of the room, near a table not far from the terminal.
– The third canister can be found just outside the main raptidon lab, which is where you’ll need to go to use them anyways, so it was saved for last. The Outlaw Sniper patrolling around might make this tricky, but if he’s dead this should be no more difficult to get than the other two were. In any event, sneak west of the main hallway and towards the lab and note a ramp leading town to said lab. South of this ramp you’ll find an Outlaw Squad Leader and a Tamed Canid, neither of which should cause you any trouble if you leave them be. North of this ramp is a terminal and the third Sedative Gas Canister.
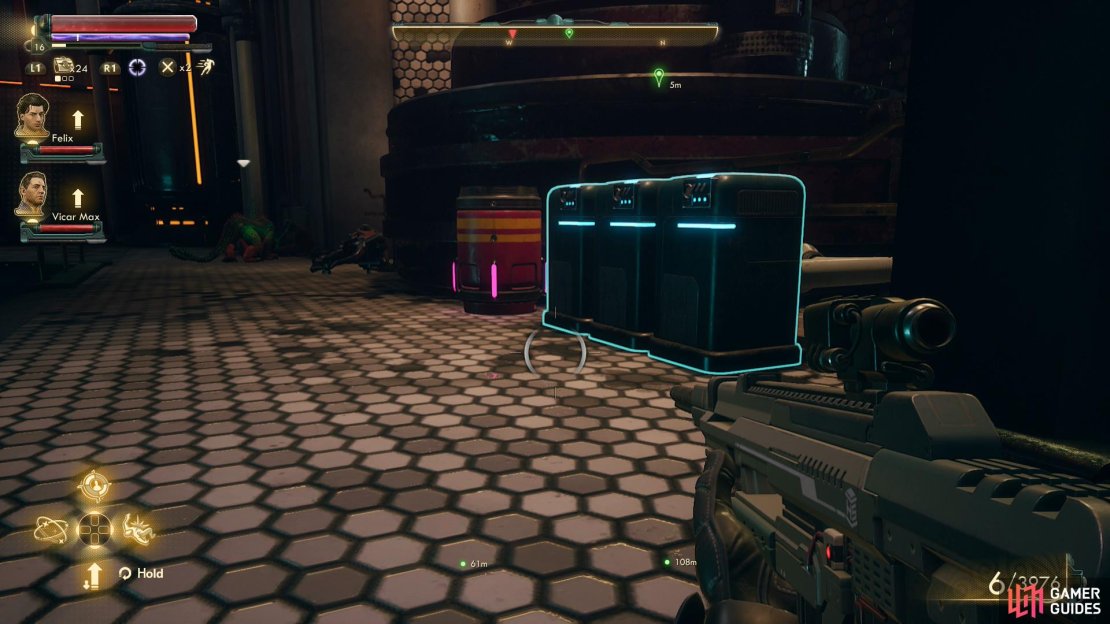


(1 of 4) Sneak over to some consoles where you can insert the Sedative Canisters
Once you have all three canisters, head down the ramp and into the raptidon lab. Most of the raptidons are in the depression to the west, although they wander around a bit, so you’ll need to hide behind various crates, barrels and… whatever odd scientific devices block their view, really. First sneak to the north, being wary of one patrolling raptidon in the depression below you and when you reach some barrels look to the northern end of the room to find a lone Raptidon Spitter wandering around. Wait for it to turn west, then sneak up to the northern end of the lab and deposit your three canisters into three repositories. Do this quickly, as you don’t have much time before either the raptidon on lower ground or the spitter patrolling the northern edge of the lab spot you.
Sneak back to the entrance to the lab, then make your way south, this time being wary of the Raptidon Matriarch who wanders about in the depressed area. Seek sheltered behind some crates near the southern end of the lab and keep an eye on another spitter who roams along the high ground. Your goal is a terminal at the southern end of the lab, which you can access when the spitter turns its back. Should you access it with the three Sedative Gas Canisters installed in the northern part of the lab you’ll be able to activate the option [Ventilate Gas], which will knock out all the raptidons in the lab. This primarily includes three groups - the raptidons in this lab (obviously), a group of raptidons through a doorway to the east of this lab (which block Cassandra’s way out) and a pack of raptidons in the northern warehouse, which otherwise threaten the door Lillian guards. Suffice to say, with them all sedated this lab will be much, much easier to explore.
While you’re here you might as well loot this lab. There’s plenty of corpses and the odd bin to pillage, but the only noteworthy item here is a Danger Zone Sign on top of a crate just northwest of the terminal at the northern end of the lab.
Anyways, now that the raptidons are neutralized we can get around to resolving the… ah… dispute between the corporate troopers led by Porter and the outlaws led by Cassandra O’Malley. Both options will be discussed under their own headers, “Siding with the Troopers” and “Siding with the Outlaws”, respectively, although there’s a fair bit of nuance even in those. Oh, and do be sure to sneak as you leave this lab, in case you left the Outlaw Squad Leader and Tamed Canid still alive - no need for any surprises at this stage in the quest, especially if you’re playing on Supernova difficulty.


(1 of 4) You can simply execute Cassandra while she’s stuck in her cage
Siding with the Troopers
If you want to side with Chief Porter, or if you just want to see as much dialogue and/or have as many options at your disposal as possible, you’ll want to talk to Chief Porter first. Nothing you say to him can really harm Cassandra’s opinion of you, as unlike Chief Porter, she doesn’t have access to the lab’s security. In any event, leave the lab (this should be a breeze, since the raptidons are all pacified) then enter via the main entrance (the door under the “Secret Lab” sign).
Pass through a gate door, then a normal door to find Porter and his corporate troopers holed in the room beyond. Talk to Porter and you can learn about the situation - the troopers and outlaws are at an impasse, with the former unable to clear out the latter and the latter unable to escape. The layout of the place has meant the raptidons have been unwilling tools in keeping the outlaws at bay, but on the other hand, the trooper’s automechanicals have been on the fritz, and not able to tell friend from foe. So… yeah, they want the outlaws gone, but aren’t in any position to do so.
The only meaningful things you can get out of this conversation are the location of his office, where a keycard can be printed (you’ll need this if you want to help the outlaws) or you can pass a [Persuade 45] check to convince Porter to hand over Porter’s Office Keycard, which will allow you to bypass the lock [Lockpick 20] on his office door. You can pass whopping [Lie 100] check, but it doesn’t really change anything about the conversation. Hard to justify investing that many skill points just for XP.
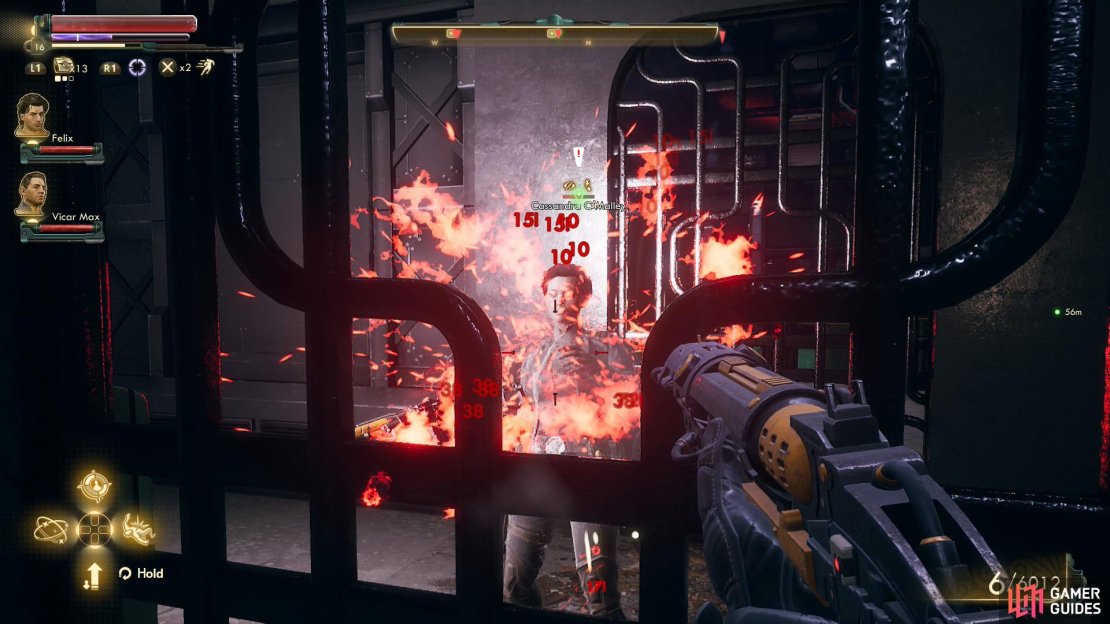
Ironically, to appease Porter you don’t really need to talk to him at all, provided your Lockpick score is sufficient to get into Porter’s office. Anyways, to drive out the outlaws, all you really need to do is kill Cassandra O’Malley, who can, of course, be found caged up just north of Vaughn’s Lab. You don’t even need to complicate matters by talking to her - just shoot her down through the bars and loot her body to score Auntie Cleo’s Research Data, which is what you need to return to Anton… or Gladys. Be wary that any outlaws in the vicinity - particularly the large group up the ramp to the east of Cassandra - will probably join the fray if they hear gunshots, so you may want to deal with them preemptively.
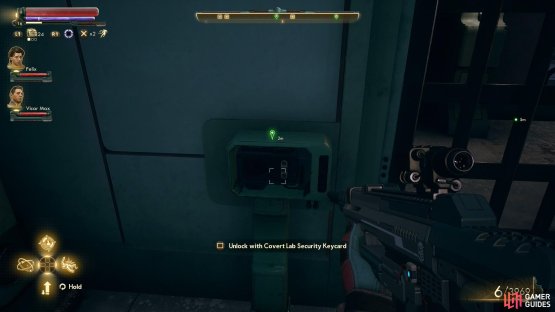
If for whatever reason you need to get the door open to reach Cassandra, you’ll need to find Porter’s office and print out a Covert Lab Security Keycard. To do this, head to the eastern-most section of the lab to find two doors. To the east you’ll find Anton’s office, while to the north is Porter’s office. If you want, search Anton’s Office to gain some XP for just discovering it, and more XP for examining the safe. Unnecessary, but why pass up easy XP? Pick the lock [Lockpick 20] to Porter’s office if you don’t have Porter’s Office Keycard, then interact with the terminal and select the option to [Print Security Keycard].
In any event, return to Porter (you may have to fight two more isolated automechanicals along the way) and talk to him to get an update on the outlaws and some Auntie Cleo reputation. For any more substantial reward you’ll need to report to Anton Crane in Roseway, which will be covered below under the heading “Finishing Up Roseway”.


(1 of 2) Cassandra will admit to having attacked the lab, and possessing Anton’s data.
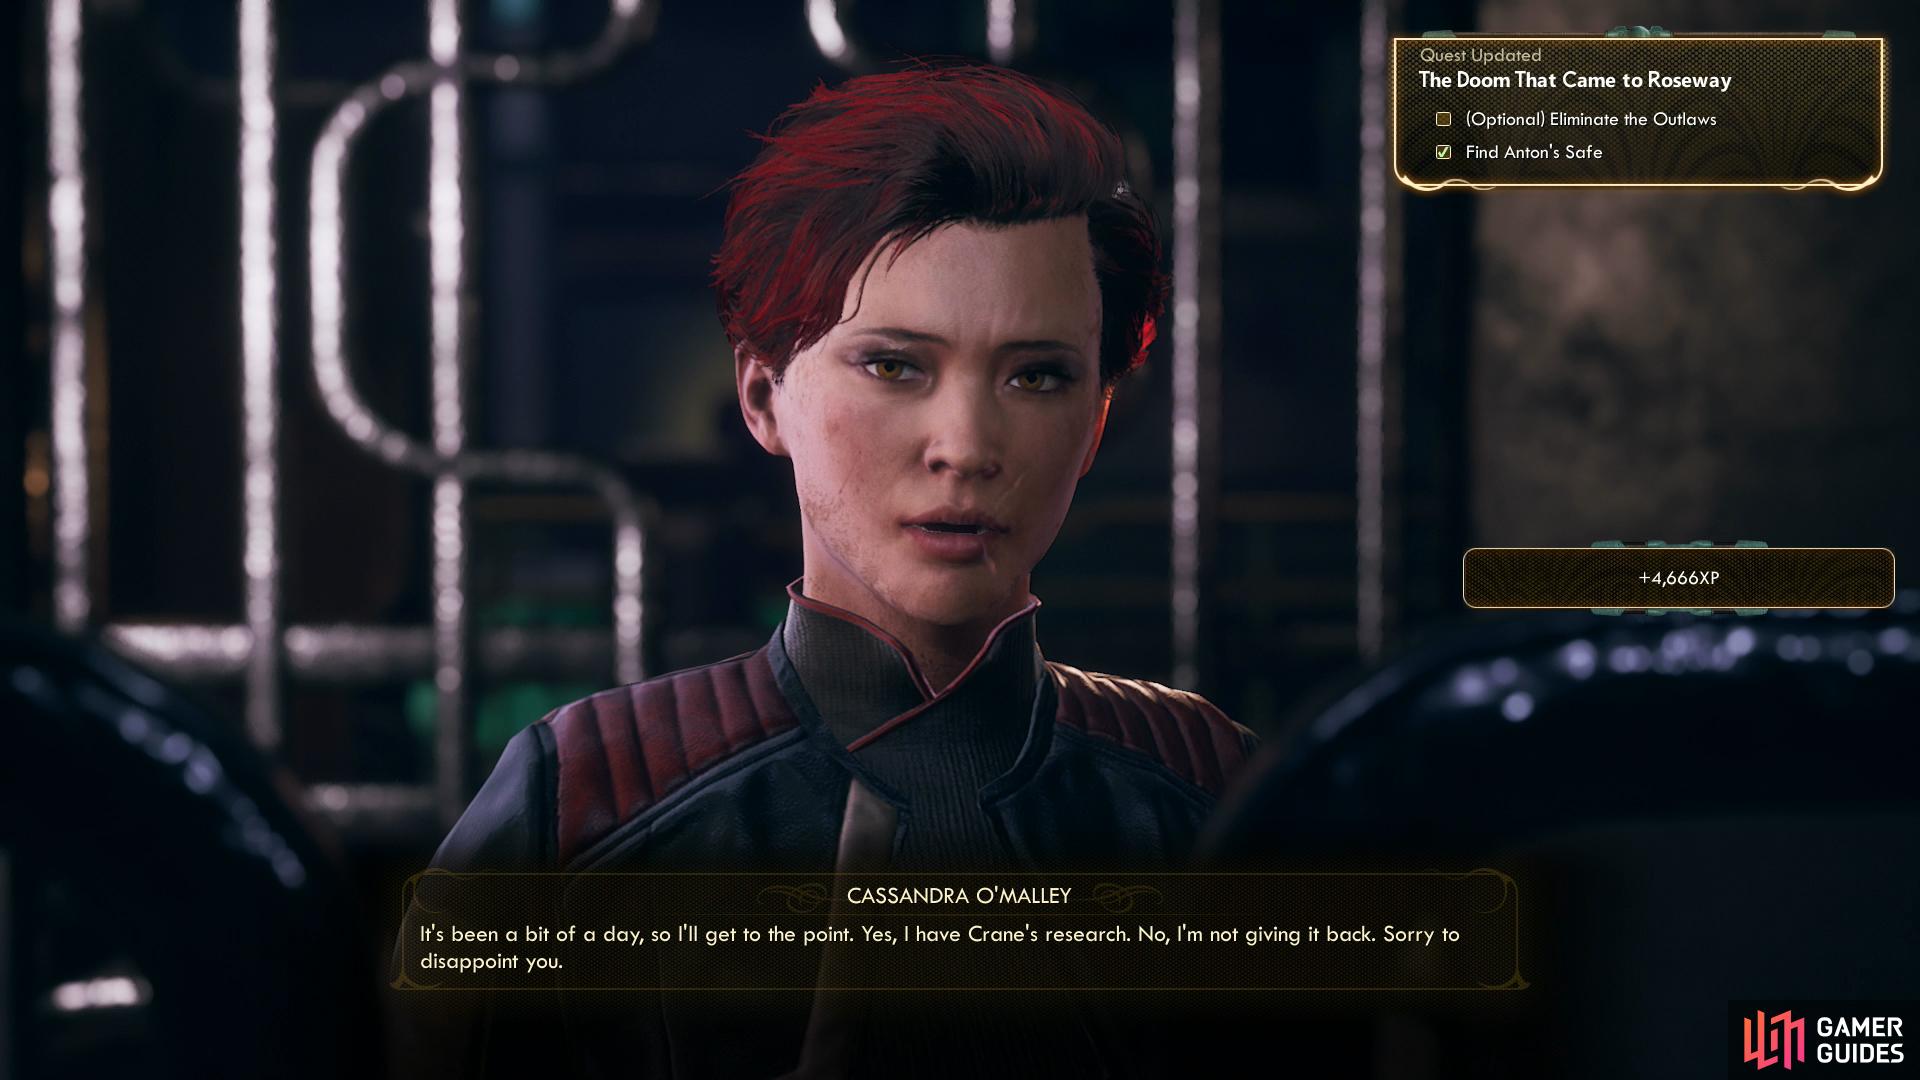
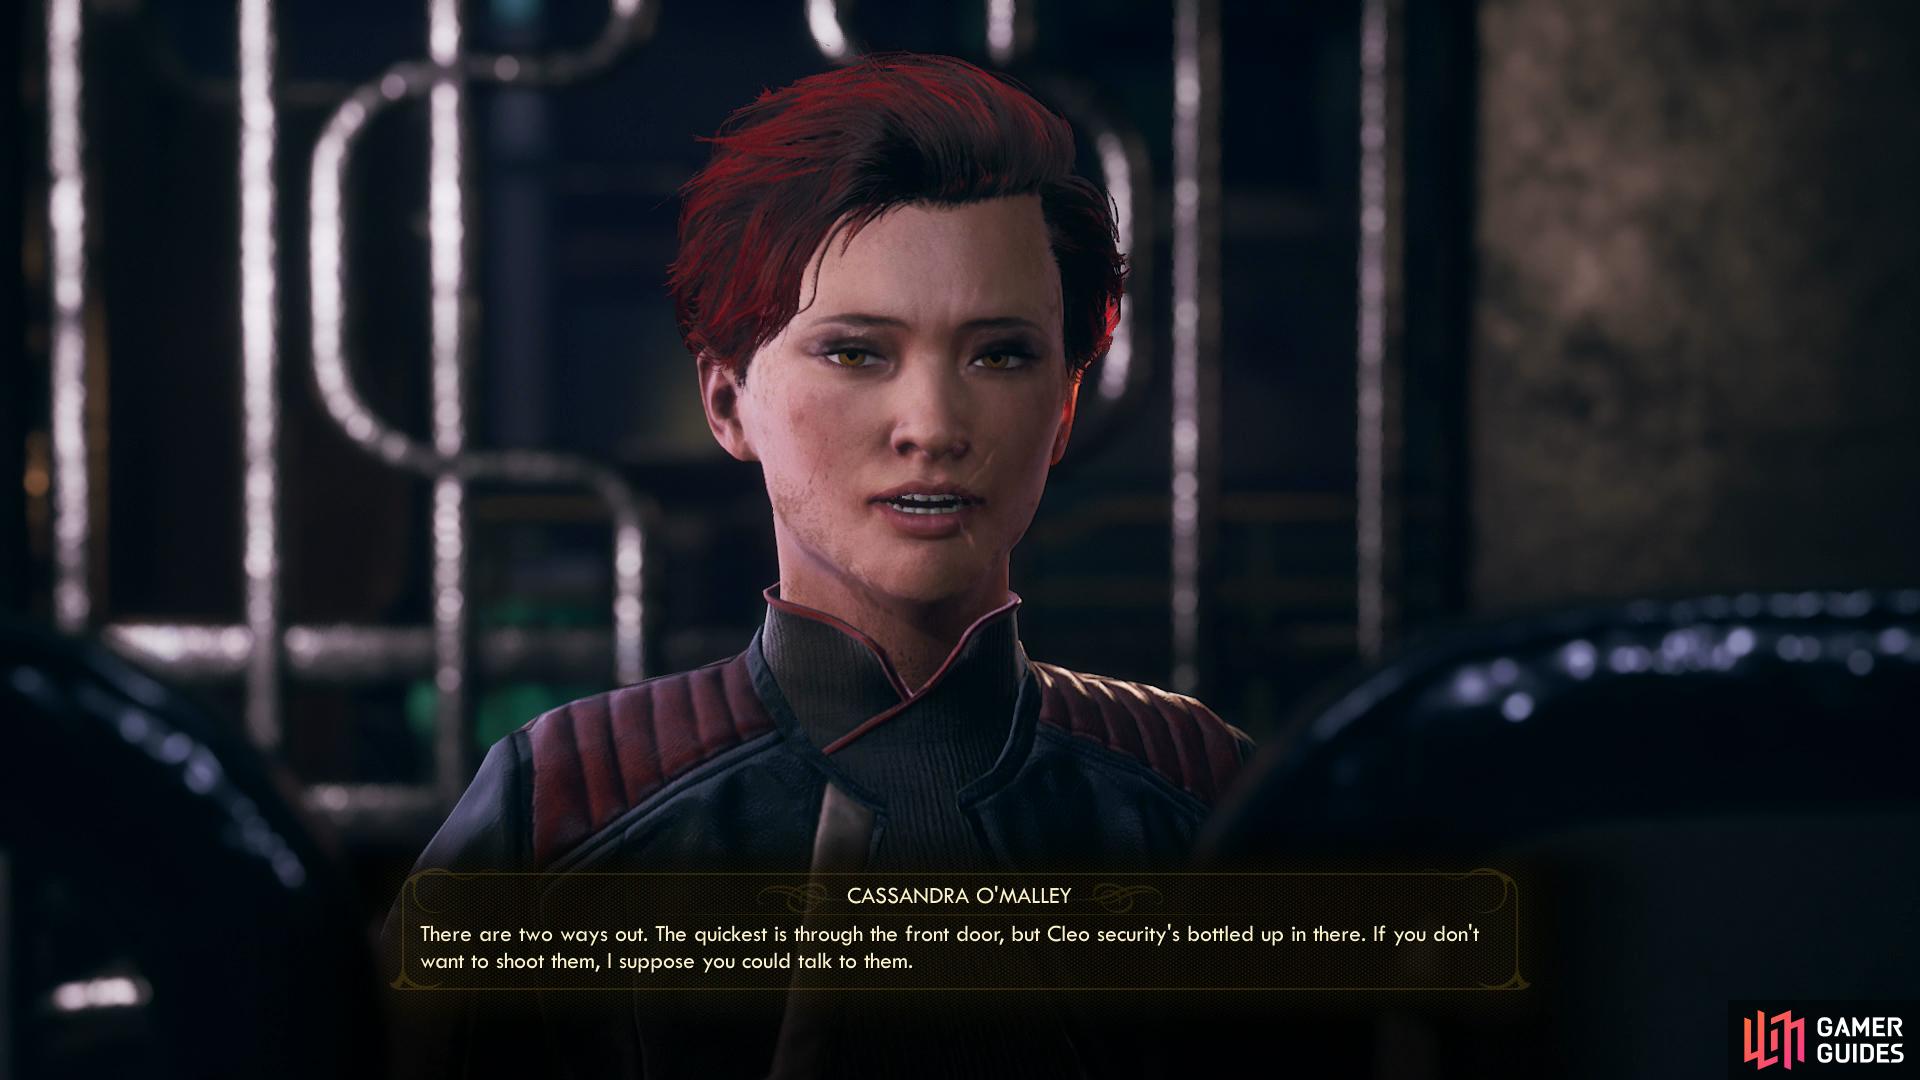
Cassandra will admit to having attacked the lab, and possessing Anton’s data. (left), If you offer to work with her, she’ll ask you to secure her an escape route. (right)
Siding with the Outlaws
Near the southern end of the lab, (just north of Vaughn’s Lab, in fact), a woman will call out to you from behind some bars.
Talk to this woman, Cassandra O’Malley, and she’ll make no bones about how things stand: She’s the leader of the outlaws who attacked the labs and freed the raptidons, she has Anton’s research, and isn’t keen on giving them back. Her straight-forwardness is somewhat undermined by her delusions of grandeur, and while it’s hard to feel sorry for corporations and their minions, it’s more difficult to see how being eaten by raptidons is better than corporate servitude. Her revolutionary rhetoric is ultimately marred by a lack of concern for collateral damage, and for the petty greed at the heart of her motivations. She will, however, offer to pay you to get her out of the mess she found herself in, which either involves clearing out raptidons or the corporate troopers - your call.
Dealing with the raptidons was already discussed, and if you sedated them or otherwise eliminated them from consideration, you’ll still need to acquire a Covert Lab Security Keycard to get Cassandra free. That’ll be discussed in a moment, but first, the troopers, in case that’s a path you can to peruse. Return to Porter and he’ll be none too happy about you striking a deal with Cassandra. Pass a [Persuade 45] check or a [Lie 100] check (followed by a paltry [Lie 1] check, for good measure) to get the troopers to leave, one way or another. The end result is the same either way.
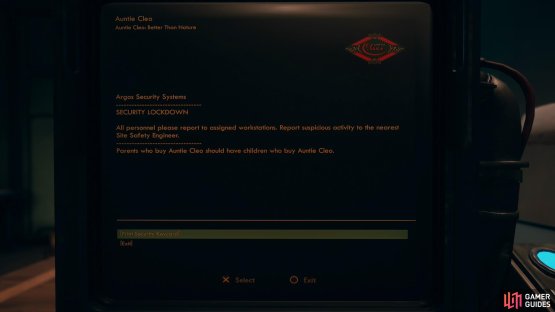
(1 of 2) You can print out a security keycard via Porter’s computer.
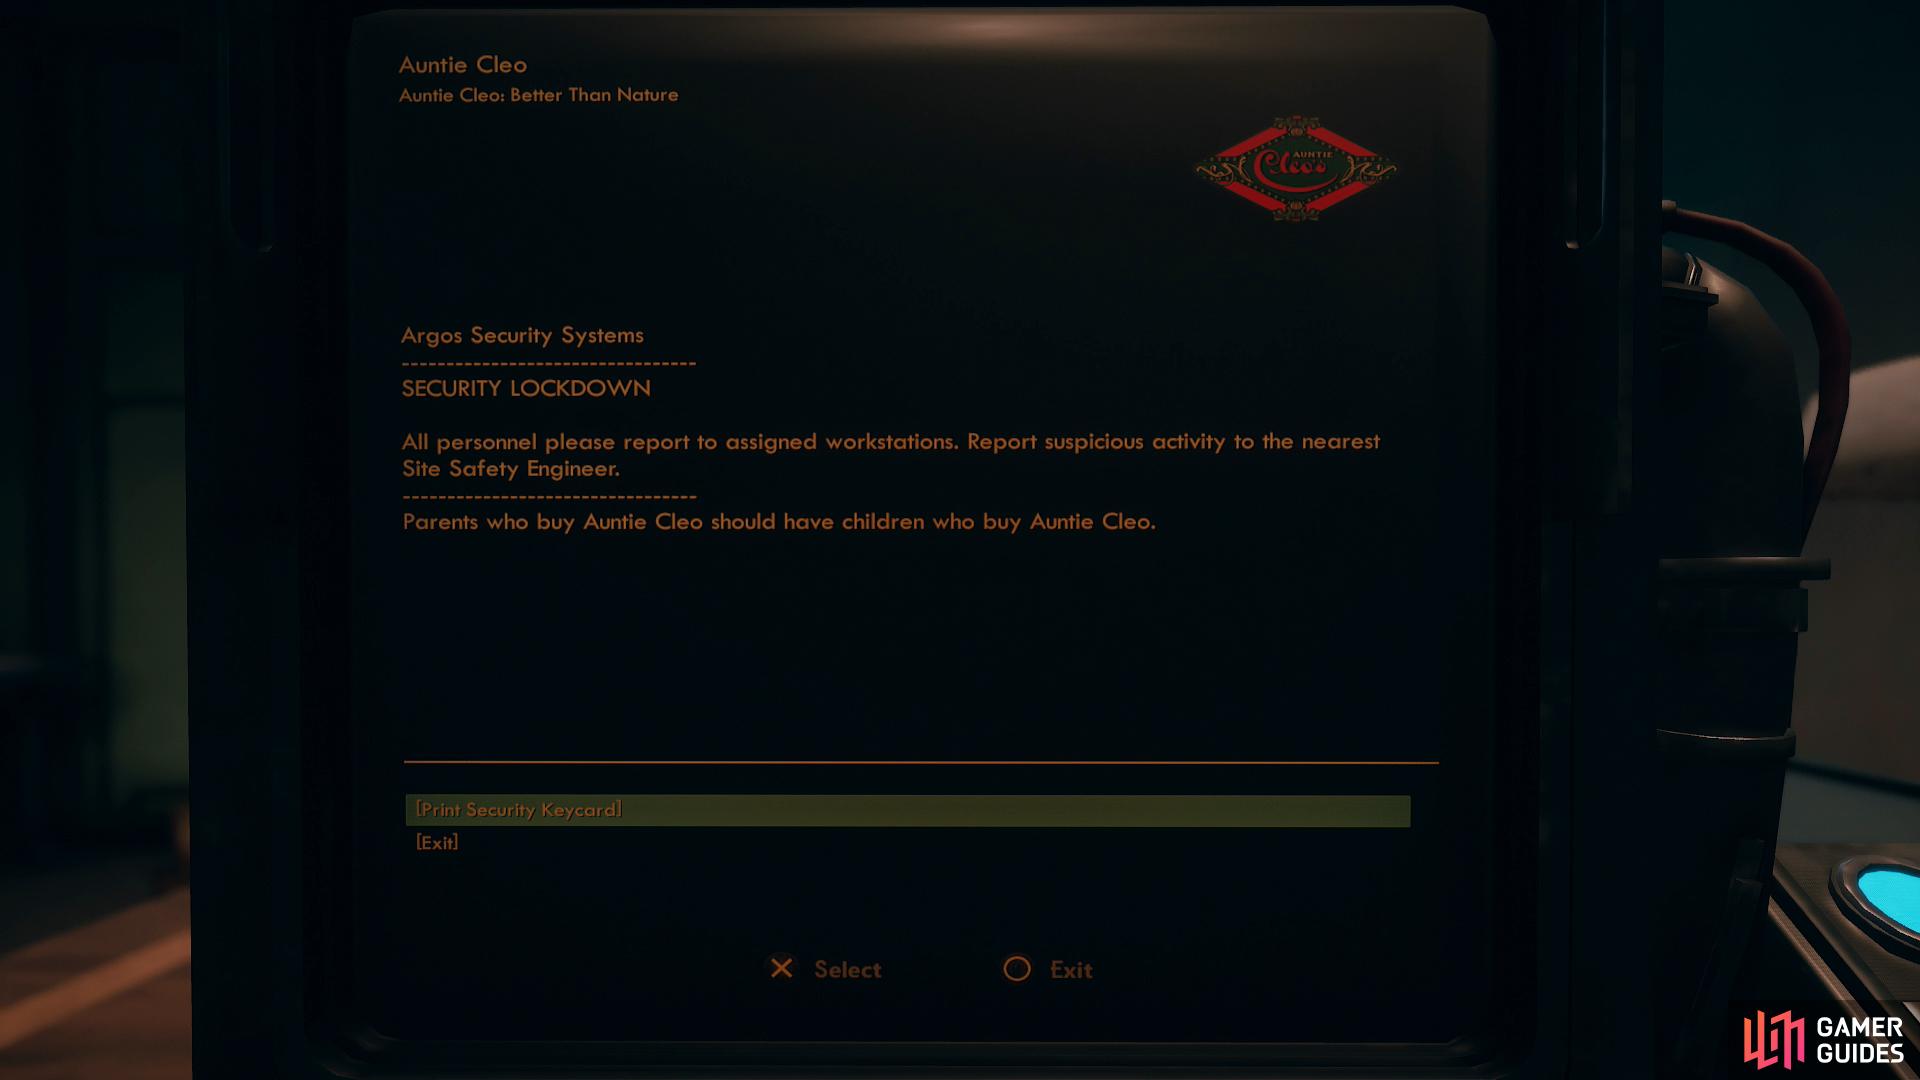
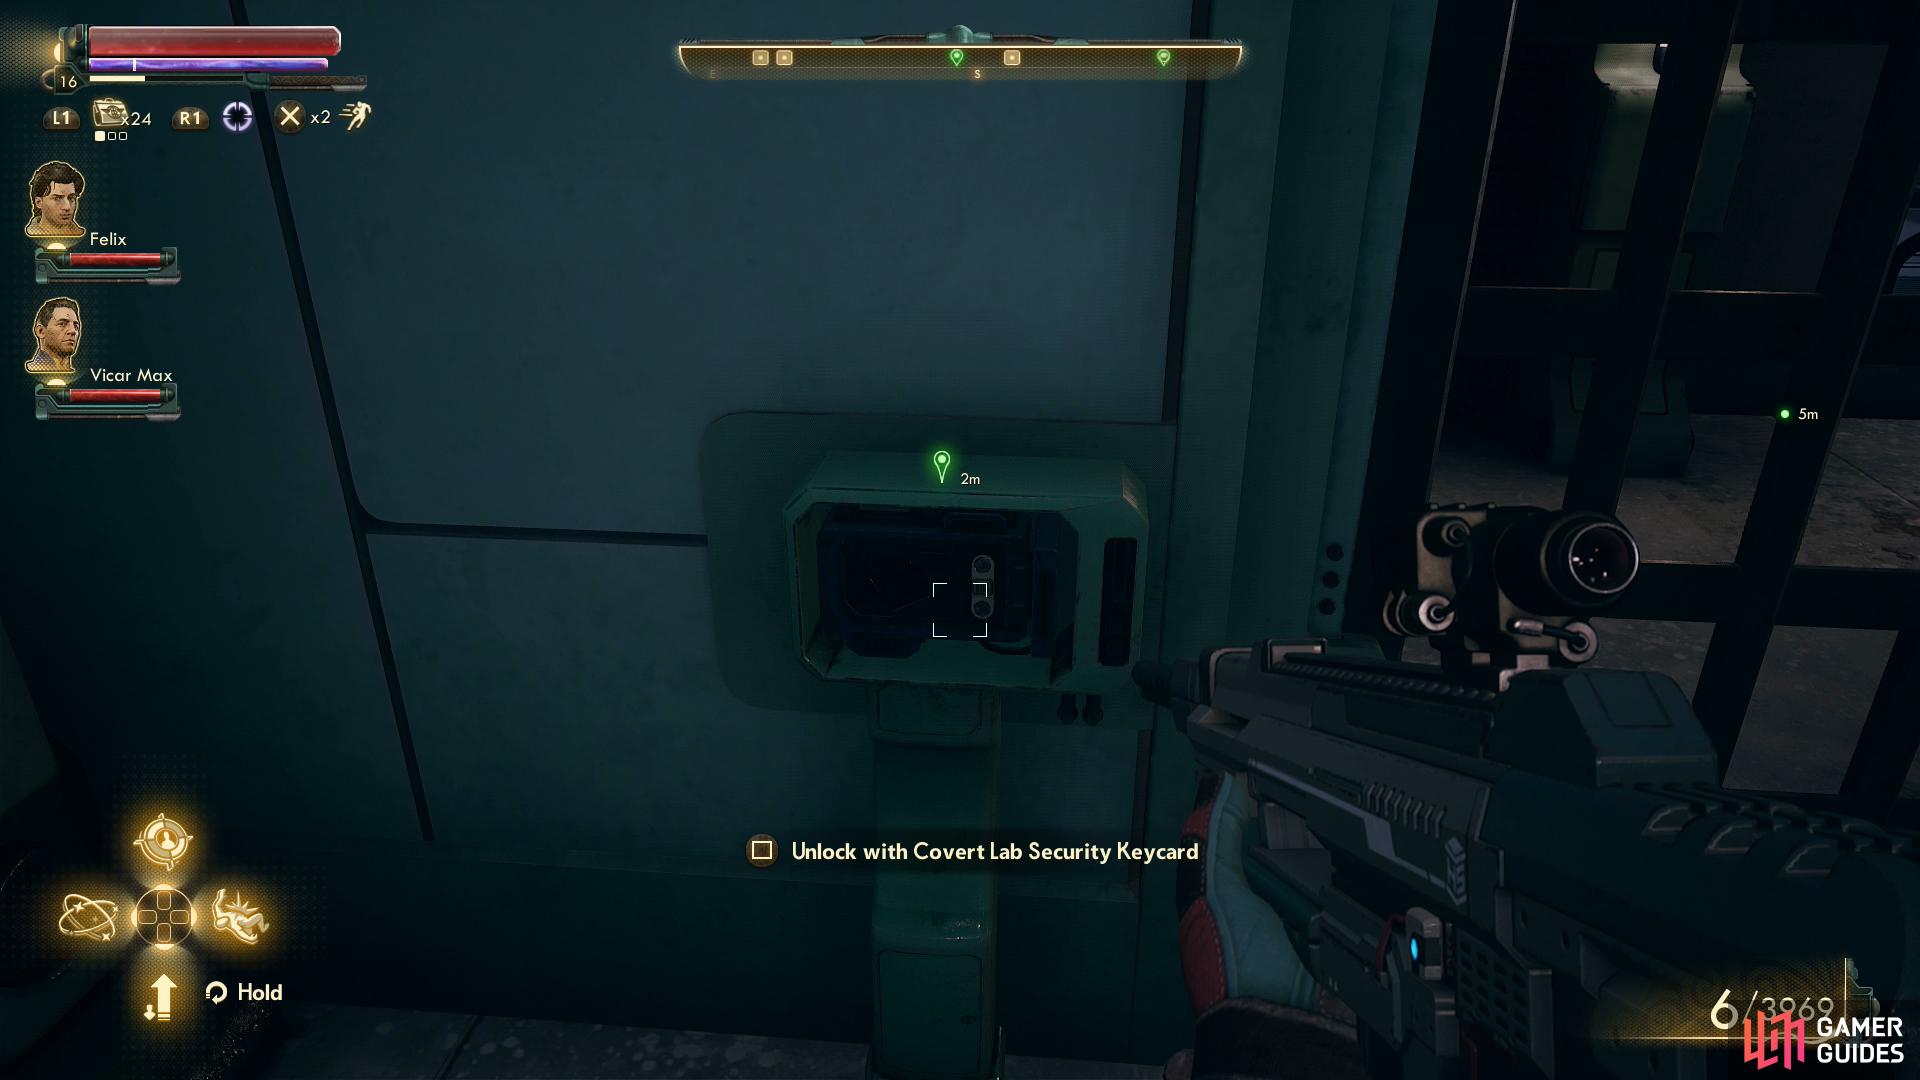
You can print out a security keycard via Porter’s computer. (left), and use it to free Cassandra. (right)
Now that that’s been covered, it’s time to get a keycard. You can print a Covert Lab Security Keycard out via the terminal in Porter’s office. To do this, head to the eastern-most section of the lab to find two doors. To the east you’ll find Anton’s office, while to the north is Porter’s office. If you want, search Anton’s Office to gain some XP for just discovering it, and more XP for examining the safe. Unnecessary, but why pass up easy XP? Pick the lock [Lockpick 20] to Porter’s office if you don’t have Porter’s Office Keycard, then interact with the terminal and select the option to [Print Security Keycard] to acquire a Covert Labs Security Keycard.
With the keycard in your possession and at least one of the exits secured, return to Cassandra… or rather, head through a door to the east of the main raptidon lab, turn right (south) then left (east) to find a ramp leading down. Descend and hopefully you’ll be greeted by the sight of slumbering raptidons, otherwise you might have some beasties to put down. Head to the southeastern corner of this room to find the door keeping Cassandra locked away, which you should now be able to open. On the other hand, if you explore a kennel along the northern end of the room you’ll find an elevator leading up to a barred door that opens up to Porter’s post. Just be wary of a mine along the way.

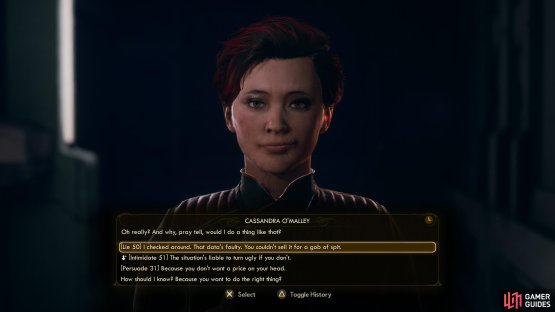
(1 of 2) You can talk Porter out of a confrontation, freeing the way for the outlaws.
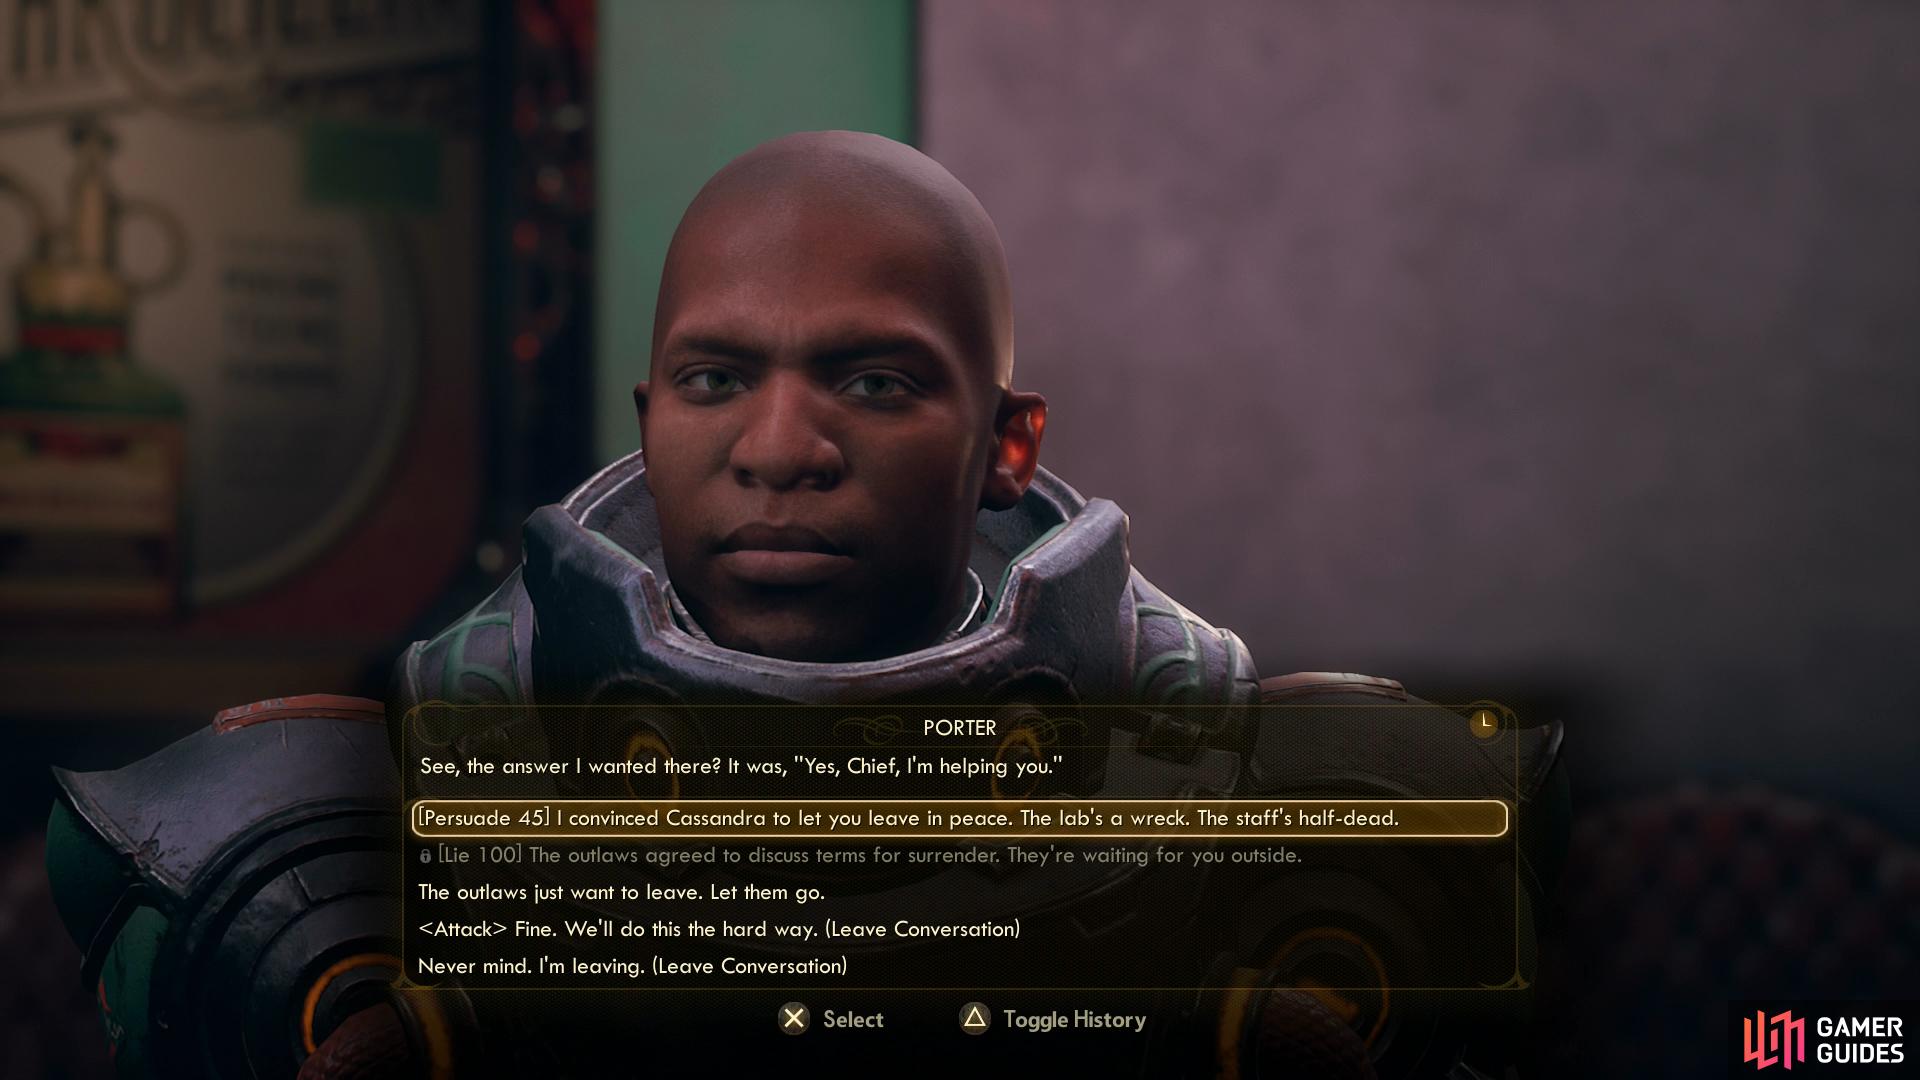
You can talk Porter out of a confrontation, freeing the way for the outlaws. (left), You can also talk Cassandra into handing the stolen data over - it’s the only way you’re getting a monetary reward from Anton or Gladys for this quest. (right)
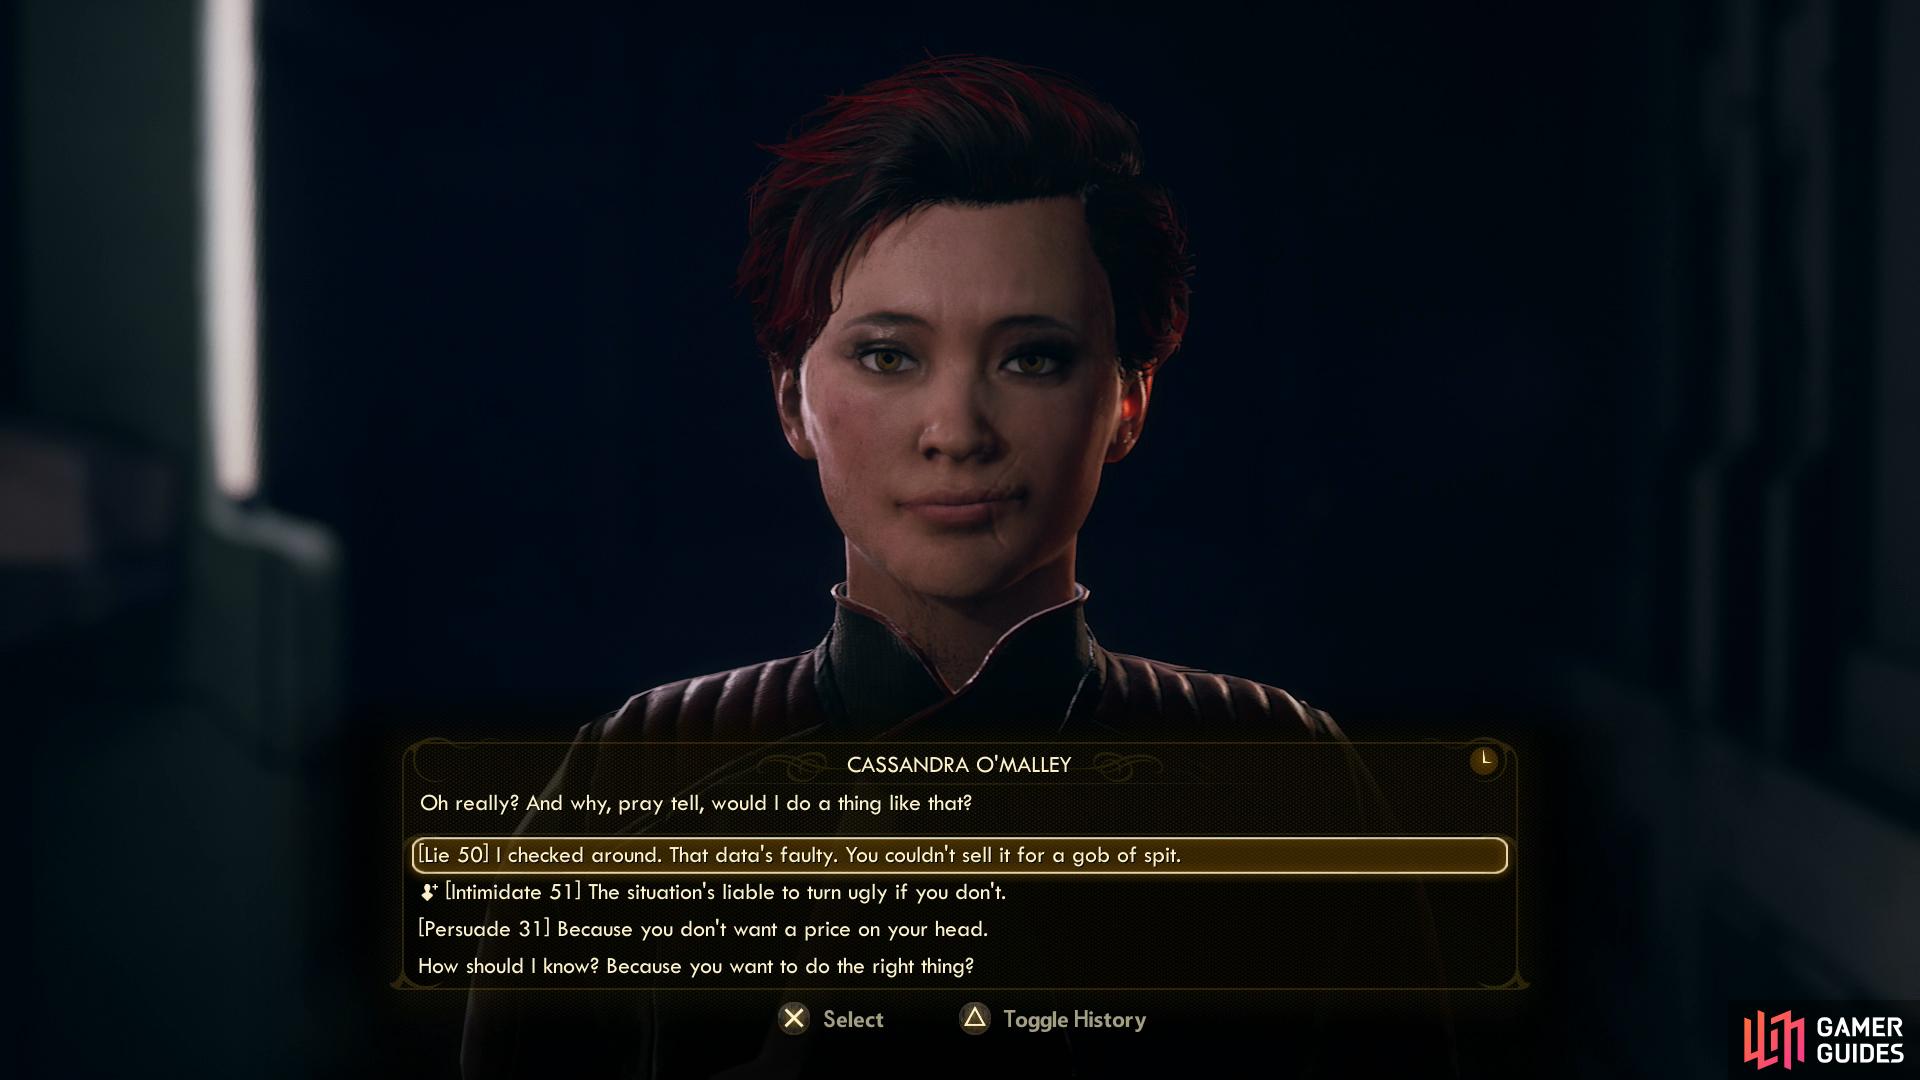
In any event, once the door is open, talk to Cassandra where you’ll have a variety of options. First, you can just let her leave, research and all, and if you don’t specifically ask for a reward (pick the dialogue option “I didn’t save your life for free”) you won’t get one, whatever she may have promised before. If you do demand a reward, however, you’ll gain 1,250 Bits, and you can squeeze another 650 Bits out of her if you pass a [Persuade 31] check - an option only available if she offered to pay you earlier.
As for the research, if you let her walk out with it you obviously won’t be getting a reward from Anton, nor will you be selling it to Gladys. Ask her to hand it over and you’ll need to pass either a [Lie 50], [Intimidate 51] or [Persuade 31] check to get her to comply, otherwise violence is the only way she’ll part with it. Porter won’t be pleased if Cassandra walks whether you get the research or not, but you can talk him down with one of the aforementioned dialogue checks, and really, there’s no reason you shouldn’t free Cassandra, extract some cash out of her, then demand she turn over the research. All you lose by doing this is some positive Auntie Cleo reputation, which is of dubious value, considering there’s really not much to buy in Roseway (vending machines don’t count).
If you really want to maximize your gains, however, you can simply kill Cassandra after freeing and talking to her. That’s right, you can offer to free Cassandra, get the keycard, open the door, talk her into handing over a total of 1,875 Bits, then demand the research and acquire that, and after she’s done talking immediately attack and kill her, then report to Porter for an Auntie Cleo reputation boost.
Whatever you do, once Cassandra is dead or has fled (with or without Anton’s research data) you should be done in the Covert Lab. The only thing left to do now is to return to Anton and tell him whatever news you have to bring.


(1 of 2) You can find a Book in a prison cell
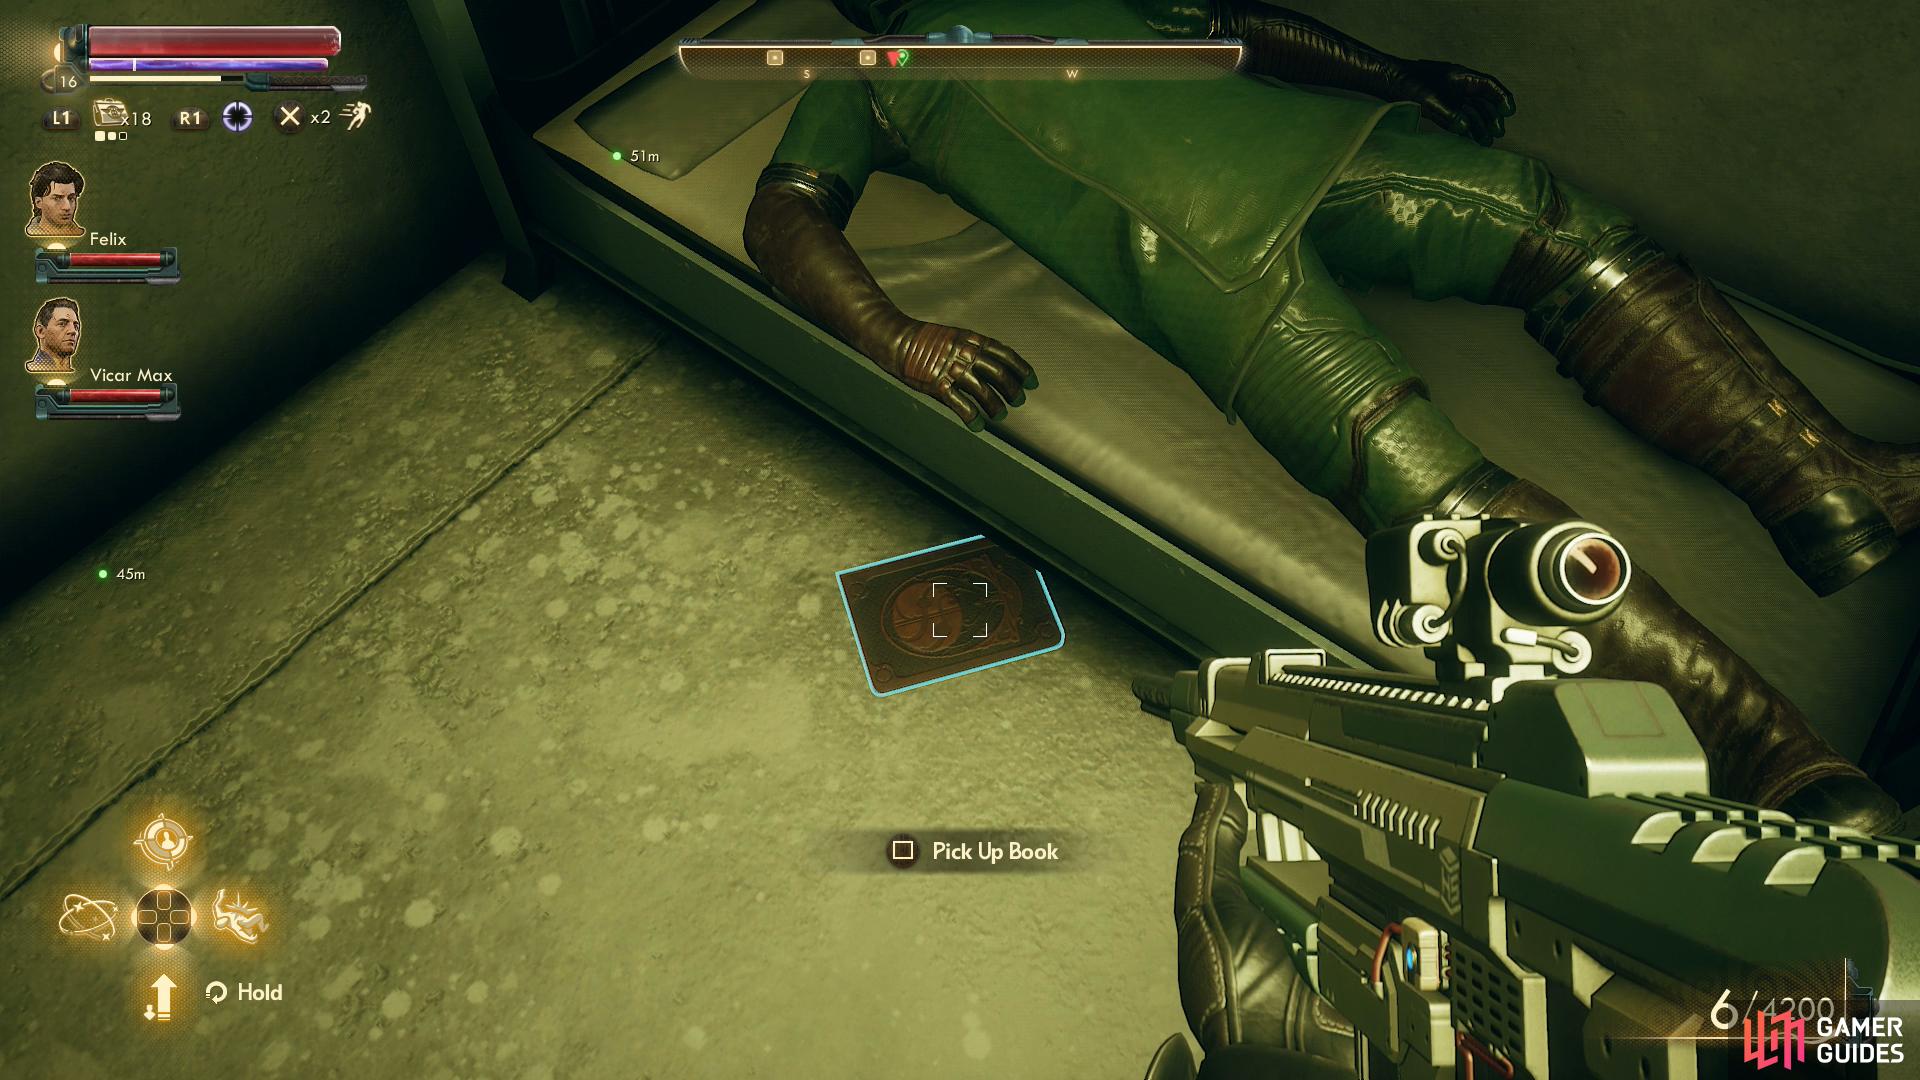

You can find a Book in a prison cell (left), and the unique Rapti-Prod in Vaughn’s Lab. (right)
Finishing Up Roseway
Return to Roseway and talk to Anton in the Roseway communications room where, of course, you’ll have plenty of options at your disposal… provided you actually acquired the research. If you didn’t, there’s little you can do but tell Anton that his research was stolen and… that’s that. If you have the research you can simply refuse to hand it over (suffering some negative Auntie Cleo reputation), you can pass a [Lie 15] check to pretend it was stolen (no negative Auntie Cleo reputation) or hand it over. If you give the research back you’ll be rewarded with 3,750 Bits and some Researcher’s Scrubs, rare clothing which will increase burn duration caused by your attacks to linger 30% longer. You’ll also gain some positive Auntie Cleo reputation, and if you gassed the raptidons, you’ll gain another bit of positive reputation.
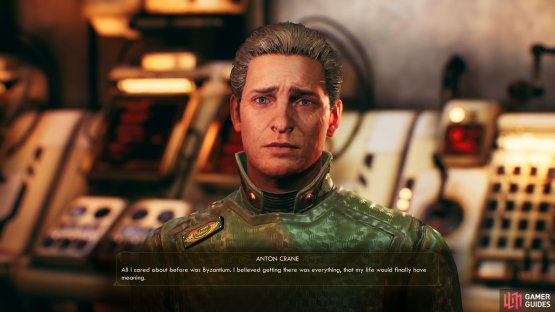
(1 of 2) You can give the data back to Anton to witness to blossoming of a conscience


You can give the data back to Anton to witness to blossoming of a conscience (left), or you can sell it to Gladys. BIts are the same, either way. (right)
Afterwards Anton will raise some concerns about the research, where you can pass a [Medical 30] check to inform him of some obvious consequences of the “diet toothpaste”. Having less appetite doesn’t mean your body needs fewer calories, and the implications are pretty obvious. For his part, Anton will then raise more doubts, which you can respond to with a choice of two [Persuade 30] checks, one condemning his servitude and another encouraging him to rebel. It’s mostly flavor (and some easy XP), but worth considering.
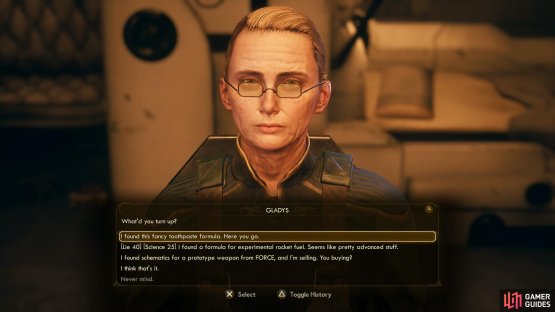
On the other hand, if you take the research and sell it to Gladys she’ll give you 3,750 Bits, whether you pass a [Lie 40] and [Science 25] combined check to tell her it’s for experimental rocket fuel, or just declare it’s diet toothpaste.
Either way, once the research has been given back to Anton or sold to Gladys, this quest will finally end. As for the quest The Distress Signal, which this quest has been subordinate to, it’ll end when you finish The Amateur Alchemist, Vulcan’s Hammer and The Doom that Came to Roseway and report your deeds to Gladys, which will hopefully get you enough cash to finish Passage to Anywhere and/or Balance Due and start the following main quests, Radio Free Monarch and The Puppet Masters, respectively.
No Comments