
| Quest Information | . |
|---|---|
| Location: | Monarch - Amber Heights |
| How to Start: | Talk to Graham Bryant |
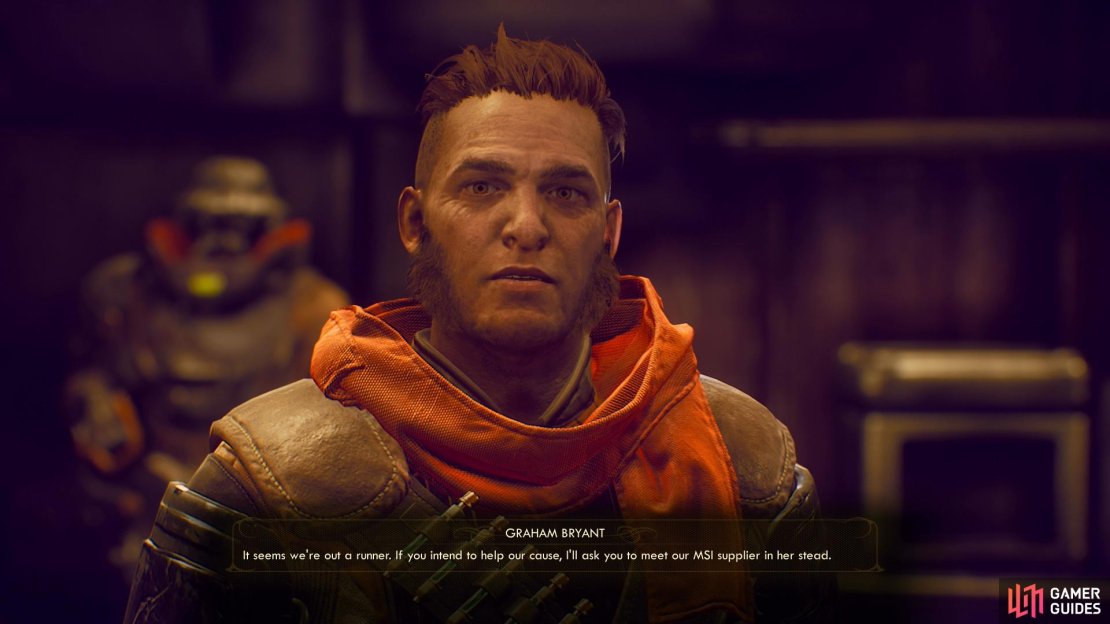
(1 of 3) Talk to Graham and he’ll ask you to fetch some supplies off their MSI contact.
To start this quest you’ll need to talk to Graham Bryant in Amber Heights, which can be found along the eastern edge of the Monarch area, just south of Stellar Bay. Once you’re in Amber Heights, make your way east from the front gate, then turn southeast up a hill to find two buildings. Enter the left (northern-most) of the two buildings and head upstairs to find Graham.
Graham is nothing short of a cult leader, in many ways more consumed with his quest to save the colony by spreading his message than seeing to the immediate needs of his flock. Fortunately for the Iconoclasts, they have Zora Blackwood, who will interject on behalf of the common sense needs of the people of Amber Heights. This conversation will play out a bit differently depending on whether you’ve met the Information Broker yet and/or you’ve rescued Huxley, the former being an objective for Radio Free Monarch and Signal Point in Space while the encounter with Huxley will happen in BOLT with His Name. The only real difference, however, is motivation - if you haven’t completed the above quests, you’ll ask if the Iconoclasts need help with anything and the dialogue regarding Huxley will be different, while if you did the quests you’ll be trying to convince Graham to shut down his broadcasts. The biggest difference is there will be the opportunity to pass a [Science 35] check if you’ve met the Information Broker, although is has no real effect on the outcome of the quest.
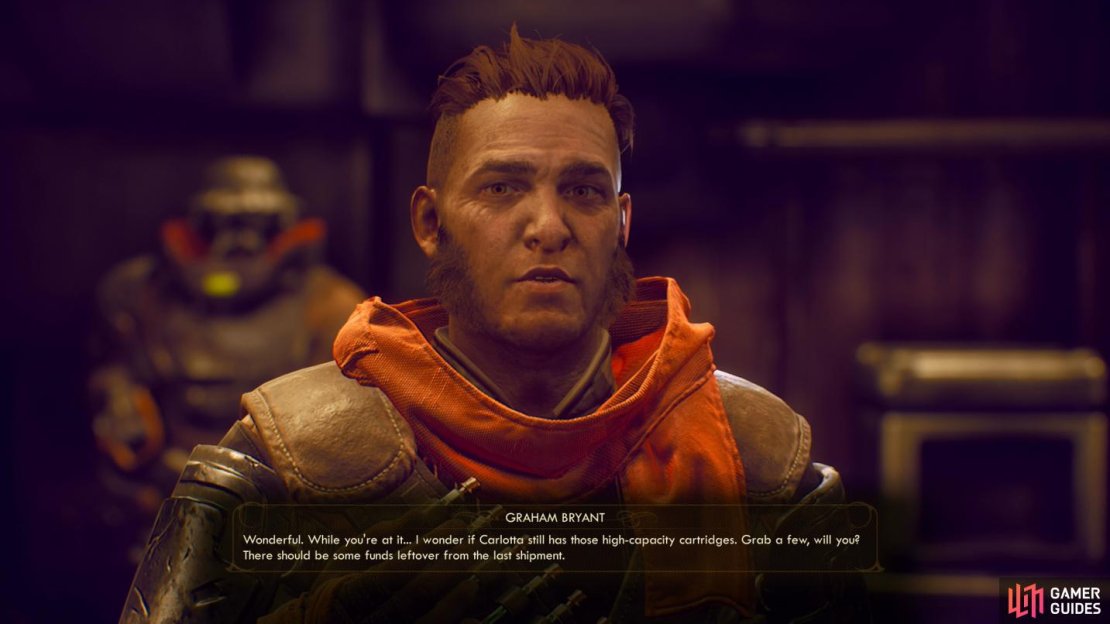
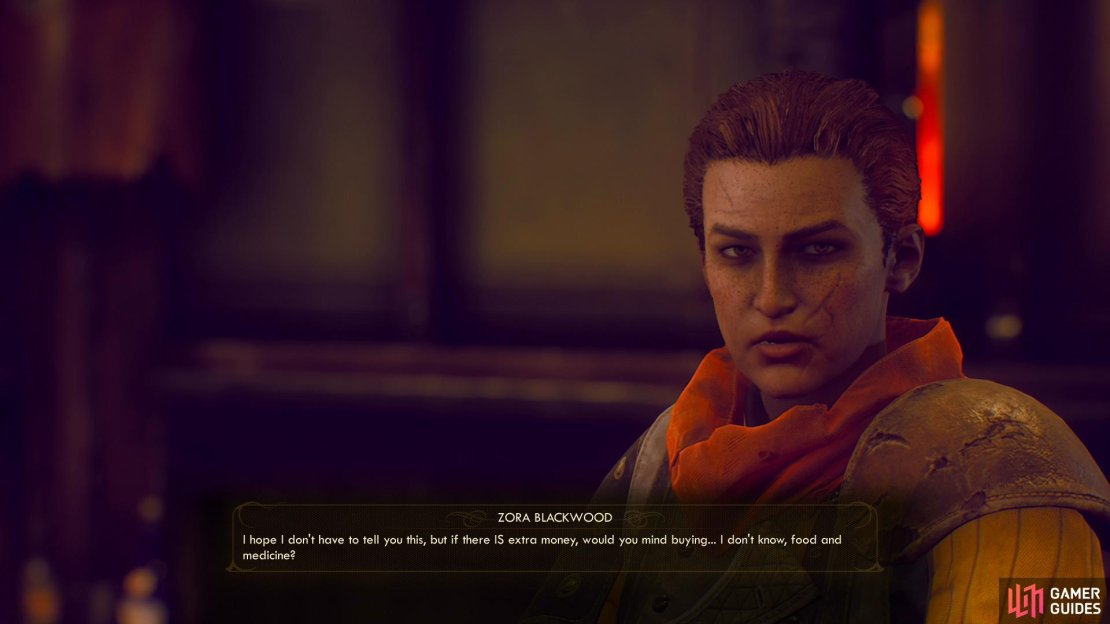
In any event, Graham wants you to pick up some printing press rollers from the Iconoclast’s MSI contact, Carlotta, and optionally get some high capacity cartridges with any extra bits. Zora caring more about people than propaganda, will suggest you get supplies instead. Either way, you’ll need to fill in for the missing or injured Huxley by meeting with Carlotta, who can be found in the Bayside Terrace Ruins… well, technically the Bayside Terrace Warehouse, but you’ll have to go to the former to get to the latter.
Leave Amber Heights and make your way along the road to the north until you reach the Bayside Terrace Ruins - buildings are noteworthy features on Monarch, so you’ll know you’re probably in the right place when you see some. If that doesn’t give the location away, the massive sealed gate at the end of a short road and the pack of canids nearby should. Kill the canids and make your way northeast from the Bayside Terrace Ruins, heading through a cave to reach the Bayside Terrace Warehouse.
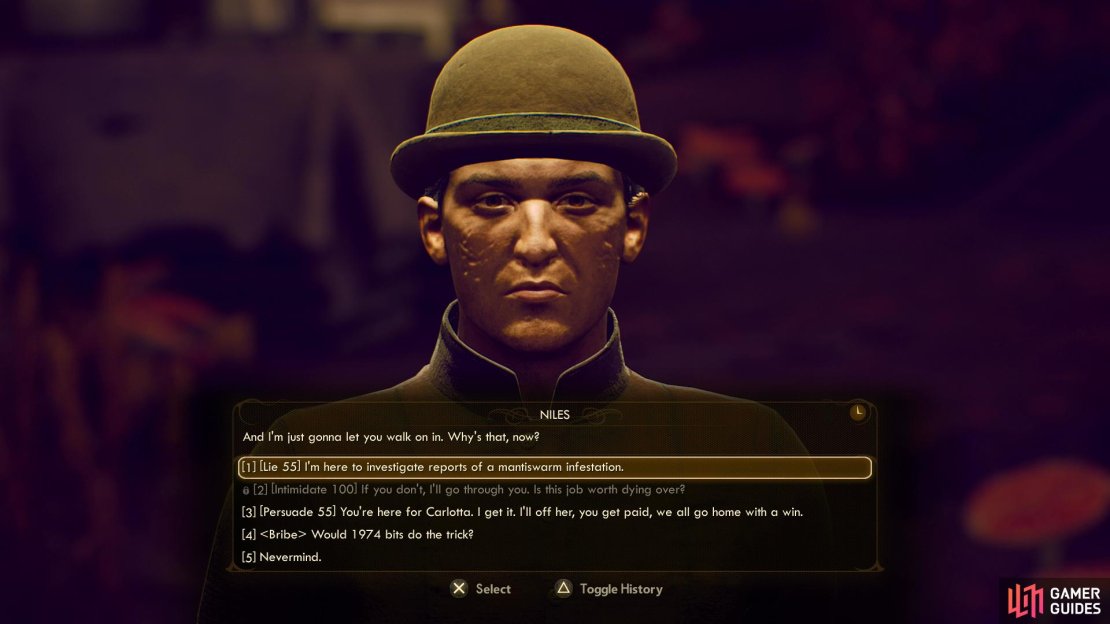
(1 of 3) You can pass some dialogue checks or bribe Niles to get to Carlotta.
Outside of the warehouse you’ll find a SubLight goon named Niles, who will make what is at best a half-hearted attempt to give you a legitimate reason to leave before the facade breaks. Seems they have a bit of dispute with Carlotta, naturally, and they’re not keen on any interruptions. State “I need to get inside.” and pass a [Lie 55], [Intimidate 100] or [Persuade 55] check, or by bribe him (this last part set us back nearly 2,000 Bits) to get the SubLight thugs to leave.
If you can’t pass any of these checks, you still have options. Notice the tall grass to the northwest, which runs northeast past the fence. The point of sneaking past isn’t to reach Carlotta - she’s too well guarded. Rather you’re trying to reach a building to the northwest, which the tall grass will, with a few breaks get you to. This is even easier if you stole a SubLight ID Cartridge from behind the fishery in Stellar Bay, from the locked room on the second floor of the pub in Amber Heights, or the numerous cartridges in Fallbrook, as you’ll be able to use the holographic shroud to basically just waltz right up to the door.
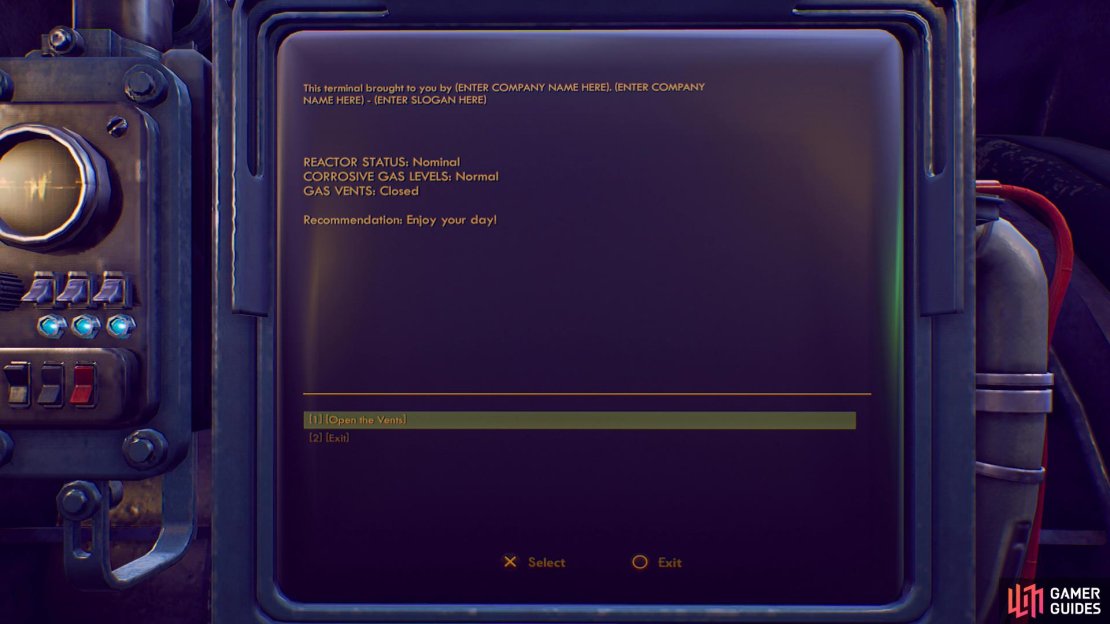
Once inside this building you can get rid of the SubLight brutes in a more permanent manner by picking the options [Continue] , [Hack 55] and [Vent the Gas], which will kill anybody outside - including your dumb companions, who like to disobey orders and run out. Something to keep in mind for Supernova difficulty. Once the SubLight criminals are dead, use the terminal again and opt to [Close the Vents]. No sense getting caught in your own trap, right?
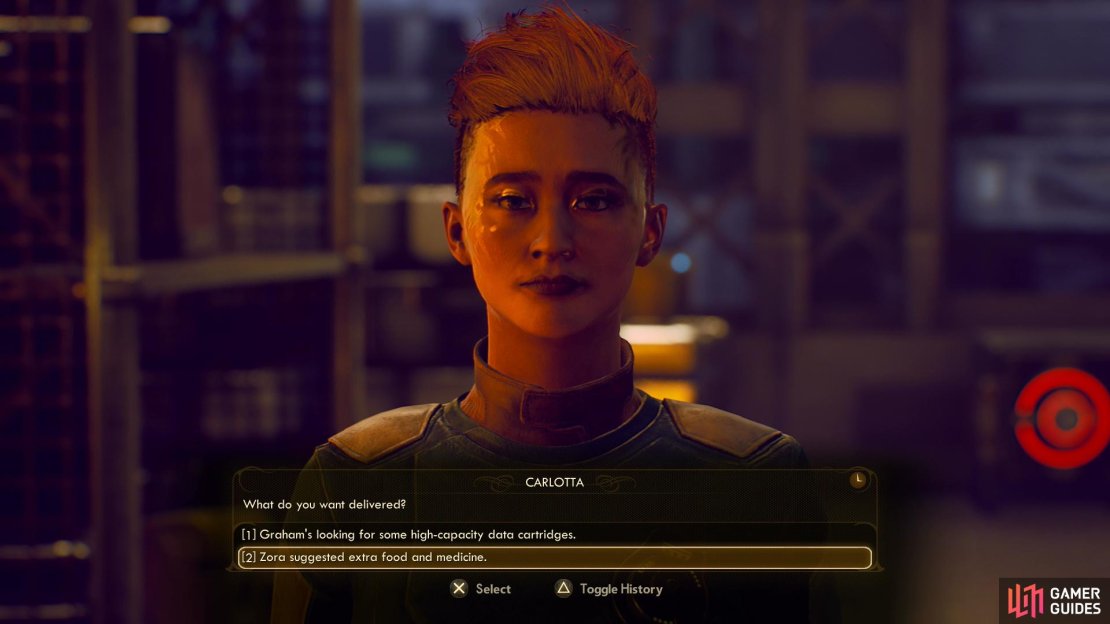
Once the SubLight thugs are dead or driven off, head to the northeastern edge of the Bayside Terrace Warehouse area to find a sealed door. Use the intercom and tell Carlotta the SubLight goons are gone and that you’re here for Graham’s goods to get her to open up. If you killed the SubLight brutes you can pass a [Lie 1] check, but otherwise there’s not much nuance to this conversation. Just don’t attack her, as if you do you won’t be able to complete the optional objective for Graham or Zora. Speaking of which, be sure to exhaust her dialogue options when you’re speaking face-to-face, then pick the dialogue option “Zora suggested extra food and medicine.”. The reward is the same either way, but you’ll get more options later down the line - including a third faction quest for the Iconoclasts that you otherwise wouldn’t get - if you consistently side with Zora during these first two quests.

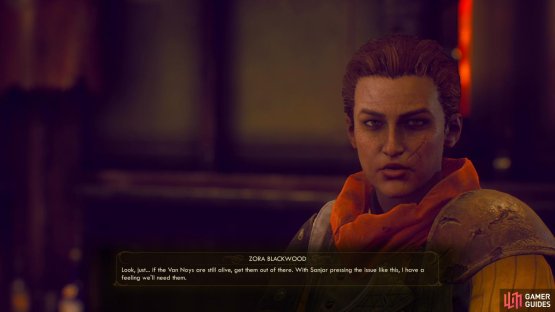
(1 of 2) Graham will next send you to repair the printing press, a task he previously sent the Van Noys to take care of

Graham will next send you to repair the printing press, a task he previously sent the Van Noys to take care of (left), Ever practical, Zora cares more about the lives of her people than Graham’s propaganda. (right)
Return to Amber Heights and talk to Graham, who is arguing with Zora, as per the norm. Ask about the Van Noys if you want, which will provide insight onto an optional objective for the next quest. Speaking of which, hand over the rollers and you’ll gain 2,188 Bits and an extra 750 Bits if you completed either of the optional objectives, as well as the Iconoclast Apostle Helmet and some positive Iconoclast reputation.
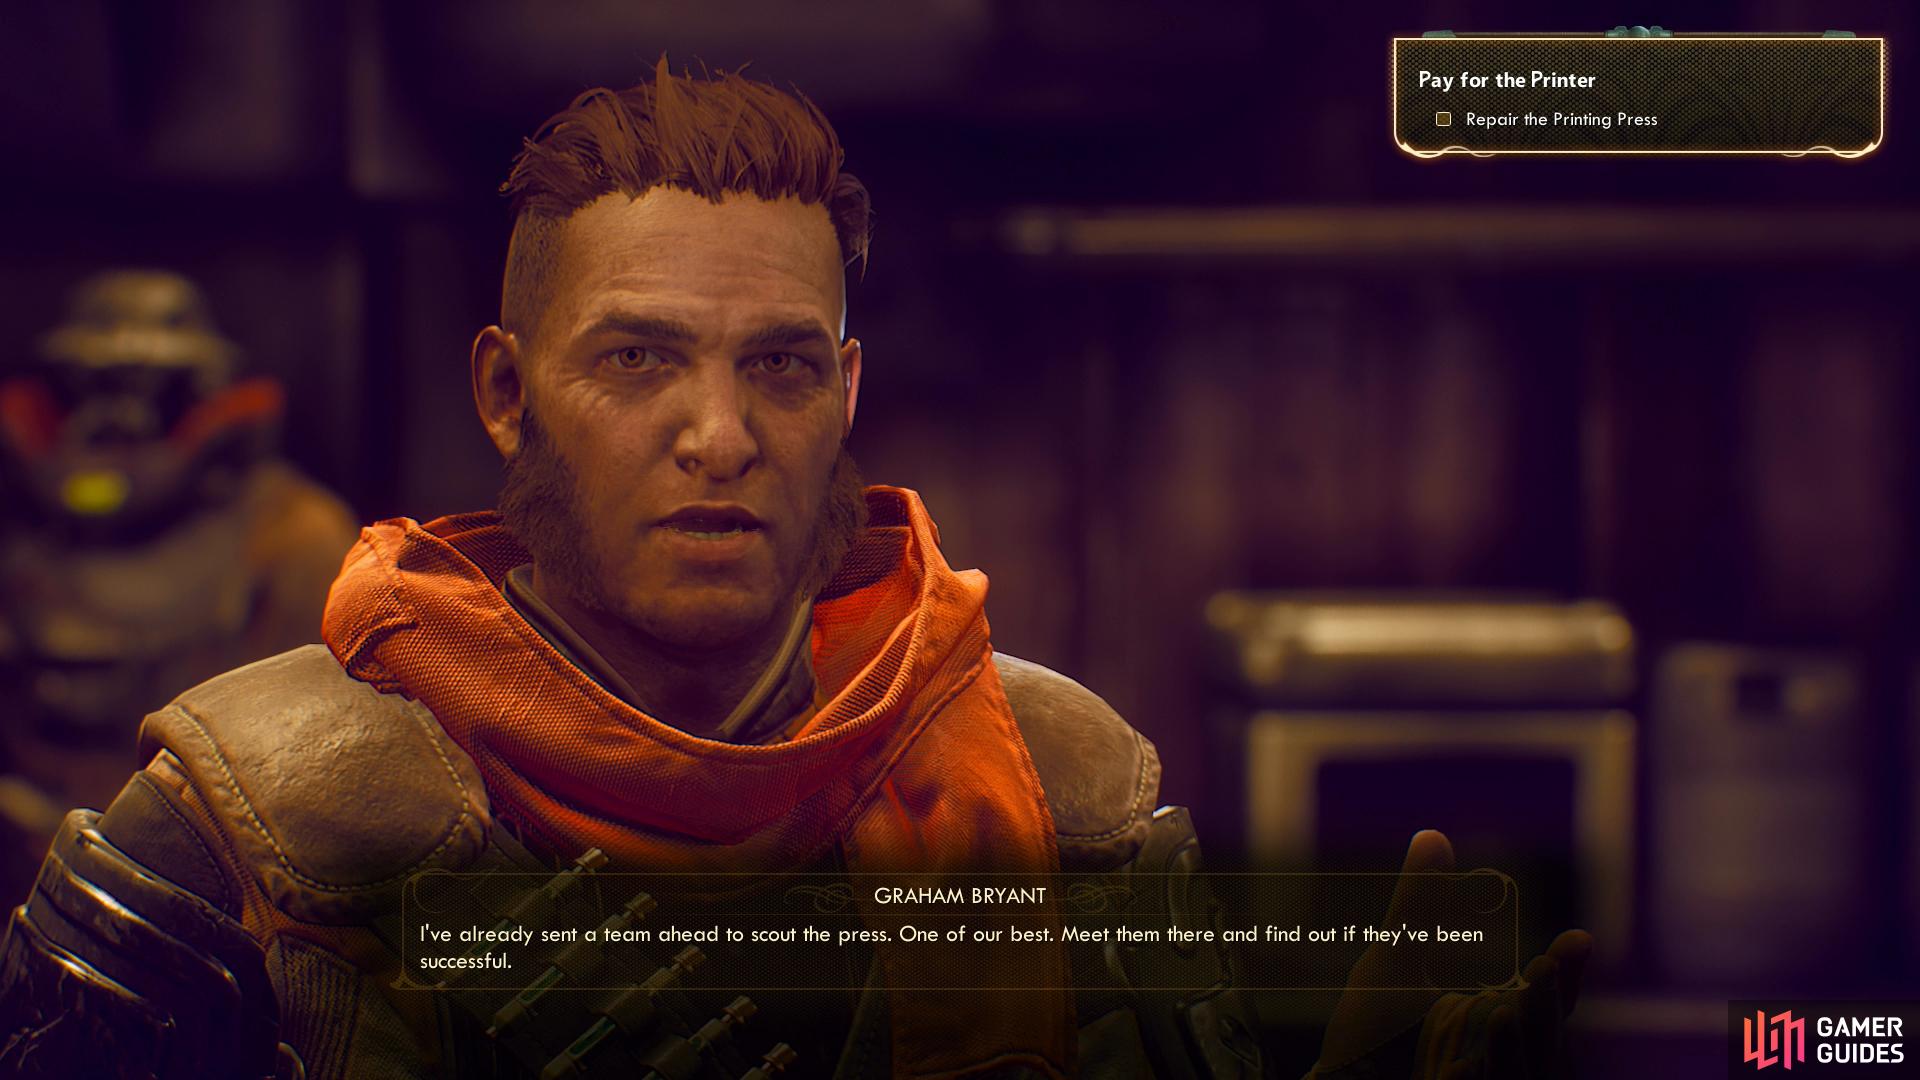
Inform them that Sanjar has cut them off and Zora will become rather… bellicose, to say the least. Ironically, she’ll prove to be the more reasonable one down the line. As for Graham, he’ll bend the conversation back to his own wants, and he’s still focused on this printing press. Next he’ll ask you to repair the printing press, a task he deployed the Van Noys to handle, at the cost of lives in other areas. Clearly Zora is more dedicated to keeping the Iconoclasts alive and well and Graham is willing to make sacrifices to spread his message - the Iconoclasts are a means to an end to Graham, and an end in and of themselves to Zora.
Anyways, Zora doesn’t have a counter-objective to Graham this time, she just wants you to go out of your way to rescue the Van Noys while completing Graham’s task. That said, what you say regarding the matter doesn’t actually affect anything, so say what you will and the quest Pay for the Printer should start.
No Comments