| Quest Information | . |
|---|---|
| Location: | The Unreliable |
| How to Start: | Use the terminal in the captain’s quarters |
After you complete the quest Comes Now the Power by acquiring a power regulator, install it in the Unreliable and head into orbit. Once done, make your way to the captains quarters on the Unreliable, which are now unlocked, and search the terminal. Pick the option [Logs] then [Log Entry #1 - Titled: Shrink Ray] to start this quest.
This quest is basically just an on-going hunt for various Science Weapons in the game. Their locations are as follows:
Shrink Ray
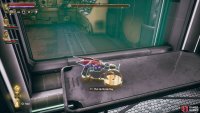
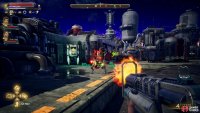
Head to Phineas’ Lab and search a table to west of the microphone you can use to talk to Phineas. That’s it, it’s just sitting out there in the open, waiting for you to take it.
(1 of 3) To get the Shrink Ray, you need only travel to Phineas’ Lab and pick it up.
Prismatic Hammer
This device can be found shortly after the Shrink Ray. Head to Groundbreaker and pass the security checkpoint manned by Cpl. Leonard Wheeler. If you want some background on this weapon you can head into waste disposal (go through a doorway to the north of Belle’s Shells) and find a corpse near the waste chute, near which are some “Crumpled Instructions”. This is unnecessary, however.
Instructions or not, in the area (north of) behind Cpl. Leonard Wheeler you’ll find a large passageway to the west. Pass through it, then turn north through a doorway to find the humble barracks where the Groundbreaker’s poor Stevedores dwell. Use some crates to climb atop the bed-domiciles and sneak your way west to find the opening to the hidden hangar mentioned in the letter by the corpse in the waste disposal chute.
Sneak into the hangar and watch out for several outlaws and their Scrap Mechanical. No way to avoid a fight here, so just try start out the upcoming fight in a good way by scoring a sneak attack if possible. The crates should provide cover while you gun down the outlaws, and once they’re down you can focus your attention on the Scrap Mechanical. Plasma works well on the outlaws, while shock will take the Scrap Mechanical down quicker. When they’re dead, loot the Outlaw Squad Leader for a Repair Hangar Keycard, which will open a locked door [Lockpick 60] to the north.
Beyond this door you’ll find the Prismatic Hammer Science Weapon in a safe that looks… rather too small for it. The Prismatic Hammer, as a Science Weapon, gets stronger the more you invest points in the Science skill, swapping between elements as you swing it, starting with plasma and shock. If your Science skill score is below 60, the third swing will be non-elemental, and afterwards the cycle will repeat: plasma, shock, physical. If your Science skill score is 60+ the routine will be plasma, shock, corrosive, physical. Finally, at Science 80+ all the modes of the Prismatic Hammer will be unlocked: plasma, shock, corrosive and n-ray.
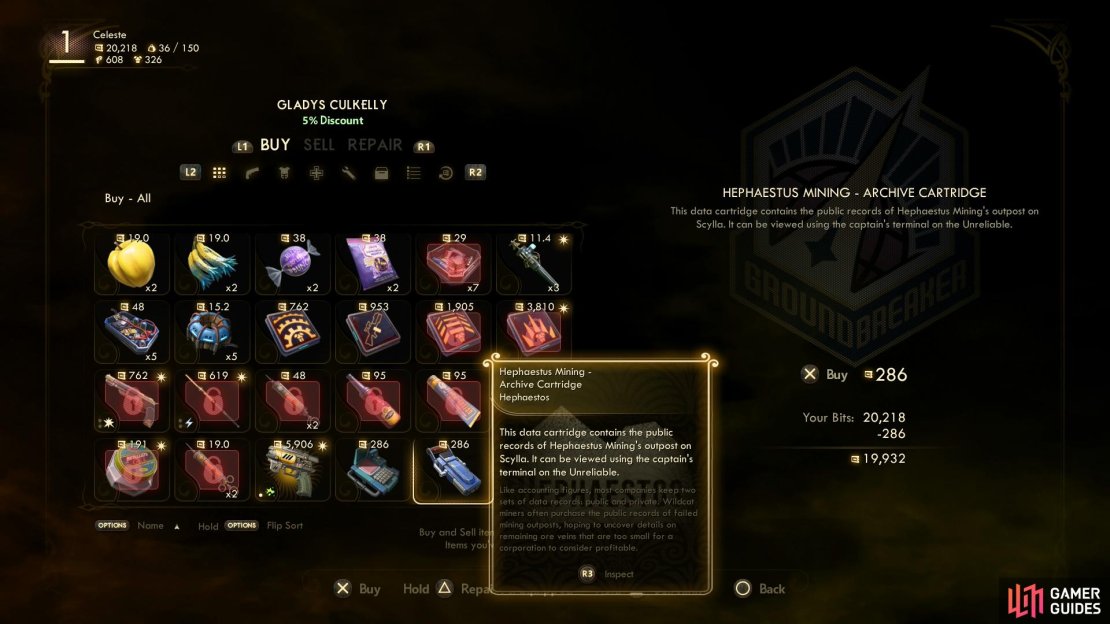
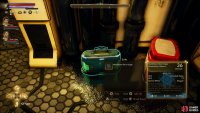
(1 of 3) Buy the Hephaestus Mining - Archive Cartridge from Gladys and read it on your computer on the Unreliable.
Mandibular Rearranger
While the Battered Mardet Datapad Gladys sells is unnecessary, another item she sells, a Hephaestus Mining - Archive Cartridge is more interesting. Okay, it’s also unnecessary in the long run, but it does actually update this quest and point you in the direction of Scylla, where another science weapon awaits. Travel to Scylla, but be warned that the enemies you’ll face here are between roughly levels 12 and 20 - you may fare better returning here when you’re a similar level.
Travel to Scylla and head south to find an elevator. Ride down and continue south to find a road, which you can follow northeast to reach some buildings on a hill. The remains of a small, mostly abandoned outpost, apparently. Kill any outlaws that pester you along the way, but be wary of the automechanicals on the hill near the buildings, as they’re significantly stronger than any outlaws on the road were.
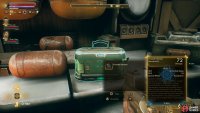
Once everything is clear, head uphill to the northeast and enter the second building to the right (southeast) and search a safe for the Mandible Rearranger. This is a rather… strange one-handed melee weapon that can freeze enemies and alter the size of their faces when struck, either shrinking or bloating their head. The head size manipulation doesn’t seem to do much, save cosmetics, but freezing foes is a welcome bonus.
There are, however, more science weapons out there, somewhere. Sadly, the terminal nearby won’t provide you with any answers, but it will give some information about the corporate squabbling that led to Scylla being abandoned.
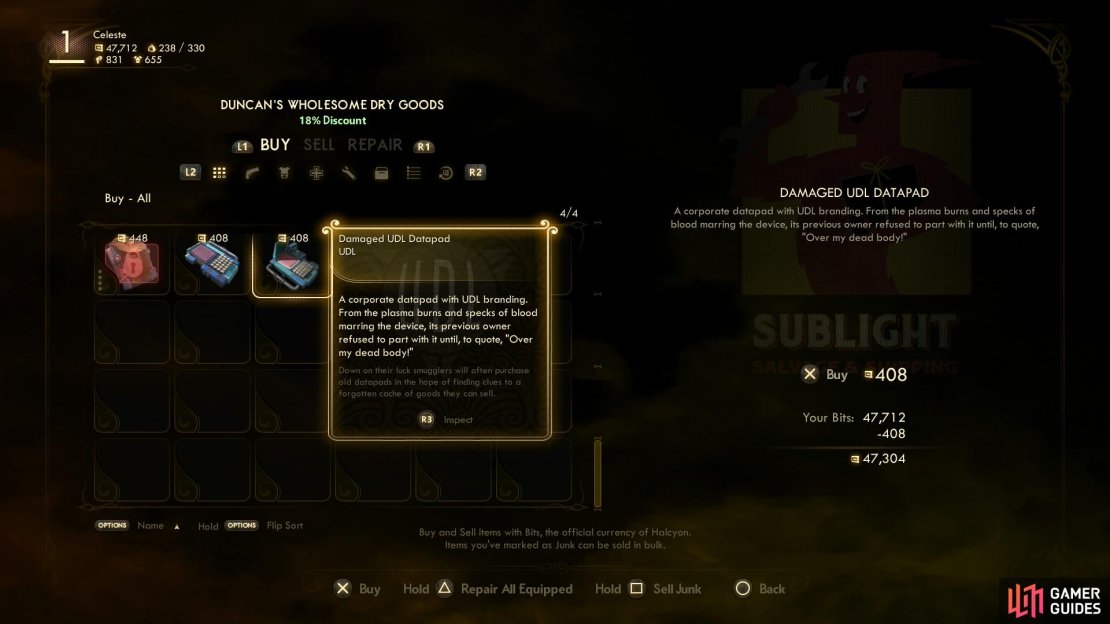
To learn the locations of the next two weapons you’ll need to travel to Fallbrook along the southeastern end of Monarch, which will require you to either make the perilous run from the Cascadia Landing Pad or acquire a Stellar Bay Navkey by either purchasing one from Gladys on the Groundbreaker or by completing the quest Long Distance while working for the Board. If only we had a dollar for every time we had to type that, we’d have… like, a dozen dollars, at least. Anywho, visit the SubLight Dry Goods & Sundry shop and talk to Duncan Elley, who will sell a SubLight Datapad and a Damaged UDL Datapad, both of which will update this quest. Apparently there’s another science weapon on Monarch (the faction quest Errors Unseen will take you to where it’s located, if you want to kill two birds with one stone), and one which will require you to work with Lilya Hagen, as the area where it’s located can only be accessed during the quest Space-Crime Continuum.
(1 of 3) Buy a Damaged UDL Datapad from Duncan Elley in Fallbrook
Gloop Gun
From Fallbrook, head north to reach the Blown Bridge - to clarify, you want to be under where the bridge once ran. From the Blown Bridge head uphill to the west, northwest to reach a pond (where you can find a locked bin [Lockpick 95], turn north, northwest, kill some mantids, then turn northwest to reach the secret corporate installation - the UDL Lab.
There are are least three ways you can deal with this area. Simply kill all the marauders - there’s lot of tall grass, so sniping shouldn’t be remotely difficult, especially the ones on high ground, who tend to be fairly isolated. You can attempt to sneak past them (especially if you snipe some key targets), although many of the enemies are inside the northwestern-most building. Best of all, you can get rid of most of the marauders by flipping an alarm. To do this, sneak over to the northwestern-most building, find a terminal on the building’s northern corner [Hack 54], and select the option [Activate Alarm] and wait a few moments and the marauders should vacate the premises… save for the few that tend to get hung up on the roofs/ladders.
Once the marauders have been dealt with one way or another, enter the largest, northwestern-most building in the UDL complex. Head upstairs and grab the UDL Lab Weapons Terminal Keycard off a table, with which you can bypass the security on a terminal downstairs [Hack 98]. Access said terminal and pick the option [Unlock Gloop Gun Containment Unit], after which you’ll have to either answer some questions or pass a [Hack 55] check. The correct answers are as follows:
-
Protect the Chairman.
-
Berate him relentlessly to defend the Chairman’s honor.
-
Arrest your spouse and admit your children to a reeducation program.
However you manage to get through the terminal’s security, when you do you’ll be able to open the containment unit and access the Gloop Gun, one of the game’s rare Science Weapons. Claim your prize, then loot the rest of the building. The Gloop Gun is a mortar-type weapon that shoots globs of… well, goop at foes, which weakens, shocks and causes the enemy to float helplessly for a short time. Very effective the first time you fire it, but subsequent shots may not reliably replicate the weapon’s effects.
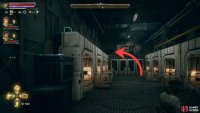
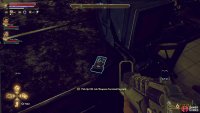
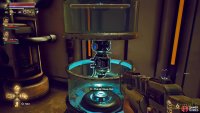
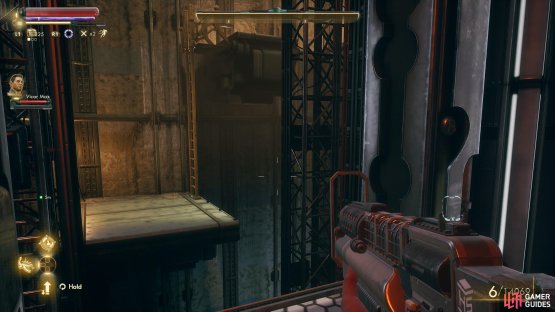
(1 of 2) Jump to some ledges and climb some ladders
Jump to some ledges and climb some ladders (left), to reach the Mind Control Ray. (right)
Mind Control Ray
This science weapon cannot be uncoupled from the quest Space-Crime Continuum, as you can only acquire the Mind Control Ray during that quest. To start it, read a terminal near the SubLight building on Groundbreaker and pick the entry [Seeking Contractor: Sublight Salvage]. This quest will lead you to Lilya Hagen, who offers you a job… if you can get a Stellar Bay Navkey. This in turn can be accomplished by either purchasing one from Gladys on the Groundbreaker or by completing the quest *Long Distance* while working for the Board (another dollar!). Once you have this, talk to Lilya and accept her job offer to start Space-Crime Continuum.
Space-Crime Continuum is covered in more detail on its linked page, but to get into the lab where this weapon can be found you’ll need to talk to Catherine Malin in Fallbrook to get the password to the lab, then fight your way to Cascadia, enter a building on the eastern end of southern Cascadia, input the password and ride an elevator down to the lab. Work your way through the lab until you reach the last room which features an elevator and a doorway to the southeast, beyond which you’ll find perhaps the game’s only platforming segment.
It should be noted that your companions are not up to the task of following you through this area unscathed, so if you’re playing in Supernova difficulty, have them hold position (if indeed you even need to bother with this in Supernova difficulty…), then jump over to a ledge to the southeast. Climb a ladder, jump a gap to the southwest, climb another ladder, then loot a safe to find the Mind Control Ray science weapon. Collecting this should update (dare we say, complete?) the quest Weapons From the Void.





No Comments