| Mission Acquisition | Rewards |
|---|---|
| After Level 3 Resistance, John Seed | N/A |
You’re Marked!
Once again, after you pass Resistance Level 3 you’ll be contacted by John and informed that his capture party are on their way again. You’ll be hit by a Bliss bullet no mater what you do, resist the urge to avoid the confrontation and take the bullet.
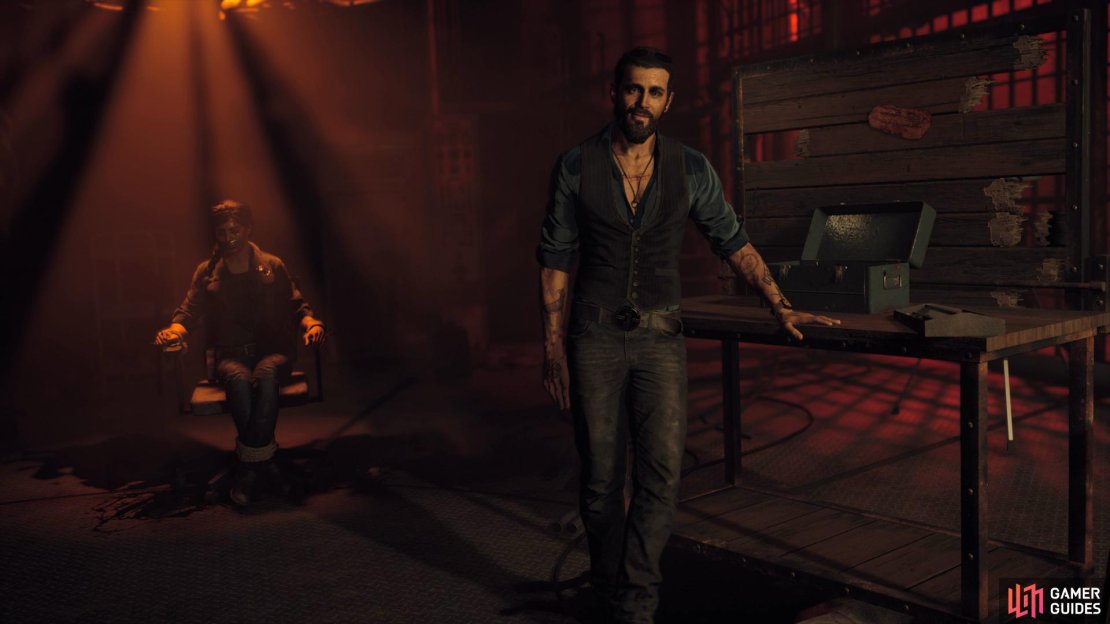
You’ll awake to find yourself being interrogated by John along with Deputy Hudson and before long you’ll be given the choice to say “Yes” that you should refrain from. John will leave soon after and you’ll be given back control, move your chair forward to the stairs and throw yourself down them to free yourself.
Find Deputy Hudson
The first thing you will notice is that you are completely unarmed meaning that you’ll want to keep to stealth here for the time being. If you head back up the stairs, you’ll find a Socket Pipe which will help out in these early stages of the mission should you be seen. Head back down the stairs and crouch under the pipes ahead before dropping down a hatch.
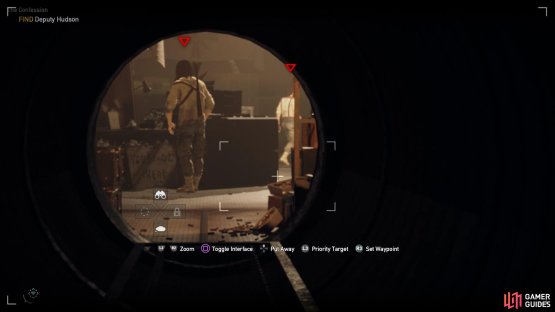
You’ll see two cultists ahead of you, take out the binoculars and tag them to make it easier to keep track of any enemy you come across during this section. Take out the first cultist near the picture of Joseph before quietly getting behind the other and dispatching him.
The next room features another two more cultists, one of which patrols the long stretch of the corridor. Be patient and wait for him to patrol back to your location and then perform a takedown when he shows his back, you’ll now be free to move over to the other and take him out too before opening the door to the next section.
You’ll be at a junction here, branching off to the left and right. Immediately upon entry you’ll be able to peek two cultists conversing to your left which you can tag quickly with your binoculars. Wait for them to finish speaking and one will walk off leaving the first as easy pickings before you scuttle off down to the next.
Continue down this corridor here and you’ll see an opening to some barracks to your right and a locked door in front of you where if you have the Locksmith Perk you’ll find some Smoke Grenades, a Med Kit, a .44 Magnum along with ammo and Mustard plants.
(1 of 2) Make good use of the binoculars to help see enemies around corners
Make good use of the binoculars to help see enemies around corners (left), the Med Kit will be useful in the final stages of this mission. (right)
In the barracks you’ll come across four more cultists, one sitting down to the left (if entering from the left corridor), one doing situps nearby to your right followed by two more at the back. You’ll want to tag them all before dispatching the one to your right doing situps first. Next up is the cultist sitting down on the left before the last two at the back. Two more cultists will appraoch from either end of the barracks along the corridors, feel free to throw a Throwing Knife if one gets the jump on you before rushing over to the other. You’ll now be able to head over to the door where Deputy Hudson is.
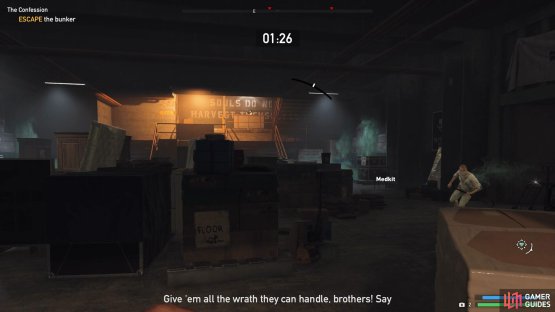
Escape the bunker [01:30]
You’ll need to get out of the bunker as quickly as possible before your lungs fill with the Bliss that John has let off. Abandon your stealth routine at this point and make a beeline for the nearby stairs, you’ll only want to take out whatever enemies are necessary here. If you need to defeat any enemies at all here then use either the magnum from the locked door or a handgun to do it in as quick a way as possible. It’s a straight shot to the surface if you keep taking all the stairs in front of you.
(1 of 2) Avoid all combat and head for the stairs at the back
Avoid all combat and head for the stairs at the back (left), don’t stop until you reach the bridge at the end. (right)
Escape the area
You’ll find even more cultists awaiting you outside, use a Med Kit here if you have one (and need to) and then make a run for the bridge to the southeast, through the trees. Once you reach the bridge, the mission will conclude and you’ll no longer be pursued.





No Comments