Primary Objectives
Secondary Objectives:
o Disable the signal jammer [250XP] + [Ghost 500XP] + [Smooth Operator 250XP]
Enter through the door up ahead an let the two guards finish their conversation. One of them will enter the area you are in, so prepare for a takedown as soon as he enters. He holds a [POCKET SECRETARY] with a keycode to the dorm: 1385. The other guard is alone and doesn’t pose much of a problem.
Enter through the door up ahead an let the two guards finish their conversation. One of them will enter the area you are in, so prepare for a takedown as soon as he enters. He holds a [POCKET SECRETARY] with a keycode to the dorm: 1385. The other guard is alone and doesn’t pose much of a problem.
The building to the right here contains the signal jammer. You can enter through the window (noisy) round the front (obvious) or through te fence to the right (sneaky).
Go through the double doors to your right. If you alert a guard, wait for him to calm down, then head through and hide behind the railing. Head right (north) and go down the steps, then take out the sneaker here, but beware of the Heavy on duty up ahead; you’ll need to be fast so you’re not seen. Quickly hide his body behind the nearby crates.
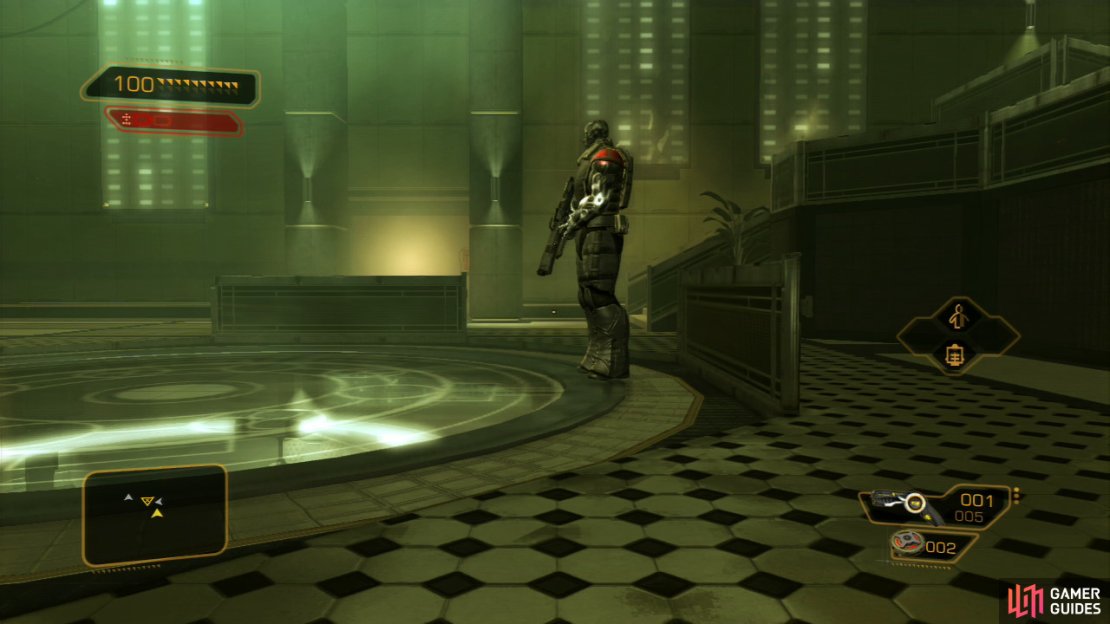
Move around the corner, continuing north, but right before you head around the corner, briefly switch on cloak to avoid being seen by the Heavy and Turret. Go up the steps, then sneak through this area until you reach a breakable wall at the corner of the street. Break through and enter the building.
Finding the three scientists
Go through the two rooms and you’ll reach a small hall. Go around the corner, ignore the first intersection (which leads to a large hall), and move into the first open room to your right. Incapacitate the single guard here and break through the breakable wall in the corner, next to the shelving.
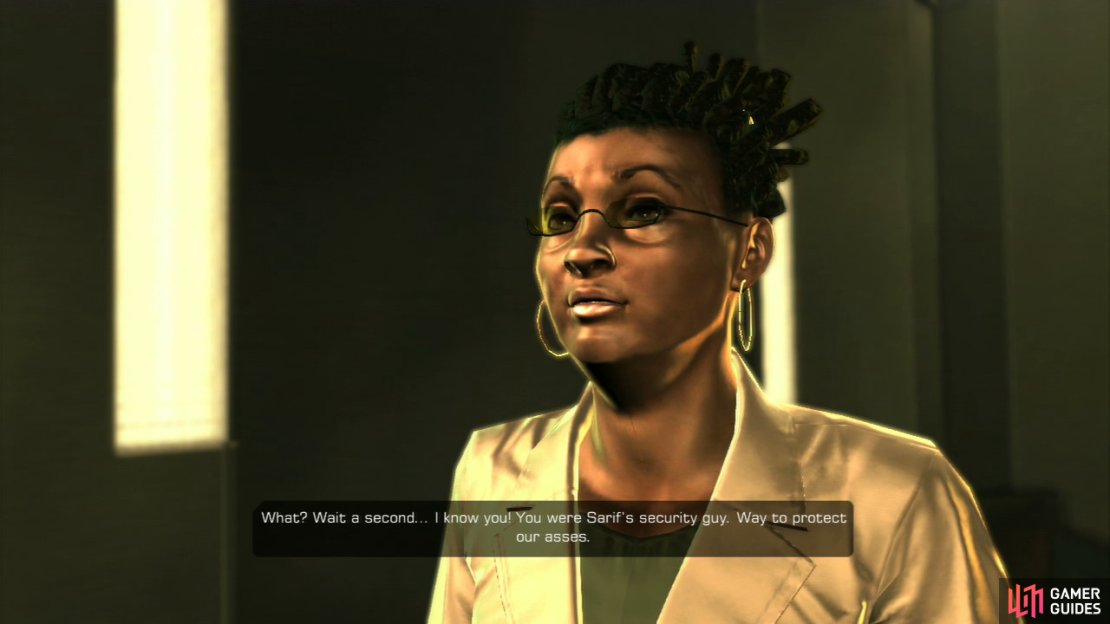
Move the two cardboard boxes away from the wall to reveal a ventilation system. Use it to get into an office with Dr. Nia Colvin. Speak to her to learn more about the other scientists and how to deal with security [250XP], [GHOST 500XP], [SMOOTH OPERATOR 250XP].
Go through the next room and open the door; if this alerts the guard, take him out. Alternatively, use cloak to get past him and the camera on the left. If you’re sneaking past him, follow the below strategy to easily take him out. Otherwise, simply enter room G-23.
Move past the camera to the left (in the direction of a door that reads G-23), and move to the far south end of this hall. Go inside room G-24 and take out the sleeping Sneaker guard. The PC here contains a funny email about Nigerian spam email. Good to see those are still around in 2027. :)
In the next room, use the LVL4 security hub (PWALTS/ruckus) to shut down two cameras, then backtrack through the hall and enter room G-23 at the far end. It’s got a LVL4 security panel (code 5377), so either hack or use the code.
Inside the room south of G-23, look for a [HUGH DARROW EBOOK] on the workbench.
Move the large metal crates out of the way to access the elevator and ride it up to the third floor. Here, speak with Eric Koss in the other room to your right, then ride the elevator back down as you go looking for the third scientist [250XP].
Head down the long hall once again, this time going right, passing through the skywalk and going downstairs. Be careful; there’s a Heavy guard around the corner, as well as a Sneaker moving to the south part of the area. When the Sneaker is standing (with his back facing you) in the south part of the area, out of the Heavy’s sight (when he’s facing the other direction), pop a tranquilizer dart in his veins.
Should the Heavy notice him, quickly go for a takedown. Otherwise, hide behind the railing and take him out whenever possible - perhaps with the help of cloak. From where you entered the room, continue straight ahead; the west area of the building is where we’re going to search next.
Go inside the first office (B-14) and remove the copier machine from the wall. Head through the vent so you can easily take out the guard in the other room when he sits down on the chair.
In the hall, head through the laser beams with cloak on (or hack the LVL4 device), then ride the elevator down. Make your way through the hall and talk to Dr. Declan Faherty in the surgical room behind the double doors. He will - being the last of the three scientists you found - give you the data disc from Vasili to upload the virus [250XP].
And to quote Faherty, “It’s time to teach these wankers a lesson!”
Continue through the area and make your way to the room east of here. Look for the breakable wall in the upper left corner and destroy it. Turn the valve to stop the poisonous gas from leaking into this area, then make your way over the pipes and vent shafts to reach the area where you broke the first breakable wall to get inside the building [TRAILBLAZER 400XP]. Excellent.
Uploading the Virus
Now continue all the way through this grassy hall until you reach another large hall with a Medium Bot on patrol.
Hide behind the crates and leap over to the other side whenever possible. From here, sneak to the far end of the area while hugging the left wall, hiding behind boxes.
If you’re interested, while still hiding on the crates to the left, unlock the LVL4 storage box (code:2410) in which you’ll find - among other things - a [LASER RIFLE] and [LASER RIFLE BATTERY (500)].
Sneak past the camera and security bot, then move around the corner to your left and walk down this hall. At the intersection with the camera, first sneak under it, then move down the right hall (with a dormant security bot in the storage box) as it looks the other way, then go through the door. The LVL3 PC can shut down the camera and shut down the nearby security bot.
You can rig the tunnel up with mines if you want to kill these guards for some XP.
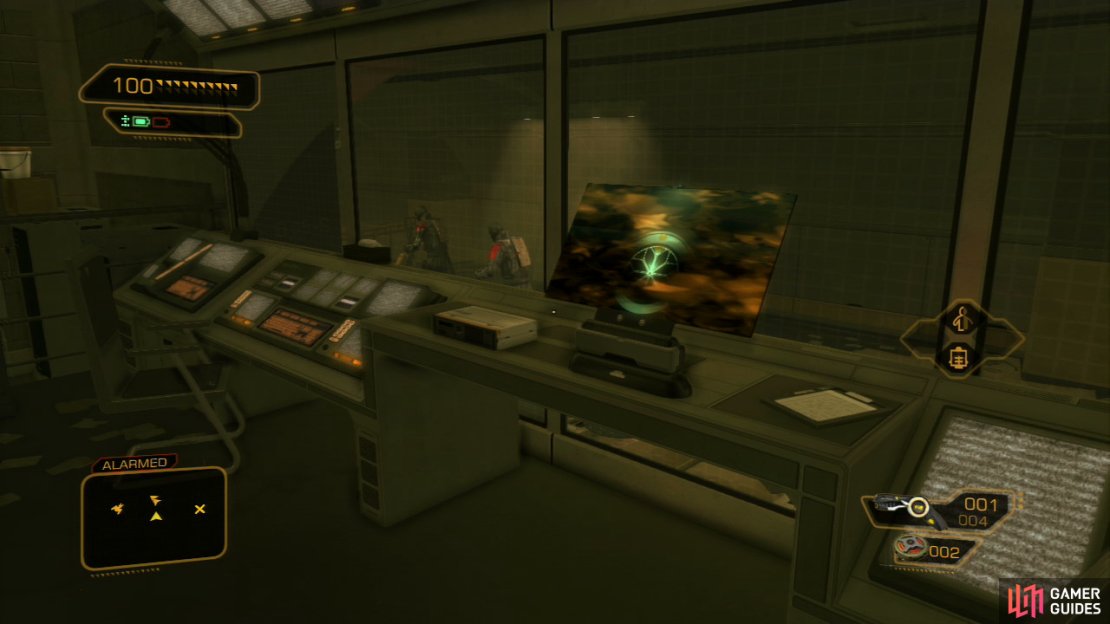
Use the Disc Reader on the desk to use the data disc you received and upload the virus [750XP], [GHOST 500XP], [SMOOTH OPERATOR 250XP]. Stay hidden and wait for the three guards to run through the hall. Ride the elevator down when you’re ready. Watch the cutscene and a boss battle starts.
Boss Battle: Jaron Namir
Jaron is the bastard who injured Jensen so badly he had to undergo surgery and is therefore the direct reason why Jensen now has augmentations. Bitter irony then, that it is these very augmentations that have taken you this far.
If you ignored the advice earlier and did install the new Biochip, all your augmentations will be jammed for the duration of the battle, and your vision, HUD and radar are constantly blurred, making things considerably harder. This also means you won’t have access to your Typhoon augmentation, which would otherwise be of tremendous help.
Jaron has three attacks:
-
He’ll fire somewhere between 2 and 5 plasma shots at you, then shoot another burst at you. Then he’ll either reload or take a second to shoot another burst at you.
-
He’ll toss three grenades at you; a Gas, EMP and Frag Grenade. You’ll quickly want to make a run for it if he throws these.
-
Jaron will counterattack whenever you attempt to perform takedowns.
o The area consists of two parts divided by a glass barrier, separating the passageway from the other area. It’s important to note that the Laser Rifle can shoot through the glass, and you can find this weapon in the drawer left of the entrance door.
o It’s a good idea to start the battle - just as with Barrett - by throwing a (Gas) Grenade at Jaron. Of course, if you’d have three Typhoon Rounds at level 2, the battle would be a breeze, but not everyone will be so fortunate.
o The main idea is to keep a large distance between you and Namir, to hide behind corners, avoiding his plasma bursts and grenade tosses, and to shoot him whenever possible.
o You’ll want to make good use of the Laser Rifle, and empty it on Jaron. If you run out of ammo, switch to a different weapon or switch to grenades.
o There are various boxes underneath the moving statues that contain items. Search these whenever you get low on ammo.
o Use EMP Grenades to jam Namir’s augmentations, allowing you to briefly shoot him. Avoid his Plasma bursts whenever you can by hiding behind corners.
o Don’t hesitate using Pain Killers and Hypostims when your screen turns red (which is the only indication you have to tell if you’re running low on health if your augmentations are jammed). Alternatively hide first, try to heal up, and then use a Hypostim to boost yourhealth.
When the battle is over, loot Namir’s body for [10x PLASMA CAPSULES] and [CREDITS], and be sure to grab his [PLASMA RIFLE], which is a good combat weapon. Head through the exit to finally find an old friend [250XP].
Be sure to hack the LVL5 security safe to find the last [HUGH DARROW EBOOK] (Reimagining Retinal Implants: Doctor Dobelle’s Success) inside.
Ride the elevator and access the control panel. If you saved Malik before she’ll kill the Crazy Mercs in the helipad room, saving you the trouble of having to avoid them. Otherwise, rush past them by running over the helipad. Try staying in the middle to reach the Leo Shuttle without a scratch.
When you’re done here, enter the Leo Shuttle to depart. Destination: Panchaea.



No Comments