Primary Objectives
Secondary Objectives
Maintenance Plant Courtyard
When you arrive at the plant, two SWAT members are waiting outside. The later you arrive, the less friendly they’ll be. Go through the door and open the middle locker to your right to reveal a [CYBERBOOST PROENERGY BAR] . Lift the small carboard box to your left to reveal [56 CREDITS] . Another small cardboard box on the floor in the corner of the cabinet reveals a [BEER] . No better way to start a mission with a beer, right? In this case it’s actually true. It boosts your health with 5 points (and gives blurry vision for a few seconds only; worth your while). Inquire with the police officer, then be on your way. The middle locker in this area contains [PAINKILLERS]. Head outside and Pritchard contacts you. It’s possible to already snipe one of the Purists down below by going to the far end of the roof, but it’s just as easy to perform a melee takedown on him - which is more rewarding.
Head down the two ladders - there’s nothing of interest on the inbetween roof - and sneak around the corner. Wait for the Purist to finish his phone call and perform a takedown on him. Normally you’ll want to hide bodies, but this time that won’t be necessary - no one patrols here. Be sure to loot his body, and make this a habit [POCKET SECRETARY] . The game already gives you a choice which way to go. You can either go straight ahead (front door), or head inside the building by roof (stealth). Let’s go over these both.
Front Door
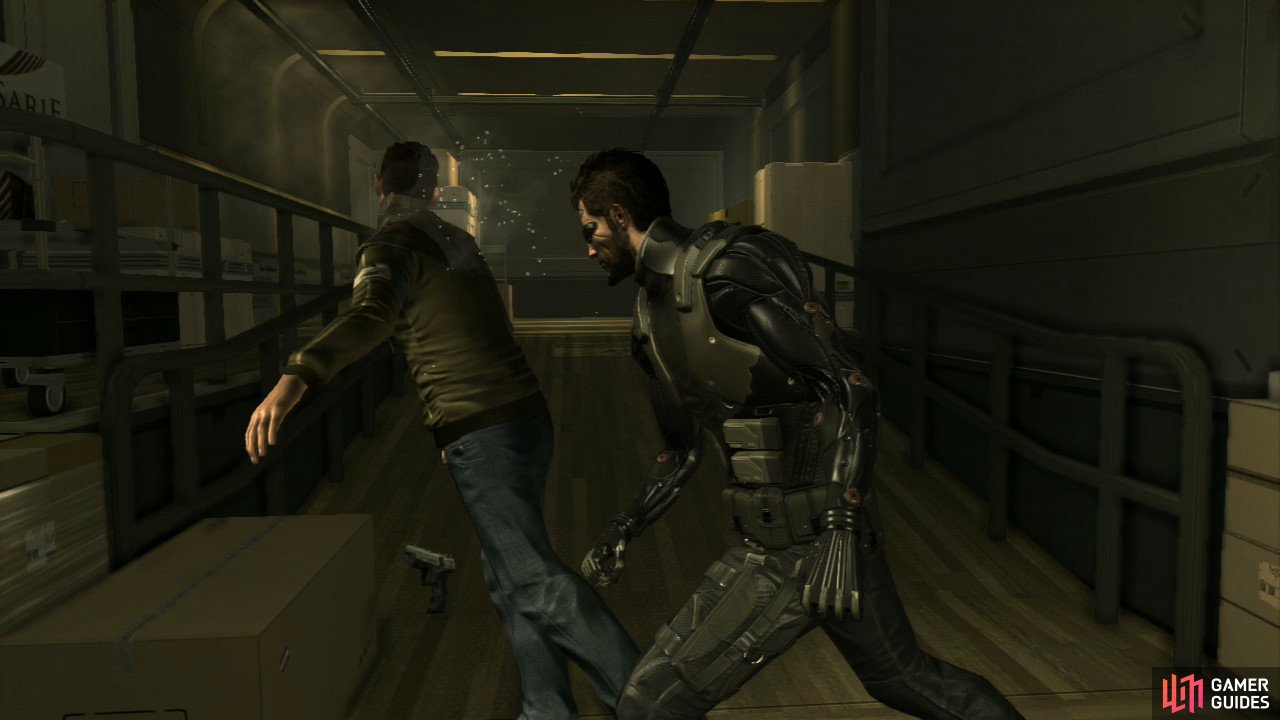
In fact, this doesn’t even have to be a guns blazing action. While it’s quite easy to kill the three Purists in this area, regular fire arms alarm the entire team. There is, however, a stealthy alternative available. First, note that the Purist closest to you is standing still. The second Purist makes a small walk around the block, and the third strolls up and down the stairs.
Make your way to the crates nearby the Purist who’s standing still and wait for the other two to look away (the third goes up the steps, and the second going for another small block). Take the Purist down at the right moment, and quickly drag him behind the crates, properly hiding him out of sight. No limbs or head sticking in the sight of the others? Good. Time for the second one. There are also [10 COMBAT RIFLE AMMO] on the crate left of the ones you’re hiding behind.
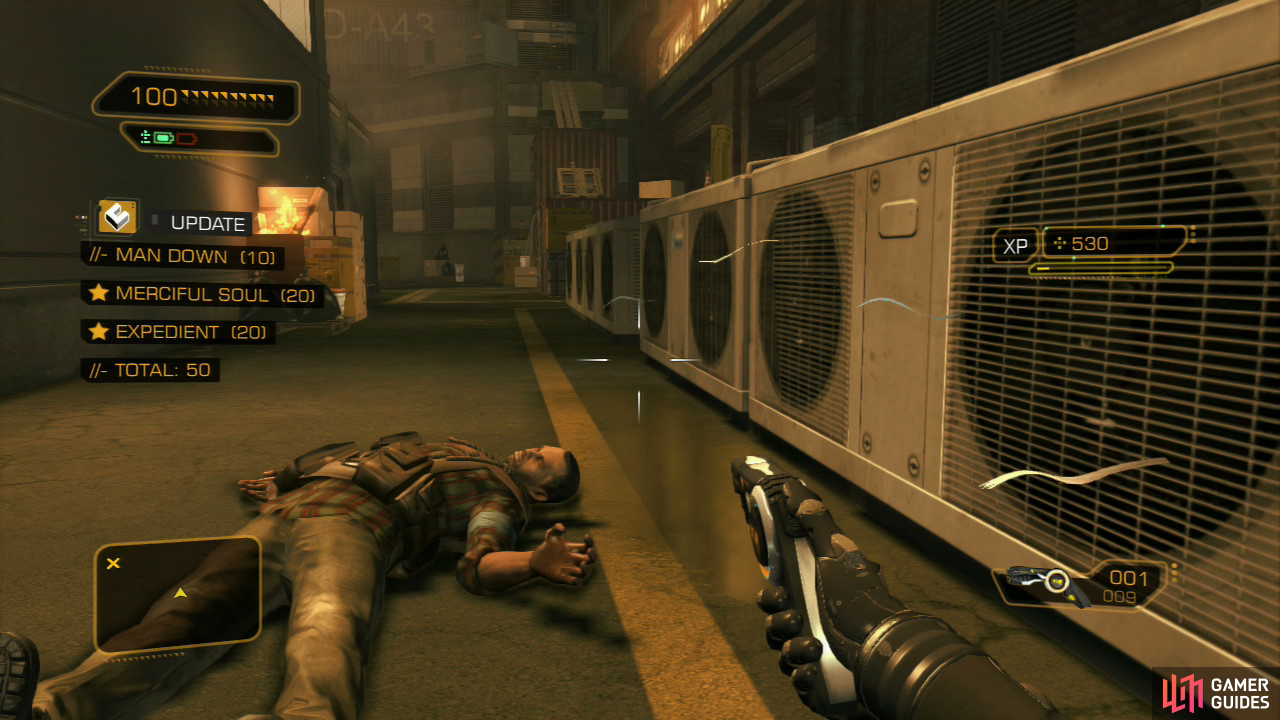
You can choose to down either of the Purists first, because things are easier with just the two of them, but let’s start with the second Purist. When he’s about to walk past the crates (and the other is looking away), take him down and make sure his body can’t be seen. Loot his stuff - making this a habit - and stealthily move to the other Purist. It shouldn’t be too hard to take him out now that the entire courtyard has been cleared. The only thing you’ll want to be sure of is that your first energy cell has recharged before each single takedown.
If you do choose to kill your enemies the old fashioned way, note the two red - explosive - barrels you can use to your advantage. An alternative stealth path is to head through the door in the alley - collecting the [5 STUN DARTS] inside this small cabin - hopping over the crates here, and crawling through the small area. This gives you a different vantage point, but the takedown principle stays the same.
The Roof
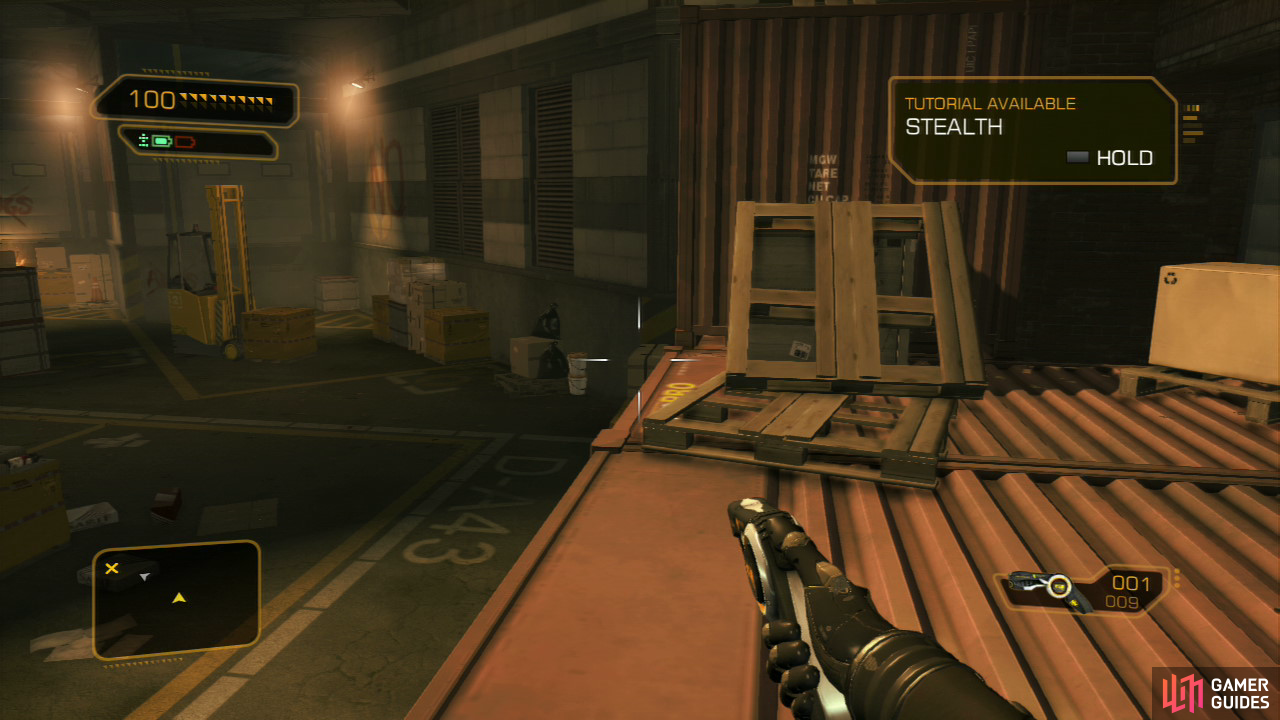
Across the door in the alley lies a crate on a forklift that you can grab. Place it adjacent to the crates near the large red containers, building yourself some stairs. Make your way up and climb the ladder to the very top of the roof (that is, unless you want to snipe the Purists from the excellent vantage point that this middle roof provides you with).
A high electrical current seemingly prevents you from going any further. Move the crate away from the corner to reveal a small opening. Use the breaker box on the other side to turn the current off, granting you passage [TRAVELER 100 XP] . There’s a vent cover at the far side of the roof which you can use to access the plant. Accessing the plant grants you [200 XP]. If none of the Purists spotted you at all, you’ll get an additional experience bonus: “GHOST” [500 XP] .
Inside the Plant (Storage Hall):
If you went in by the roof, the dialogue with Pritchard will be different. Drop down at the far end of the ventilation shaft and grab the [4x TRANQ DARTS] before heading down the ladder. The lockers in this room contain [4x REVOLVER AMMO] and [10x COMBAT RIFLE AMMO] . With your inventory still relatively small, it’s advisable to only take ammunition with you for weapons that are in your possession. Don’t have either a Revolver or Combat Rifle? Better to leave the ammo for now.
There’s also a newspaper here (Can The Motor City Rise Again?), plus an EBook (Resist The Machine). The computer holds several emails, none of which contain essential information. If you enter through the door, you should be able to see another door straight ahead. That’s the main entrance. The only thing of interest there is a sole [CONCUSSION GRENADE] , but you’ll have to be very careful not to be seen by any of the sentries.
You have several options for dealing with the five guards in this storage hall.
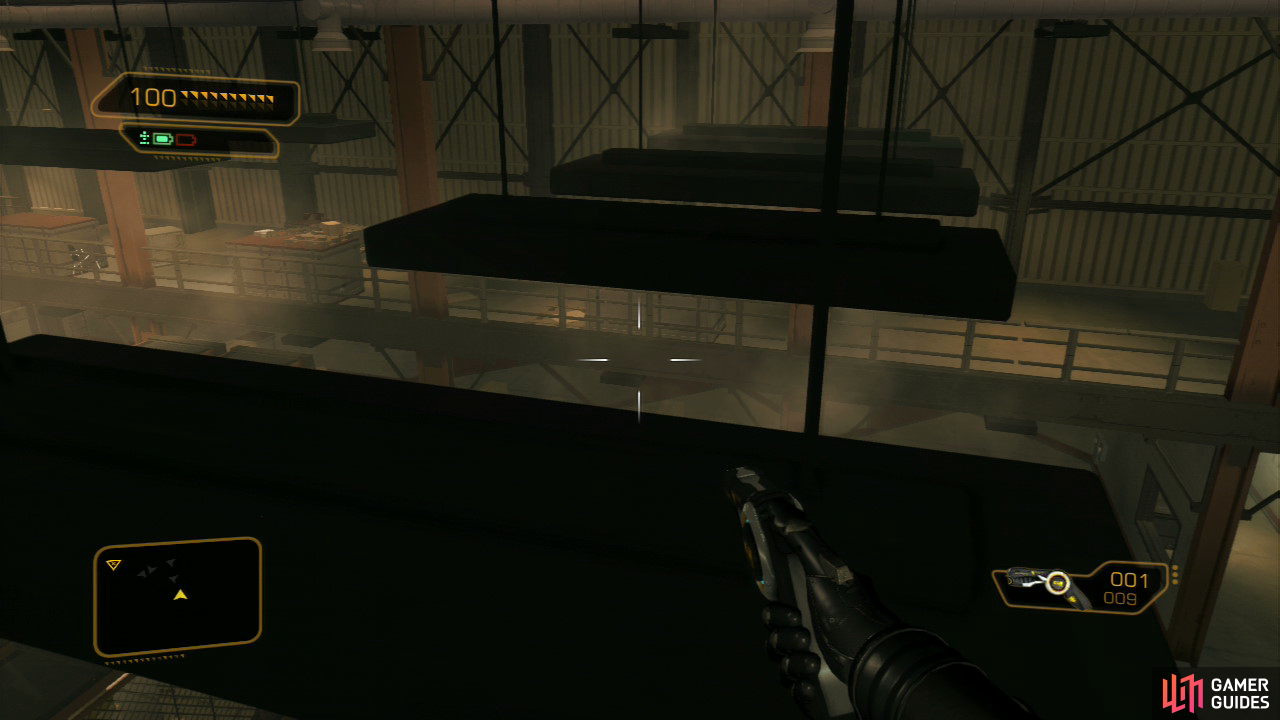
You can hop over these light fittings by using a dash and jump technique.
This map shows you the location and patrol routes of the five Purists. Only #1 and #5 are doing their rounds, and as you can see, they’re quite simple patterns.
If you want to receive maximum experience, you’ll want to opt for a full stealth, nonlethal takedown approach. One surefire way to do this is to sneak from the main entrance towards guard #3 by hugging the right wall. You must take great care by not getting seen; #1 and #5 are the ones who can spot you there if you’re not being careful. When you’re close to #3, and both #1 and #5 are moving away from him, go for the takedown and quickly hide his body thoroughly behind the crates.
Things become easier now. Neither #2 nor #4 patrols, and all they do is search crates. Target #1 when he’s nearest to the main entrance (#5 shouldn’t be able to see this). With him out of the way, take #2 down after recharging your energy cell first. Lastly, take out number #5 when he’s around the far end corner, and number #4 whenever you want to.
An alternative, harder, and less rewarding method is by going up the crates in the lower left corner, crouching your way over the large structure in the middle and take out #5 while he’s in the far left corner. Still on top of the crates, take out #3 and #1 in rapid succession. After that, #2 and #4 are
sitting ducks.
Yet another way to get by this area is to simply sneak your way to guard #5, via the left wall, taking him down when he’s looking away (and #1 can’t see you either). From here you can already be on your way. You can find [100 CREDITS] under a large cardboard box north of guard #4, nearby the exit.
Maintenance Plant Corridors:
With the storage hall cleared, three alternative paths can now be taken to continue onward. There are two obvious entrances. The third is more hidden, and comes in the form of a ventilation shaft in the upper right corner, climbing the ladder here.
The main hall to the far left leads to a room with two Purists who have their backs turned to you. Taking them down is easy, and the chatting Purist won’t notice if you take down his crouching buddy. One of the desk drawers contains [100 CREDIT CHIPS] , and the PC’s are unlocked, so reading the emails on them isn’t a problem whatsoever.
Head upstairs and look through the grating of the door to see if there are any sentries looking your way. If not, open the door and head inside the kitchen to your right (the other door leads back to the storage hall). The Purist here is easily taken down as he’s staring at the window. You can find a [BEER] and [4 TRANQ DARTS] on one of the tables, along with another newspaper (Can The Motor City Rise Again?). There’s also a radio here that plays familiar music every now and then…
The sentry in the hall is easy to take down. Simple wait for him to go around the corner and punch him in his face. His Purist buddy in the locker room goes down just as easily. Opening all lockers reveals the following items: [10x COMBAT RIFLE AMMO (x2)] , [7x REVOLVER AMMO] , [35 CREDIT CHIPS] , [2x STUN GUN DARTS] , [4x TRANQUILIZER DARTS] and a [CONCUSSION GRENADE] . There’s also a [BEER] on one of the tables. The maintenance room doesn’t contain any items. The vent leads back to the storage hall.
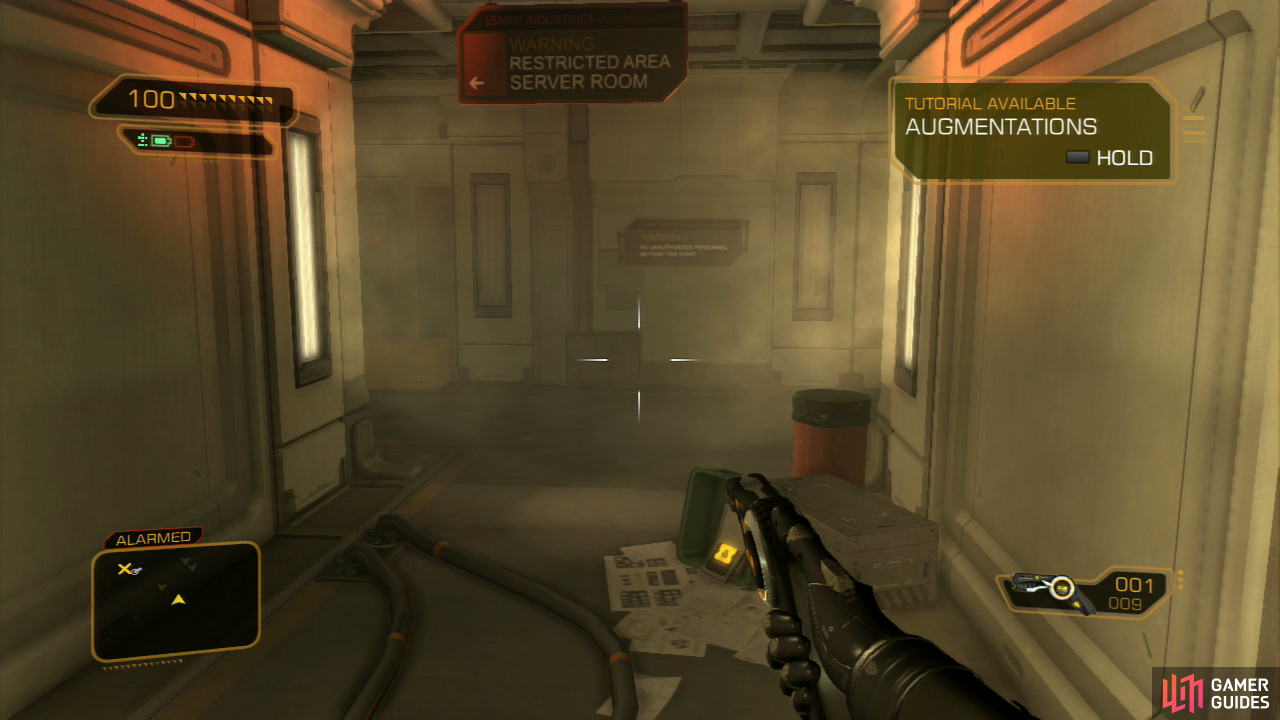
Lastly, the women’s restroom contains an Ebook (The Sleepwalking World). If you hadn’t taken the ventilation shaft route yet, you might still want to do so for the [TRAVELER 100 XP] bonus it gives. Continue to the assembly server room, where you’ll have to perform a manual hack on the door [SECURITY PANEL/LV1/SCRIPT KIDDIE 25XP] .
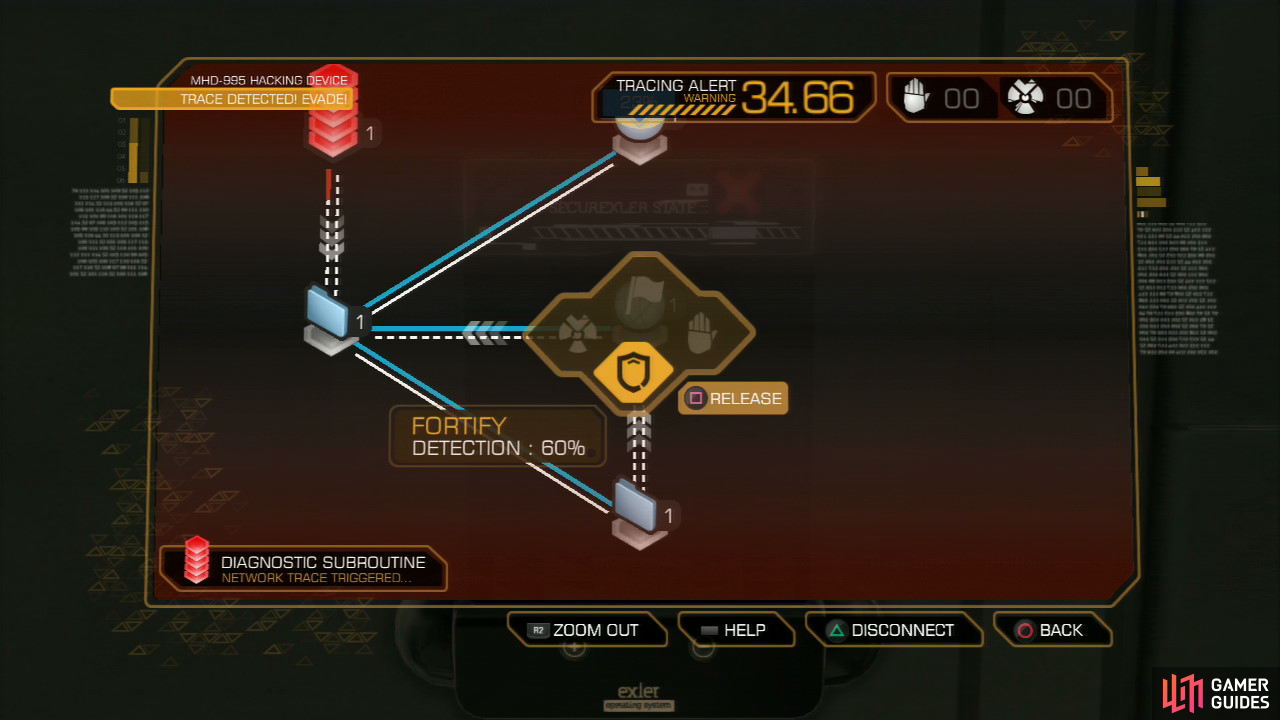
Every hackable system has its own unique node grid with several types of nodes. Click the in-game help button while hacking to get an accurate description for each node. Your main goal while hacking is to get from your IO (starting point) to the Registry. You will sometimes want to make a detour to Datastores, which contain rewards such as credits, XP, nuke viruses or stop! worms.
This system doesn’t have any Datastores, so your goal is simple: Stay undetected as long as possible, and get to the Registry as quickly as possible. Move to N1 and capture it. You can now either fortify it (just for fun) and do a detour via N2 (which you can also fortify) and also fortify your IO. Of course, you can also just go straight for the Registry. Head through the door and wait for the doors on the other side to open.
In the next hall, another four Purists are patrolling the area, so we’ll have to figure out how to effectively take them out.
#4 is never a problem, but the other three guys can be annoying. #1 strolls from one end to the other end of the area, and so does #3 except in a different direction. #3 searches desks at both ends of his stroll. #2 continuously patrols the center area and always stops to inspect corners. You should be able to head downstairs on the left whenever #2 starts walking towards his upper leftv corner, and when #3 is going north. Take #1 down as soon as you can and drag him down behind the big display screen. From here things become a lot easier. With the display screen as your starting position, approach #2 from behind when he’s busy in his upper left corner (and when #3 is also looking away). Quickly drag him away to the lower left corner (towards #4, so that the body of #2 is out of sight from #3). Taking #3 down is a piece of cake now, and #4 never was a problem in the first place.
Scout the ground floor for items. There are [4x REVOLVER AMMO] on a table in the upper right area, [2 STUN GUN DARTS] in between the southern stairs, as well as [10x COMBAT RIFLE AMMO] on a crate next to the southwestern stairs. There’s a storage room with another Purist west of this area. It’s an easy takedown, considering he’s searching a crate. This area contains [10x COMBAT RIFLE AMMO] and a [CONCUSSION GRENADE] (in the crate the guy was searching).
Alternatively you can enter the vent in the rear right of the room right away (it’s behind a box) and sneak over everyone’s heads, disarming the hostages bomb without anyone noticing you were even here.
The Hostages
You probably don’t want to enter the room with the hostages on the 2nd floor directly. If you do so, a device filled with gas will activate and you’ll have less than 30 seconds to hack and disarm it. Of course, it can be done if you’re quick, but let’s look around for other options first.
In fact, try using the hidden ventilation duct behind the right stairs. This eventually leads you to the hostage room, without triggering the device’s timer, and this also nets you [TRAVELER 100 XP] . Hack the device and shut it down to save the hostages [BOMB PANEL/LV1/SCRIPT KIDDIE 25XP] , [400 XP] . Alternatively you can unlock it with the following code: 1505. Don’t forget to grab the [4x TRANQ DARTS] behind the device.
To the Server Room
There’s another exit in this hall, located on the right, which leads to a meeting room and assembly line. Besides several Purists, there are also several cameras you’ll need to avoid. Their line of sight is indicated by the green beams. Crouching and staying right underneath them, crawling onward at the right time is a surefire way to bypass them.
Take out the guard on the far other end (sneaking past the camera around the corner on the far left), and hide his body. Continue and eavesdrop on the convo two Purists are having in the meeting room. Both can be taken down easily, without the other taking notice. The meeting room also houses an Ebook (Sarif Industries: Rising to Tomorrow), a Newspaper (Can The Motor City Rise Again?), [10 COMBAT RIFLE AMMO] , and [4 REVOLVER AMMO] .
Continue until you reach a closed door with a keypad [SECURITY PANEL/LV1/ SCRIPT KIDDIE 25XP] . After unlocking it by hacking, head inside and grab the [CYBERBOOST PROENERGY BAR] from a cabinet on your right, then wait for the other doors to open. Sneak up on the two Purists and wait for them to finish their conversation. They’ll now start their regular patrol routes. Snatch the [10x COMBAT RIFLE AMMO] from the crates you’re hiding behind, and look to your left.
There’s a vent cover hidden behind the crates. Move the top crate and gently put it down, reducing as much noise as possible. Enter the vent, but don’t immediately open the cover on the other side [TRAVELER 100 XP] . Look at your radar to see if the Purist member is looking your direction. When he’s moving away from you, go for the takedown.
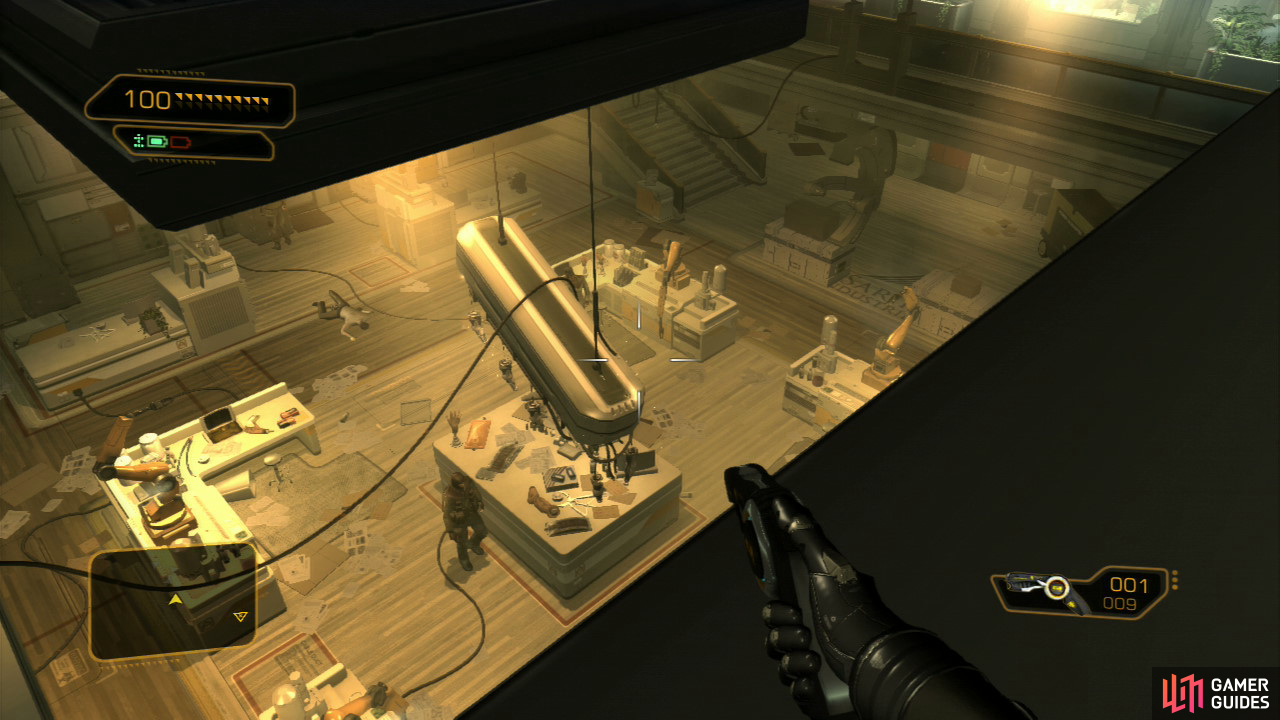
The storage room to your left contains a [FRAG GRENADE] and [3x STUN GUN DARTS] . Proceed to the other door, but wait with opening it until the coast is clear. Hide behind the power generator next to the large, circular cryochamber, and wait for the Purist to come close (while the other two are on the other side of the hall). While he’s looking to the left, approach him from behind and take him down. Drag him close to the lab desk’s wall so the others can’t see him.
Ignore the Purist in the middle of the area for now, and make your way to the other sentry. It shouldn’t be too hard to take him down while the other is busy scanning the lab desks. After taking the last sentry down, scout the area for items. You can find [2x STUN GUN DARTS] on a desk where the second sentry frequently halted his patrol, nearby the entrance of another storage room. Another [STUN GUN DART] can be found on one of the desks in the middle of the room. The storage room allows for another easy takedown of a Purist, and contains [4x REVOLVER AMMO] , plus a [DAMAGE UPGRADE] in the crate he was searching.
When you’re done exploring, ride the elevator down. Grab the [PRAXIS KIT] in front of you; these allow you to upgrade your augmentations and can either be found, or acquired by gathering enough XP. As a rule of thumb, save your Praxis Kits for situations in which you have to decide whether you want to upgrade one of your augmentations or not. Of course, it’s up to you to do with them whatever you want, although some augmentations are more contextual than others. For now, hold onto your praxis and go around the corner.
Don’t forget to grab this Praxis kit. There ae a few of these hidden throughout the game and while you earn them naturally through earning XP, grabbing the spare ones will give you a large advantage.
This is a tricky situation. There’s not only a camera at the next corner, but further down that hall, a turret closely monitors anything moving around.
Fortunately, there’s a solution in which you won’t alarm either of the devices. There’s a vent cover nearby the large crate. Open it and go inside until you reach the other side [TRAVELER 100 XP] . Find [100 CREDITS] and [2x STUN GUN DARTS] here.
Take shelter in the vent duct and destroy the turret. This is entirely optional, for you could sneak behind it towards the Server Room, but if you want to backtrack to a monitoring room with quite some decent rewards, it’s worth the effort.
Go back inside the vent and sneak past the camera and turret by moving from cover to cover. Do this while the camera is looking away. This maneuver should not allow the turret to fully identify you; throwing the cardboard box in the middle could also help slightly. There is also a concussion mine nearby the camera, which is why we avoided coming from the other way. Head through the door and search the room for a [POCKET SECRETARY] (which contains the PC’s login/password: ddutchman/windmill), a [STOP WORM SOFTWARE] , and a [NUKE VIRUS SOFTWARE] . These items can aid you while hacking computers. The Stop Worm Software will halt the timer - once detected - for five seconds, granting you precious time. The Nuke Virus Software instantly captures any node, without any risk of detection.
You’ll also want to lift the small wooden cardboard box from one of the metal boxes in this room: It’ll reveal [Hugh Darrow eBook 1: Neural Interface Protocols: The PEDOT Revolution] .
In fact, while we have the password for the computer in this room, hacking seems more fun, and it’s more rewarding too [PC/LV1/SCRIPT KIDDIE 25XP/ADDITIONAL BONUS: 100XP & NUKE VIRUS SOFTWARE]. As you can see, this grid has two datastores. You’ll want to access the clearance first, and quickly spread from there. Once you’re detected, it’s very important to activate multiple nodes at the same time, capturing and fortifying as much as you possibly can, to capture both datastores and the registry. The PC normally only allows access to the camera (which you can turn off). You could, if you really wanted to, use the newly found Praxis Kit to activate the Turret Domination Augmentation, although it’s far from necessary.
Make your way back through the vent duct and enter the server room.
No Comments