Be careful as you turn the right-hand corner as you’ll go up against three Royal Swordsmen (two of which will use arrows against you). Try and lure them to you and back down the hill one-at-a-time until they’re all dead.
Run up the hill and look behind a boulder on your right for [2 x Holy Water Urns] . There’s also a Blue Crystal Lizard just up the steps on your left so be quick if you’re trying to kill it!
A bit further up you’ll meet a familiar face (although she’s just there to chuck a few words of encouragement your way; nothing else sadly).
The Front Door
Take on the Primals one-at-a-time and slay the Royalswordsmen in front of each Golem by the door to unlock it.
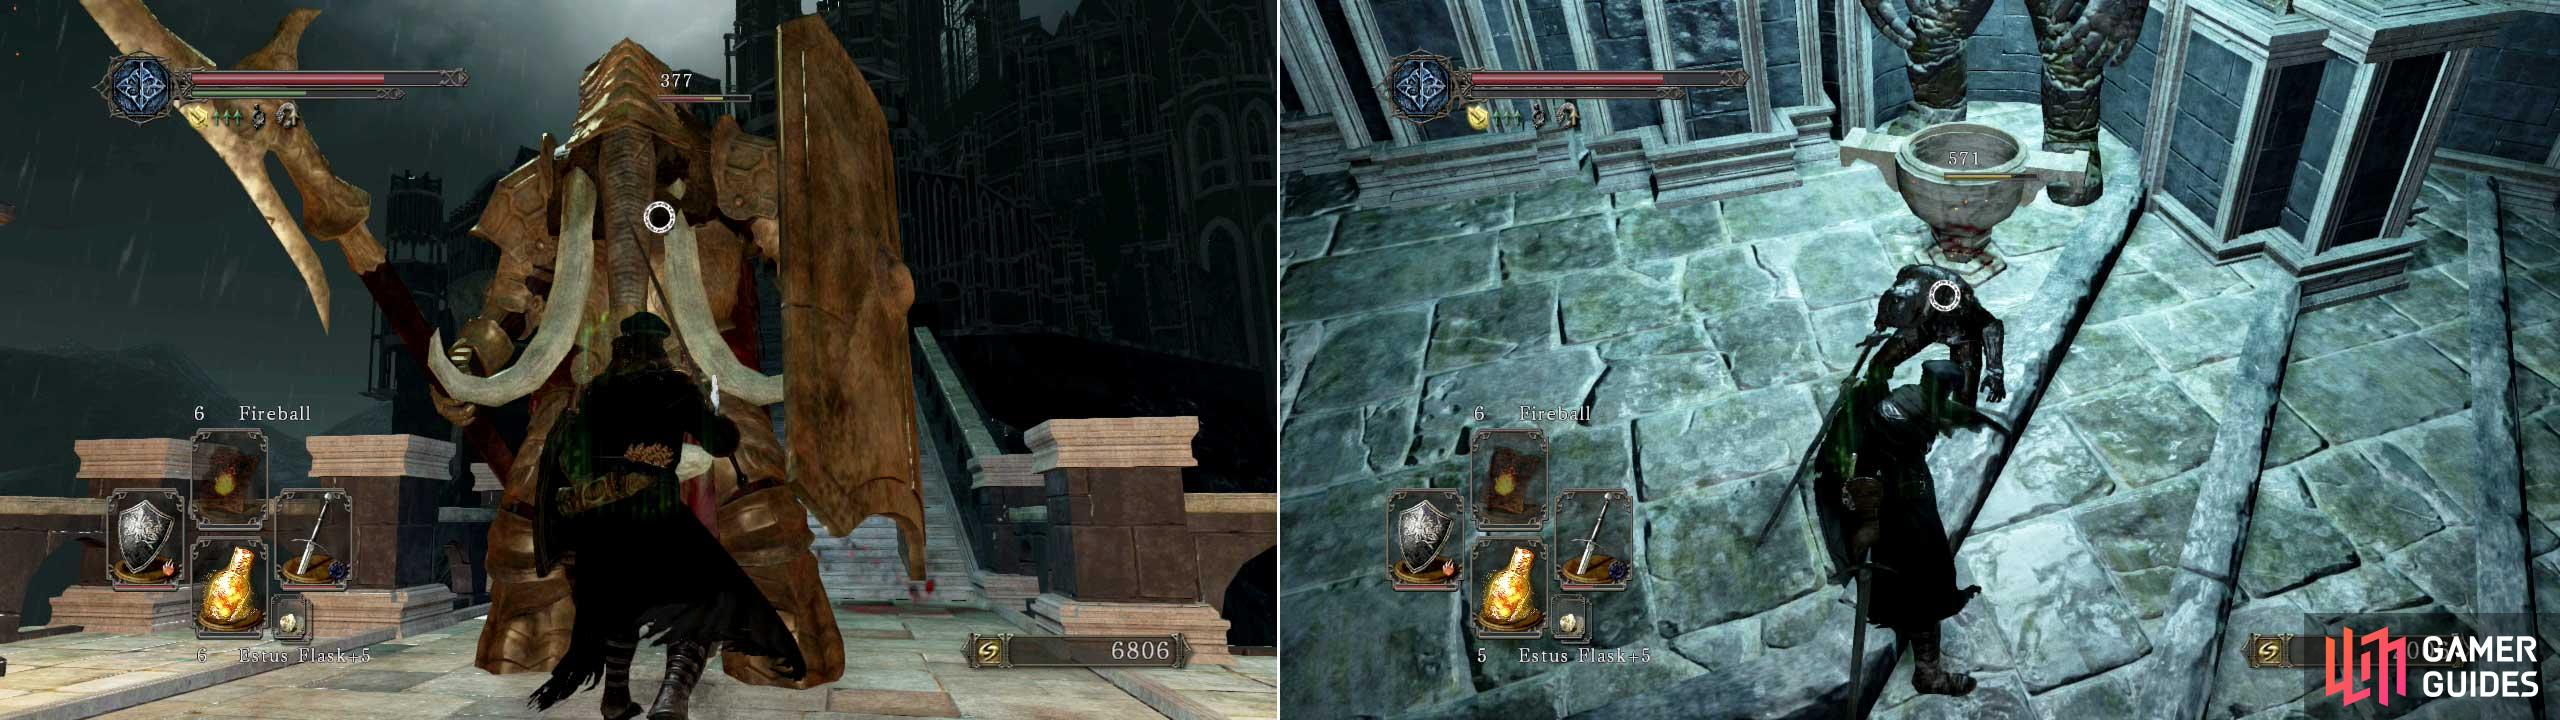
At the top of the steps be wary of the two Primal Knights that come to life (and use a shield to block any arrows that’ll come your way from up ahead too). This is a very unfair two-on-one fight so even up the odds by luring them down the stairs until one of them decides to leave again (allowing you to pick on them one-at-a-time).
At the top you’ll find a few Royal Swordsmen so do your very best to deal the finishing blow near each of the two  Golem statues beside the door (as the enemy souls are needed to open the door). The door will still take a good 30 seconds + to open up; so raid the metal chest to the right for a Fire Seed + Great Combustion Spell] .
Inside the Castle
If you run up the curved steps in front of you and speak to the ghostly apparition here; he’ll finally tell you his name ( Chancellor Wellager ) and he’ll also offer you his items for sale.
The next couple of rooms are packed with enemies that you don’t really have to fight. So we’re going to recommend you simply run past them to the next bonfire.
So from the left-hand side of the entrance (when facing the front doors from the curved steps), run past the Royal Guard take a right and immediately either slide down the ladder in the ground (or simply fall down). Now run to the double doors ahead, push them open and do the same for the next set of doors ahead. Rest at the Bonfire here and relax (for now).
Ruined Castle
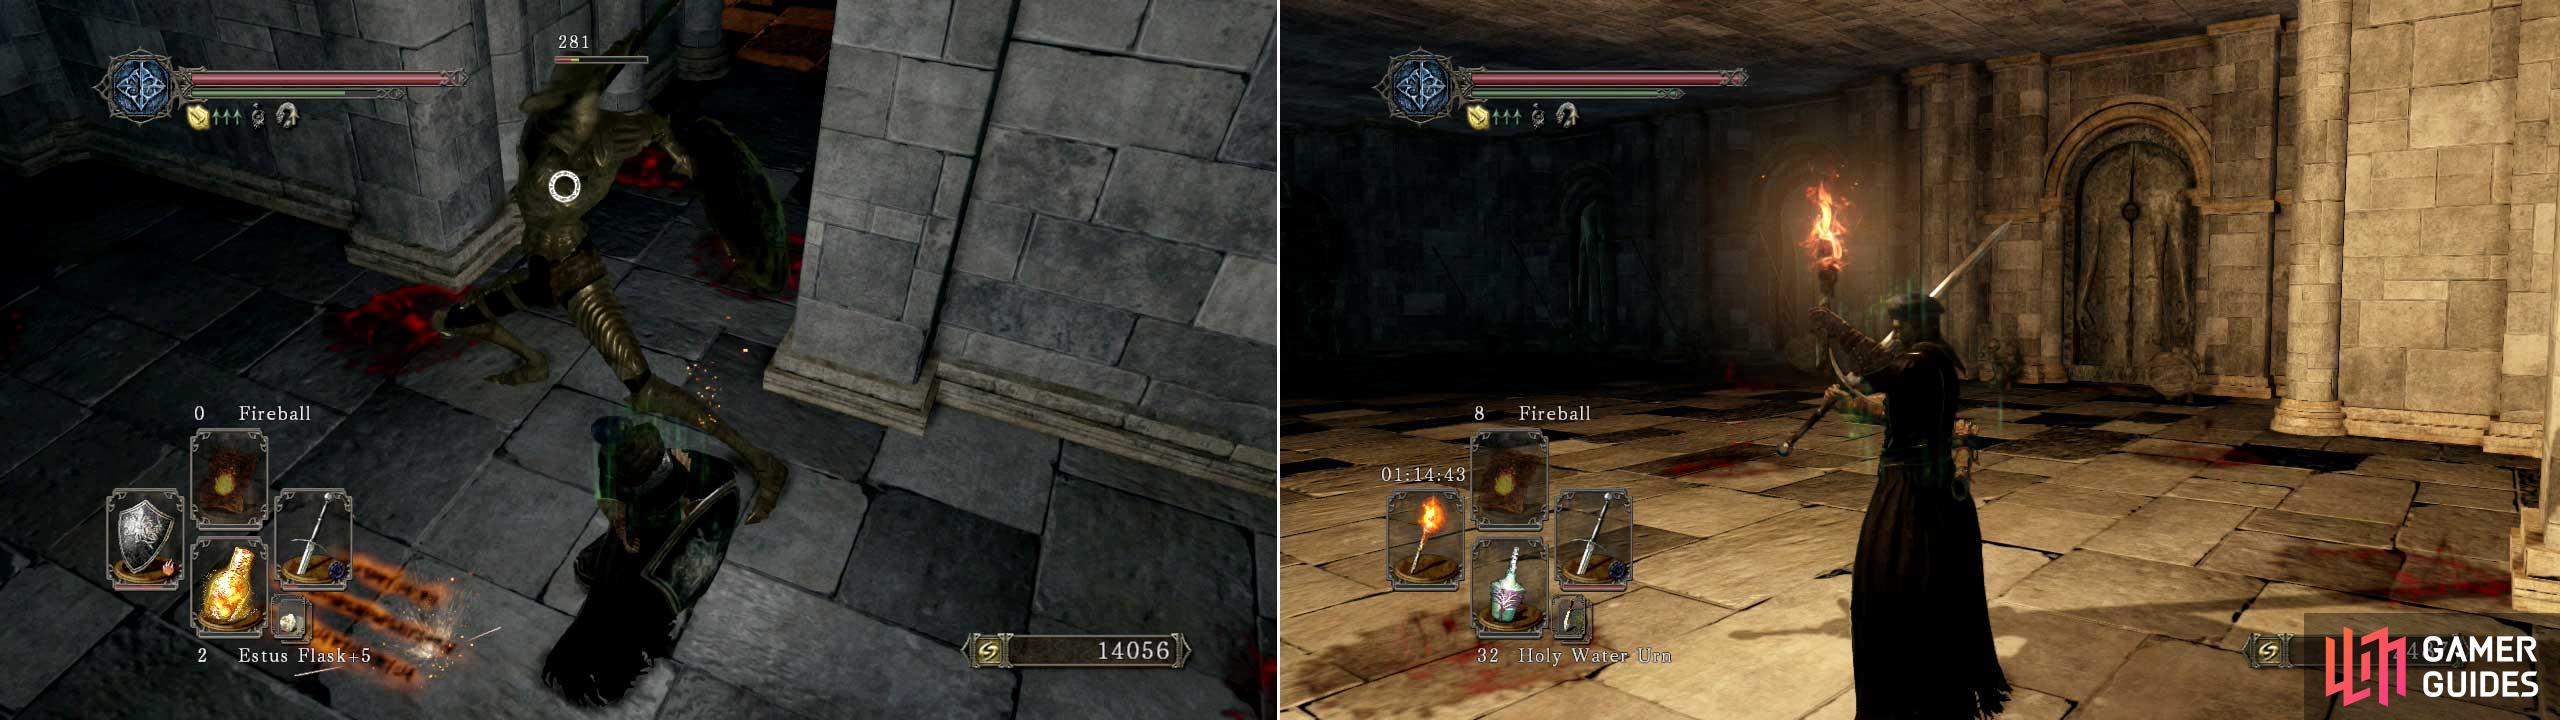
5 Ruined Sentinels versus 1 sounds fair doesn’t it? And the door you want to light up to get out of here.
Alright; now’s where things start to get a bit more interesting. In a room to your right you’ll find 12 Stone Soldiers and at least one of them needs to be killed in front of a door to open it (as it absorbs their soul).
However, five of the six doors in here each have a Ruined Sentinel behind them (along with other goodies). So if you’ve got a 100% physical damage shield (or good ranged attacks) then you’ll find taking them all on not too frustrating.
Starting from the left side (when looking in from the bonfire corridor) here’s what to expect behind each door:
1. Bottom Left: Ruined Sentinel only.
2. Middle Left: Ruined Sentinel and a [Pharros Lockstone] .
3. Top Left: Ruined Sentinel and a hole that leads to Darkdiver Grandahl, [Faaram Armor Set] and another Bonfire .
4. Bottom Right: Ruined Sentinel and the way to the next area.
5. Middle Right: Ruined Sentinel and a [Mastodon Greatsword] .
6. Top Right: Ruined Sentinel and a [Royal Soldier’s Ring +1] .
Evidently, open the doors that best suit what you want and finally make sure you go through the bottom right-hand door as this leads to the next part of the castle.
In this exit you’ll also find [15 x Dark Arrows] in the chest and a [Soul of a Great Hero + 3 x Old Radiant Lifegems + 1 x Monastery Charm] under the stairs.
Run up both sets of stairs and you’ll see a room filled with acid to your left. If you un-equip everything (and that includes rings and weapons) you can safely run into it for the [Elizabeth Mushroom] and the 3 x Corrosive Urns] here.
At the top of the stairs, go outside and up the stairs and then proceed up to the door ahead.
The Faces of Poison
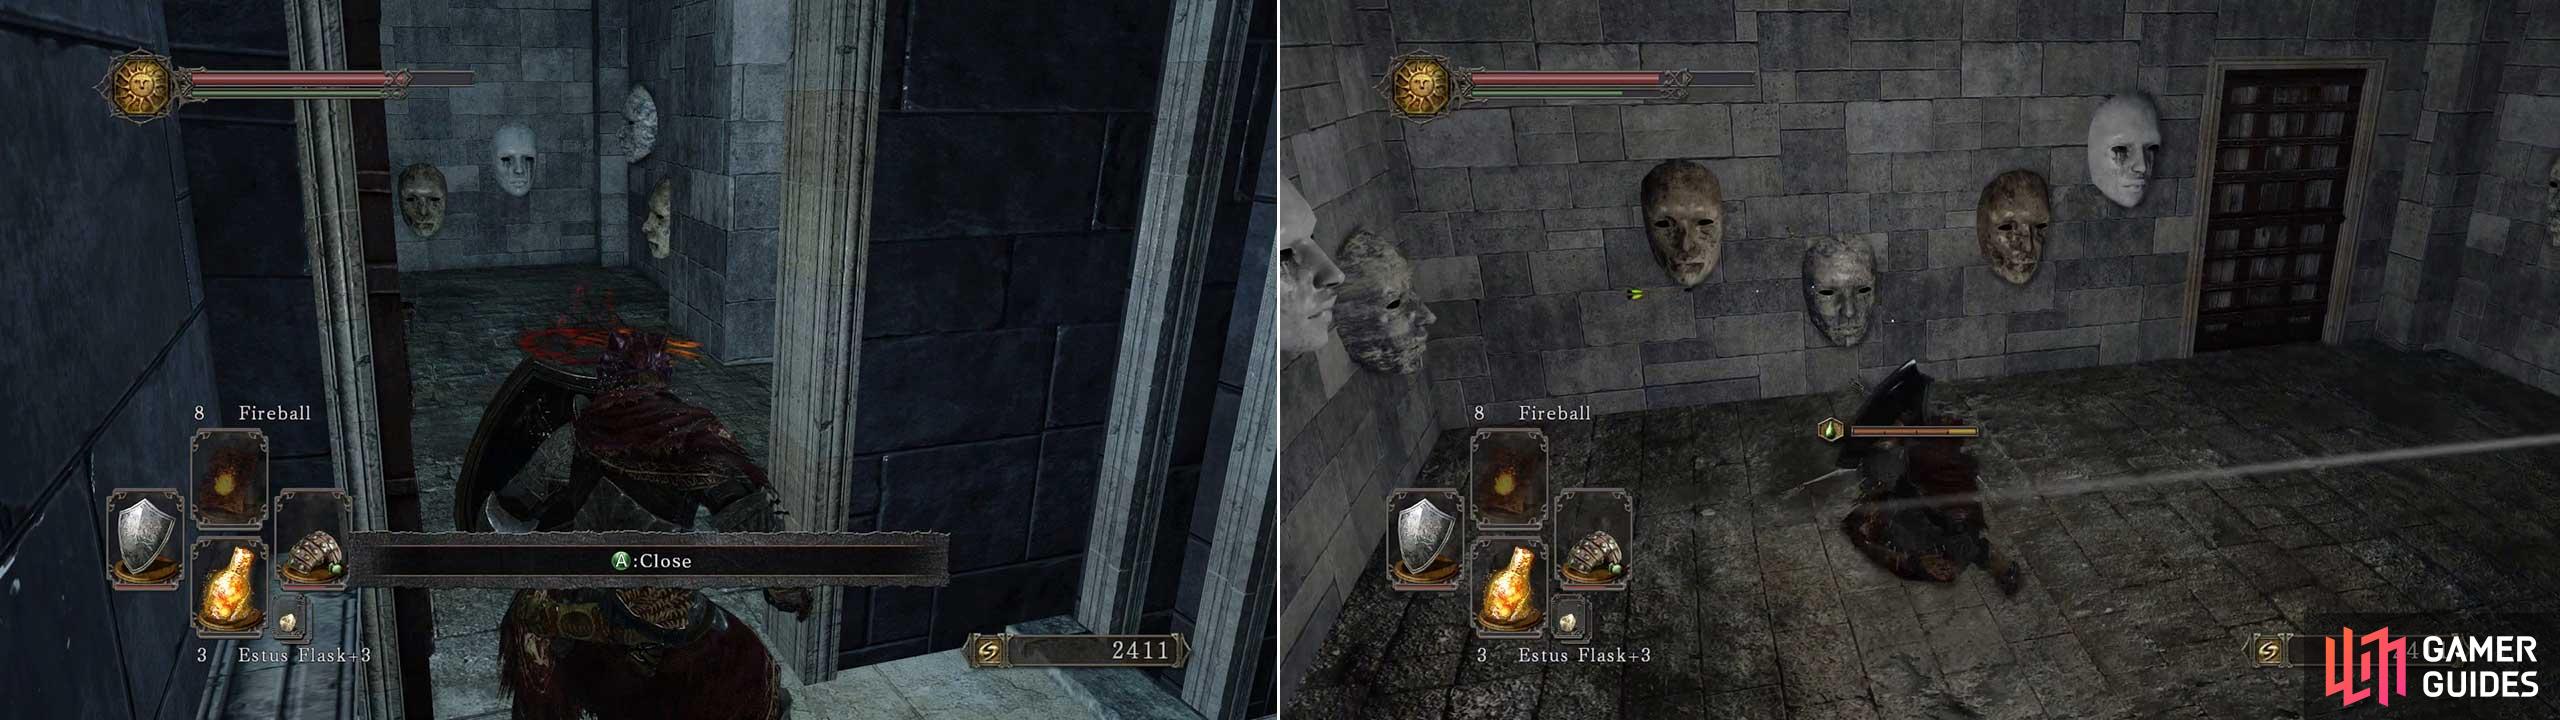
Roll towards the items on the ground and you should dodge enough of the arrows to avoid being poisoned!
This room is packed full of masks and if you get in their line of sight then they’ll fire off a poison arrow at you. And seeing as there’s quite a few masks in here then it’s really worth readying your Poison Moss and healing items before entering!
If you run forwards a bit and then immediately aim for the gap in the wall (between the masks) on your left; you’ll find you’re much less likely to be hit as often. You can then carefully grab the Twinkling Titanite + Large Soul of a Brave Warrior] here too.
Trundle up the stairs and then be ready for the three Royal Guards that are in this room. Try and lure them out one-at-a-time or use an area-of-effect spell on them.
Proceed outside, up the stairway and then hang a right up the next flight of stairs. Clear the area of enemies and then look for a well-hidden ladder to your left at the top of the steps. Slide down it and then open the fake wall here for a secret Bonfire ! Hooray!
If you slide down the ladder in front of the bonfire then you can find an enemy and a chest holding a [Hunter’s Bow + 20 x Iron Arrows] .
Note: There’s a high chance that a Dark Spirit will have spawned in the room with the painting in it. If you don’t want to fight it then as long as you’ve reached the bonfire already you can simply ignore it (or approach it to fight it - your choice).
Now climb back up the ladder and make your way up to the throne room. You can’t hurt the queen here (so don’t waste your time trying), instead go right and you’ll soon come across another fog gate. Yep; it’s boss time again!
Boss Fight - Twin Dragonriders
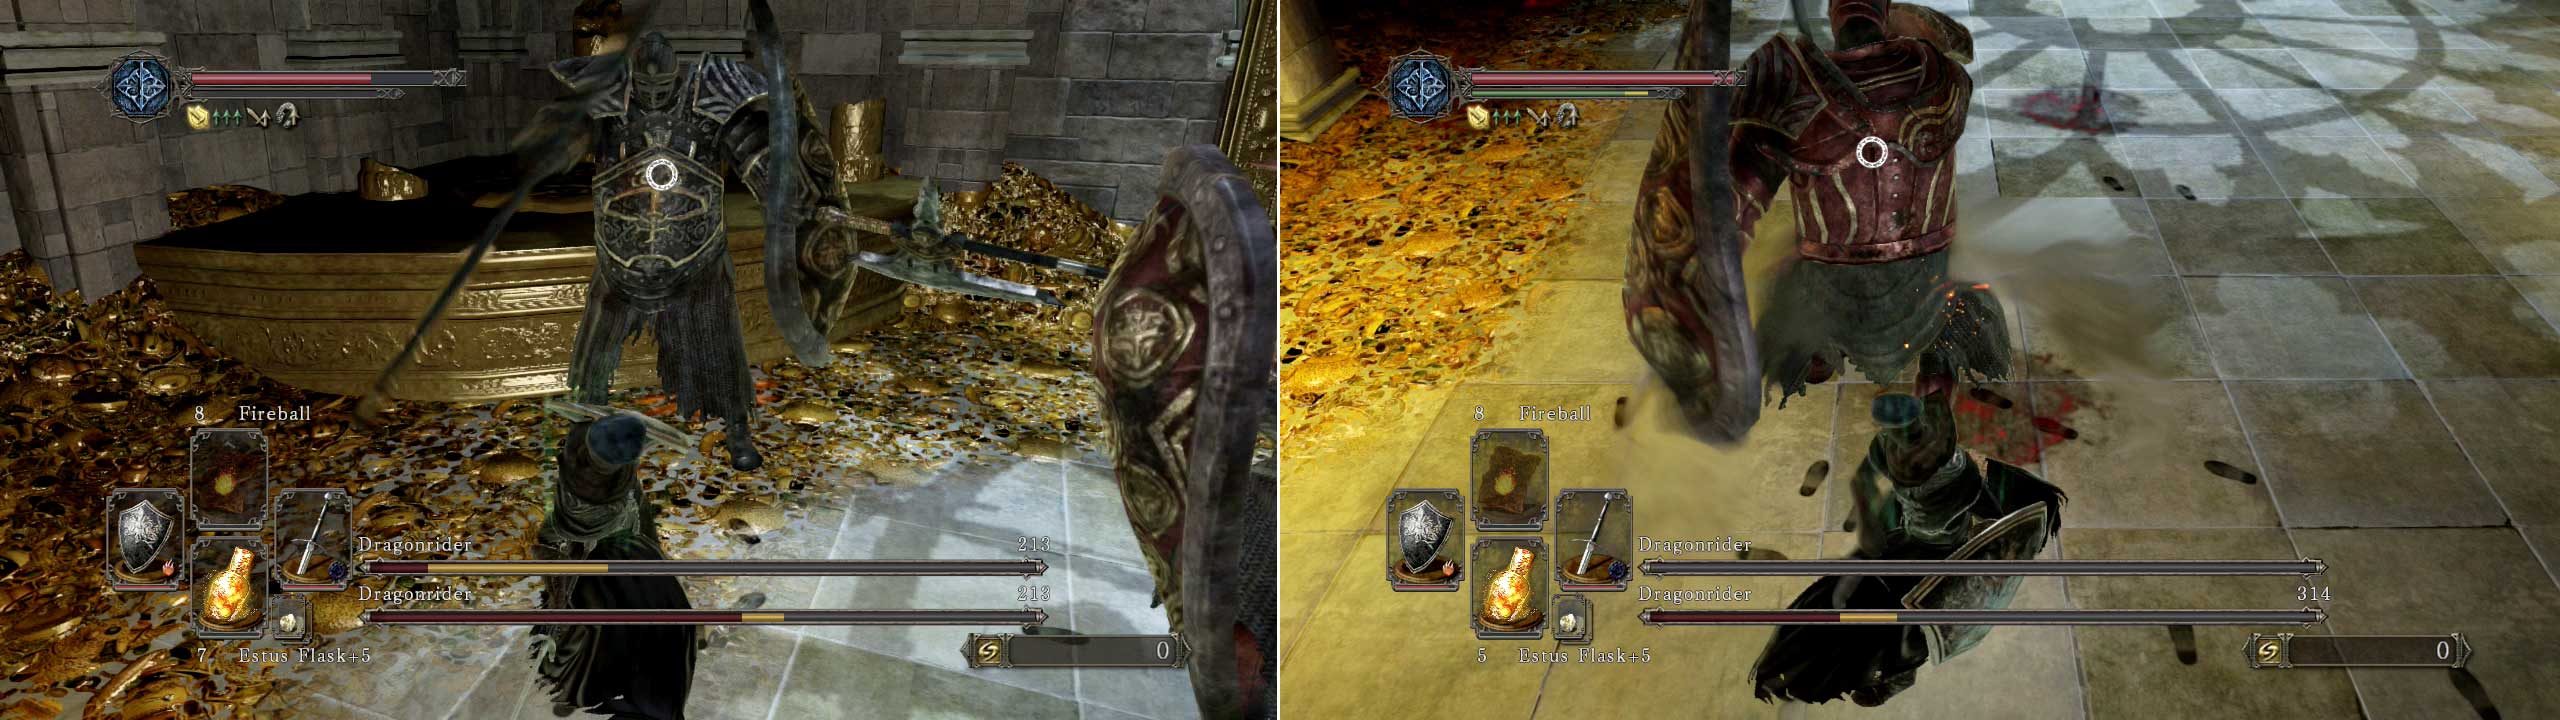
Take out the weakest boss first and THEN focus on the second one.
There’s two Dragonriders in the same room this time (one up in the top-left corner and the other on the ground in front of you). The one up high will fire giant arrows at you whilst the other one will act the same as he did in Hiede’s Tower of Flame area.
So let’s get down to the best way to beat them:
- The black-armored Dragonrider has substantially less health than the red one. So try and focus on killing him first.
- You can do this by luring the red-armored version into smashing down the pillar he’s standing on (by standing under the black version).
- Once the black-armored boss is under 25% health it’ll bring out its own Halberd to the fight.
- When you’re left with the red-armored one it’s once again a case of just taking your time and not being too greedy.
Once they’re dead, go into the corridor and you’ll find not only your next Bonfire ; but also Benhart of Jugo (if you’ve been progressing his storyline at each opportunity).
Mirror, Mirror on the Wall
Ignore the right-hand path for now and instead head forwards. Climb the, really long, ladder on your right and when you reach the top open the metal door but do not enter in straight away.

We’re fans of our trusty bow when it comes to long-range encounters.
Switch to your best long-range weapons and pick off most of the Stone Statues in here (leaving no more than two alive if possible).
You now want to lure them to the Golem at the back and kill one of them near it to unlock the door in this room. In the next room open the chests for [Old Hammer Knight] and [Caitha’s Chime + Soul Greatsword Spell] .
Be very careful when you enter the next room as there’s a couple of heavy-hitting archers hiding away on the upper floor across from you. If you run up the stairs on your left you can pick them off from a distance with ranged weapons (watch out for another two archers on the far-right side too).
At the back of the rooms you’ll find a [Firestorm Spell] and [10 x Fire Greatarrows] (in a trapped chest). Downstairs you’ll find a few friends waiting for you in the guise of a Primal Knight and two Royal Guards (ranged attacks are recommended for the Knight).
Watch out for another Primal Knight outside and then head downstairs and into the room here. Grab the [10 x Flame Butterflies + 5 x Repair Powders] from the left and open the chest for an ever-useful [Estus Flask Shard] .
Pull the lever, open the door and simply run back to the bonfire again and rest. For the upcoming section we strongly recommend you buy some Aromatic Ooze (from Gilligan in Majula ) as it’ll come in super handy for a difficult upcoming boss fight in the King’s Passage .
Once you’re ready; walk up to the circular floor panel and it’ll take you to the floor above. Ignore the , very freaky, lock and loot the room for the [Key to King’s Passage] and [Soul Vessel + Fire Seed] and finally a [Strong Magic Shield] .
Go back down the lift and use the key to open the once locked doors to the area ahead: The King’s Passage .
No Comments