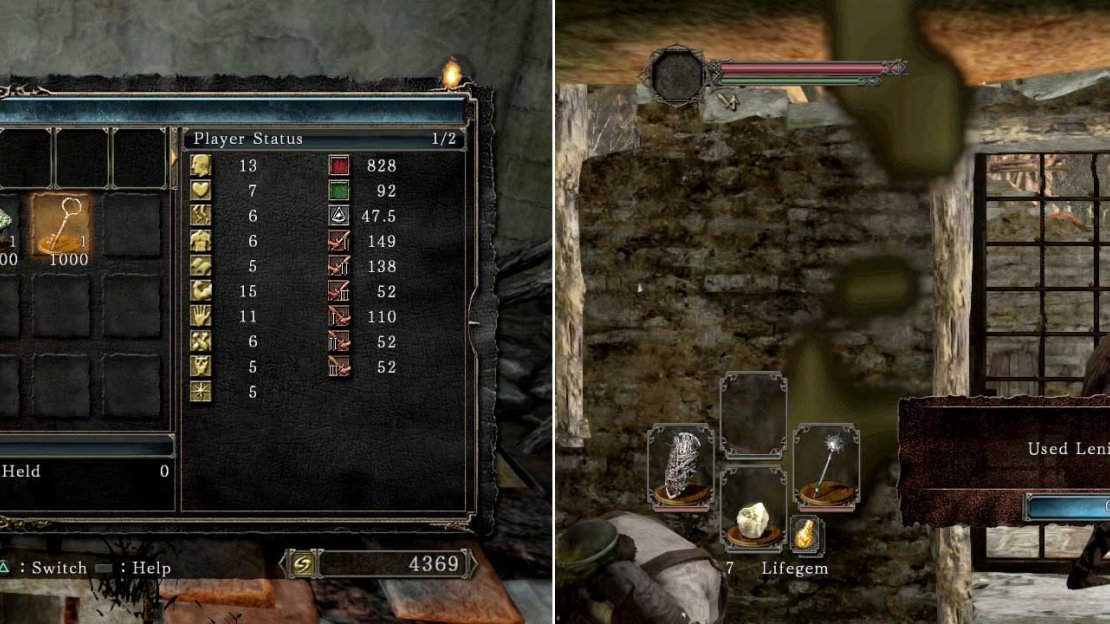
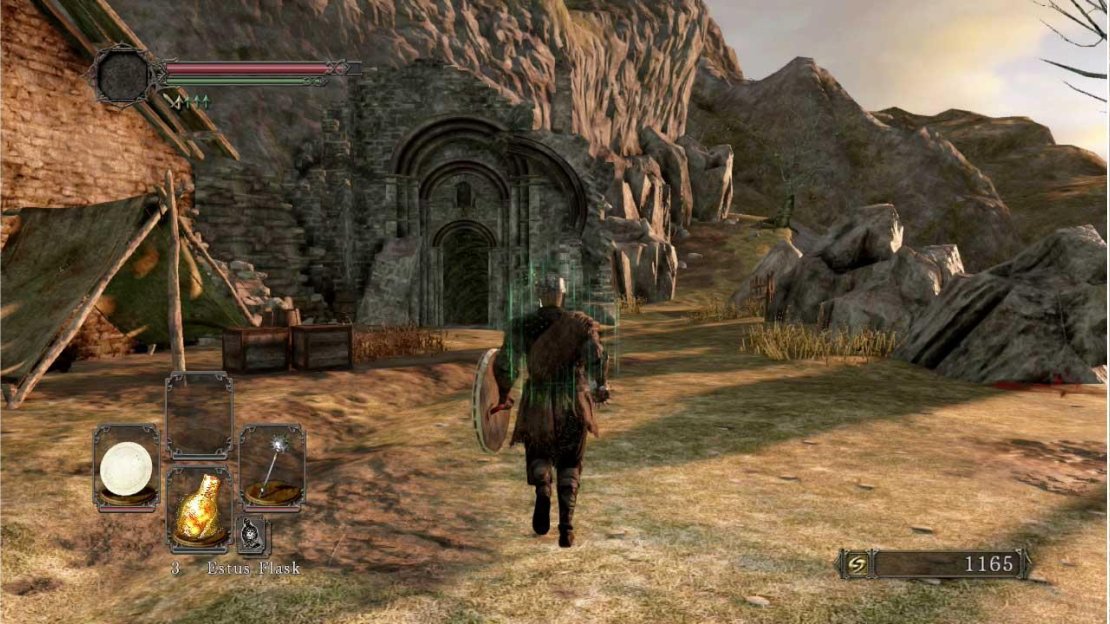
The main hub area of the game (think the Nexus from Demon’s Souls or Firelink Shrine from Dark Souls) offers you the chance to get a breather, stock up and also uncover a healthy amount of secrets.
Start off by running down the hill, grab the [Divine Blessing] from the corpse to the left of the archway and then go up and towards the edge of the cliff on your right.
Look for a gap in the rocks, drop down twice and pick up the - very useful - [Morning Star] weapon, [Cleric’s Sacred Chime] and the [Binoculars].
Light the bonfire up ahead and then look to the cliff’s edge on the right for the Emerald Herald who will not only give you your [Estus Flask] but also allow you to level up and upgrade your flash (once you’ve located some Estus Flask Shards ).
Turn around and look for the house in the distance with a small well beside it. You should hit the rock here to reveal a hidden [Estus Flash Shard] and take that to the Herald to upgrade your flask by 1 (out of a maximum of 12).
The door to this house is locked (for now); so look for an open house to your right you’ll see a cat known as Sweet Shalquoir. This cat’s not just your main point-of-call for covenant stuff, but it also sells a few useful rings and other items.
Look towards the house opposite and inside you’ll find Maughlin the Armorer who sells, well, armor. Killing him nets you his personal armor (which can be used to farm a greater number of souls when worn); but he’s much more beneficial kept alive.
You can also approach him with zero souls on you (after spending 16,000 souls) to get the Aurous Set for free (easiest way is to die off a nearby cliff and then grab your freebies before collecting your souls again). Maughlin also sells the armor of some fallen bosses; so he’s definitely worth checking in with every time you beat a new boss.
To finish off in this part; make sure you go up the ladder near Maughlin and open the chest up here for a [Titanite Shard] .
Left of the bonfire is the Blacksmith Lenigrast who will not only sell you items; but can also upgrade and even repair broken items/weapons.
You first need to buy the key to his house from Merchant Hag Melentia at the cost of 1,000 souls (found in front of the second bonfire in Forest of Fallen Giants ). Also, beside his house you’ll find a [Soul of a Nameless Soldier] and some [Lifegems] .
Located by the statue up the hill and to the right you’ll find Saulden the Crestfallen Warrior who can grant you access into the Way of Blue Covenant . Killing him will net you the [Ring of Steel Protection] (ups your physical defense by 50 points).
And to finish off this hub area, you can wander up the hill in between the blacksmith’s house and the tunnel leading into the mountain to find a corpse carrying [5 x Homeward Bones] and a statue that leads you into the game difficulty increasing Company of Champions Covenant (which makes the game significantly harder - no summons and enemies who deal more damage).
This leaves us to cover what areas you can now go to. There’s a few to choose from so we’ve put them in the order we feel is easiest to hardest (for new players):
The entrances to: Forest of Fallen Giants (Left), Hiede’s Tower of Flame (Middle) and The Pit/Grave of Saints (Right)
- Forest of Fallen Giants: Located by running down the narrow pathway that’s in between the broken stone archway and the cliff edge.
- Hiede’s Tower of Flame: In between the blacksmith’s house and the cat’s house is an archway leading into the mountains. Opening the pathway here leads to a small area with fairly challenging enemies (at least for low-level newcomers).
- The Pit/Grave of Saints: You can drop down into the hole in the middle of the houses using the Silvercat Ring and taking off all your clothes (with full health). The top-most exit leads to the Grave of Saints (a massive area for PvE invasions) and the lowest exit leads to the Pit and other ‘story-led’ areas. Not easy unless you’re experienced or higher levelled (around lvl 50 or so).
![Look for a gap in the rocks, drop down twice and pick up the - very useful - [Morning Star] weapon, [Cleric’s Sacred Chime] and the [Binoculars].](/assets/guides/42/60381-1398121200.jpg)


No Comments