If you head into the tower that’s located by the bonfire above the Dragonrider in Heide’s Tower of Flame (and take the elevator to the lower floor); you’ll find a hole in the wall that leads to a bonfire at the start of this - very dark - area.
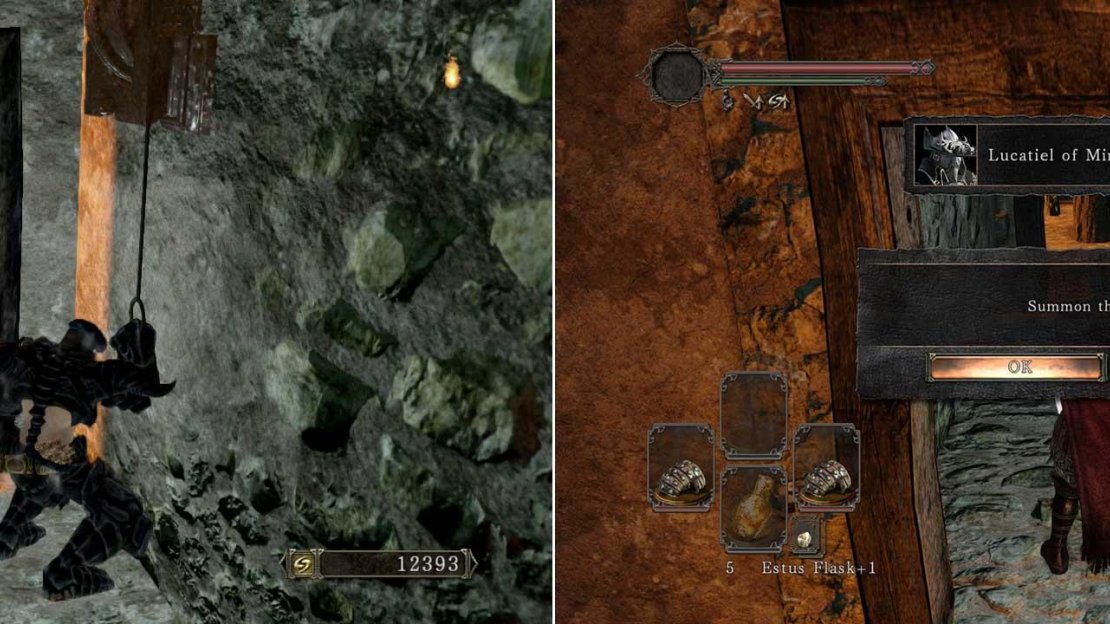
Standing beside the bonfire you’ll find NPC Lucatel who will chat to you and potentially offer you a freebie (depending on when you actually decide to tackle this optional area). Just make sure to exhaust all of her conversation if you’re working towards earning her related achievement/trophy.
Beginning Area
As you walk through the tunnel into the main area you’ll notice immediately that it’s a very dark area. The beginning can also be very deadly if you’re not on-the-ball so be sure to stay alert from the moment you begin walking down the steps.
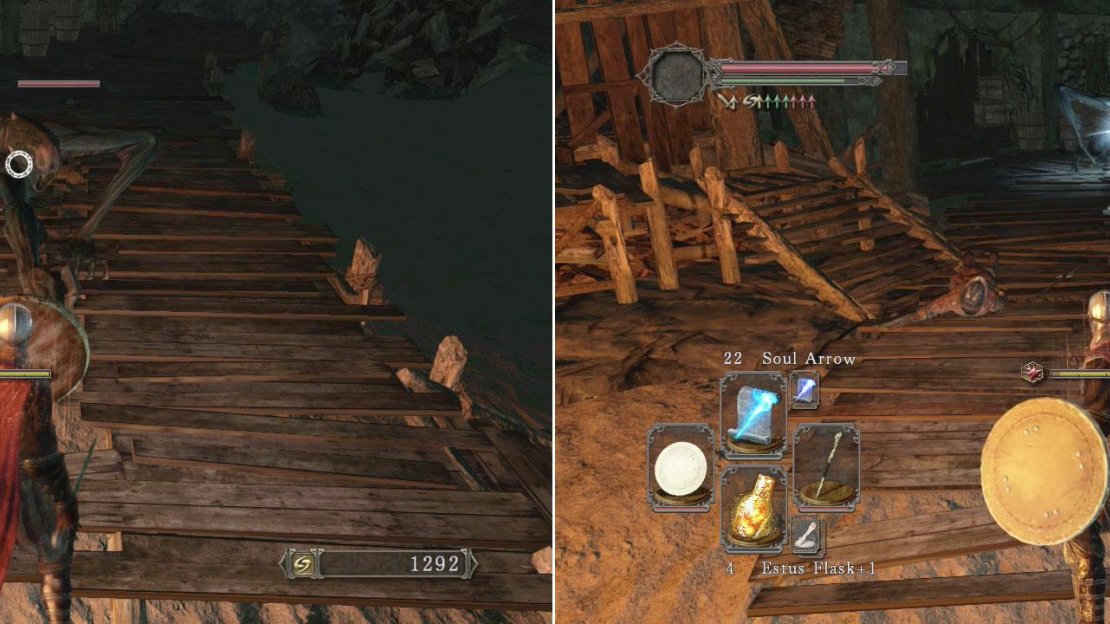
On your left is an enemy playing dead, so slap it before it tries to ambush you from behind. You’ll then notice a wooden walkway to your right and also a hut to your left.
You need to quickly decide whether to go right or left as there’s an archer firing off fire arrows in the distance (to the right). He’s got an obscenely good aim so be sure to have a shield up at all times!
If you go right, watch out for Varangian Soldier who likes to go crazy with his sword attacks, otherwise take out that archer as a priority! Inside the house to your left you’ll find a couple more Hollow Infantry playing dead on the ground to your left and there’s another Varangian Soldier outside on the upper floor.
Be sure to grab the [Titanite Chunk] from the chest at the top of the stairs and then head out onto the balcony to pick up the [Soul of a Proud Knight] . Drop down and then when you reach the wooden walkway that goes left stand here and pull out a long range weapon (ideally a bow).
There’s a dual-sword Varangian standing on the roof of the left hut and a Hollow Soldier in each of the huts. Drop them from a safe distance and then grab the [3 x Dark Pine Resin] from the left house.
Dark Stalkers
You need to approach them carefully as their reach is deceptively long and their claws can do heavy bleed damage (so two swipes will likely see your character bleeding out pretty fast).
To your right is your first encounter with the stupidly-long armed, light-fearing creatures known as Dark Stalkers . As their name implies they’re fans of the dark (so -as to be expected - they don’t like light).
Our recommended battle tactic is to get close enough (with a shield up) and bait them into attacking. Strafe/roll back as they do and then get in close for a couple of quick hits. Be warned that if you ‘aggro’ them (indicated by them waving their arms around like loonies); they don’t care about the light anymore and will come straight for you regardless.
If you go into the building where the Dark Stalker came from; you’ll find [30 x Iron Arrows] on the corpse at the back (really handy for this area).
The Ring of Life Protection
Head up the stairs to your left and immediately head into the open door on your left. Run up these stairs and then take out the Varangian Sailor waiting at the top. On the left wall you should see a wooden bookcase near the exit.
Smash this down to reveal a hidden room with a corpse holding the super helpful [Ring of Life Protection] (retain all your souls and humanity if you die). Unlike in Dark Souls 1, this ring can be repaired by a blacksmith for 3000 souls; so it’s really worth putting on when you’ve got a lot of souls you don’t want to use!
Outside you’ll find two more Varangian Sailors waiting for you (one will be out of view in an alcove to the left of the exit). Slowly make your way across, being sure to take out the dogs and the sailors as you cross to where you see the building in front of you (with the lit torch outside).
It’s worth sniping the guards at the top of this building first as they can be a real pain to deal with if you leave them alive. Then focus on the dogs and sailor on the ground level in front of you.
If you’ve got a Pharros Lockstone on you then you can use one now to light up the entire level; causing all Dark Stalkers on the level to scarper into the dark (clearing a few upcoming pathways).
The Bell, the BELL!
Your goal is to ring the bell in the upper-right corner of the level and there’s two ways of achieving this. The sneaky way; or the proper way.
- Sneaky Way: If you stand in front of the fencing near the house with the drunken Varangian Sailors inside (near the Pharros Lock); you can shoot an arrow up at the bell (it’s up and ahead of you). Hitting the bell with an arrow will ring it, allowing you to drop down from the upper-most ledge and take a shortcut to the boat.
- Proper Way: Run up the stairs in the left-side of the level and use a torch up here (if you haven’t used the Pharros Lock option) as there’s numerous Dark Stalkers up here. You can now work your way through all the houses to the bell itself.
If you’re going the proper way (which also allows you to pick up loads of great loot and summon Lucatel if you’re gunning for her trophy/achievement), then let’s continue.
At the far end of the upper walkway you’ll spot a building with a giant hole in it. If you’ve used the Pharros Lock then there’ll be a congregation of Dark Stalkers in here (a total of six resides in the building).
The sneaky and the normal ways to ring the bell to summon the boat in.
There are a couple of reasons as to why you’d want to go kill them all and those are 1). There is loot up ahead and 2). You’ll find a useful - and funny - NPC up here too.
Pick off the Stalkers carefully though as there’s every chance that the Stalkers lurking behind the closed door will smash the wall down in a surprise attack. With them all dead; speak to Gavlan who’ll buy any items off of you that you don’t want for souls (only NPC in the game who’ll buy stuff from you).
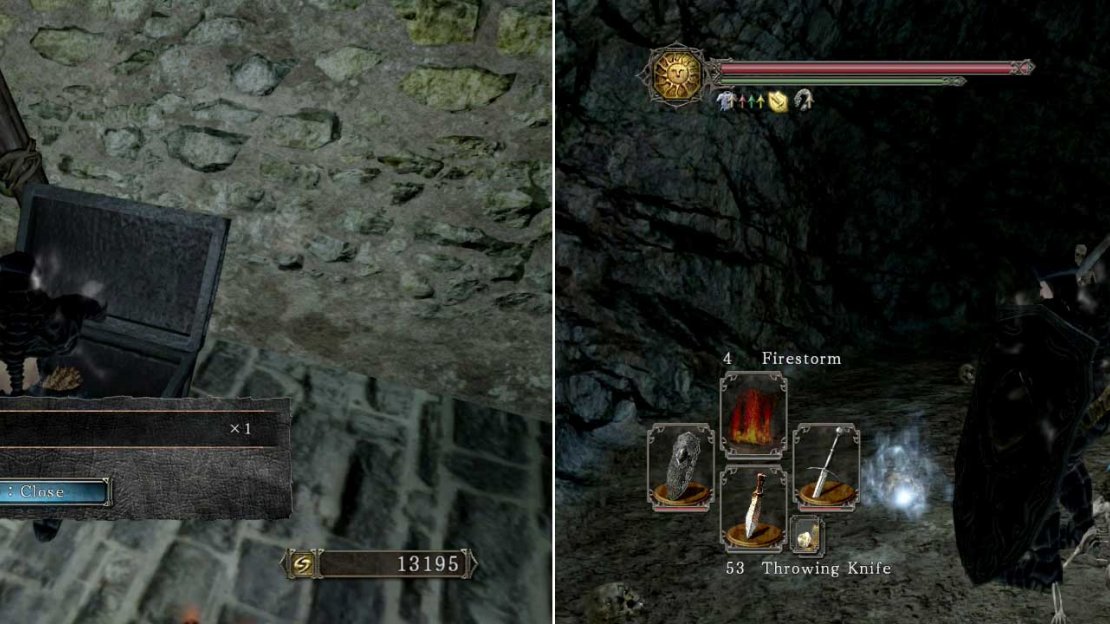
There’s also a couple of chests in here and you’ll likely notice loads of blood pools beside the right-hand chest. That’s because it’s a trapped chest and thus will either fire arrows at you (hold up your shield to block them) or it’ll explode in a cloud of poison (roll away ASAP). Once you’re finished head back outside.
There’s two Varangian Sailors in the house up ahead on the left; so you need to be careful when approaching them. At the top, head outside and then run left where you’ll find the bell that you need to pull to summon the ship with the boss on it.
There’s two Varangian Sailors in the house up ahead on the left; so you need to be careful when approaching them. At the top, head outside and then run left where you’ll find the bell that you need to pull to summon the ship with the boss on it.
Fall down the opening on the left, grab the [Homeward] and [2 x Lifegems] from the corpse. Turn around and now start falling down the lower floor (one level up from the very bottom floor). Turn left and enter the door in here.
You should see two drunken Varangian Sailors in here, so stab the one closest in the back and then back away! The pots in this room are full of poison and will seriously mess up your day if you break one over yourself!
Loot Jackpot
Take out the final sailor and then use any knives or arrows you’ve got to break most of the pots in this room. In the left corner (behind two pots), you’ll find a corpse holding [7 x Throwing Knives] and a [Flame Butterfly] .
It’s surprisingly easy to miss this room and the hidden goodies it contains.
Turn around and look for a bald patch of stone wall on the left-side of the metal chest. Smash your weapon into this bald patch to break it and then immediately attack the crystal lizard. Killing it will provide you with [2 x Titanite Shards] and a [Large Titanite Shard] .
Inside the metal chest you’ll find the super handy [Royal Soldier’s Ring] (decreases current equip load total), a [Fading Soul] , a [Large Soul of a Nameless Soldier] , [3 x Lifegems] , [Soul of a Nameless Soldier] and finally, inside the other metal chest you’ll find an all-important [Estus Flask Shard] .
Head back outside and now go right and drop off onto the ground below. There’ll be a multi-story building up ahead, so open the door to the lower floor. Immediately walk straight up to the wall in front of the door and press A/X/PC Key to reveal a hidden room!
Inside this small room you’ll find: [3 x Black Firebombs] and [3 x Large Titanite Shards] . There’s a Varangian Sailor waiting in the floor above, so be ready to take him out. Once it’s dead; head up to the top floor and look right for a chain that will open the gate in front (creating a shortcut for getting back to this area should you die).
If you spoke to Lucatel and you’re human then you’ll also see her summon sign for her.
Leave her summon sign for now and go into the house opposite (be sure to clear out the sailors keep guard up here first). Inside on the top floor you’ll find a chest containing a [Titanite Shard] and [Repair Powder] .
Downstairs there’s three Sailors and a chest at the back of the room (obscured by a counter) containing a complete [Brigand Set] .
To The Ship
It’s time to go back through the now-open shortcut and summon Lucatel (if you’re wanting to complete her storyline), otherwise head downstairs and out the door.
Run down the stairs and - if you’ve activated Pahrros’ Lock - you won’t have to worry about the two Dark Stalkers down here. You will have to be careful of the ambush up ahead though.
Grab the [Human Effigy] and [2 x Lifegems] from the corpse on the boat in the water and get back out onto dry land. There’s a sailor standing nearby in the water (top-right corner) so use a bow or magic spell to draw him out and finish him off.
There are also two soldiers hanging off from the left-side of the walkway that goes to the right (away from the ship). You can see them from the walkway leading to the ship, so use throwing knives for easy kills.
You’ll need an INT level of 8 or above before he’ll actually chat to you though!
If you proceed up the walkway they were protecting then you’ll get a chance to speak to Carhillion of the Fold (a sorcerer). He’ll reinforce any Pyromancy for you as well as sell you plenty of magic spells, rings and equipment. You can also talk to him enough to persuade him to relocate to Majula .
It’s now time to go straight to the imposing ghost ship. So continue over the wooden walkway and be ready to take on several Varangian Sailors when you get on board (there’ll be four in total). Once they’re all dead it’s time to get ready for a boss fight!
Boss Fight - Flexile Sentry
Use the cool down windows to get a couple of strikes in then BACK OFF!
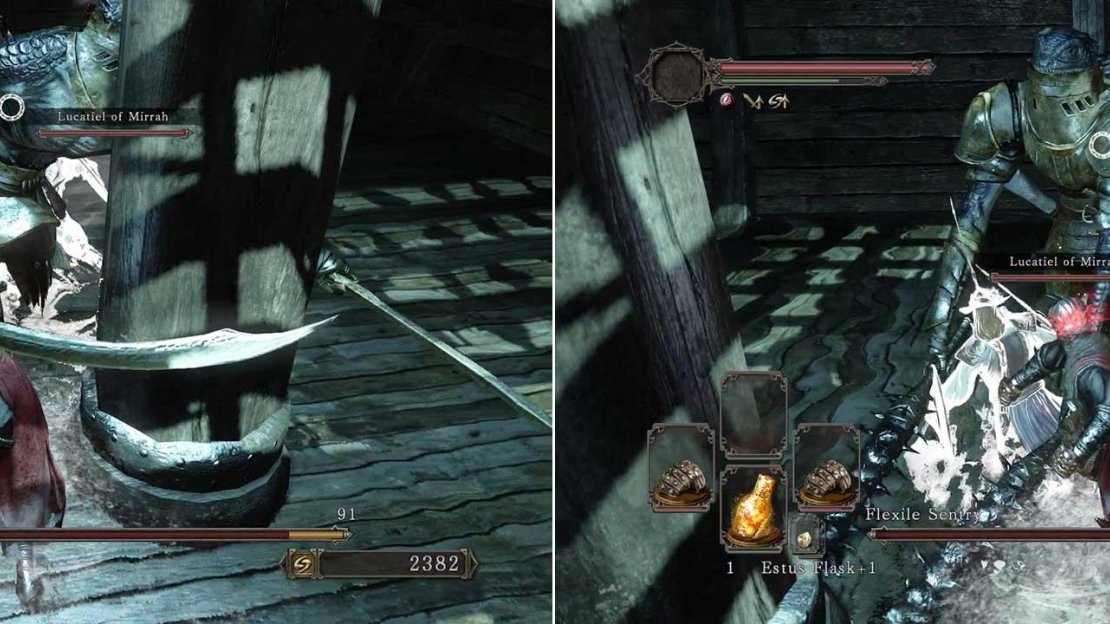
If you’ve brought Lucatel to the fight then it’s recommended that you put on the Red Eye Ring as this’ll keep the boss’ aggro primarily on you (giving Lucatel a massively improved survival rate). Here’s our strats for this relatively easy boss fight:
- Speed is of the essence as the water in the room slowly rises over time and the higher it gets, the slower you’ll move (making it harder to dodge the boss’ attacks).
- You’ll want to make sure that the side with the barbed-clubs is facing you as its attacks are the slowest and easiest to dodge (especially its three-hit combo - as that has a massive cool down window).
- You can use the pillar in the middle of the room to keep yourself at a distance from its attacks (just note some of its attacks can still pass through the edges of the pillar to the other side).
- Magic will make this fight even easier; but as long as you don’t get greedy you can sail through with a melee build too.
With the boss taken care of, head through the now open door, climb up the ladder and be sure to open the chest first! Inside you’ll find a [Pyromancy Flame] and [Fireball Spell] to go alongside it. Activate the device in the opposite corner to trigger a cut-scene and you’ll arrive at potentially familiar area…

No Comments