Klael's Stronghold Ruins
Detailed Location(s)
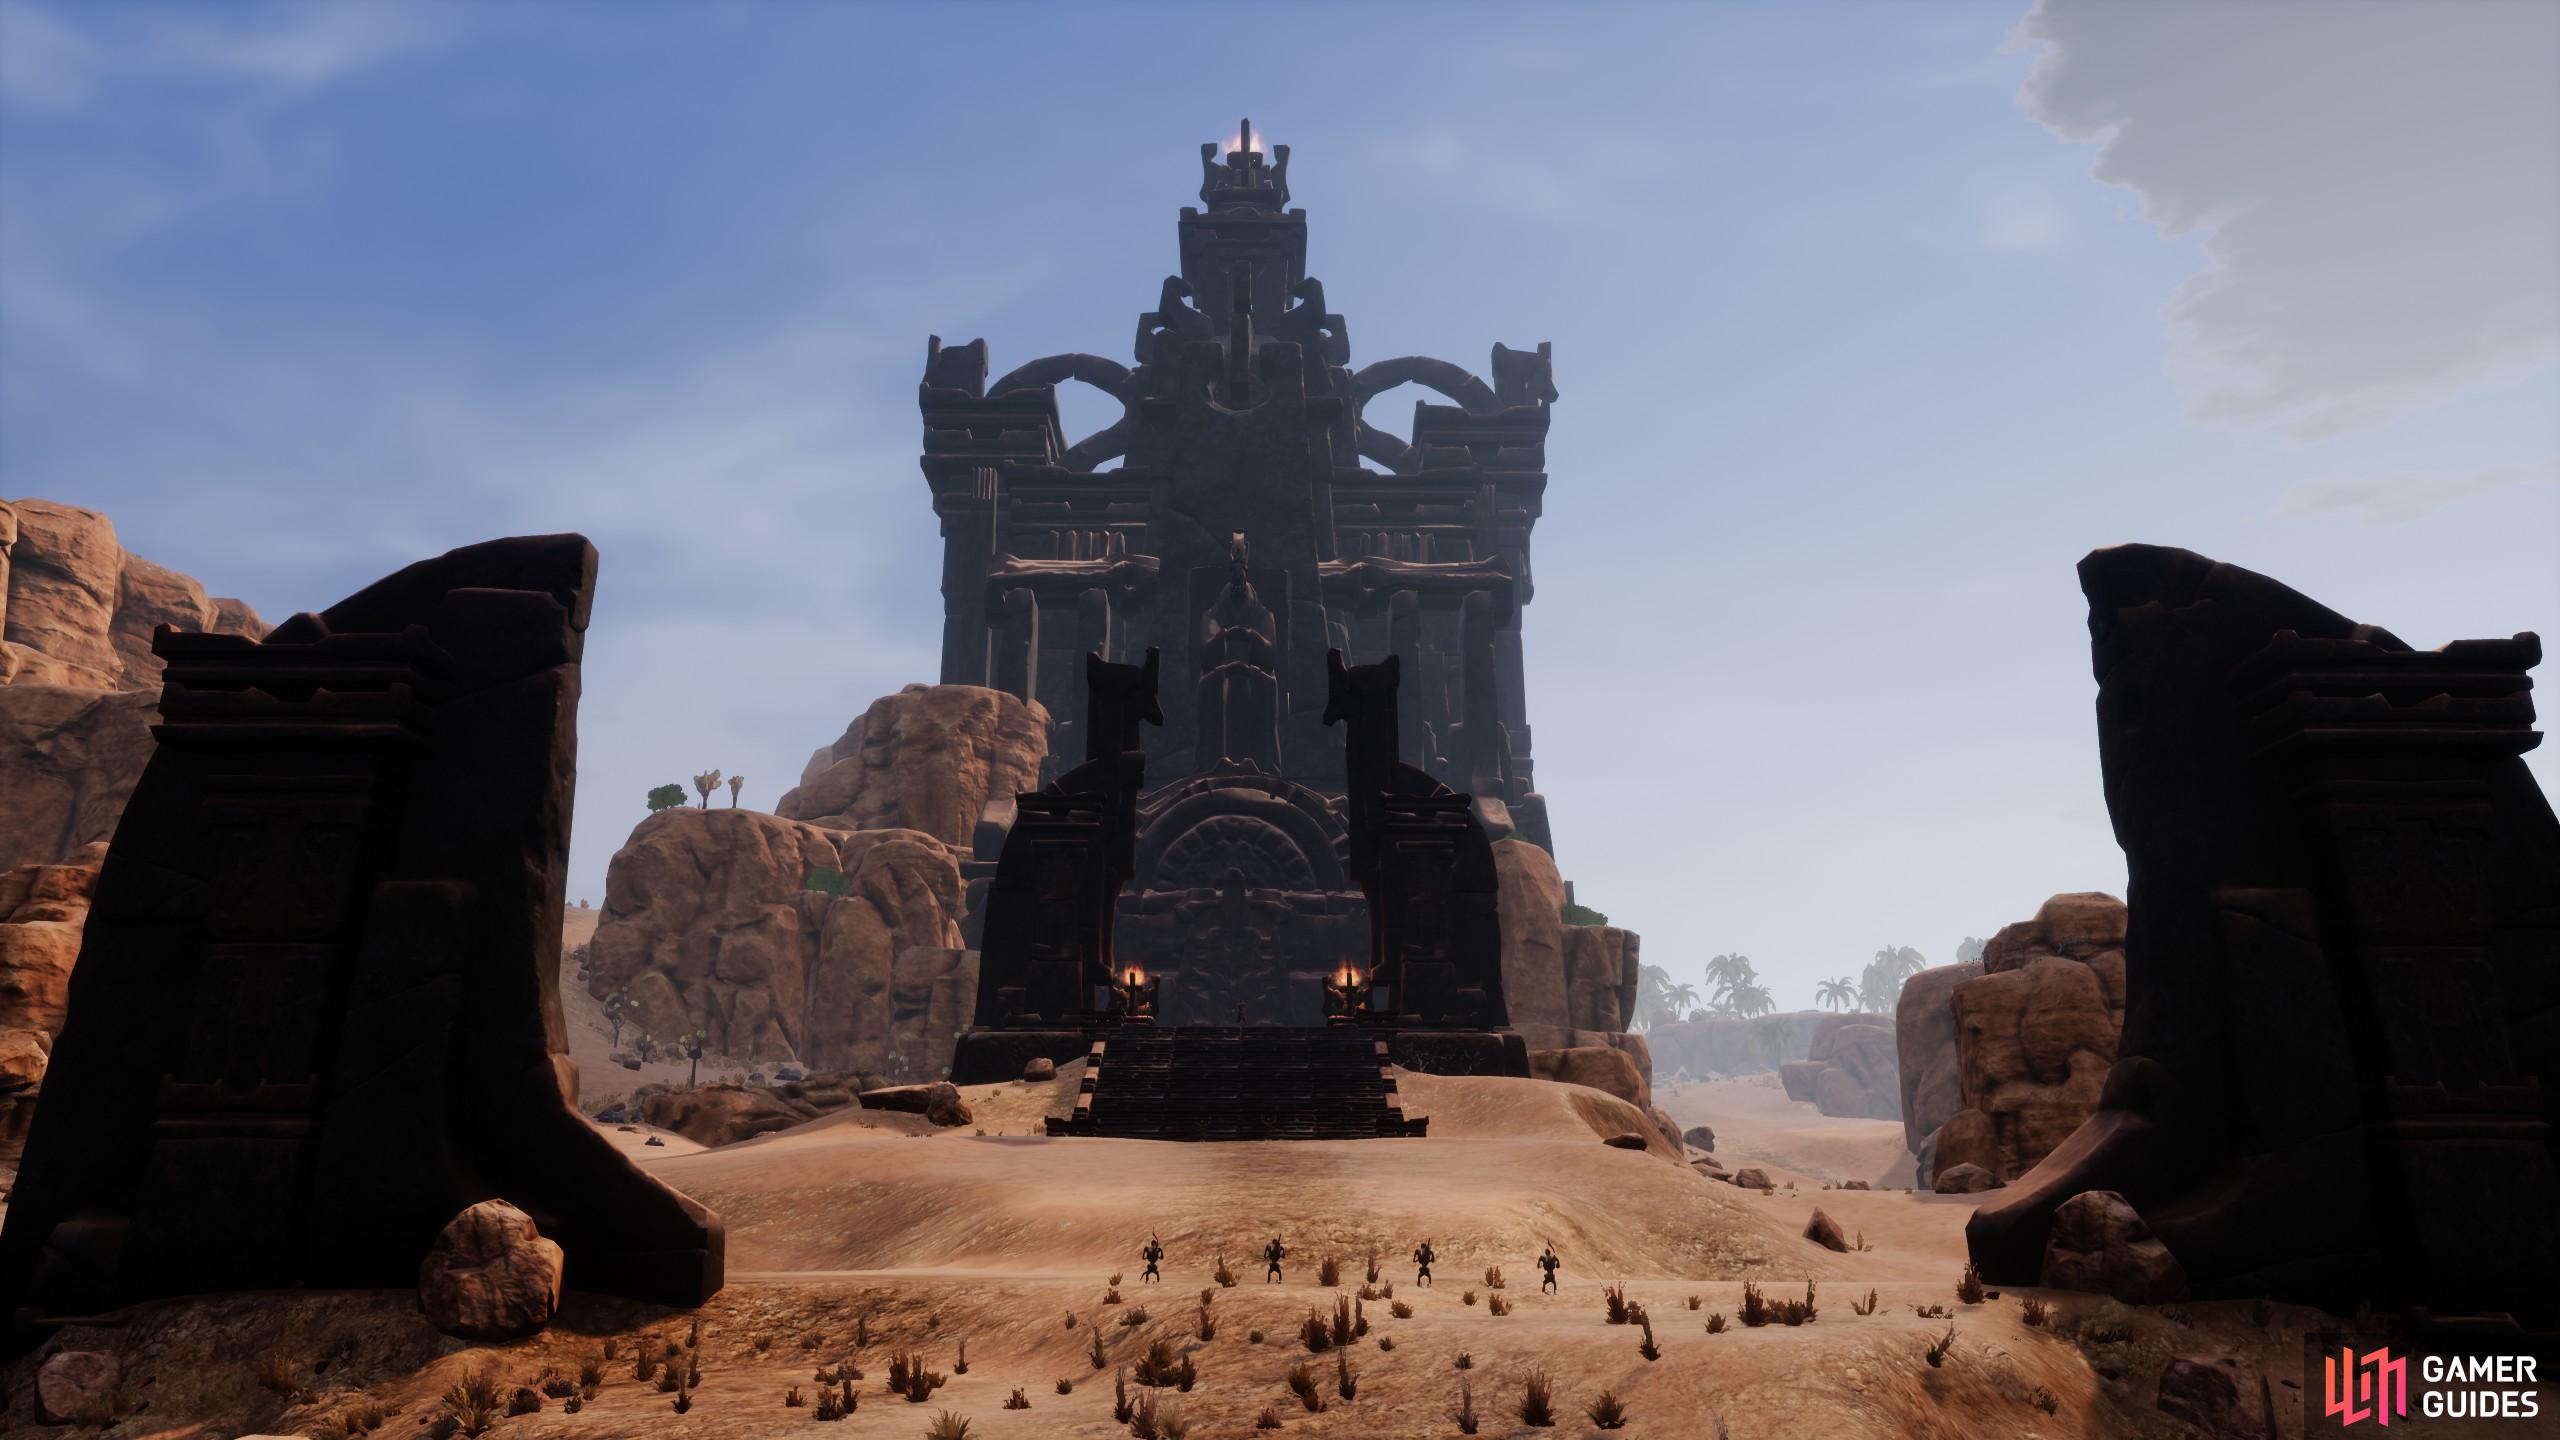
![]() Klael’s Stronghold is a ruin north of the
Klael’s Stronghold is a ruin north of the ![]() Sepermeru city. The ruin has several undead guards protecting a hidden dungeon entrance. Head inside the ruin and interact with the door to enter the dungeon.
Sepermeru city. The ruin has several undead guards protecting a hidden dungeon entrance. Head inside the ruin and interact with the door to enter the dungeon.
Conan Exile Klael’s Stronghold Walkthrough
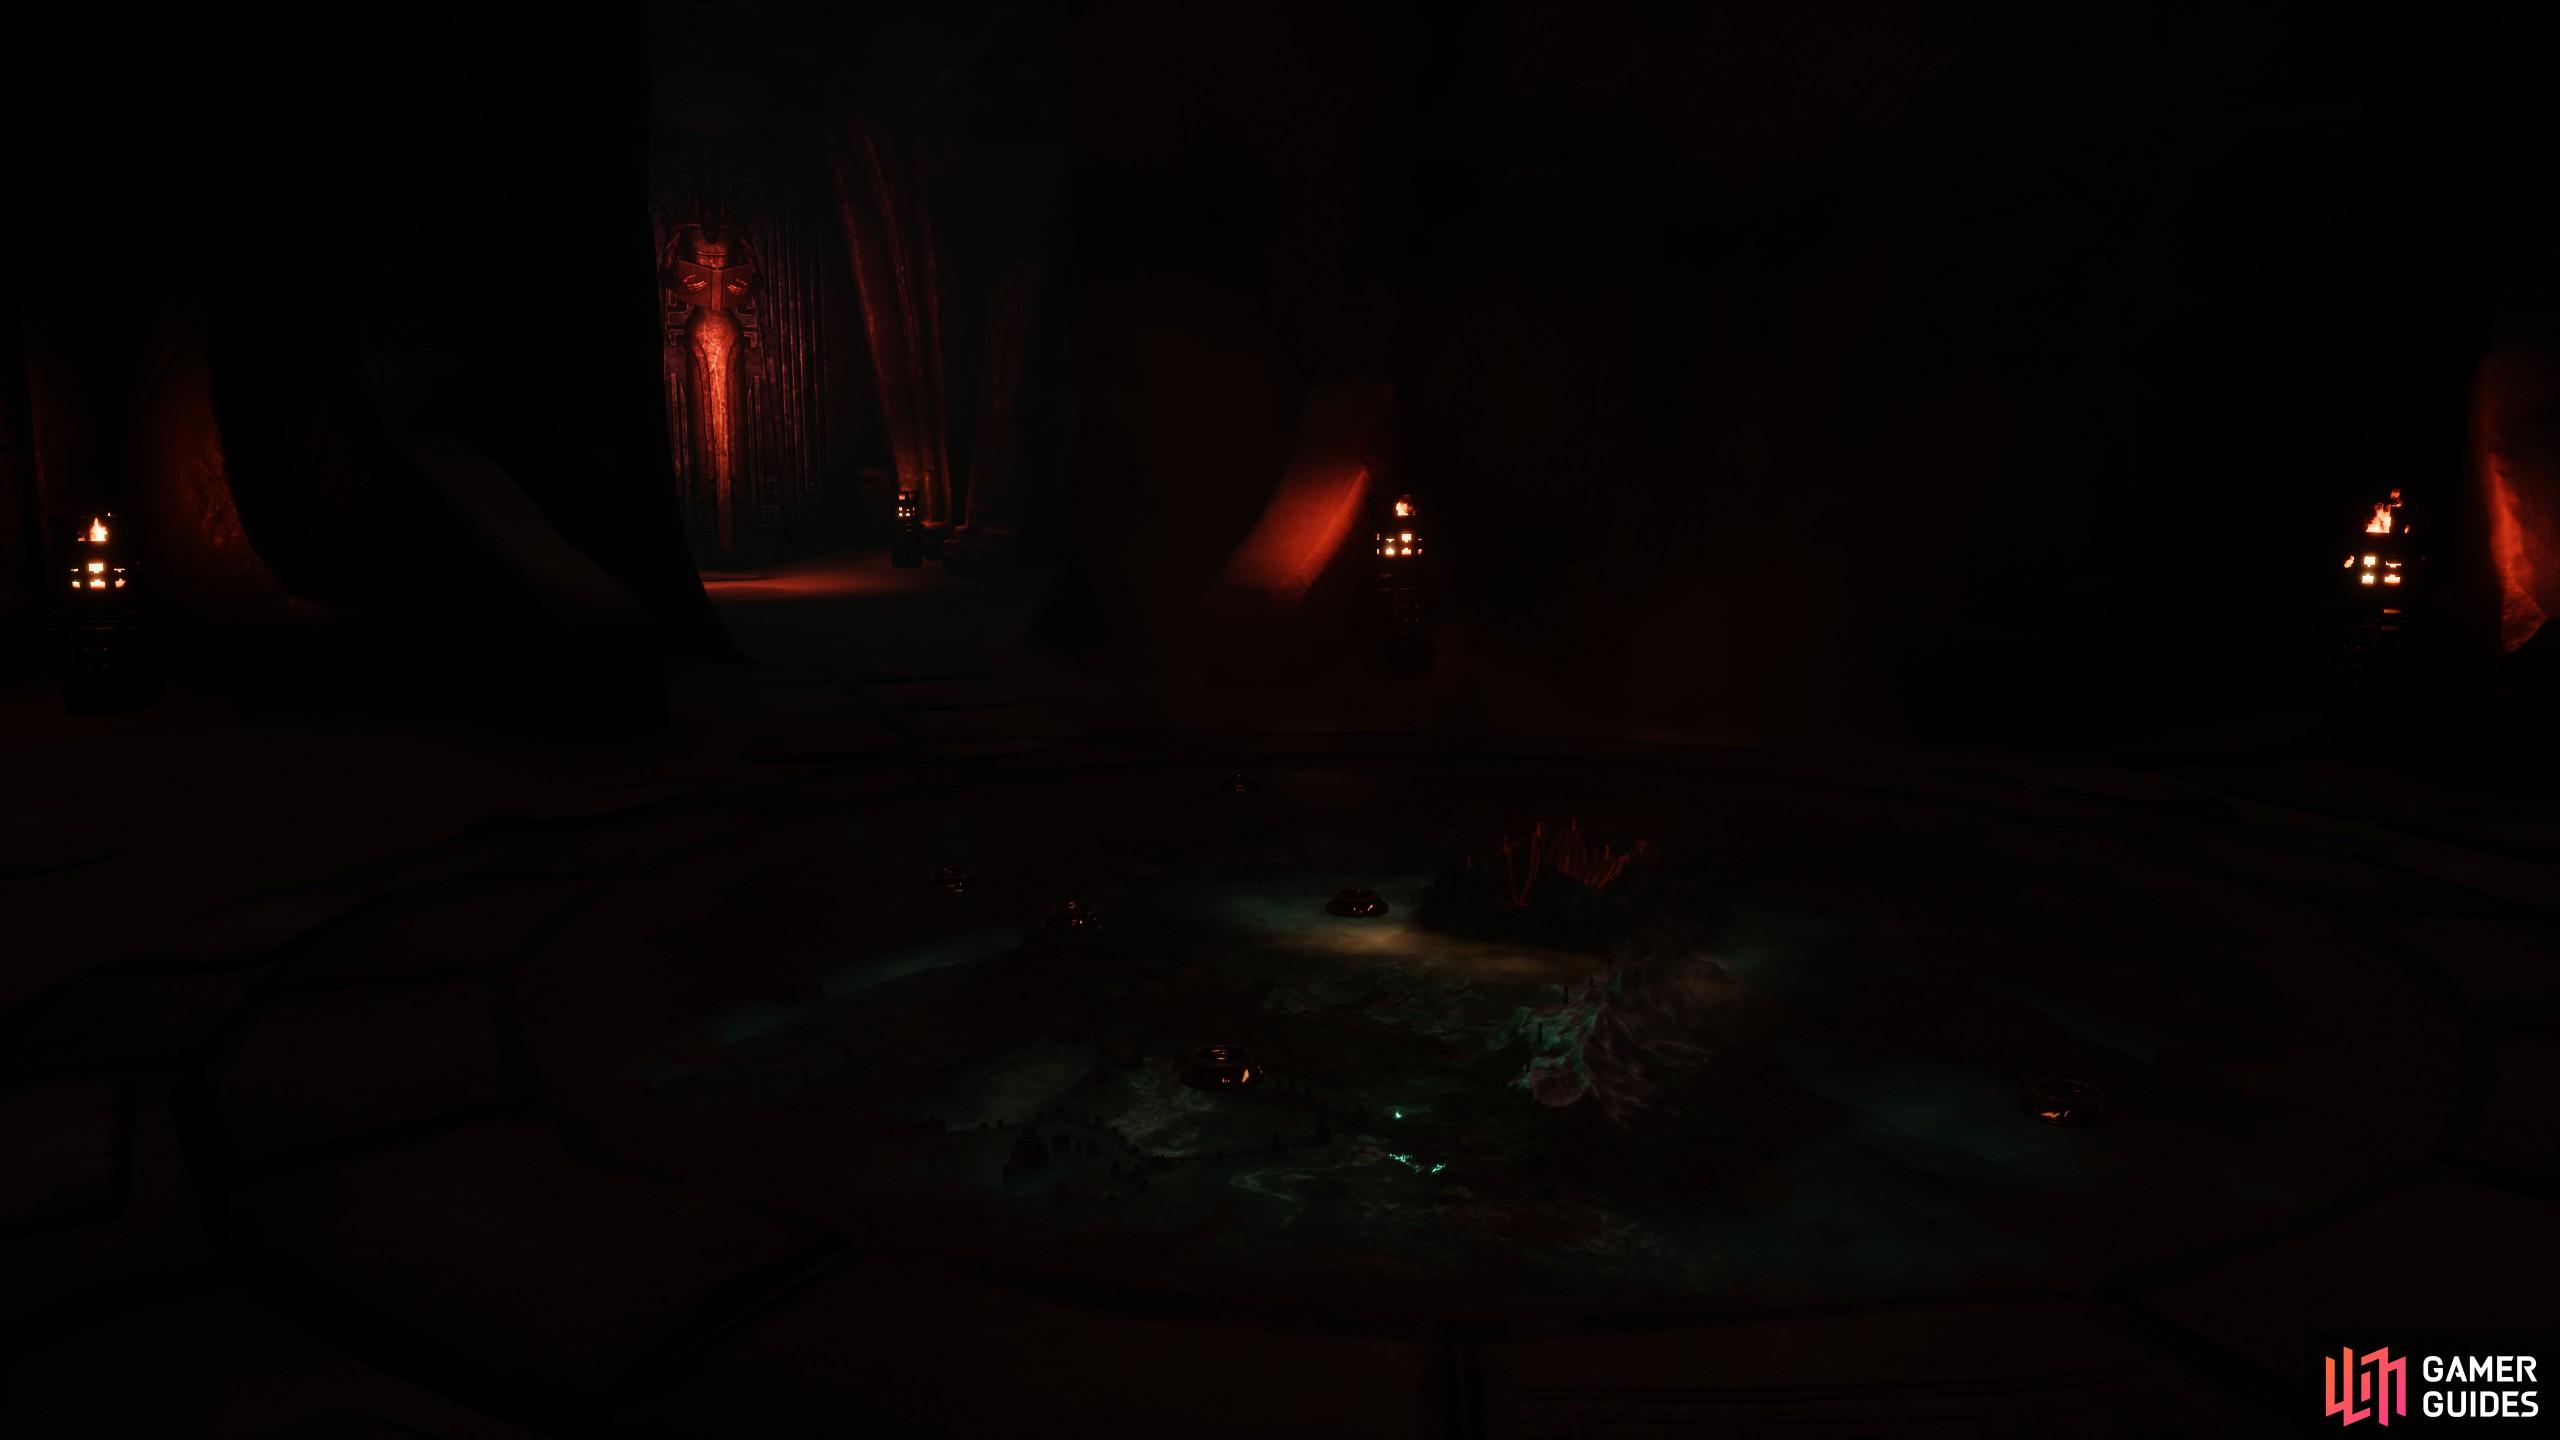
When inside, you must defeat a few Undead Fighter guards, which should be easy enough to kill with Steel Weapons. There’s also a few Undead Archers as well. The main boss in the first complex is the Wraith Guardian, which a is a three skull boss. This will take some time to kill, so make sure you’re stocked up on potions, armor, weapons, and even any additional bleed or poisons you can apply to your weapon to take it down.
Once you’ve defeated the first boss, you can then open the door behind the Wraith. This will lead to a map room. You will also find three doors with different colors. Ech colored door takes you to a few more ![]() Skeletons, and another door leading to a one skull boss. Each boss has a chance to drop a legendary weapon with around 50 damage and 25% armor penetration, such as
Skeletons, and another door leading to a one skull boss. Each boss has a chance to drop a legendary weapon with around 50 damage and 25% armor penetration, such as ![]() Yog’s Touch, Nortis. You can also get a statuette of the Archivist, Priest King, and the Warmaker.
Yog’s Touch, Nortis. You can also get a statuette of the Archivist, Priest King, and the Warmaker.
When you have all three statuettes, go back to the map room, and place the them on the bowls. This will grant a key, which will allow you to continue into the new area of the dungeon. Place the statuettes on the left side of the map, which is closest to the red door. Placing the statuettes on the wrong bowls will trigger traps and potentially kill you.
Now you need to look for a dark metal door, which will lead further into the stronghold. This will take you down another skeleton area, filled with traps. Watch for spike s from the floor, oil pits, and stone pressure plates which will launch you into the air. Also, some of the boxes around this area rigged to explode, so open the chest then immediately back away, as they take a few seconds to arm and explode. You will also need to be weary of a few ![]() Wights and armored Skeletons.
Wights and armored Skeletons.
To progress to the Inner Sanctum, you will once again need to kill one of the three skull wight bosses. Killing this creature drops the Inner Sanctum key, which will allow you to open the door near to where all the traps are.
Inner Sanctum
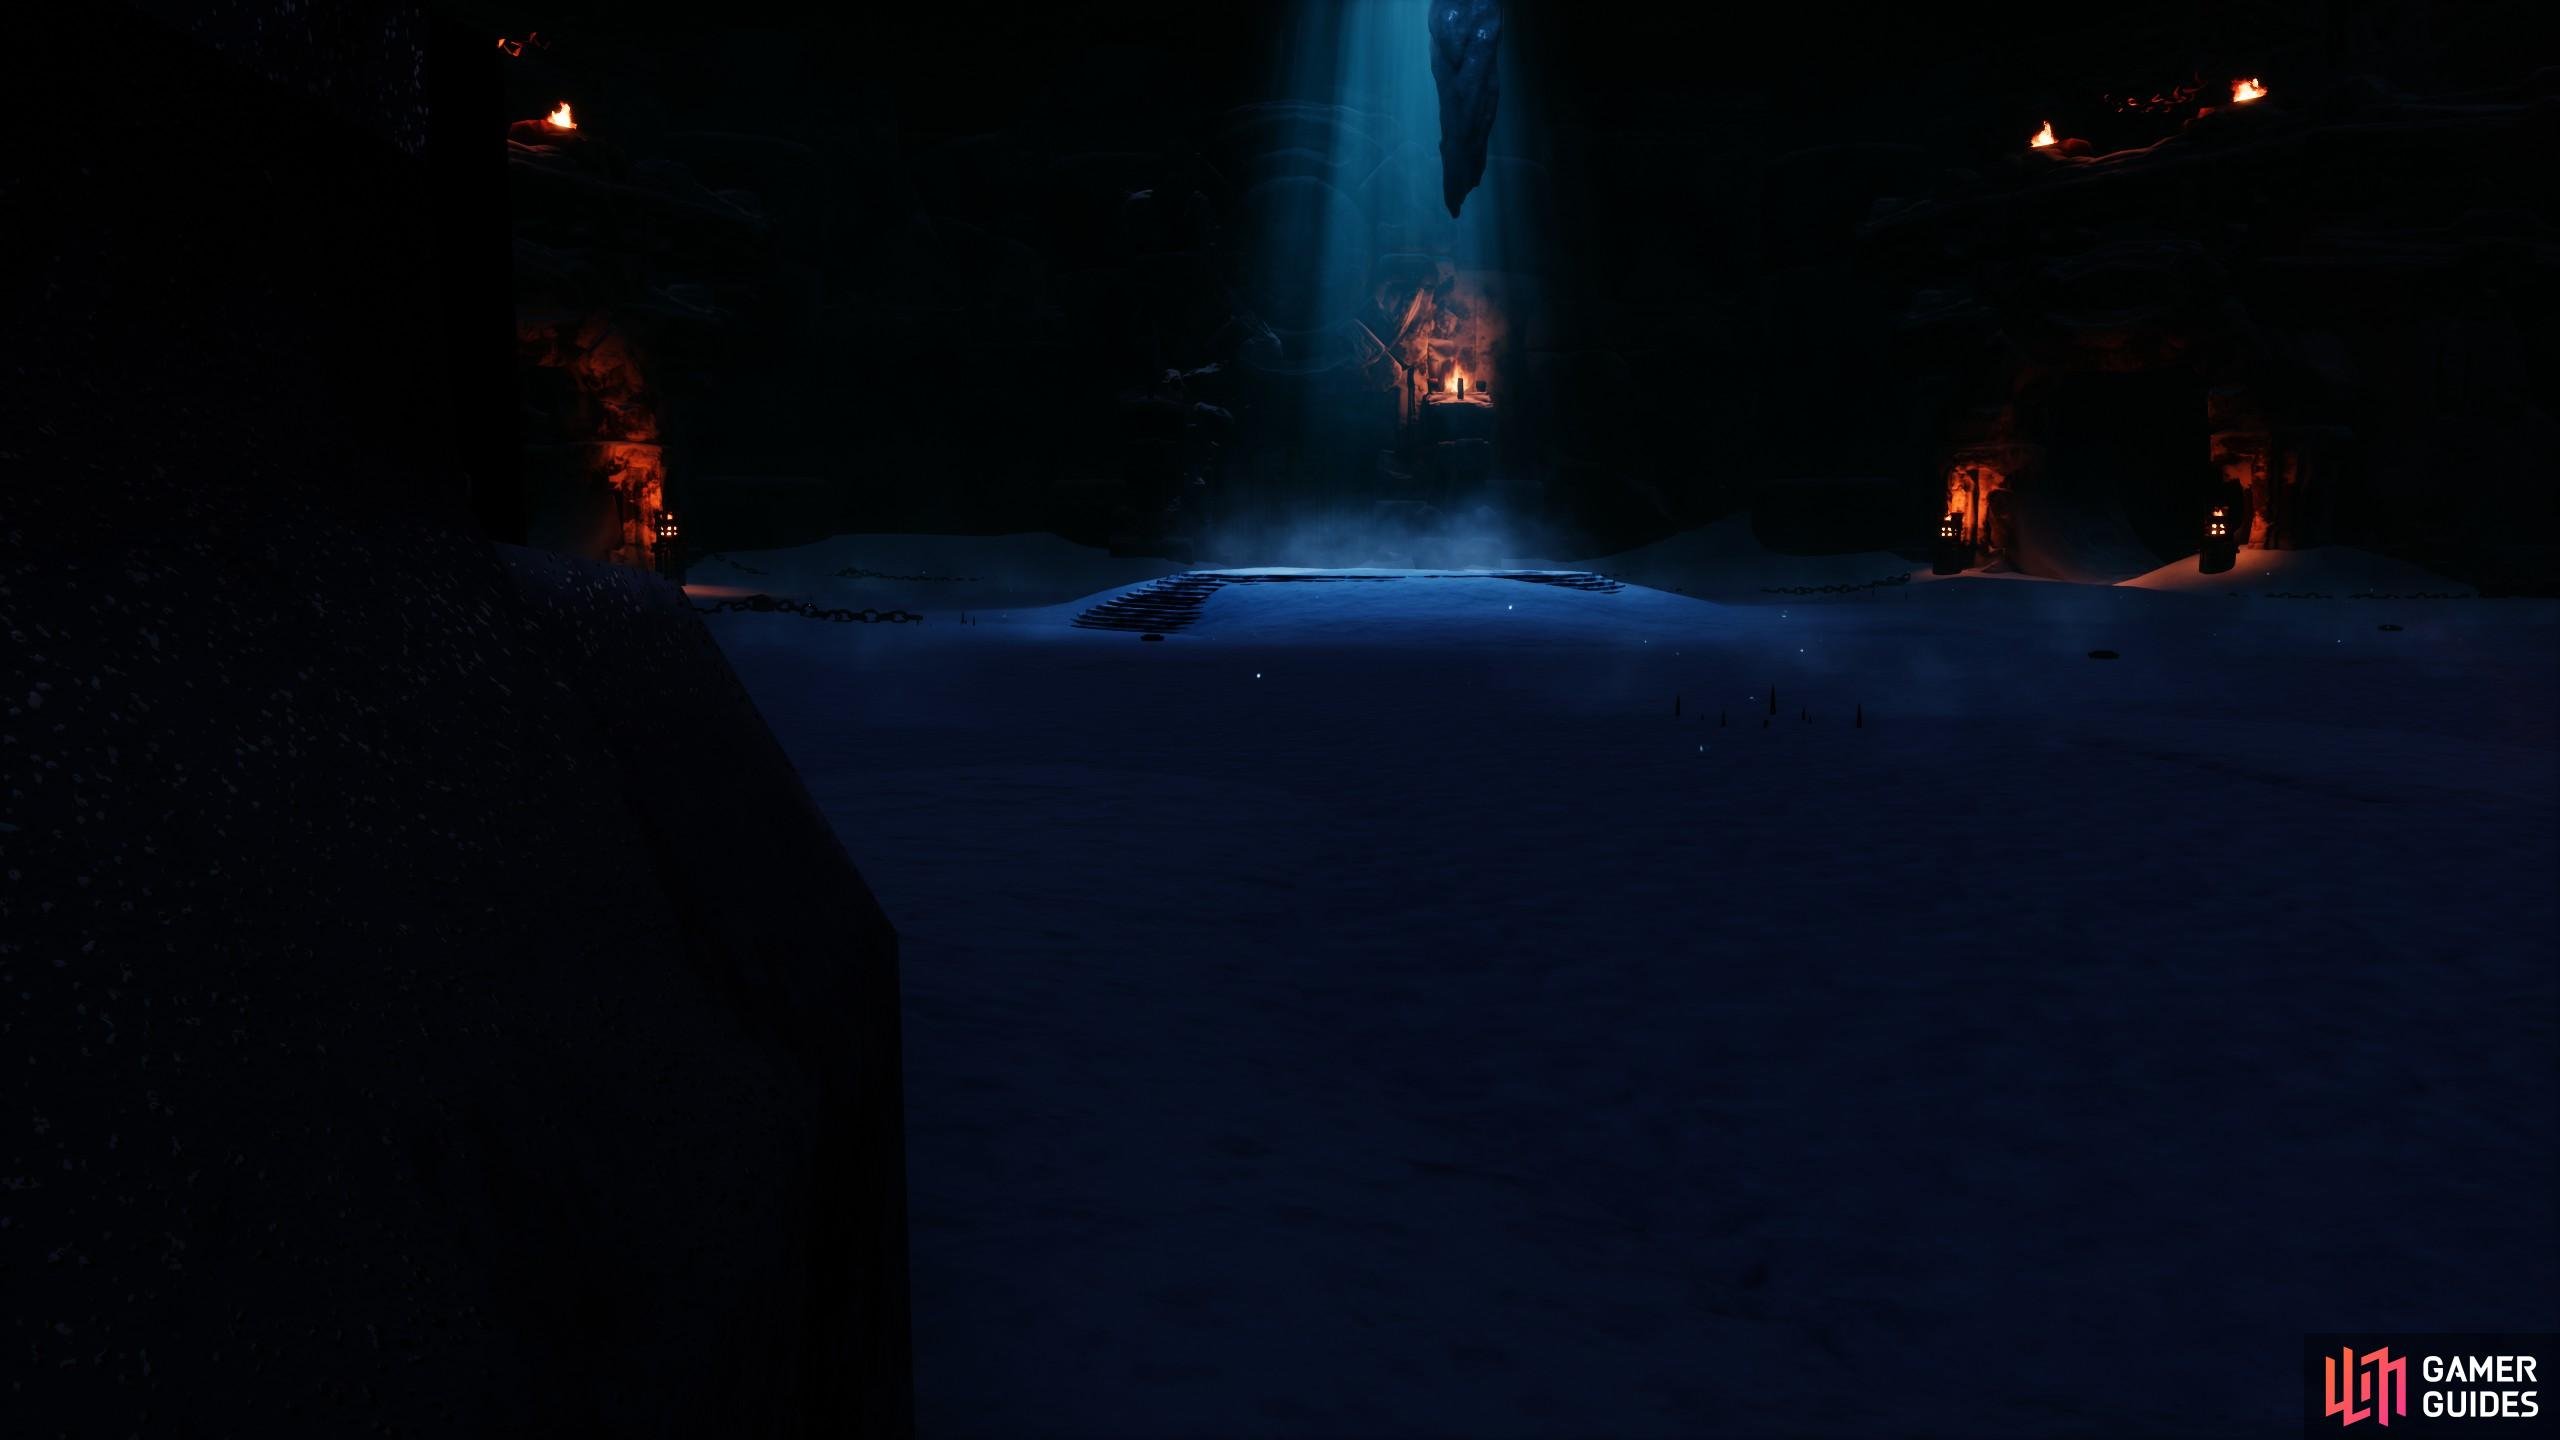
Once you open the door to the Inner Sanctum you will enter the arena. Inside is a level 1 skull human called the ![]() Arena Champion, who will fight you. Once you defeat her, you can path two direction. One as blue lights, which turns the area into snow. You can mine
Arena Champion, who will fight you. Once you defeat her, you can path two direction. One as blue lights, which turns the area into snow. You can mine ![]() Black Ice if you wish. Be careful of the Spiders up here, and the Greater
Black Ice if you wish. Be careful of the Spiders up here, and the Greater ![]() Shalebacks and the
Shalebacks and the ![]() Undead Dragon. The Greater Shalebacks and the Spiders can be kited into the Undead Dragon if you need help. Killing the Dragon will award you with a key to progress further. Remember to harvest the dragon for
Undead Dragon. The Greater Shalebacks and the Spiders can be kited into the Undead Dragon if you need help. Killing the Dragon will award you with a key to progress further. Remember to harvest the dragon for ![]() Dragonhorn
Dragonhorn ![]() Dragonbone and
Dragonbone and ![]() Demon Blood. You can also find a few mammoths in a room further ahead of the Undead Dragon if you need some more help.
Demon Blood. You can also find a few mammoths in a room further ahead of the Undead Dragon if you need some more help.
At the very end of the snowy area, you can enter a room suing the key you got from the Undead Dragon. This key will lead you to the Warmaster, a heavily armored enemy wielding a two handed war hammer, with around 7000 HP. Make sure you’re once again geared to take this foe on. The boss when defeated can drop Armor Scraps, like the Arena Champion, and there’s chances at legendary weapons like the other bosses at the start of the dungeon.
In the corner of the room are four rooms that require Rusted Keys. Entering these rooms can grant more chests with more scraps. The locations of these keys are randomly scattered around the Dungeon in chest,s the map room, on enemies, and more.
Resources
The ruin is an indoor location, and has no natural resources, other than those you get from the bodies of the undead. Killing the bosses inside here can grant Demon blood, handy for more advanced recipes, along with Witchfire Powder from the Wraith boss.
Rewards
The area is filled with enemies of the undead type, making it a great place to gather bone, ![]() Putrid Meat for farming and Compost, along with getting items like
Putrid Meat for farming and Compost, along with getting items like ![]() Thick Hide,
Thick Hide, ![]() Demon Blood, Witchfire Powder and more
Demon Blood, Witchfire Powder and more
In addition, you can also find plenty of chests in the dungeon, which typically are on the outside walls of the entire ruin complex. These typically have the chance to contain ![]() Iron Bars, Steel bars,
Iron Bars, Steel bars, ![]() Coal,
Coal, ![]() Brimstone, Golem parts, and other useful early and mid game items for crafting.
Brimstone, Golem parts, and other useful early and mid game items for crafting.
There are two ![]() Stone Slabs in the final boss room with the Warmaker. These will teach you Grandmaster Armorsmith and Grandmaster Weaponsmith.
Stone Slabs in the final boss room with the Warmaker. These will teach you Grandmaster Armorsmith and Grandmaster Weaponsmith.
Enemies
- Undead
 Skeletons
 - Silent Legion
 Wights
- Various old one bosses models
 Undead Dragon.
Screenshots


 Sign up
No Comments