
There are a massive amount of Pictos and Lumina abilities in Clair Obscur: Expedition 33, 252 by our count, so naturally, you may be wondering what are the best Pictos or Lumina to equip at any give time. Rest assured, we’ve got you covered here with this guide, you’ll find recommendations on the best Pictos or Lumina to equip during every Act of the game.
Pictos start getting massive stat increases in Act III of Clair Obscur: Expedition 33.
Table of Contents
If you want to jump to a specific section, click on the links below.
Best Act I Pictos and Lumina
With the way Clair Obscur: Expedition 33 is structured, different Pictos and Lumina become more or less useful based on what stage of the game you’re at. Act I being the early stages of the game mean you’re going to be short on Lumina Points, and although the quality of Pictos aren’t as great as the best ones available later in the game, there are some crucial ones you’ll want to consider with your points. The table below will show you what we believe these are, along with their stats:
| Name | Location | Stats | Ability |
|---|---|---|---|
| Speed +41, Crit Rate 10% | Play first | ||
| World Map - North of |
Health +320 | Get +1 AP at the start of battle | |
| Health +175 | Gain +1 AP at battle start | ||
| Health +320 | Get +1 AP at the start of battle | ||
| Speed + 75, Crit Rate 13% | First hit dealt and taken deals 50% more damage | ||
| Health +216, Defense +71 | 10% increased damage while all allies are alive | ||
| Speed +51, Crit Rate 5% | 50% Increased damage on the first hit once per battle | ||
| Speed +21, Crit Rate 4%, Level 3 | 50% increased Free Aim damage | ||
| Speed +26, Crit Rate 9% | 25% Increased Break Damage | ||
| Hidden Gestalt Area - Defeat all four opponents | Health +168, Defense +50 | Deal 50% more damage if fighting alone | |
| Health + 90, Crit Rate 4% | 25% increased counter attack damage | ||
| Speed +4, Crit Rate 9% | Get +3 AP on killing an enemy | ||
| Speed + 12, Crit Rate 3% | Gain 1 AP on perfect dodge, once per turn |
First Strike
This is arguably one of the more useful Lumina Abilities in the game, costing you 10 LP to equip. Admittedly, it becomes more useful as you reach Act III where, no matter your Agility stat, enemies will always go first. But if you’re confident in putting out a lot of damage in your first turns, this can make it so you won’t have to worry about what the enemy can do as much. This becomes even more effective once you unlock the ![]() Cheater Pictos in Act III.
Cheater Pictos in Act III.
Energising Start
Much like the above, the Energising Start Pictos will last you throughout the game, and each copy increases the amount of AP you start a battle with by 1. They have varying LP costs, ranging from 5-15 for I-III (there’s a IV you’ll find later), so you may want to equip more as your LP max increases. This, when coupled with ![]() First Strike, will let you win many battles before they’ve even begun.
First Strike, will let you win many battles before they’ve even begun.
First Offensive
Continuing that trend of dealing heavy damage before an enemy can even act, ![]() First Offensive will increase the damage you deal by 50% on your first turn. The downside is you’ll also take an increased 50% damage on your first hit, something that may cause more trouble if you struggle to parry or dodge. Still, at only 5 LP, this is a big damage increase for very little investment.
First Offensive will increase the damage you deal by 50% on your first turn. The downside is you’ll also take an increased 50% damage on your first hit, something that may cause more trouble if you struggle to parry or dodge. Still, at only 5 LP, this is a big damage increase for very little investment.

First Strike remains incredibly useful throughout the entirety of Clair Obscur: Expedition 33.
Teamwork
Provided you’re not always down party members, ![]() Teamwork will always pay back its low cost of 5 LP. Provided all of your party members are all alive (which, let’s face it, should always be the goal), you’ll enjoy a 10% increase in damage, hard to turn this down at that cost.
Teamwork will always pay back its low cost of 5 LP. Provided all of your party members are all alive (which, let’s face it, should always be the goal), you’ll enjoy a 10% increase in damage, hard to turn this down at that cost.
Augmented First Strike
You can see where we’re going with this by now, but further boosting your damage on your first turn, ![]() Augmented First Strike will increase the damage of your first hit by 50% for a meager 5 LP. It is worth mentioning that if you’re using multi-hit attacks, this bonus only applies for the first hit of that skill.
Augmented First Strike will increase the damage of your first hit by 50% for a meager 5 LP. It is worth mentioning that if you’re using multi-hit attacks, this bonus only applies for the first hit of that skill.
Augmented Aim
Free Aim Shots may not be used as much as you’d like them to be, but for those moments when you’re fighting flying enemies, having an increased 50% damage to your Free Aim Shots at the cost of 3 LP is something that is too good to turn down, there’s no reason why all of your characters shouldn’t have this equipped for the entirety of the game.
Breaker
Especially when it comes to bosses or optional encounters, filling the Break Gauge to Stun an enemy and thus, deal greater damage, is a very effective strategy. With the ![]() Breaker Lumina, you’ll deal an extra 25% Break damage whenever dealing damage to that gauge.
Breaker Lumina, you’ll deal an extra 25% Break damage whenever dealing damage to that gauge.
Solo Fighter
Although we’ve gone with ![]() Solo Fighter, all of the Pictos that grant you bonuses when fighting alone should be equipped whenever you do a solo encounter, such as fighting Traders. Solo Fighter especially will give you a flat 50% increase to all damage, so don’t miss out on this Lumina.
Solo Fighter, all of the Pictos that grant you bonuses when fighting alone should be equipped whenever you do a solo encounter, such as fighting Traders. Solo Fighter especially will give you a flat 50% increase to all damage, so don’t miss out on this Lumina.
Augmented Counter I
This is more for those of you who have already got to grips with parrying, if you can reliably pull it off, an extra 25% damage to your counterattacks is nothing to scoff at and add the low cost of 3 LP to it, and this is a winner.
Dead Energy II
Another one of those Pictos where you’ll equip the Lumina ability for the entirety of the game. For the low cost of 2 LP (one of the lowest in the game), you’ll score yourself 3 extra AP every time you defeat an enemy in battle, making this crucial for battles with more than one enemy in it.
Dodger
Just like the above, another Lumina ability you should equip for the majority of your playthrough, especially if you tend to favor dodging our parrying. Every time you pull off a Perfect Dodge, once per turn, you’ll gain an extra 1 AP and to make it even better, it’ll only cost you 1 LP to equip it!
Best Act II Pictos and Lumina
As you reach the second, larger Act of Clair Obscur: Expedition 33, you’ll start getting your hands on some more powerful and situational Pictos. There does, however, come a caveat with this, as you’ll most likely hit the single-hit damage cap of 9,999 before you reach the end of this Act, so further increasing your damage output will be wasted after a while. Once again, the table below will show you what we believe these are, along with their stats:
| Name | Location | Stats | Ability |
|---|---|---|---|
| World Map - South of |
Speed +162, Crit Rate 17% | Get +3 AP when killing an enemy | |
| Crushed Caverns - Dropped by |
Defense +116, Speed +62 | Get +2 Shields when the character’s Health falls below 50%, once per battle | |
| Speed +54, Crit Rate 11% | Recover 50% Health upon killing an enemy | ||
| Health + 626 | +1 AP on successful Parry | ||
| Speed +93, Crit Rate 6% | Base Attack has 1 extra hit | ||
| Glass Cannon | Speed +175 | Deal 25% more damage, but take 25% more damage | |
| Sirene - Defeat the boss | Speed +270 | Get +1AP on turn start | |
| Speed +103, Crit Rate 15% | 30% increased damage until hit received | ||
| World Map - Defeat Grosse Tete near |
Health +1166, Crit Rate 9% | 5% increased damage per turn. Can stack up to 5 times. | |
| Health +2000, Defense +324 | Recovers 10% Health on turn start | ||
| Inside the Monolith - |
Speed +154, Crit Rate 17% | Base Attack can break | |
| Inside the Monolith Boss | Health +1107, Crit Rate 8% | Revive with 100% Health, once per battle |
Dead Energy I
Just like with ![]() Dead Energy II (why I comes after II is anyone’s guess), for the low cost of an extra 2 LP on top of the other Dead Energy, you’re adding another 3 AP when killing an enemy. That’s a total of 6 AP whenever anyone kills an enemy in battle (the entire party should have these equipped).
Dead Energy II (why I comes after II is anyone’s guess), for the low cost of an extra 2 LP on top of the other Dead Energy, you’re adding another 3 AP when killing an enemy. That’s a total of 6 AP whenever anyone kills an enemy in battle (the entire party should have these equipped).
Solidifying
![]() Solidifying is a great defensive Lumina Ability that will save you more times then you might realize. As you enter Act II, you’ll start getting a lot of methods of adding Shields to yourself, these prevent damage in their place and it’s forever useful for the rest of the game. Solidifying, then, will give you two Shields whenever you HP drops below 50% HP for the first time and you’d be surprised just how many times this saves you.
Solidifying is a great defensive Lumina Ability that will save you more times then you might realize. As you enter Act II, you’ll start getting a lot of methods of adding Shields to yourself, these prevent damage in their place and it’s forever useful for the rest of the game. Solidifying, then, will give you two Shields whenever you HP drops below 50% HP for the first time and you’d be surprised just how many times this saves you.
Sweet Kill
One of the more useful Lumina Abilities in the game that will essentially remove the need for ![]() Chroma Elixirs at the low cost of 5 LP, make sure everyone has this equipped. Whenever you kill an enemy in battle, you’ll recover 50% HP, meaning odds are you’ll always be at full HP when going into battle.
Chroma Elixirs at the low cost of 5 LP, make sure everyone has this equipped. Whenever you kill an enemy in battle, you’ll recover 50% HP, meaning odds are you’ll always be at full HP when going into battle.

Sweet Kill effectively eliminates the need for Chroma Elixirs in Clair Obscur: Expedition 33.
Energising Parry
For those of you who have truly mastered the ability to parry at this stage of the game, this Lumina Ability will restore 1 AP whenever you pull off a parry and can stack through an entire attack sequence. It is a costly ability though, weighing in at 15 LP so we’d only recommend it if you’re confident you can make use of it.
Combo Attack I
Base Attacks start becoming far more useful as the game continues, especially if you apply some Lumina Abilities that boost them or weapons that have traits related to them. ![]() Combo Attack I, then, does exactly what it says, you’ll deliver an extra hit when using a Base Attack, it is a costly ability however, at 30 LP.
Combo Attack I, then, does exactly what it says, you’ll deliver an extra hit when using a Base Attack, it is a costly ability however, at 30 LP.
Glass Cannon
This is one for those of you who like to take risks, and it pairs up well with abilities that let you act first and increase your damage on the first turn. Glass Cannon will increase all damage both taken and dealt by 25% at the cost of 10 LP, only equip this if you avoid damage more often than not.
Energising Turn
While ![]() Energising Start IV is also a worthy mention, offering yet another 1 AP at the start of battle, it does cost 20 LP which, coincidentally,
Energising Start IV is also a worthy mention, offering yet another 1 AP at the start of battle, it does cost 20 LP which, coincidentally, ![]() Energising Turn also costs. With that in mind, we keep the first three Enerigising Start Lumina equipped and go with Energising Turn for Act II (equip both in Act III when you have more points to play with) as gaining an extra 1AP every turn is far more beneficial.
Energising Turn also costs. With that in mind, we keep the first three Enerigising Start Lumina equipped and go with Energising Turn for Act II (equip both in Act III when you have more points to play with) as gaining an extra 1AP every turn is far more beneficial.
Immaculate
This is another extremely powerful Lumina Ability if you’re adept at avoiding damage at battle, and even if you’re not, if you pair this up with things like First Strike and First Offensive, you can deal massive amounts of damage before the enemy can even act.
Warming Up
This is a Lumina Ability that shines the longer a battle goes on, so against bosses and optional encounters. When equipped, you’ll gain a 5% damage increase every turn until it maxes out on turn five at 25%. This is a huge increase in battles that are not over quickly, although it is expensive at 15 AP.
Recovery
While you can technically get this Pictos in Act I, odds are you won’t have the necessary Chroma unless you spend time grinding it for a while (rest at a ![]() Camp on the world map to respawn enemies) but as soon as you have the funds, get this Pictos and equip the Lumina Ability on everyone (the Health boost from equipping the Pictos is massive for this stage of the game). When equipped, this will recover 10% Health for the character at the start of every turn, all for just 10 LP.
Camp on the world map to respawn enemies) but as soon as you have the funds, get this Pictos and equip the Lumina Ability on everyone (the Health boost from equipping the Pictos is massive for this stage of the game). When equipped, this will recover 10% Health for the character at the start of every turn, all for just 10 LP.
Breaking Attack
Ever been in that situation where you’ve filled the Break gauge but you didn’t bring a character or skill into battle that can initiate the Break itself? Well, ![]() Breaking Attack makes that a thing of the past. For the cost of 10 LP, using a Base Attack can now cause a Break, making it much easier to prevent that situation from arising.
Breaking Attack makes that a thing of the past. For the cost of 10 LP, using a Base Attack can now cause a Break, making it much easier to prevent that situation from arising.
Second Chance
This is up there as one of the most expensive Lumina Abilities at the massive cost of 40 LP, but when equipped, once per battle, you’ll revive with full HP and this can be a true lifesaver. We’d argue that you should have one person have the Pictos equipped to save on the 40 LP, and the stats aren’t nothing to scoff at either!
Best Act III Pictos and Lumina
Once you reach the endgame of Clair Obscur: Expedition 33, the only required story content is the final dungeon, all other content is optional and the difficulty ramps up fast. If you’re looking for a challenge for the final dungeon, ignore the side content and return to it after as the Pictos and Lumina Abilities here will truly destroy any challenge. Just like before, the table below will show you what we believe these are, along with their stats:
| Name | Location | Stats | Ability |
|---|---|---|---|
| Defeat the final boss of |
Health +1844 | Damage can exceed 9,999 | |
| Health +2000, Defense +324 | Consume 1 AP to prevent status applications, if possible | ||
| Speed +439, Crit Rate 12% | 25% increased damage on Burning targets | ||
| Speed +439, Crit Rate 12% | Survive fatal damage with 1 HP, once per battle | ||
| World Map - Defeat |
Health +1198, Speed +400 | Always play twice in a row | |
| World Map - North of |
Speed +162, Crit Rate 17% | 5% increased damage for each successive dodge, can stack up to 10 times | |
| Defense +1048, Crit Rate 27% | Get 20% of a Gradient Charge on a Critical Hit, once per turn | ||
| World Map - Defeat Serpenhare | Health +4970 | Every AP gain is increased by 1 | |
| Health +5591 | On turn start, if no damage taken since last turn, recover 100% Health | ||
| World Map - Defeat Thunder Eveque | Speed +586, Crit Rate 33% | Fully charge enemy’s break bar on death | |
| Lumiere - Chromatic Echassair drop | Defense +492, Crit Rate 19% | 75% increased Counterattack damage | |
| Lumiere - Trader (need to fight first) | Health +876, Defense +373 | 25% Increased damage on full health | |
| Lumiere - Gardens: Head to the left side when going down the main straight toward the tower | Speed +182, Crit Rate 18% | 25% increased damage with gradient attacks | |
| Speed +672, Crit Rate 36% | Immediately play when falling below 30% Health, once per battle |
Painted Power
By far the most important Ability you can equip once you reach Act III, don’t take on any other side content until everyone has this equipped, fortunately it only costs 5 LP. Once equipped, you’ll finally be able to break the single hit damage cap of 9,999 and this is essentially for the challenges you’ll face. You’ll quickly find yourself seeing your damage skyrocket to the point you’re dealing over 1,000,000 damage with skills like Maelle’s Stendhal.
Draining Cleanse
![]() Draining Cleanse is a fantastic support Lumina Ability that we believe nullifies the need for equipping the other Anti Luminas (which themselves cost 15 LP). Yes, you may lose 1 AP in exchange for preventing that status effect, but it works on every status in the game so for the cost of 15 LP total, you’ll avoid any status in the game provided you have at least 1 LP, hard to turn down.
Draining Cleanse is a fantastic support Lumina Ability that we believe nullifies the need for equipping the other Anti Luminas (which themselves cost 15 LP). Yes, you may lose 1 AP in exchange for preventing that status effect, but it works on every status in the game so for the cost of 15 LP total, you’ll avoid any status in the game provided you have at least 1 LP, hard to turn down.
Burn Affinity
At this stage of the game, Burn is a relatively easy status effect to apply and there are many ways of doing it. With ![]() Burn Affinity you’ll increased the damage you deal to targets suffering from this by 25%, all that cost of 10 LP.
Burn Affinity you’ll increased the damage you deal to targets suffering from this by 25%, all that cost of 10 LP.
Survivor
This is a Lumina Ability much like ![]() Second Chance, in that it will prevent you from dying once per battle. Whereas Second Chance will revive you with full HP,
Second Chance, in that it will prevent you from dying once per battle. Whereas Second Chance will revive you with full HP, ![]() Survivor will prevent you from dying and leave you with 1 HP from a fatal attack instead. Both equipped together gives you two chances in battle, but like Second Chance, it’s a big LP commitment of 20 LP.
Survivor will prevent you from dying and leave you with 1 HP from a fatal attack instead. Both equipped together gives you two chances in battle, but like Second Chance, it’s a big LP commitment of 20 LP.

Cheater is a contender for the Best Lumina Ability in Clair Obscur: Expedition 33.
Cheater
This, along with ![]() Painted Power, are in our opinion the most important Lumina to equip once you reach Act 3. Beating Prong is no simple task, but once you do and equip this Pictos, you’ll always have two turns per attack round. You should get this equipped on every character, even though it costs a massive 40 LP. Your entire party having two turns and paired with First Attack means you’ll end many battles for your opponent has a chance to act, we’d argue this is the best Lumina in the entire game.
Painted Power, are in our opinion the most important Lumina to equip once you reach Act 3. Beating Prong is no simple task, but once you do and equip this Pictos, you’ll always have two turns per attack round. You should get this equipped on every character, even though it costs a massive 40 LP. Your entire party having two turns and paired with First Attack means you’ll end many battles for your opponent has a chance to act, we’d argue this is the best Lumina in the entire game.
Empowering Dodge
For those of you who prefer to dodge your opponents rather than parry, this is a Lumina Ability you’ll want to keep equipped as this will increase your damage for each successive dodge by 5% and stacks 10 times for a total of 50%, that’s a massive amount to your output at the cost of just 5 LP.
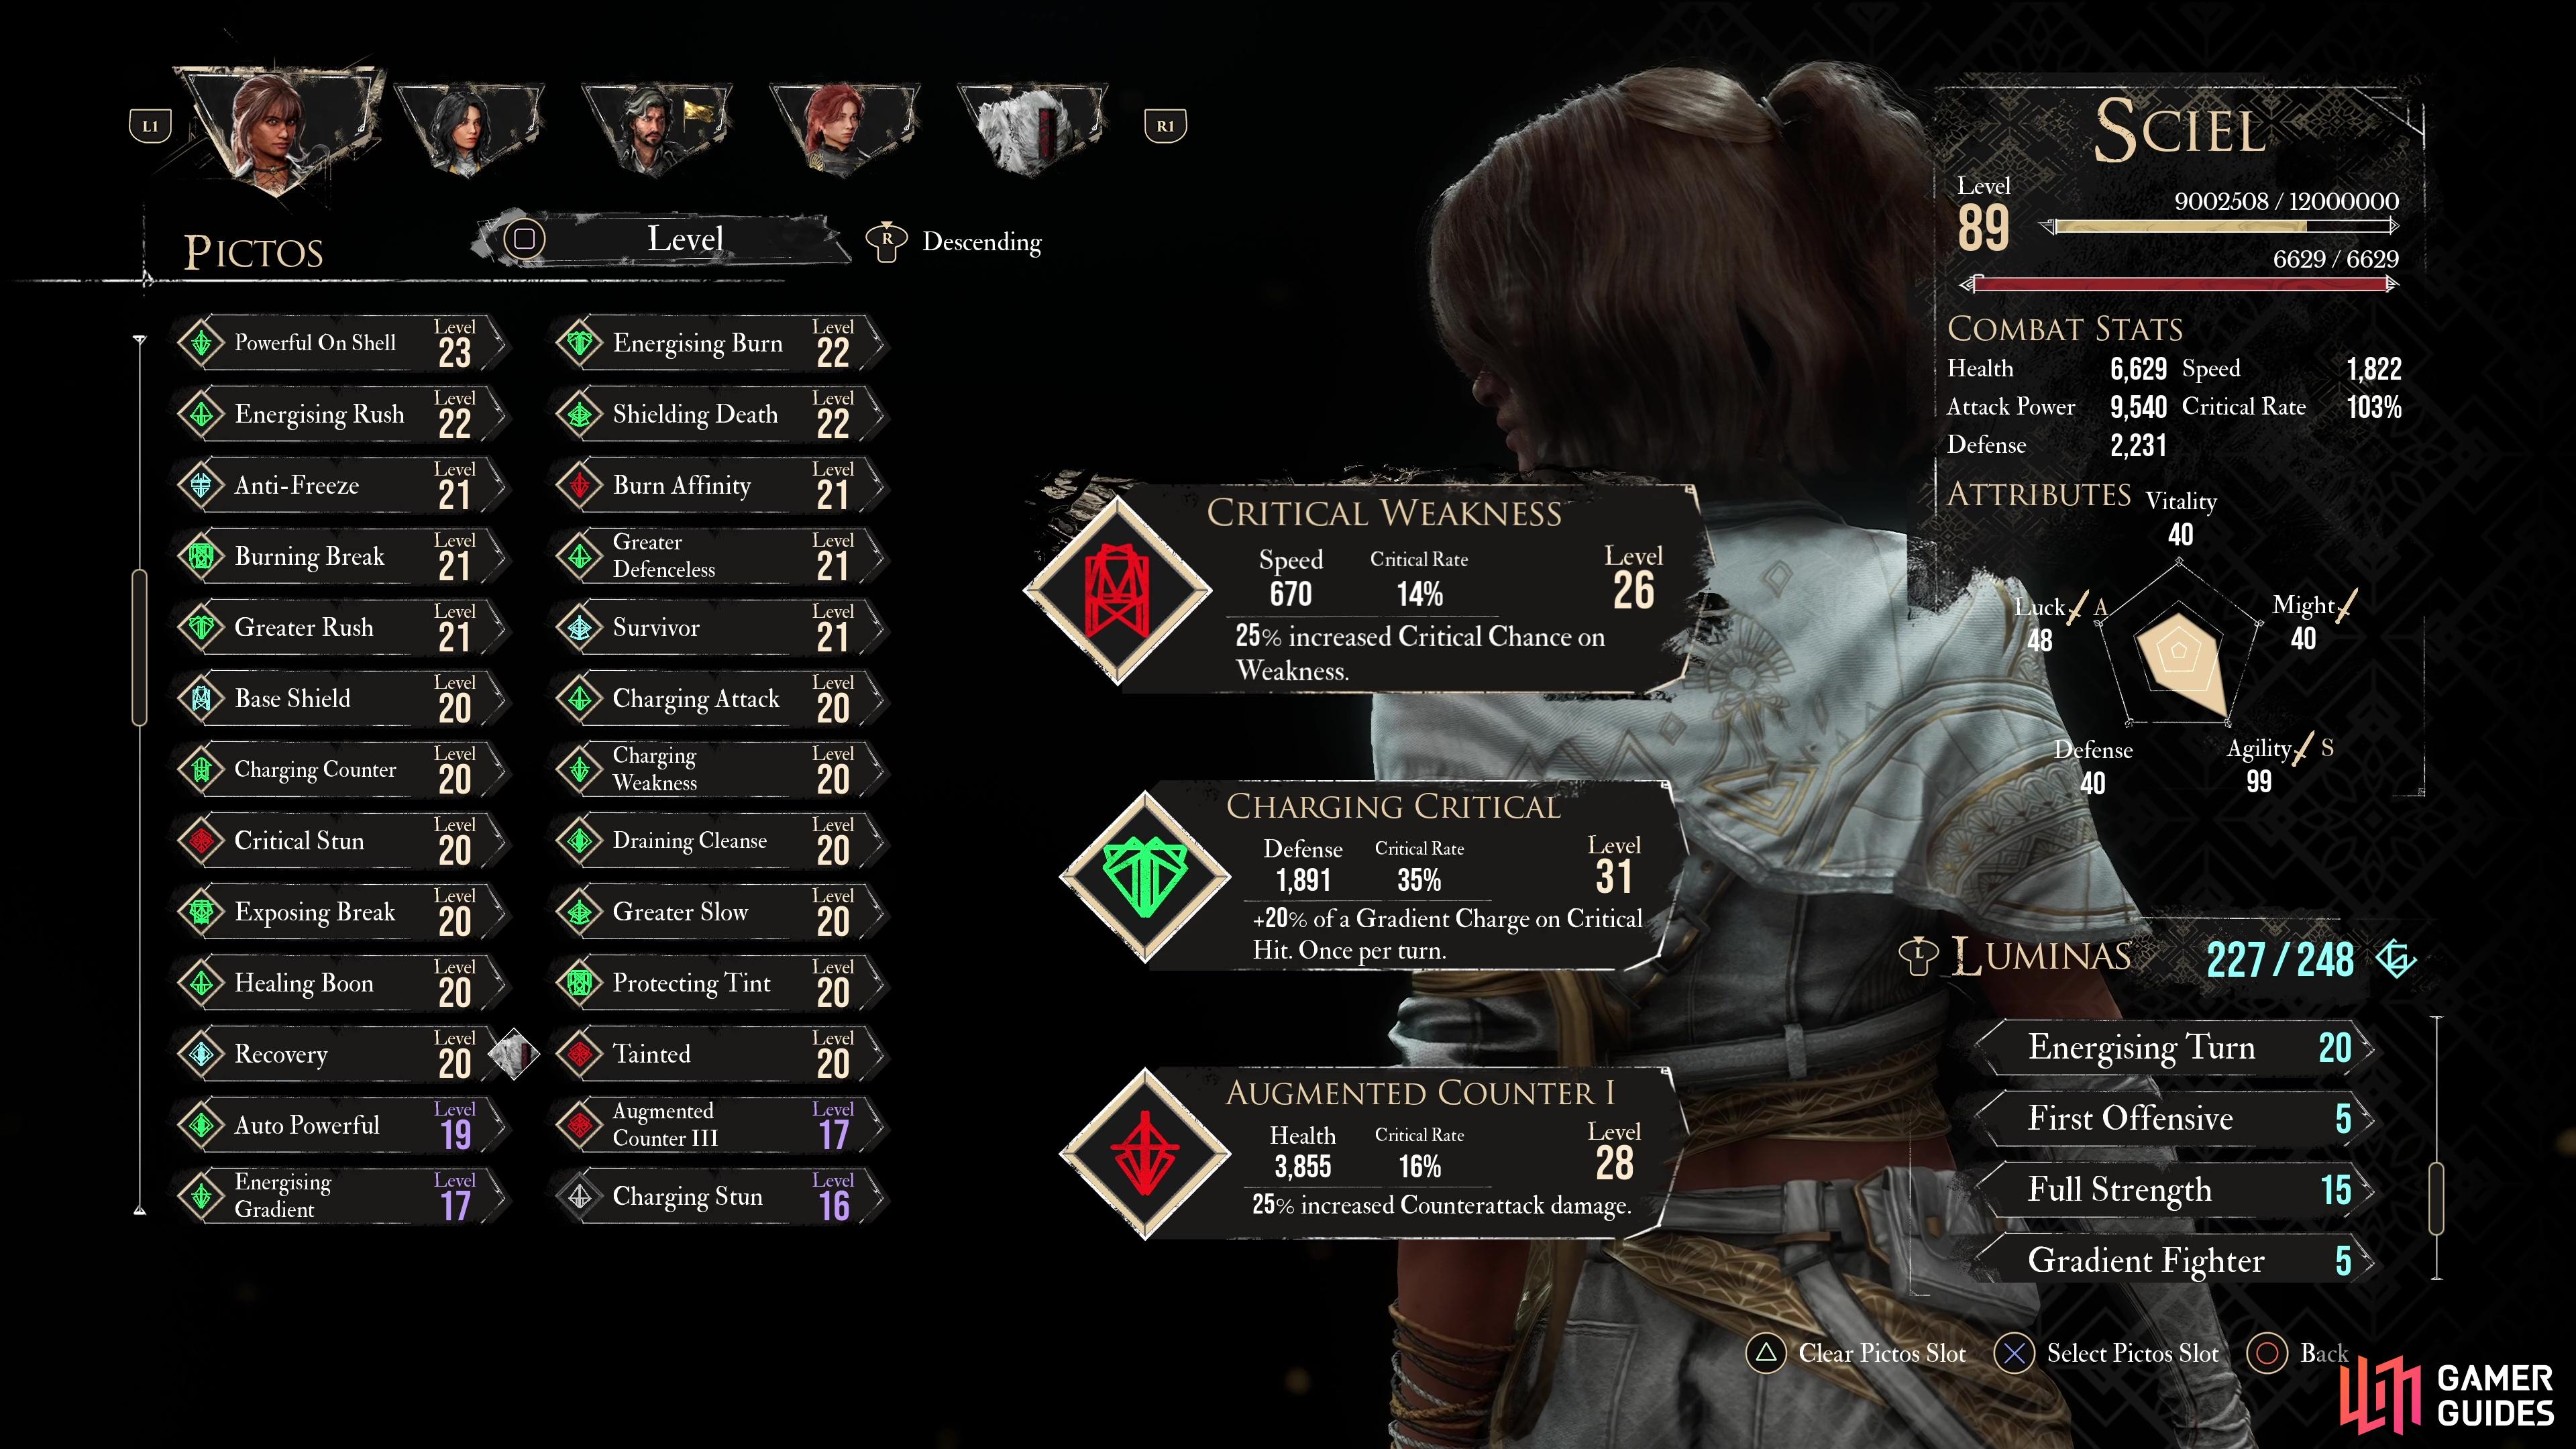
Charging Critical
Gradient Attacks become very powerful once you get access to the Level 3 ones, especially ![]() Maelle’s
Maelle’s ![]() Gommage, so being able to gain more charge for them will allow you to use them more often. We could put any of the Charging Pictos on here, but we like to favor Critical as at this stage of the game, the Pictos give so much Crit Rate that it’s easy to almost guarantee it.
Gommage, so being able to gain more charge for them will allow you to use them more often. We could put any of the Charging Pictos on here, but we like to favor Critical as at this stage of the game, the Pictos give so much Crit Rate that it’s easy to almost guarantee it.
Energy Master
Another incredibly useful Lumina Ability that is also expensive to equip at 40 LP, this will ensure that all LP gains are doubled. Much like Second Chance, ensure that someone has this Pictos equipped to save them 40 LP as unless you get every last ![]() Colour of Lumina, you’ll be hard pressed in equipping multiple 40 LP abilities.
Colour of Lumina, you’ll be hard pressed in equipping multiple 40 LP abilities.
Clea’s Life
This is another useful ability that acts more as security, as at this stage of the game, you really should be used to avoiding damage altogether by either dodging or parrying. Still, if you avoid taking any damage on a given turn, all of your Health will be restored. The price for this, 30 LP, so think hard about whether you need this or not.
Breaking Death
It feels odd recommending an ability that requires a character to be killed, but especially in the game’s toughest battles, it may sometimes be inevitable that you mistime a dodge and are killed. With ![]() Breaking Death, you will instantly fill the Break gauge, regardless of the enemy, even the game’s superboss. This is not to be underestimated as those Break gauges can be tough to fill.
Breaking Death, you will instantly fill the Break gauge, regardless of the enemy, even the game’s superboss. This is not to be underestimated as those Break gauges can be tough to fill.
Augmented Counter III
Much like ![]() Empowering Dodge,
Empowering Dodge, ![]() Augmented Counter III is for those of you who parry and counterattack often. At this tier, your counterattacks will hit for an extra 75% damage and can be stacked with the other two tiers to increase it further. If you don’t parry often though, this is of less use to you.
Augmented Counter III is for those of you who parry and counterattack often. At this tier, your counterattacks will hit for an extra 75% damage and can be stacked with the other two tiers to increase it further. If you don’t parry often though, this is of less use to you.
Full Strength
With the various tools at your disposal, especially if you’re acting first in battle, it’s easy to have full health and for that condition, you’ll deal an extra 25% damage, this skill also pairs up well with ![]() Clea’s Life, should you be using it.
Clea’s Life, should you be using it.
Gradient Fighter
As mentioned above, the Level 3 Gradient Attacks hit hard and with this Lumina ability, they’ll do an extra 25% damage, that speaks for itself. With this equipped, you’ll almost certainly hit absurd amounts of damage with Gradient Attacks such as Maelle’s Gommage.
Shortcut
The ![]() Shortcut Pictos is much like a lesser Cheater Pictos, in that it lets you act again, so you’d never want to use it over that. But when paired together, it gives you even more chances of gaining more turns, which ultimately adds up to more damage. At the later stages of the game, if you fail in a parry or dodge prompt, odds are you’re going to take heavy damage that will most likely place you under the 30% threshold and grant you that extra turn.
Shortcut Pictos is much like a lesser Cheater Pictos, in that it lets you act again, so you’d never want to use it over that. But when paired together, it gives you even more chances of gaining more turns, which ultimately adds up to more damage. At the later stages of the game, if you fail in a parry or dodge prompt, odds are you’re going to take heavy damage that will most likely place you under the 30% threshold and grant you that extra turn.
.jpg)
You should include SHORTCUT in this list.
Thanks for the suggestion Ricebox, looking at it more, I'd agree with you that it's a very strong Pictos.