
There are a surprising number of Soulslike elements in Clair Obscur: Expedition 33, including expedition flags (bonfires) that serve as checkpoints, respawning enemies if used to replenish your health and stockpile of curatives. Managing these aforementioned curatives - including tints and elixirs - is one of the key strategic choices you’ll need to make in and between battles in order to navigate the game’s many dungeons. This page will cover how tints and elixirs work and how to upgrade them in Clair Obscur: Expedition 33.
Page Breakdown
Using and Replenishing Chroma Elixirs
Sometimes battles don’t go smoothly, and even if you win, it may result in a Pyrrhic victory. You can’t use healing skills outside of battle, so you only have a few options: press on and hope you go before the enemy in the next encounter so you can heal, or retreat and rest at the last expedition flag (respawning the enemies you just fought in the process)… or you can use a Chroma Elixir. Chroma Elixirs can be used between battles to recover your Health, just press  then again. Chroma Elixirs can’t be used in battle and every time you rest at an expedition flag or at camp you’ll replenish all expended Chroma Elixirs, so don’t be afraid to use them. You can find more Chroma Elixirs as you advance through the game, most of which are found as loot on the field.
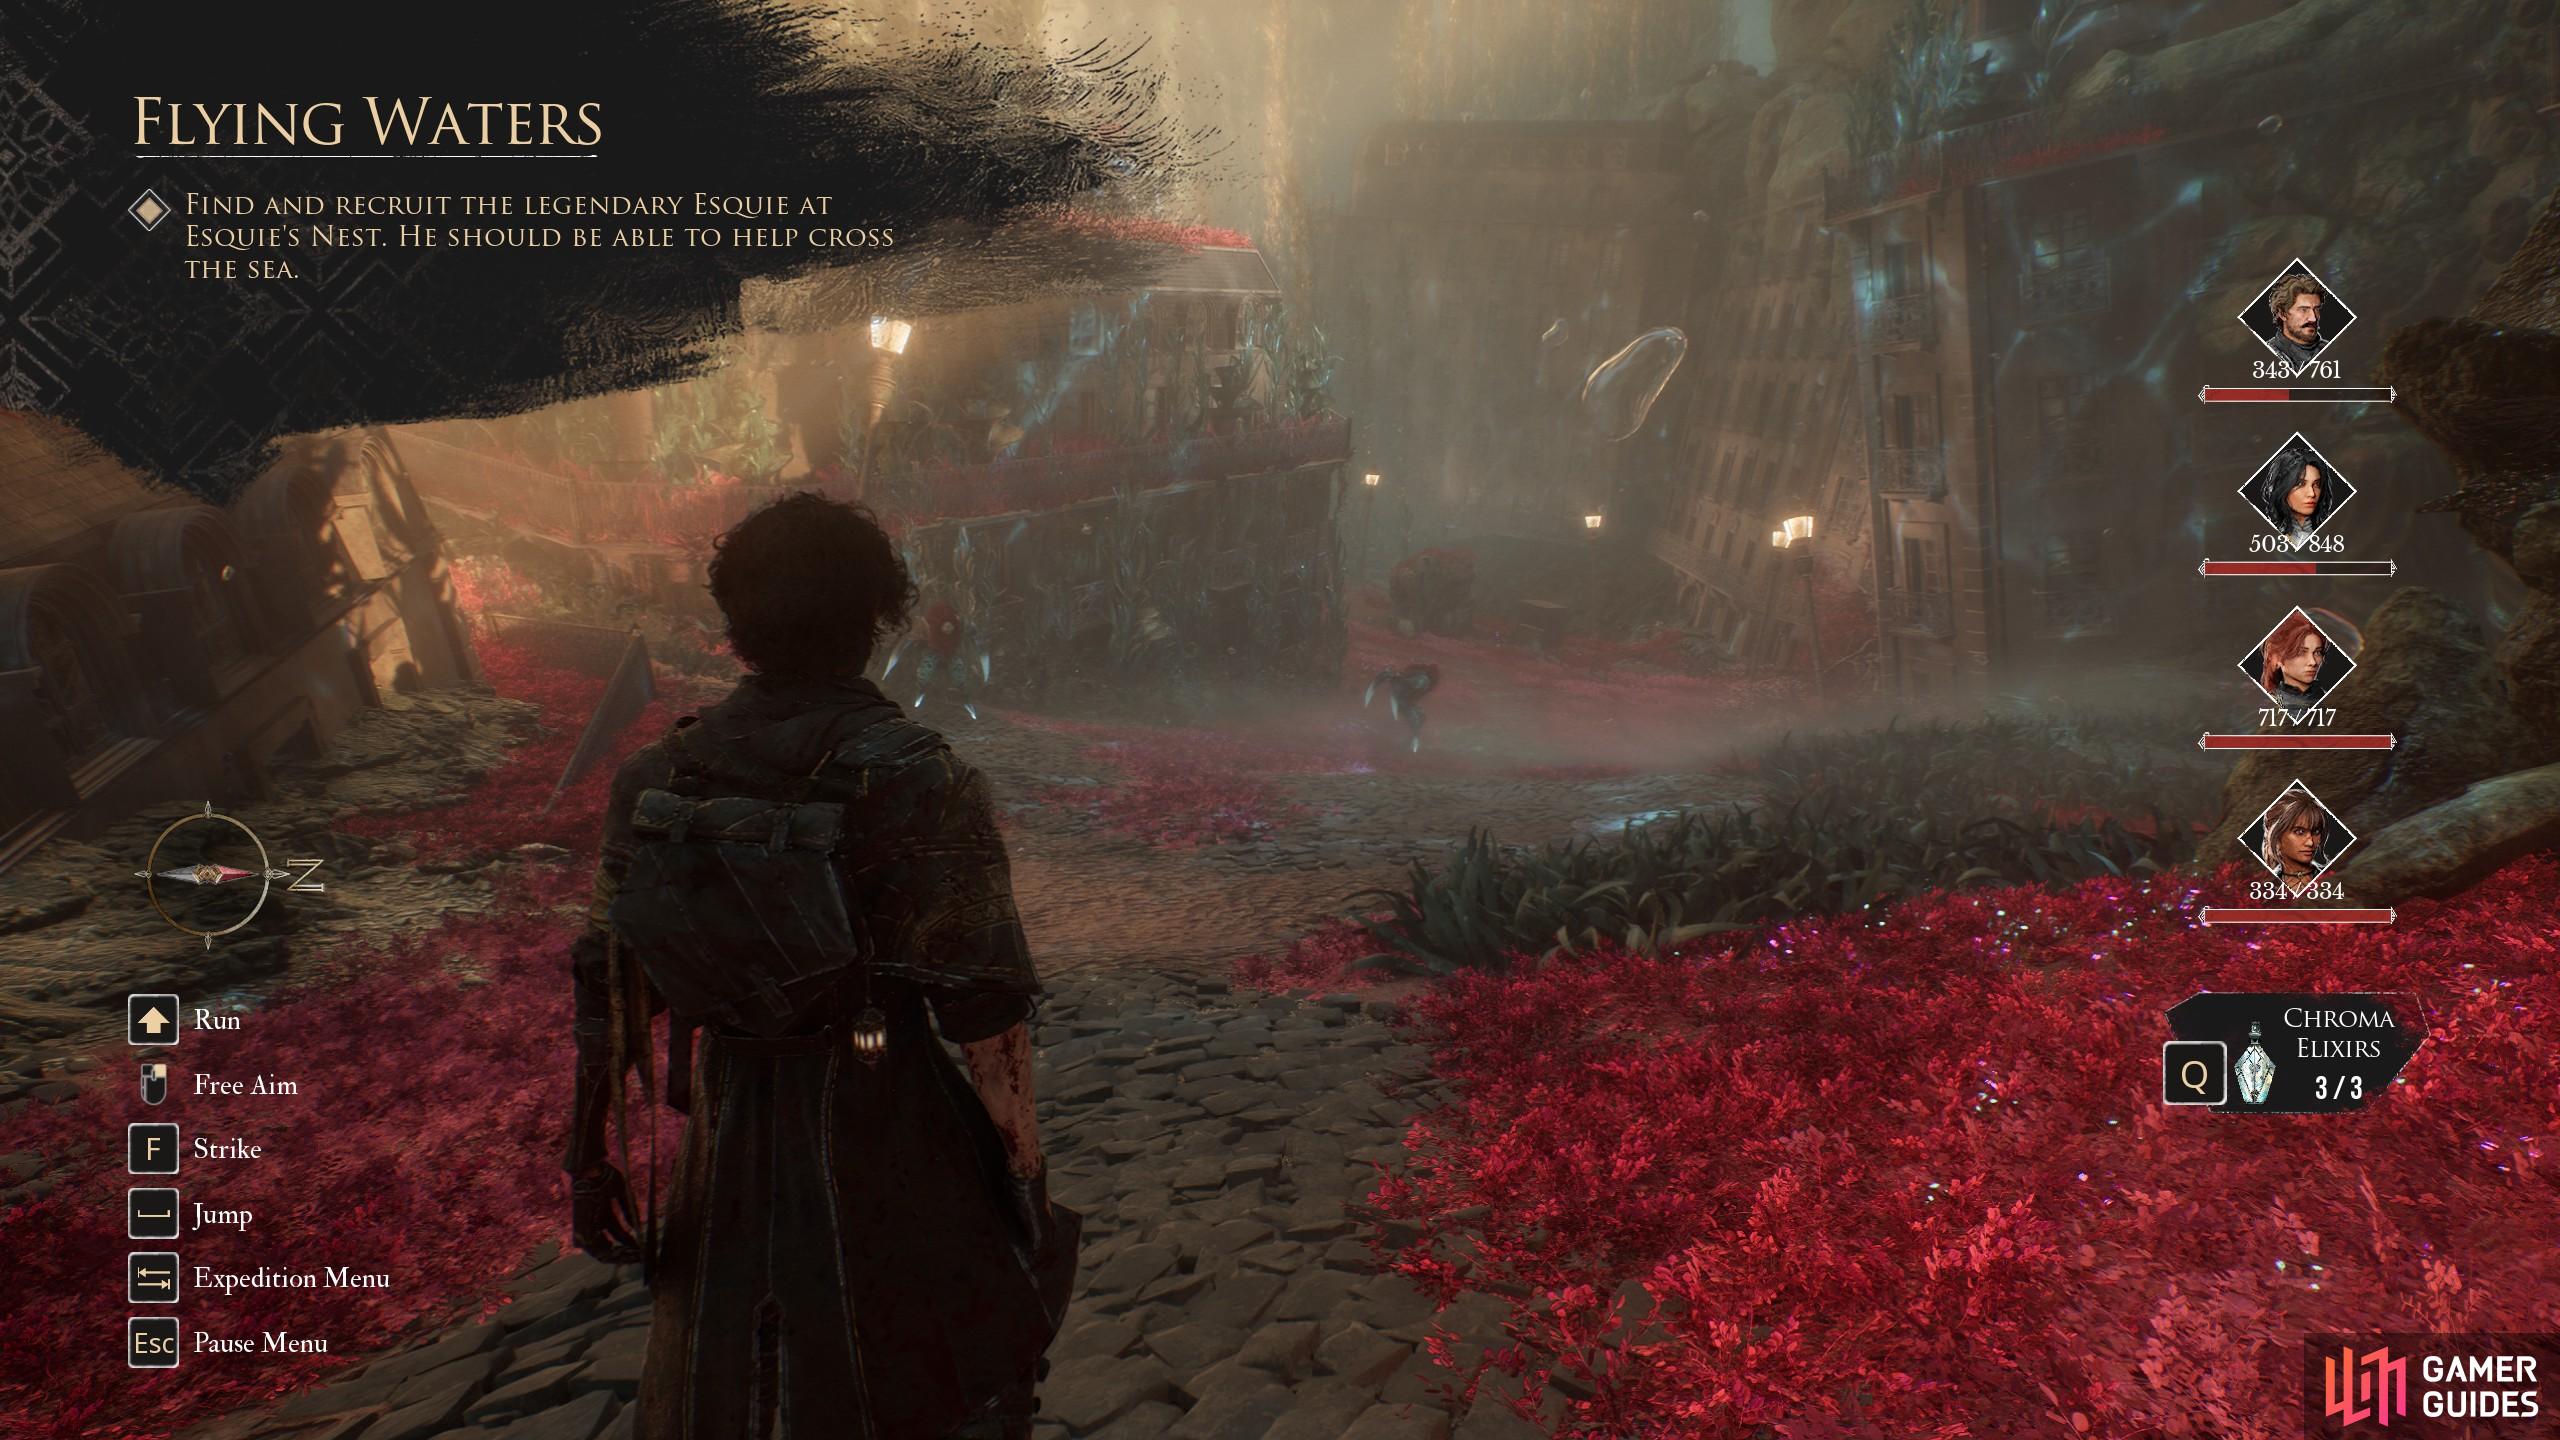
You can use Chroma Elixirs between battles to heal your party. They replenish when you rest at expedition flags or at camp.
All Chroma Elixir Upgrade Locations
Below you’ll find the location of every Chroma Elixir in the game - aside from the first one (which you start with) they’re all located in paint cage puzzles, which you’ll be introduced to in the game’s second dungeon, Flying Waters. None of these are missable.
| Chroma Elixirs | Location |
|---|---|
| 1 | You start the game with one Chroma Elixir. |
| 2 | Flying Waters |
| 3 | Ancient Sanctuary |
| 4 | Stone Wave Cliffs Cave |
| 5 | Forgotten Battlefield |
Tints
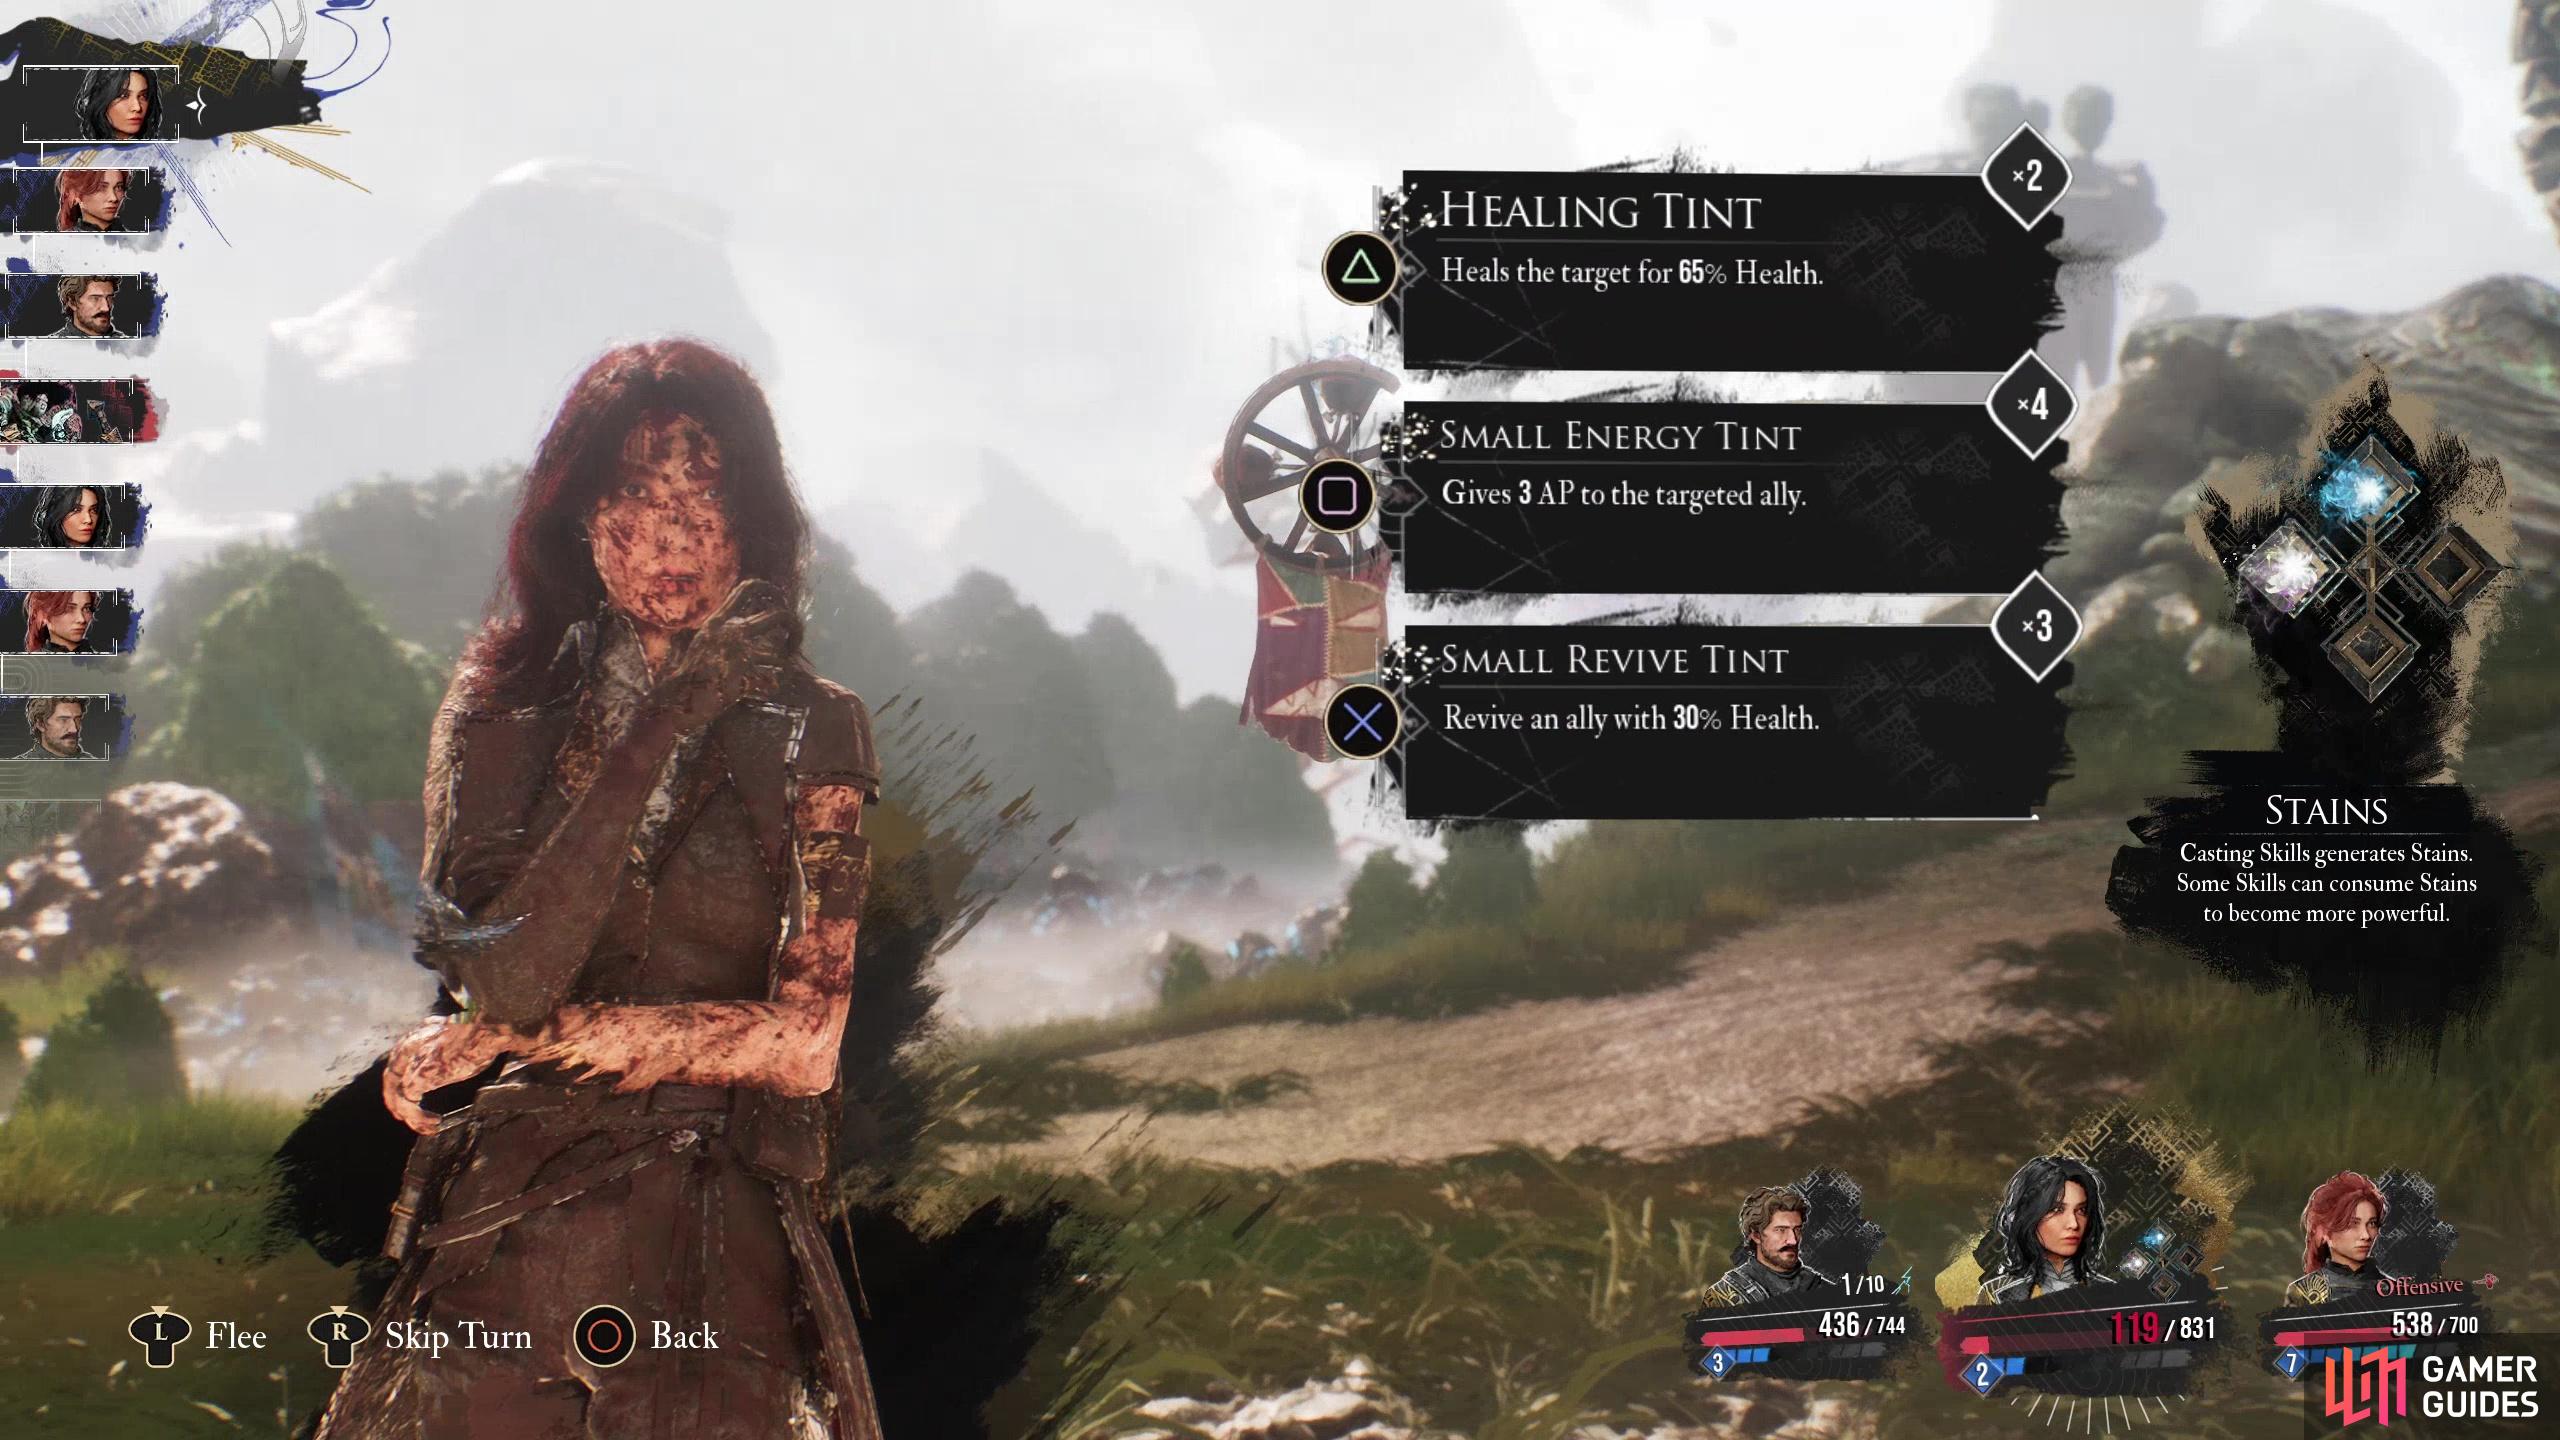
Tints are a bit more complicated, but in short they serve as in-battle consumables, but they come in three flavors: healing, energy and revive. This collection of conventionally colored kool-aid will restore your health (red), AP (blue) and revive fallen characters (green) when used in battle, and like Chroma Elixirs, they are restocked any time you rest at an expedition flag or in camp. These are best saving for bosses and other challenging foes whenever possible, as they can swing fights heavily in your favor. Using them in combat doesn’t consume AP, but it will end the user’s turn.

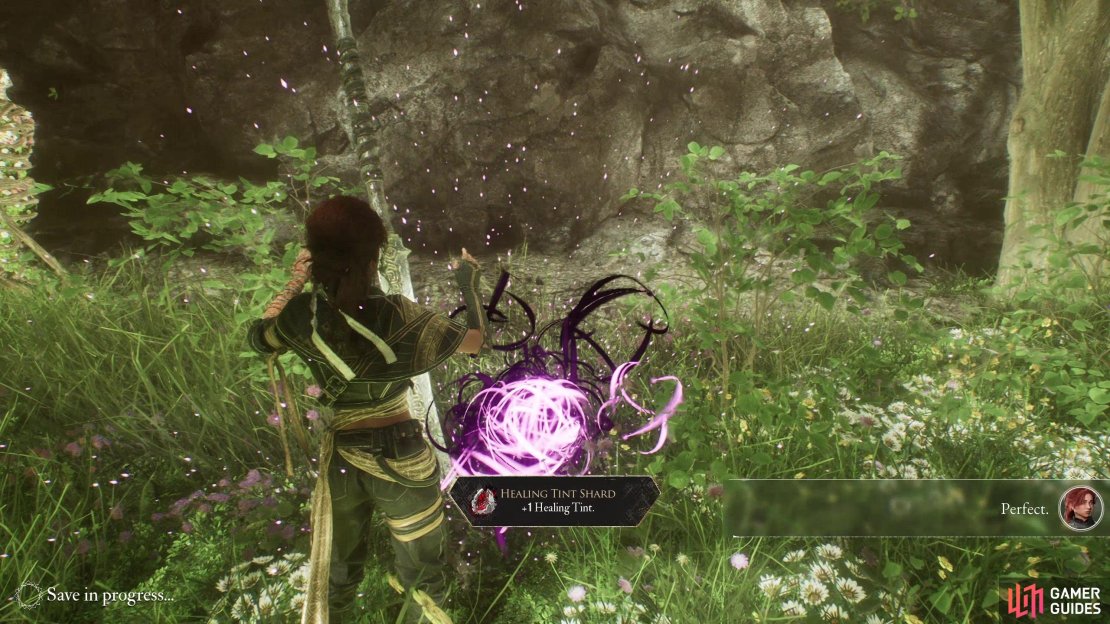

(1 of 4) You will find most Tints as loot drops while exploring,
Upgrading Tints
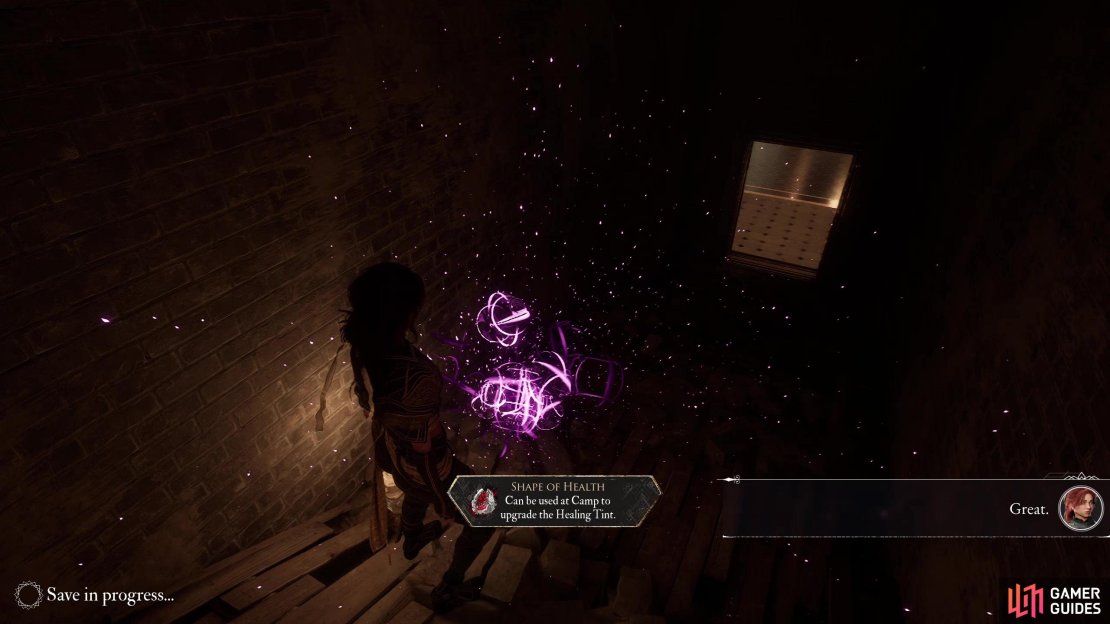
Like Chroma Elixirs, you can find more tints as you explore, increasing your stockpiles, but unlike Chroma Elixirs you can also find upgrade items - Shape of Health, Shape of Life, etc., - that improve the effectiveness of a respective tint. Upgrade these by talking to the Curator in camp after completing the game’s second dungeon, Flying Waters. There is no cost to upgrade tints, save for using the aforementioned upgrade item, but this item serves no other function, so there’s no good reason not to upgrade tints whenever possible. Below you’ll find a list of all the tints and their effects:
List of All Tints
| Tint | Effect |
|---|---|
| Small Healing Tint | Heals the target for 30% Health. |
| Small Energy Tint | Give 3 AP to the targeted ally. |
| Small Revive Tint | Revive an ally with 30% Health. |
| Healing Tint | Heals the target for 65% Health. |
| Energy Tint | Give 5 AP to the targeted ally. |
| Revive Tint | Revive an ally with 65% Health. |
| Strong Healing Tint | Heals the target for 100% Health. |
| Strong Energy Tint | Give 7 AP to the targeted ally. |
| Strong Revive Tint | Revive an ally with 100% Health. |

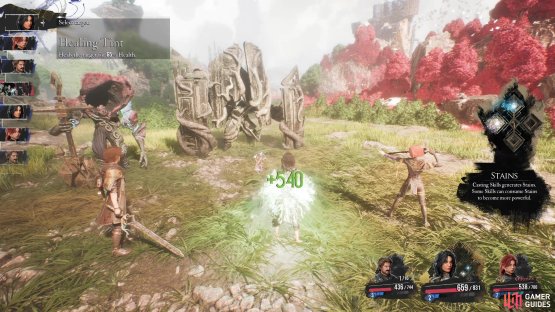
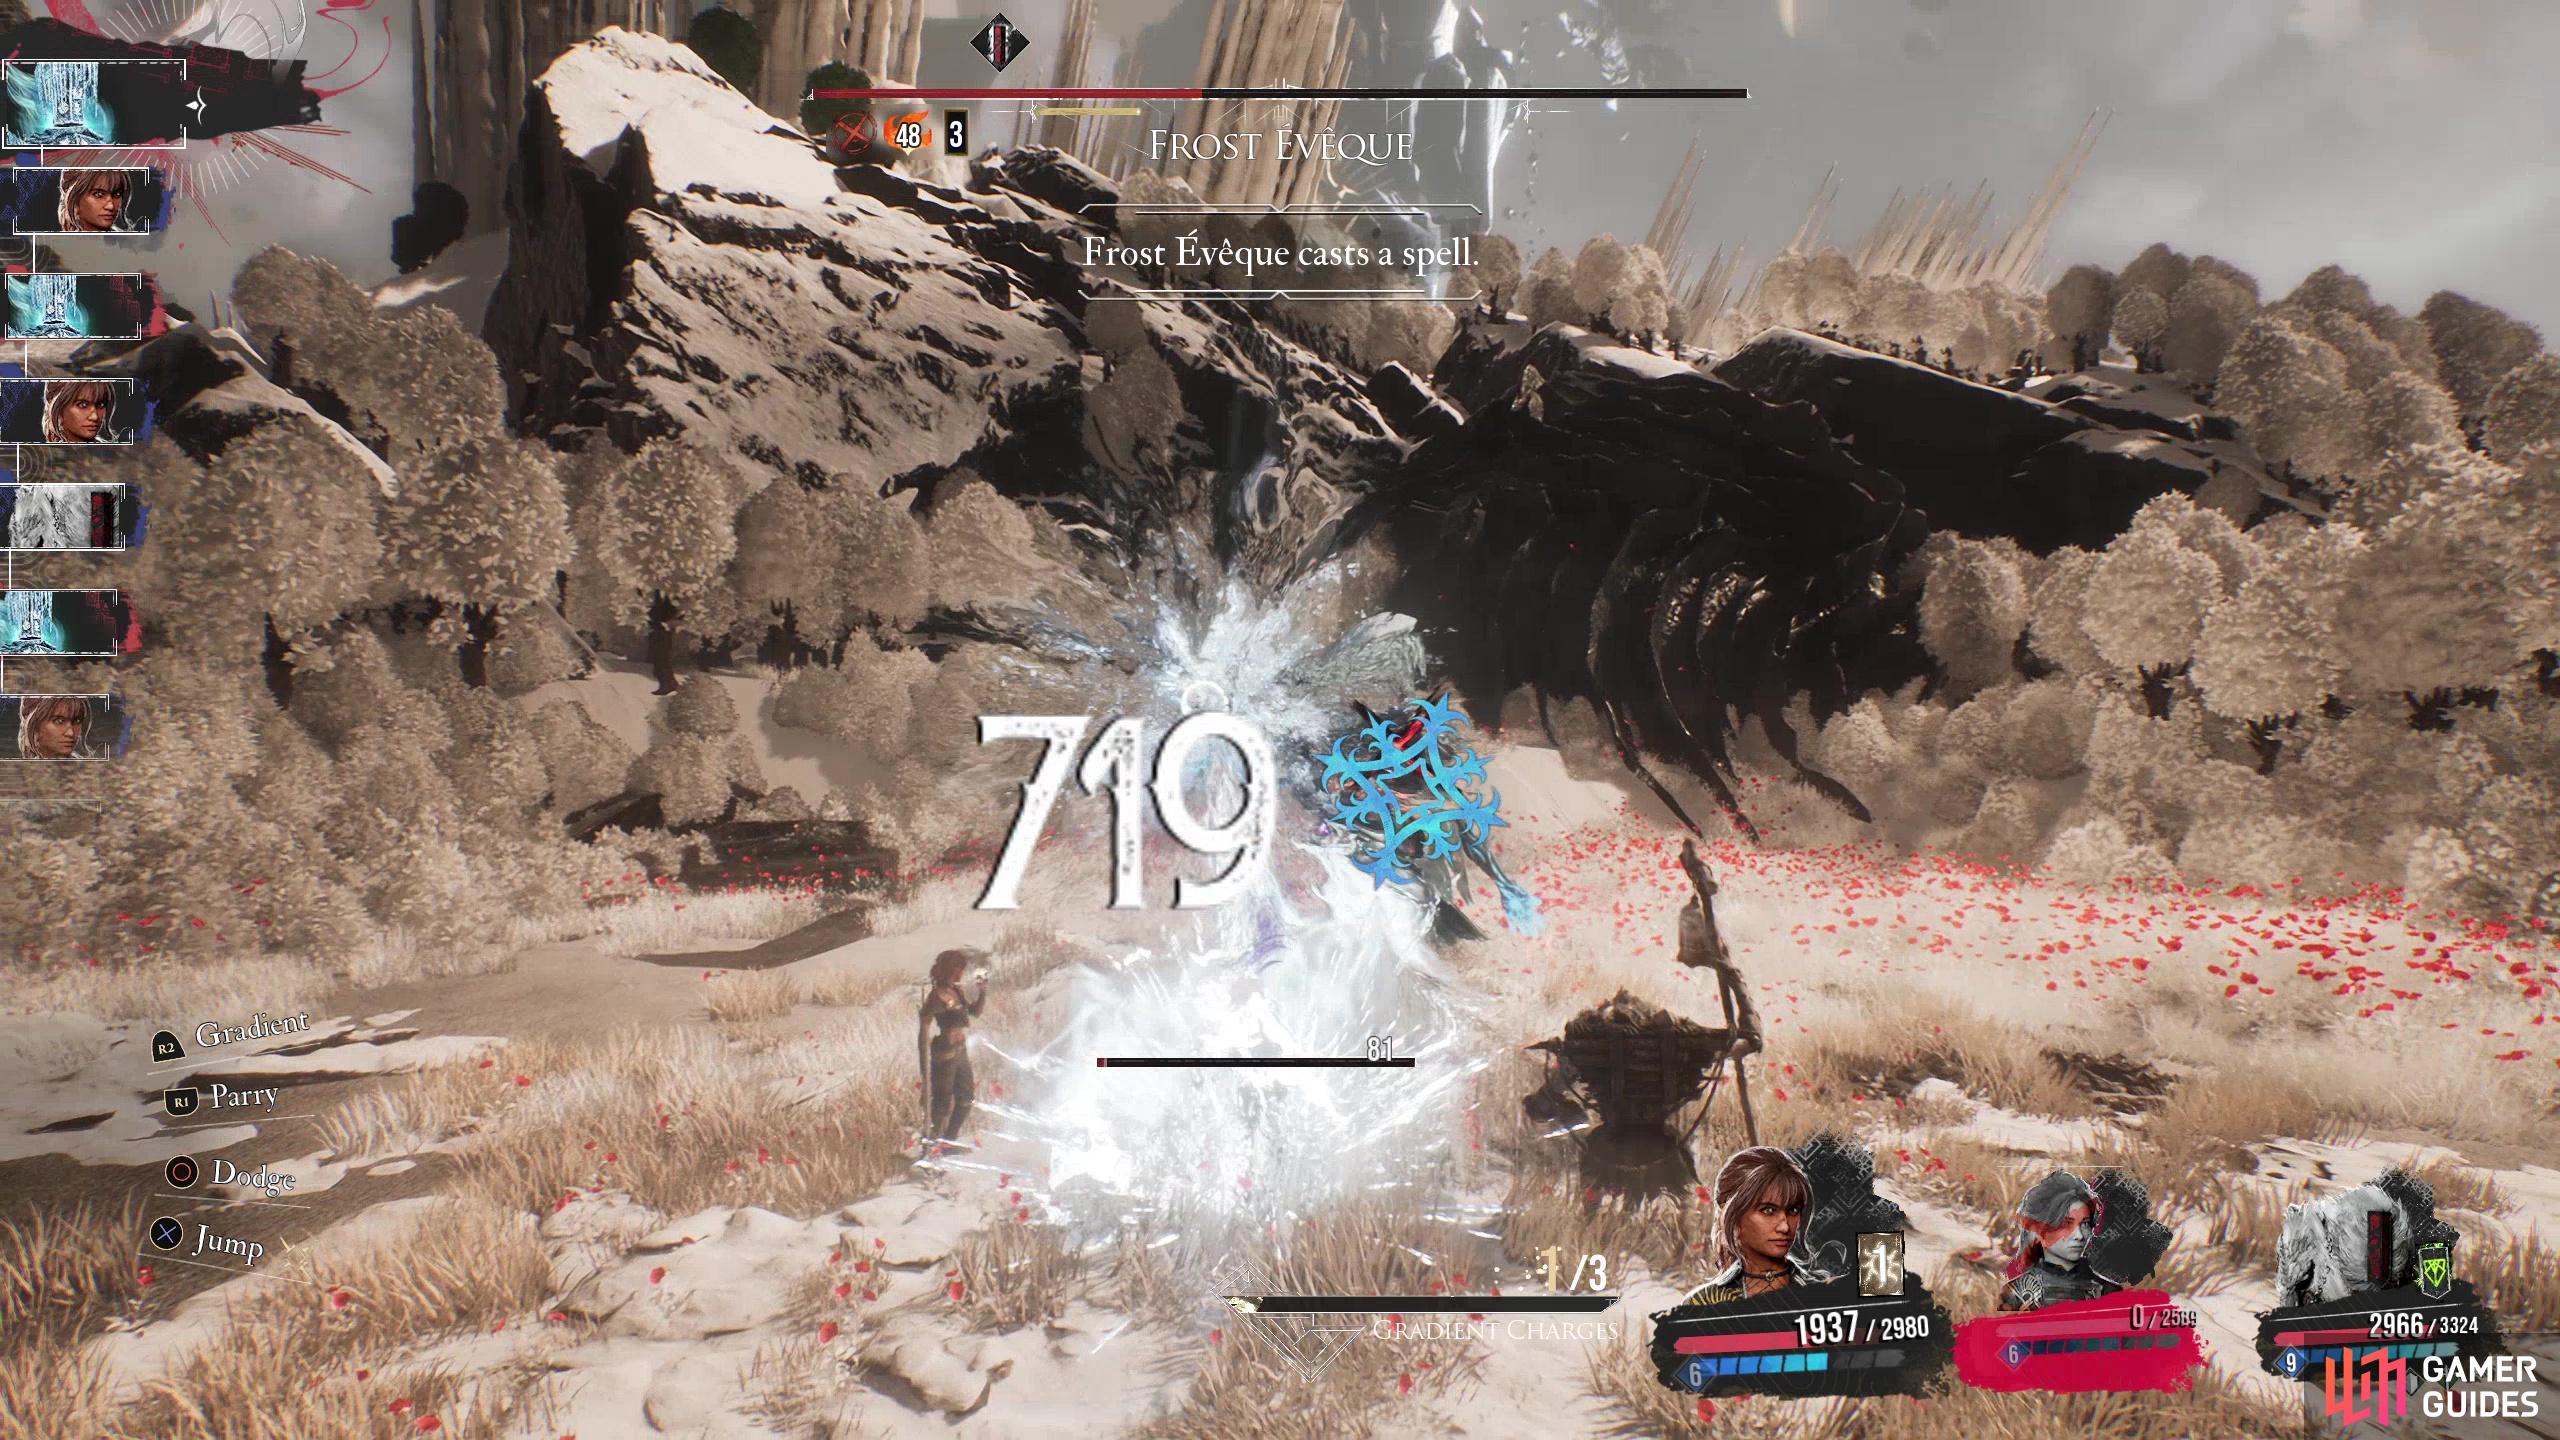
(1 of 2) Healing Tints function as your standard healing potion,

Healing Tints function as your standard healing potion, (left), use it to recover 30%, 65% or 100% Health, depending on how upgraded the Tint is. (right)
All Healing Tint Upgrade Locations
Healing Tints are your standard healing potions, restoring either 30%, 65% or 100% of the target’s health when used, depending on how upgraded the Healing Tint is. Despite being Tint you’ll have the fewest of, it’s arguably the least useful of the three in most situations, as plenty of characters have skills that can heal a character or the entire party, not to mention the various Pictos/Luminas that can provide healing in certain situations. Below you’ll find a list of all the Healing Tints and Shapes of Health in the game:
| Healing Tints | Location |
|---|---|
| 1 | You start the game with one Healing Tint. |
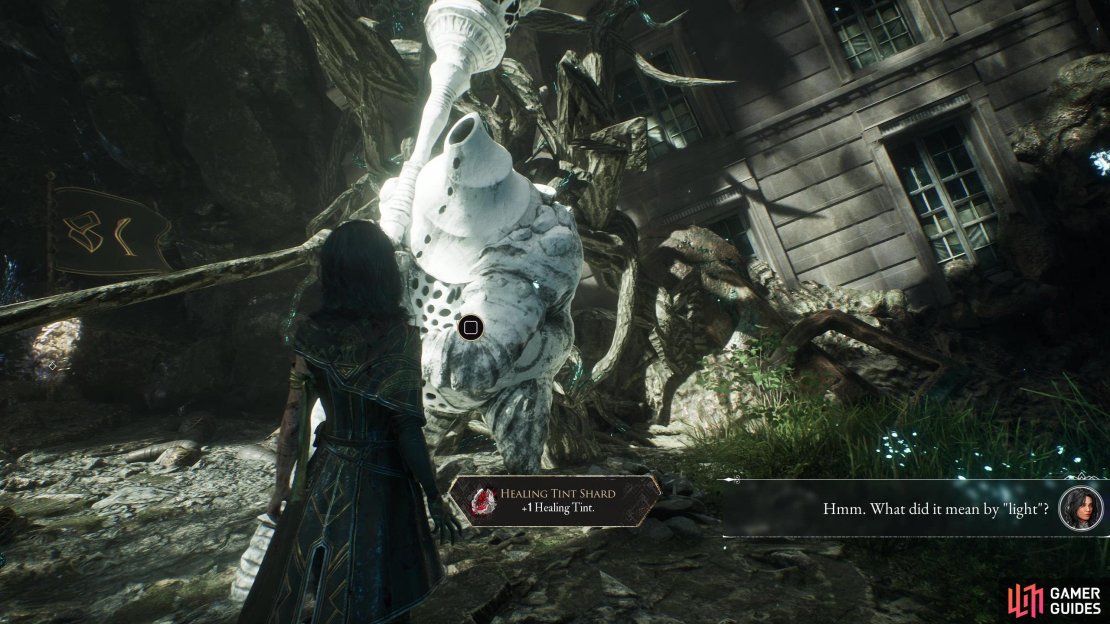
| 2 | Spring Meadows - Give the Jar nevron some Resin. |
| 3 | Ancient Sanctuary |
| 4 | Stone Wave Cliffs |
| 5 | Forgotten Battlefield |
| 6 | Visages |
| 7 | Inside the Monolith |
| Shape of Health 1 | Flying Waters - Defeat Goblu. |
| Shape of Health 2 | The Manor - Enter via the Sirene dungeon. Break the mirror on the wall of the room, jump through, and descend some ledges to find it. |

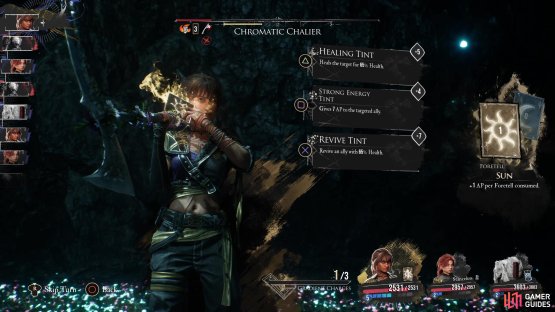

(1 of 2) When you’re low on AP and don’t want to delay several turns to recover it, use an Energy Tint,
When you’re low on AP and don’t want to delay several turns to recover it, use an Energy Tint, (left), and keep the offensive going! (right)
All Energy Tint Upgrade Locations
Energy Tints give AP to the target, and AP makes everything move in combat, from healing to buffs to damage-dealing skills. You gain AP by performing base attacks or when you land parries (not to mention all the conditional AP you can get from equipped Pictos/Luminas), but no matter how good your AP generation is, in some situations you’ll find yourself running low. Instead of hoping for enemies bestowing you with vicissitude by targeting the character you want with attacks you can readily parry or - heavens forbid, waiting for your AP to replenish via base attacks - sometimes it’s faster and easier to just use an Energy Tint. This is especially true later in the game, when a Strong Energy Tint grants a whopping 7 AP - enough to use many high-powered skills. The locations of every Energy Tint in the game follows:
| Energy Tints | Location |
|---|---|
| 1 | You start the game with one Energy Tint. |
| 2 | Spring Meadows |
| 3 | Flying Waters |
| 4 | Ancient Sanctuary |
| 5 | Stone Wave Cliffs |
| 6 | Forgotten Battlefield |
| 7 | Visages |
| 8 | Sirene |
| Shape of Energy 1 | The Manor - Enter via the Gestral Village. Flip three switches in the kitchen to open a hole in the floor, go through a hole in the wall, then search the corner near the stairs. |
| Shape of Energy 2 | The Manor - Enter via a door on the northern end of an island north of the Crushing Cavern. Climb some stairs, then jump across some platforms to find this item. |


(1 of 2) Oopsies happen - when one of your characters falls in battle,
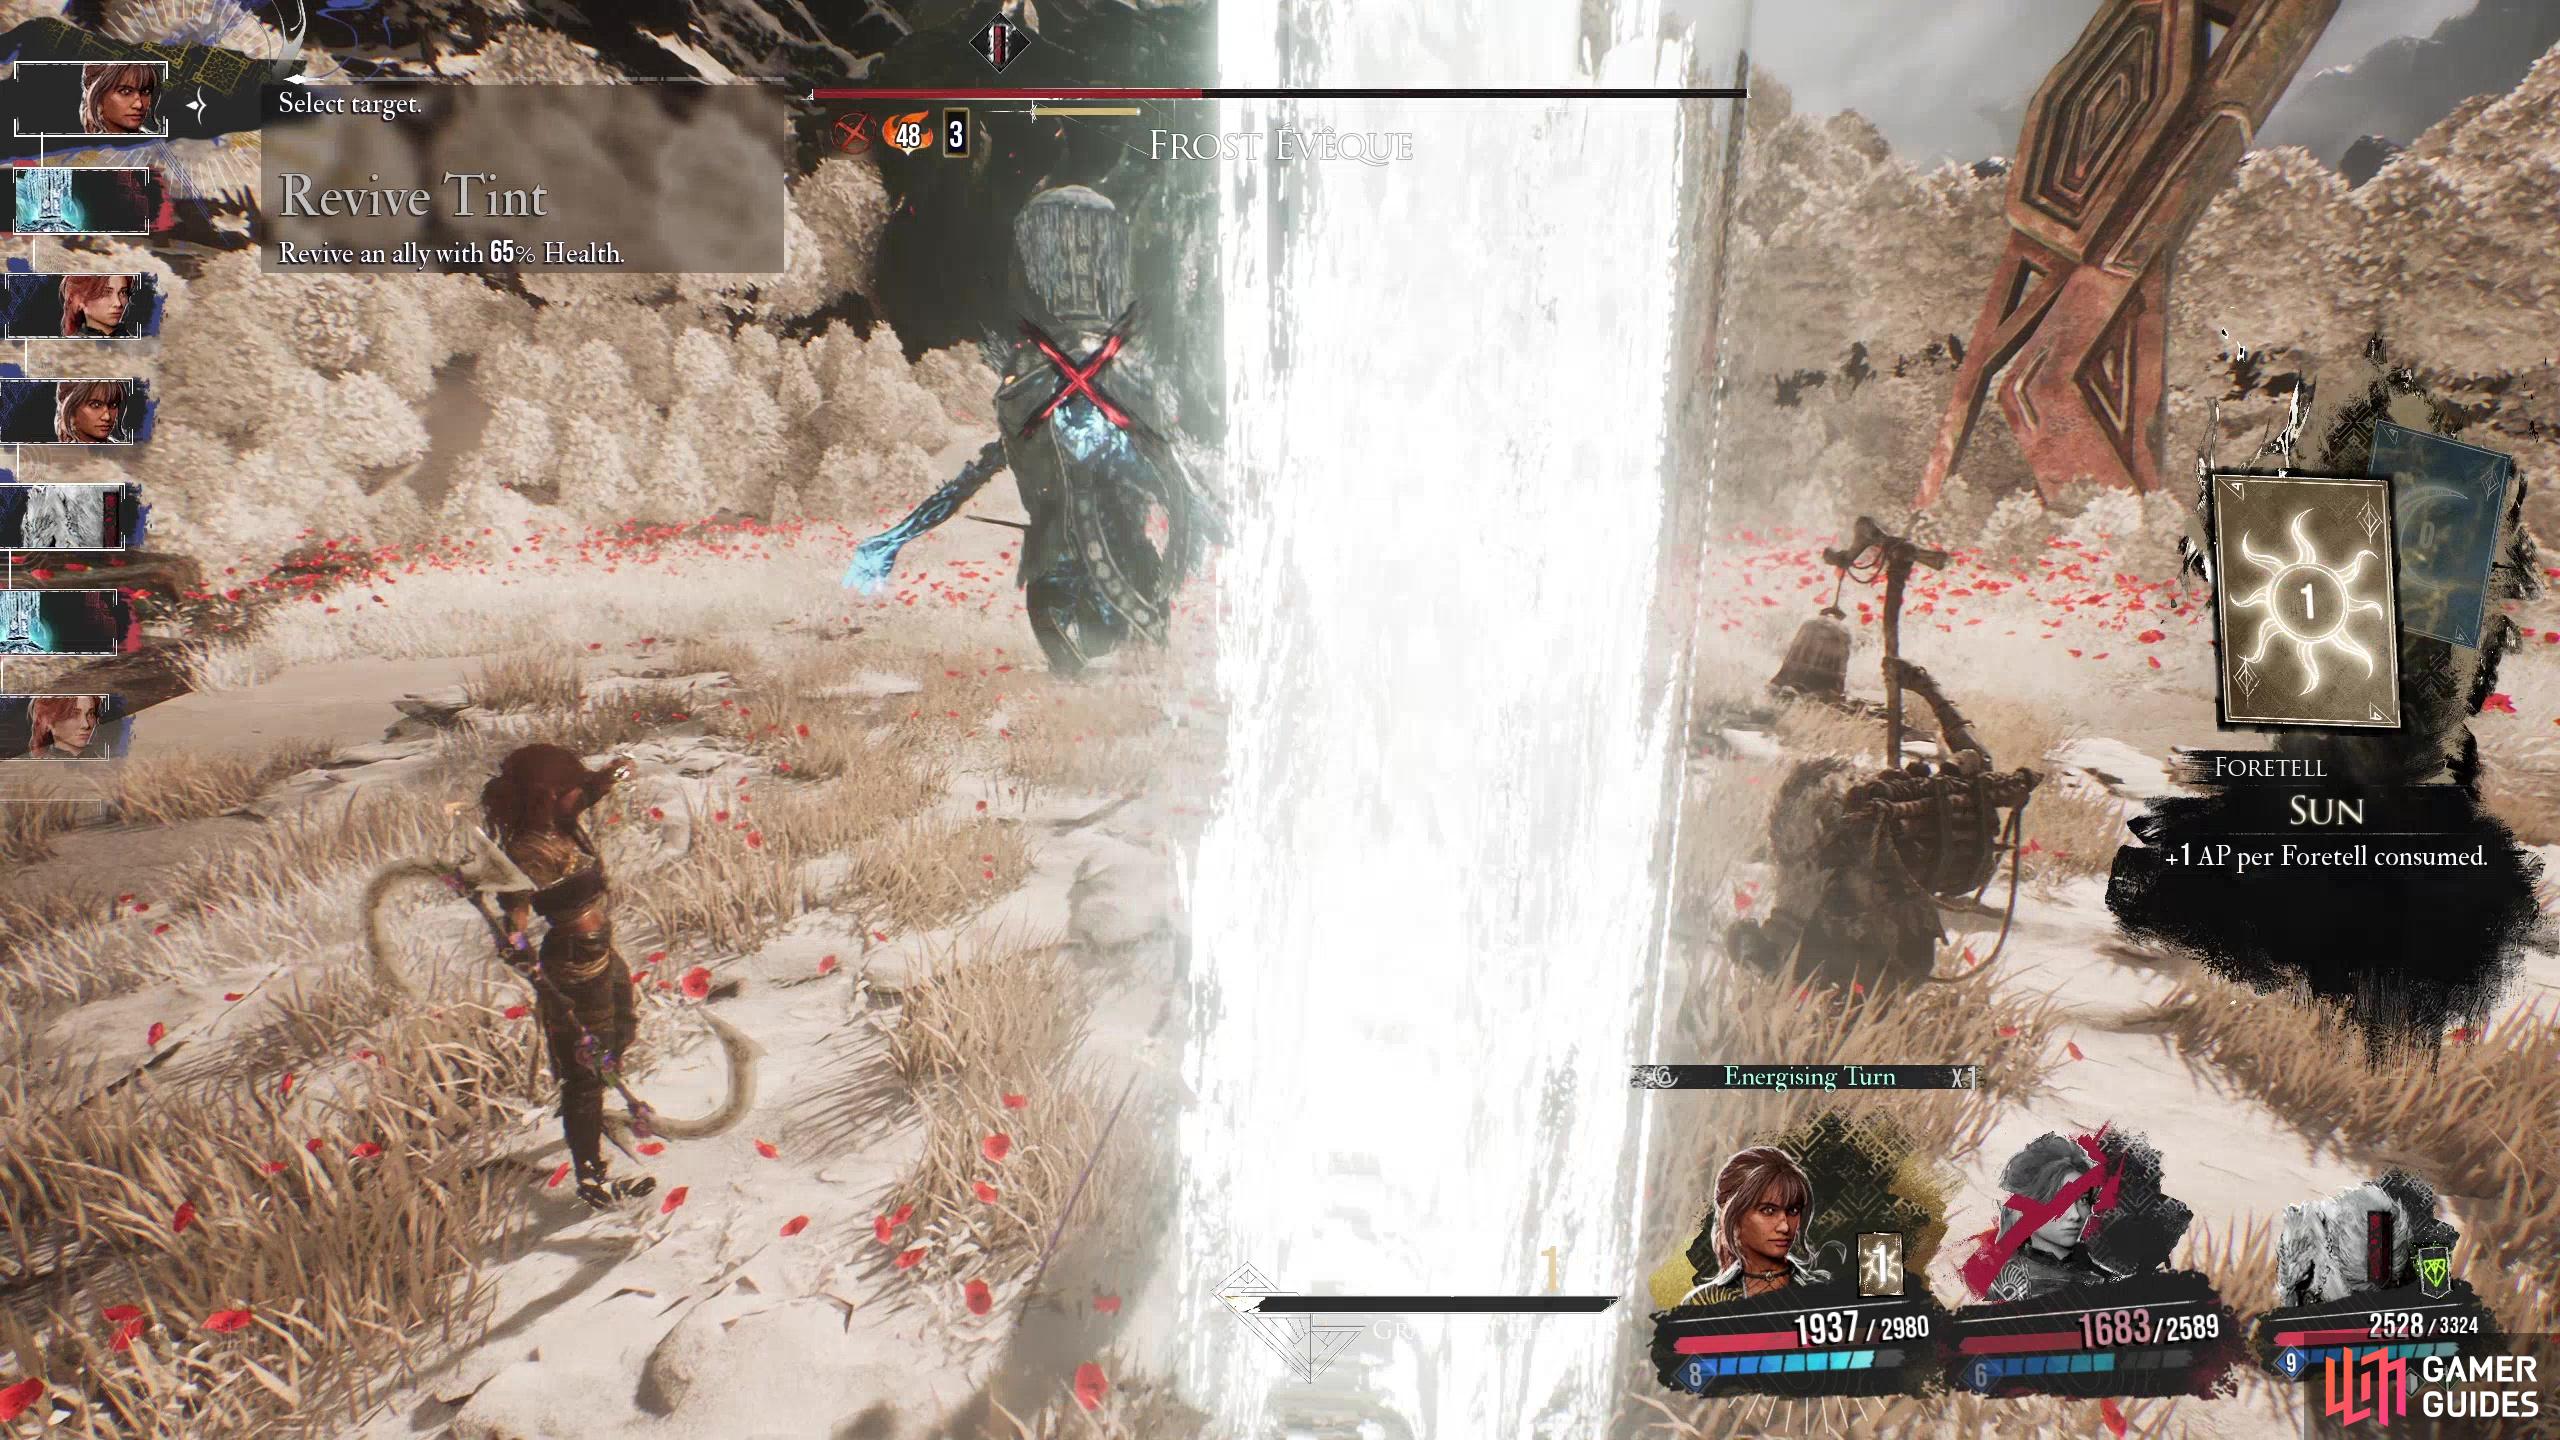
Oopsies happen - when one of your characters falls in battle, (left), use a Revive Tint to bring them back. It beats wasting a skill slot on a revival skill. (right)
All Revive Tint Upgrade Locations
When your health is low, use a Healing Tint. When it hits zero and a character is incapacitated, you’ll need to use a Revive Tint, instead. In many ways it would seem like the Revive Tint is the least useful of the three Tints, but revive skills are less common than healing, and ideally the need to revive characters is something of an unusual occurrence in most fights, making the decision to use up one of your six skill slots on such a skill unappealing. Towards the middle of the game, several upgraded Revive Tints are arguably the best option for bringing back fallen characters. As it stands, the number and potency of Revive Tints in the game serve as a safety net for players - tangle with the wrong enemy too early or have a lapse of reflexes during a nasty attack and you’ll really start to appreciate how much they can bail you out. Their locations of new Revive Tints and their upgrades follows:
| Revive Tints | Location |
|---|---|
| 1 | You start the game with one Revive Tint. |
| 2 | Spring Meadows |
| 3 | Flying Waters |
| 4 | Ancient Sanctuary |
| 5 | Stone Wave Cliffs |
| 6 | Forgotten Battlefield |
| 7 | Old Lumiere |
| 8 | Visages |
| 9 | Sirene |
| 10 | Inside the Monolith |
| Shape of Life 1 | Stone Wave Cliffs - Defeat Lampmaster. |
No Comments