
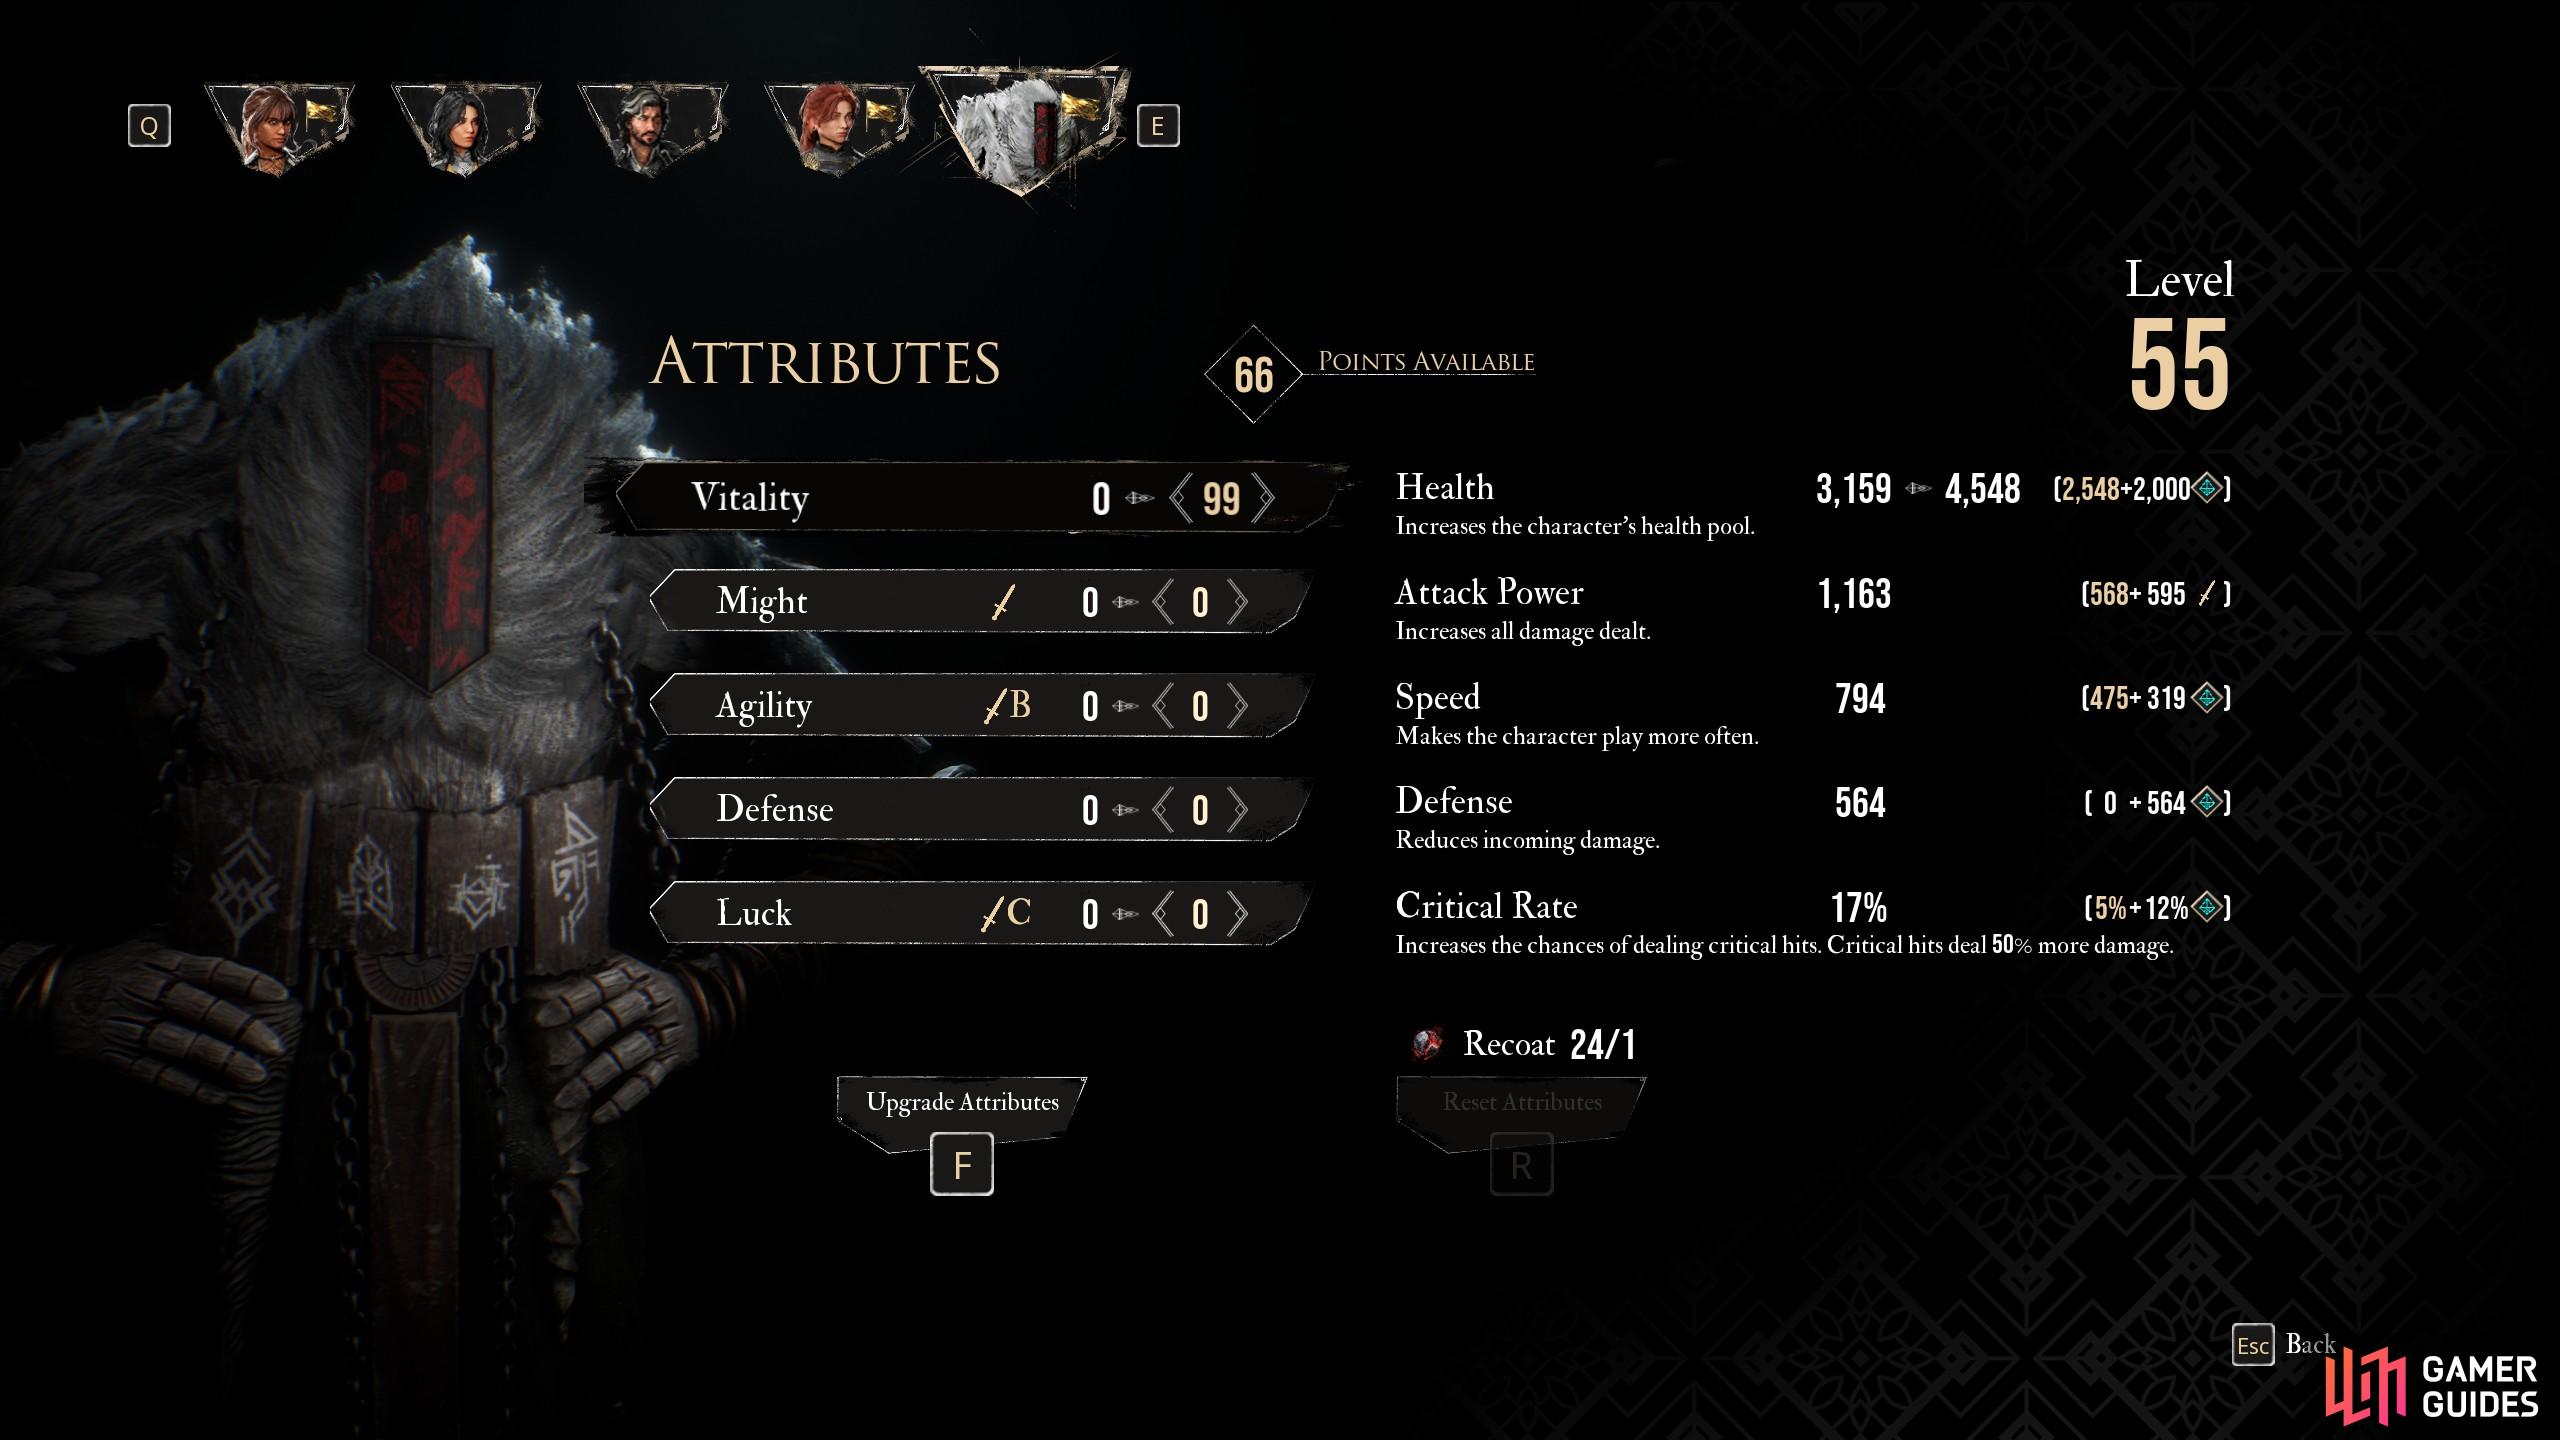
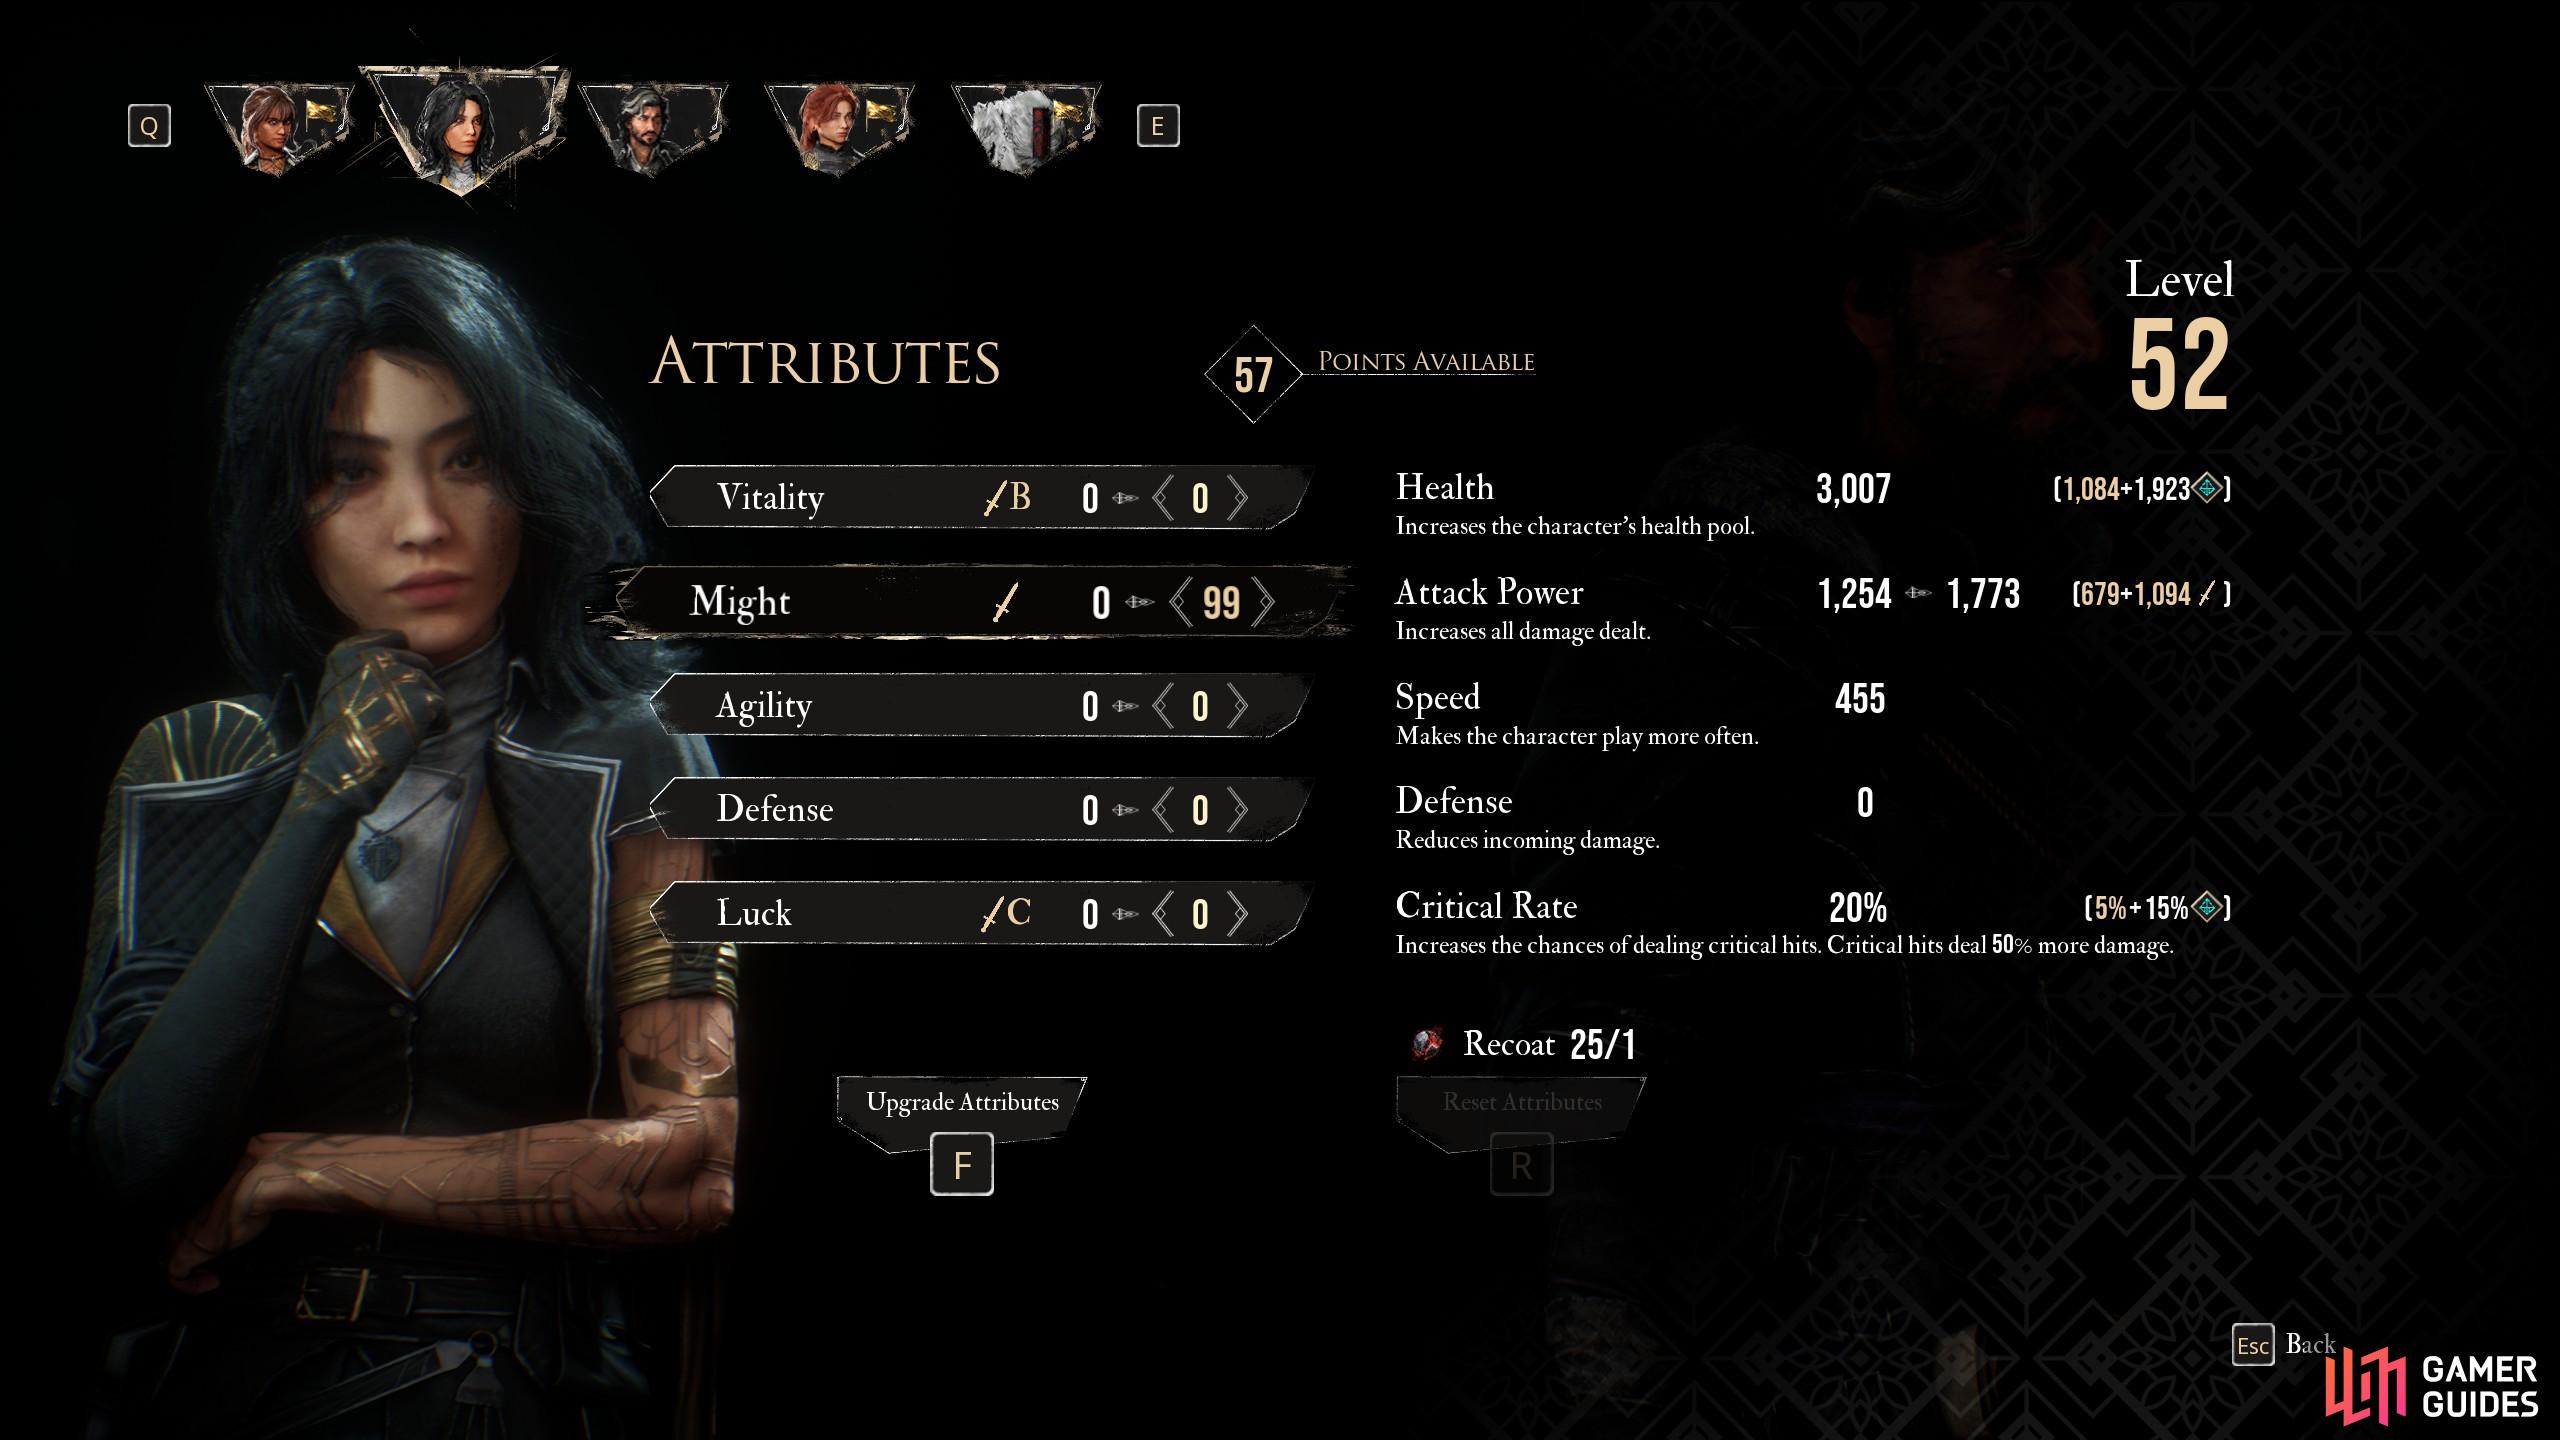
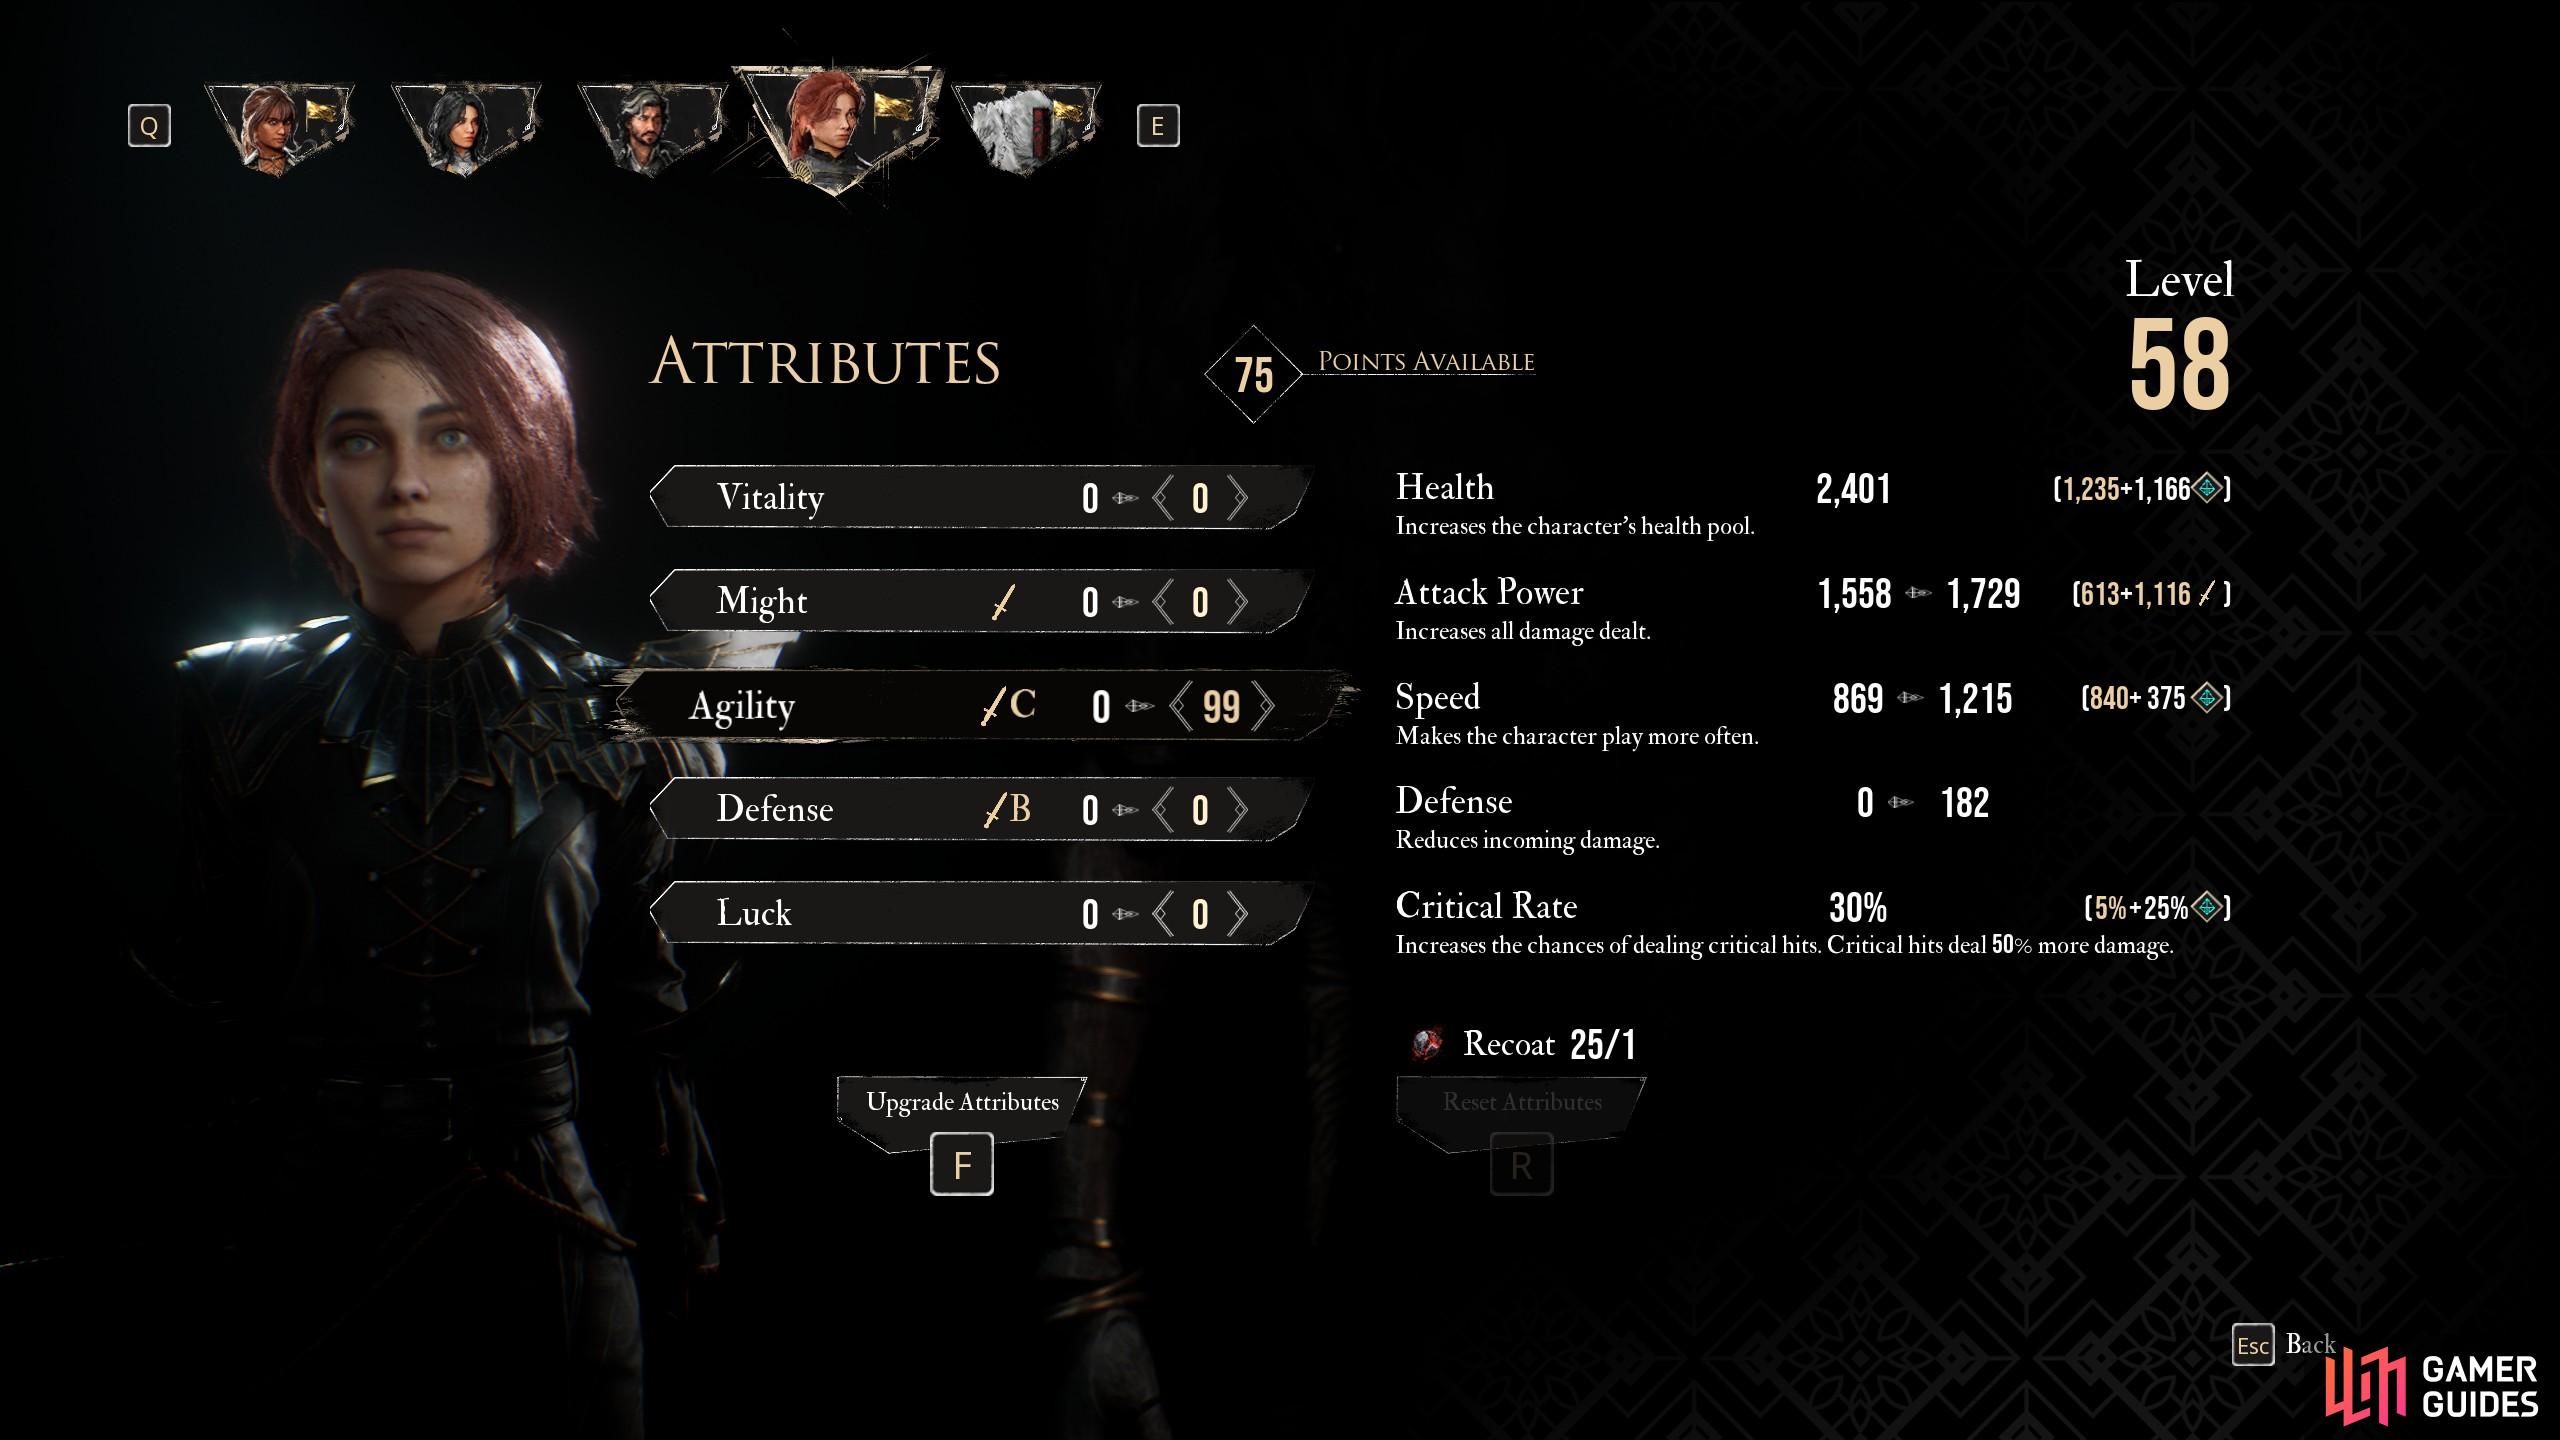
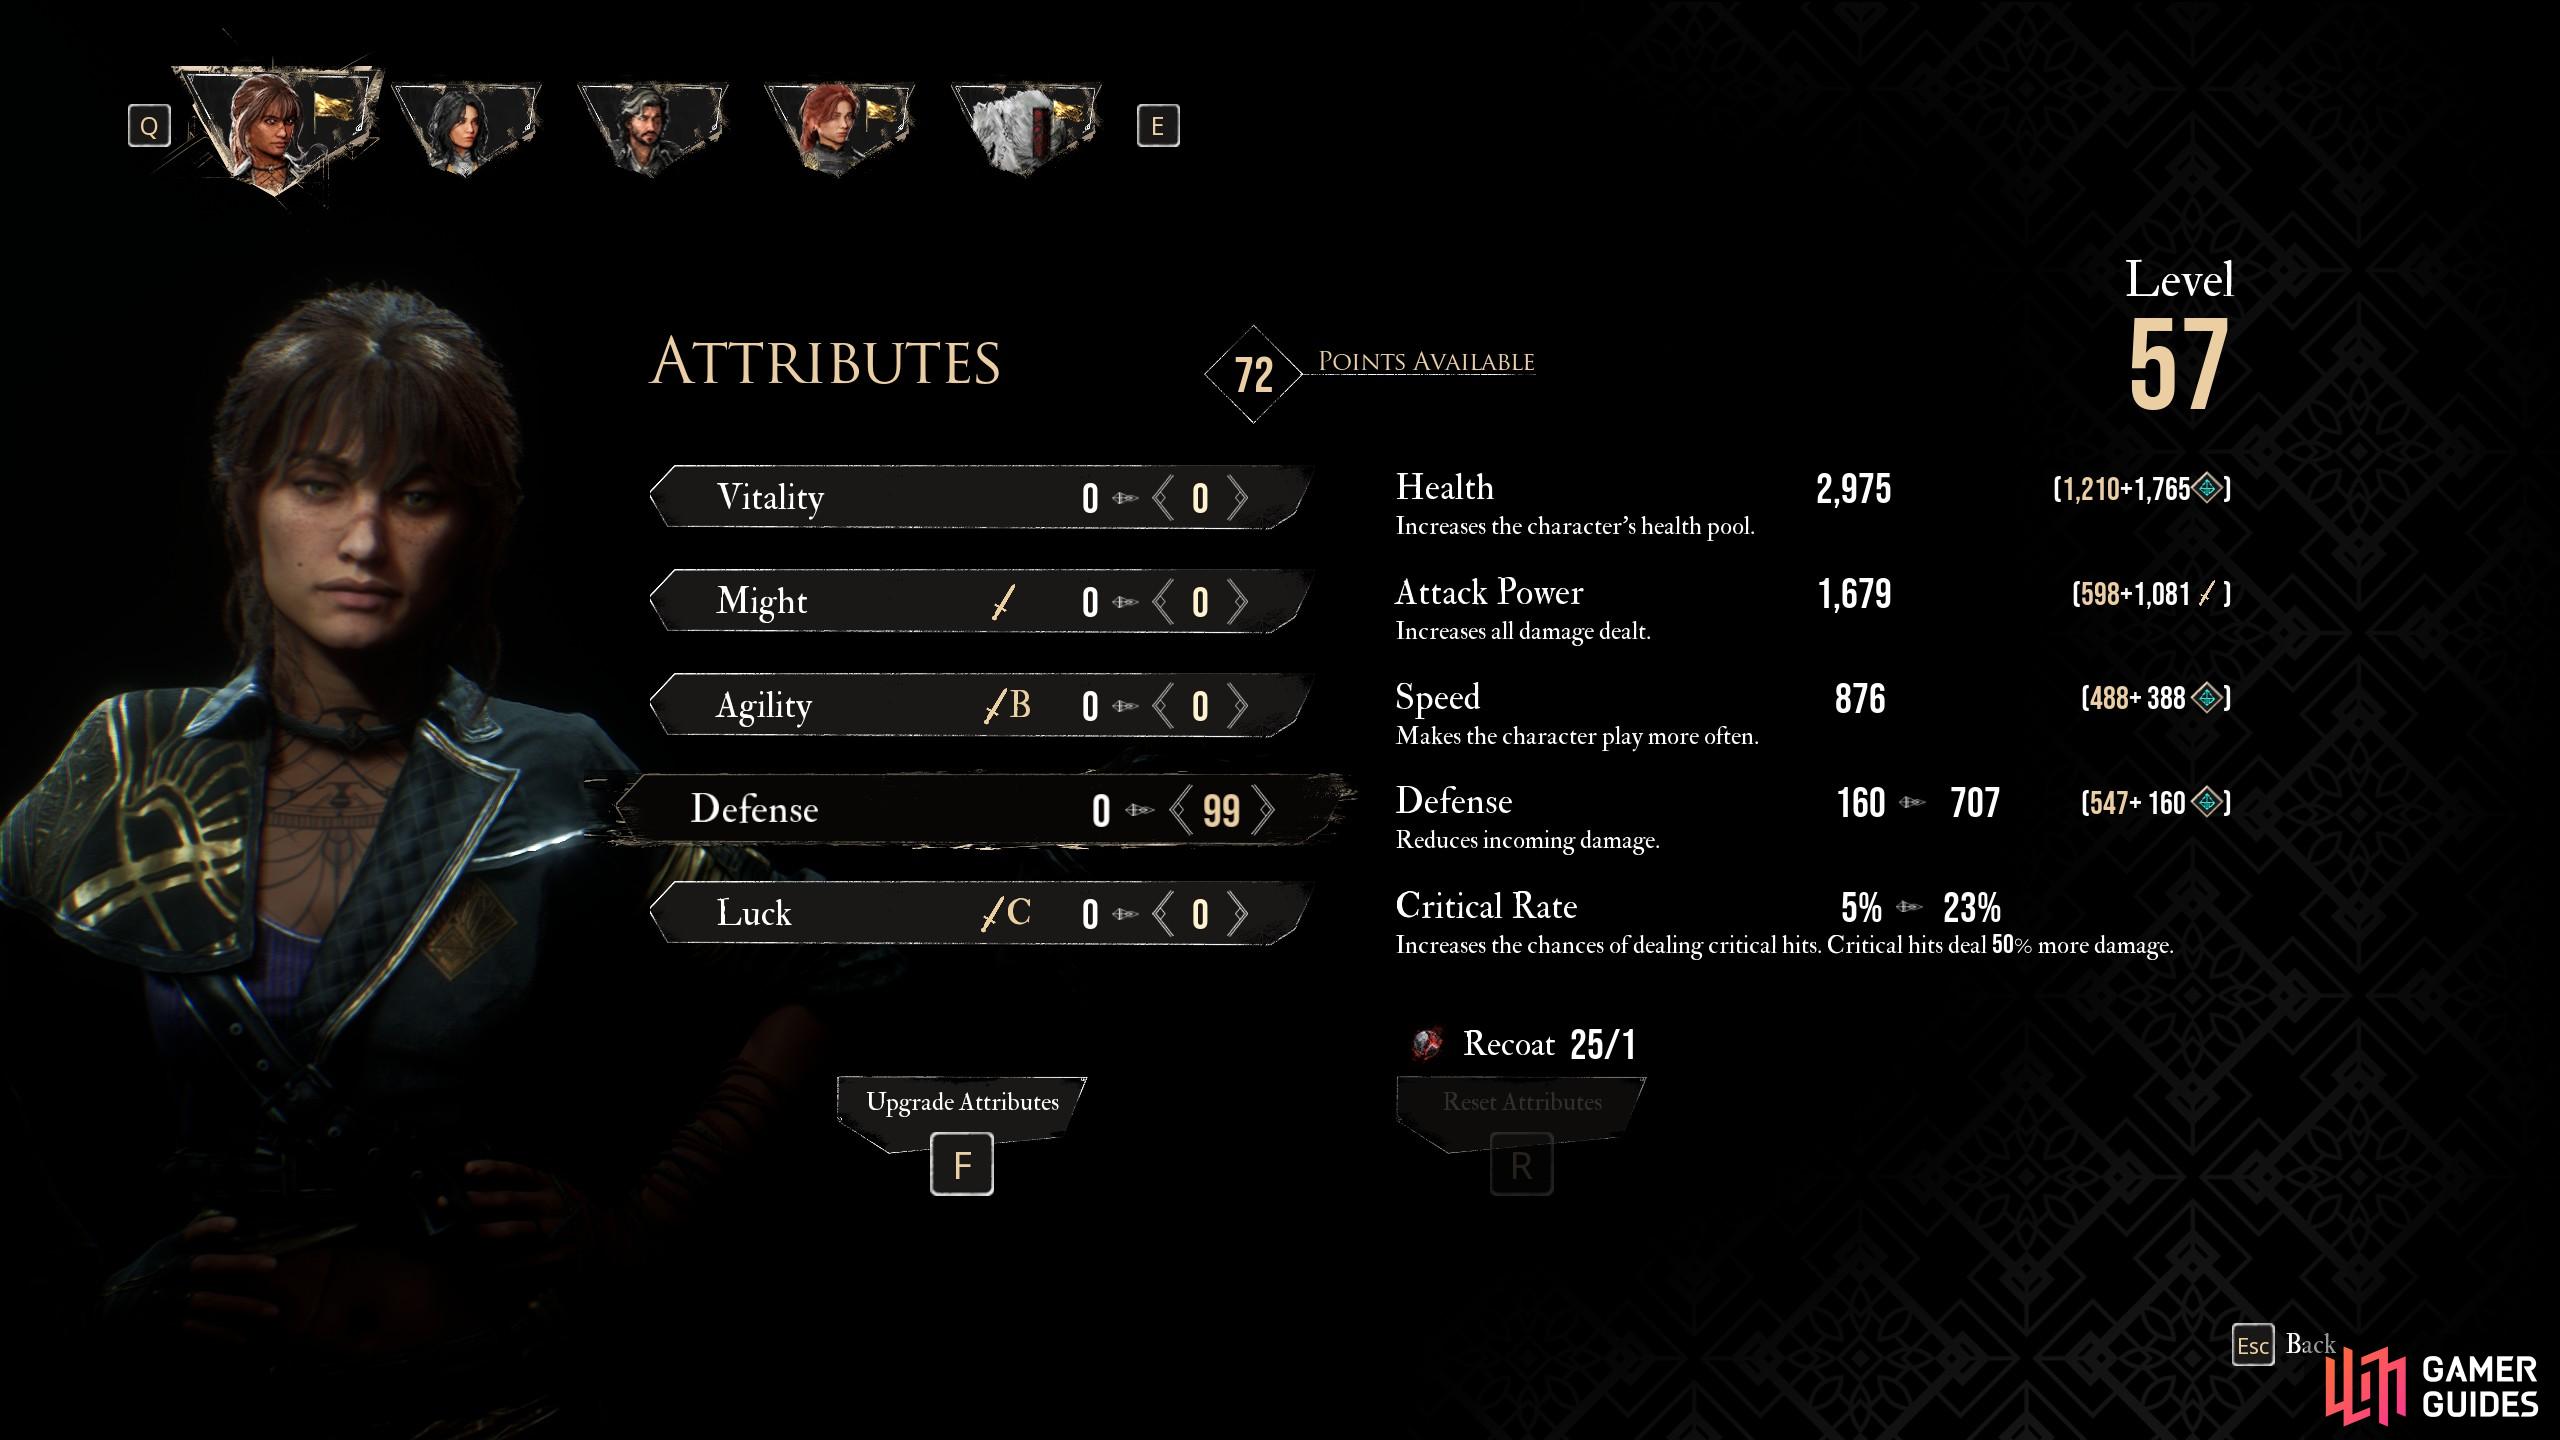
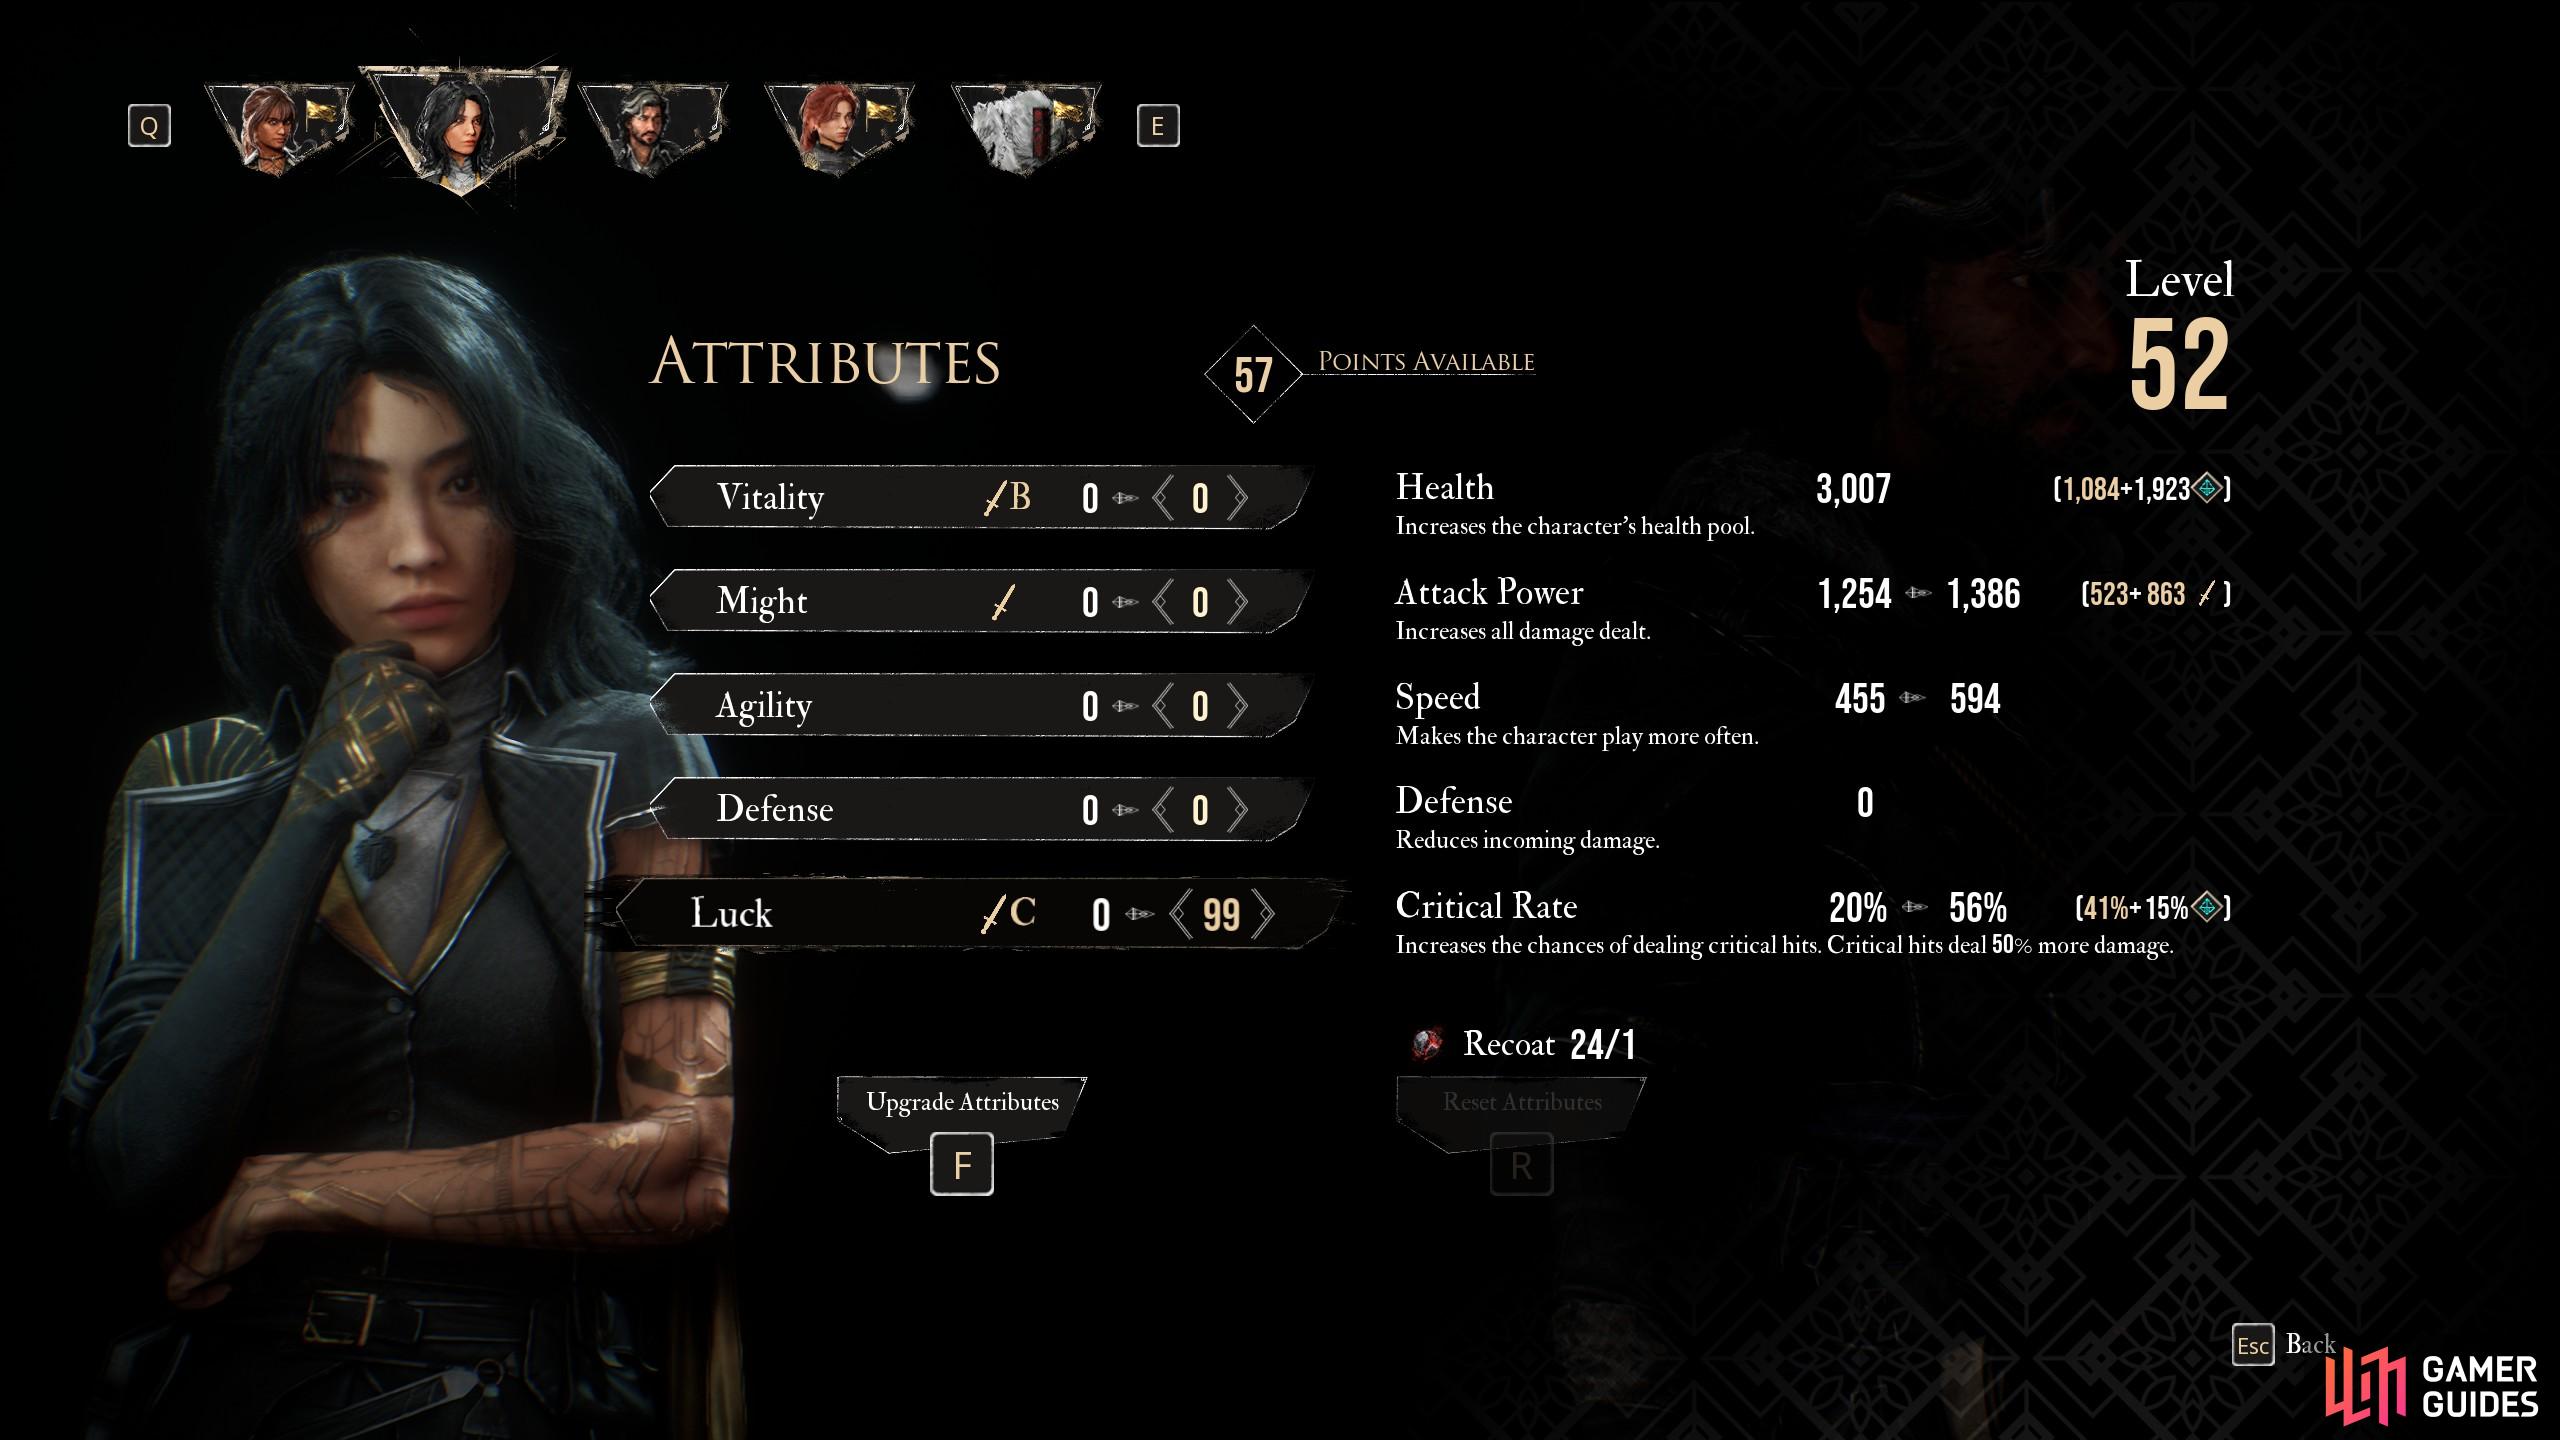
Every time you level up, you’ll gain three attributes points to distribute amongst the game’s five attributes: Vitality, Might, Agility, Defense and Luck. Investing in these attributes will increase various secondary stats, like Health, Attack Power, Speed, Defense (not to be confused with the attribute of the same name!) and Critical Rate. While these attribute point allocations aren’t strictly permanent, it’ll require a Recoat to refund any misspent attribute points, so understanding what you’ll gain for every point you spend can be quite a boon, and this page will cover the game’s five attributes, what secondary stats they influence, how weapon scaling works and what the breakpoints are for each attribute in Clair Obscur: Expedition 33!
Page Breakdown
| Quick Search |
|---|
| Breakpoints and Secondary Stats |
| Vitality |
| Might |
| Agility |
| Defense |
| Luck |
| Suggested Attribute Allocation |
| Attribute Weapon Scaling |
Breakpoints and Secondary Stats
Investing attributes points into an attribute only matters inasmuch as it increases a secondary stat, and most of these are thankfully pretty straight-forward: Health determines how much damage you can withstand before being defeated, Attack Power influences the damage you deal with base attacks, free aim attacks and skills, Speed affects when a character gets a turn in combat, Defense reduces incoming damage, and Critical Rate gives you a chance to deal 50% more damage with your attacks.
All of these secondary stats are nice to have, but they are by no means equally important. Investing in Health early on is a good idea, as it can double or even triple your early game Health pool, which is a huge boon, but later in the game a few hundred points of Health isn’t a huge deal. Meanwhile Speed is essential if you don’t want enemies to get two or three turns every time you do! On top of that, spending points in an attribute won’t always yield the same results - some attributes have diminishing returns the more you invest. 15 points of Luck gets you a pretty solid 9% Critical Rate, but getting Luck up to 30 only gets your Critical Rate up to 15%, and after your Luck hits 57 points, your Critical Rate gain grows more slowly (a mere 4% Critical Rate every 15 points of Luck). Knowing when each attribute’s ROI dries up is key to getting the most out of your attribute points!
Vitality
Perhaps the simplest attribute in the game, Vitality does one thing (not counting weapon scaling - see below): it increases the character’s maximum Health. Hit zero Health and you die, and if all your party members die, you get a gameover. Health is important in most RPGs, although in Clair Obscur: Expedition 33 you really only need Health if you’re bad at dodging and parrying. Assuming you’re a mere mortal, however, you’re probably going to make a mistake at some point, and your Health increases the game’s tolerance for imperfection.
This can be a big deal early on, as you may only have a hundred or two Health and fall in surprisingly short order should you fail to dodge or parry, but 10x points into Vitality will effectively double your Health, and 20x may triple it! The rate of increase actually grows as your Vitality does, from a mere 5.5 Health/Vitality early on to an average of 16.5 Health/Vitality at Vitality 8+. This remains relatively constant (14-18 Health/Vitality) until you approach 70 Vitality, at which point your gains slow down. It might seem like 70~ is a good breakpoint, but there’s another factor that limits the attractiveness of Vitality - [Pictos]. Early on, you won’t have many of these and they won’t help you very much, but as you play through the game you’ll get more numerous Pictos that yield higher stat bonuses, until you’re getting hundreds, then thousands of Health from some Pictos. This makes the 1,389 Health from Vitality 99 seem a bit wasted, and late game, it probably is.
We recommend investing 20 points into Vitality early in the game, as it’s a solid Health boon at that point in time, then ignoring the attribute. If you want to refund those points later on, you can always use a Recoat.
Vitality boosts your Health - at first this can double or triple your Health, but Health gains from Pictos will make Vitality investment less important.
Vitality Stats per Point
| Vitality | Health |
|---|---|
| 0 | 0 |
| 1 | 6 |
| 2 | 11 |
| 3 | 21 |
| 4 | 32 |
| 5 | 45 |
| 6 | 59 |
| 7 | 74 |
| 8 | 91 |
| 9 | 108 |
| 10 | 126 |
| 11 | 143 |
| 12 | 160 |
| 13 | 176 |
| 14 | 193 |
| 15 | 209 |
| 16 | 226 |
| 17 | 242 |
| 18 | 258 |
| 19 | 274 |
| 20 | 290 |
| 21 | 309 |
| 22 | 328 |
| 23 | 347 |
| 24 | 366 |
| 25 | 385 |
| 26 | 404 |
| 27 | 423 |
| 28 | 442 |
| 29 | 460 |
| 30 | 479 |
| 31 | 498 |
| 32 | 517 |
| 33 | 536 |
| 34 | 555 |
| 35 | 574 |
| 36 | 592 |
| 37 | 610 |
| 38 | 628 |
| 39 | 646 |
| 40 | 664 |
| 41 | 682 |
| 42 | 700 |
| 43 | 718 |
| 44 | 735 |
| 45 | 753 |
| 46 | 770 |
| 47 | 786 |
| 48 | 803 |
| 49 | 819 |
| 50 | 835 |
| 51 | 852 |
| 52 | 868 |
| 53 | 884 |
| 54 | 900 |
| 55 | 915 |
| 56 | 930 |
| 57 | 945 |
| 58 | 960 |
| 59 | 974 |
| 60 | 988 |
| 61 | 1003 |
| 62 | 1017 |
| 63 | 1031 |
| 64 | 1045 |
| 65 | 1058 |
| 66 | 1071 |
| 67 | 1084 |
| 68 | 1097 |
| 69 | 1109 |
| 70 | 1120 |
| 71 | 1133 |
| 72 | 1145 |
| 73 | 1157 |
| 74 | 1169 |
| 75 | 1181 |
| 76 | 1192 |
| 77 | 1202 |
| 78 | 1213 |
| 79 | 1222 |
| 80 | 1232 |
| 81 | 1243 |
| 82 | 1253 |
| 83 | 1263 |
| 84 | 1273 |
| 85 | 1282 |
| 86 | 1291 |
| 87 | 1299 |
| 88 | 1308 |
| 89 | 1316 |
| 90 | 1323 |
| 91 | 1332 |
| 92 | 1340 |
| 93 | 1348 |
| 94 | 1356 |
| 95 | 1363 |
| 96 | 1370 |
| 97 | 1377 |
| 98 | 1383 |
| 99 | 1389 |
Might
Another straight-forward stat, the higher your Might, the more your Attack Power increases, and the greater your Attack Power, the more damage you deal with every sort of attack. Your Attack Power gains at a glance are deceptive, as they seem to start out anemic, and grow even more sluggishly as you increase your Might, but there’s a hidden element - the Attack Power gains from Might actually scale with your equipped weapon’s base Power. 99 points of Might may increase your Attack Power by 600~ with a weapon that has a base power of 900~ while only increasing the Attack Power of a weapon with 70 base power by 200~ or so.
This means that Might is actually more useful than it seems, and also somewhat unimpressive during the early-game. While investing in Might isn’t a bad idea in the long term, it may not actually make a huge difference until Act 3 due to the game’s [damage cap] and the relatively low power and max level of weapons up to that point. You probably want to throw points into this attribute… but not early on.
Might will increase your Attack Power - the higher the base power of your equipped weapon, the more pronounced the effect!
Might Stats per Point
| Might | Attack Power |
|---|---|
| 0 | 0 |
| 1 | 1 |
| 2 | 1 |
| 3 | 2 |
| 4 | 4 |
| 5 | 5 |
| 6 | 7 |
| 7 | 8 |
| 8 | 10 |
| 9 | 12 |
| 10 | 14 |
| 11 | 16 |
| 12 | 18 |
| 13 | 20 |
| 14 | 22 |
| 15 | 24 |
| 16 | 25 |
| 17 | 27 |
| 18 | 29 |
| 19 | 31 |
| 20 | 33 |
| 21 | 35 |
| 22 | 37 |
| 23 | 39 |
| 24 | 41 |
| 25 | 43 |
| 26 | 45 |
| 27 | 48 |
| 28 | 50 |
| 29 | 52 |
| 30 | 54 |
| 31 | 56 |
| 32 | 58 |
| 33 | 60 |
| 34 | 62 |
| 35 | 65 |
| 36 | 67 |
| 37 | 69 |
| 38 | 71 |
| 39 | 73 |
| 40 | 75 |
| 41 | 77 |
| 42 | 79 |
| 43 | 81 |
| 44 | 83 |
| 45 | 85 |
| 46 | 87 |
| 47 | 88 |
| 48 | 90 |
| 49 | 92 |
| 50 | 94 |
| 51 | 96 |
| 52 | 98 |
| 53 | 99 |
| 54 | 101 |
| 55 | 103 |
| 56 | 105 |
| 57 | 106 |
| 58 | 108 |
| 59 | 110 |
| 60 | 111 |
| 61 | 113 |
| 62 | 114 |
| 63 | 116 |
| 64 | 118 |
| 65 | 119 |
| 66 | 121 |
| 67 | 122 |
| 68 | 123 |
| 69 | 125 |
| 70 | 126 |
| 71 | 127 |
| 72 | 129 |
| 73 | 130 |
| 74 | 132 |
| 75 | 133 |
| 76 | 134 |
| 77 | 135 |
| 78 | 136 |
| 79 | 138 |
| 80 | 139 |
| 81 | 140 |
| 82 | 141 |
| 83 | 142 |
| 84 | 143 |
| 85 | 144 |
| 86 | 145 |
| 87 | 146 |
| 88 | 147 |
| 89 | 148 |
| 90 | 149 |
| 91 | 150 |
| 92 | 151 |
| 93 | 152 |
| 94 | 153 |
| 95 | 153 |
| 96 | 154 |
| 97 | 155 |
| 98 | 156 |
| 99 | 156 |
Agility
In turn-based games, Agility (or similar attributes) can trend towards overpowered. In Clair Obscur: Expedition 33 it’s more of a mandatory attribute point tax than a game-breaking investment. First, the less interesting bits - 155 Defense at 99 Agility isn’t much and while nice, it likely won’t reduce damage much. Like most stats, it’s completely made irrelevant by the Defense you’ll find on late-game Pictos. Fortunately for Agility, you’re not really investing into it for Defense anyways - it’s just a side bonus, small though it may be.
Speed is what matters when it comes to Agility, as Speed determines your turn over in battle and, depending on the disparity between the character and enemy(ies), how many turns you get. If you don’t invest in Agility (and hence, Speed), you will quickly find enemies taking two or even three turns between your own. This is not a recipe for success. Like most stats, Pictos will eventually end up giving you the lionshare of your speed, but it’s damn near mandatory to invest in Agility, and significantly so, to get enough Speed to compete with enemies before the Pictos with high Speed bonuses start dropping. After a slow start (pun intended), Agility will pick up the pace (that one, too) and start yielding 5-7 Speed per point until slowing down to 4.5 Speed/Agility at Agility 33. This decreases again to 3.5 Speed/Agility at Agility 47 and 2.5 Speed/Agility at Agility 66.
Getting your Agility up to 47 should get you enough Speed to reach Act 3, provided you equip some Speed-boosting Pictos, and by the time you reach Act 3 your Pictos should, like most stats, account for most of the stats you need.
Agility increases your Speed significantly, and your Defense marginally - dropping some points into Agility will be necessary to avoid enemies getting two or three turns on you!
Agility Stats per Point
| Agility | Defense | Speed |
|---|---|---|
| 0 | 0 | 0 |
| 1 | 1 | 3 |
| 2 | 2 | 6 |
| 3 | 3 | 10 |
| 4 | 3 | 15 |
| 5 | 4 | 20 |
| 6 | 5 | 26 |
| 7 | 6 | 31 |
| 8 | 7 | 37 |
| 9 | 8 | 43 |
| 10 | 9 | 50 |
| 11 | 10 | 55 |
| 12 | 11 | 61 |
| 13 | 12 | 66 |
| 14 | 13 | 71 |
| 15 | 15 | 76 |
| 16 | 16 | 81 |
| 17 | 18 | 86 |
| 18 | 19 | 91 |
| 19 | 21 | 95 |
| 20 | 22 | 99 |
| 21 | 24 | 105 |
| 22 | 25 | 110 |
| 23 | 27 | 116 |
| 24 | 29 | 121 |
| 25 | 30 | 126 |
| 26 | 32 | 132 |
| 27 | 34 | 137 |
| 28 | 36 | 142 |
| 29 | 37 | 147 |
| 30 | 39 | 152 |
| 31 | 41 | 157 |
| 32 | 42 | 162 |
| 33 | 43 | 167 |
| 34 | 45 | 171 |
| 35 | 46 | 176 |
| 36 | 47 | 181 |
| 37 | 49 | 185 |
| 38 | 50 | 190 |
| 39 | 51 | 194 |
| 40 | 53 | 198 |
| 41 | 55 | 203 |
| 42 | 57 | 207 |
| 43 | 59 | 211 |
| 44 | 61 | 216 |
| 45 | 63 | 220 |
| 46 | 65 | 224 |
| 47 | 67 | 228 |
| 48 | 69 | 231 |
| 49 | 71 | 235 |
| 50 | 73 | 239 |
| 51 | 76 | 242 |
| 52 | 78 | 246 |
| 53 | 80 | 250 |
| 54 | 82 | 253 |
| 55 | 85 | 257 |
| 56 | 87 | 260 |
| 57 | 89 | 263 |
| 58 | 91 | 266 |
| 59 | 93 | 269 |
| 60 | 96 | 272 |
| 61 | 97 | 275 |
| 62 | 98 | 278 |
| 63 | 100 | 281 |
| 64 | 101 | 284 |
| 65 | 102 | 287 |
| 66 | 103 | 290 |
| 67 | 104 | 292 |
| 68 | 106 | 295 |
| 69 | 107 | 297 |
| 70 | 108 | 299 |
| 71 | 110 | 302 |
| 72 | 112 | 304 |
| 73 | 114 | 307 |
| 74 | 117 | 309 |
| 75 | 119 | 311 |
| 76 | 121 | 313 |
| 77 | 123 | 315 |
| 78 | 125 | 317 |
| 79 | 128 | 319 |
| 80 | 130 | 321 |
| 81 | 132 | 323 |
| 82 | 134 | 324 |
| 83 | 136 | 326 |
| 84 | 139 | 328 |
| 85 | 141 | 329 |
| 86 | 143 | 331 |
| 87 | 145 | 332 |
| 88 | 147 | 334 |
| 89 | 149 | 335 |
| 90 | 151 | 336 |
| 91 | 155 | 338 |
| 92 | 158 | 339 |
| 93 | 162 | 340 |
| 94 | 165 | 342 |
| 95 | 169 | 343 |
| 96 | 172 | 344 |
| 97 | 176 | 345 |
| 98 | 179 | 346 |
| 99 | 182 | 346 |
Defense
Defense is both an attribute and a stat - the former increases the latter and the latter reduces the damage you take. Defense (stat) can be quite useful in large amounts, but we never found it necessary to invest before Act 3, and once you reach Act 3, Pictos should be your primary source of Defense (stat). We don’t recommend investing any points in Defense. As a side benefit, Defense (attribute) also improves Critical Rate, albeit at an amount more anemic than Luck. It’s also worth noting that Defense (attribute) doesn’t really have a breakpoint - you gain more Defense (stat) per point of Defense (attribute) all the way up to 99.
Defense will improve your… Defense, reducing the damage you take. It’ll also give you improved Critical Rate, for some reason.
Defense Stats per Point
| Defense (attribute) | Defense (stat) | Critical Rate |
|---|---|---|
| 0 | 0 | 0 |
| 1 | 3 | 0 |
| 2 | 7 | 1 |
| 3 | 9 | 1 |
| 4 | 10 | 1 |
| 5 | 12 | 2 |
| 6 | 14 | 2 |
| 7 | 17 | 2 |
| 8 | 20 | 2 |
| 9 | 23 | 3 |
| 10 | 26 | 3 |
| 11 | 30 | 3 |
| 12 | 33 | 4 |
| 13 | 37 | 4 |
| 14 | 40 | 4 |
| 15 | 44 | 4 |
| 16 | 49 | 5 |
| 17 | 53 | 5 |
| 18 | 57 | 5 |
| 19 | 62 | 5 |
| 20 | 67 | 5 |
| 21 | 71 | 6 |
| 22 | 76 | 6 |
| 23 | 81 | 6 |
| 24 | 86 | 6 |
| 25 | 91 | 7 |
| 26 | 96 | 7 |
| 27 | 101 | 7 |
| 28 | 107 | 7 |
| 29 | 112 | 7 |
| 30 | 118 | 8 |
| 31 | 122 | 8 |
| 32 | 126 | 8 |
| 33 | 130 | 8 |
| 34 | 134 | 9 |
| 35 | 138 | 9 |
| 36 | 142 | 9 |
| 37 | 146 | 9 |
| 38 | 150 | 9 |
| 39 | 154 | 10 |
| 40 | 158 | 10 |
| 41 | 164 | 10 |
| 42 | 170 | 10 |
| 43 | 176 | 10 |
| 44 | 183 | 11 |
| 45 | 189 | 11 |
| 46 | 195 | 11 |
| 47 | 201 | 11 |
| 48 | 208 | 11 |
| 49 | 214 | 11 |
| 50 | 220 | 12 |
| 51 | 227 | 12 |
| 52 | 234 | 12 |
| 53 | 240 | 12 |
| 54 | 247 | 12 |
| 55 | 254 | 12 |
| 56 | 260 | 13 |
| 57 | 267 | 13 |
| 58 | 274 | 13 |
| 59 | 280 | 13 |
| 60 | 287 | 13 |
| 61 | 291 | 13 |
| 62 | 295 | 14 |
| 63 | 299 | 14 |
| 64 | 302 | 14 |
| 65 | 306 | 14 |
| 66 | 310 | 14 |
| 67 | 313 | 14 |
| 68 | 317 | 14 |
| 69 | 320 | 15 |
| 70 | 323 | 15 |
| 71 | 330 | 15 |
| 72 | 337 | 15 |
| 73 | 343 | 15 |
| 74 | 350 | 15 |
| 75 | 357 | 15 |
| 76 | 363 | 15 |
| 77 | 370 | 16 |
| 78 | 376 | 16 |
| 79 | 383 | 16 |
| 80 | 389 | 16 |
| 81 | 396 | 16 |
| 82 | 403 | 16 |
| 83 | 409 | 16 |
| 84 | 416 | 16 |
| 85 | 423 | 16 |
| 86 | 429 | 17 |
| 87 | 436 | 17 |
| 88 | 442 | 17 |
| 89 | 448 | 17 |
| 90 | 454 | 17 |
| 91 | 465 | 17 |
| 92 | 475 | 17 |
| 93 | 486 | 17 |
| 94 | 496 | 17 |
| 95 | 506 | 18 |
| 96 | 517 | 18 |
| 97 | 527 | 18 |
| 98 | 537 | 18 |
| 99 | 547 | 18 |
Luck
Luck boosts your Critical Rate as its primary function, and Speed as a secondary bonus. As far as boosting your Speed, Luck is never really great for that - you’ll get an average of just over 2 Speed per Luck until Luck 25, when things slow down to below 2 Speed/Luck at Luck 35. Simply put, if you want more Speed, you need to invest in Agility, as Luck grants you less Speed at 99 Luck than Agility gets you by 28 Agility.
On the other hand, Luck is the stat you want if you care about your Critical Rate. Getting to a mere 15 Luck will boost your Critical Rate by a respectable 9%, after which things slow down in stages. By the time you reach Luck 35 you’ll have obtained the same amount of Critical Rate (18%) as you get from 99 points in Defense, which sounds great until you realize that maxing out Luck only gets you another 18% Critical Rate… and for the primary function of Luck, only doubling the Critical Rate of another attribute’s secondary bonus feels somewhat stingy. Investing 15 points into Luck for the 9% Critical Rate is a solid early-game move, after Vitality and Agility, and getting the extra Speed and Critical Rate by reaching 35 Luck isn’t terrible, either, but at that point it becomes hard to justify investing more points into this attribute given its anemic gains.
Luck will boost your Speed and Critical Rate.
Luck Stats per Point
| Luck | Speed | Critical Rate |
|---|---|---|
| 0 | 0 | 0 |
| 1 | 1 | 1 |
| 2 | 2 | 1 |
| 3 | 4 | 2 |
| 4 | 6 | 2 |
| 5 | 8 | 3 |
| 6 | 10 | 4 |
| 7 | 13 | 4 |
| 8 | 15 | 5 |
| 9 | 17 | 5 |
| 10 | 20 | 6 |
| 11 | 22 | 7 |
| 12 | 24 | 7 |
| 13 | 26 | 8 |
| 14 | 28 | 8 |
| 15 | 30 | 9 |
| 16 | 32 | 9 |
| 17 | 34 | 9 |
| 18 | 36 | 10 |
| 19 | 38 | 10 |
| 20 | 40 | 11 |
| 21 | 42 | 11 |
| 22 | 44 | 12 |
| 23 | 46 | 12 |
| 24 | 48 | 13 |
| 25 | 51 | 13 |
| 26 | 53 | 14 |
| 27 | 55 | 14 |
| 28 | 57 | 15 |
| 29 | 59 | 15 |
| 30 | 61 | 15 |
| 31 | 63 | 16 |
| 32 | 65 | 16 |
| 33 | 67 | 17 |
| 34 | 69 | 17 |
| 35 | 70 | 18 |
| 36 | 72 | 18 |
| 37 | 74 | 18 |
| 38 | 76 | 19 |
| 39 | 78 | 19 |
| 40 | 79 | 20 |
| 41 | 81 | 20 |
| 42 | 83 | 20 |
| 43 | 85 | 21 |
| 44 | 86 | 21 |
| 45 | 88 | 21 |
| 46 | 89 | 22 |
| 47 | 91 | 22 |
| 48 | 93 | 23 |
| 49 | 94 | 23 |
| 50 | 95 | 23 |
| 51 | 97 | 24 |
| 52 | 98 | 24 |
| 53 | 100 | 24 |
| 54 | 101 | 25 |
| 55 | 103 | 25 |
| 56 | 104 | 25 |
| 57 | 105 | 26 |
| 58 | 107 | 26 |
| 59 | 108 | 26 |
| 60 | 109 | 26 |
| 61 | 110 | 27 |
| 62 | 111 | 27 |
| 63 | 113 | 27 |
| 64 | 114 | 28 |
| 65 | 115 | 28 |
| 66 | 116 | 28 |
| 67 | 117 | 29 |
| 68 | 118 | 29 |
| 69 | 119 | 29 |
| 70 | 120 | 29 |
| 71 | 121 | 30 |
| 72 | 122 | 30 |
| 73 | 123 | 30 |
| 74 | 124 | 30 |
| 75 | 124 | 31 |
| 76 | 125 | 31 |
| 77 | 126 | 31 |
| 78 | 127 | 31 |
| 79 | 128 | 32 |
| 80 | 128 | 32 |
| 81 | 129 | 32 |
| 82 | 130 | 32 |
| 83 | 130 | 33 |
| 84 | 131 | 33 |
| 85 | 132 | 33 |
| 86 | 132 | 33 |
| 87 | 133 | 33 |
| 88 | 134 | 34 |
| 89 | 134 | 34 |
| 90 | 134 | 34 |
| 91 | 135 | 34 |
| 92 | 136 | 34 |
| 93 | 136 | 35 |
| 94 | 137 | 35 |
| 95 | 137 | 35 |
| 96 | 137 | 35 |
| 97 | 138 | 35 |
| 98 | 138 | 36 |
| 99 | 139 | 36 |

The suggested attribute allocation until you reach the end of Act 2.
Suggested Attribute Allocation
Based on the advice given above, here’s where we suggest you allocate your attribute points up to the end of Act 2 (you should be around Lv50-60):
| Attribute | Suggested Amount |
|---|---|
| Vitality | 20 |
| Might | 0 (all the rest) |
| Agility | 47 |
| Defense | 0 |
| Luck | 15 (35) |
These stats should help you get through much of the game, but once you reach Act 3, the rules change a bit… Pictos will start granting you tremendous stat boosts, which makes your attribute allocation somewhat redundant, or at least less important. However, at this time another stat will become very important, and will dictate where you allocate (or reallocate, as the case may be) your attributes: Weapon scaling.
Attribute Weapon Scaling
As you near the end of Act 2 you’ll start finding Pictos that give substantial stat boosts - 1,000+ Health, hundreds of Defense and Speed, dozens of Critical Rate. Suffice to say, most of your attribute point allocations are dwarfed by what you’ll bet from Pictos, so the recommended investments above really only apply until they’re outpaced by Pictos late game, at which pint you can use Recoat to respec.
Another late-game development is how powerful weapons will grow. Once you start getting late-game Chroma Catalysts you’ll be able to power up your weapons to - and beyond - Lv 20, and each level up past this point massively increases your weapon damage. A Lv33 weapon could have a base power of 9,000+, and in conjunction with its rise in base power its weapon scaling will also vastly increase. Weapon Scaling is explained in greater detail on the linked page, but essentially it’s a mechanic that boosts a weapon’s power the more points you have invested in attributes that weapon has an affinity for. Throughout most of the game this is relatively small beans - a few dozen to maybe 200~ Power with a heavy attribute investment, depending on the scaling, but with a higher-level weapon this could be adding thousands of Power to a weapon, increasing damage output considerably.
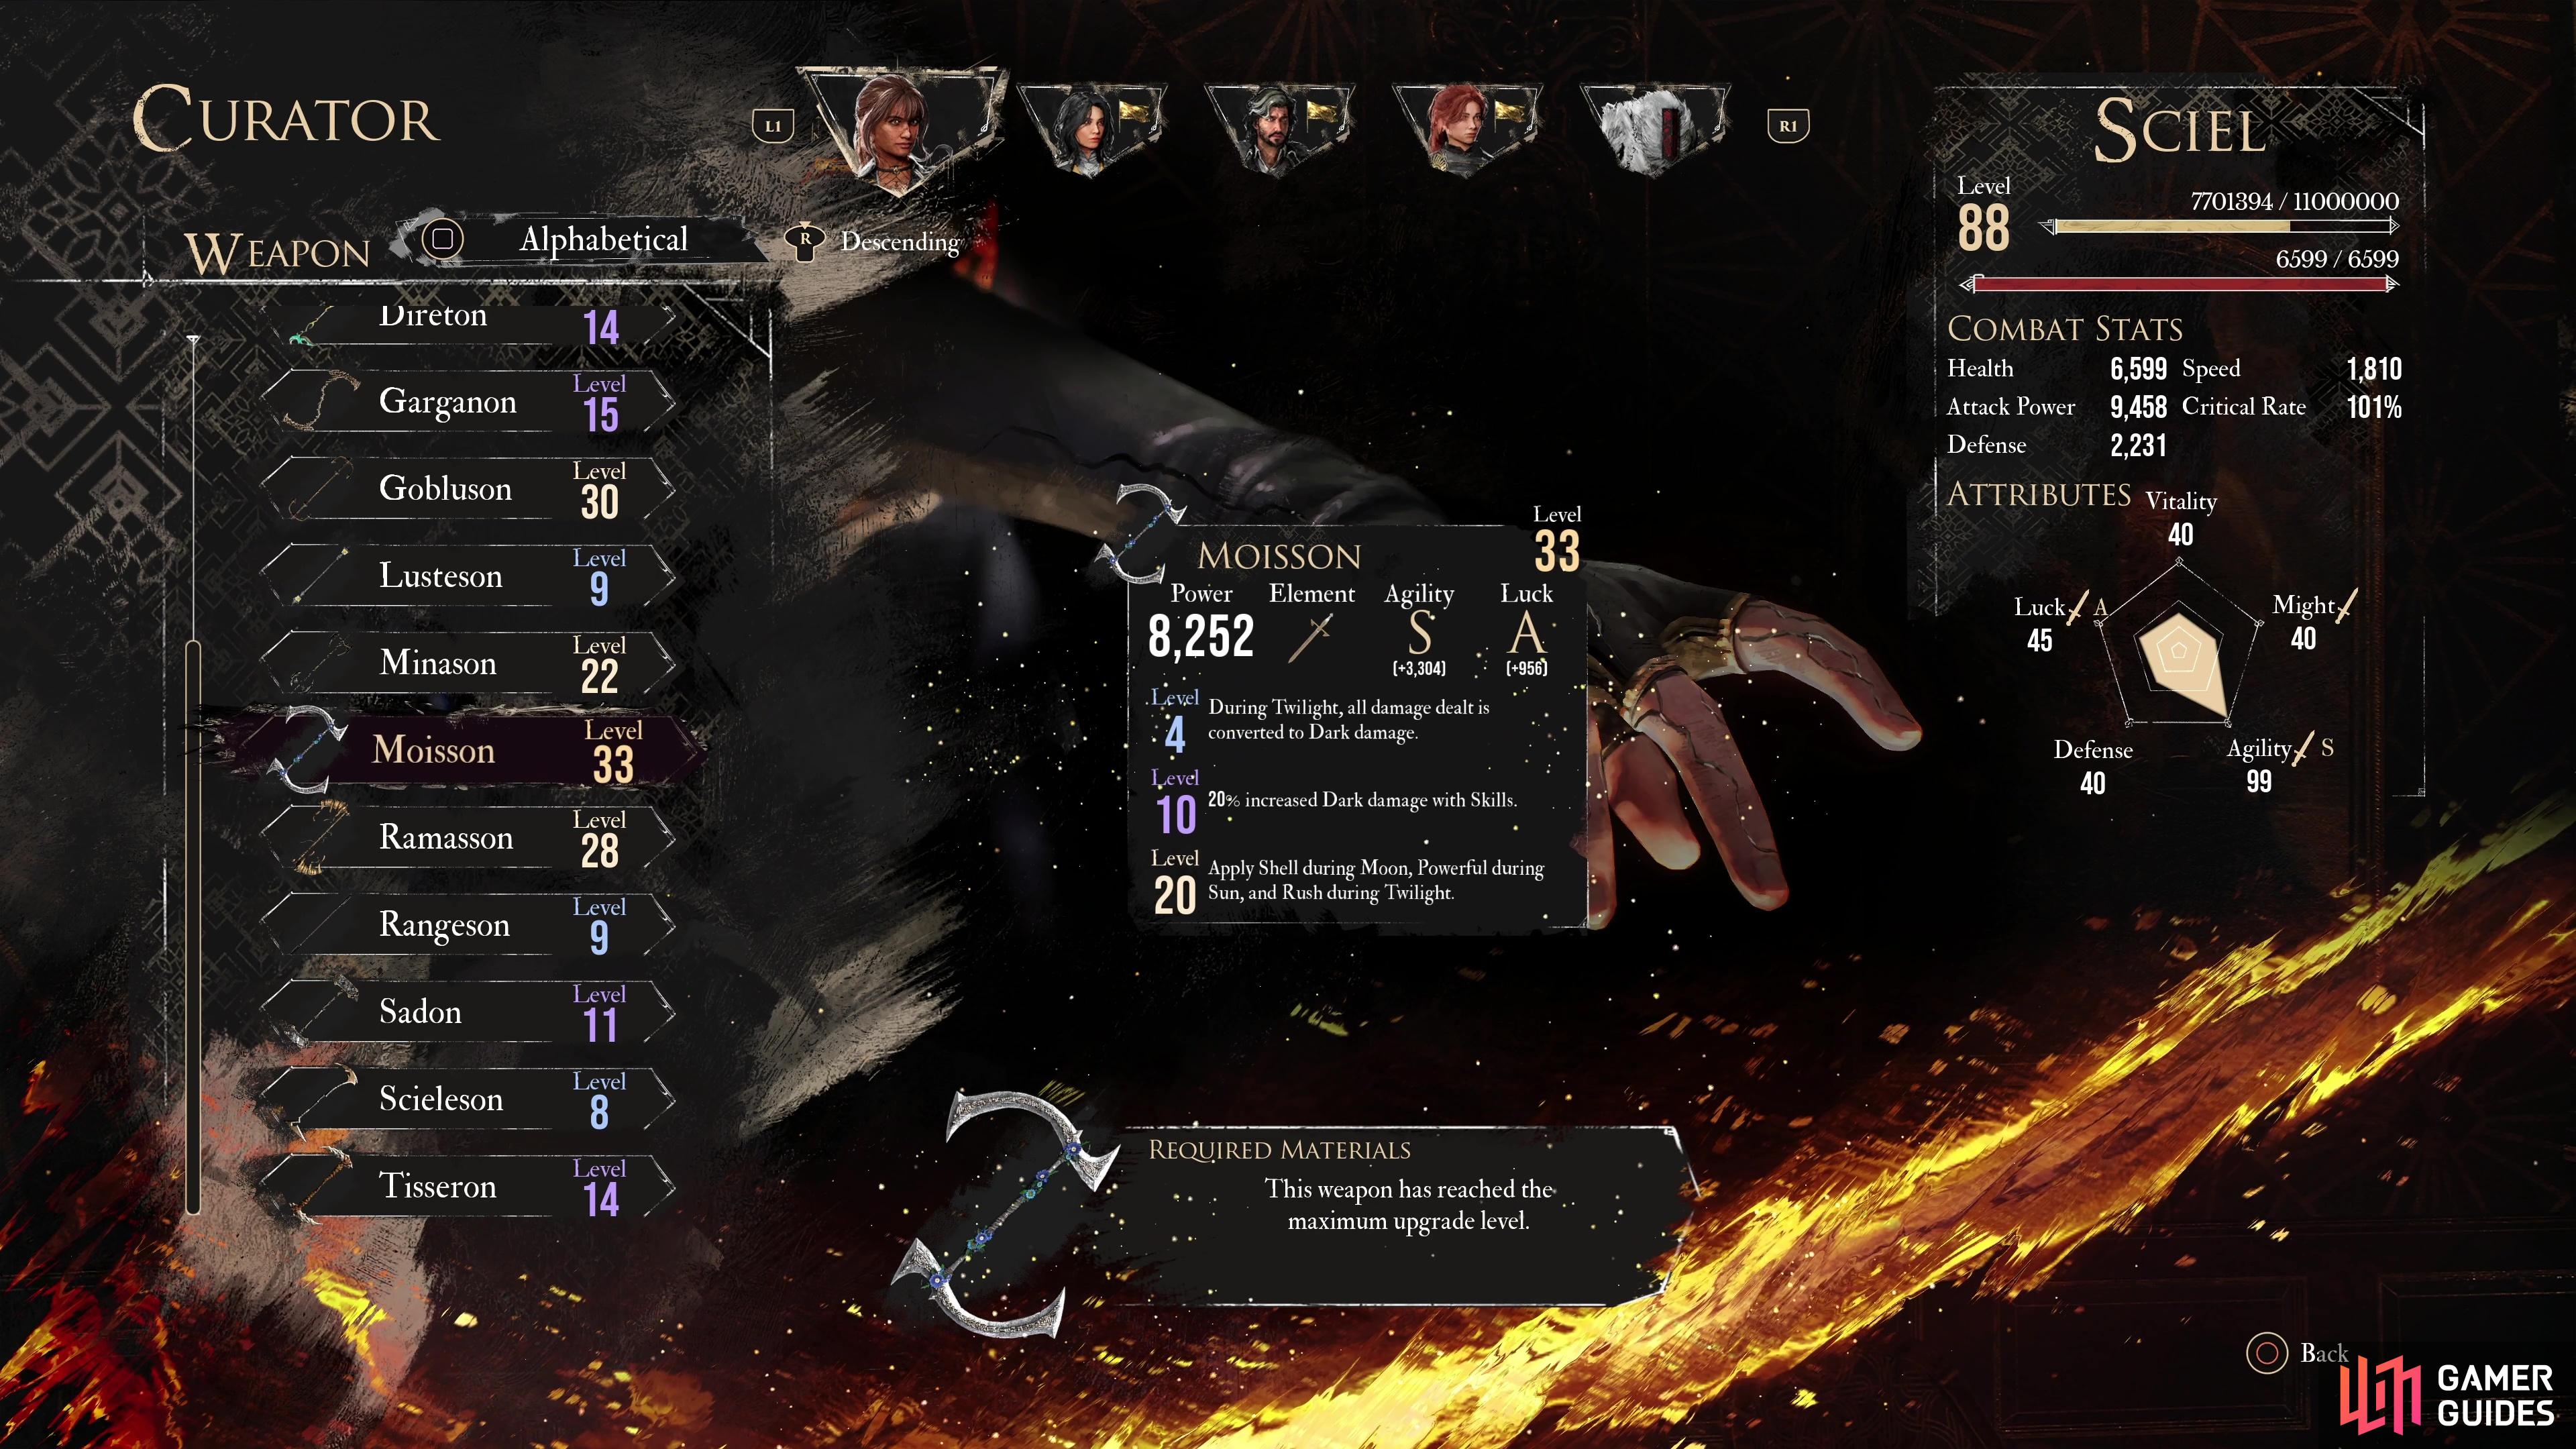
As your weapons grow more powerful, weapon scaling becomes more important - endgame you want to invest in the attributes your weapon scales with the best.
This considerably dwarfs the others effects of attributes to the point that, when you get a high-powered weapon you like, you should consider just maxing out whatever attributes it scales with. These stats will vary by weapon and characters, so check out the following pages for build and weapon suggestions:
What an insanely useful guides you are doing, thank you for this and everything else explained about this game!