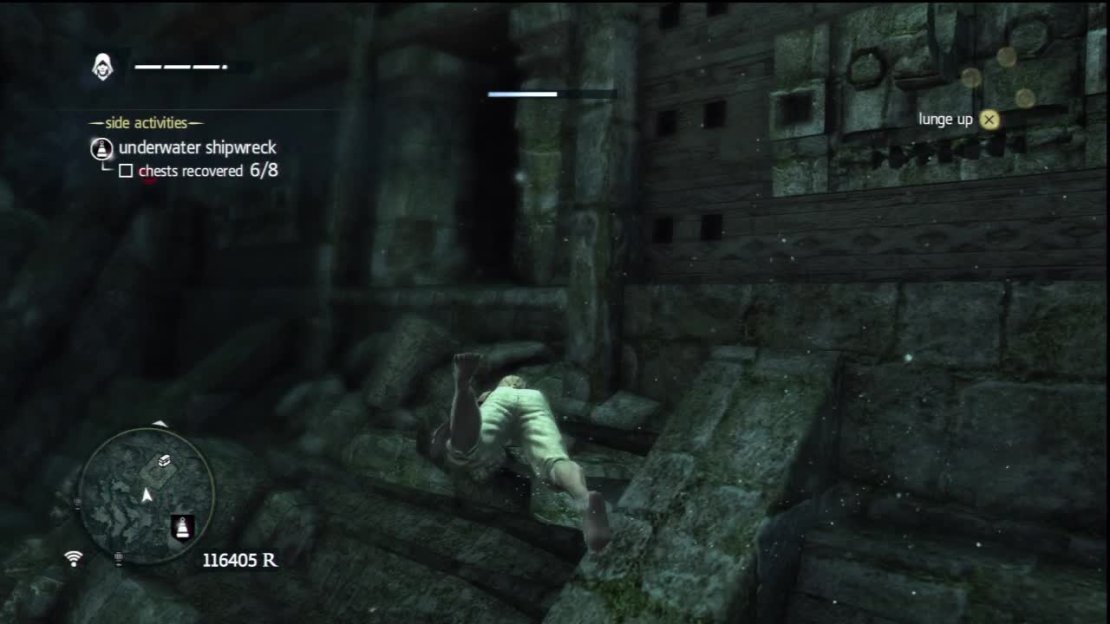
From the start swim north and enter the ruins from above (to avoid the eel at ground level) to grab the chest within. Swim back past the bell (and use it to restore air if you need it) and head up to the top of the underwater temple. At the top, there is an open door.
Enter this for an Animus Fragment. Swim down to the entrance at the front of the temple and go through the door (and stick to the right hand wall to avoid an eel). You will find a chest at the back of the room. Exit the temple.
Swim down and to the right to find an air barrel. Ignore this for now and enter the tunnel to its right. Grab the chest from behind the Moray Eel and then follow the tunnel for a short distance until you find an air pocket. Surface in here.
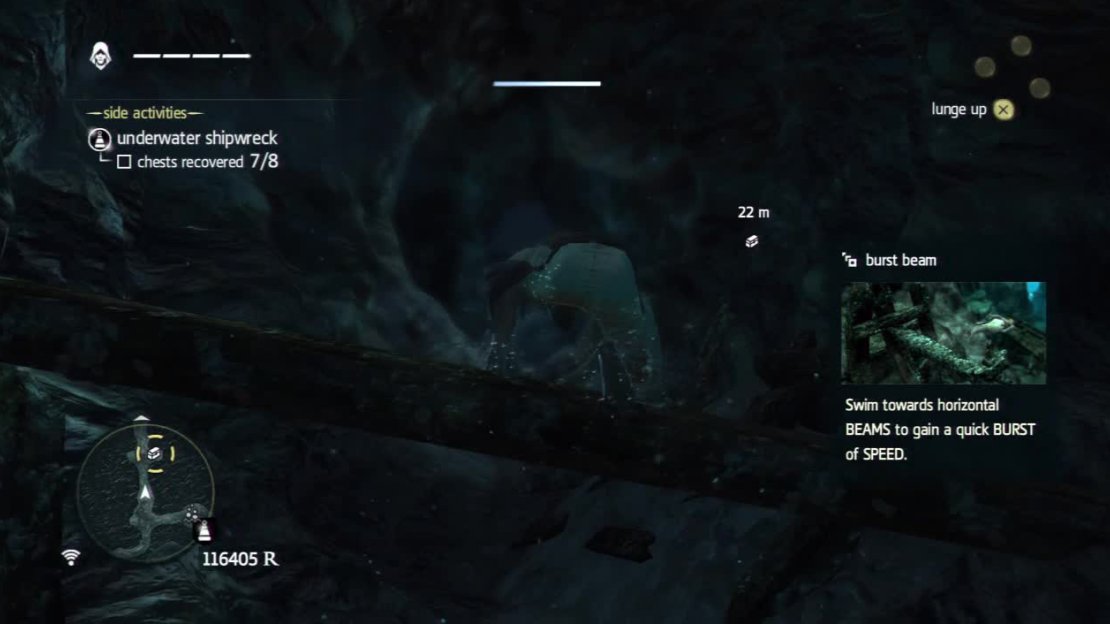
When you are good to go, dive down and continue into the next tunnel and turn right. In this tunnel, if you see the screen shake a little, which happens periodically, a strong water current will rush through shortly afterwards and push you back to the start. To combat this, swim into the beams along the floor to propel yourself up the tunnel quicker between currents.
Follow the tunnel a short distance and enter the alcove on the right to grab a chest. Again, wait for the current to pass and then continue up the tunnel to the right, take the next exit on the right to find an Animus Fragment and an air pocket to refill your oxygen.
Burst beams are very useful, especially when swimming into a strong current.
Backtrack through the tunnels we just came through and when you exit back outside, use the air barrel we ignored earlier. Exit and swim over to the shipwreck directly opposite the exit from the tunnel. Below this is another chest.
Pop out the other side of this and use the air barrel here. Swim over and take a shortcut over the rocks to the right of the temple nearby. After a short swim, you’ll find yourself above a channel path through some rocks.
Swim down to the seabed and follow the path until you see some wreckage on the left. Check this out to find a chest inside. Exit and use the air barrel outside and then continue to the southwest, past the hull of the ship pointing upwards. Once you are past it, turn around and look inside for an Animus Fragment. Use the air barrel here if you require it. Follow the small tunnel around to the right to find another chest.
Inside here contains the chest with the plan for the Elite Round Shot. Beware of the eels!
Exit the far side and continue until you reach the next air barrel. Use this if you like. When you are ready, keep going along the path here until you see another small temple-like structure on the left. Swim over and look in the hole in the ruin behind this to find the final chest. Now make your way all the way back to the diving bell. Interact with this to return to the Jackdaw.


No Comments