Part 1: Tailing
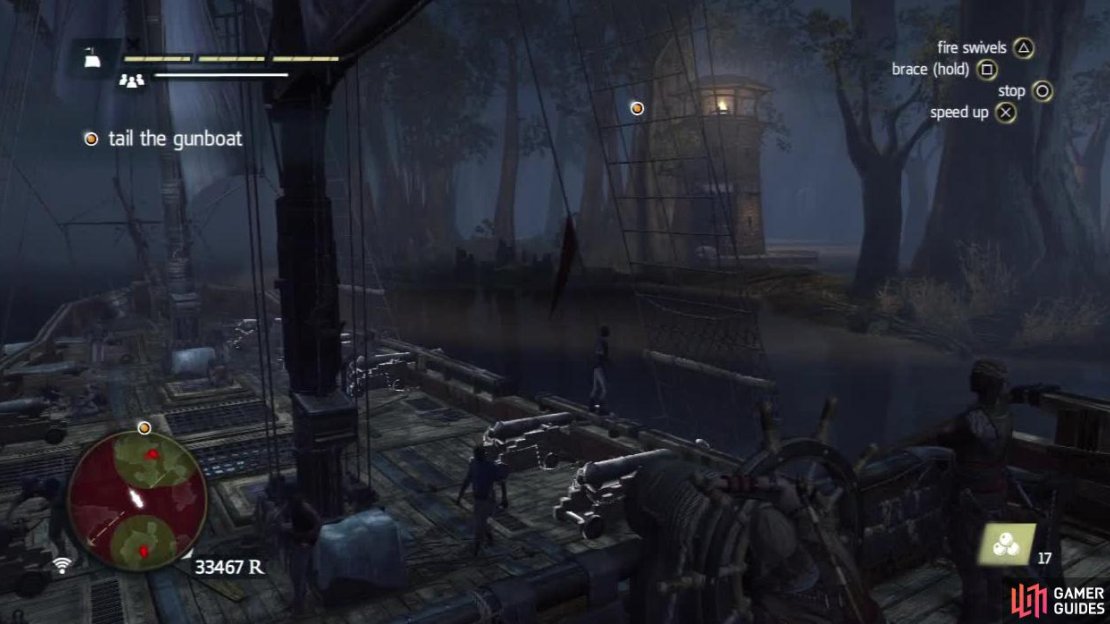
As we begin the mission, we’ll need to follow the gunboat in the water ahead. We need to stay far enough back that we remain out of its yellow field of vision. During this section, we will also have to move slowly as there are a lot of small islands and rocks about and we need to avoid them whilst tailing the ship. Additionally, there will be watchtowers, marked by green circles on the map. Again, we will want to steer clear of these as we move through the bayou.
Sail to the left of the first tower and then sail follow the water around to the right. We’ll encounter another watchtower. Again, move to the left of this and hug the land as you move up. Ensure that you slow right down to squeeze through the small gap between the shore and the far end of the towers’ field of vision. Continue to follow the left hand shore past the next watchtower. As you approach the fourth watch tower, Edward will be prompted to hop out of the ship.
Jump across to the buildings nearby and head left. Work your way across the platforms and poles here until you reach the structure with the alarm bell. Climb to the top ledge of this ahead. From here, look below and dive into the haystack.
Tailing the boat with the Jackdaw can be tricky as you must keep the pace slow and steady, whilst also avoiding obstacles and watchtowers. Be vigilant!
Assassinate the first man next to the haystack and wait for a few moments. There is a guard who will cut laps around the area. When he approaches the haystack, whistle to draw him over and assassinate him from hiding as well.
Now approach the two stacks of crates/barrels set out in lines either side of the alarm bell. Look at the mini-map and when no guards are looking, run between them and sabotage the bell. Quickly run back out from the bell area again to avoid detection.
You’ll notice that the Jackdaw has moved up, so head over and jump back onto your ship again. Get back behind the wheel.
As soon as you are back in control of the ship, sail it down the first entrance that you see on your right. Follow the river until you enter the yellow zone on the minimap. At this point the Jackdaw will let Edward out again. That’s right - It’s time to tail the gunboat on foot.
Part 2: Tailing
When you are ready to get started, follow the dock to the end and the game will show you the gunboat in the distance. When the camera pans back to Edward, turn to the right and go down the small wooden walkway here.
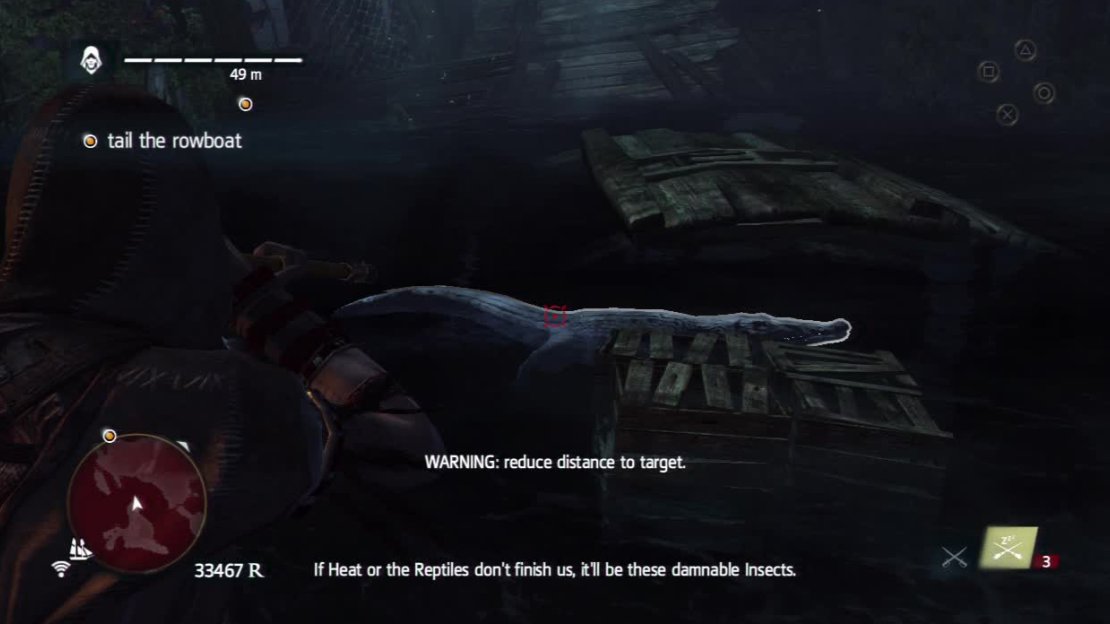
There is a crocodile in the water at this point, so hit it with a sleep dart and skin it. Continue across the water and enter the broken hull of the wrecked ship here. Climb the back wall and shimmy across to the right.
There are numerous crocodiles in the waters so you should easily meet your target.
When you reach the hole in the hull, hop up on the beam and use the branch outside the ship here to swing over to the log on the water. At this point, there are another two crocodiles in the water. Hit both of them with sleeping darts to complete the optional objectives. Hop to the far side of the river and enter the stalking zone bushes here.
You’ll see a guard with his back to you ahead (and another a little further on). To the left of him, resting against a wall is a stack of crates. Run over and climb these and up to a ledge above them. Hop across the beams to the left. Exit via the stone archway here and wait a moment. Once the rowboat has passed, hop across the stone pillar ahead to reach the stone wall.
Climb to the top of this and follow it to the end. Jump to the building ahead. Don’t climb up, instead whilst hanging from the ledge, shimmy all the way to the right. Climb up when you can go no further and jump to the wooden pillar ahead.
Work your way across the beams and chandelier until you reach the beams on the far wall. Shimmy right again and jump through the gap. Drop down to the ground below.
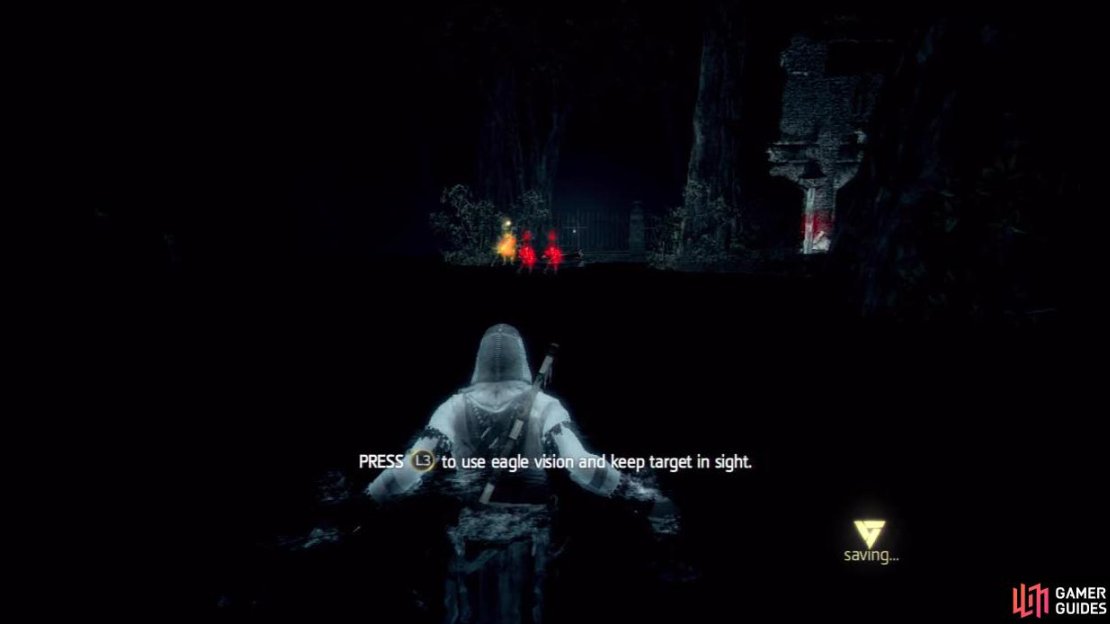
If you have enough darts, you can follow the boat from the water. Just keep an eye on your minimap and use Eagle Vision to spot any crocs around.
Move up towards the alarm bell and hide in one of the bushes nearby, note the stack of crates to the right leading to an upper platform, we’ll use those in a second. The rowboat will make a brief stop at the guard post here. Wait until the guard gets taken by the crocodile and use the opportunity to run up and climb the crates to the next level.
Again wait for the boat to be on its way and then jump over to the stone wall. Use the branches here to reach the far bank of the river. As you land, enter the stalking zone bushes and wait. The rowboat should dock up ahead and the inhabitants will get out. We’ll now have to eavesdrop on their conversation.
Part 3: Eavesdrop
Run over to the stone wall closest to the riverbank on your right. As you approach, the eavesdropping sequence will begin. Wait for the two guys to walk past the gap between the two walls here and duck in after them. Follow behind them at a distance, using the crates as cover. When they reach the end of the docks, a scene will play.
Part 4: Pursuit
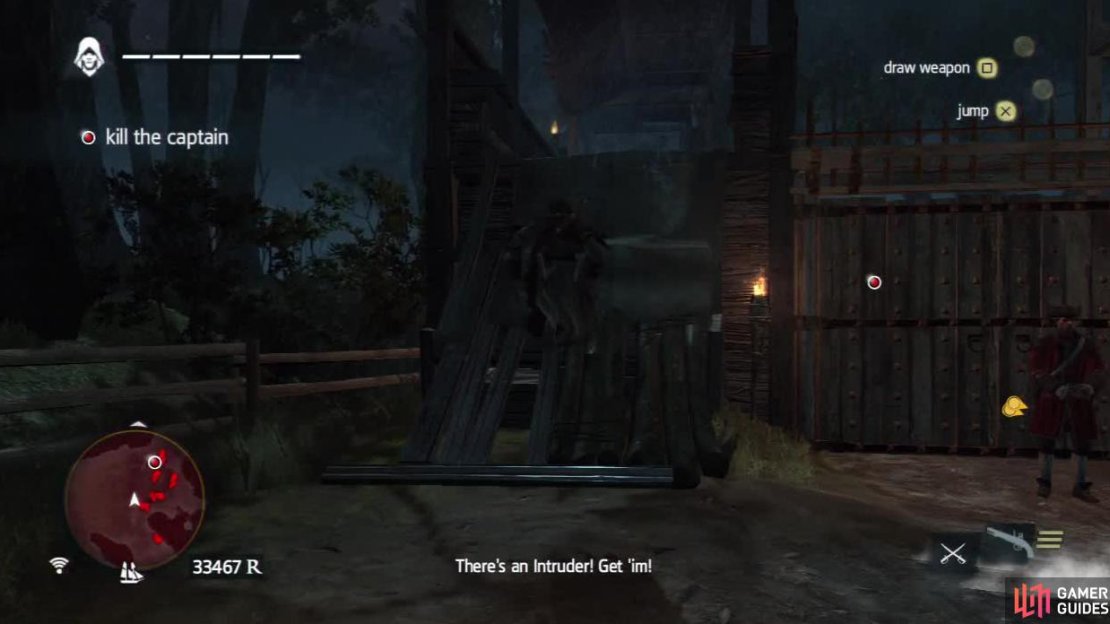
Afterwards, the target will run off. Follow him along the set path along the docks here. Run up the ramp to the left of the first gate, slide down the ramp and use the posts in the water to return to the chase. After returning to land, when you see the next group of guards blocking the path, run up the ram to the right.
This will put you above the target over the marketplace. Catch up with him here and you can either highlight and then air assassinate him from above or shoot him with your pistol (the second option is much easier) to end the chase.
There will be many obstacles during the pursuit so be ready to change course and find other ways around.


No Comments