Part 1: identify
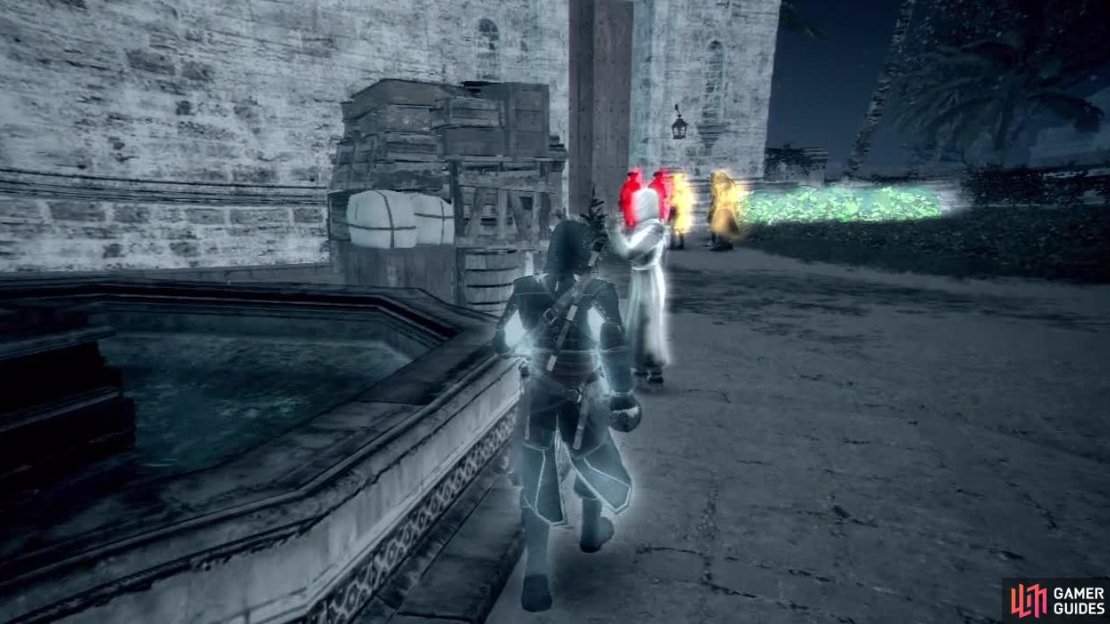
Here is the ground view of the targets. You can see the fountain on the left. Use that as a landmark when approaching from the rooftops.
From the start of the mission, work your way over to the green circle on the map indicating the investigation area. You’ll notice that it is in and around the large church in the centre of town. Work your way to the eastern wall of the compound and work your way along the rooftops just outside the wall.
Kill the Gunner on the rooftop here as you go. When you see the fountain in the church’s garden area, use your Eagle Vision to peek at the group of soldiers to its left. You’ve found your target.
Part 2: Tailing
Hide out of view for a few moments and the entourage will start off. Backtrack across the rooftops along the wall, keeping the targets in sight. Climb the ladder at the end of the row of rooftops and turn to the left on top. Stay on the rooftops and follow the group around the next corner. After a short while they will stop and kill some people in the street. Hold back here for a second and wait for them to start moving again.
Hop over to the right-hand side of the street now and follow them again. There is a Gunner on the first raised section of the roof here, so either put him to sleep or sneak up and assassinate him quietly. From this platform look further ahead to see another Gunner on a rooftop on the right of the street ahead. Put him to sleep.
Making sure you keep your eye on the target, move over and assassinate the sleeping guard. Continue to follow the guards along the rooftop and when you reach the final roof, there is one more enemy to deal with on the main rooftop and a final Gunner on the lower roof to the right at the far end. At this point, observe the group below. Your target will enter the fort.
Part 3: infiltrate
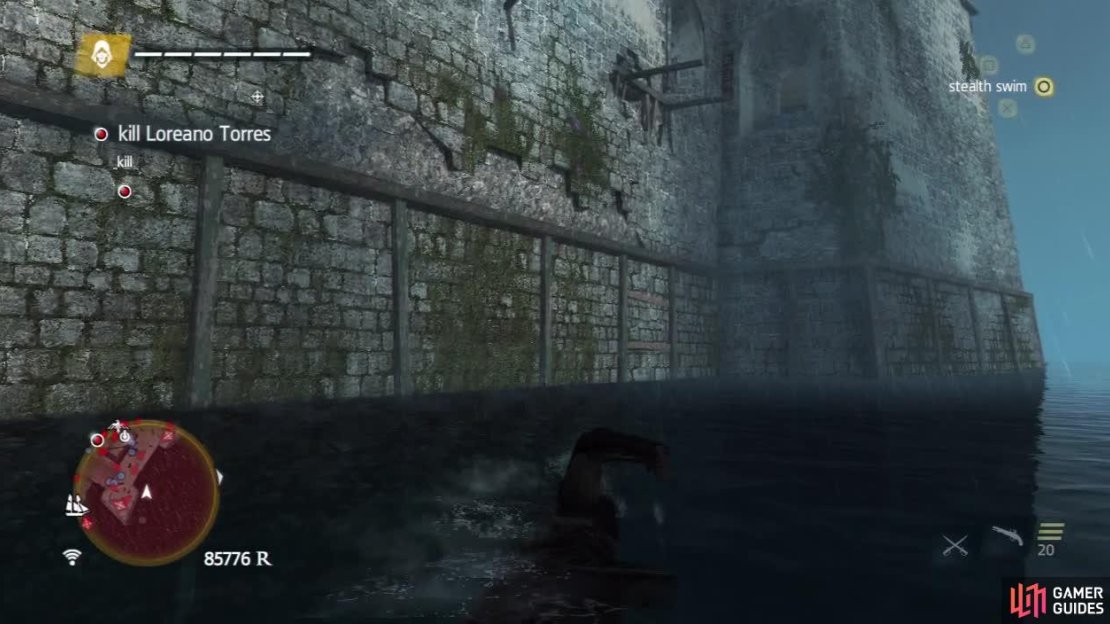
You can dive into the water and swim round to the side here, climb up the fort, clear out the guard at the top and then the Gunner to the right and wait for the target to come within range in the courtyard below.
On the rooftop where we are located, run over to the left-hand corner of the rooftop closest to the fort. We’ll see a small beam sticking out below. Drop down to this and use it to hop into the tree nearby. Use the branches to reach the wall of the fort. Climb all the way to the top. Hang from the ledge here until the guard moves away. When this happens, quickly jump up and assassinate him.
Now we are in a slightly open area with ramparts on either side going to the left and right if you look at the centre of the area and of course they each have a guard patrolling them. We can’t deal with both at once, so put one to sleep when he comes into range (I chose the left one) and stalk and kill the guard patrolling to the right. Go and kill the sleeping guard.
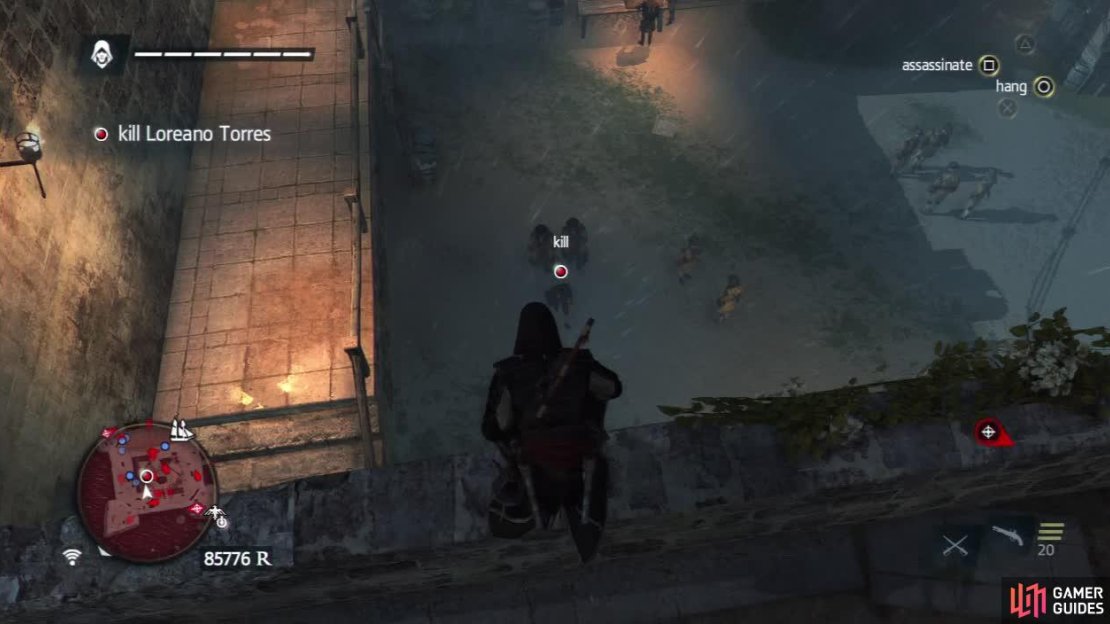
Now from about halfway down the right hand wall overlooking the central courtyard you ‘ll find a stack of crates. Stand next to these so that any remaining enemies further on the right will not see you and look into the courtyard below. Wait for the target to come near you and as soon as he is in range perform an air assassination on him for a cut-scene.
Sit on the wall up here and you will be able to reach your target for an air assassination.
If you managed to make it through that part without any guards engaging you in combat, you’ll complete the optional objective at this point.
Part 4: Fight
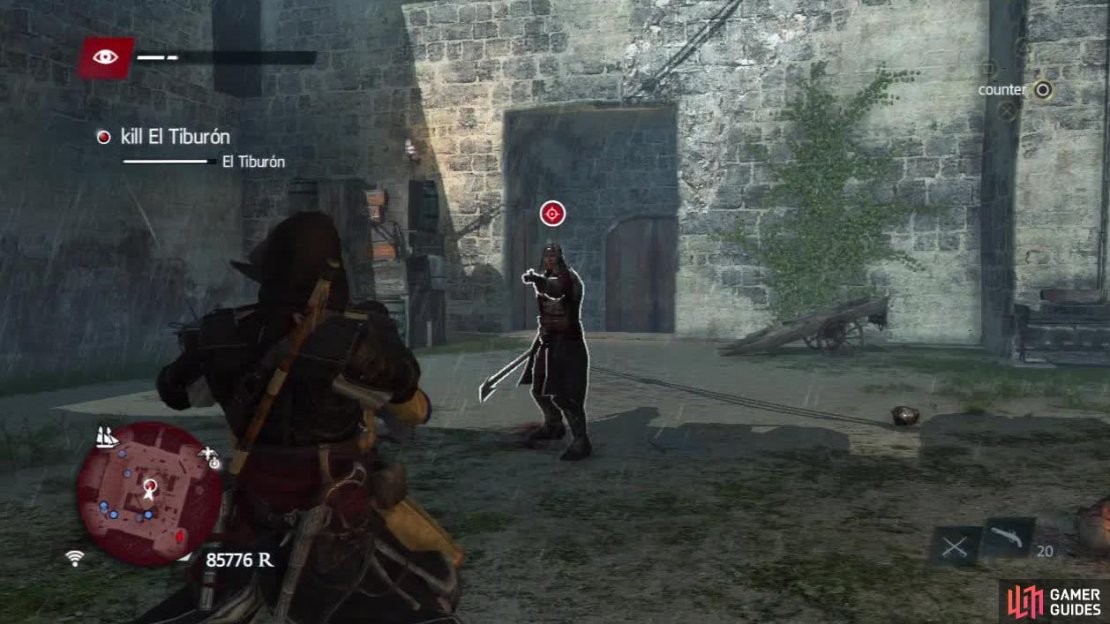
We’ll now have to fight a ‘boss’ like battle against a fairly tough, armoured enemy. He has a health bar that will appear in the top left corner of the screen. Note that your swords or hidden blade will not damage him. Instead, you will have to shoot him with your pistols. Fun! The worst part is that if you have the stock standard pistols, you’ll not have enough ammo to take him down without scavenging for more.
This fight is also an opportunity for you to earn the second optional objective – use two enemies as a human shield. During the fight with the main boss-man, you’ll be attacked by 3-4 guards in the courtyard here. Try to focus on countering and throwing them without damaging them until you have managed to successfully earn the optional objective.
If you end up killing them, find the stairs and run up to the ramparts to alert more enemies. Keep going until you have your two human shield kills. Once that is done, kill them all off so that you can focus on the main threat.
You need to force him into shooting range so always keep some distance between you and him. He will also stop to reload occasionally too.
As mentioned before, our main target is only vulnerable to bullets. As such, keep unloading into him whilst dodging his axe attacks when he gets in close. I found the easiest way was to cut laps around the battlements at the top of the area. Shooting him twice, hitting the shoot button once more to start a reload and then run off. When the reload is done, turn and fire off two shots again. Rinse and repeat, easy!
If you run out of ammo (and it’s pretty much inevitable) some ammo crates around the area will be brought to your attention – they have green objective markers. Get away from the boss and interact with them to refill your ammo.
Unfortunately; I was only able to do this once and it seems that they are a little buggy as they want you to be anonymous which is pretty much impossible in this situation. As such, if you can break line of sight with your aggressor, go and loot the bodies of the fallen guards to restock. Once you have shot him up enough a scene will play.
Part 5: Escape
After the scene has run its course, hop over the wall into the water and escape the area. Find a hiding spot and when it is all clear, a new waypoint marker will appear. Head over there and speak with your buddies. As you do the sequence will be completed.


No Comments