These tasks will always respawn so you can complete them as many times as you like. There is no limit to how many slaves you can save so do not worry if you mess up one task. Just wait a bit longer and it will respawn.
Plantations
Est-Bourbon (Port au Prince)
Brousse du Nord-Es t (Port au Prince)
Lagon-Nord (Port au Prince)
Wellington (Caribbean Sea)
Montez (Caribbean Sea)
Tortuga (Caribbean Sea)
Slaves to liberate : 30
Maroons to liberate : 10
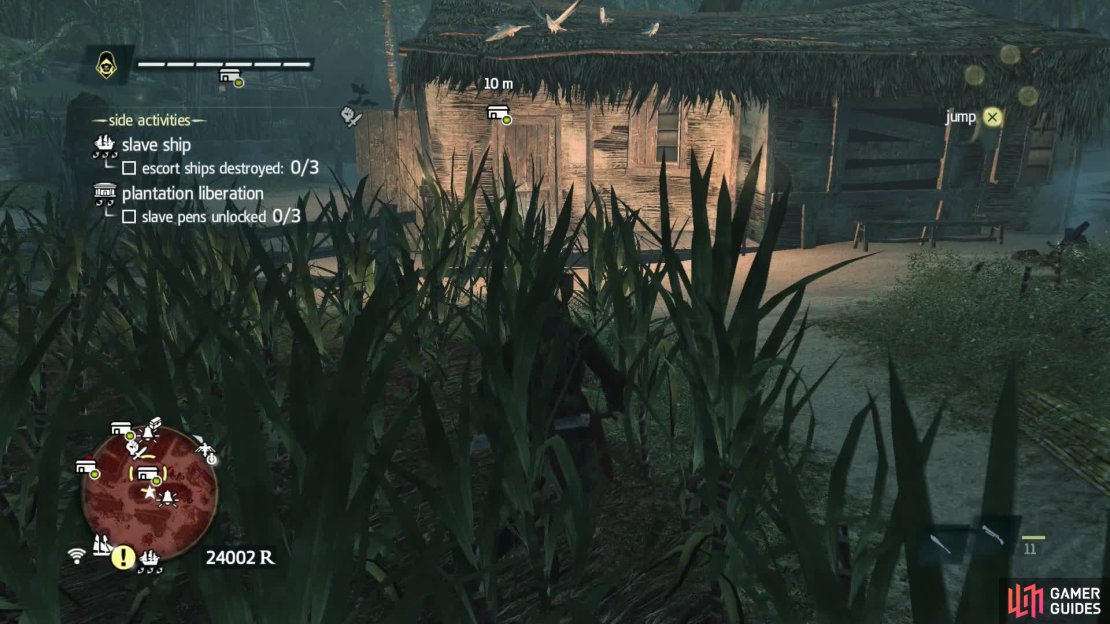
A plantation is heavily guarded by many, many overseers. There are two types of plantation liberation: the first requires you to kill 20 overseers and then second requires you to obtain the key to the slave pens and then unlock them. The first type requires stealth because if you go in all guns blazing, the guards will start to kill off slaves as they become aware of the rebellion.
The second type is where you can afford to just butcher your way through the guards to the one with the key. There will be no repercussions for being noticed so just go for it! There are usually 30 slaves and 10 maroons to liberate per plantation and you will get some good loot as well. Reales, wood, metal, rum and sugar are all possible items. They are definitely worth liberating.
This plantation tasks you with freeing slaves from their pens instead of killing the overseers. Find the key and then unlock all the pens to liberate the plantation.
Escape
Liberate slave before he gets killed.
Slaves to liberate: 0
Maroons to liberate: 1
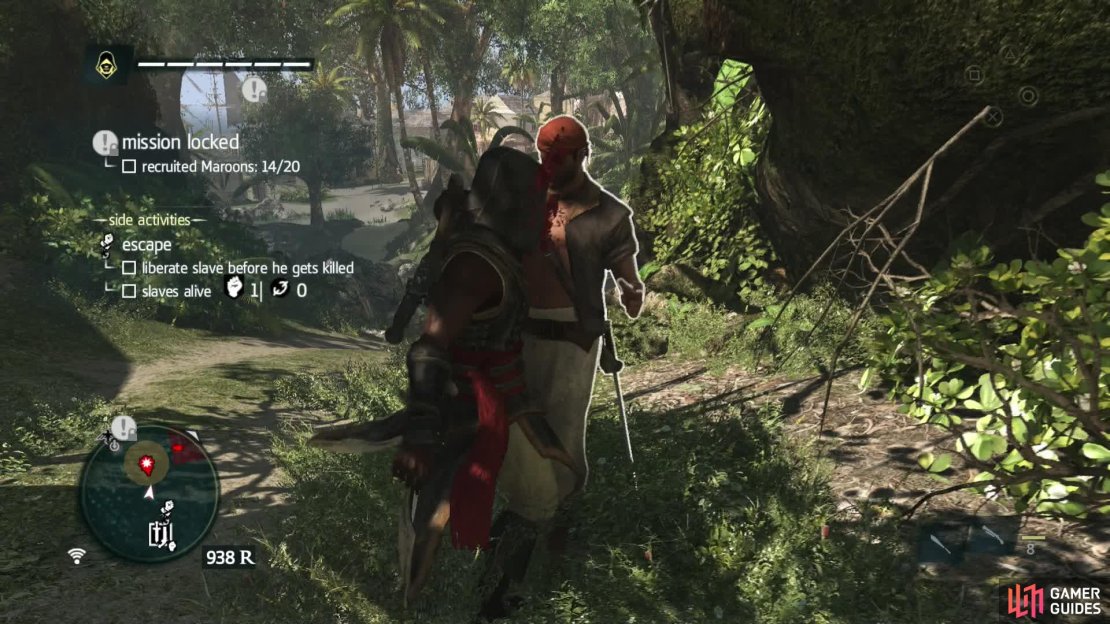
Look out for the fist with the shackles icon on the map. This task involves killing the overseer who is chasing the Maroon. By completing this task you will always gain one Maroon.
To complete this task, simply chase and kill the overseer who is trying to catch the runaway slave.
Punishment
Liberate slaves from their punisher.
Slaves to liberate: 0
Maroons to liberate: 2
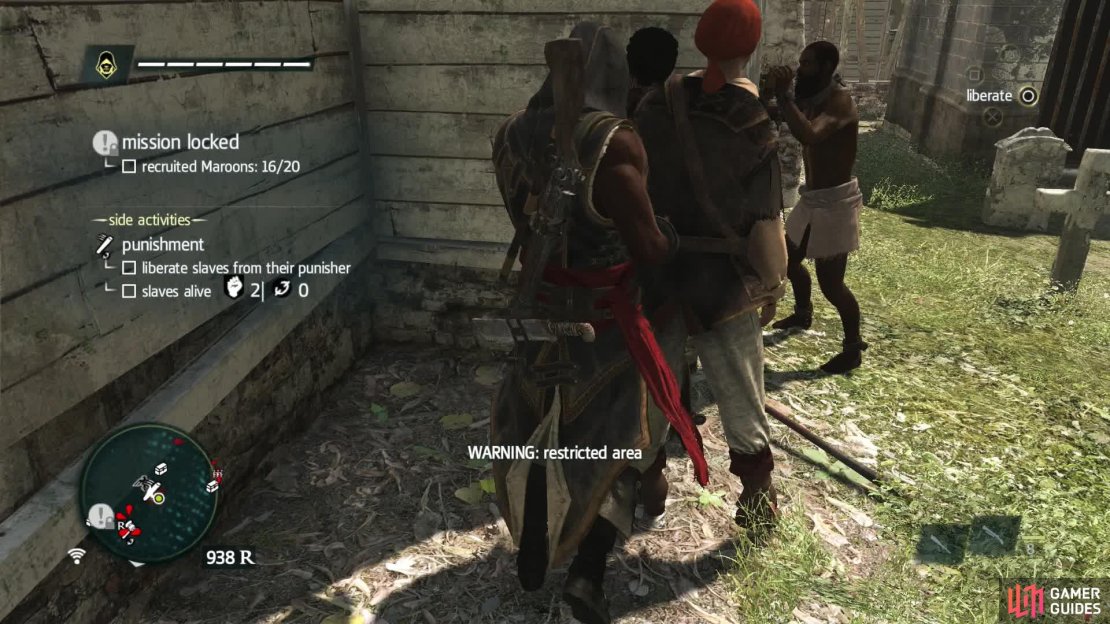
You can find this task by the club icon on the map. There are always two Maroons to save and usually two or three guards to kill before you can save them. Sneak up on the guards and take them out from behind. It’s usually the best way.
As with the other tasks, you must kill the overseers in charge of the slaves in order to save them.
Convoy
Kill overseers
Slaves to liberate: 1
Maroons to liberate: 2
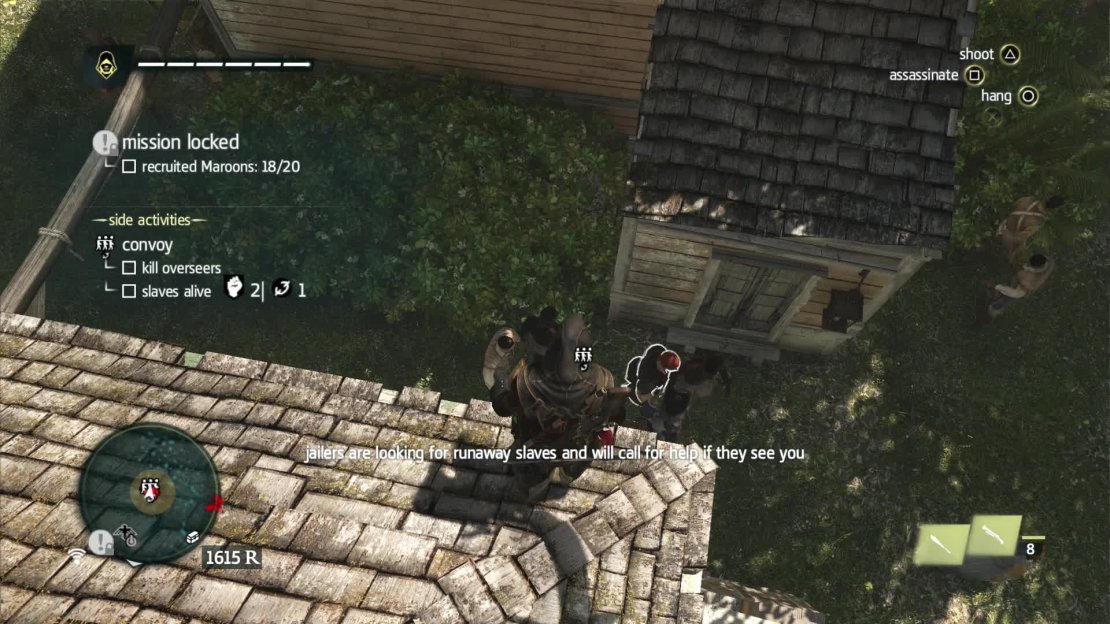
Find the trio of people icon on the map for this task. There will be two Maroons and one slave to rescue and usually about four guards. Approach them from above or behind to make it easy.
Convoys have quite a few guards around so be careful. Approach them from above for easy kills.
Jail
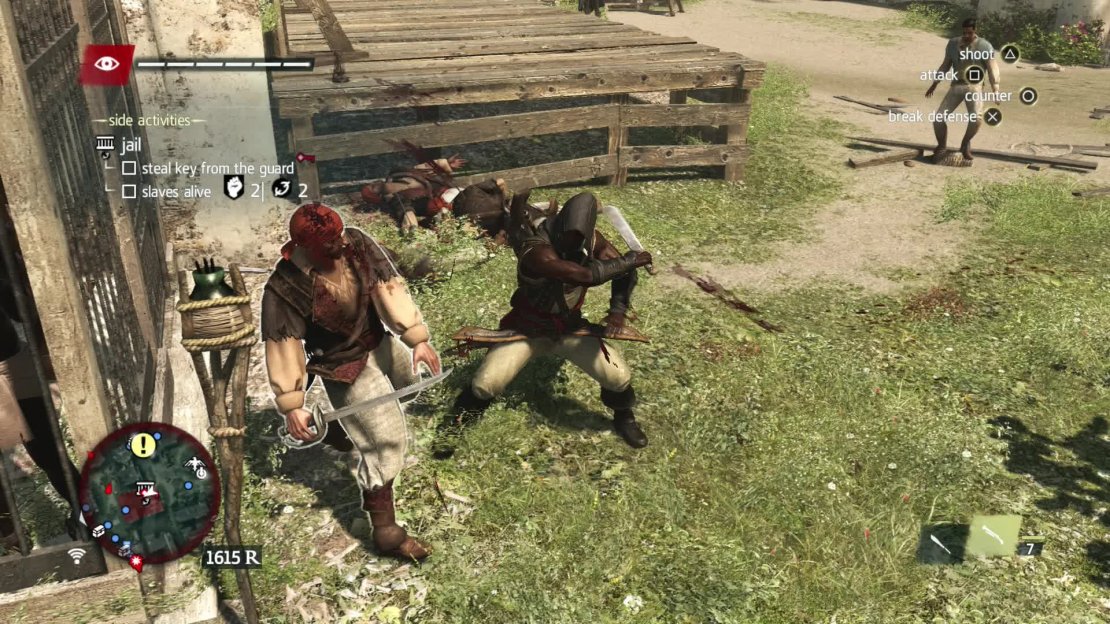
Steal key from the guard and open the cage
Slaves to liberate: 2
Maroons to liberate: 2
The jail is marked on the map by a bars icon. There are two slaves and two Maroons to save. You need to steal the key off the guard marked with the key icon and then open the cage when there are no other guards around. Tag the guard with the key so you don’t lose him and take him out first then deal with the others second.
Killing the guard with the key will allow you to open the jail but you must be anonymous to do so.
Injury
Transport injured slave to a safe area
Slaves to liberate: 3
Maroon to liberate: 2
There is a possibility of liberating two Maroons and three slaves here. Find the person with the red icon on the map. A slave will be lying injured on the ground and you must pick him up and take him to the designated spot. If you get spotted, guards will rush towards you and engage you in a fight. If this happens, put the slave down and deal with the guards before continuing.
Place the injured slave on the light here and you will gain the services of his friends too.
Auction
Liberate slaves from the auction
Slaves to liberate: 3
Maroons to liberate: 2
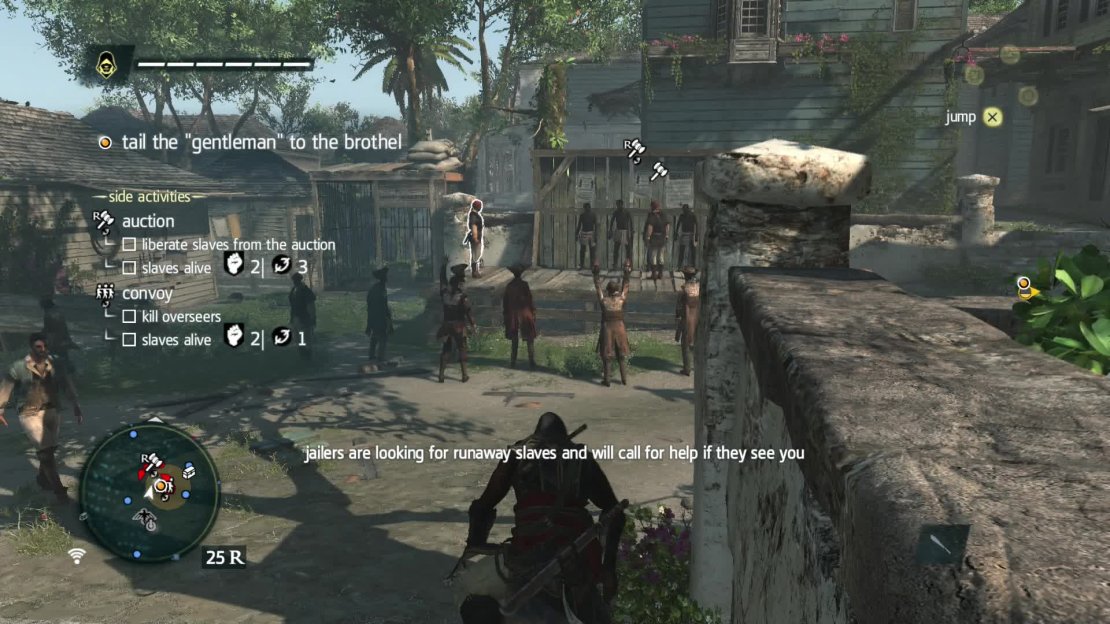
There are a possible three slaves and two Maroons to save here. Find the gavel icon on the map and head over there. You can purchase the slaves for 500 Reales or you can just kill the guards. Purchasing them is easier and you get plenty of money anyway.
Run over to the auction and you can pay 500 Reales for the slaves or, alternatively, you can kill all the guards. The choice is yours.
Slave Ship
Destroy escort ships and capture the slave ship
Slaves to liberate: 90
Maroons to liberate: 10
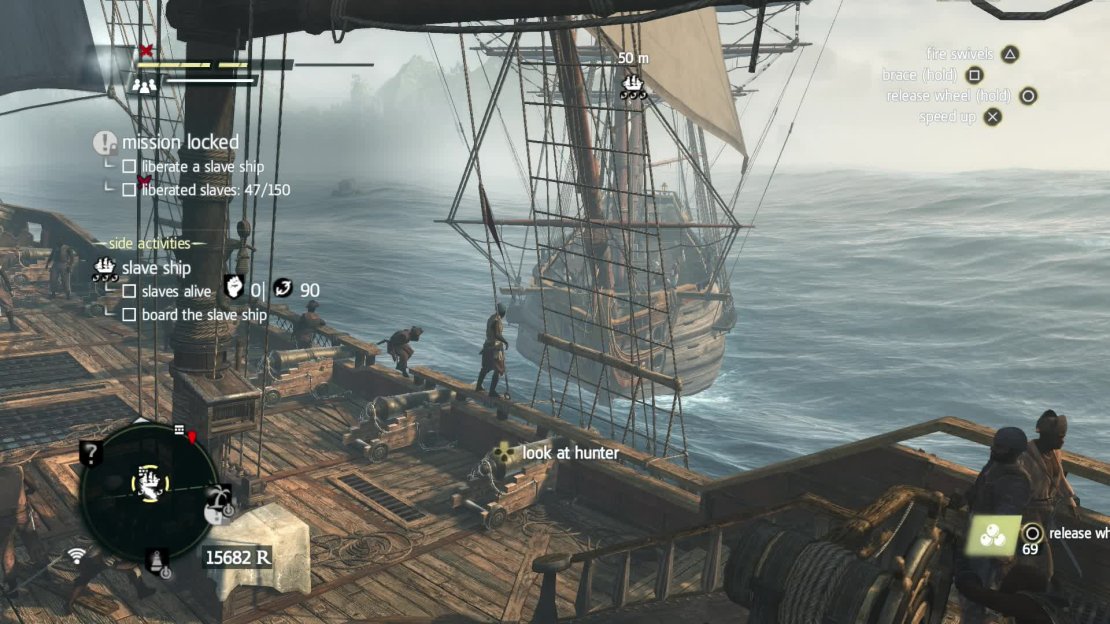
You should already be familiar with this side activity as you must liberate a slave ship as part of the main walkthrough. These are by far the best way of getting your slave count up and they offer a lot of plunder besides. However, they do not go down easy and are often accompanied by large convoys with powerful ships. Make sure your ship is sufficiently upgraded before attending to this task.
Take out the convoy and then initiate boarding procedures on the slave ship. Once you have completed that, the task will be finished. If you hit the slave ship with fire you will kill some of the slaves on board so try not to hit it!
There are sometimes more ships in an escort than you might expect so check how many there are before engaging.



No Comments