
Junon is the second area with Fiend Intel that your party comes to in Final Fantasy VII Rebirth. You will arrive there after you exit the ![]() Mythril Mines and immediately be able to explore and gather intel. Sadly, there are quite a few tasks you will need to do before reaching all of the Fiend Intel in the area as two of the locations are blocked off at first. The guide below goes over every Fiend Intel location in Junon and how to complete their objectives.
Mythril Mines and immediately be able to explore and gather intel. Sadly, there are quite a few tasks you will need to do before reaching all of the Fiend Intel in the area as two of the locations are blocked off at first. The guide below goes over every Fiend Intel location in Junon and how to complete their objectives.
Most of the Fiend Intel in Junon consists of fighting flying enemies.
All Fiend Intel in Junon
Junon has left Fiend Intel locations than the ![]() Grasslands with all four to find. With that being said, it’s much more difficult to reach these locations. Before you start gathering intel, it’s best to get the region’s Chocobo. This is done by completing a stealth mini-game that is rather tricky. For help getting your new Chocobo, check out our helpful guide here. Some of the missions below require that you use your Chocobo to climb cliffs. You will also want to complete the quest When Words Won’t Do to enter the Crow’s Nest. You won’t be able to access this until you defeat the Terror of The Deep in Lower Junon.
Grasslands with all four to find. With that being said, it’s much more difficult to reach these locations. Before you start gathering intel, it’s best to get the region’s Chocobo. This is done by completing a stealth mini-game that is rather tricky. For help getting your new Chocobo, check out our helpful guide here. Some of the missions below require that you use your Chocobo to climb cliffs. You will also want to complete the quest When Words Won’t Do to enter the Crow’s Nest. You won’t be able to access this until you defeat the Terror of The Deep in Lower Junon.
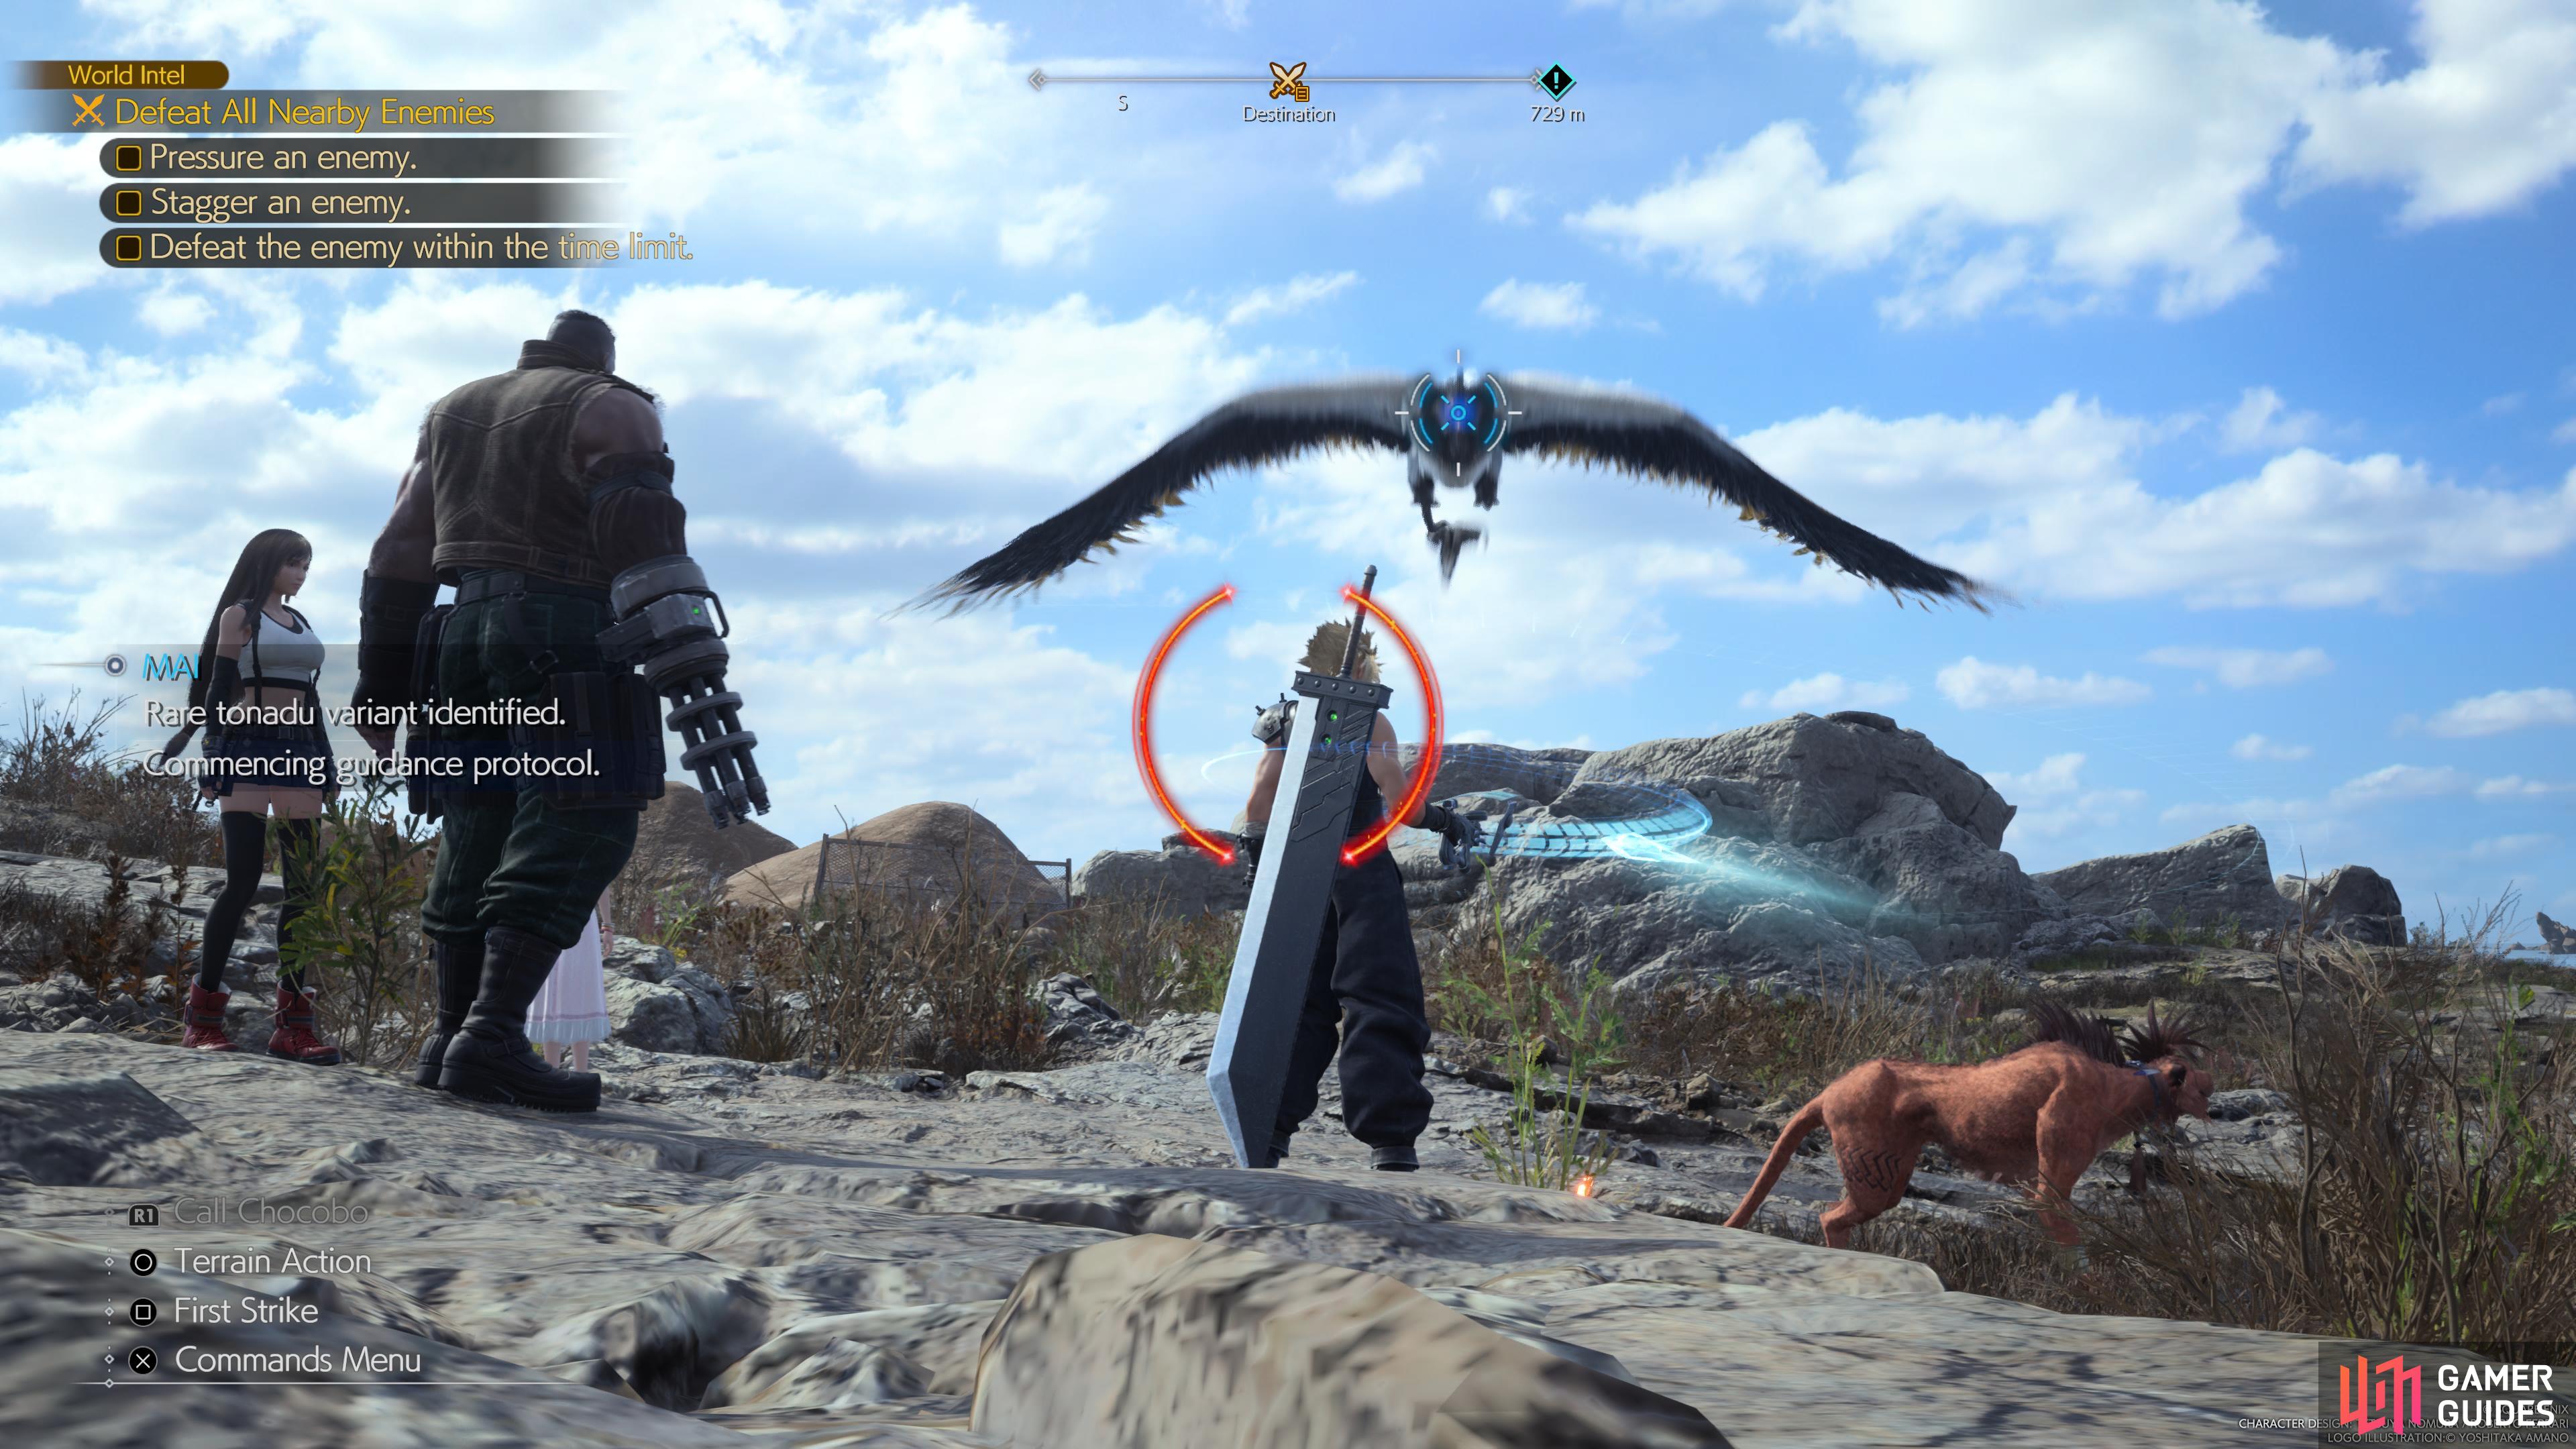
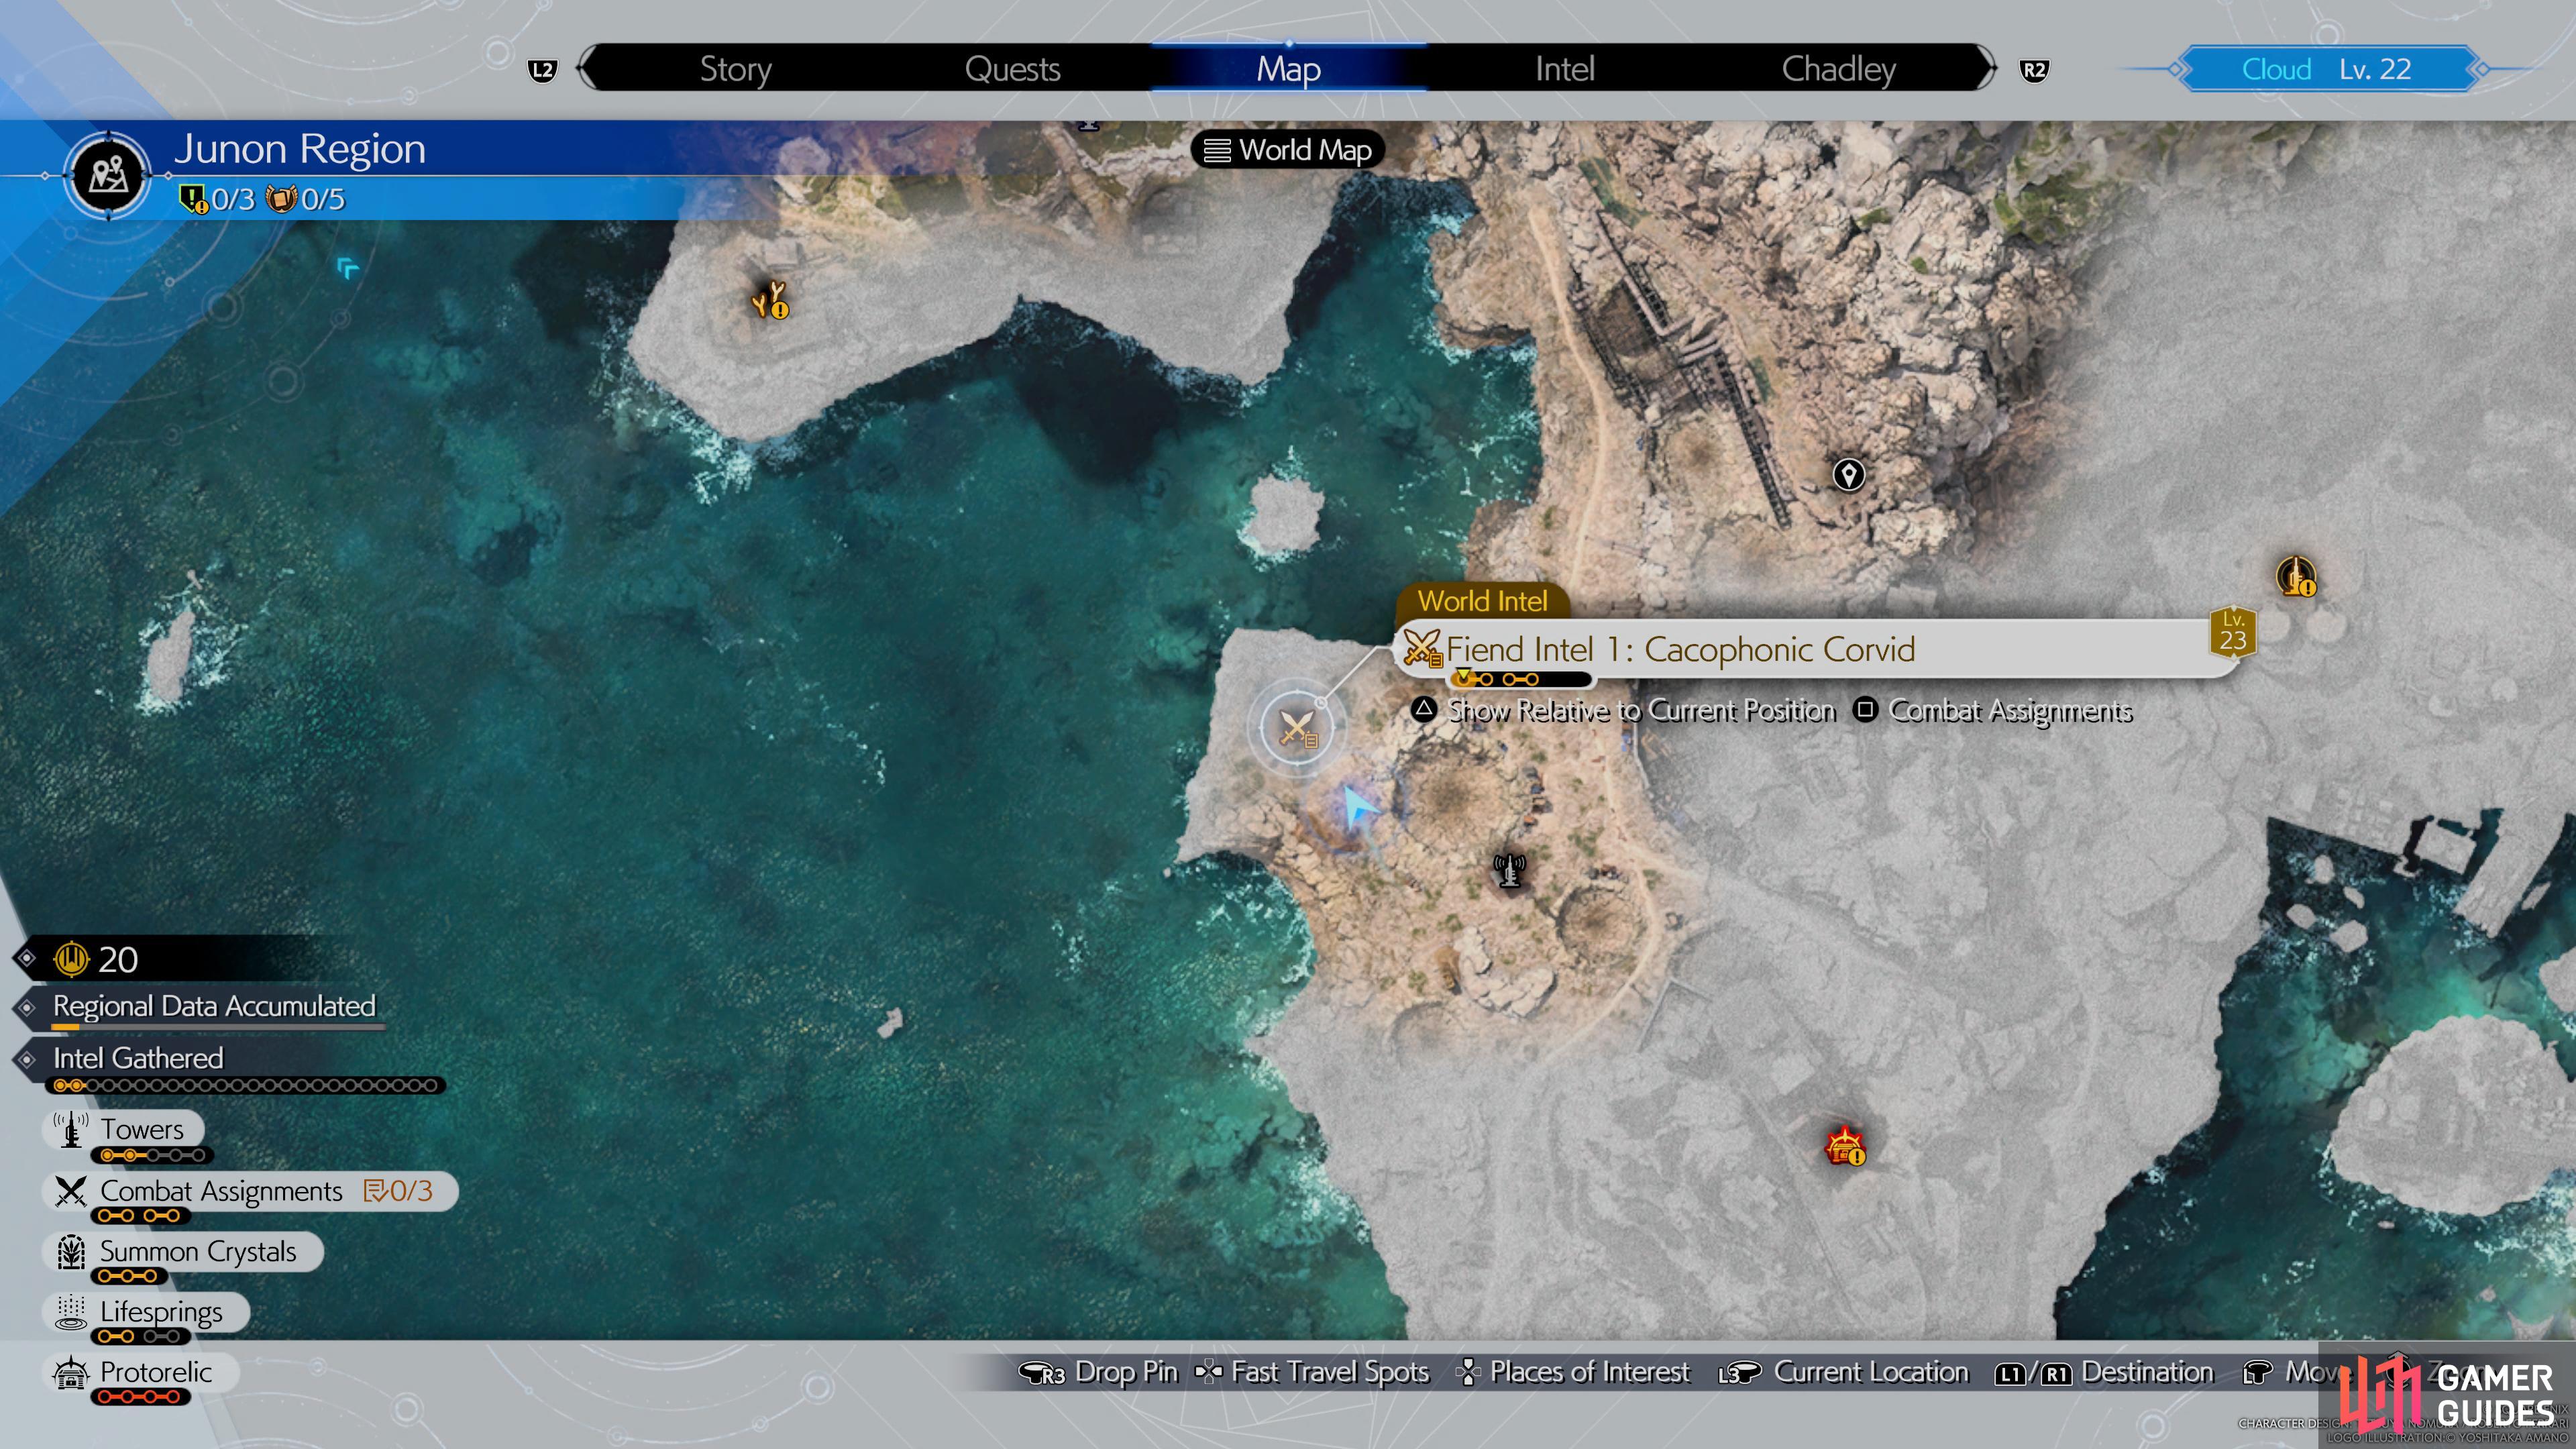
Cacophonic Corvid – Fonadu Fiend Intel #1
Objectives:
- Pressure the
 Fonadu
 - Stagger the Fonadu
- Beat the Fonadu within the time limit
The Cacophonic Corvid Fiend Intel is located west of the first Remnawave tower near a cliff over the ocean. The Fonadu is going to be annoying to fight as it likes to fly around the area. This can make it hard to hit, making beating the enemy within the time limit a bit frustrating. You also need to worry about ranged attacks pushing back your party members.
Barrett is a great choice here, as he can easily hit the Fonadu. The Fonadu can be pressured by using Aero or other wind-based attacks, so make sure you do so to take it down quicker and meet one of your three objectives quickly. You may need to repeat this a few times if you have a hard time corralling the Fonadu, but the fight is pretty easy once you get it done. The rest of the Fiend Intel fights in the area also consist of flying enemies, with the exception of Fiend Intel #3.
(1 of 2) Fighting The Fonadu.
Fighting The Fonadu. (left), Cacophonic Corvid Fiend Intel Location. (right)
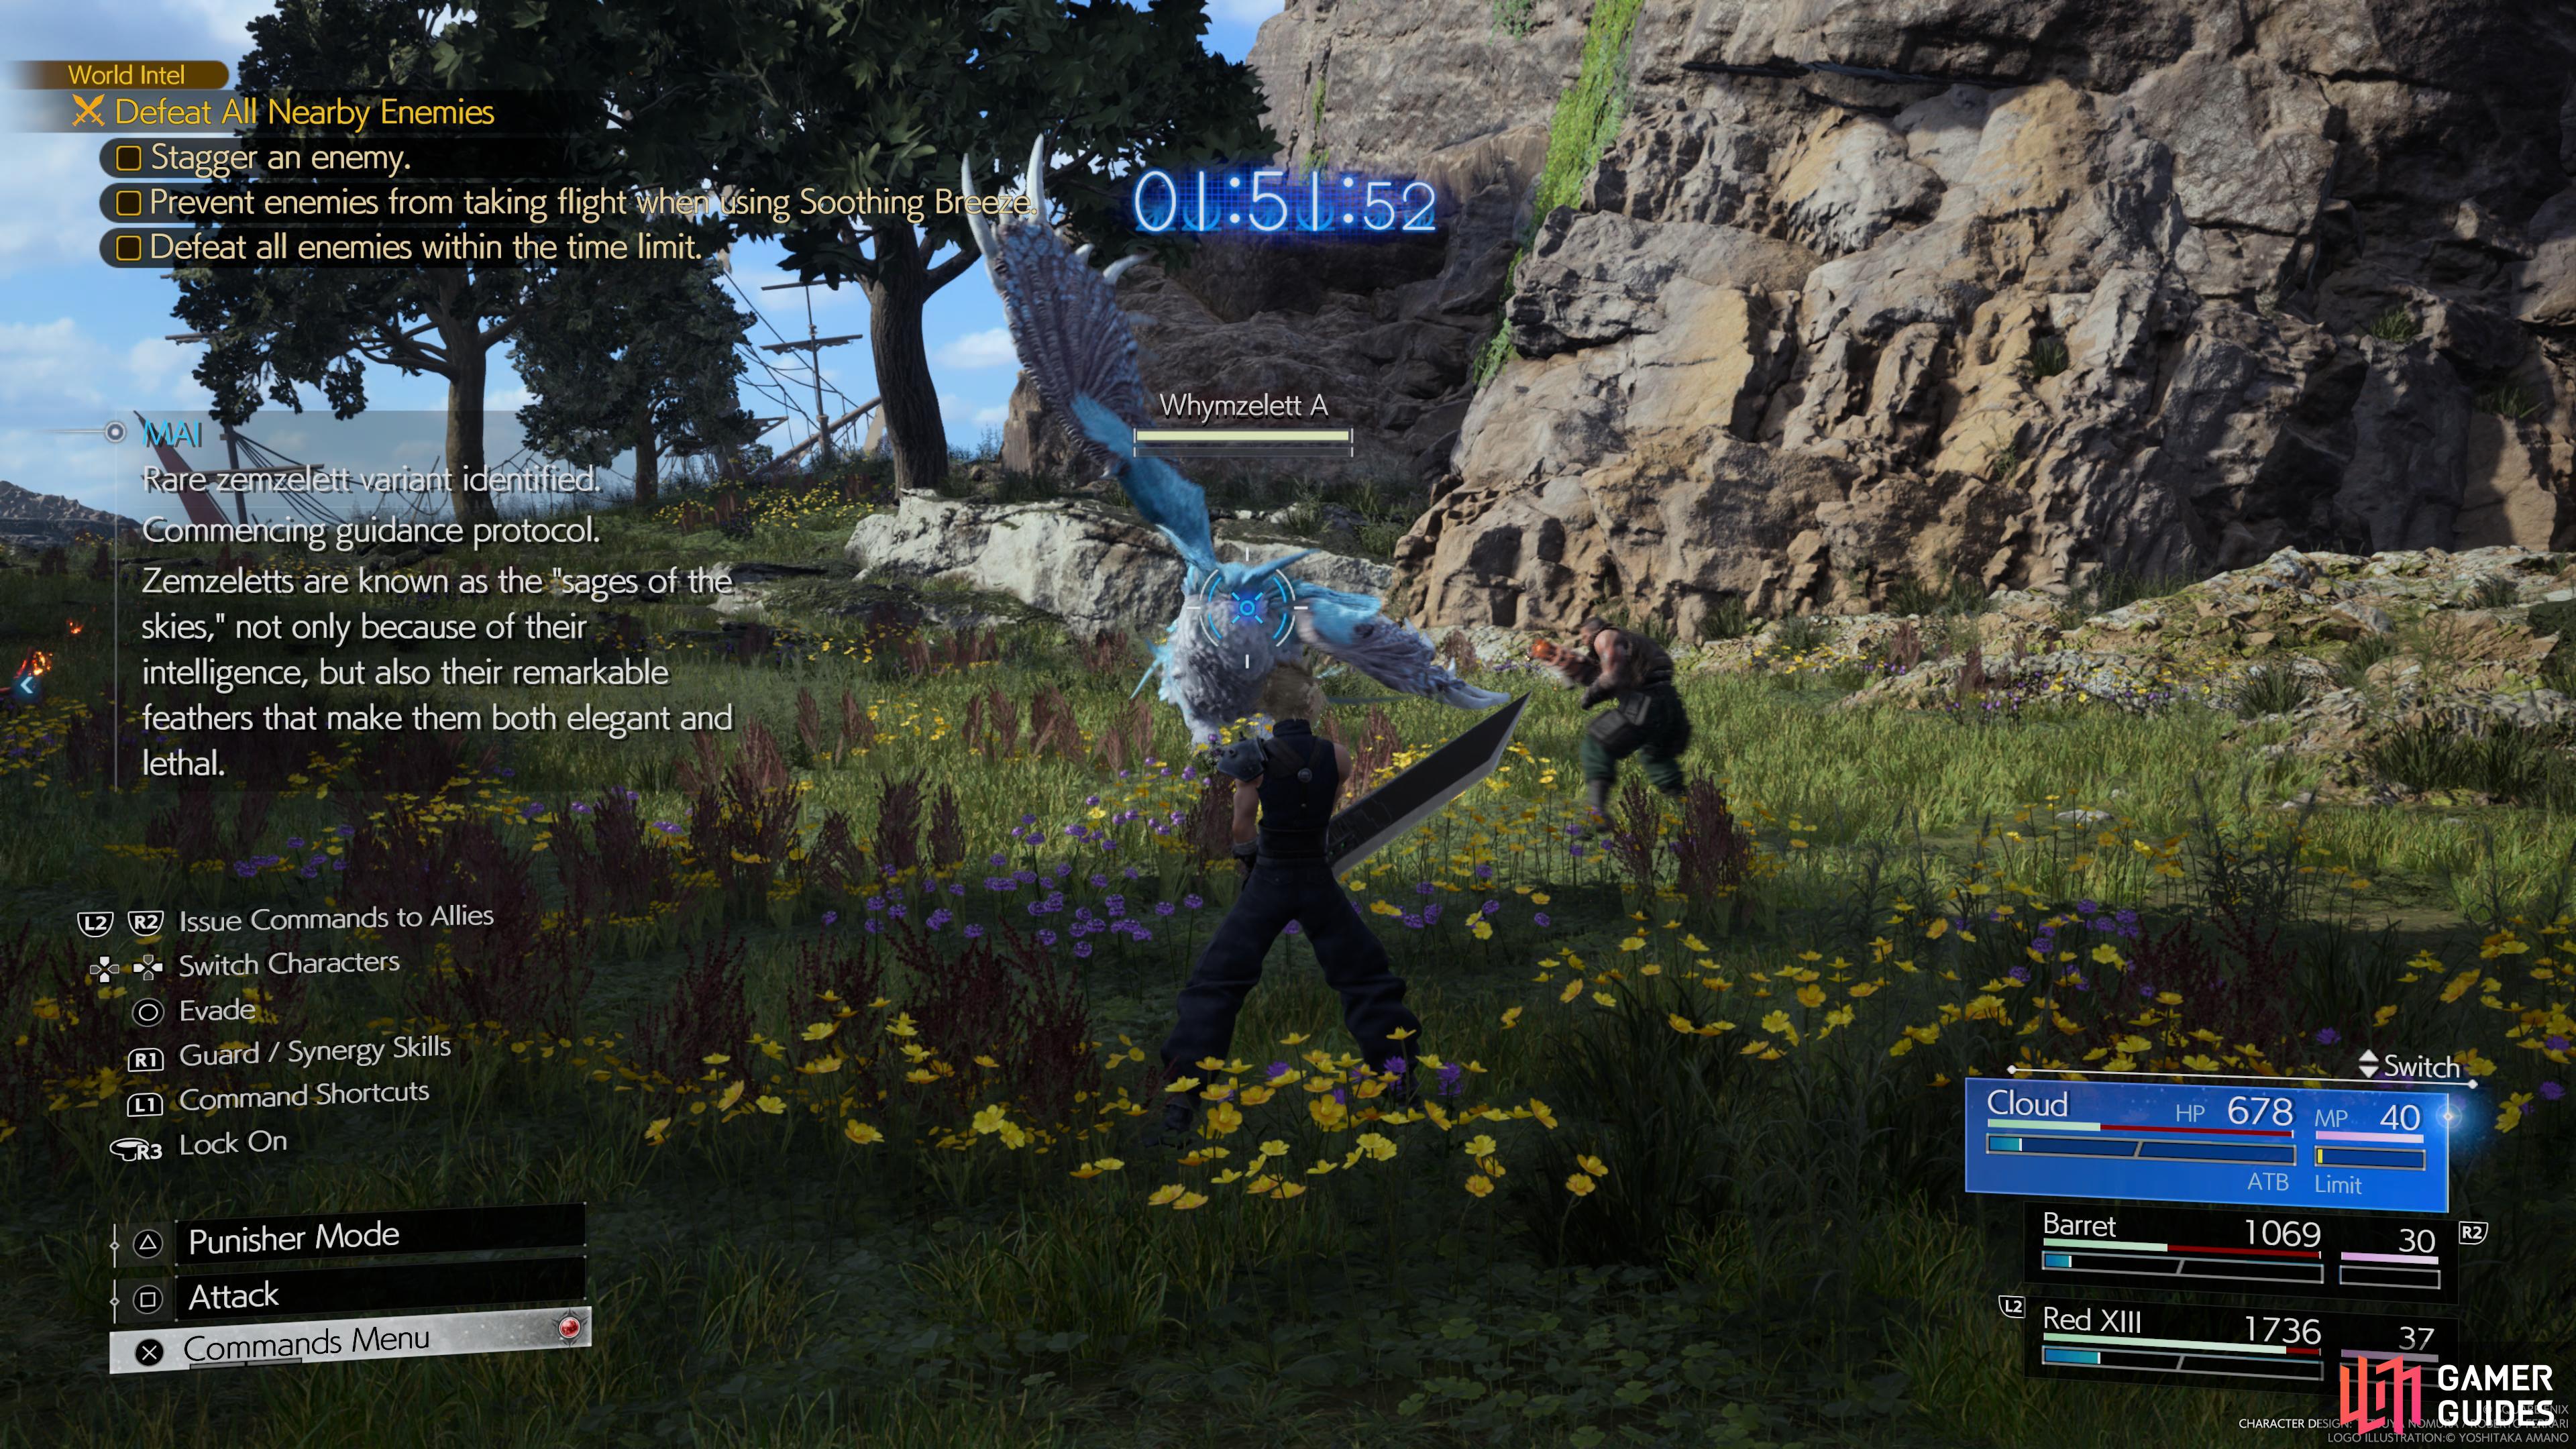
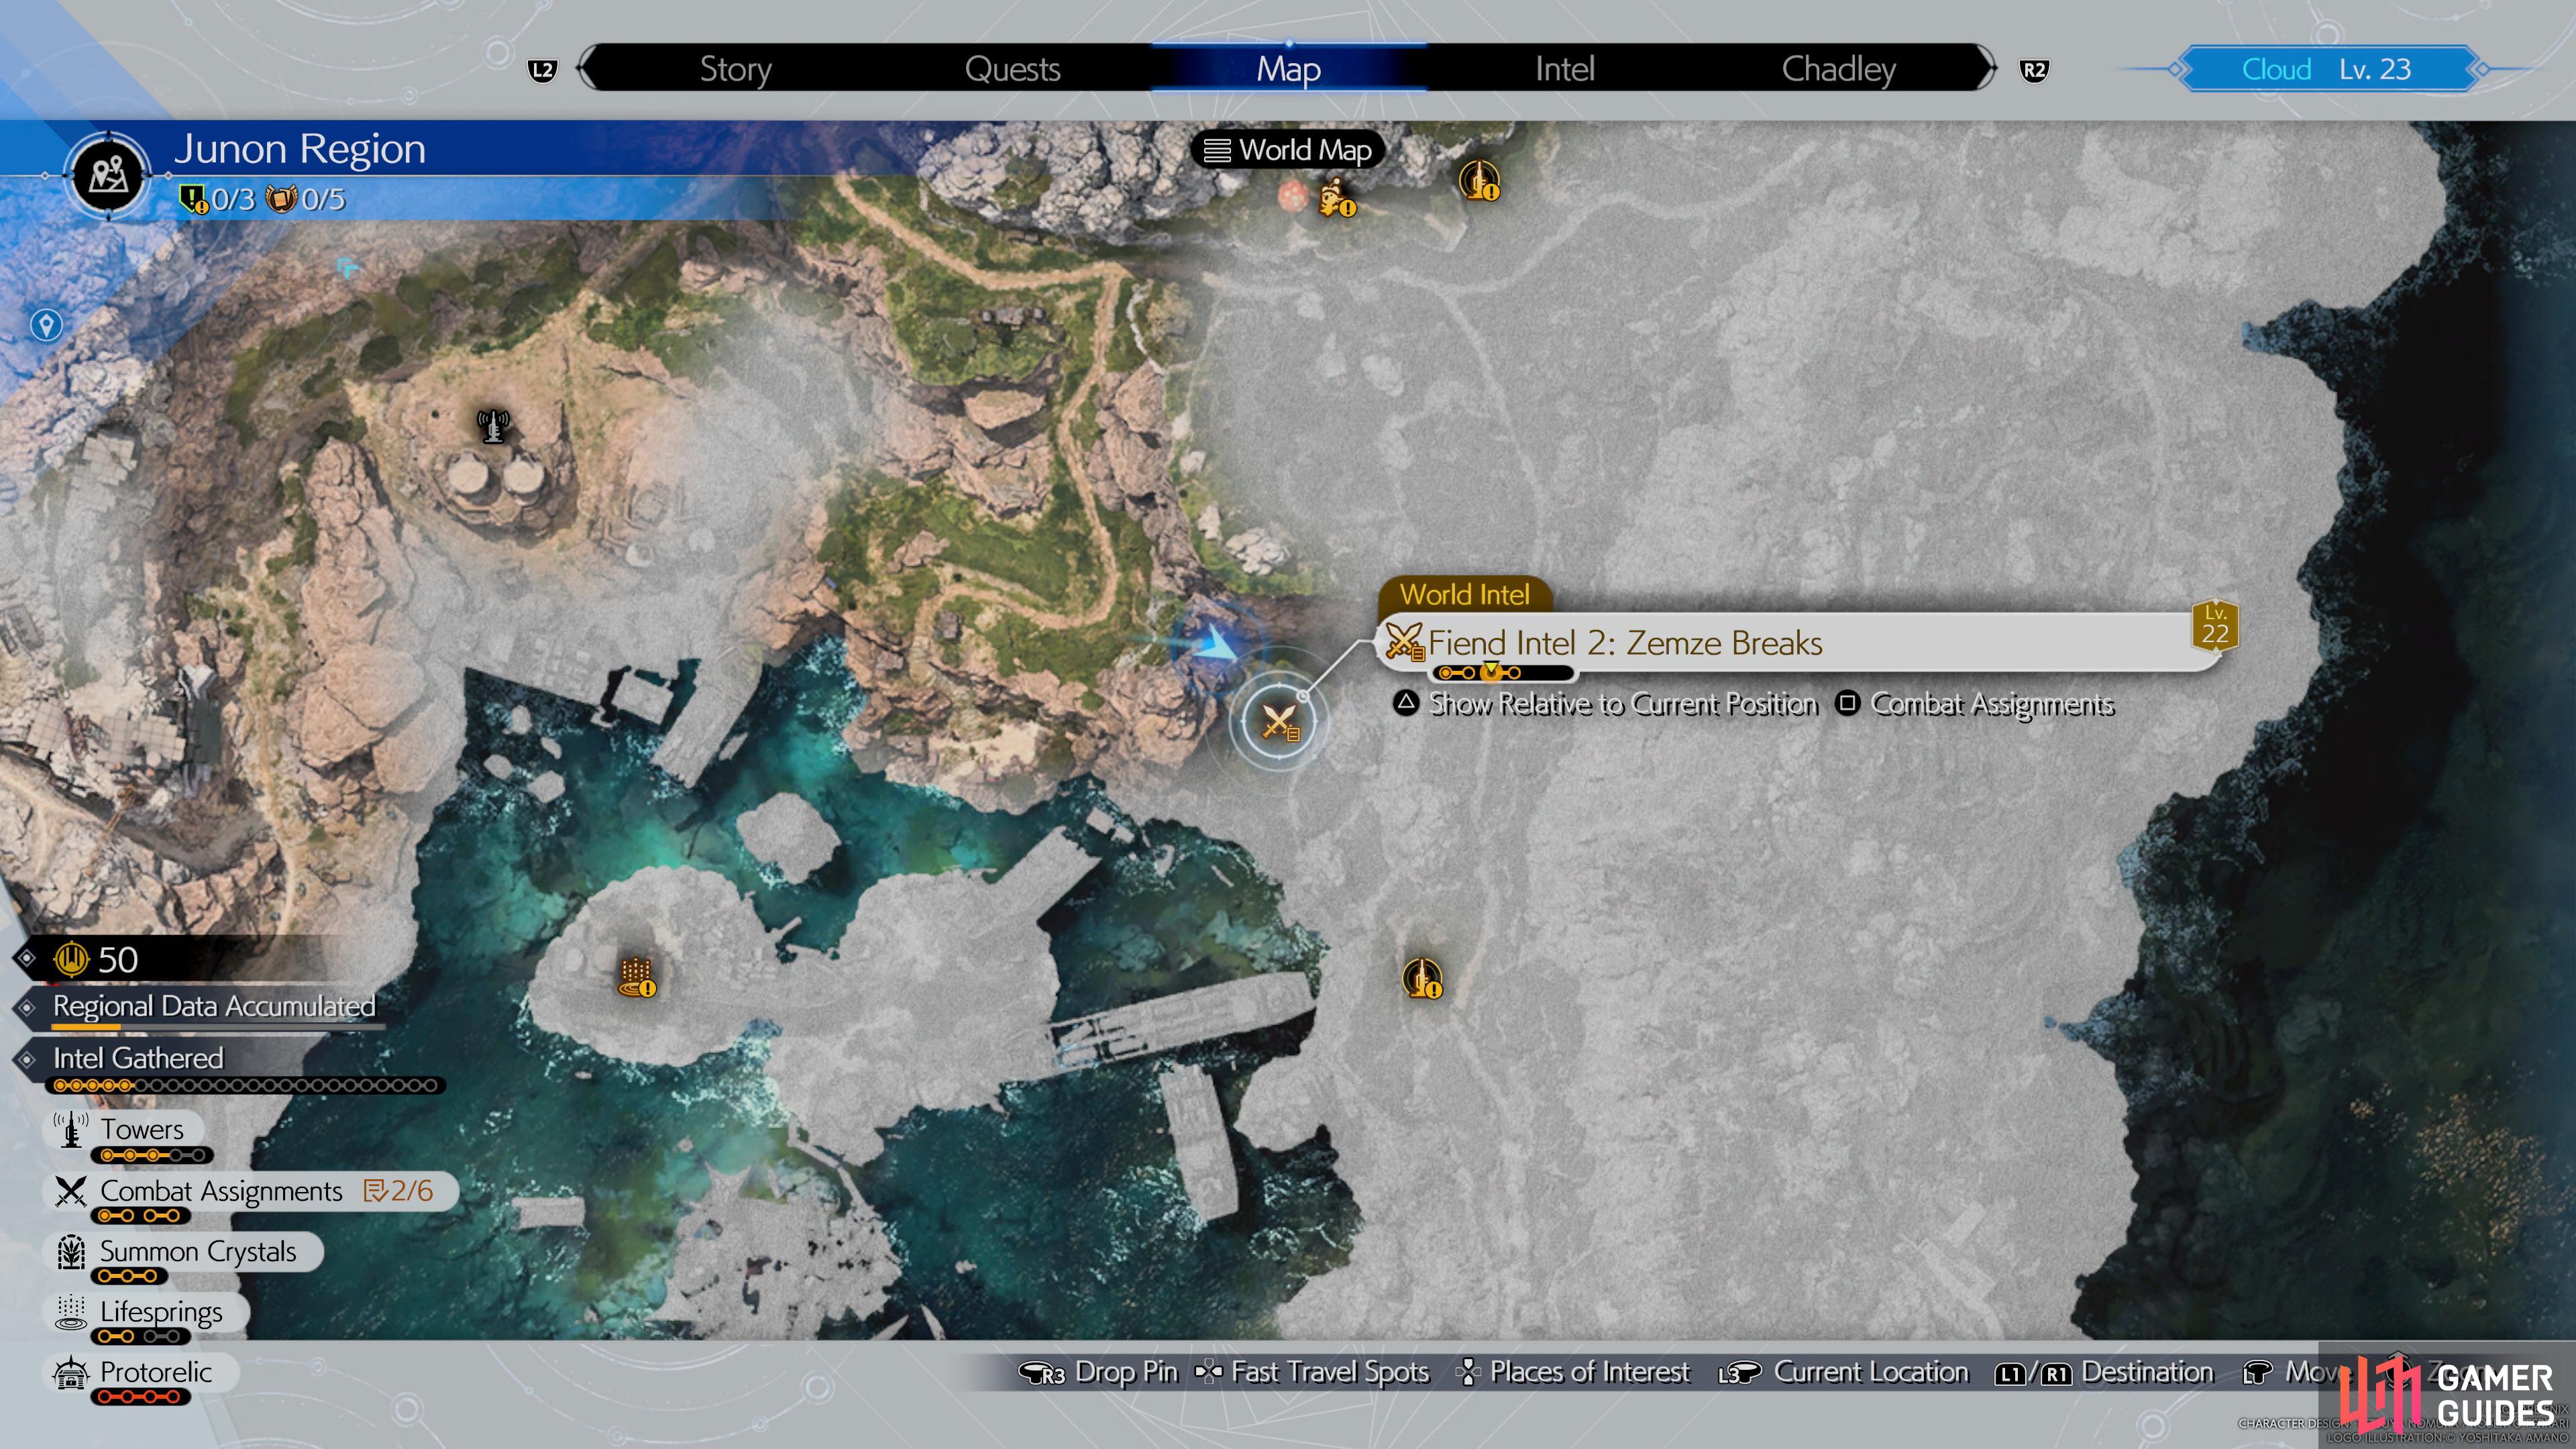
Zemze Breaks — Zemzelett Fiend Intel #2
Objectives:
- Stagger the
 Zemzelett
 - Don’t allow the Zemzelett Soothing Breeze
- Defeat the Zemzelett time limit
The Zemze Breaks Fiend Intel location is located by two Remnawave Towers near a cliff overlooking the shipwrecks off the coast of the area. The Zemzelett is another flying enemy that can be annoying to deal with. This fight is a bit worse than the Fonadu because you will need to stop the duo of Zemzeletts from using Soothing Breeze. To do this, you will need to deal a large amount of damage to the Zemzelett while it’s charging the attack. The downside is that if you are unlucky, both birds will use the move back-to-back after your ATB meter is drained.
One of the best ways to deal with this enemy is by using wind attacks. This is a weakness you can exploit along with using Barrett. Try to leave yourself a few ATB charges on your other characters in case of a back-to-back Soothing Breeze attack. Outside of this, you should be able to defeat this enemy within the time limit.
(1 of 2) Fighting the Zemzelette.
Fighting the Zemzelette. (left), Zemze Breaks Fiend Intel Location. (right)
Scorched Earth — Lavalisk Fiend Intel #3
Objectives:
Pressure the ![]() Lavalisk
Lavalisk
Stagger the Lavalisk
Defeat the Lavalisk within the time limit
Getting to the Scorched Earth Fiend Intel location is a bit confusing. You will need to go up the second wall to the north of the Remnawave closest to Crow’s Nest. You will need to use a Chocobo to climb up the mountain, at the end of the path you will run into the three Lavalisks. Once there, you just follow the path through town, and you will find your way down the cliff to fight the Lavalisk. There is also a bench you can rest at in Crow’s Nest so use this to heal if you’re running low on health.
The Lavalisk is the easiest of the four Fiend Intel locations in Junon. This enemy doesn’t fly, and while it can use fire, it’s not particularly strong. You can pressure the Lavalisk by using ![]() Ice attacks, and you shouldn’t have much trouble staggering it or beating the enemies within the time limit.
Ice attacks, and you shouldn’t have much trouble staggering it or beating the enemies within the time limit.


(1 of 2) Fighting the Lavalisks.
Fighting the Lavalisks. (left), Scorched Earth Fiend Intel Location. (right)
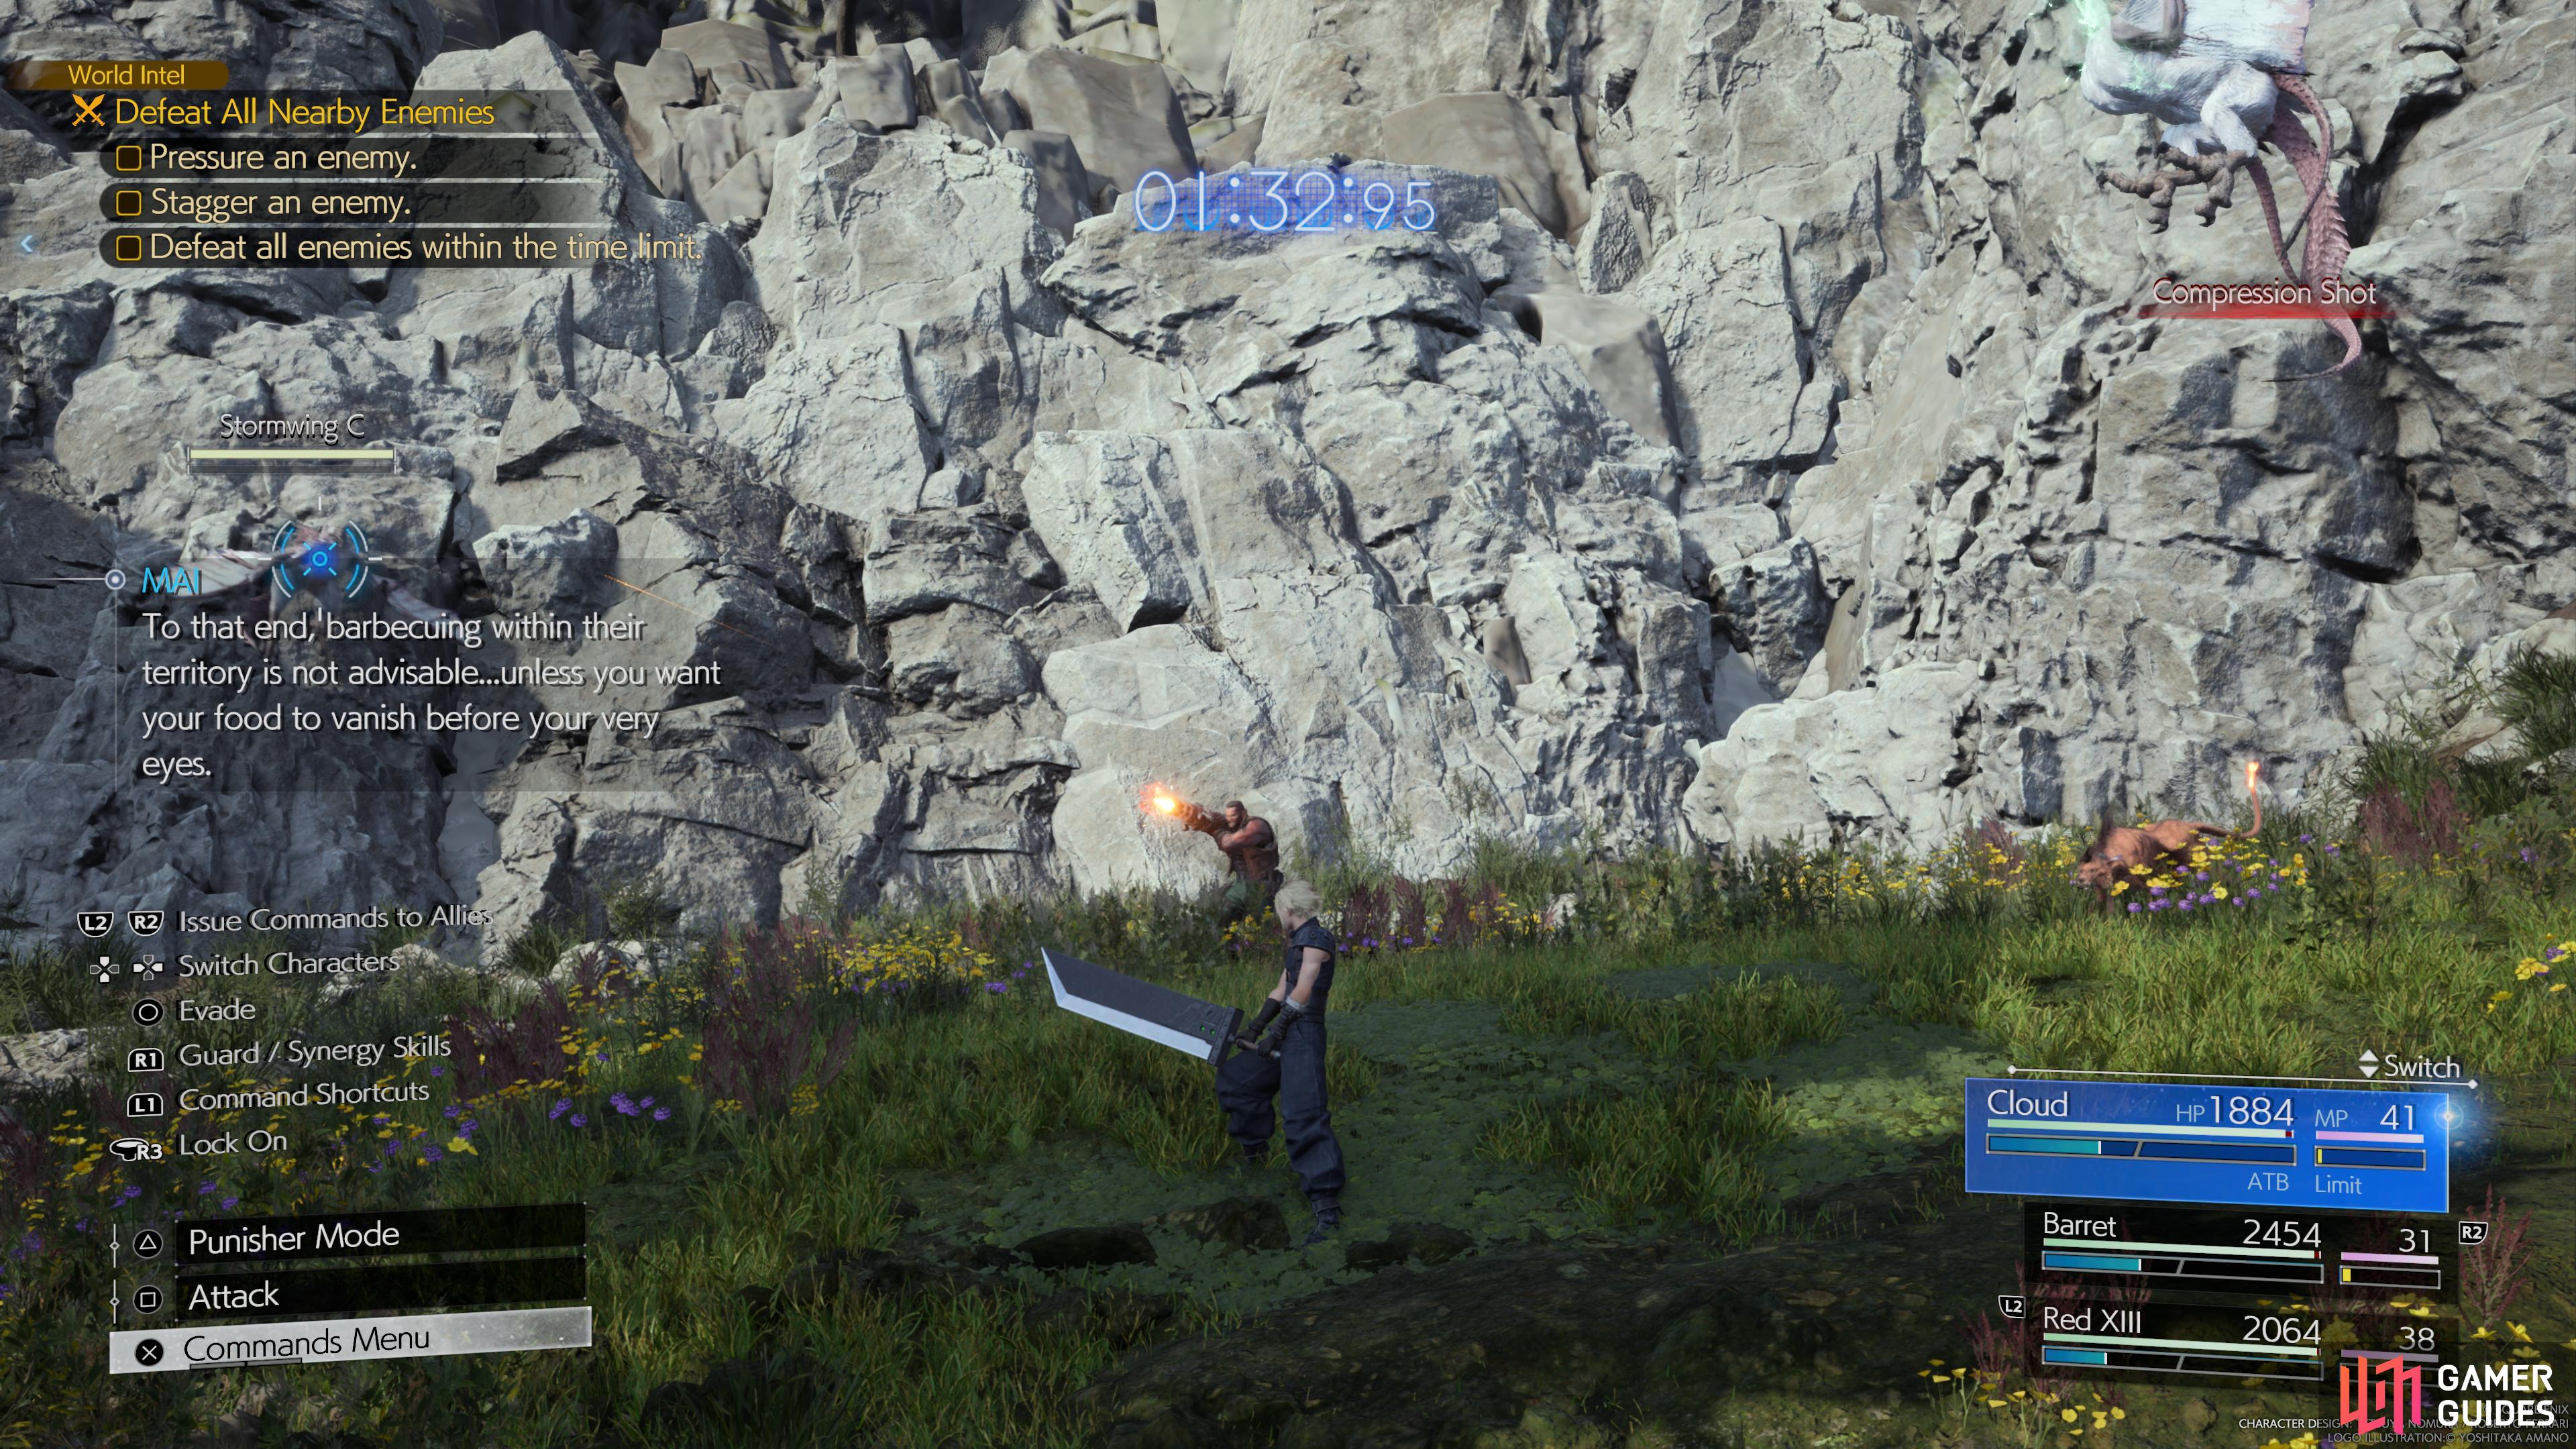
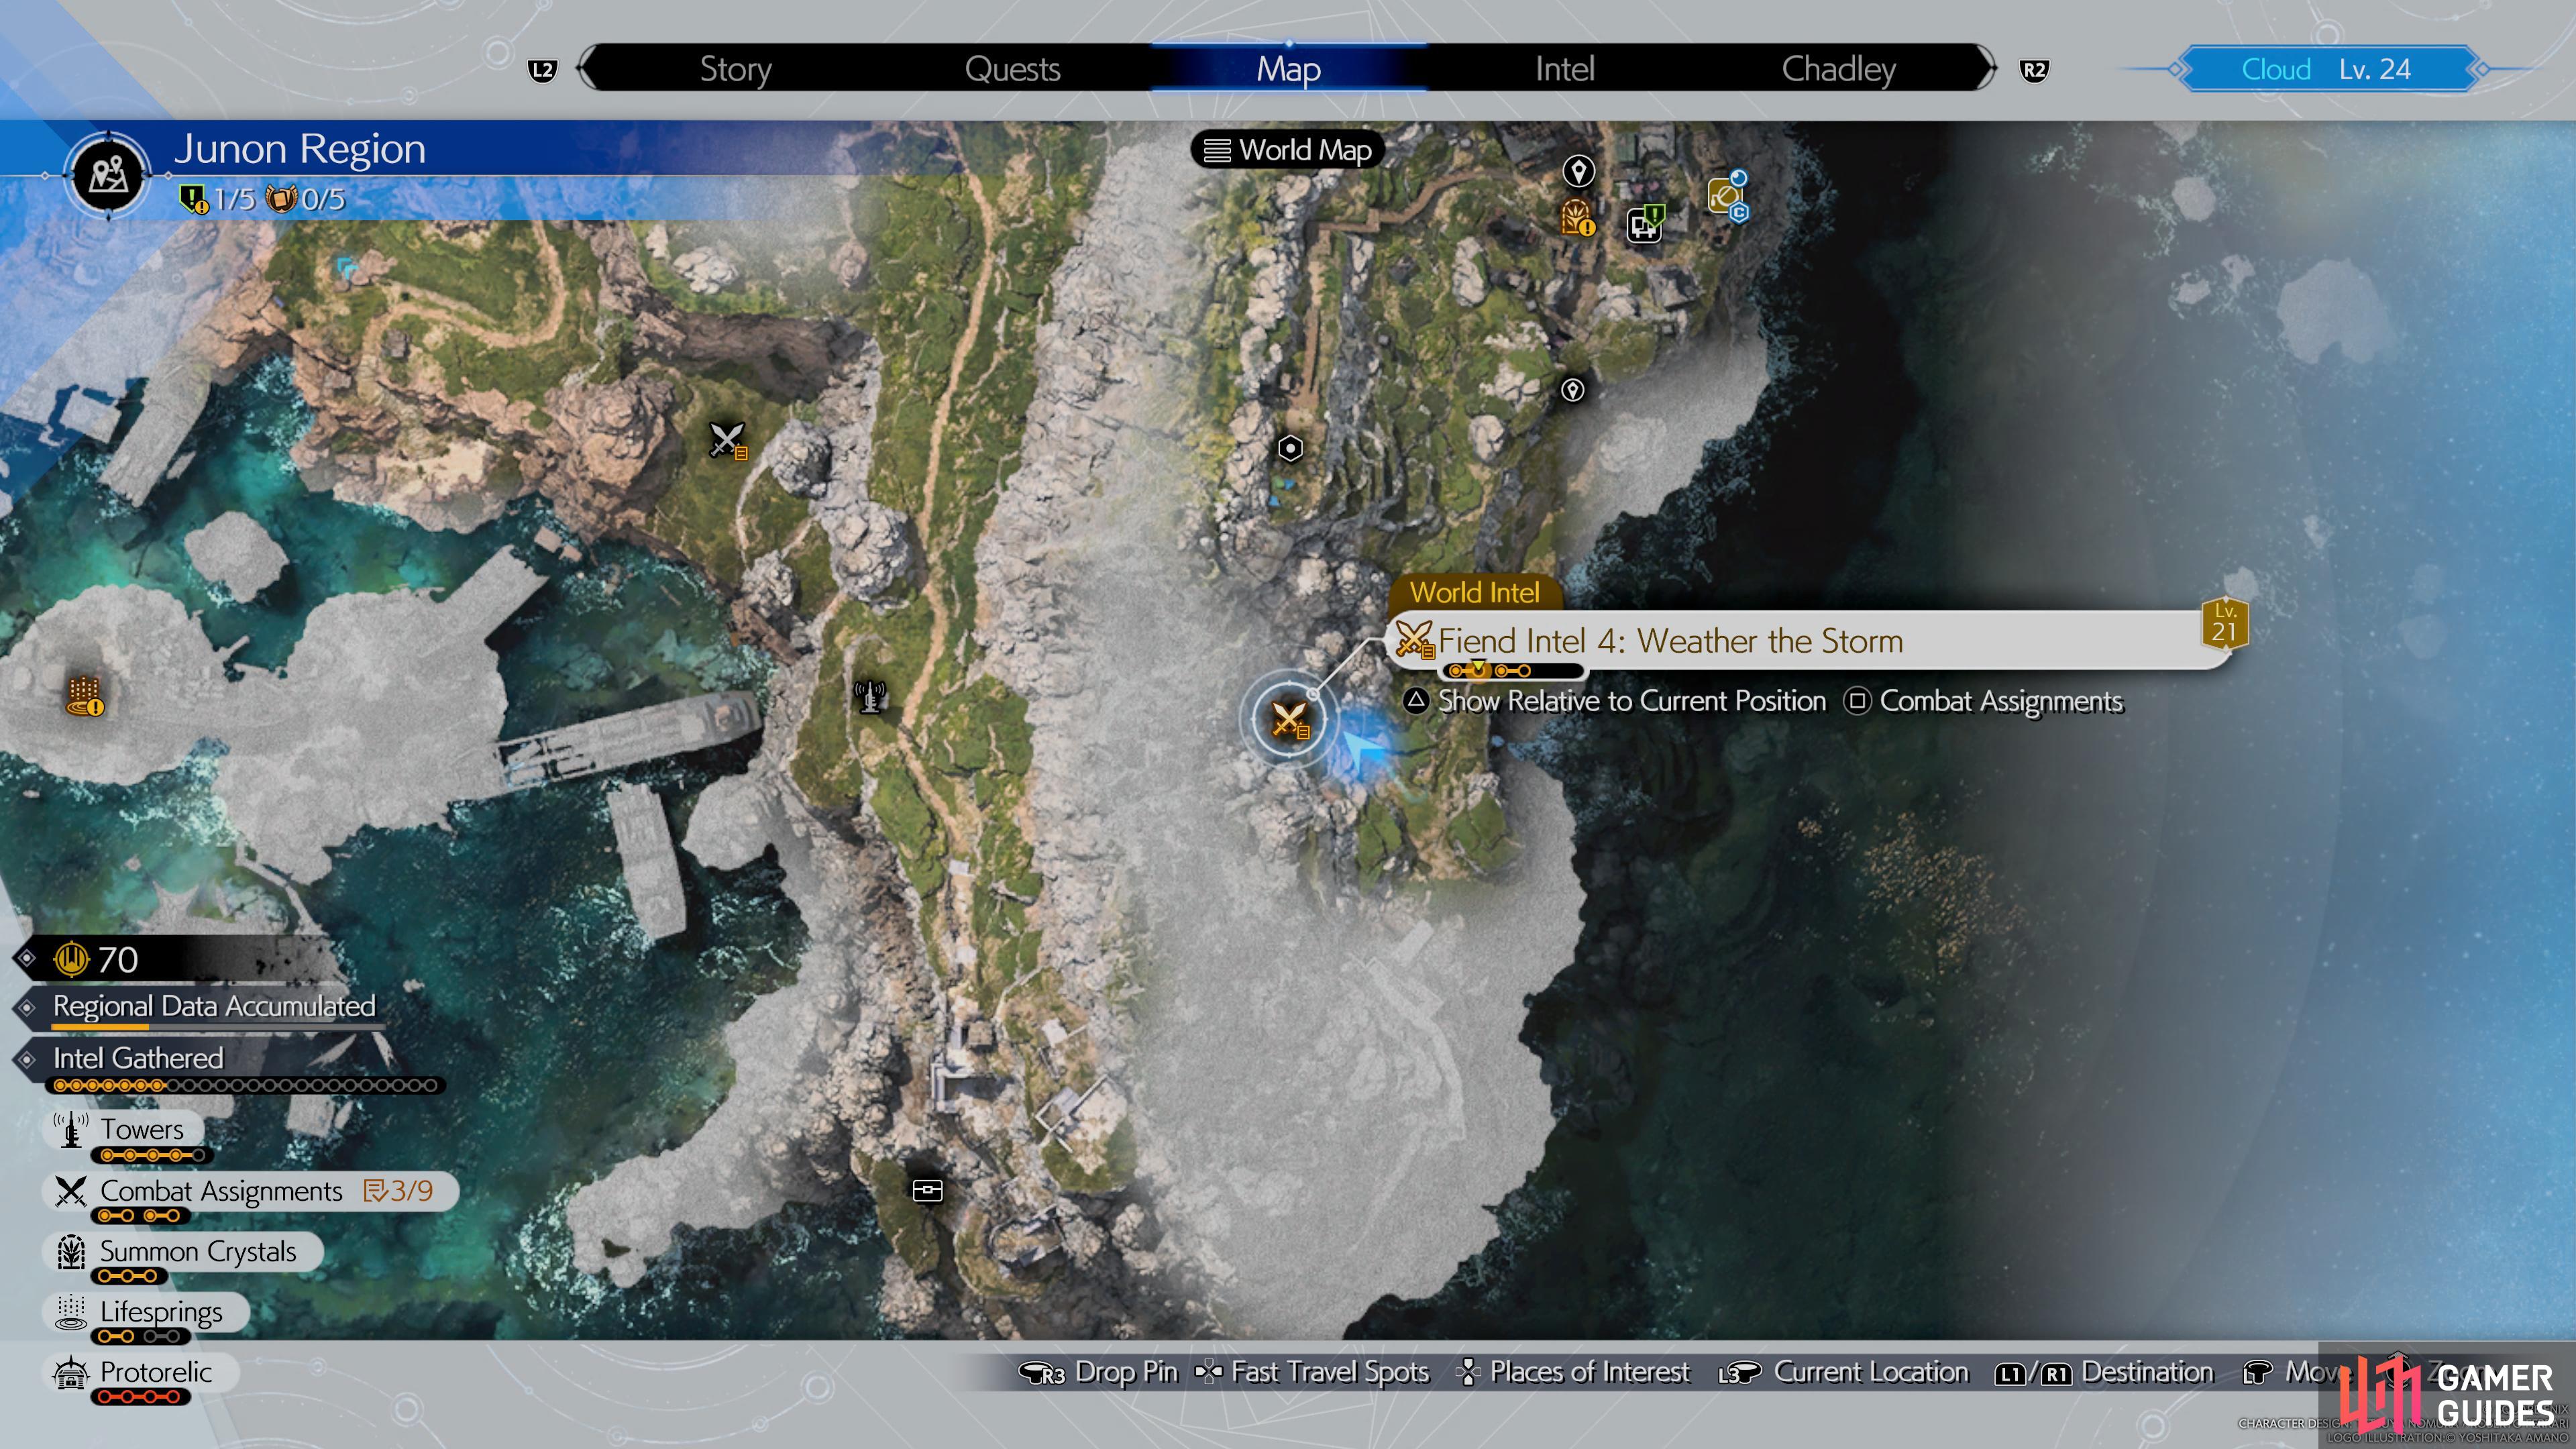
Weather the Storm — Stormwing Fiend Intel #4
Objectives:
- Pressure the
 Stormwing
 - Stagger the Stormwing
- Defeat the Stormwing within the time limit
The Stormwing is a bit tricky to reach, and at first, the area the Weather The Storm Fiend Intel is in will be blocked off. The Stormwings can be reached once you open up the Crow’s Nest area by completing When Words Won’t Do. These birds have the ability to summon wind, allowing them to push your party back while they fly around the battlefield.
You will once again want to focus on using ranged attacks. This can keep you from getting hit by wind attacks and give you an easy way to fight the Stormwings. For the most part, this fight is easy to complete with all three objectives once you learn to get around the wind attacks. The Stormwing has a weakness to wind magic, much like the other birds on this list. Using wind to pressure the birds will allow you to move the battle along faster.

(1 of 2) Fighting the Stormwings.
Fighting the Stormwings. (left), Junon_Fiend_Intel_3.jpg (right)
Once you complete all four Junon Fiend Intel missions, you will unlock all of the new VR battles for the area. If you are looking for a tougher opponent, then complete the Expedition Intel to unlock the Junon ![]() Mindflayer fight.
Mindflayer fight.

 Sign up
No Comments