
Escape From Endless Writer’s Block is a side quest that takes place in chapter 12 of Final Fantasy VII Rebirth. It’ll require you to take a series of photos of ![]() Red XIII in order to give an author some inspiration for her upcoming children’s book. On this page, we’ll navigate you through the necessary steps to getting the best pictures possible.
Red XIII in order to give an author some inspiration for her upcoming children’s book. On this page, we’ll navigate you through the necessary steps to getting the best pictures possible.
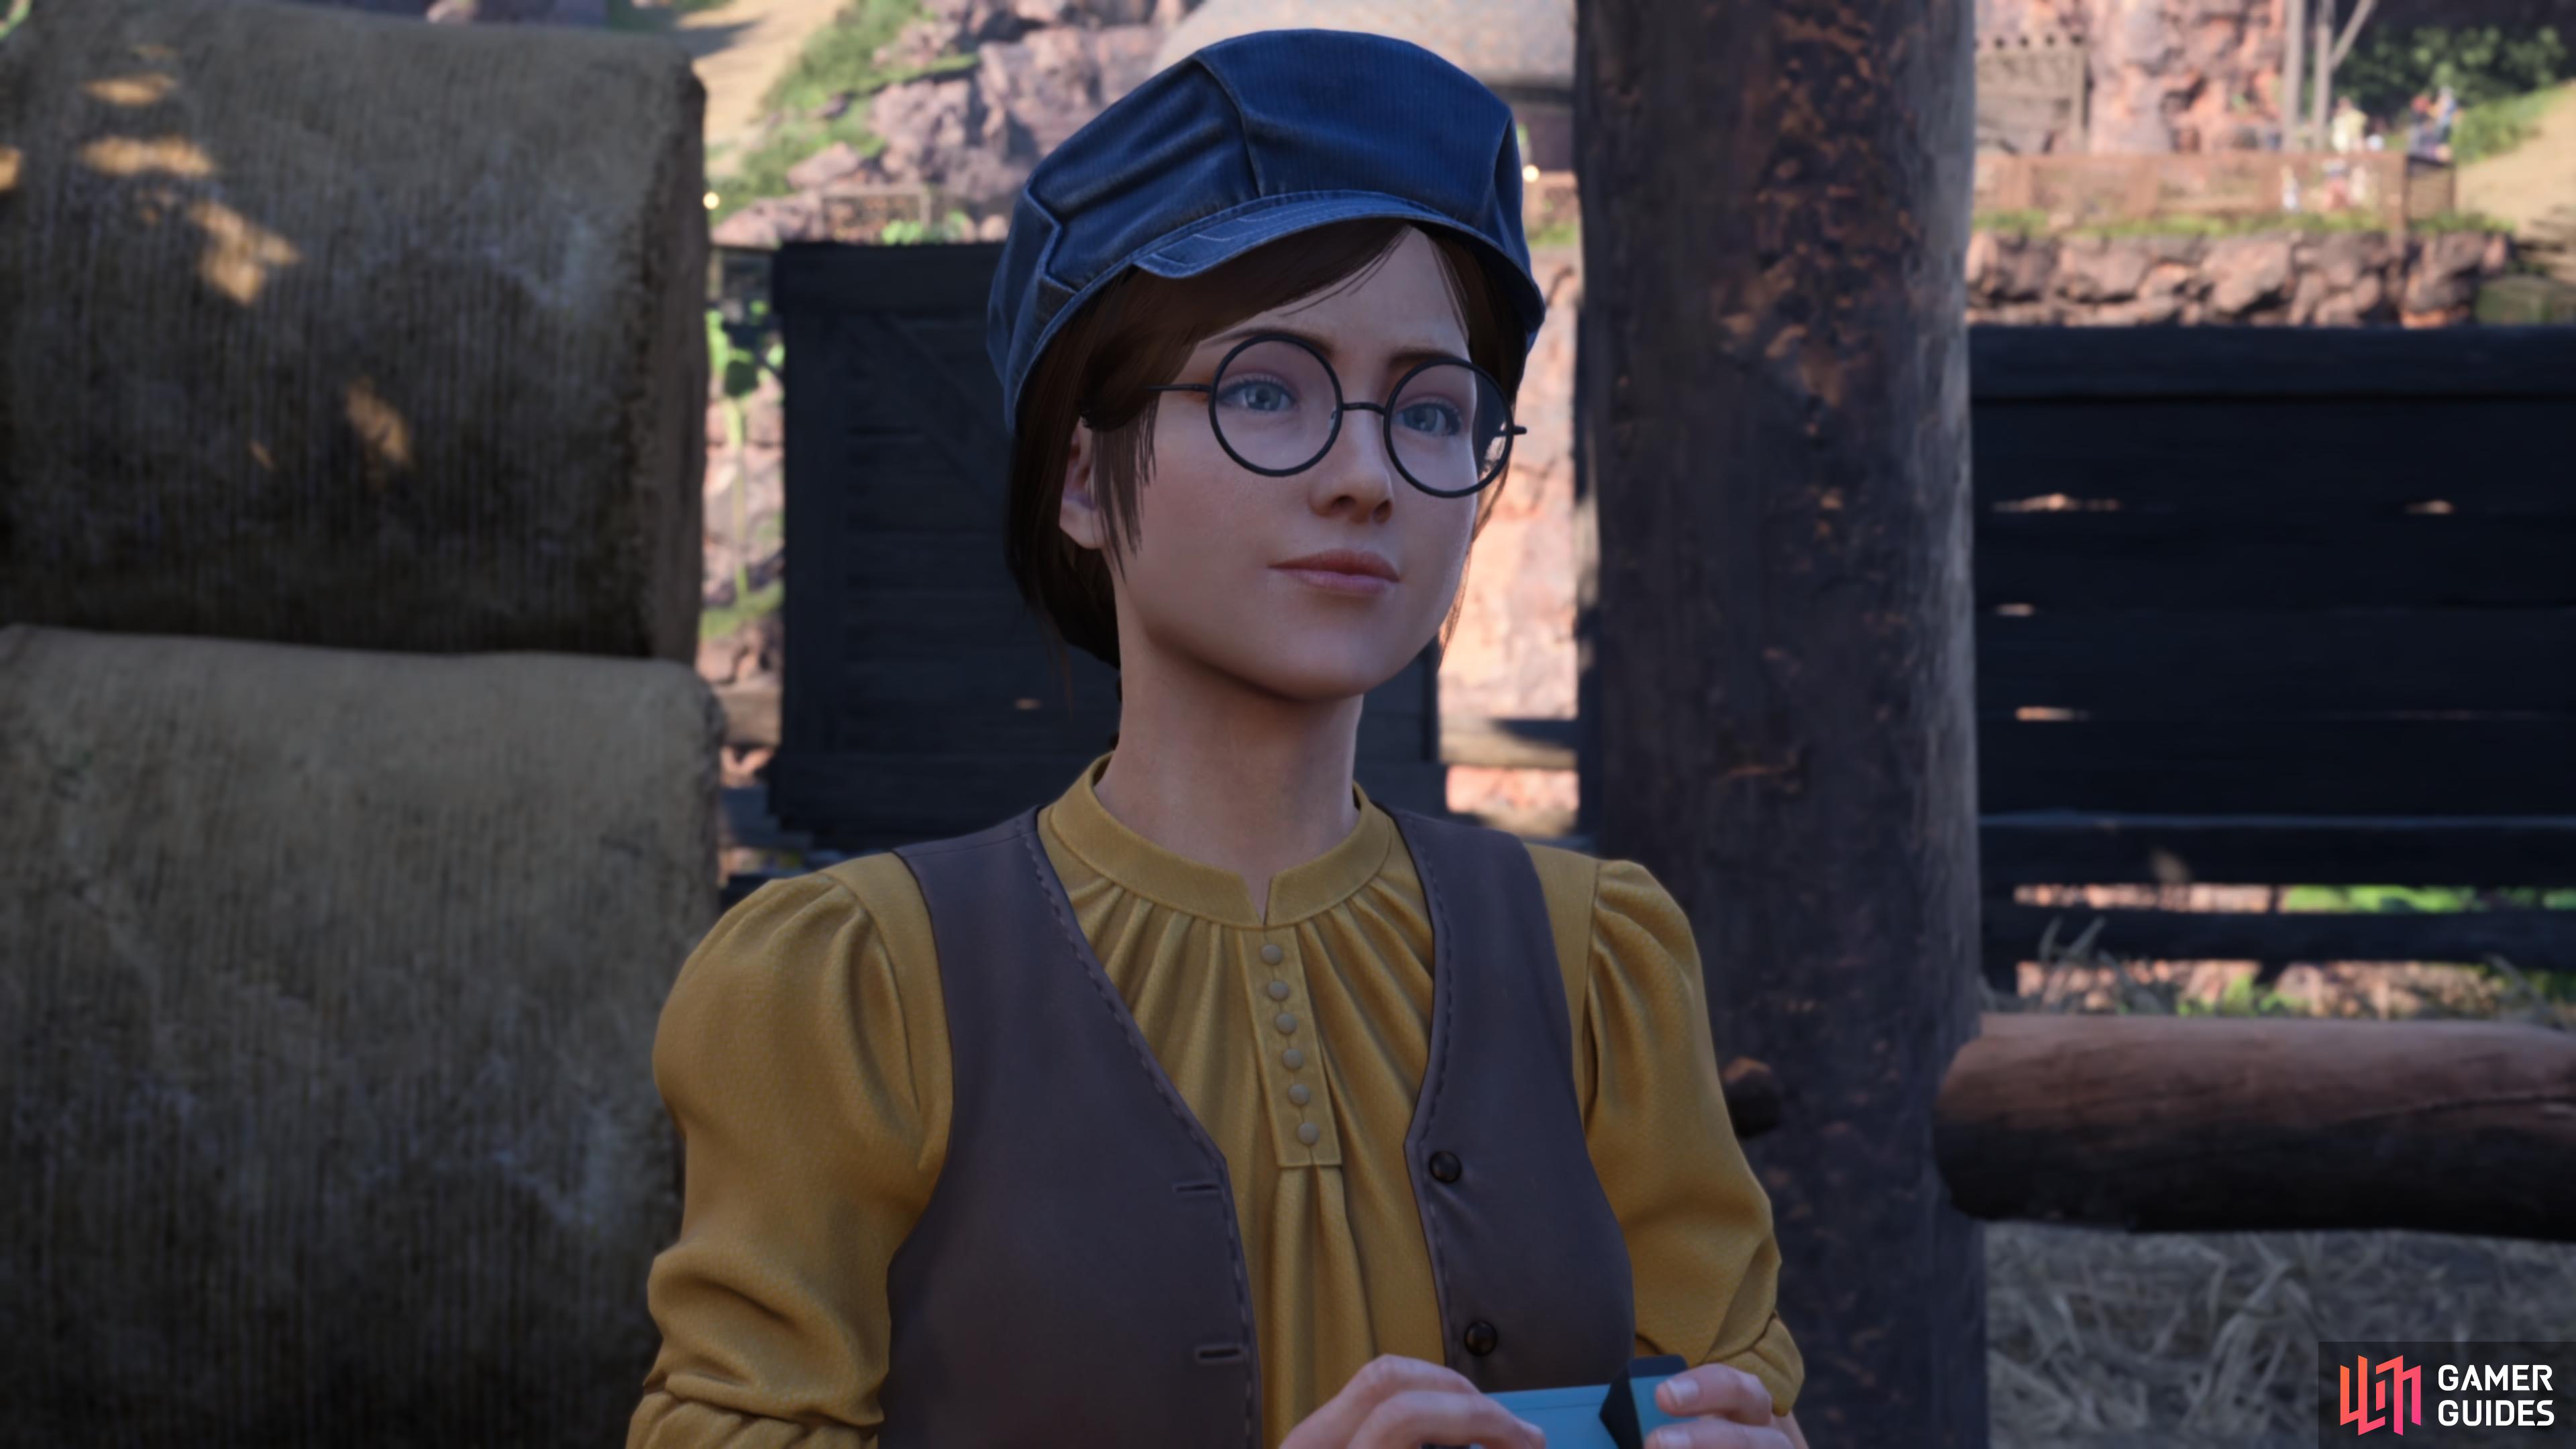
Maeve is smitten with Cloud.
I came to Gongaga to find inspiration for my next children’s book, but even in this verdant forest I feel the walls closing in all around me! I’m trapped in a mental prison-a maze of my own making-and need a muse to deliver me from the creative doldrums.
How to Start the Escape From Endless Writer’s Block Side Quest - FFVII Rebirth
The Escape From Endless Writer’s Block Side Quest can be unlocked via the noticeboard, which is located in the ![]() Gongaga Region at the start of Chapter 12. Alternatively, you can speak with Maeve who can be found roaming around the Chocobo stables. You don’t need to worry about your level for this side quest as there are no battles involved, but you’ll need to make sure your photography skills are up to scratch as you’ll need to capture some inspirational photos of the one and only Red XIII.
Gongaga Region at the start of Chapter 12. Alternatively, you can speak with Maeve who can be found roaming around the Chocobo stables. You don’t need to worry about your level for this side quest as there are no battles involved, but you’ll need to make sure your photography skills are up to scratch as you’ll need to capture some inspirational photos of the one and only Red XIII.
Escape From Endless Writer’s Block Photo Locations
All you need to do for this quest is take a Resolve, Suffering, and Odyssey Themed Picture.
Take a “Resolve” Themed Picture
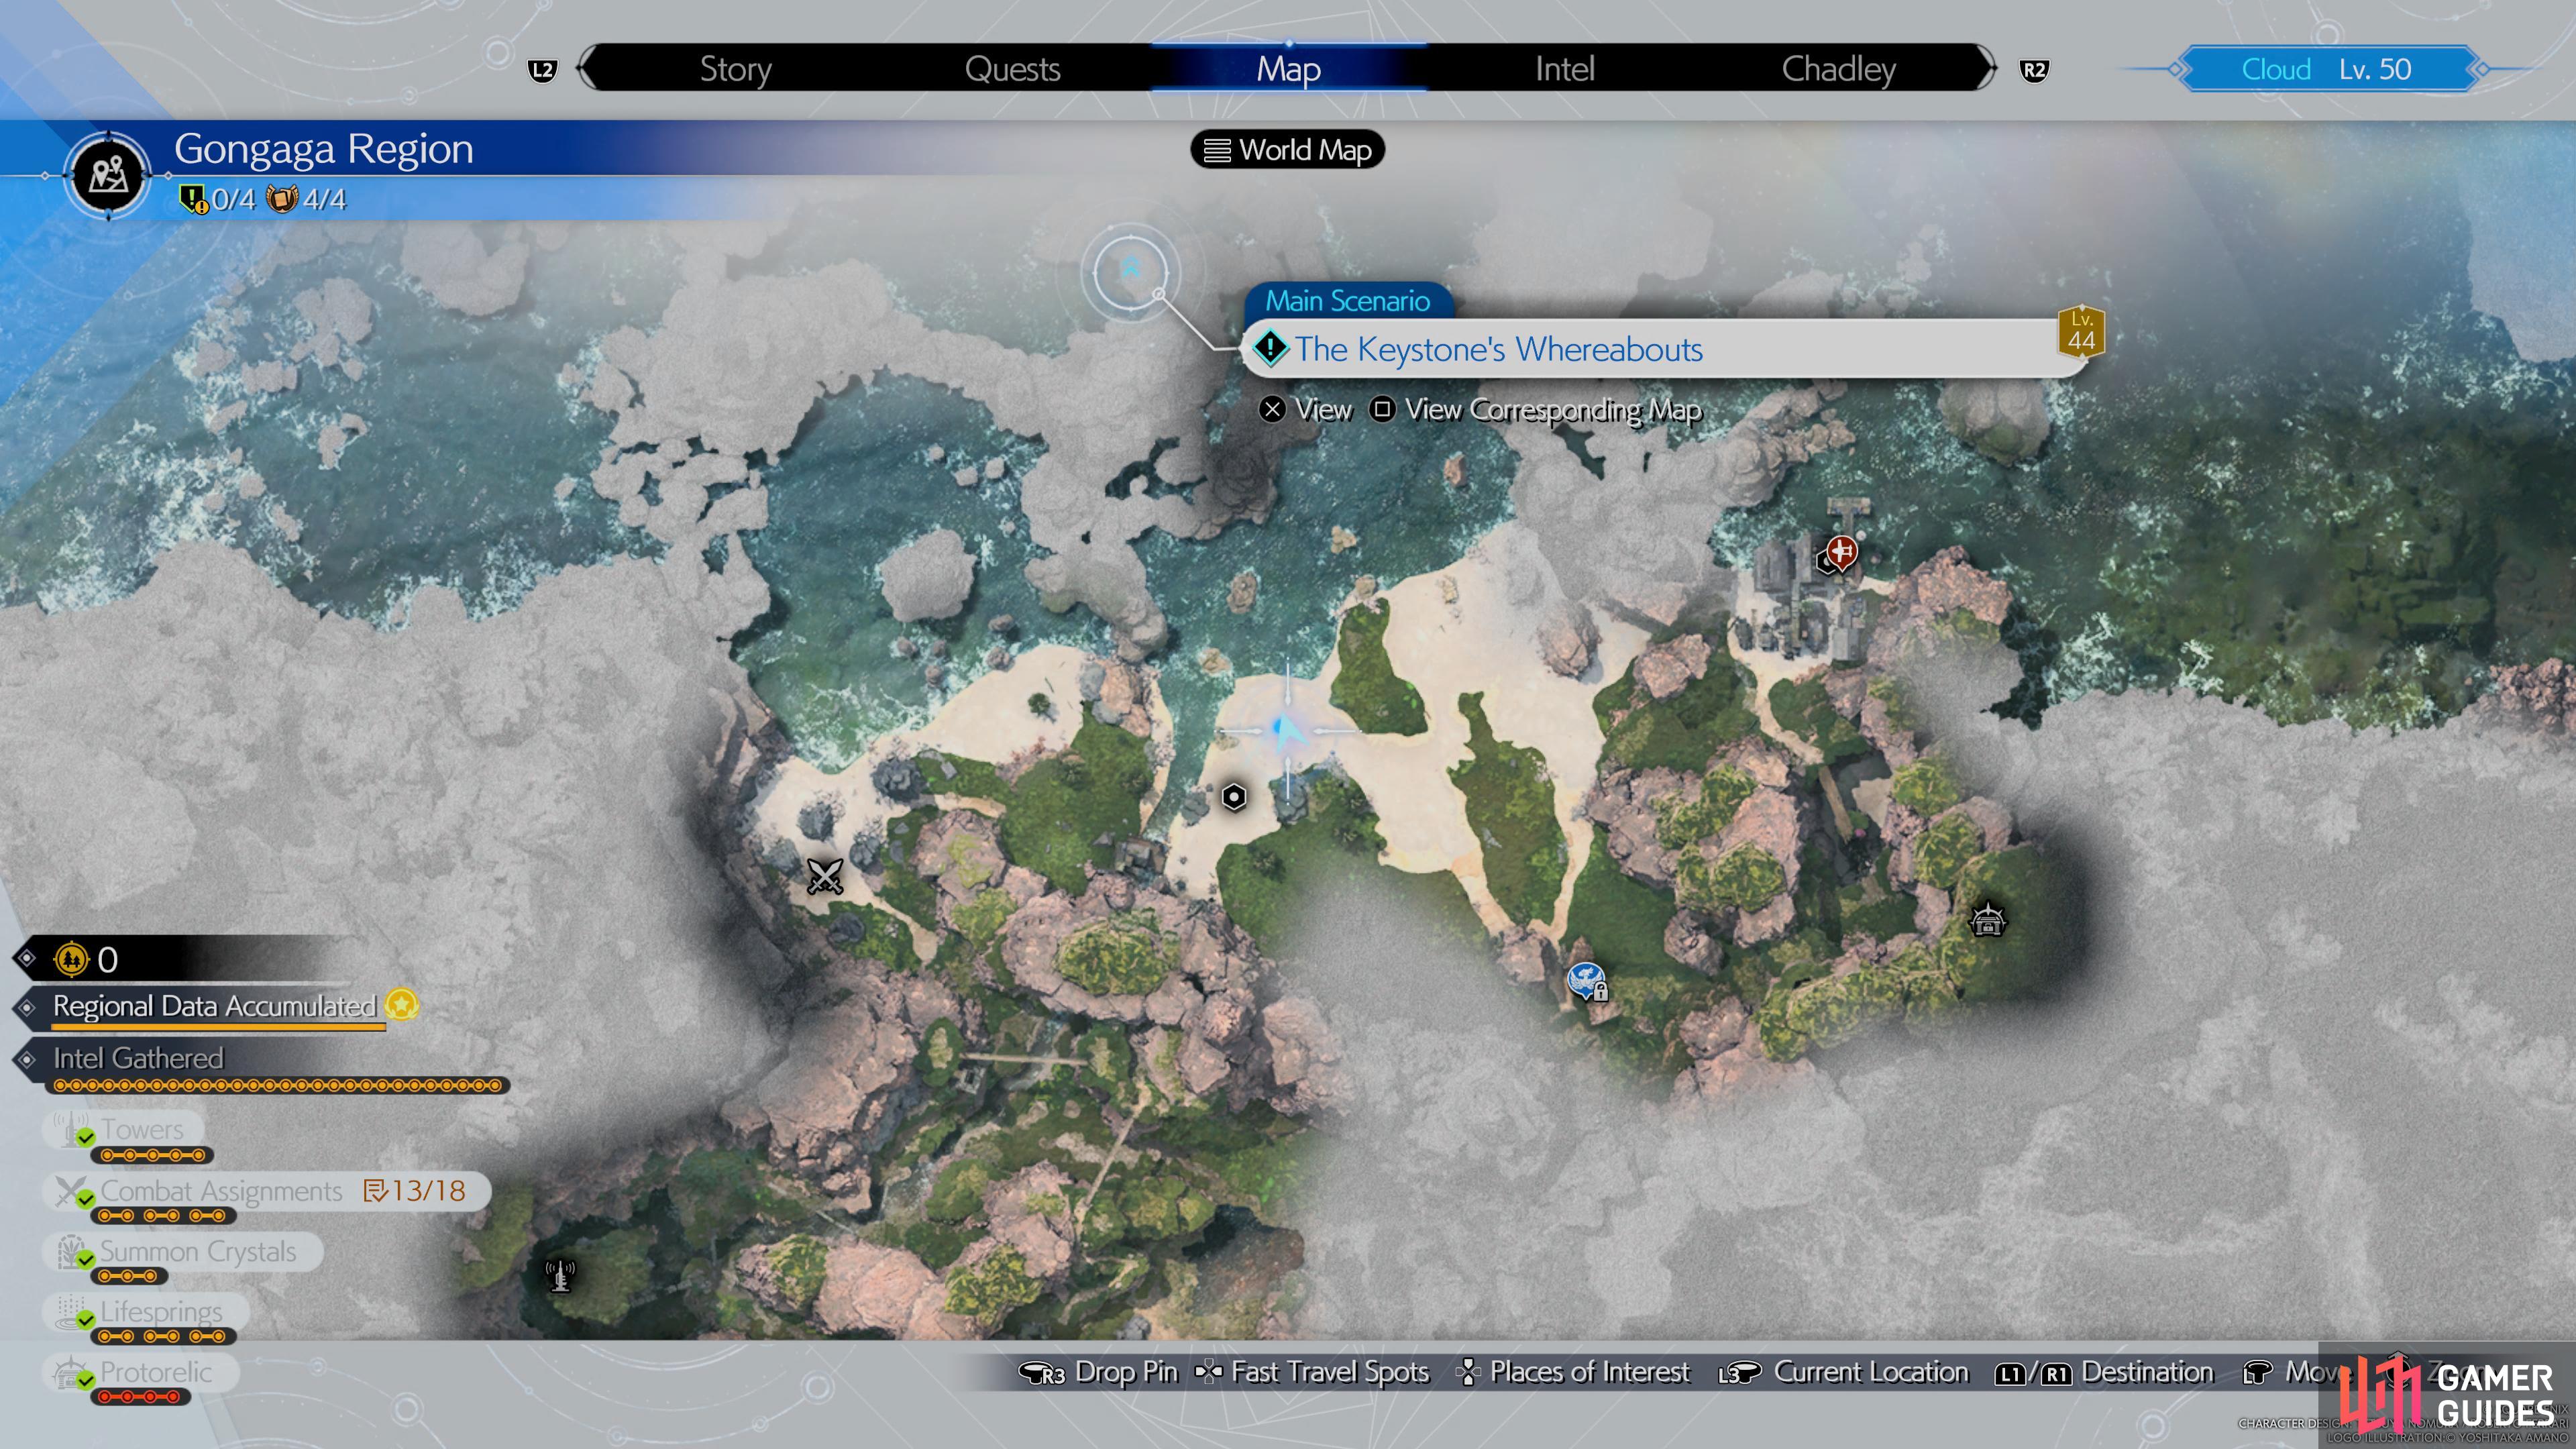
(1 of 2) Head to this location on the map
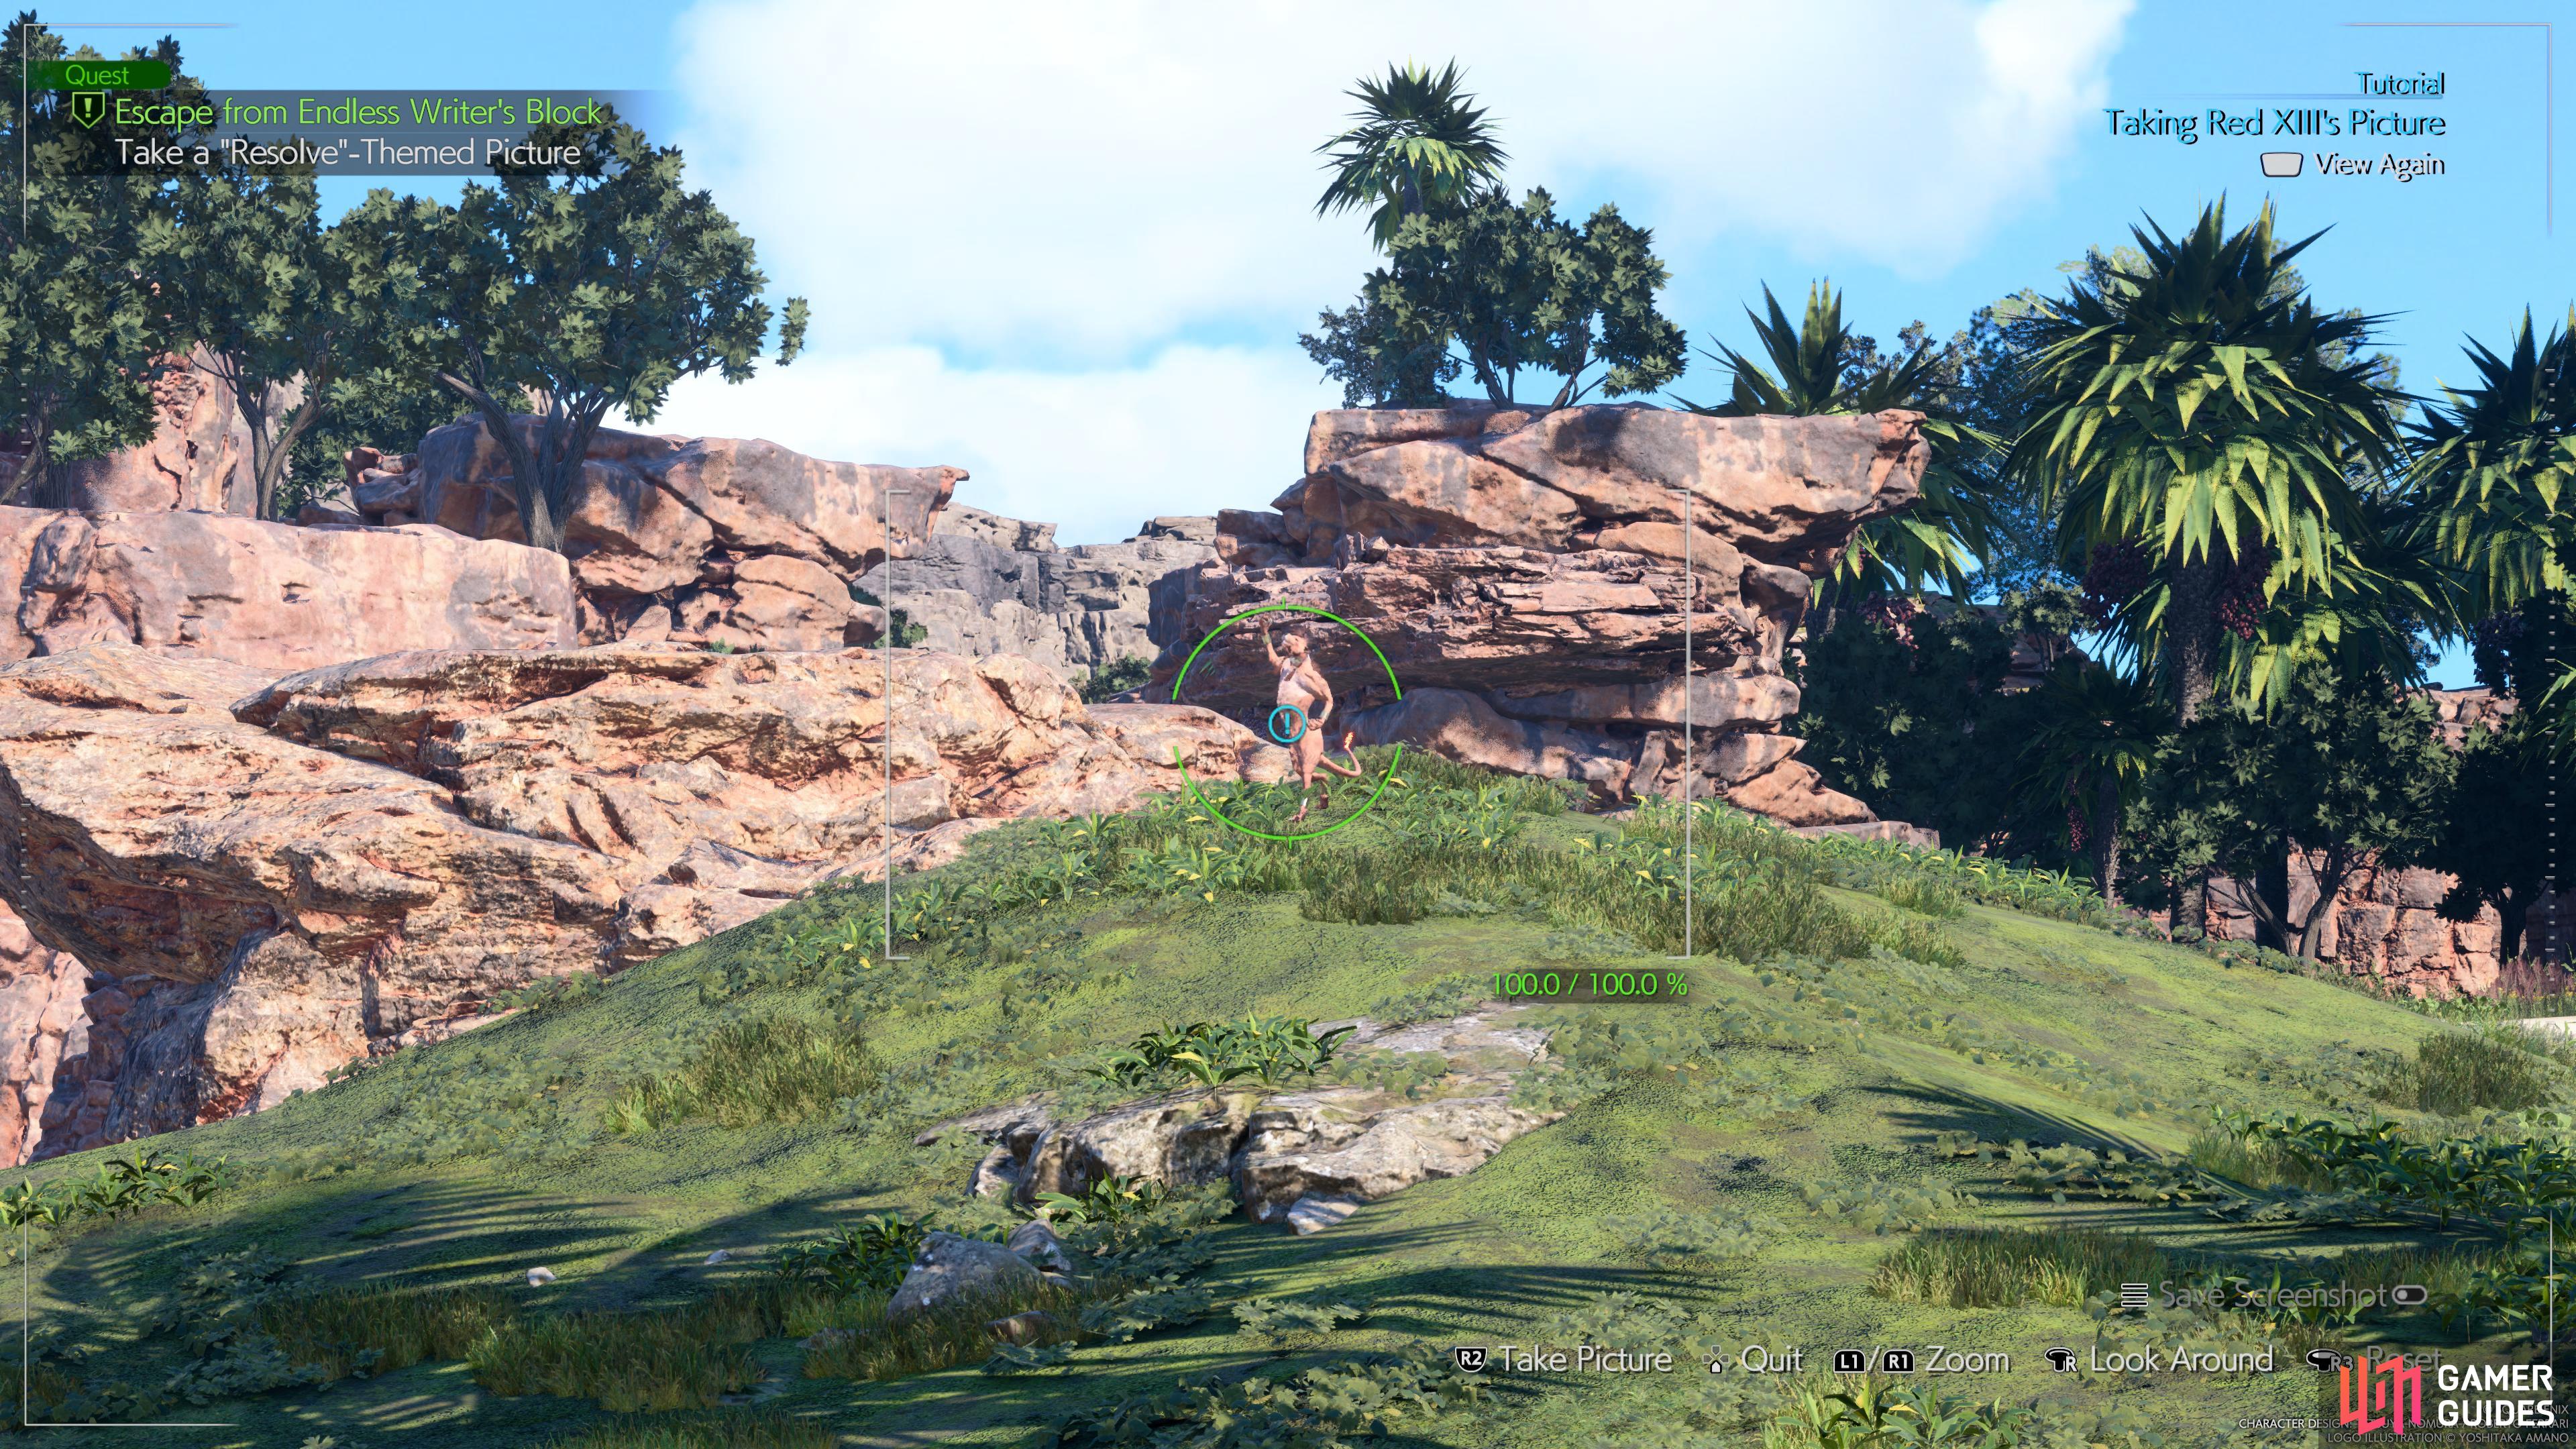
Head to this location on the map (left), and take a picture of Red XIII on the mound. (right)
To begin, you’ll need to take a “Resolve” Themed Picture, so fast travel over to the Rugged Shoals - Gongaga Shore and activate the camera by pressing 

Take a “Suffering” Themed Picture
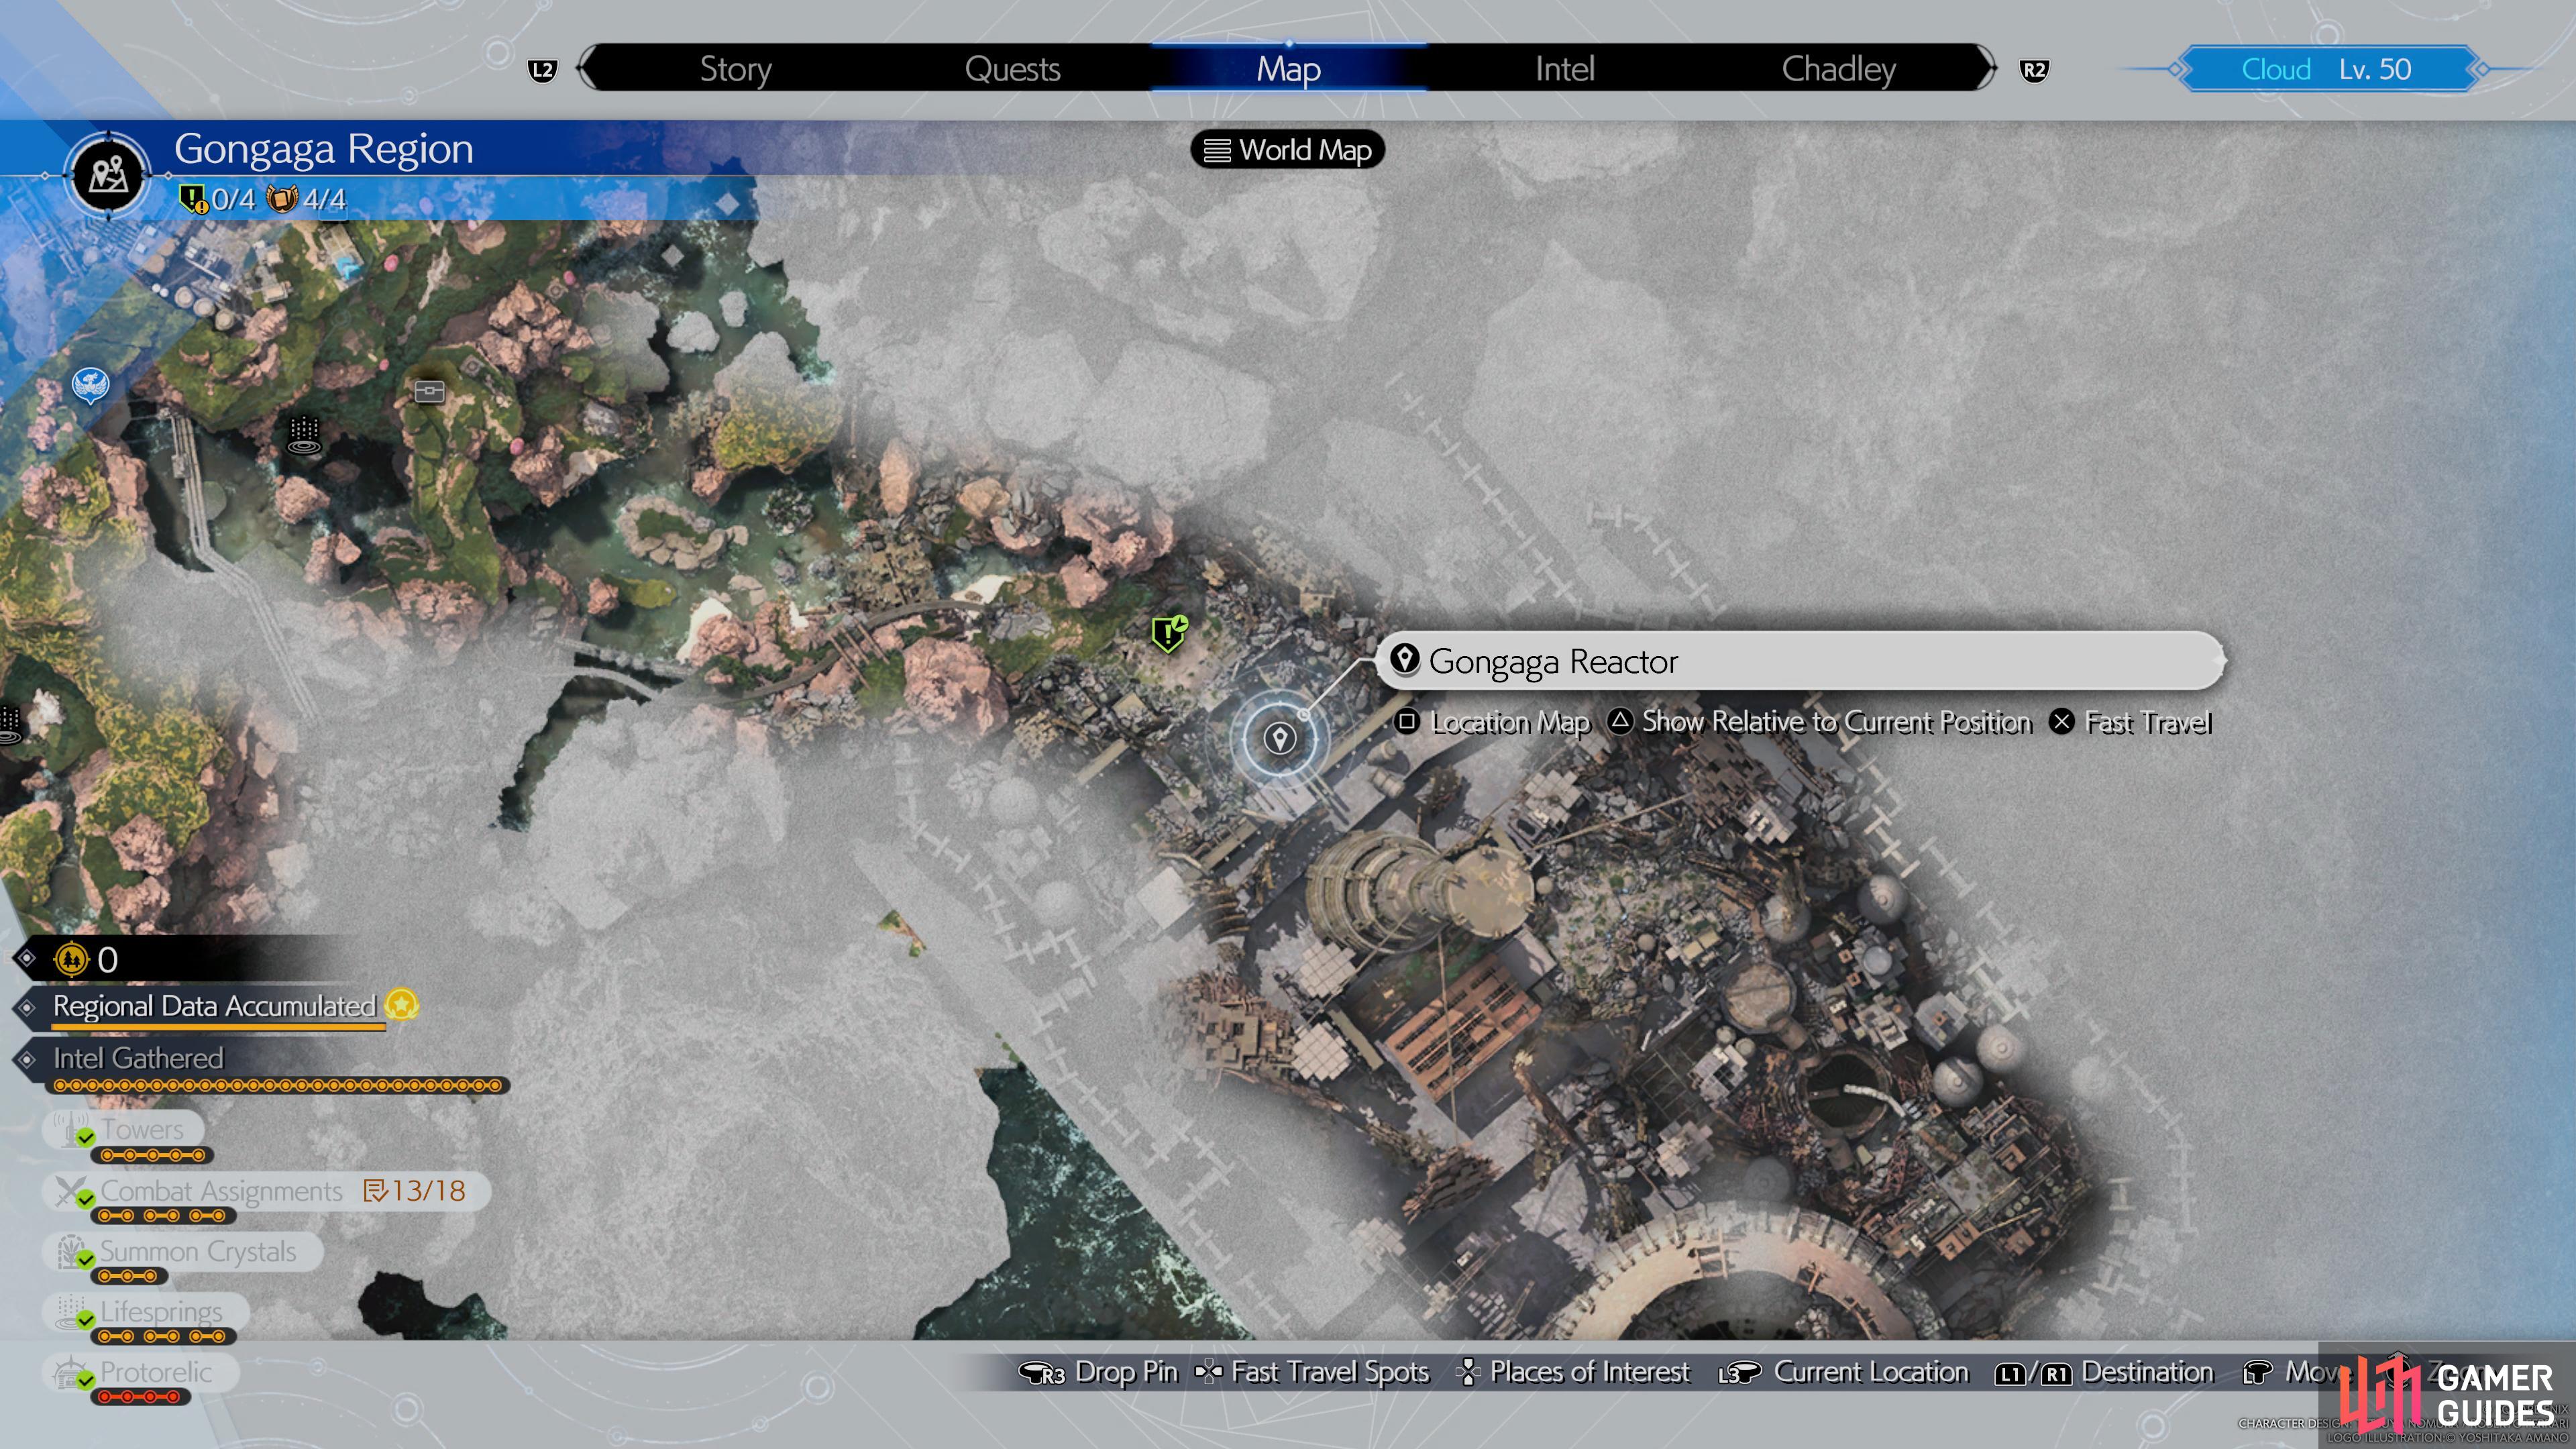

(1 of 2) Head to this location on the map
Head to this location on the map (left), and take a picture of Red XIII on the gate. (right)
Next up, you’ll need to take a “Suffering” Themed Picture, so you’ll need to fast travel over to the Gongaga Reactor and then you’ll want to snap a picture of Red sitting on top of the gate.
Take an “Odyssey” Themed Picture
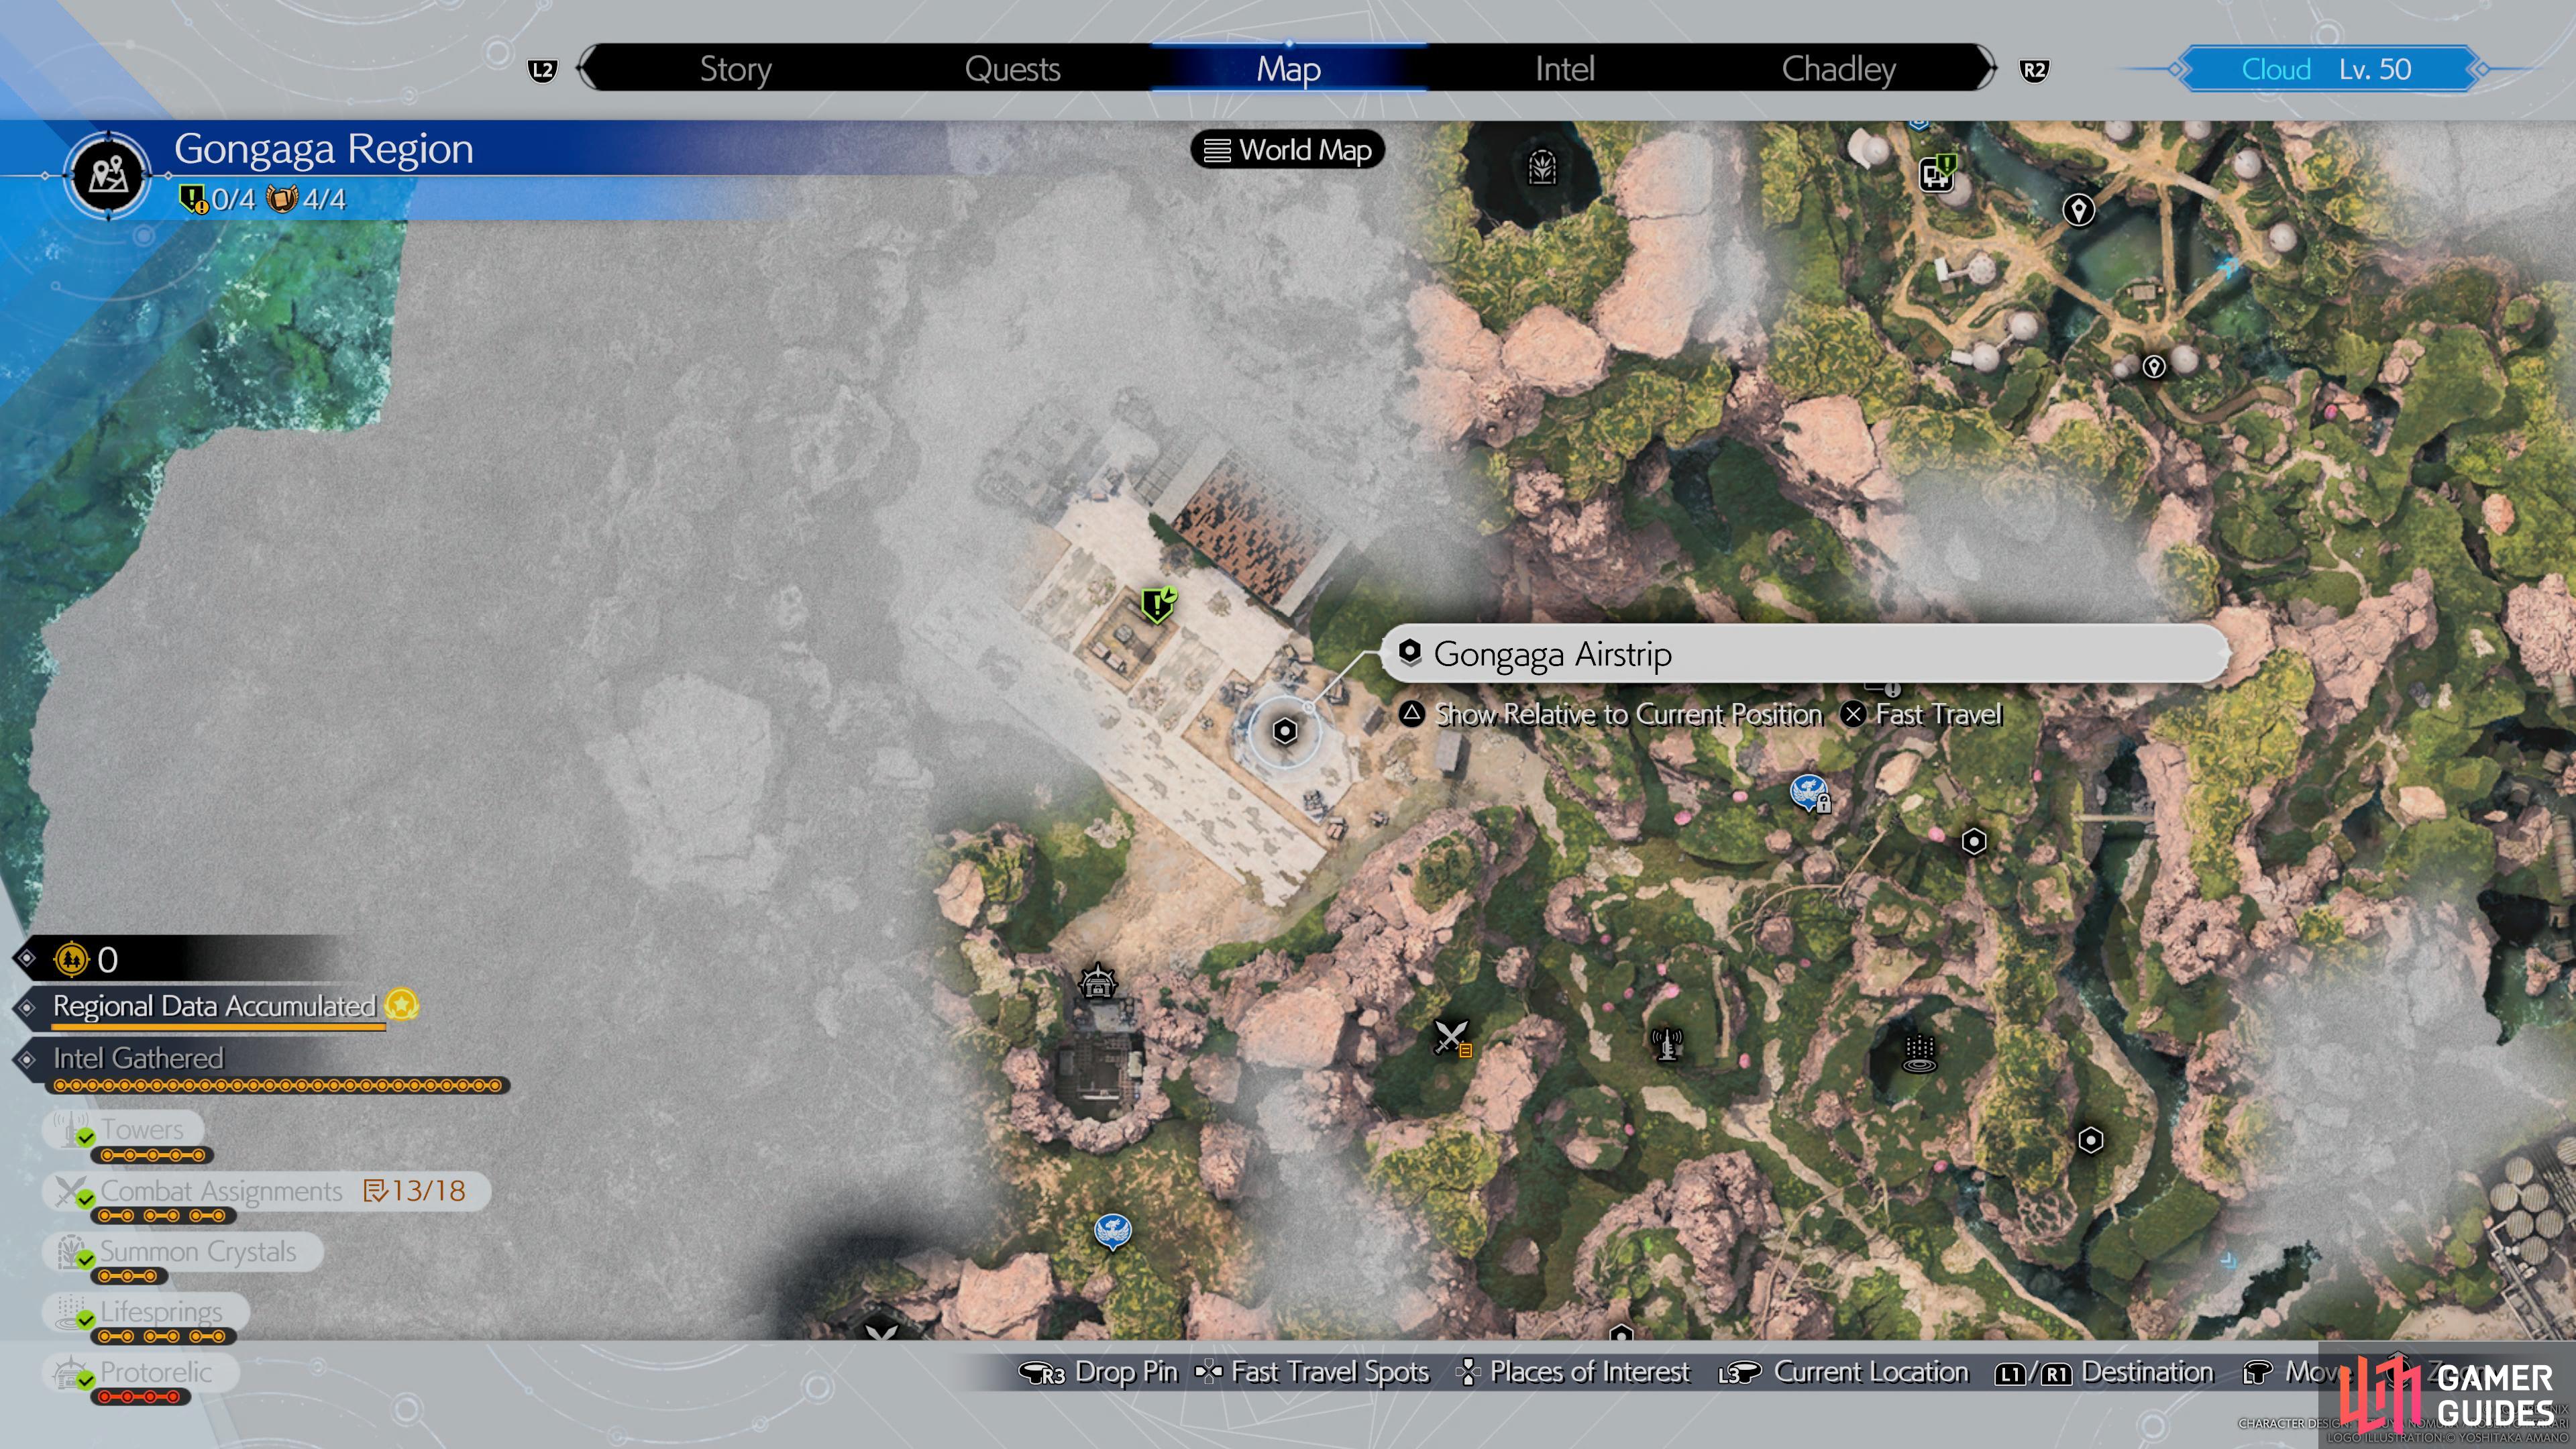
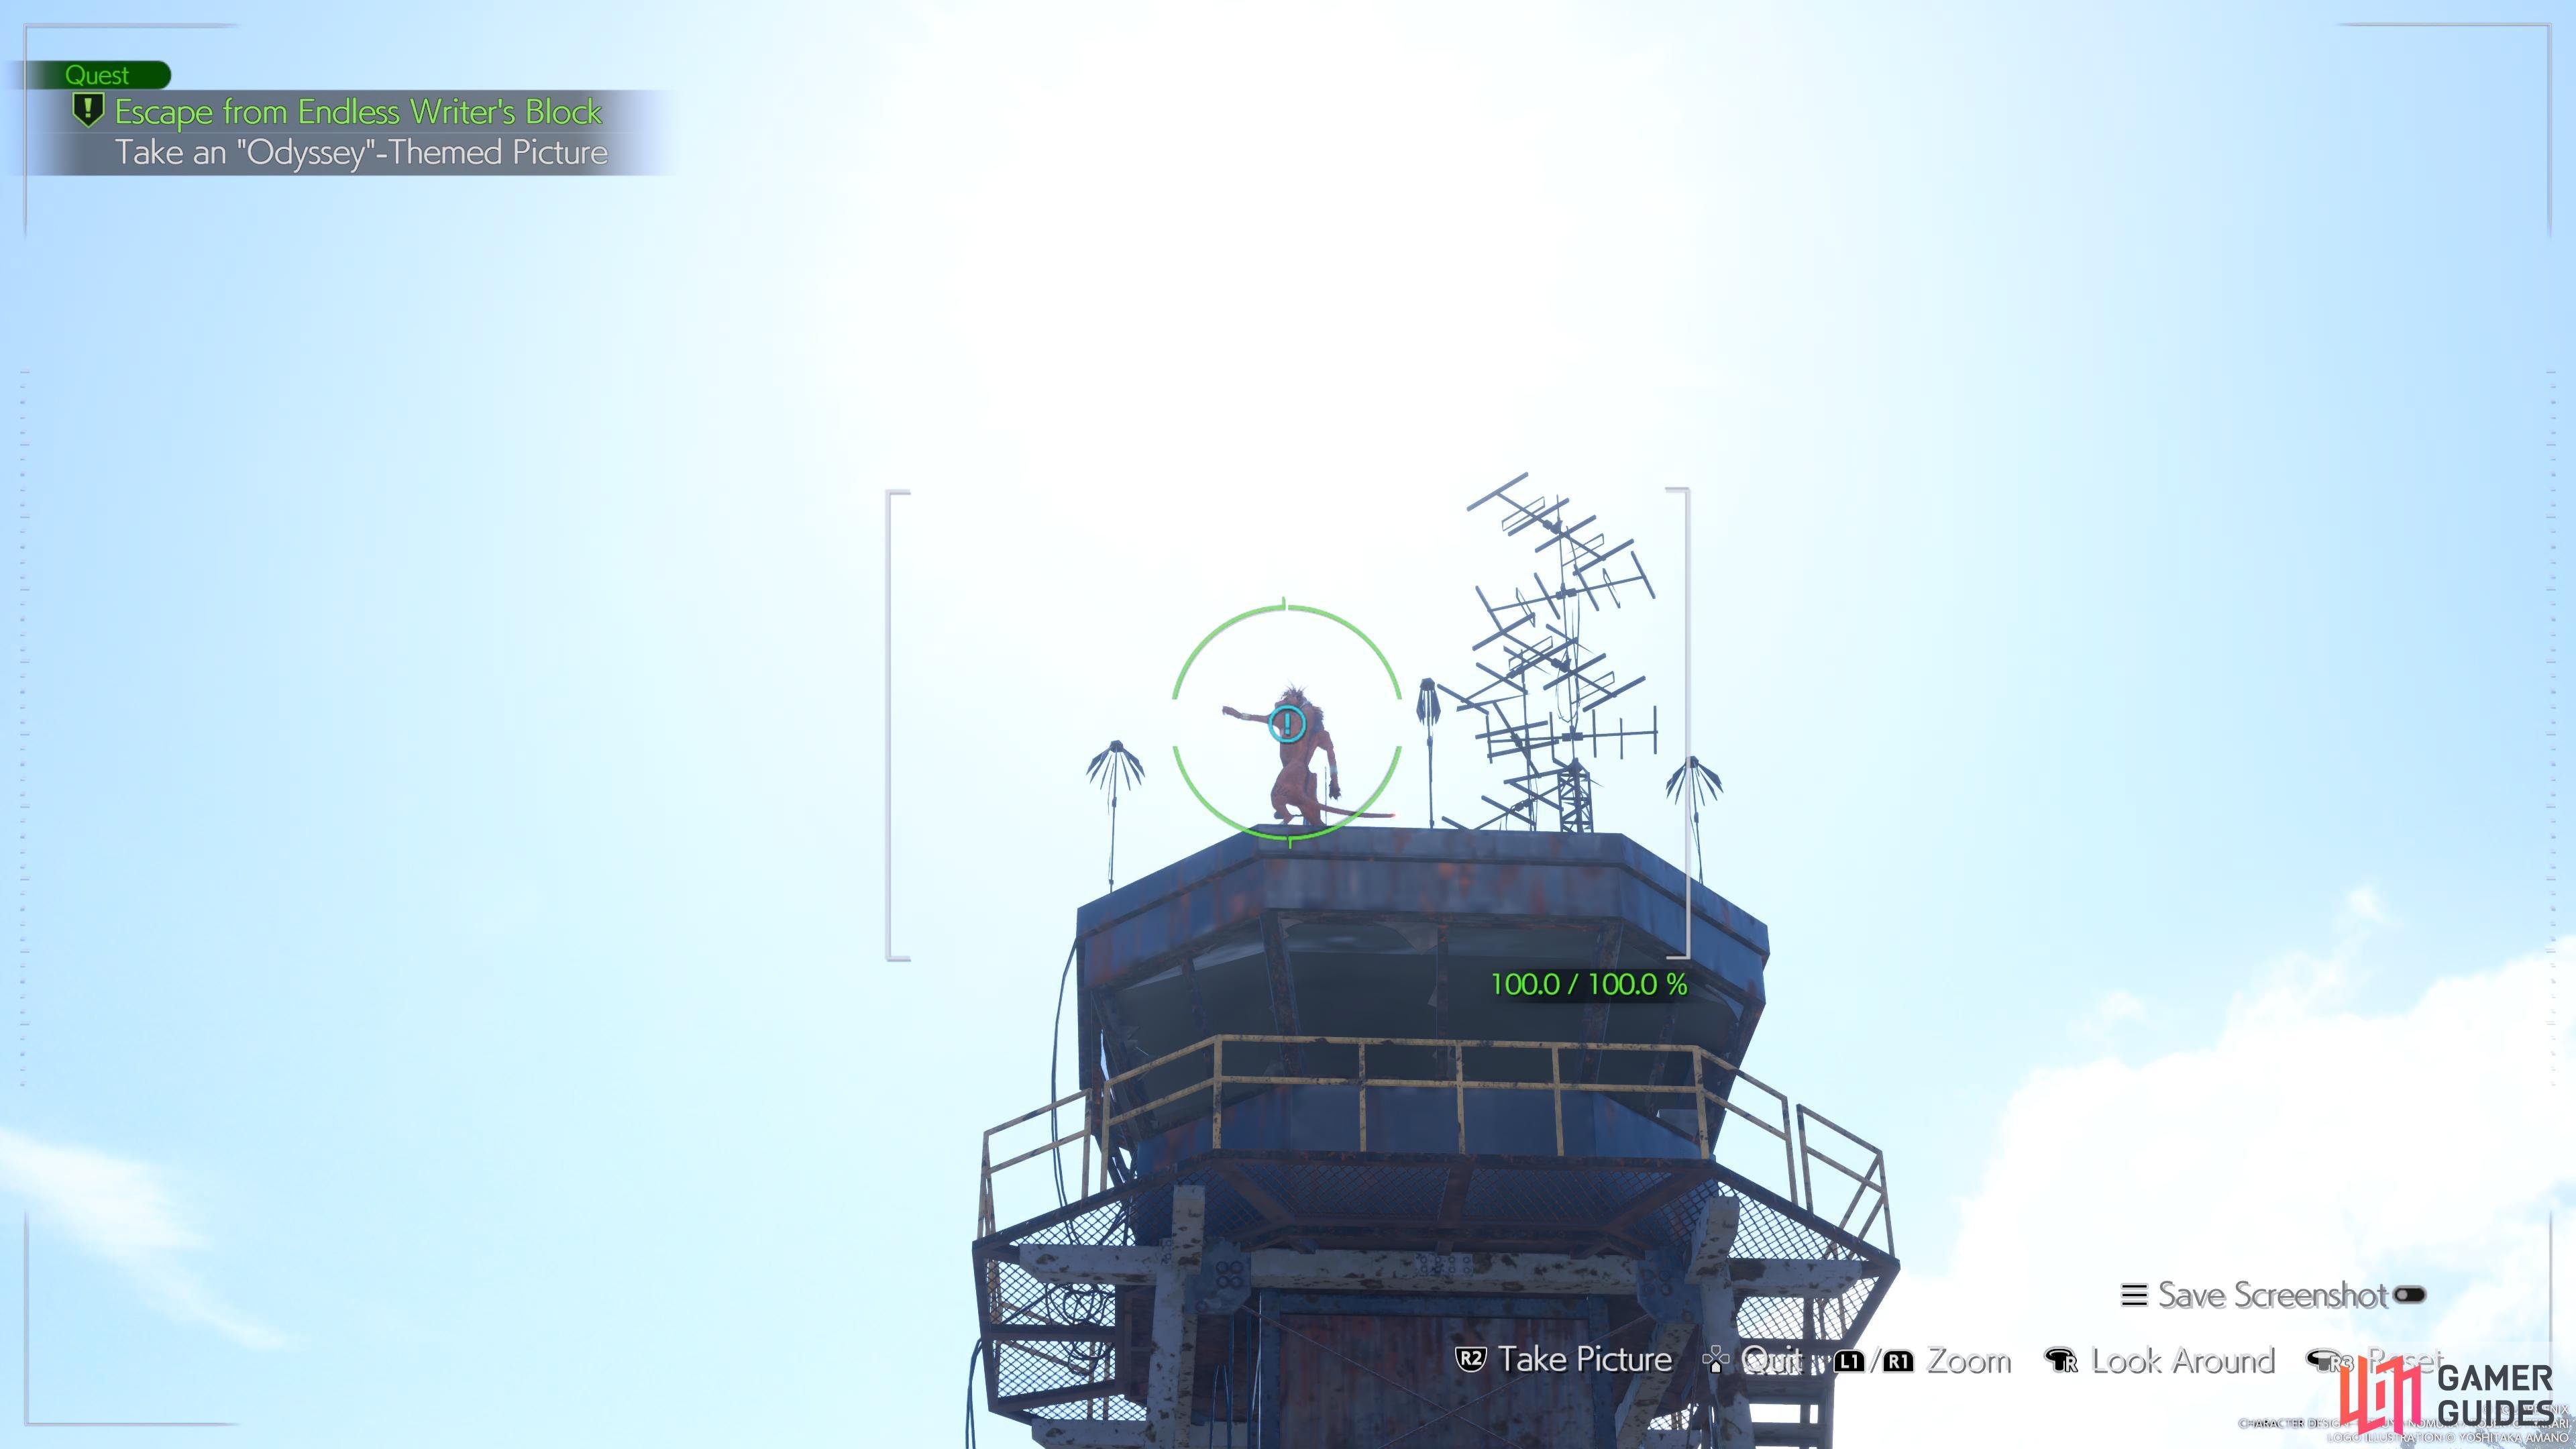
(1 of 2) Head to this location on the map
Head to this location on the map (left), and take a picture of Red XII on top of the tower. (right)
An Odyssey Themed Picture is next up on the agenda, so you’ll want to fast travel over to the Gongaga Airstrip and snap a picture of Red XIII standing on top of the watchtower.
Deliver the Pictures
Once you’ve successfully snapped all of the requested photos, return to Maeve back in Gongaga Village and deliver them to trigger a scene, bringing the quest to a close. Here you’ll be rewarded with a ![]() Potion and 5,000 EXP for your efforts.
Potion and 5,000 EXP for your efforts.
More Final Fantasy VII Rebirth Guides
Rebirth has a large variety of side quests on offer and some of them can be rather tricky, so be sure to check out the links below for tips on how to complete them!

 Sign up
No Comments