You will find a plethora of minigames in Final Fantasy VII Rebirth, especially once you reach the ![]() Gold Saucer. When you first arrive there, you will be thrown into a familiar minigame,
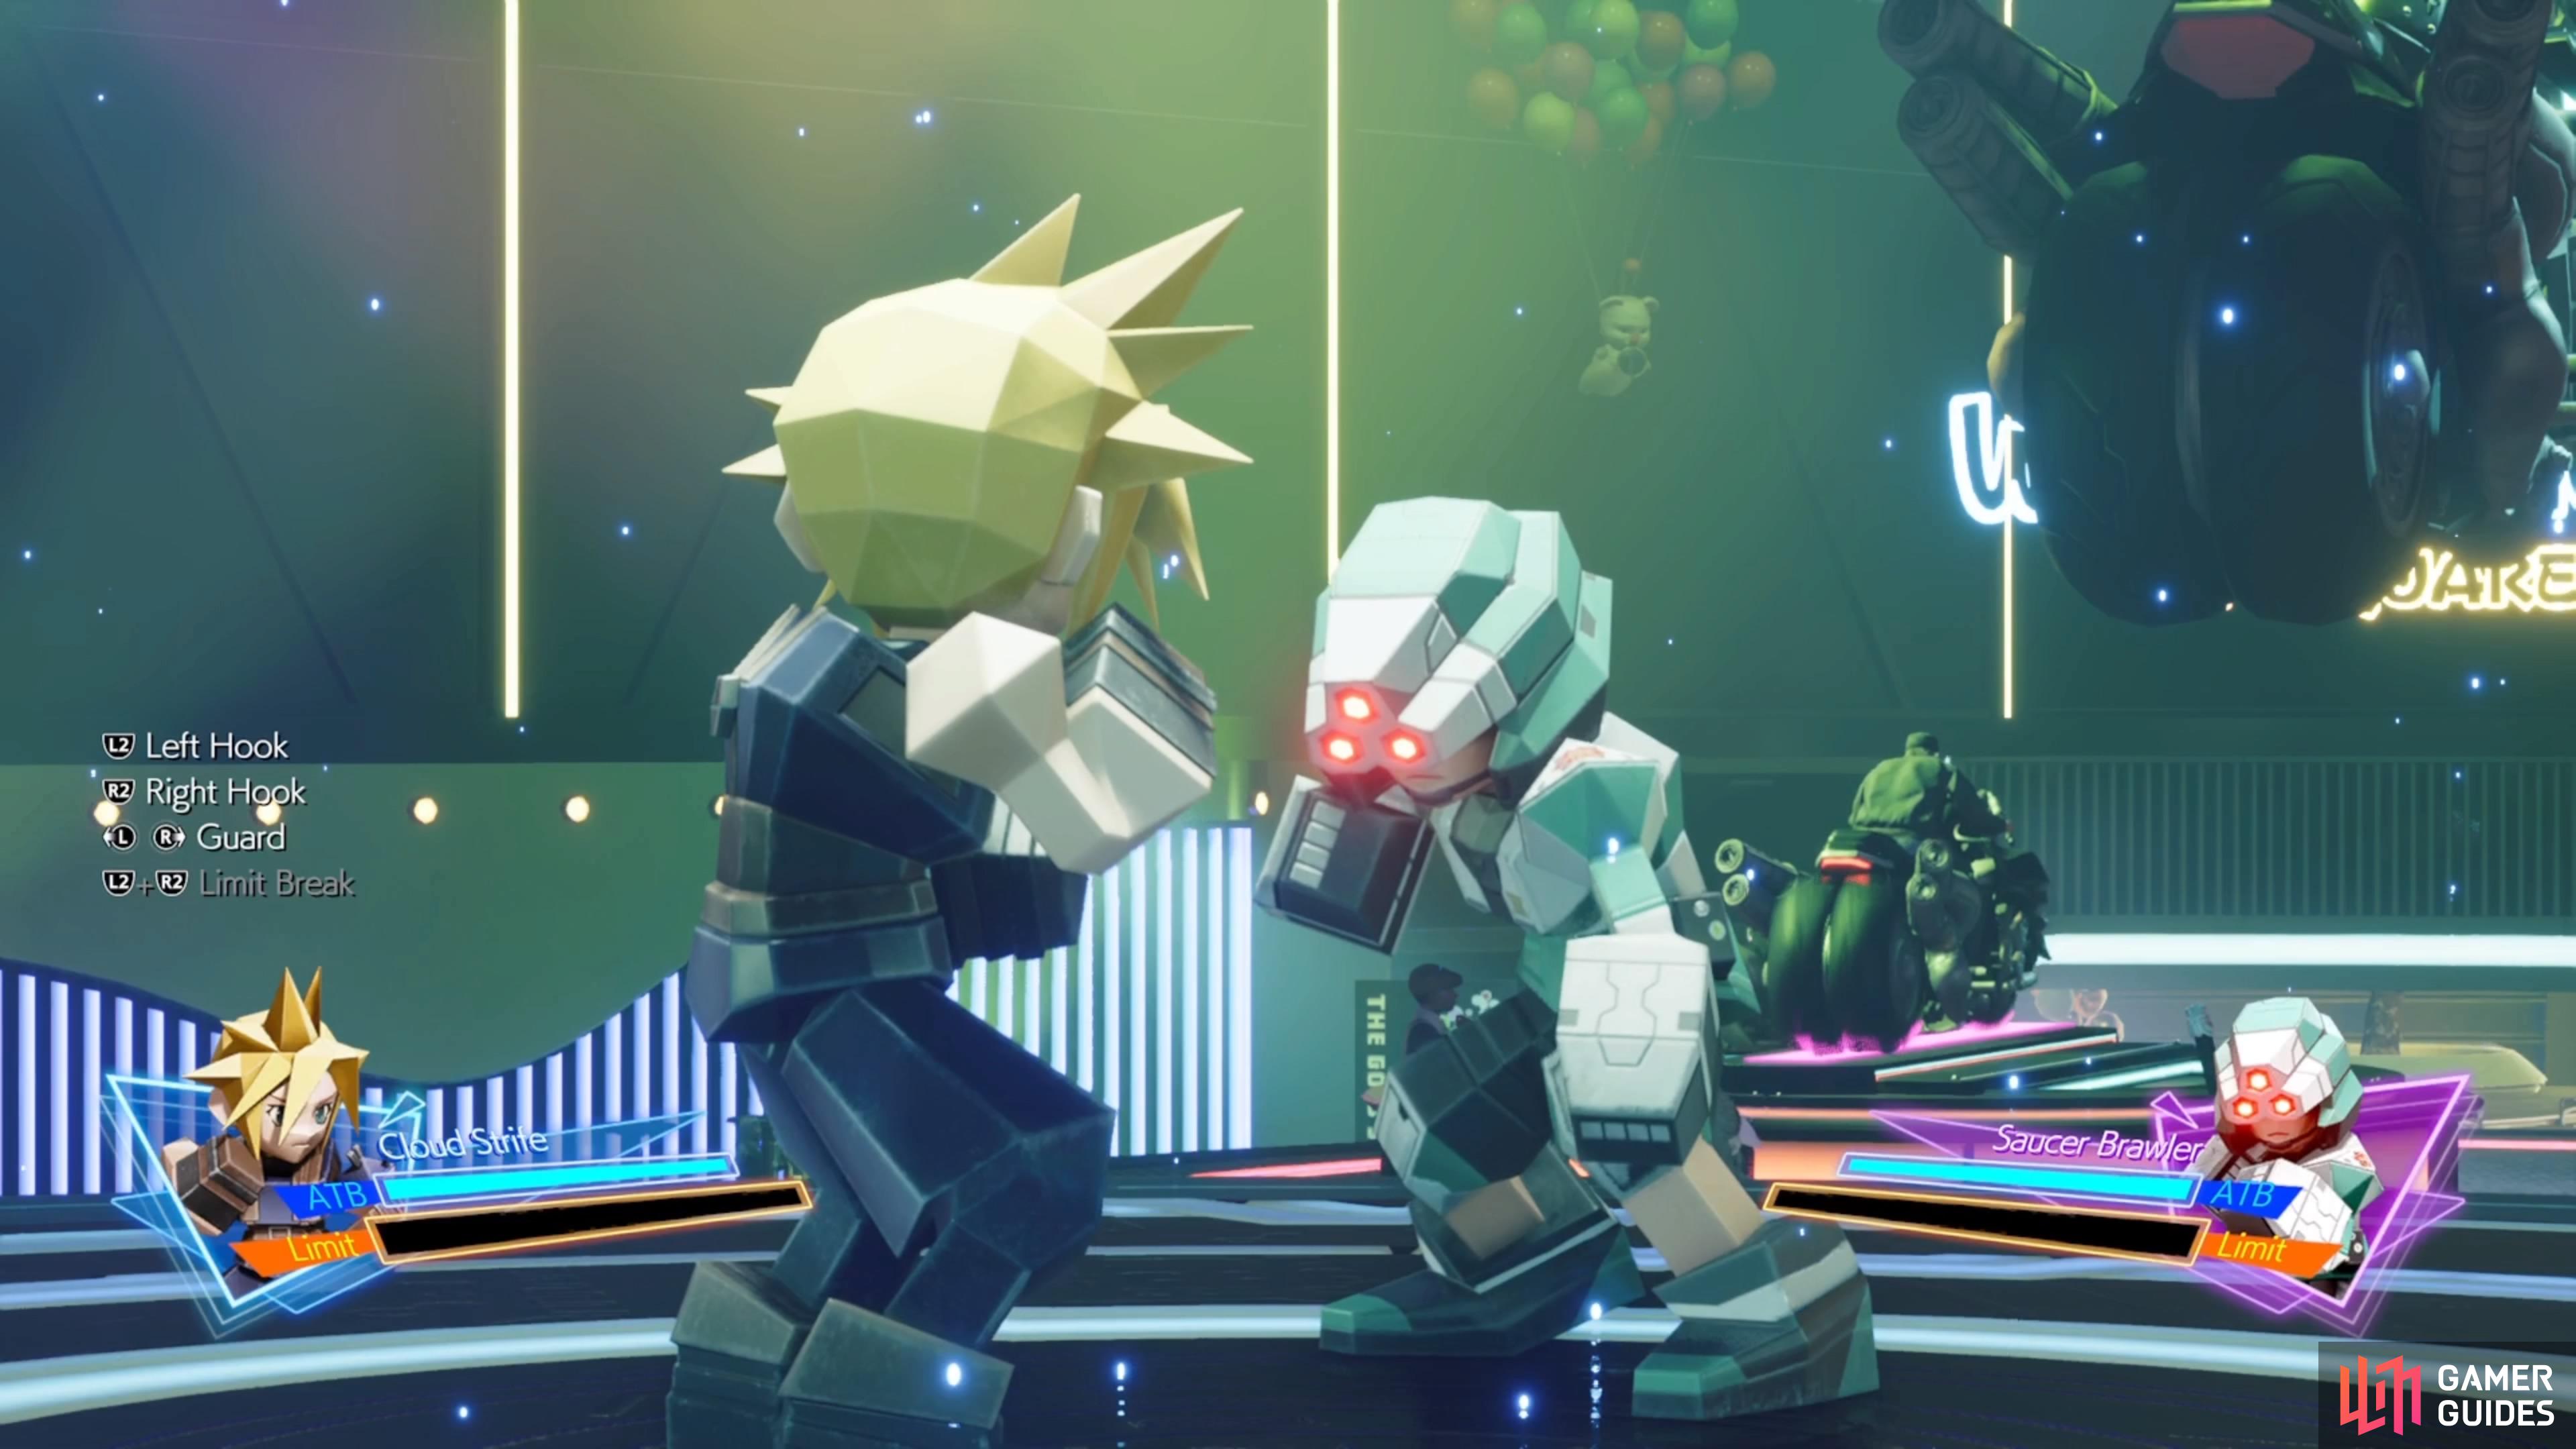
Gold Saucer. When you first arrive there, you will be thrown into a familiar minigame, ![]() 3D Brawler. Once you are able to fully explore the Gold Saucer, you can find the proper minigame in Wonderment Square. This minigame has some similarities to something like Punch-Out, but it’s less reactive fighting and just waiting for the opportunity to smack your opponents.
3D Brawler. Once you are able to fully explore the Gold Saucer, you can find the proper minigame in Wonderment Square. This minigame has some similarities to something like Punch-Out, but it’s less reactive fighting and just waiting for the opportunity to smack your opponents.

Pay attention to the match up screen, as it tells you which moves your opponent uses.
How to Play 3D Brawler
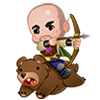
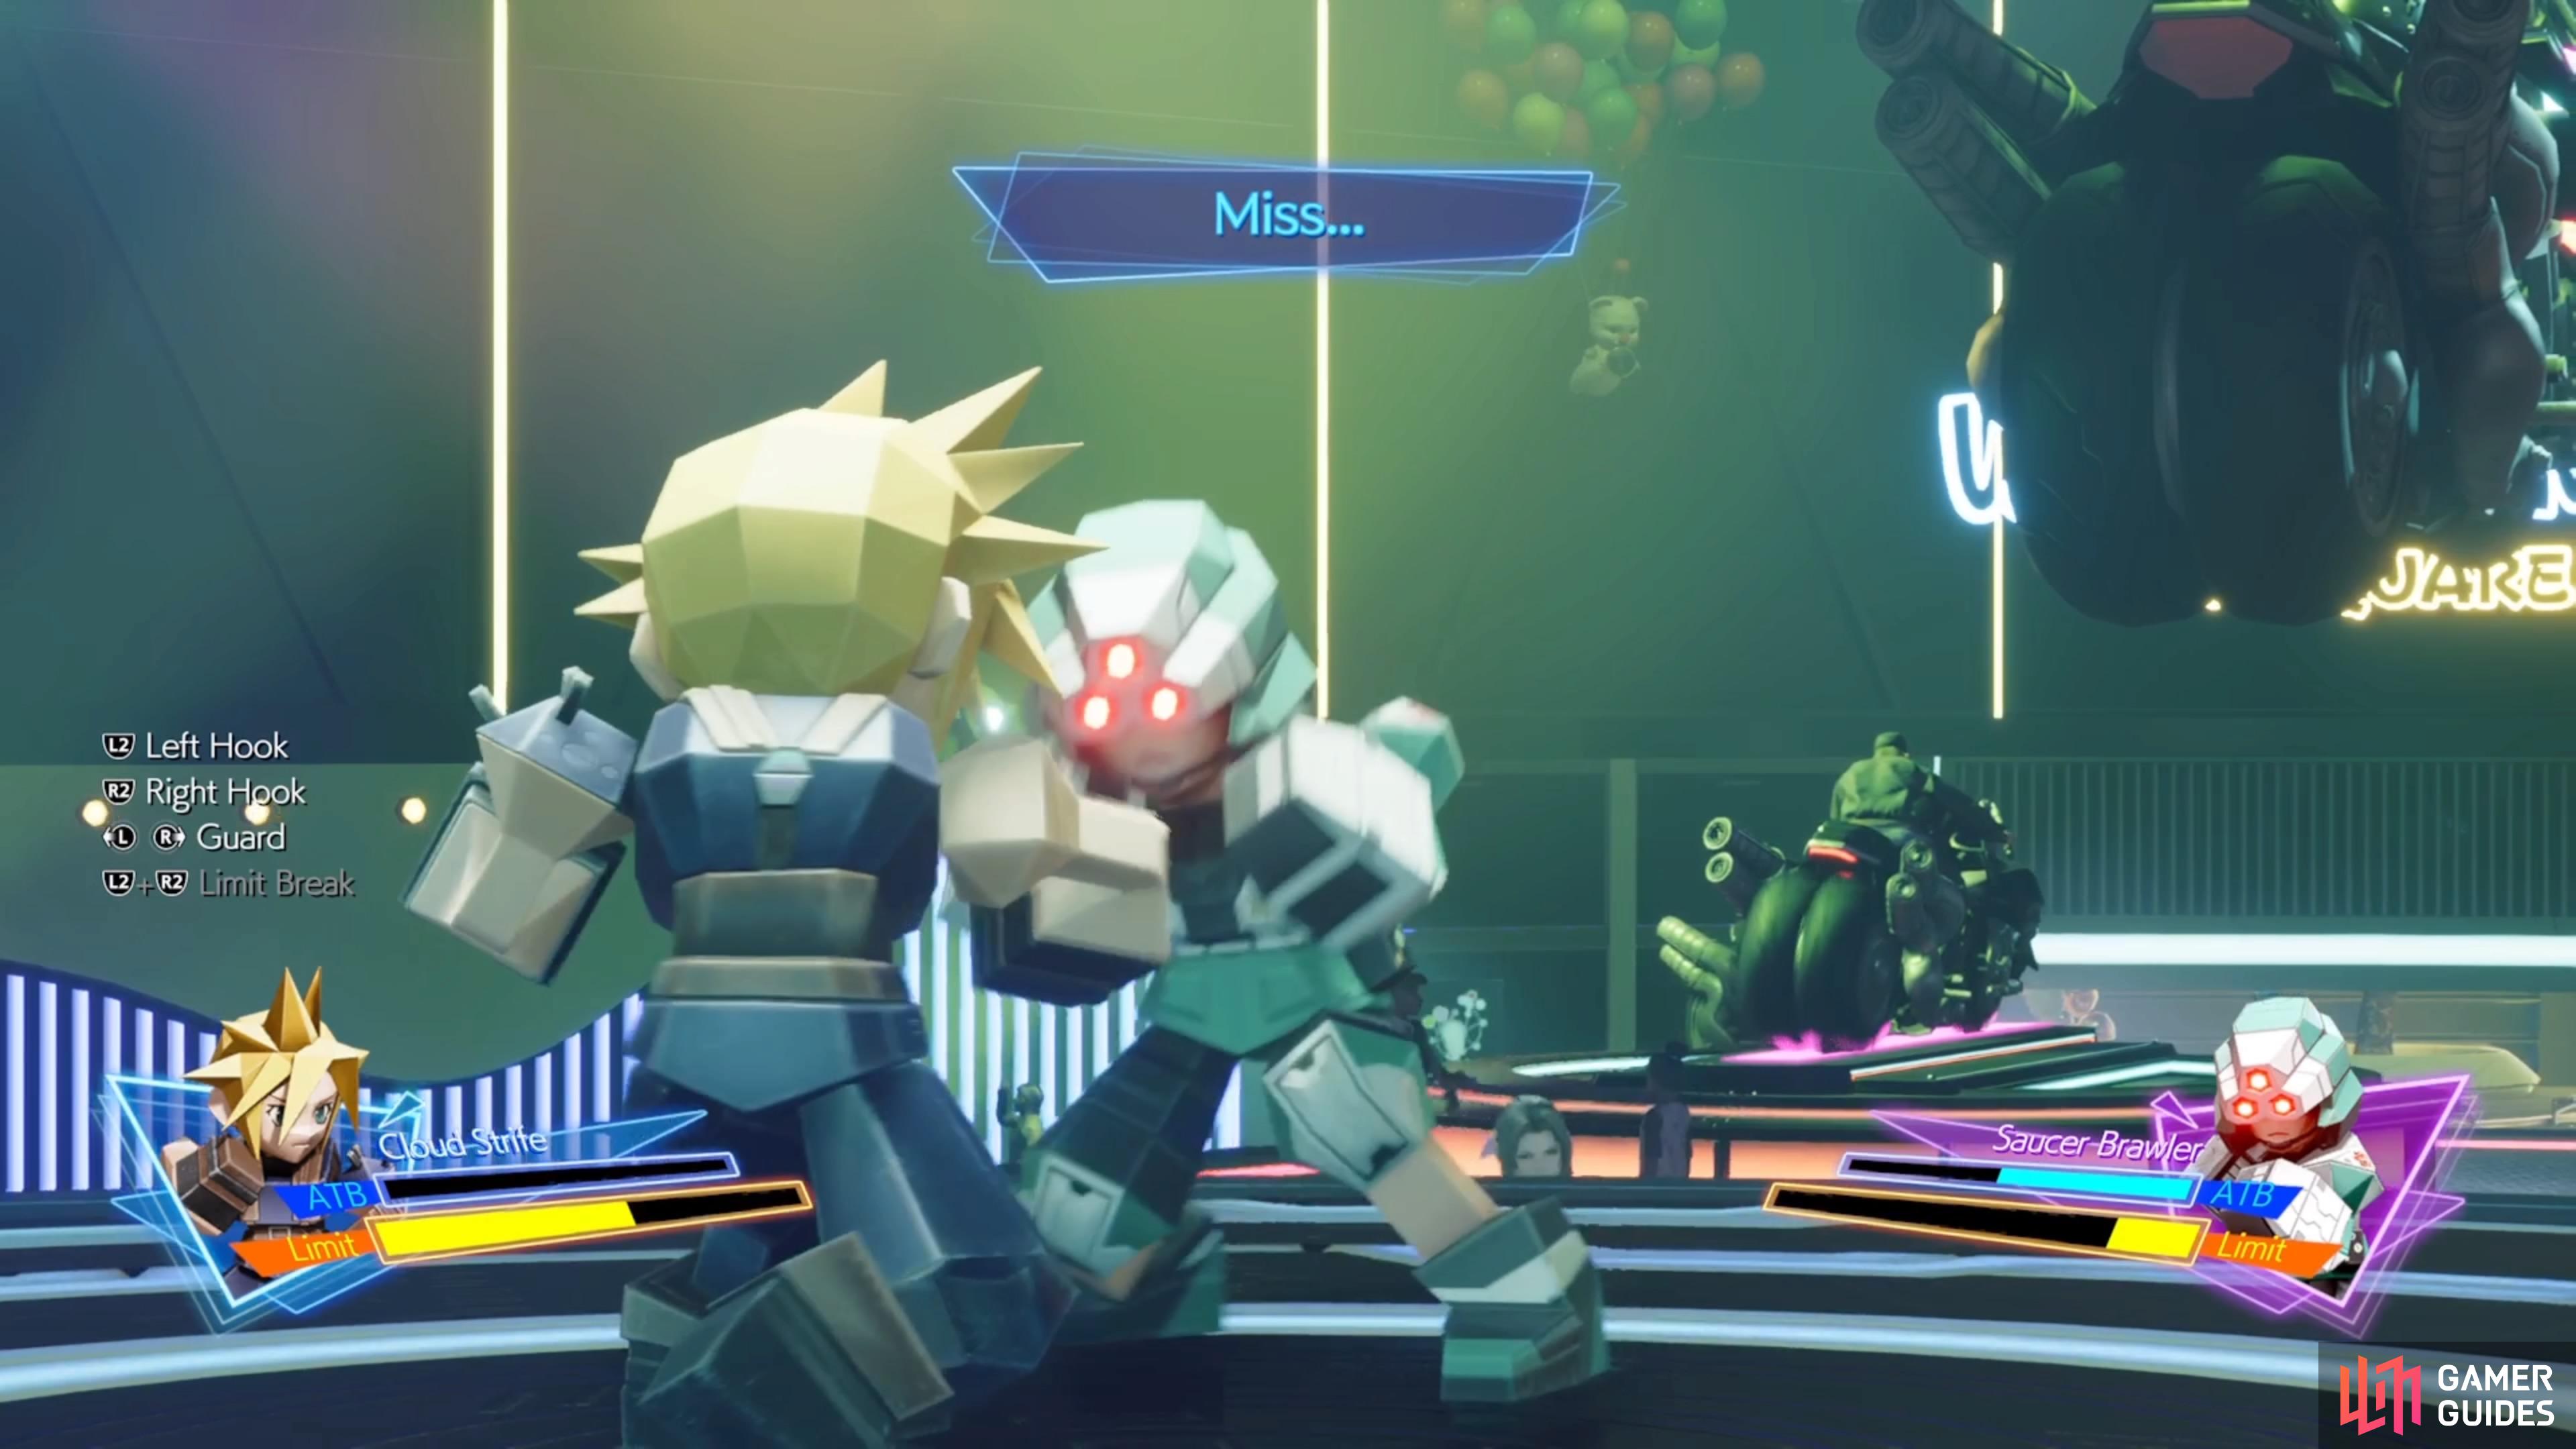
The basic premise of 3D Brawler is to fill up your Limit Gauge and use that on your opponent, before they can do the same. There are no health bars, so getting hit only means your opponent gained some Limit progress. First and foremost, this isn’t a free-for-all brawl, so don’t go spamming punches. You actually need to wait until your opponent leaves themselves open before connecting with a punch. If you try to throw a punch after they do a move, it will always miss.
That’s pretty much the most important part of the minigame. As for dodging the attacks, you will always see which attacks an opponent will have on the splash screen before the fight. However, you won’t really know which attack will be coming until you see the animation for it. Should you fail and get hit, there will be a flash at the top of the screen that shows you the correct input. Memorization is an important factor in this minigame, as once you know which attacks are which, then you should have no trouble at all.
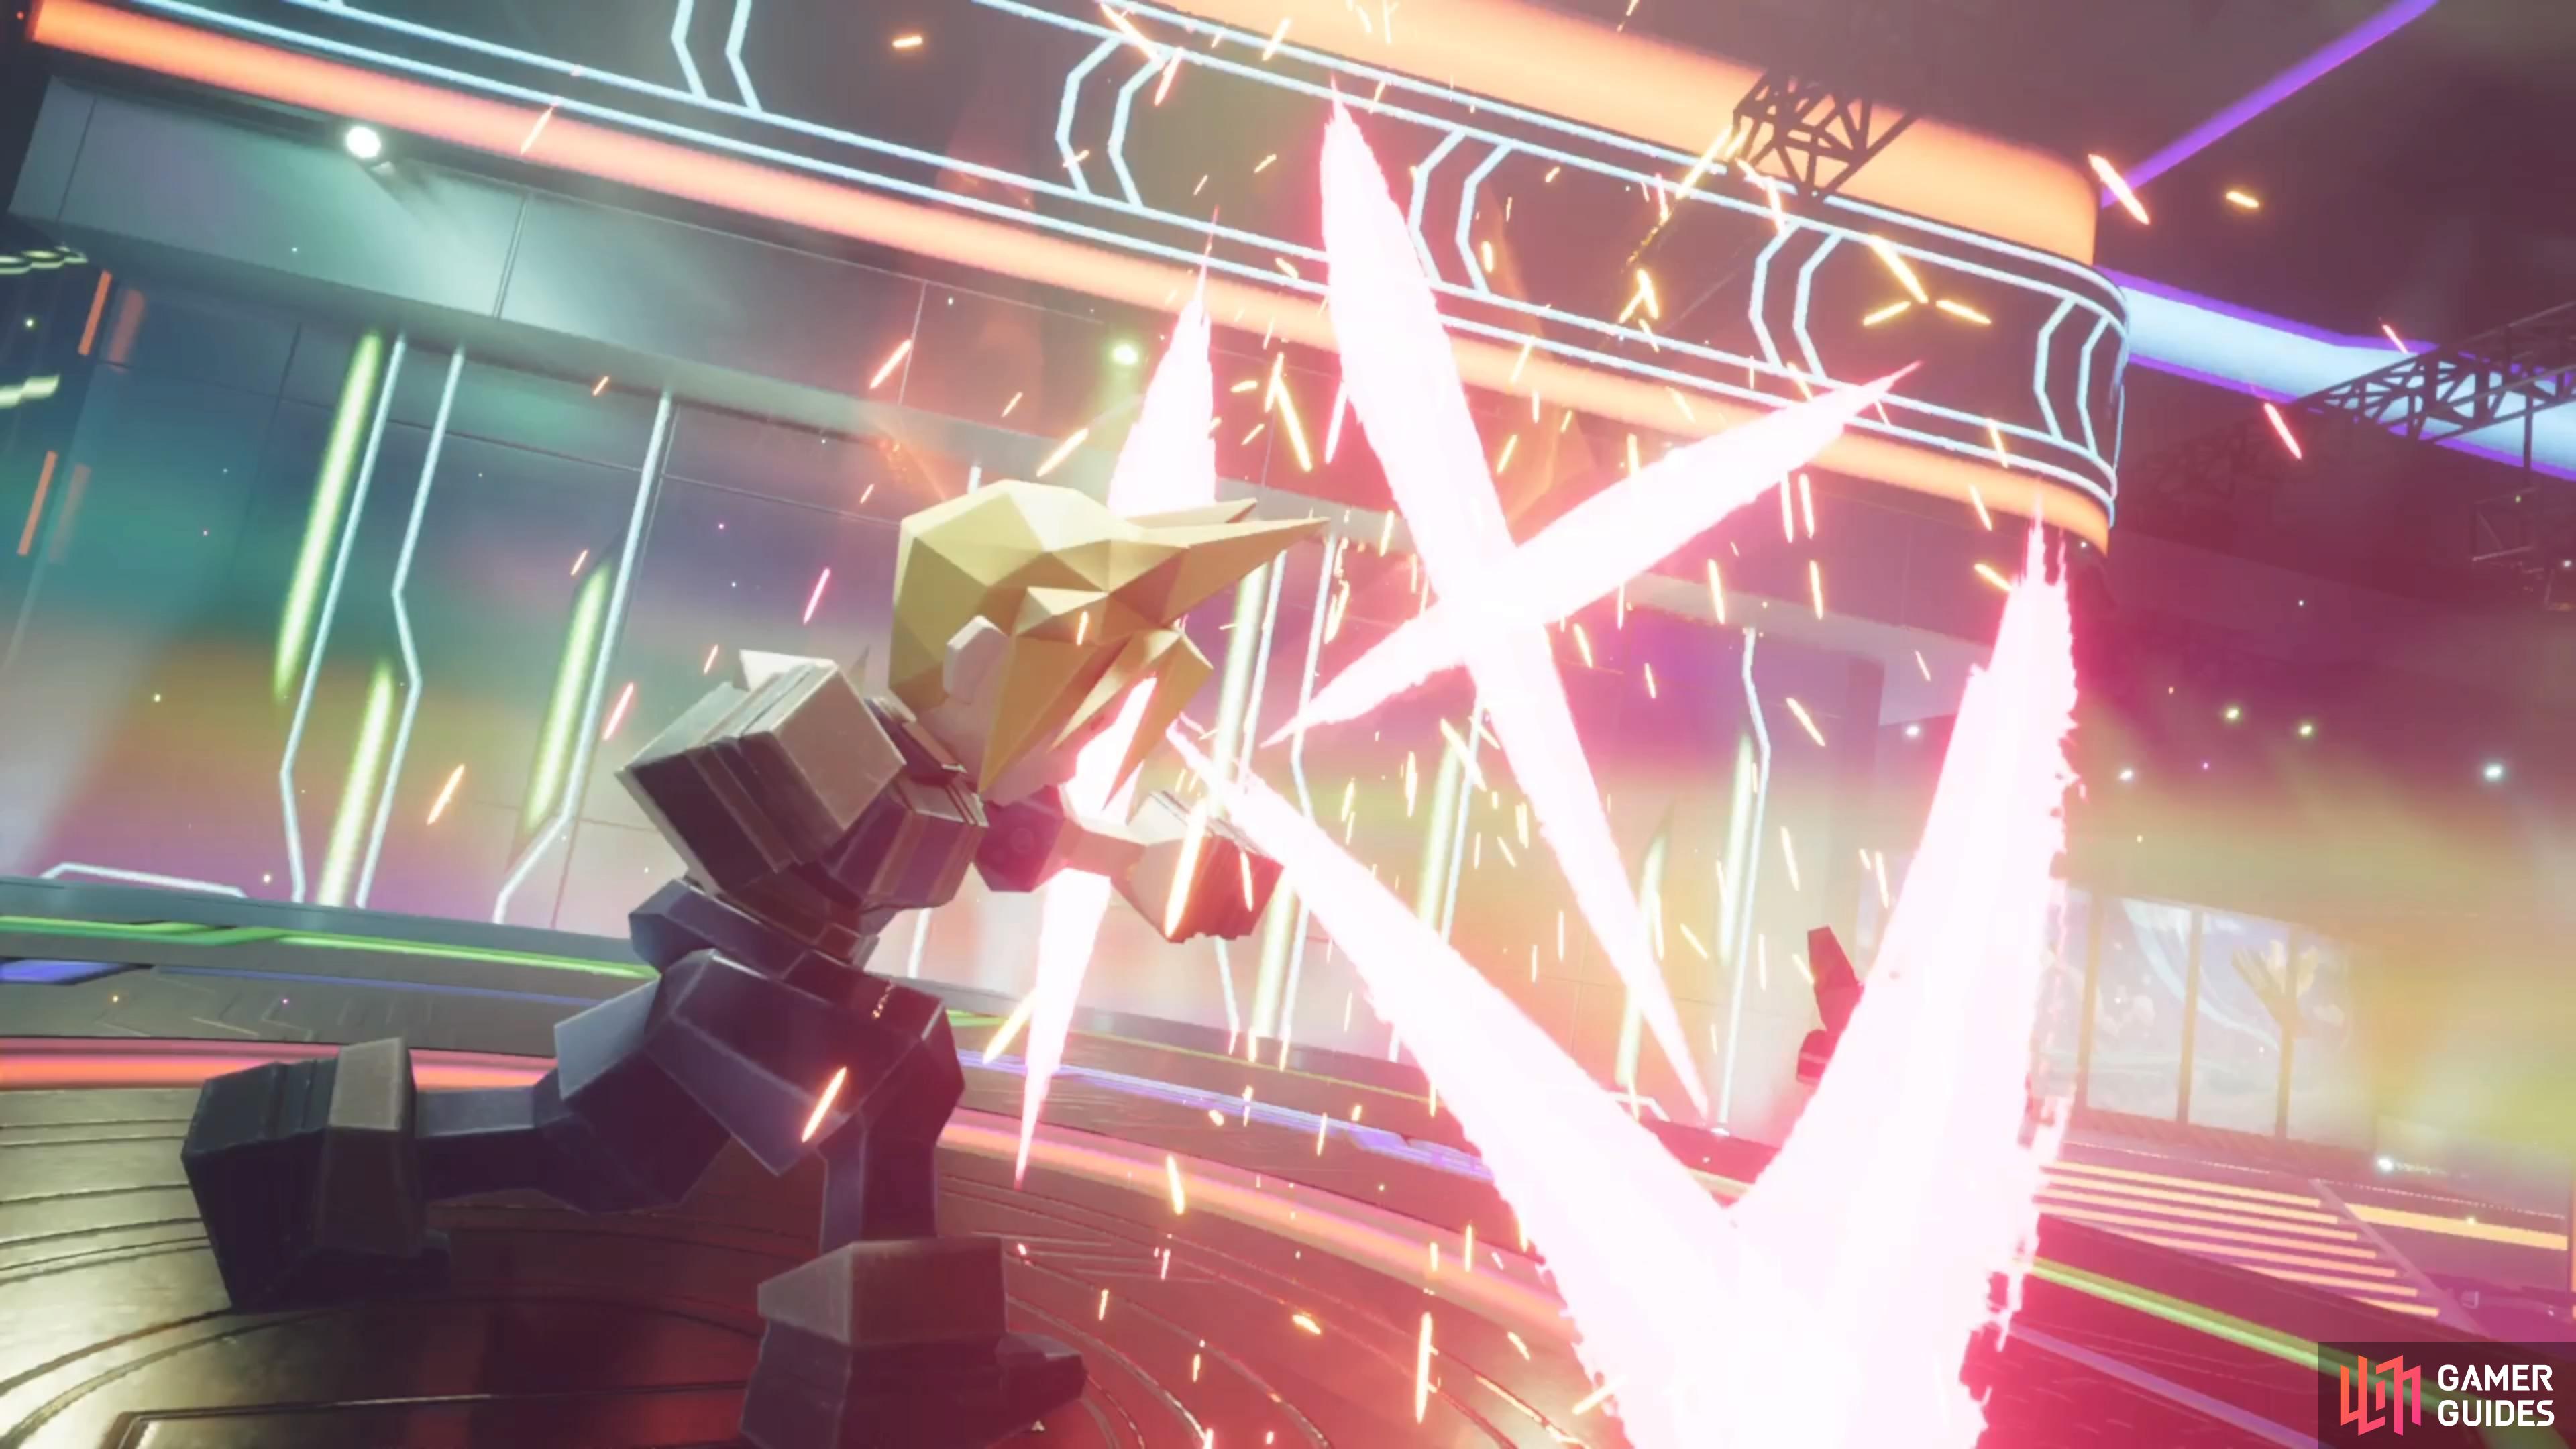
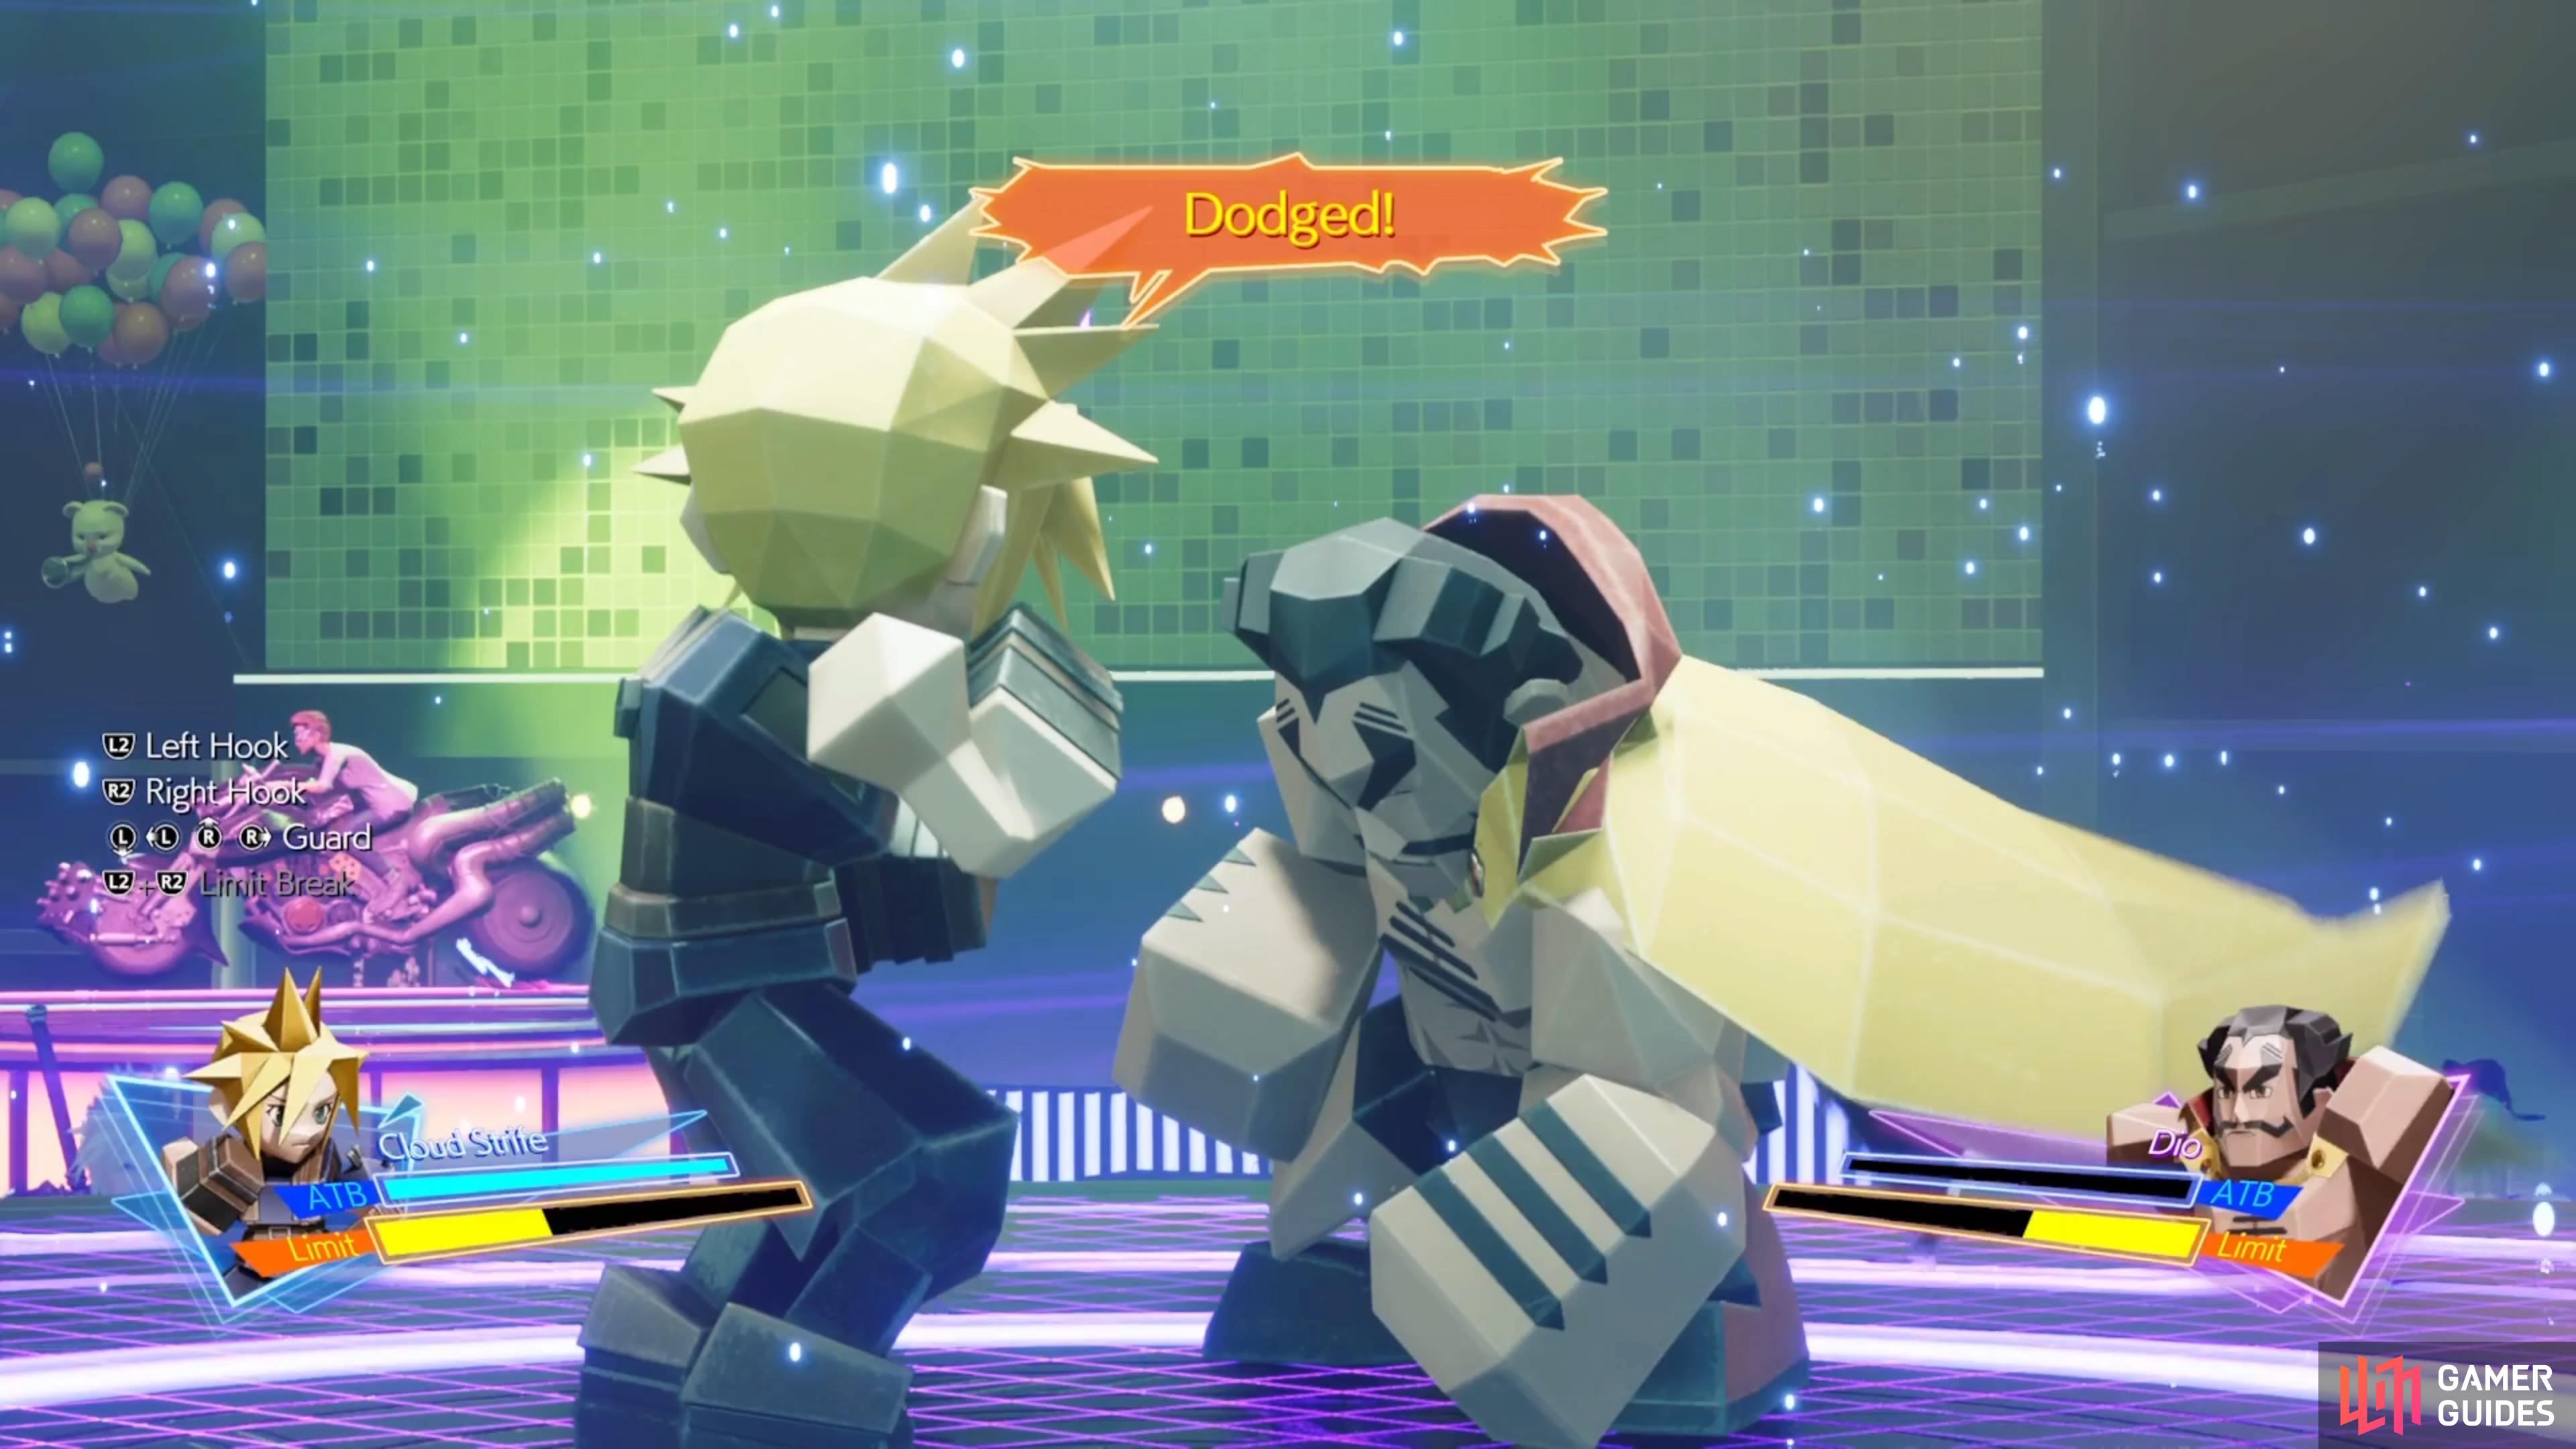
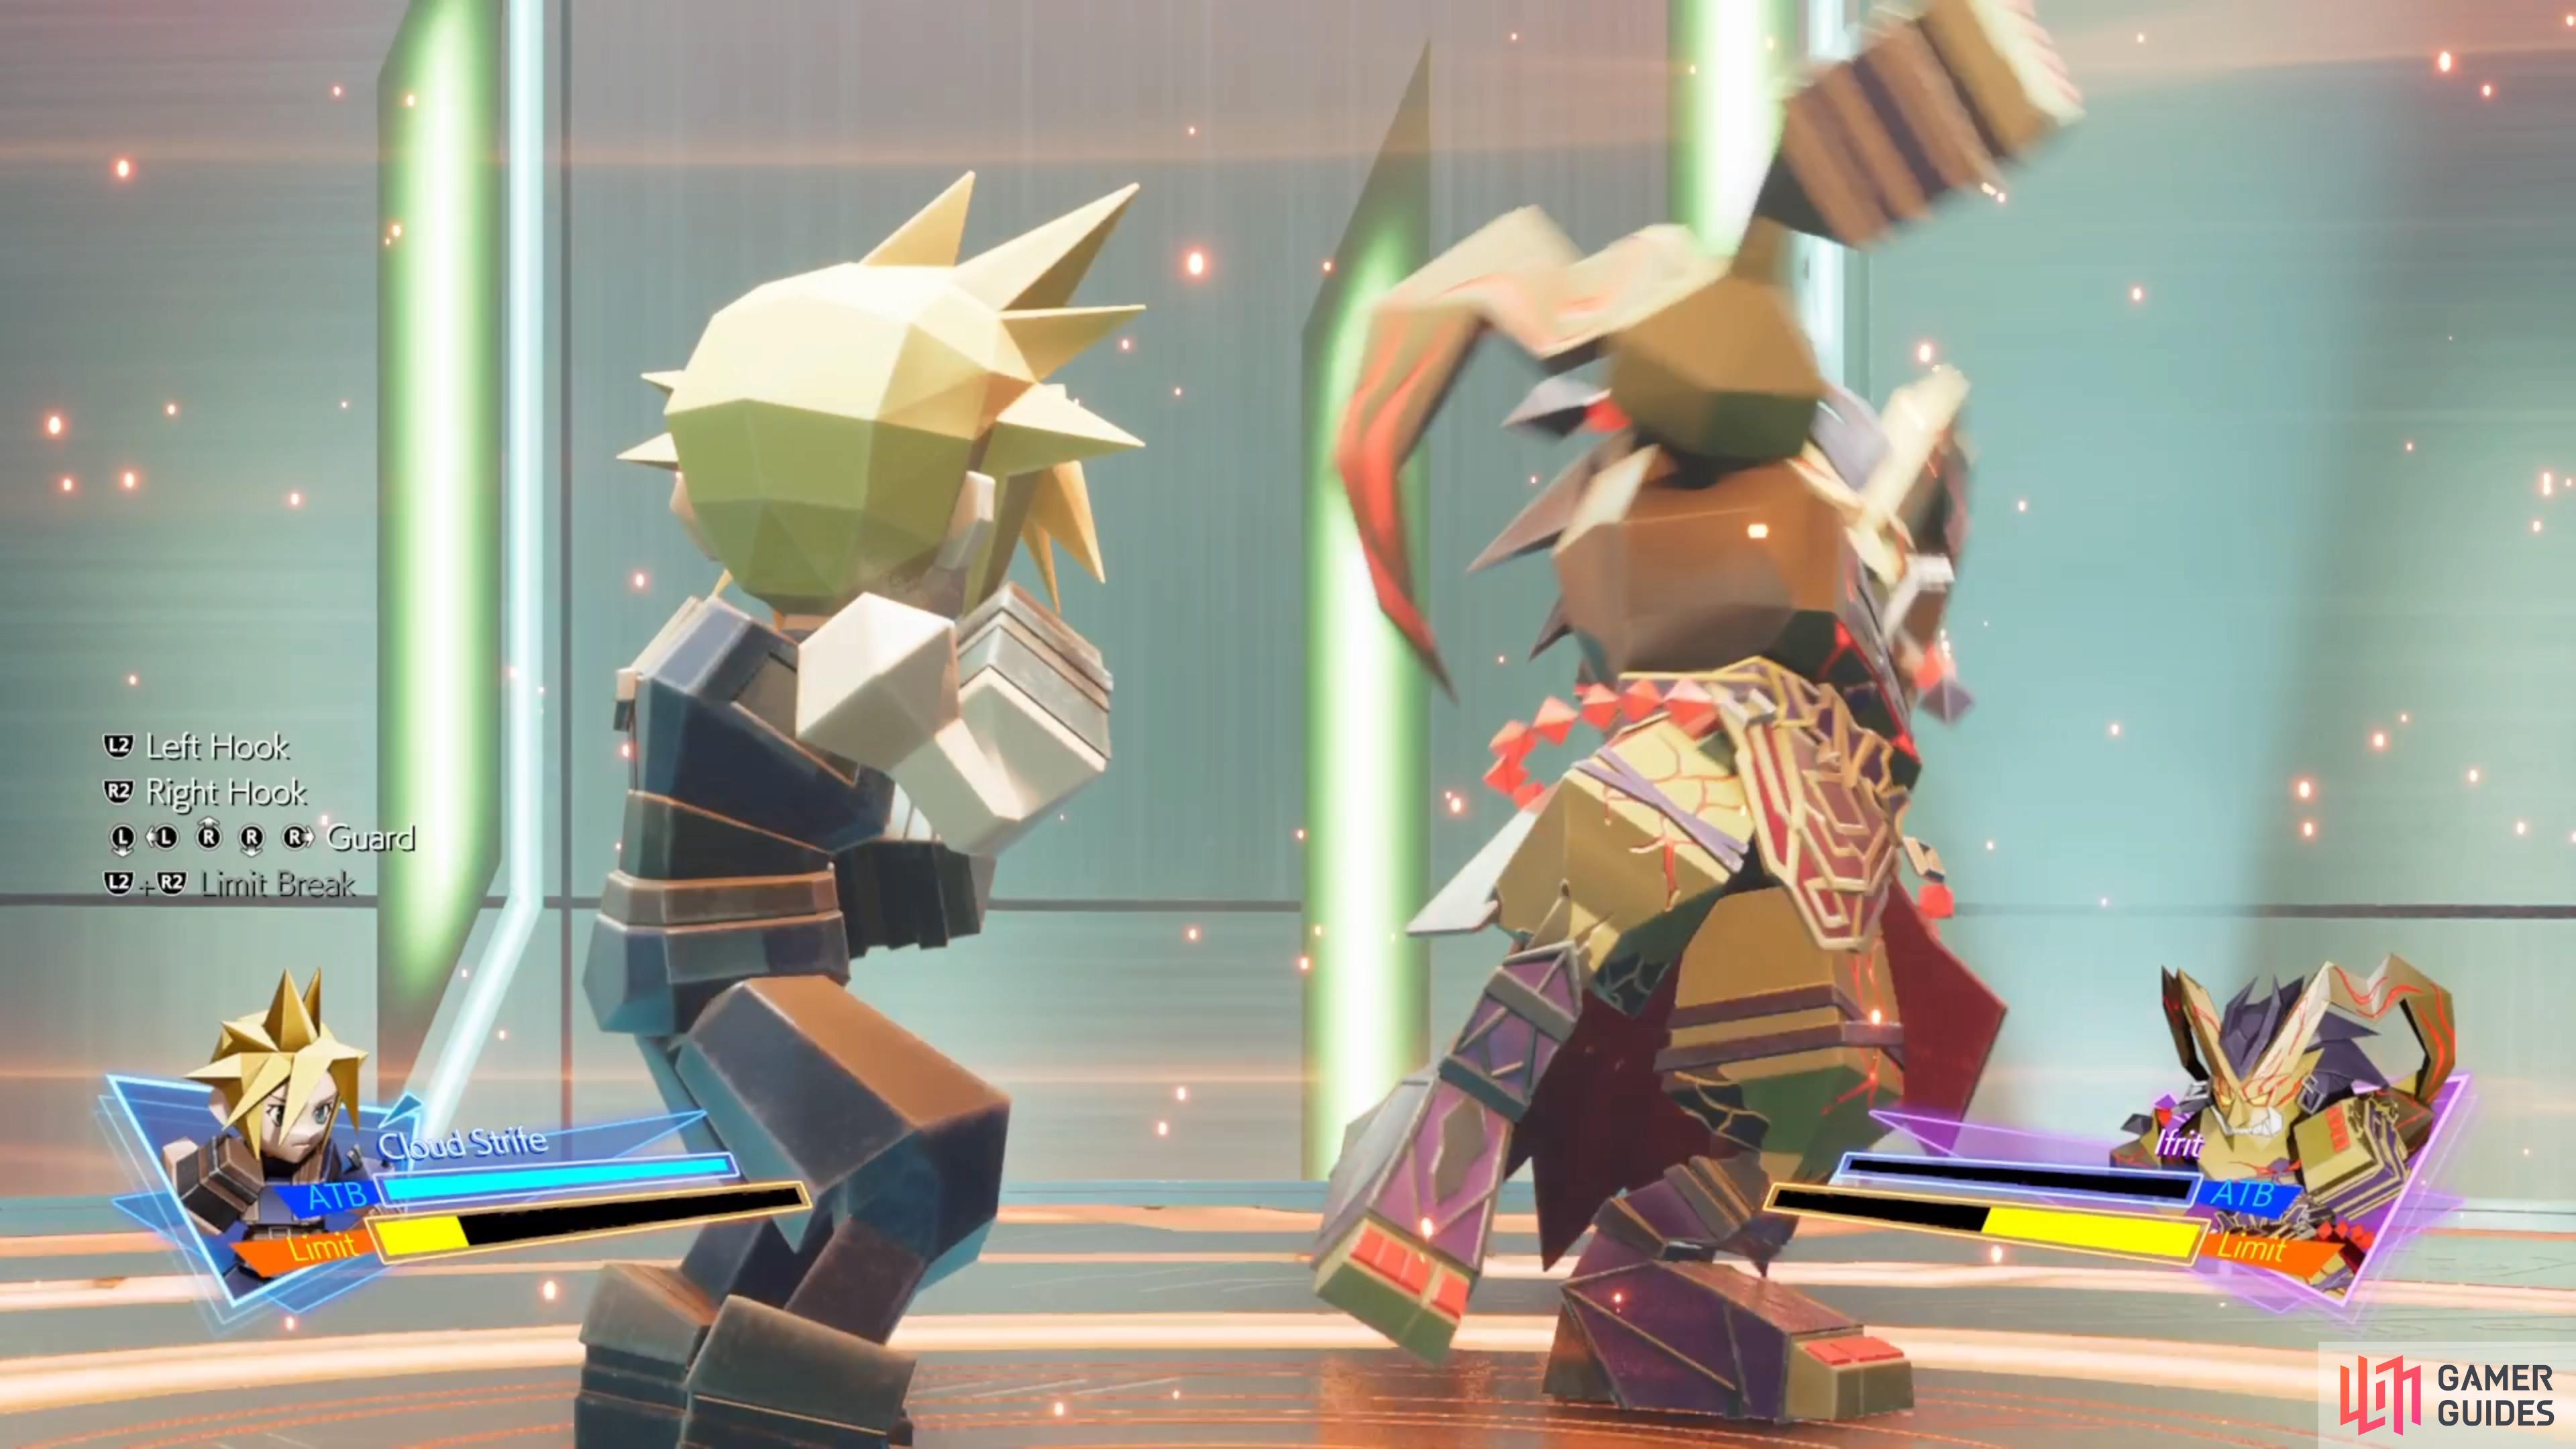
(1 of 2) Dodge the attacks thrown your way and attack during openings.
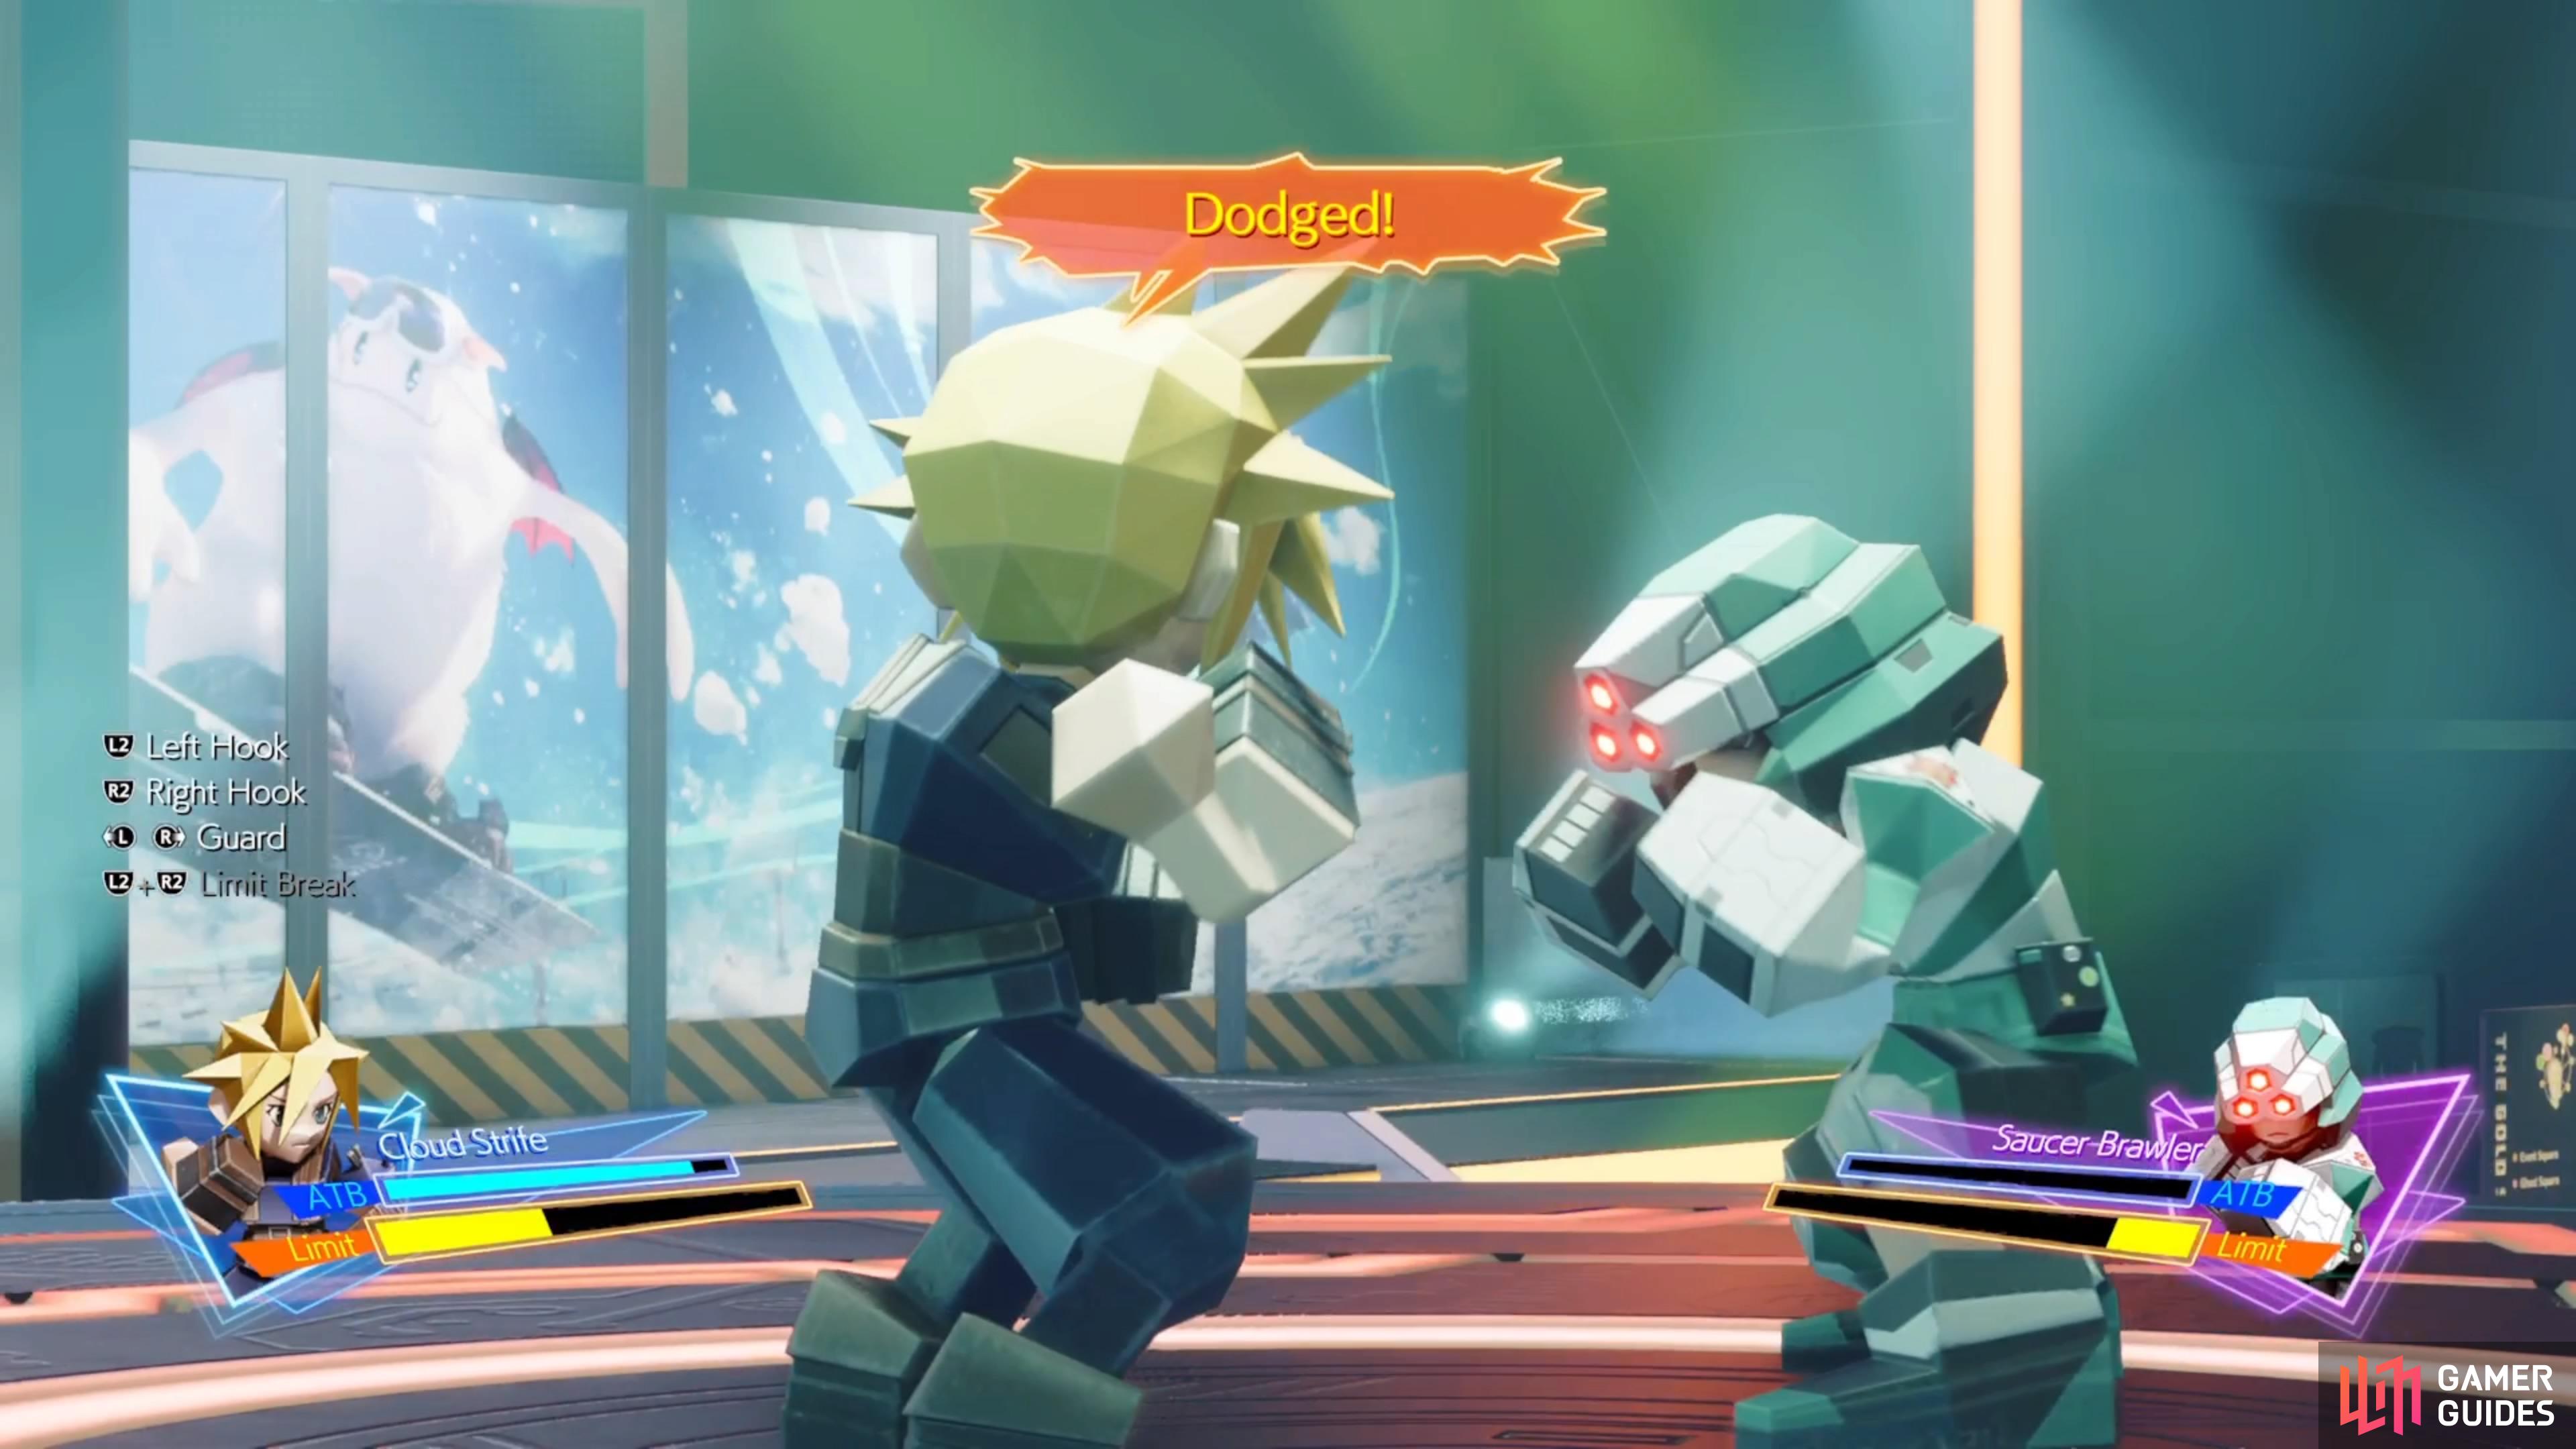
Dodge the attacks thrown your way and attack during openings. (left), Whomever uses their Limit Break first will win the battle. (right)
3D Brawler Controls
The following are the controls needed for the 3D Brawler minigame. It’s unclear if you can change these at all, but the below are the default controls.
| Button | Control |
|---|---|
| L2 | Left Hook |
| R2 | Right Hook |
| Left Stick | Dodge to the left |
| Right Stick | Dodge to the right |
| L2 + R2 | Limit Break (requires full gauge) |
All 3D Brawler Fighters
The table below will list all of the challengers you will face for the 3D Brawler minigame, as well as when they unlock, since you won’t be able to do them all at once. The rewards listed are only for the first time you complete each one. On repeat attempts, you will only receive Gold Saucer Points in a lesser amount than the first time.
| Opponent | Unlock | First-Time Reward |
|---|---|---|
| Saucer Brawler | Chapter 8 | |
| Fat Moogle | Chapter 8 | |
| Dio | Chapter 8 | Silver Butler Gloves, GP x200 |
| Shiva | Chapter 12 | Dark Matter, GP x270 |
| Ifrit | Chapter 12 | Golden Brawler’s Gloves, GP x350 |
Saucer Brawler - 3D Brawler
As your first official opponent, the Saucer Brawler is definitely the easiest of the bunch. He only has two moves, a left hook and a right hook, so you can easily know which attack is coming and which way to dodge. The only thing that might be confusing, since this could be considered a tutorial, is which attack to use and when. The key thing there is to look for when the Brawler stands there doing nothing, with one of his arms dangling.
(1 of 3) The key strategy for 3D Brawler is recognizing the attack and dodging accordingly.
If his right arm (left from your point of view) is dangling, then you use a left hook to hit him and the same will be true for the other side. The game is quite liberal for when you can initiate a dodge to avoid his attack, so you can do it whenever you see the arm going back.
Fat Moogle - 3D Brawler
If the Saucer Brawler was kind of a tutorial, then the Fat Moogle will be your first true opponent. In addition to the left and right hooks, the Fat Moogle will use two additional punches. These are the exact same for each hand, but you will need to dodge by tilting the appropriate analog stick to the up position, instead of to the sides. It might take one or two attempts to get the difference between the hook and the straight punches, though, as they might seem a little similar to one another.
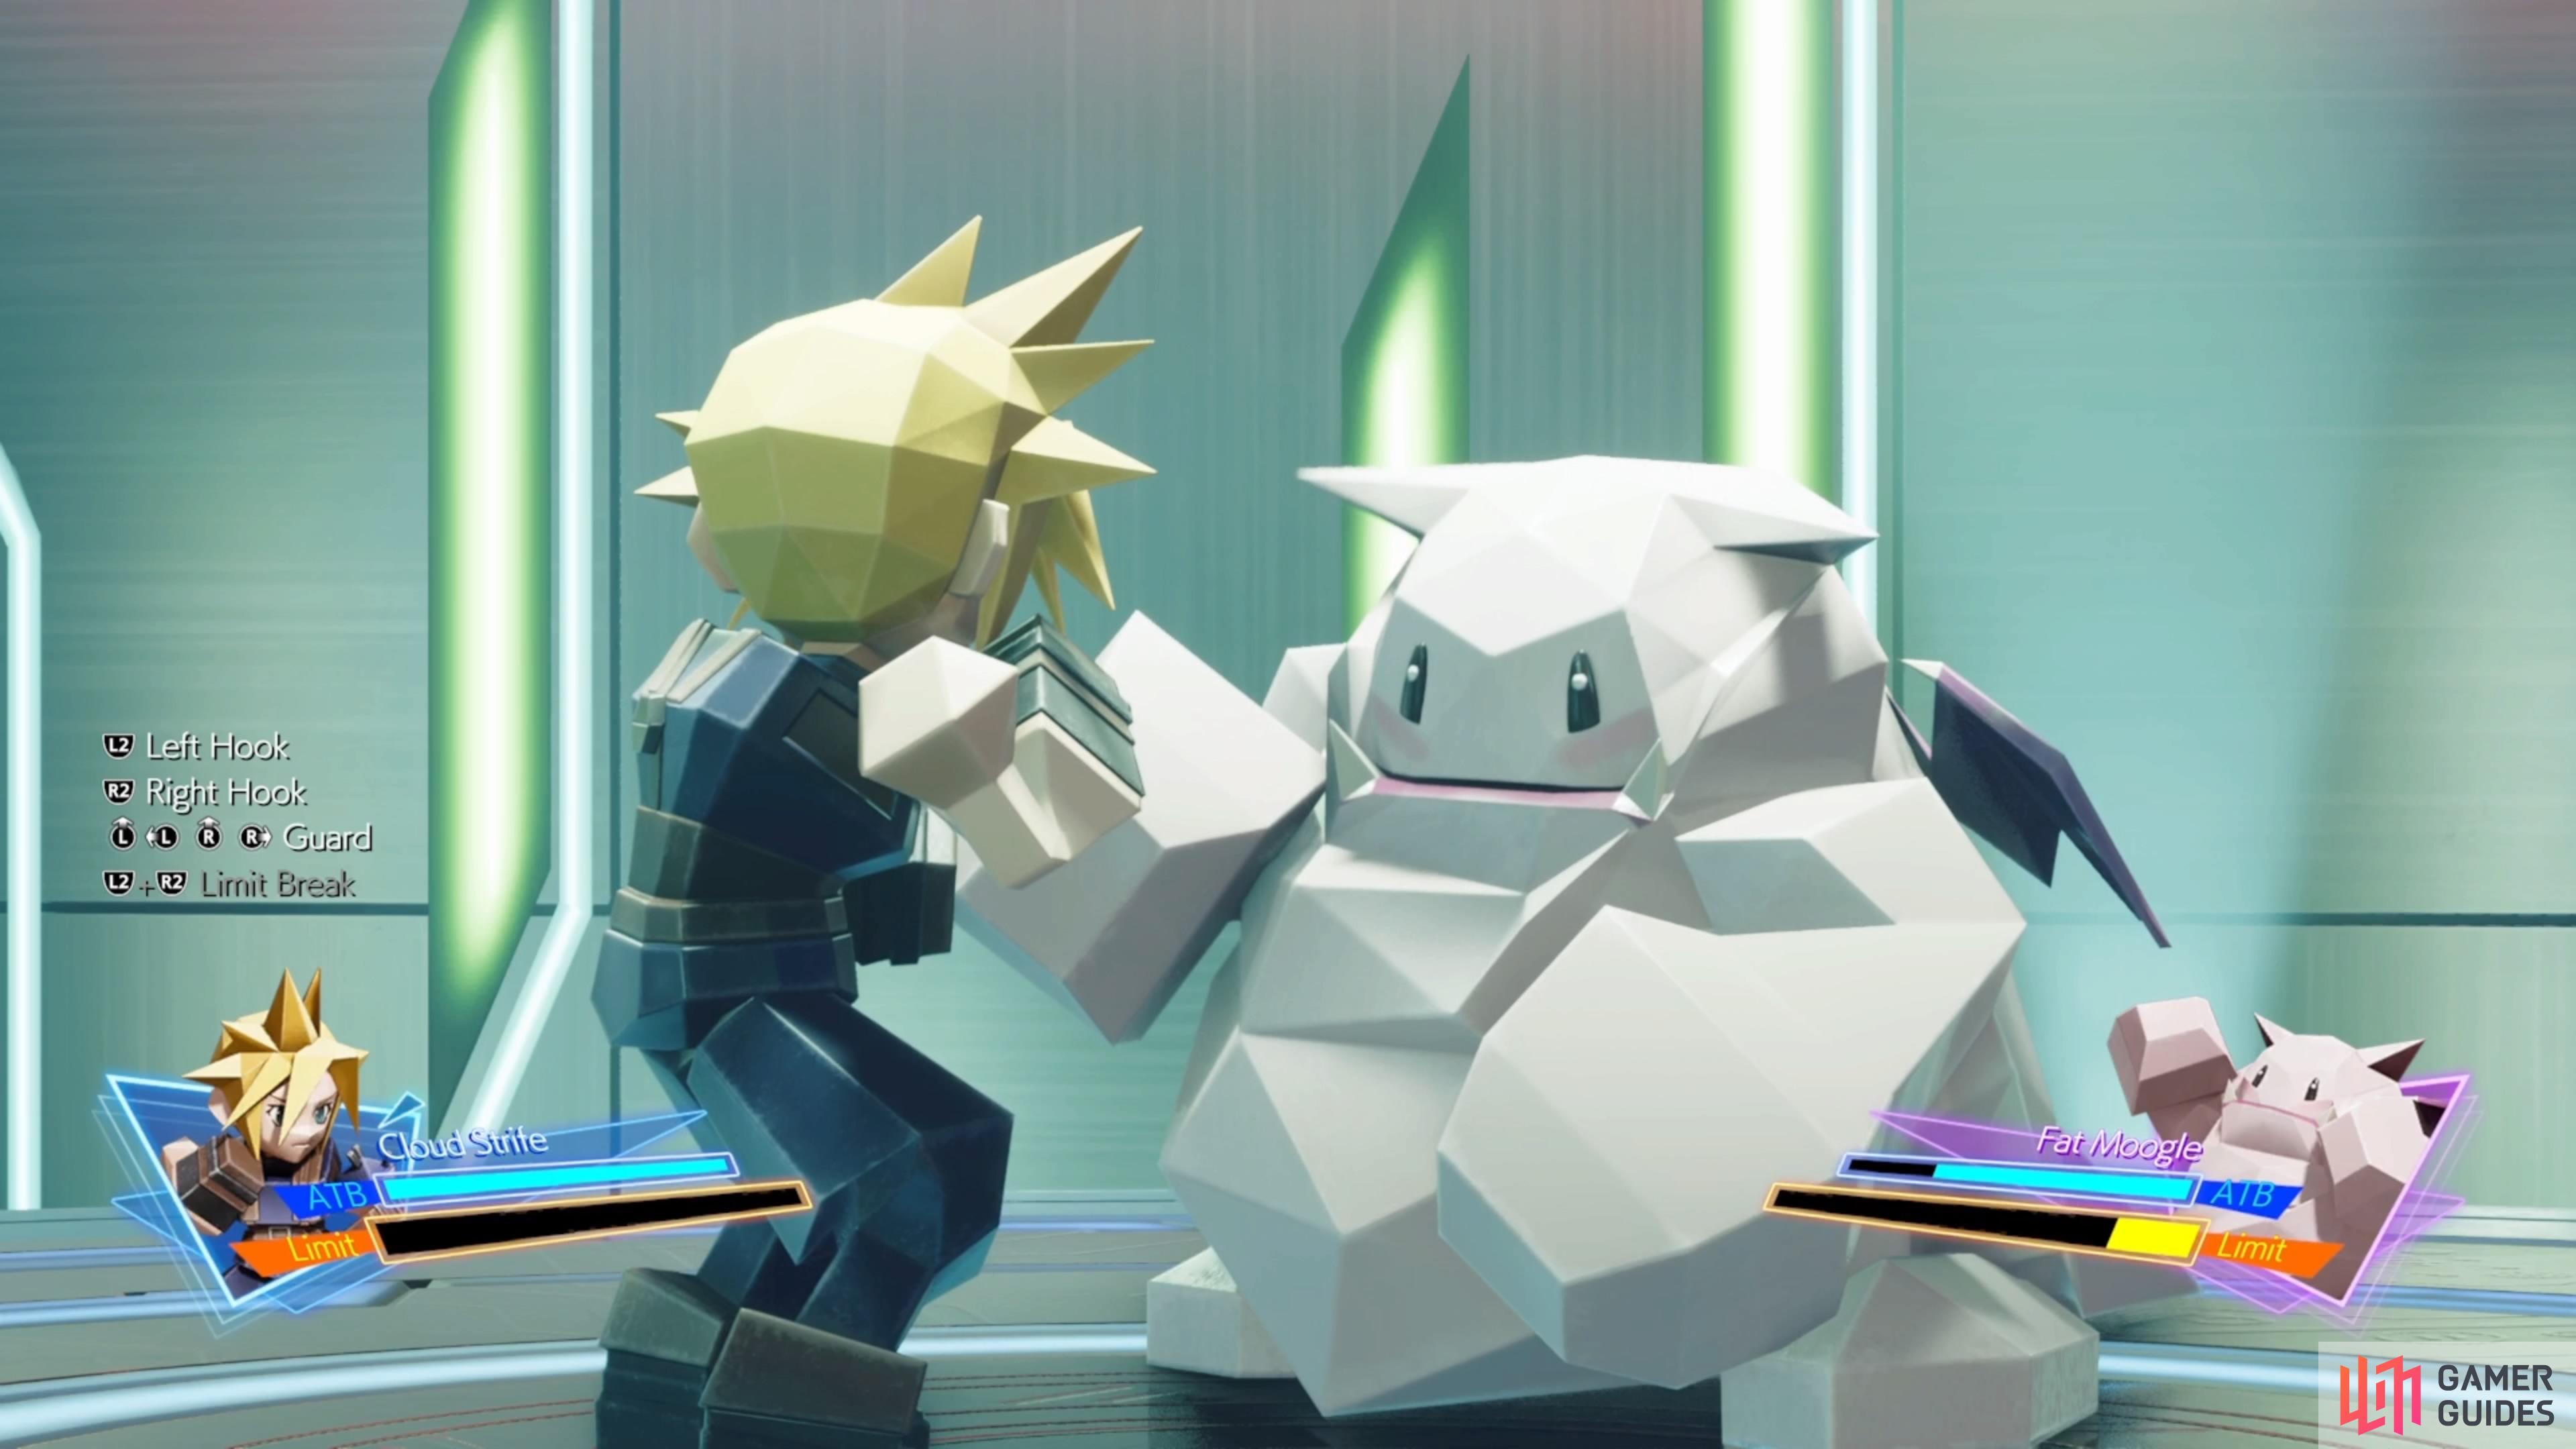
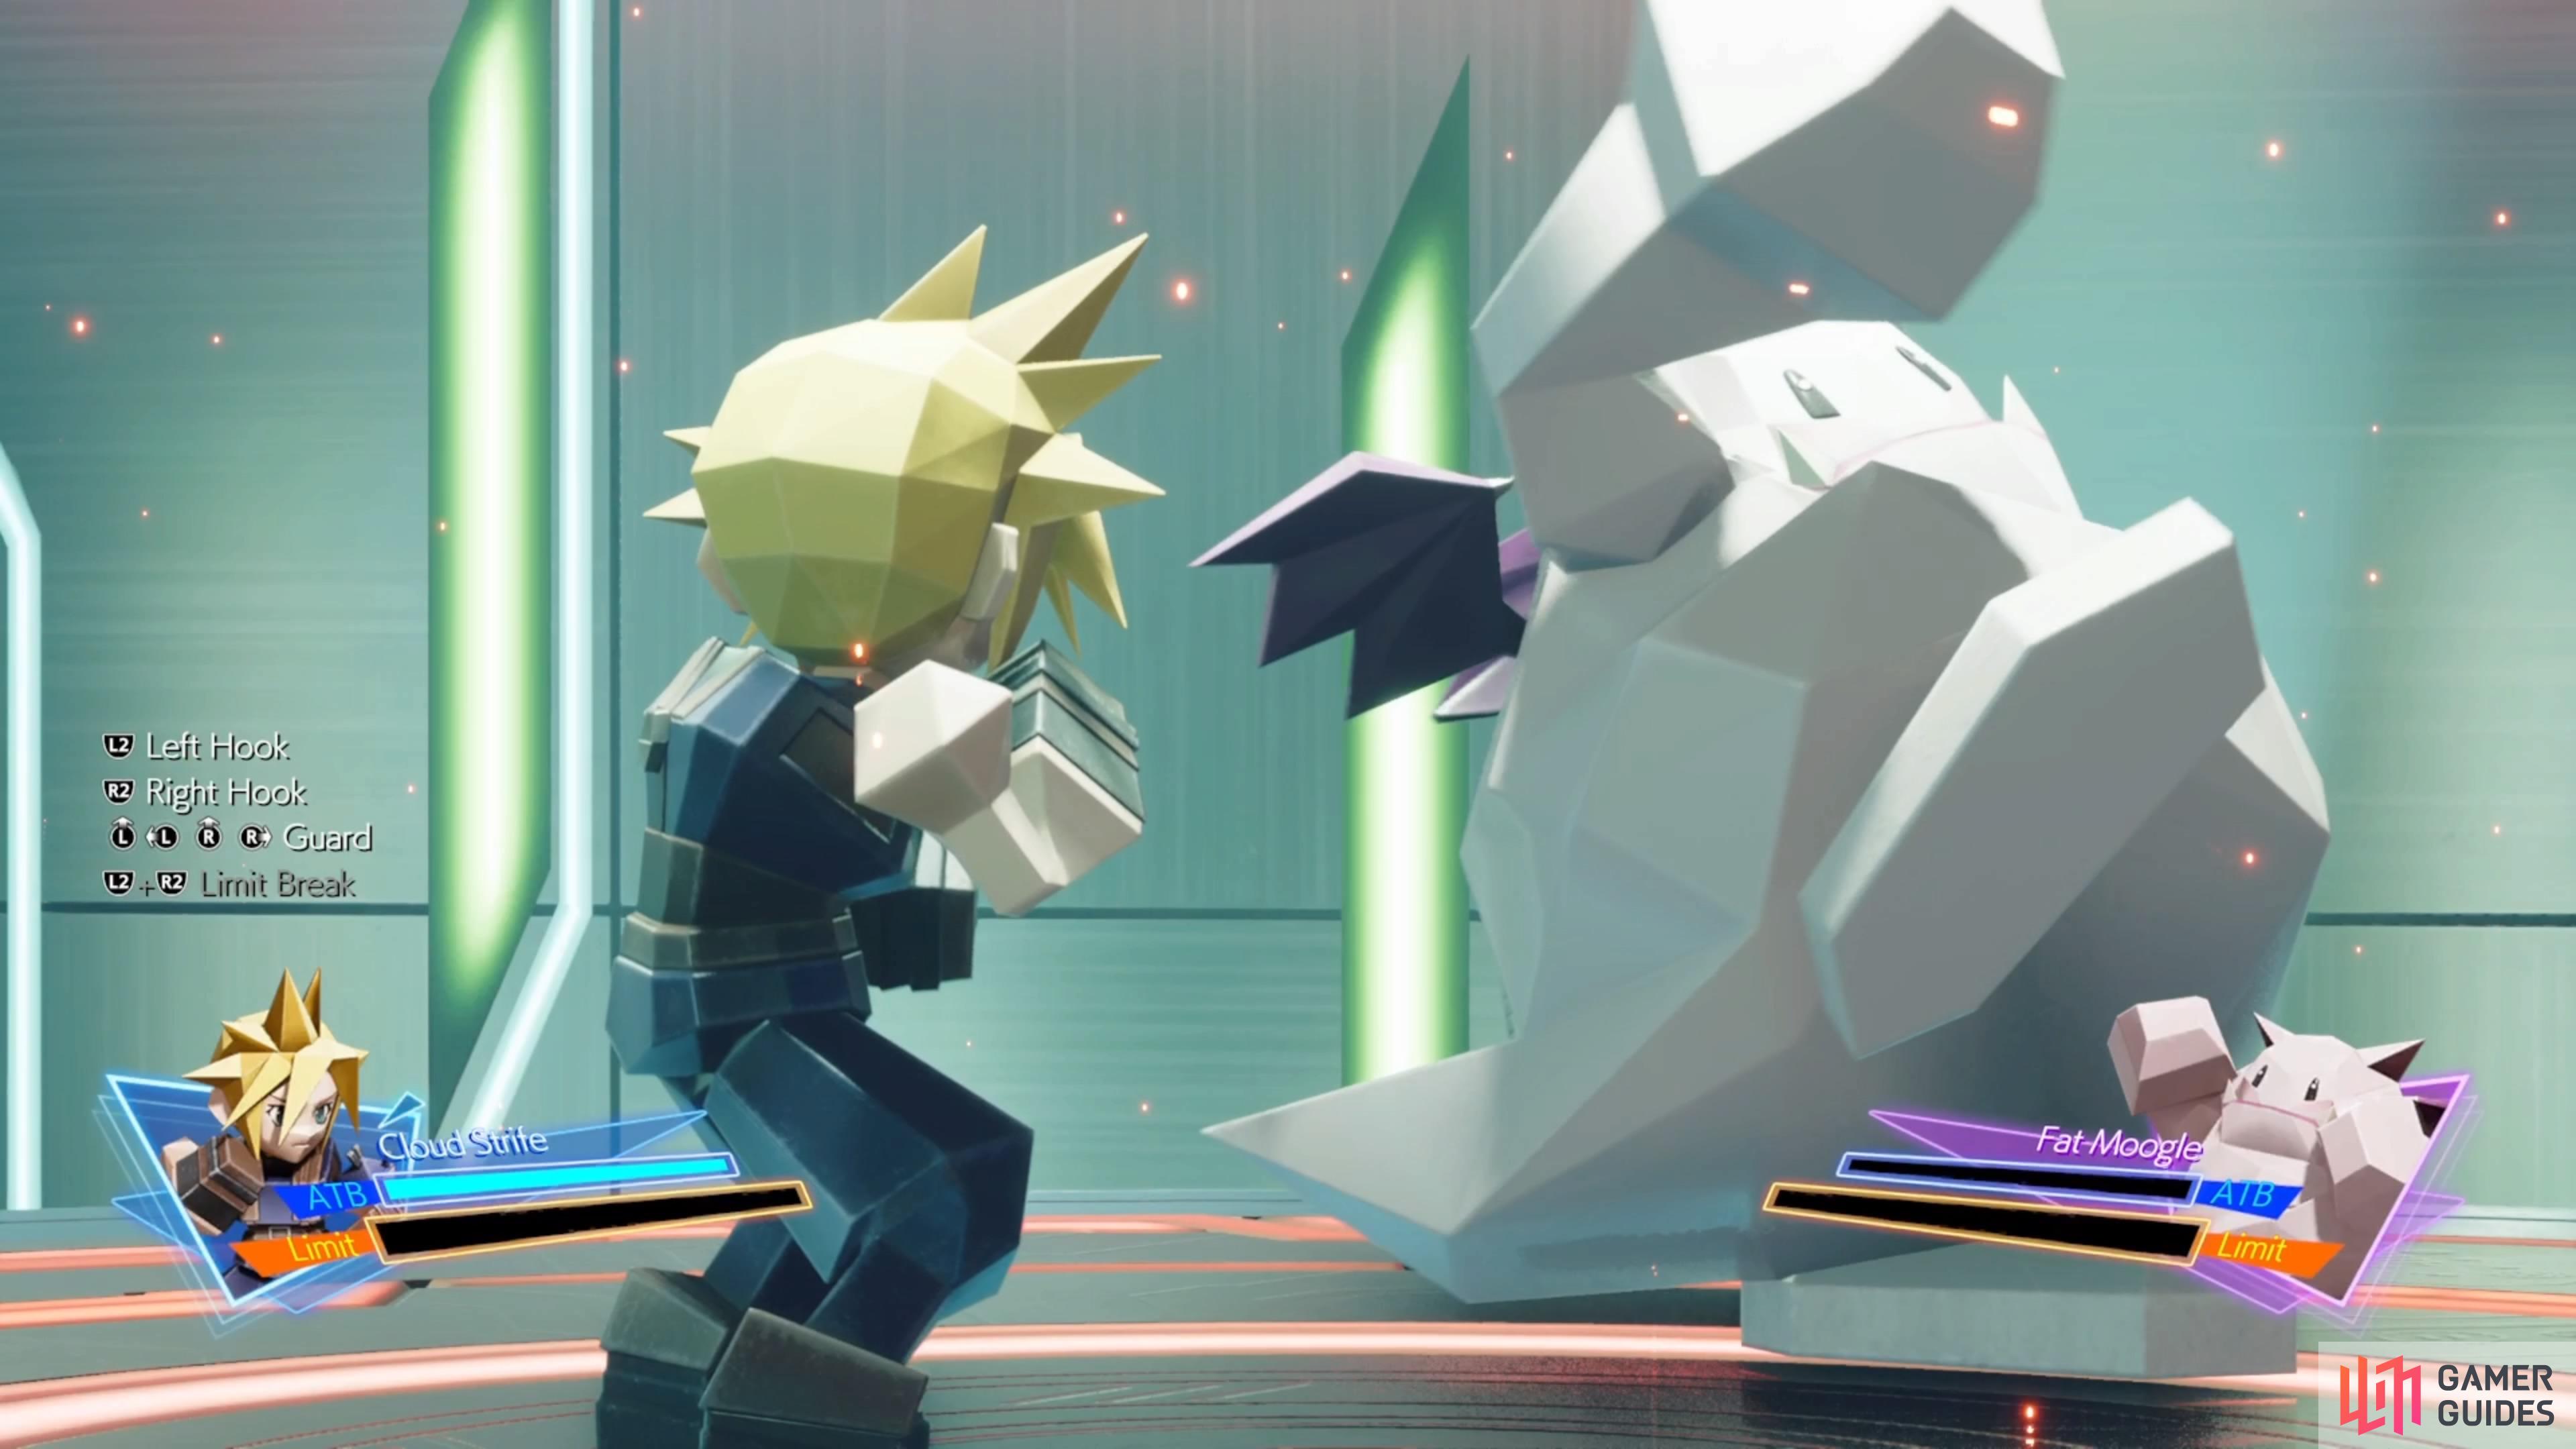
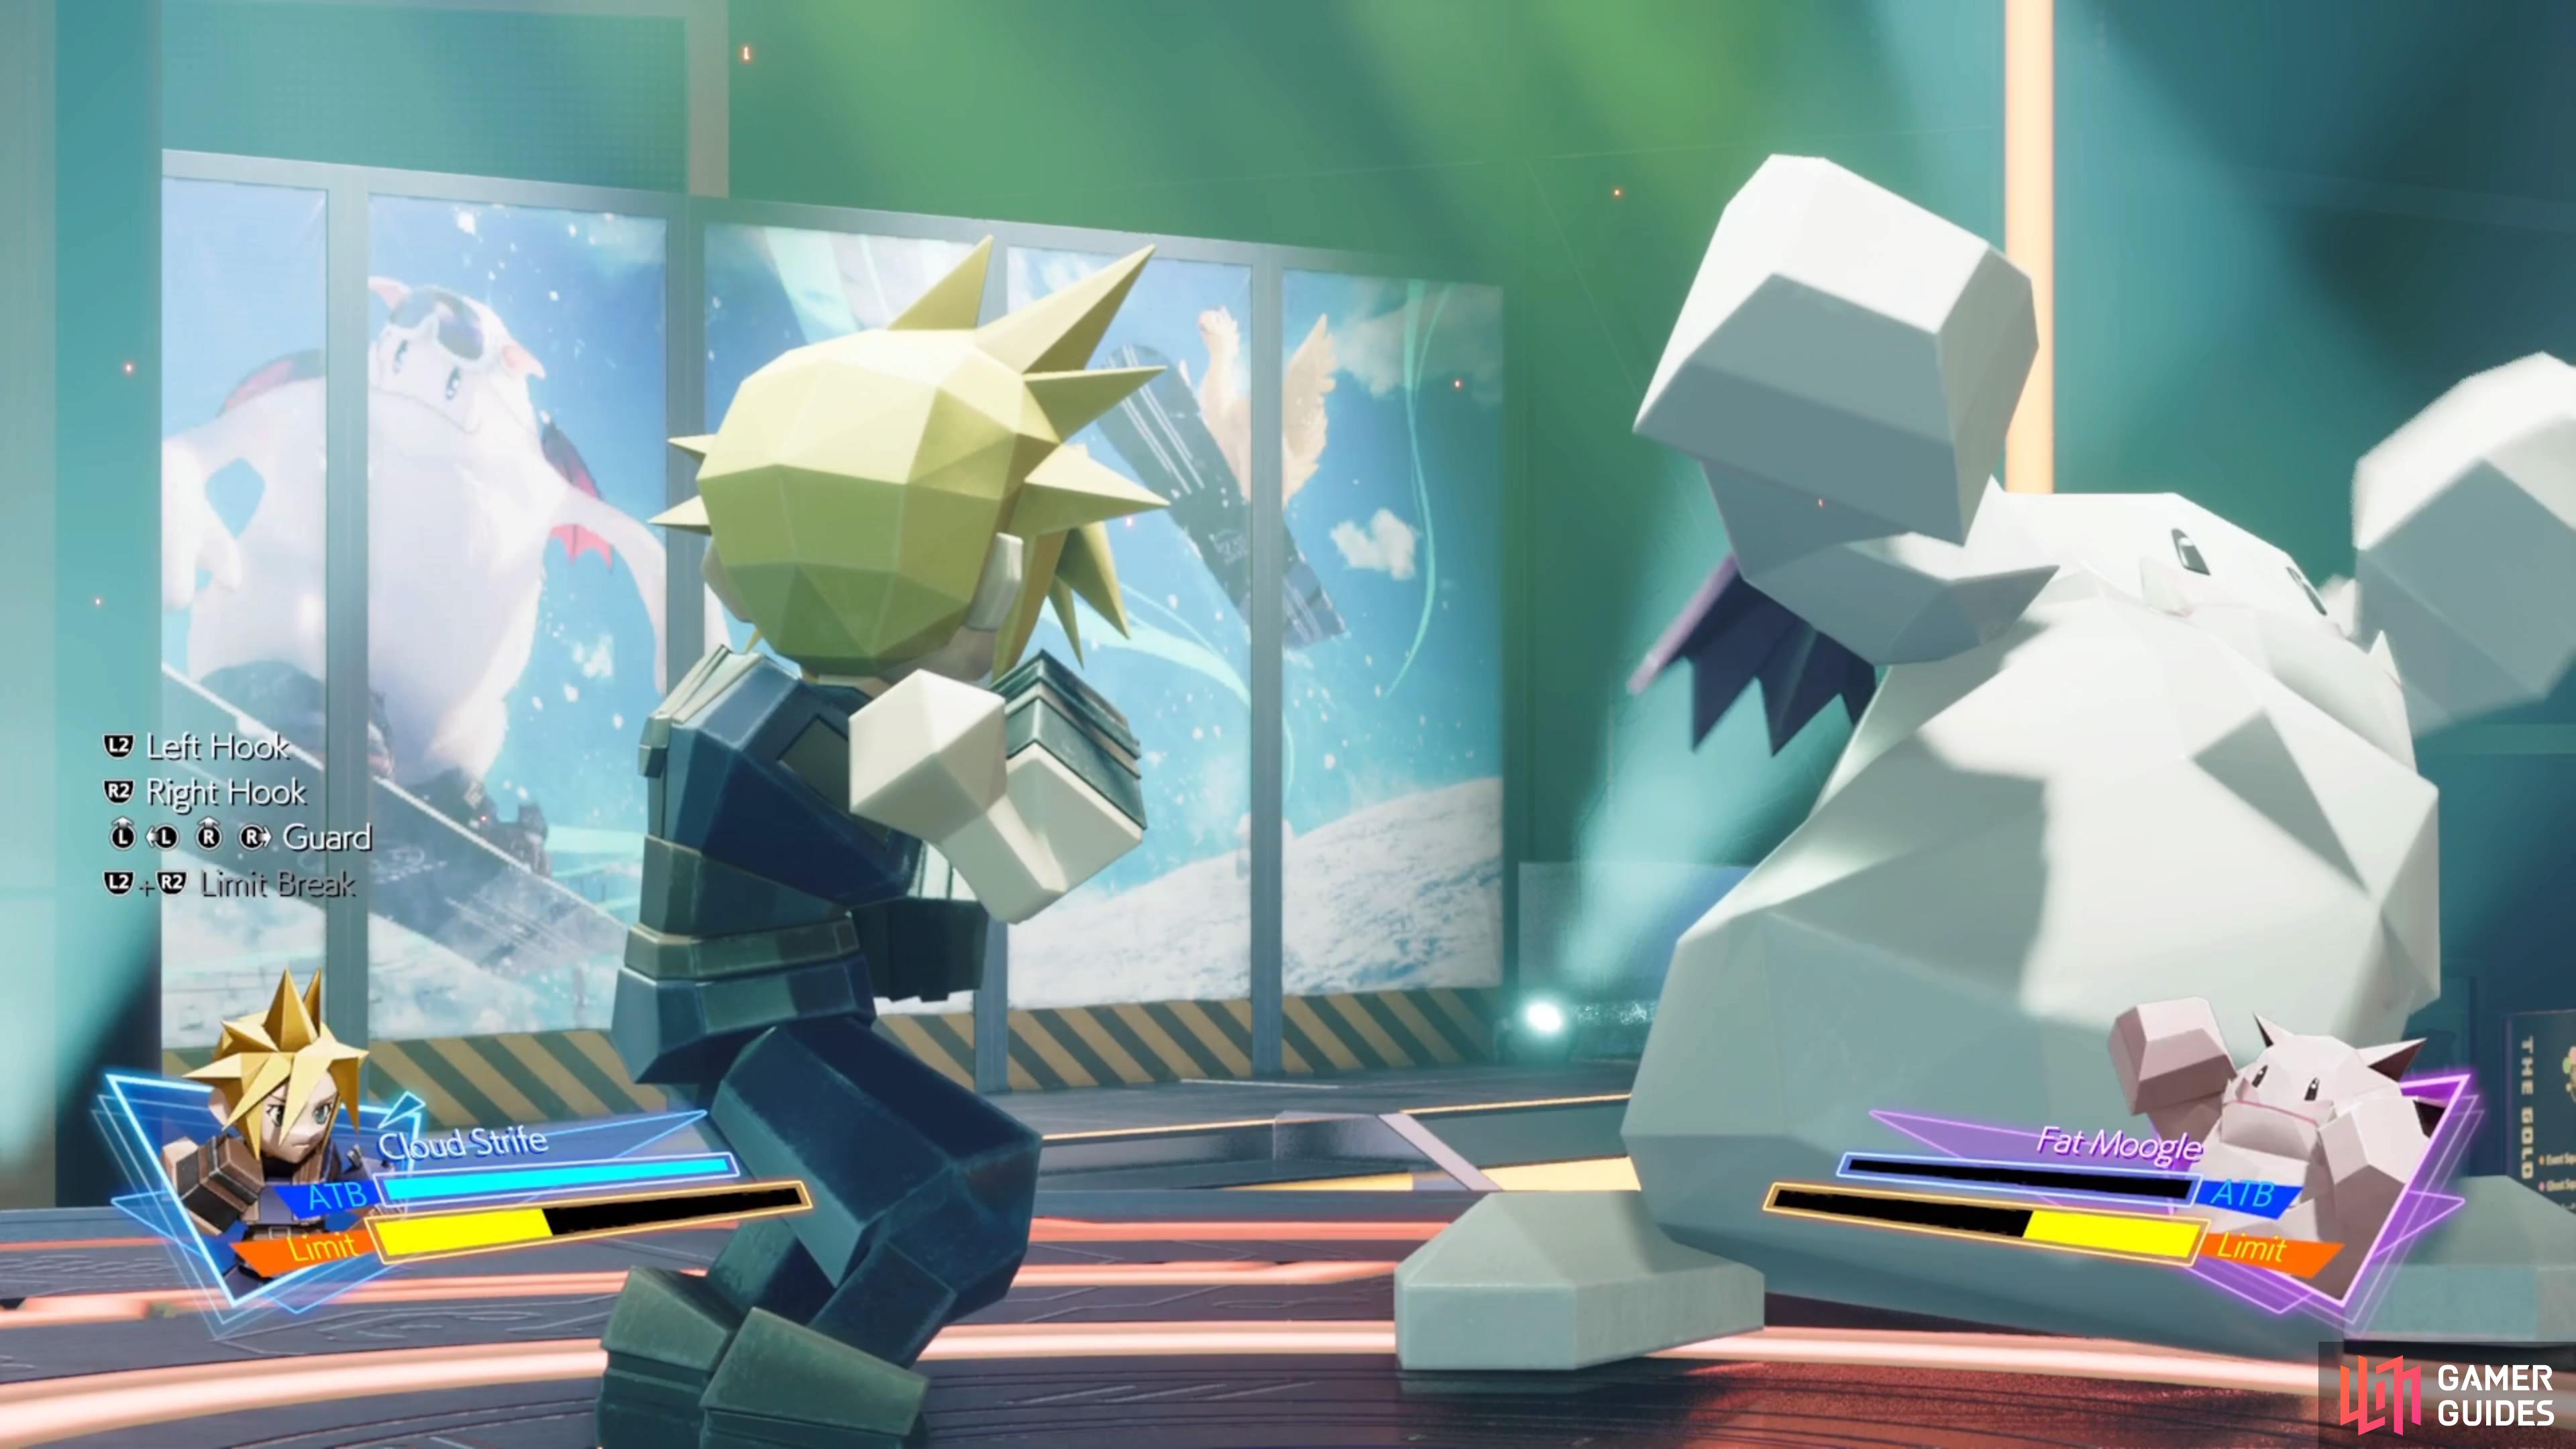
(1 of 3) Fat Moogle has a similar stance for when you need to attack.
When the Fat Moogle uses the straight punch, it will wind up a little bit by rotating its hand once or twice. If it doesn’t do this little wind-up, then you know it’s going to be a hook. Other than the straight punch, the fight against the Fat Moogle is pretty much the same as the Brawler. Whenever you see it stand there and do nothing, you will need to throw the appropriate punch, depending on which arm is dangling.
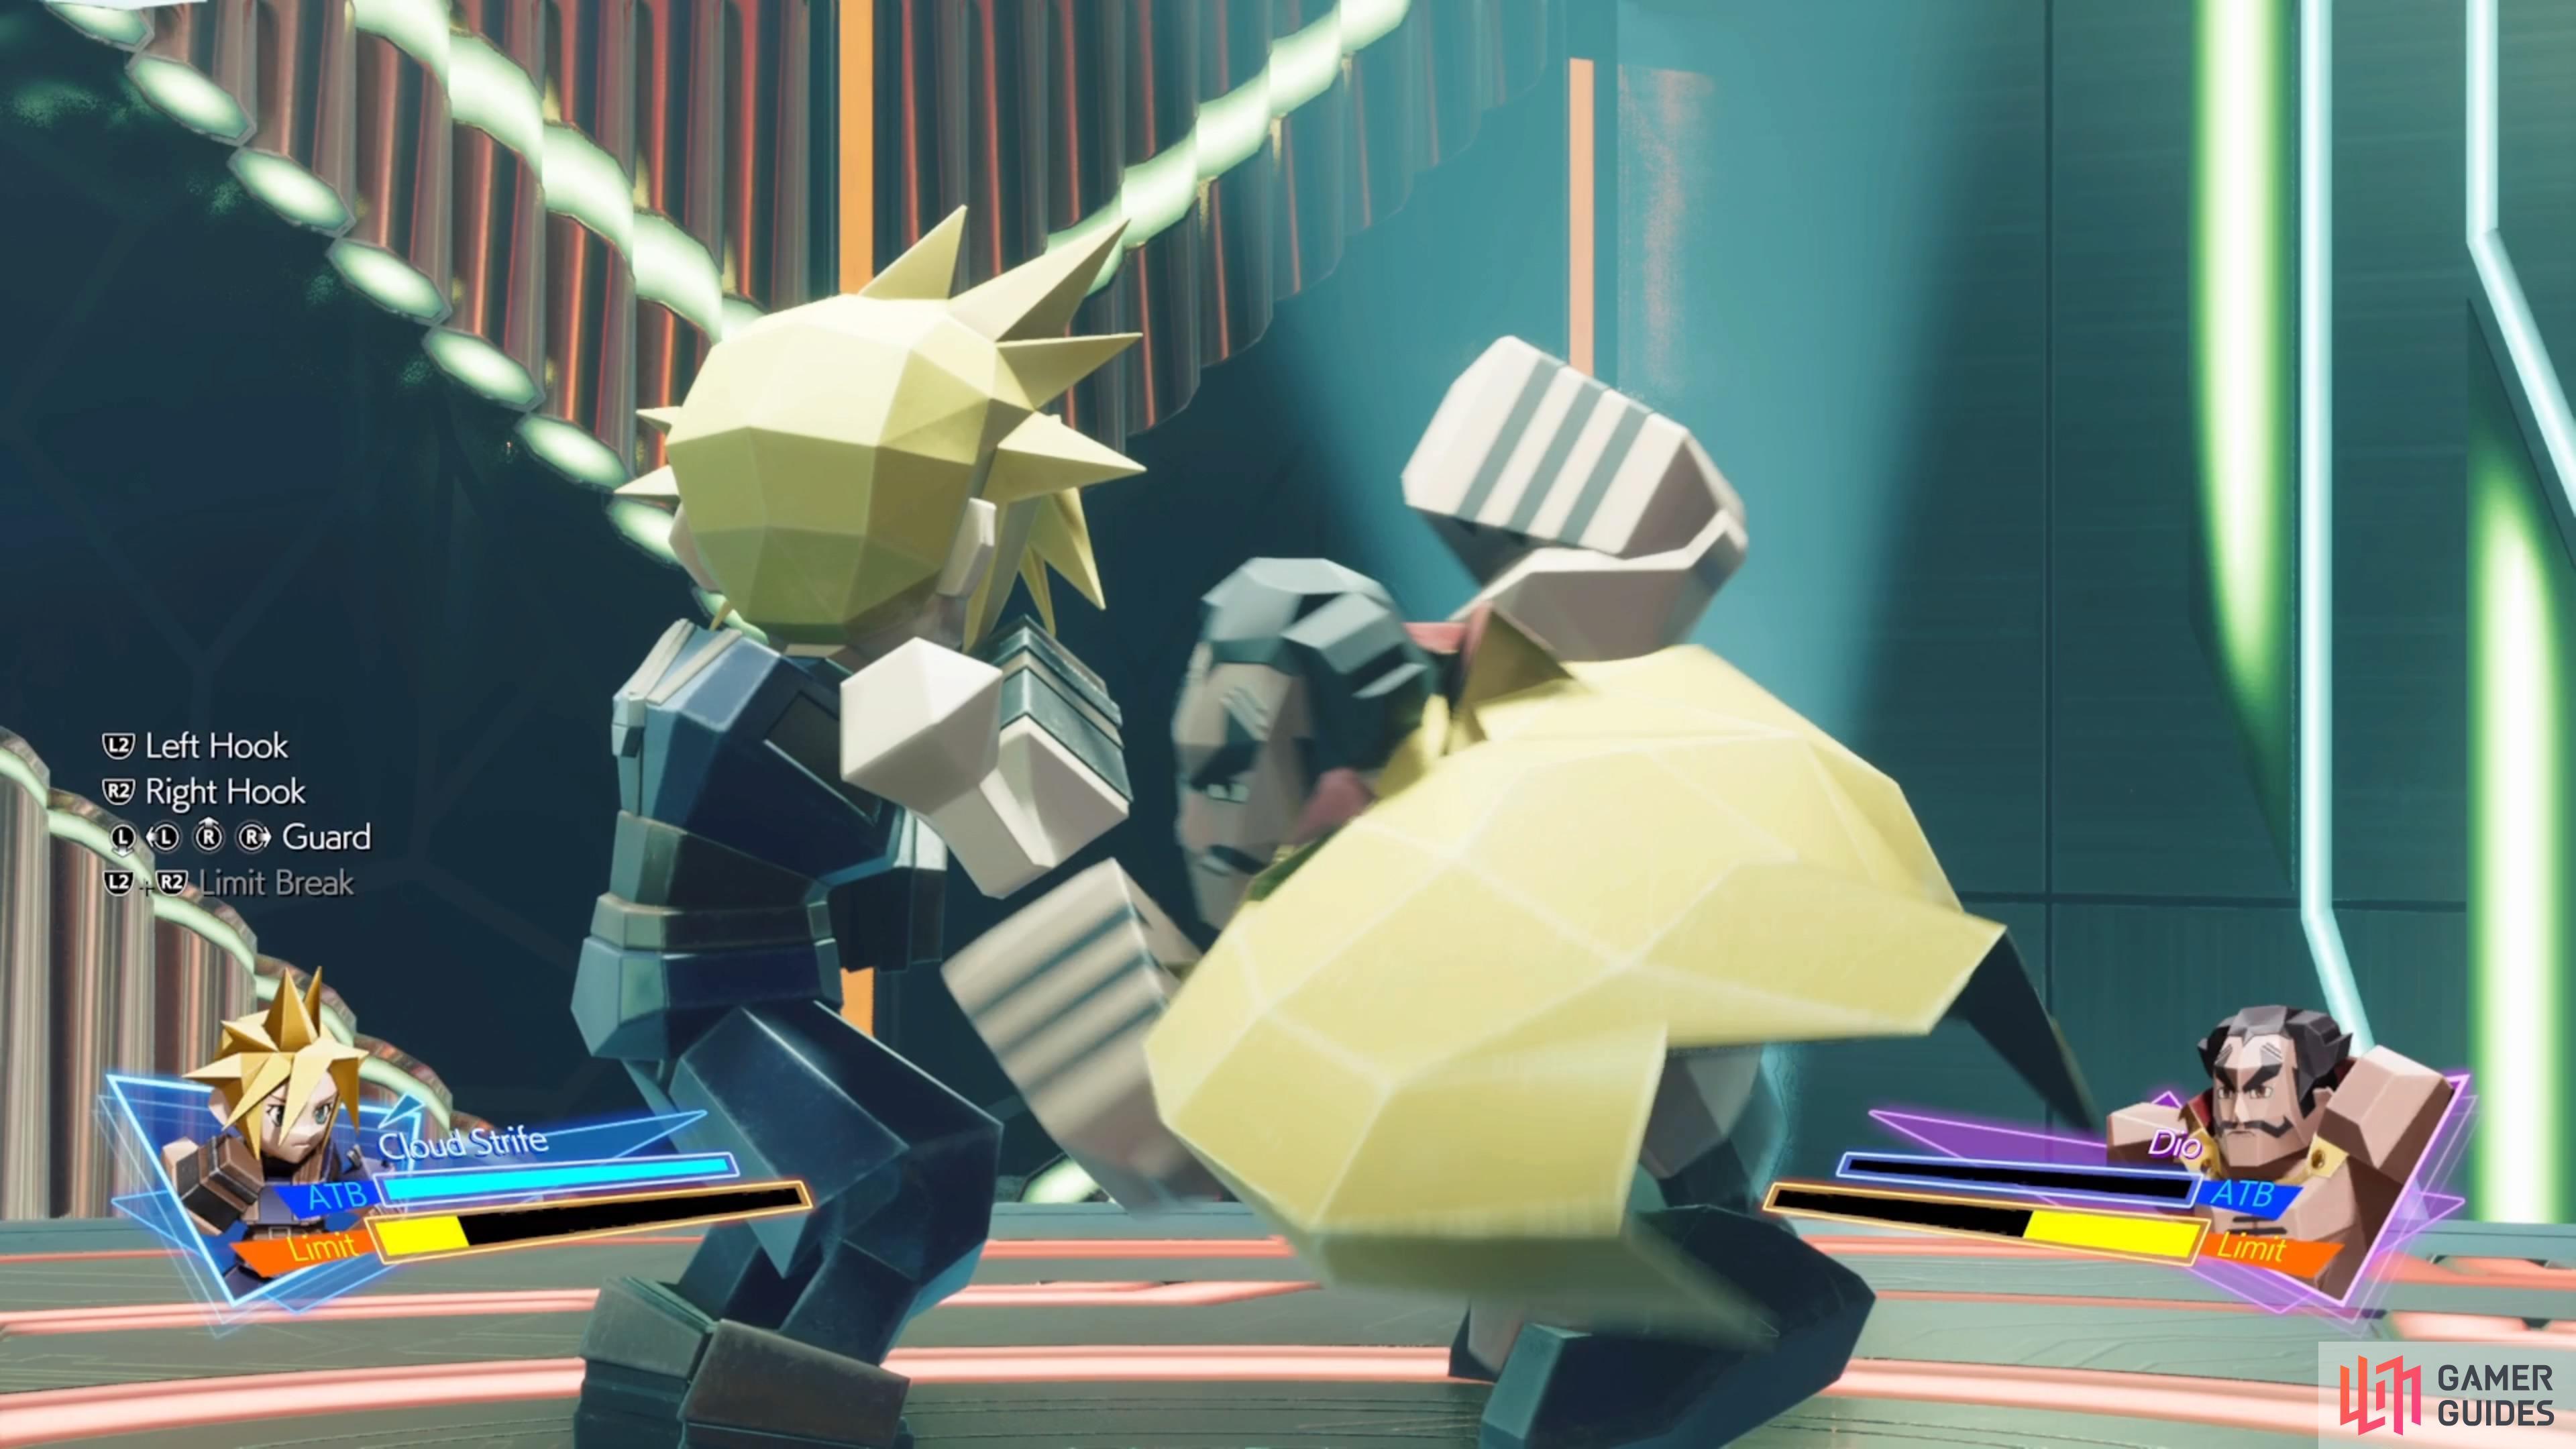
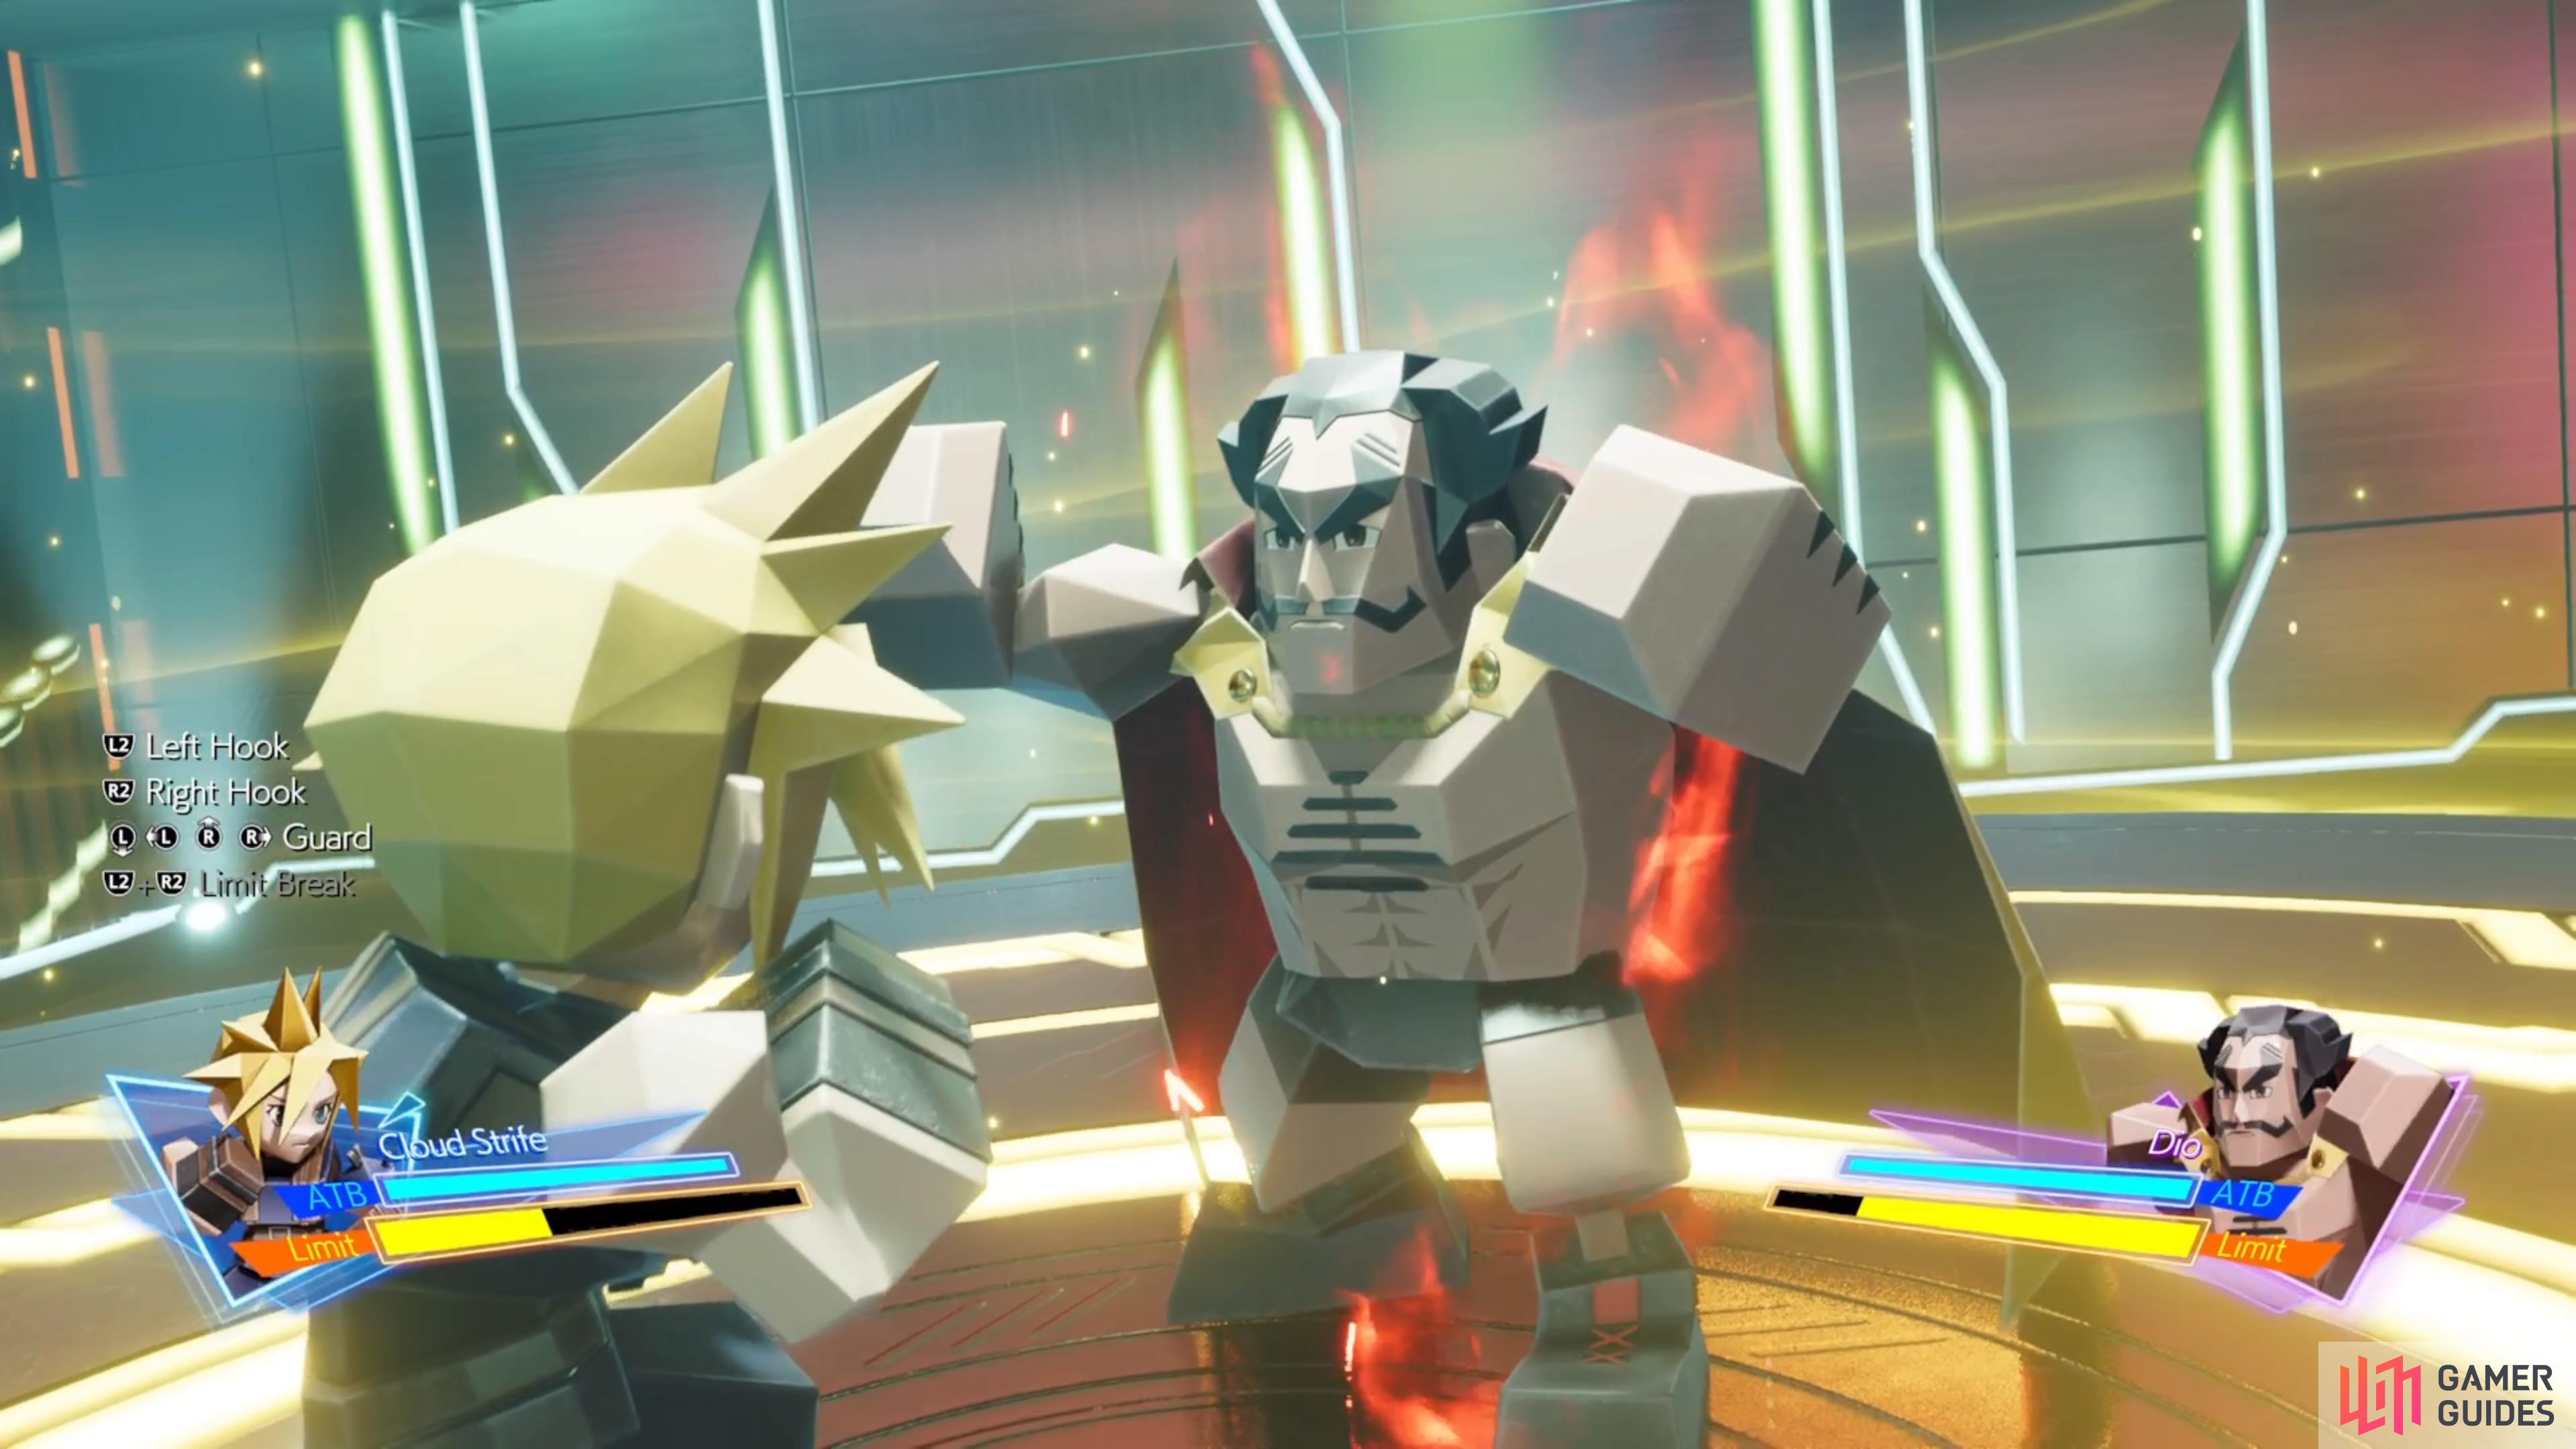
Dio - 3D Brawler
While you may have gotten to fight Dio in this minigame upon first entering the Gold Saucer, that wasn’t his at his full strength, and the true fight is different. He will still have the hooks, like the previous two opponents, so you know what to expect there. However, while he has a straight punch, like the Fat Moogle, he will only do it with his left hand (your right). For the other hand, he will do an uppercut, which you dodge by hitting down on the left analog stick.
Whenever you see Dio dip lower than normal while throwing a punch with his right hand, that will be the uppercut. The animation for the uppercut and hook is very similar, but as pointed above, the uppercut will have his body lower to the ground. Similar to the Fat Moogle, Dio’s straight punch has a bigger wind-up, although he doesn’t spin his hand. A new mechanic will be introduced with Dio and will become common from here on out. You will see him power up and gain a red aura, then proceed to use a three-hit combo.
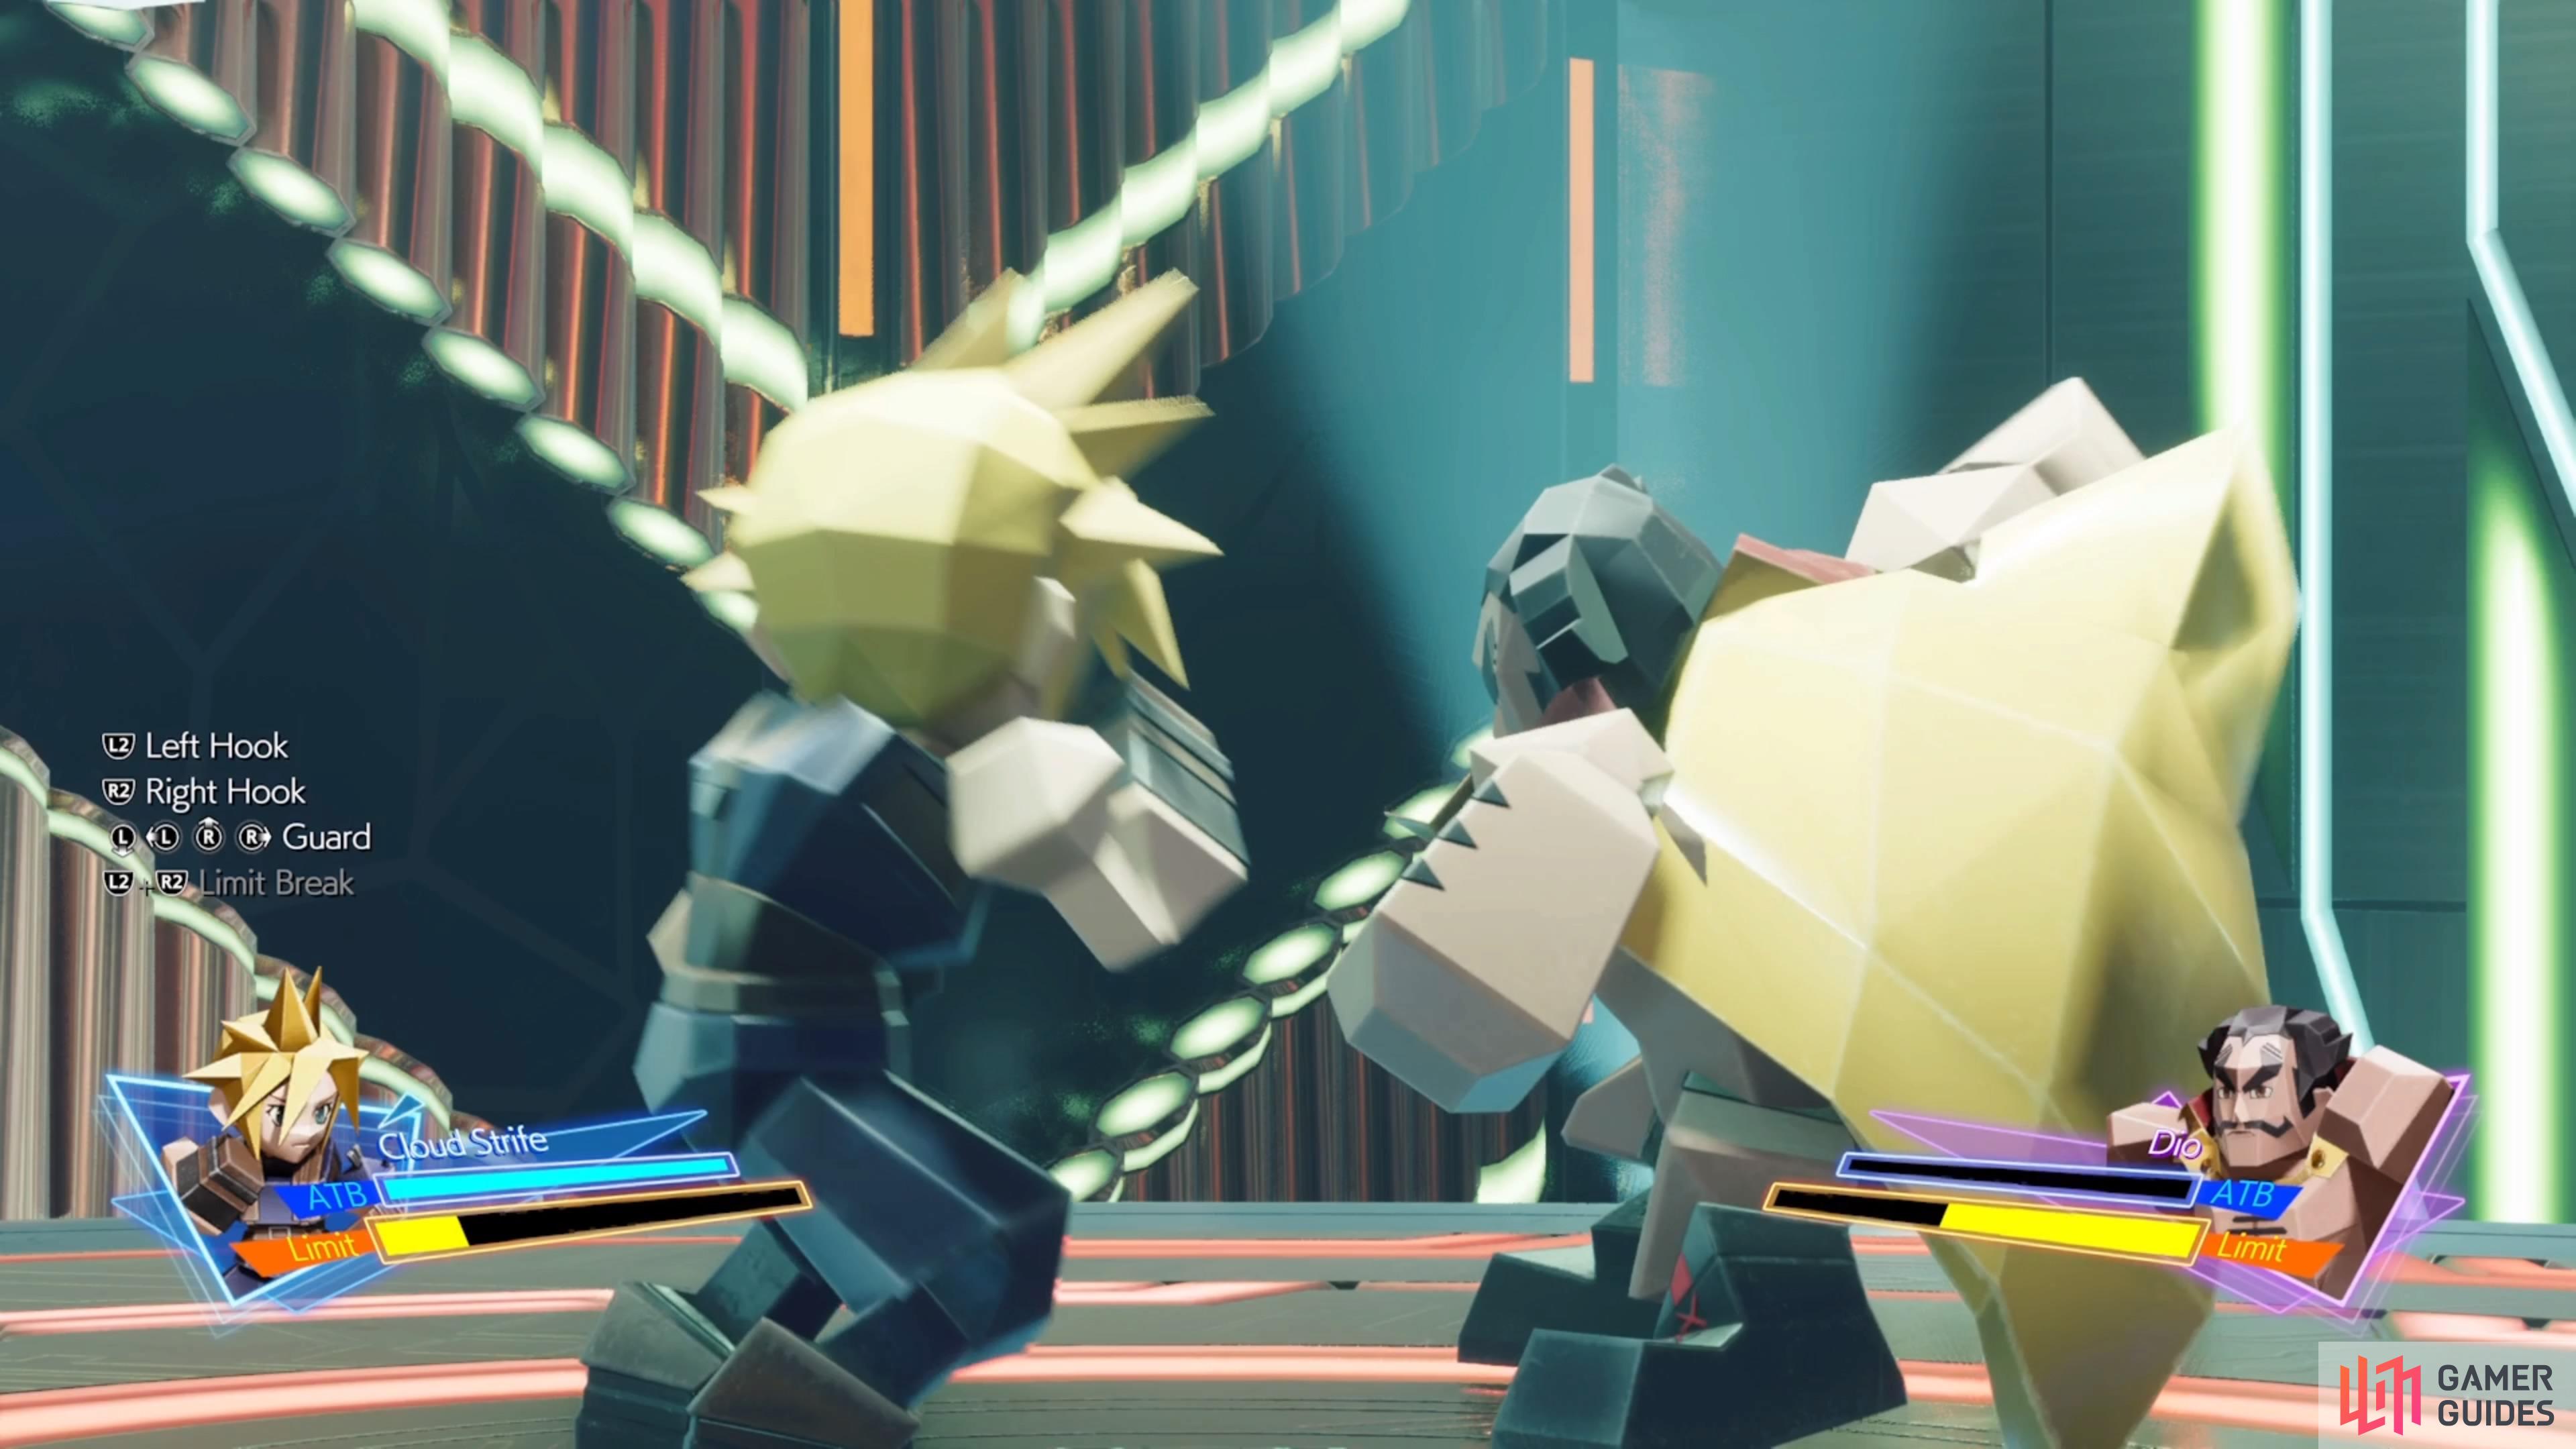
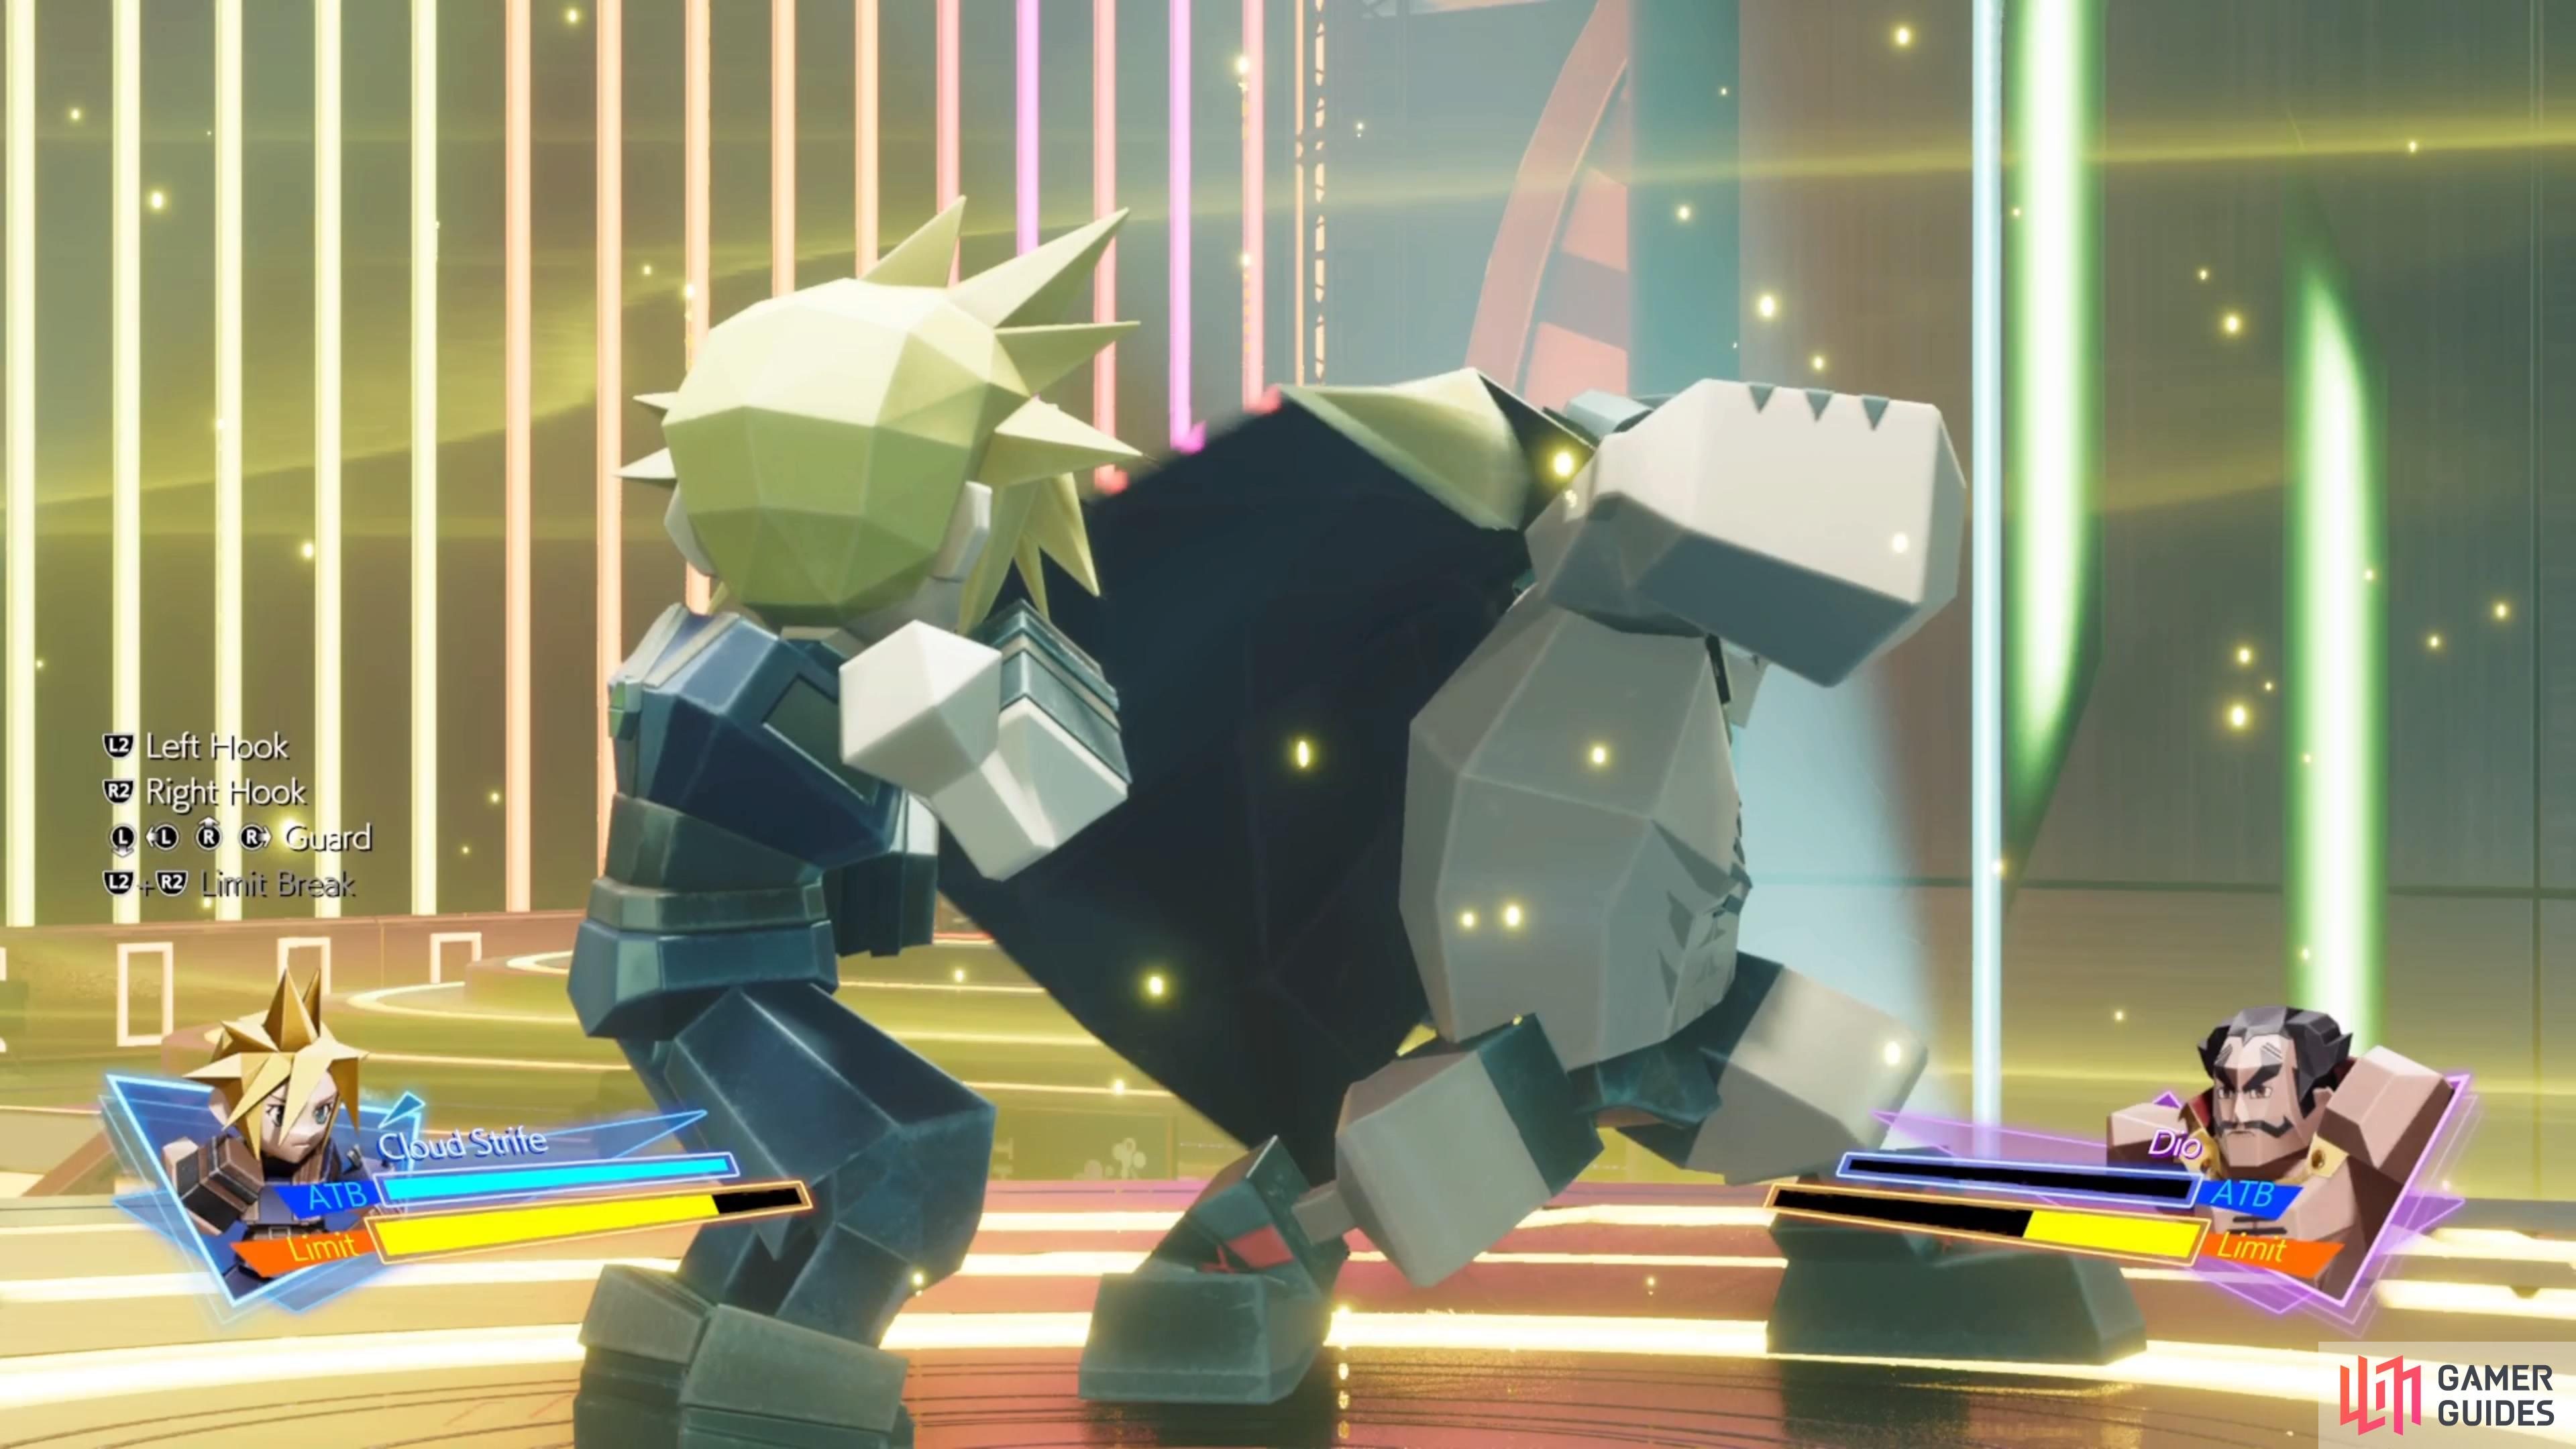
He will always do a right hook (your left), then a left hook and finally, an uppercut. There is no deviation from this, so every time you see that red aura, you know how to dodge all the attacks. After doing that, he will be open to attack from either direction, so either of the two hooks. When he opens himself up for attacks, he’ll use a similar stance, like with the previous two opponents. Dio will be your final opponent in Chapter 8 when you first unlock 3D Brawler. You will need to wait until Chapter 12 before some new ones will be added.
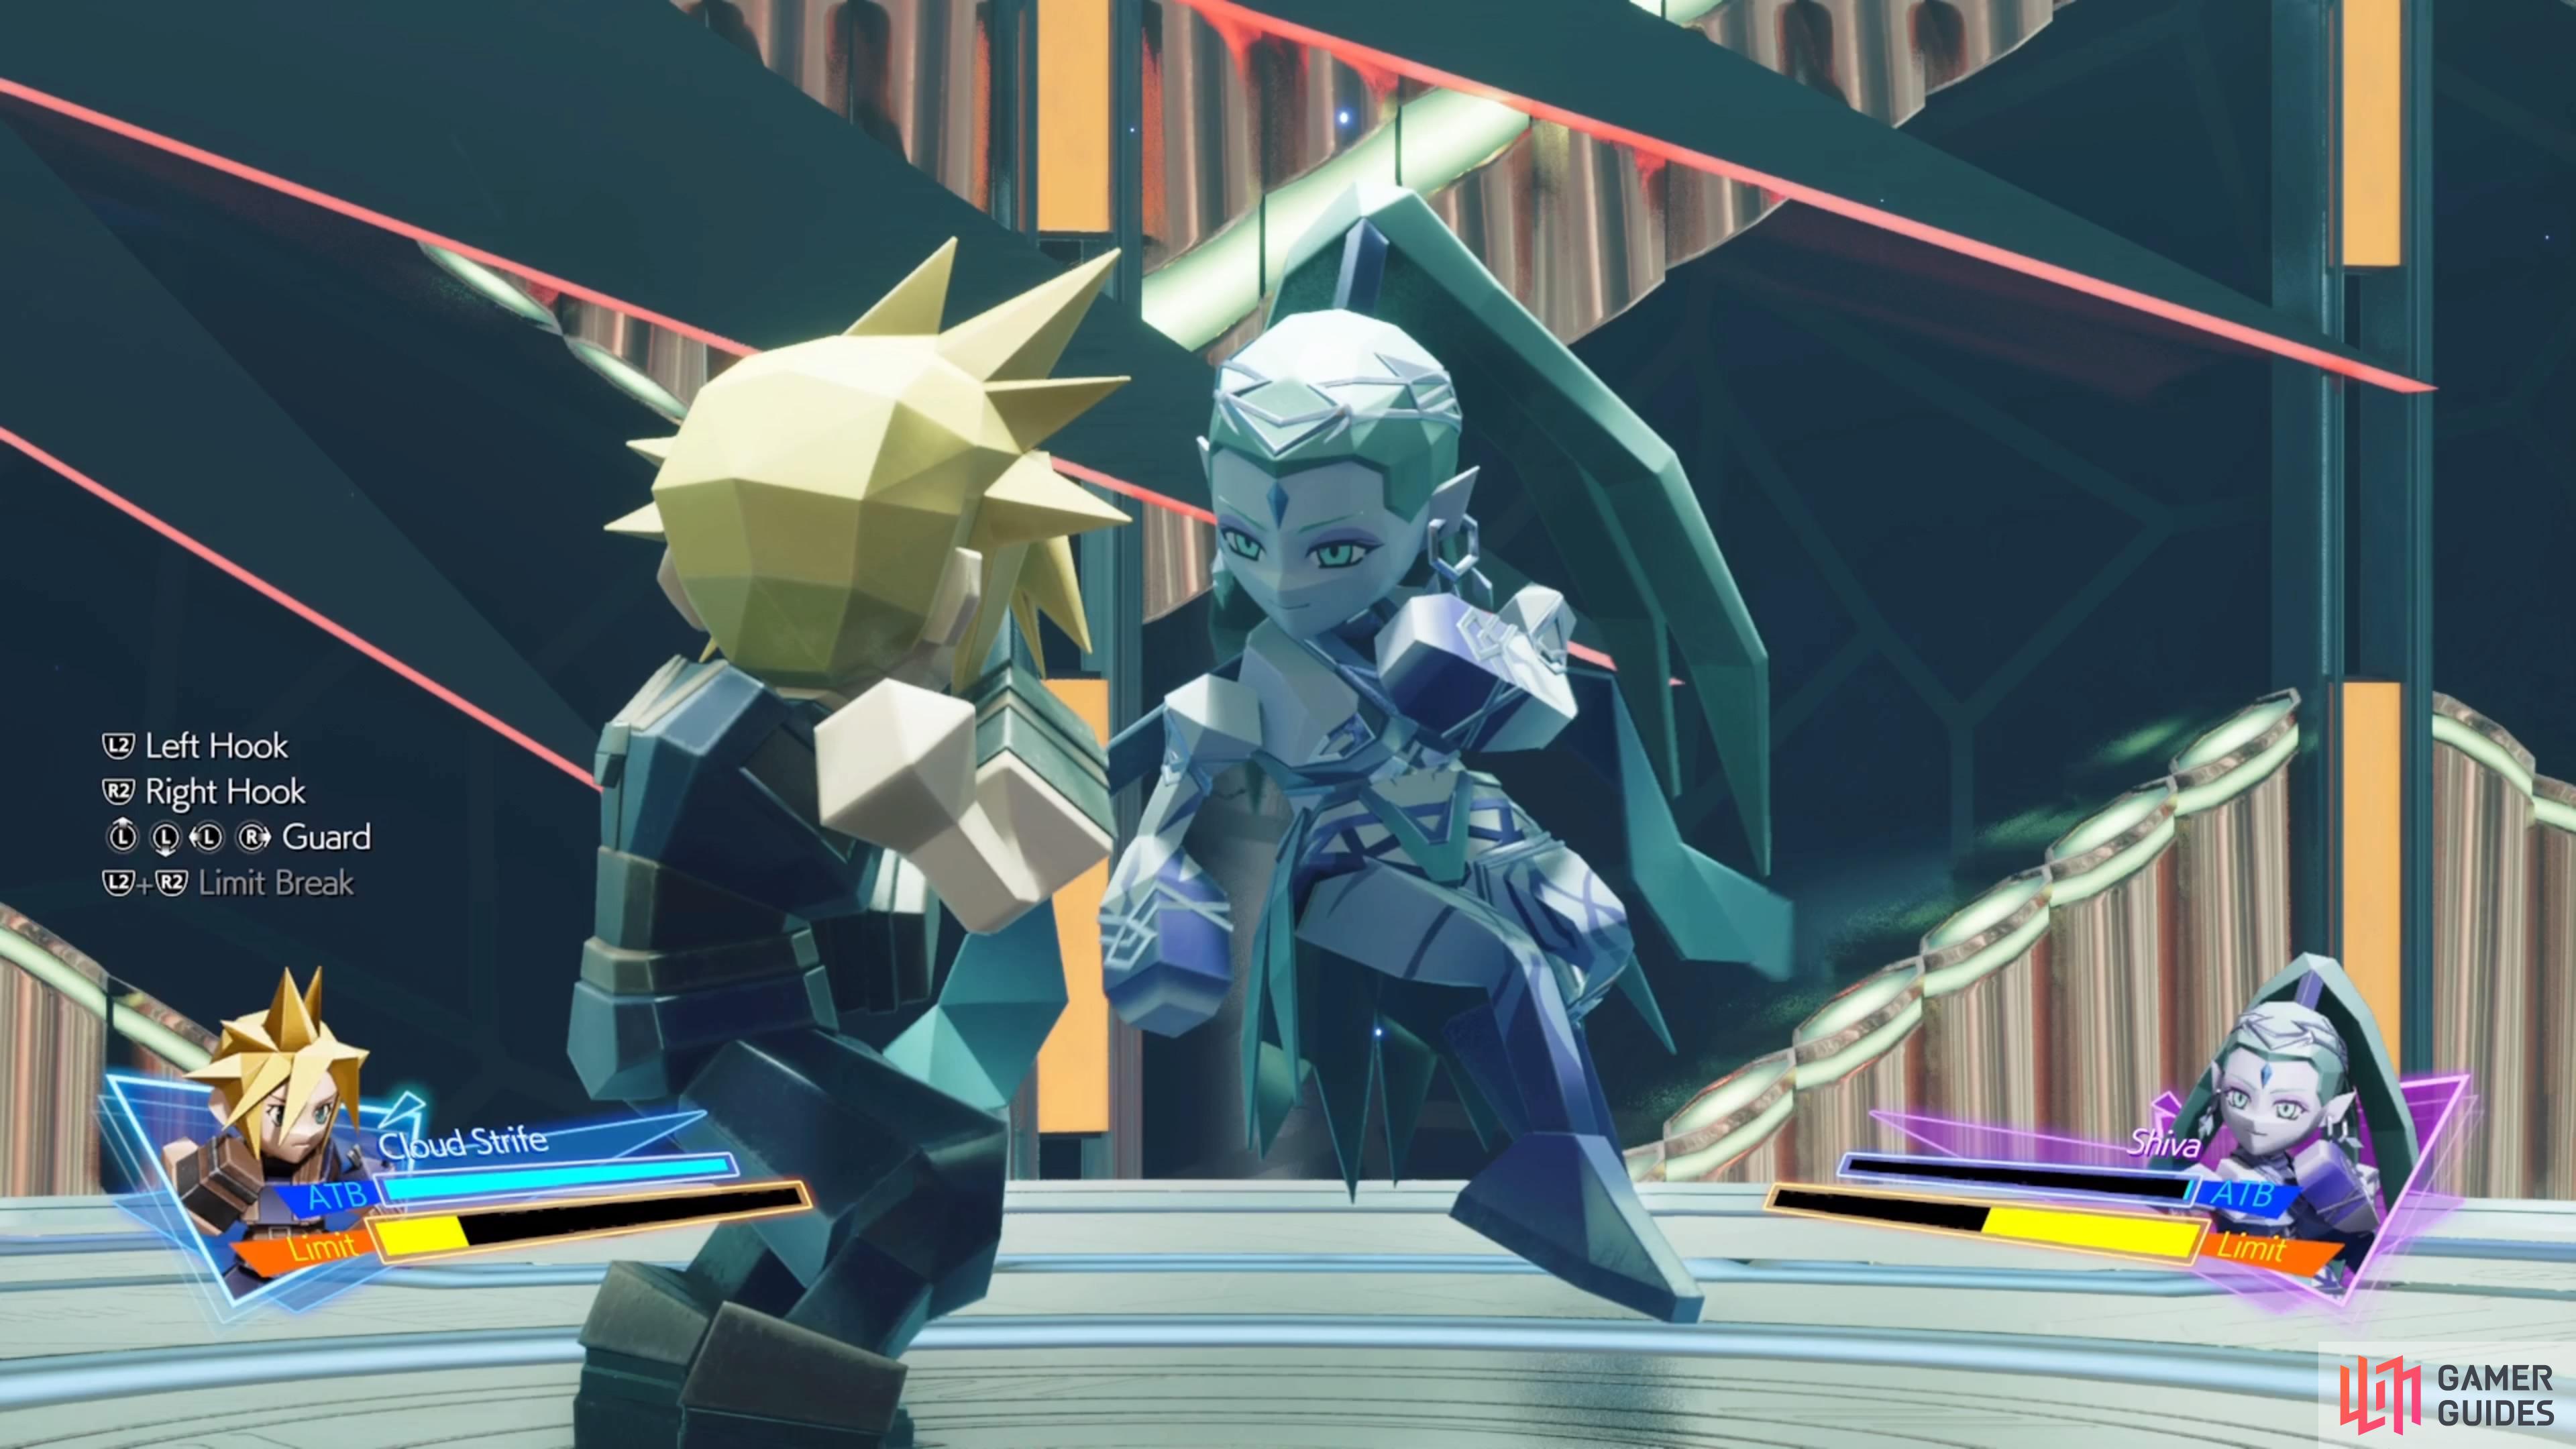
Shiva - 3D Brawler
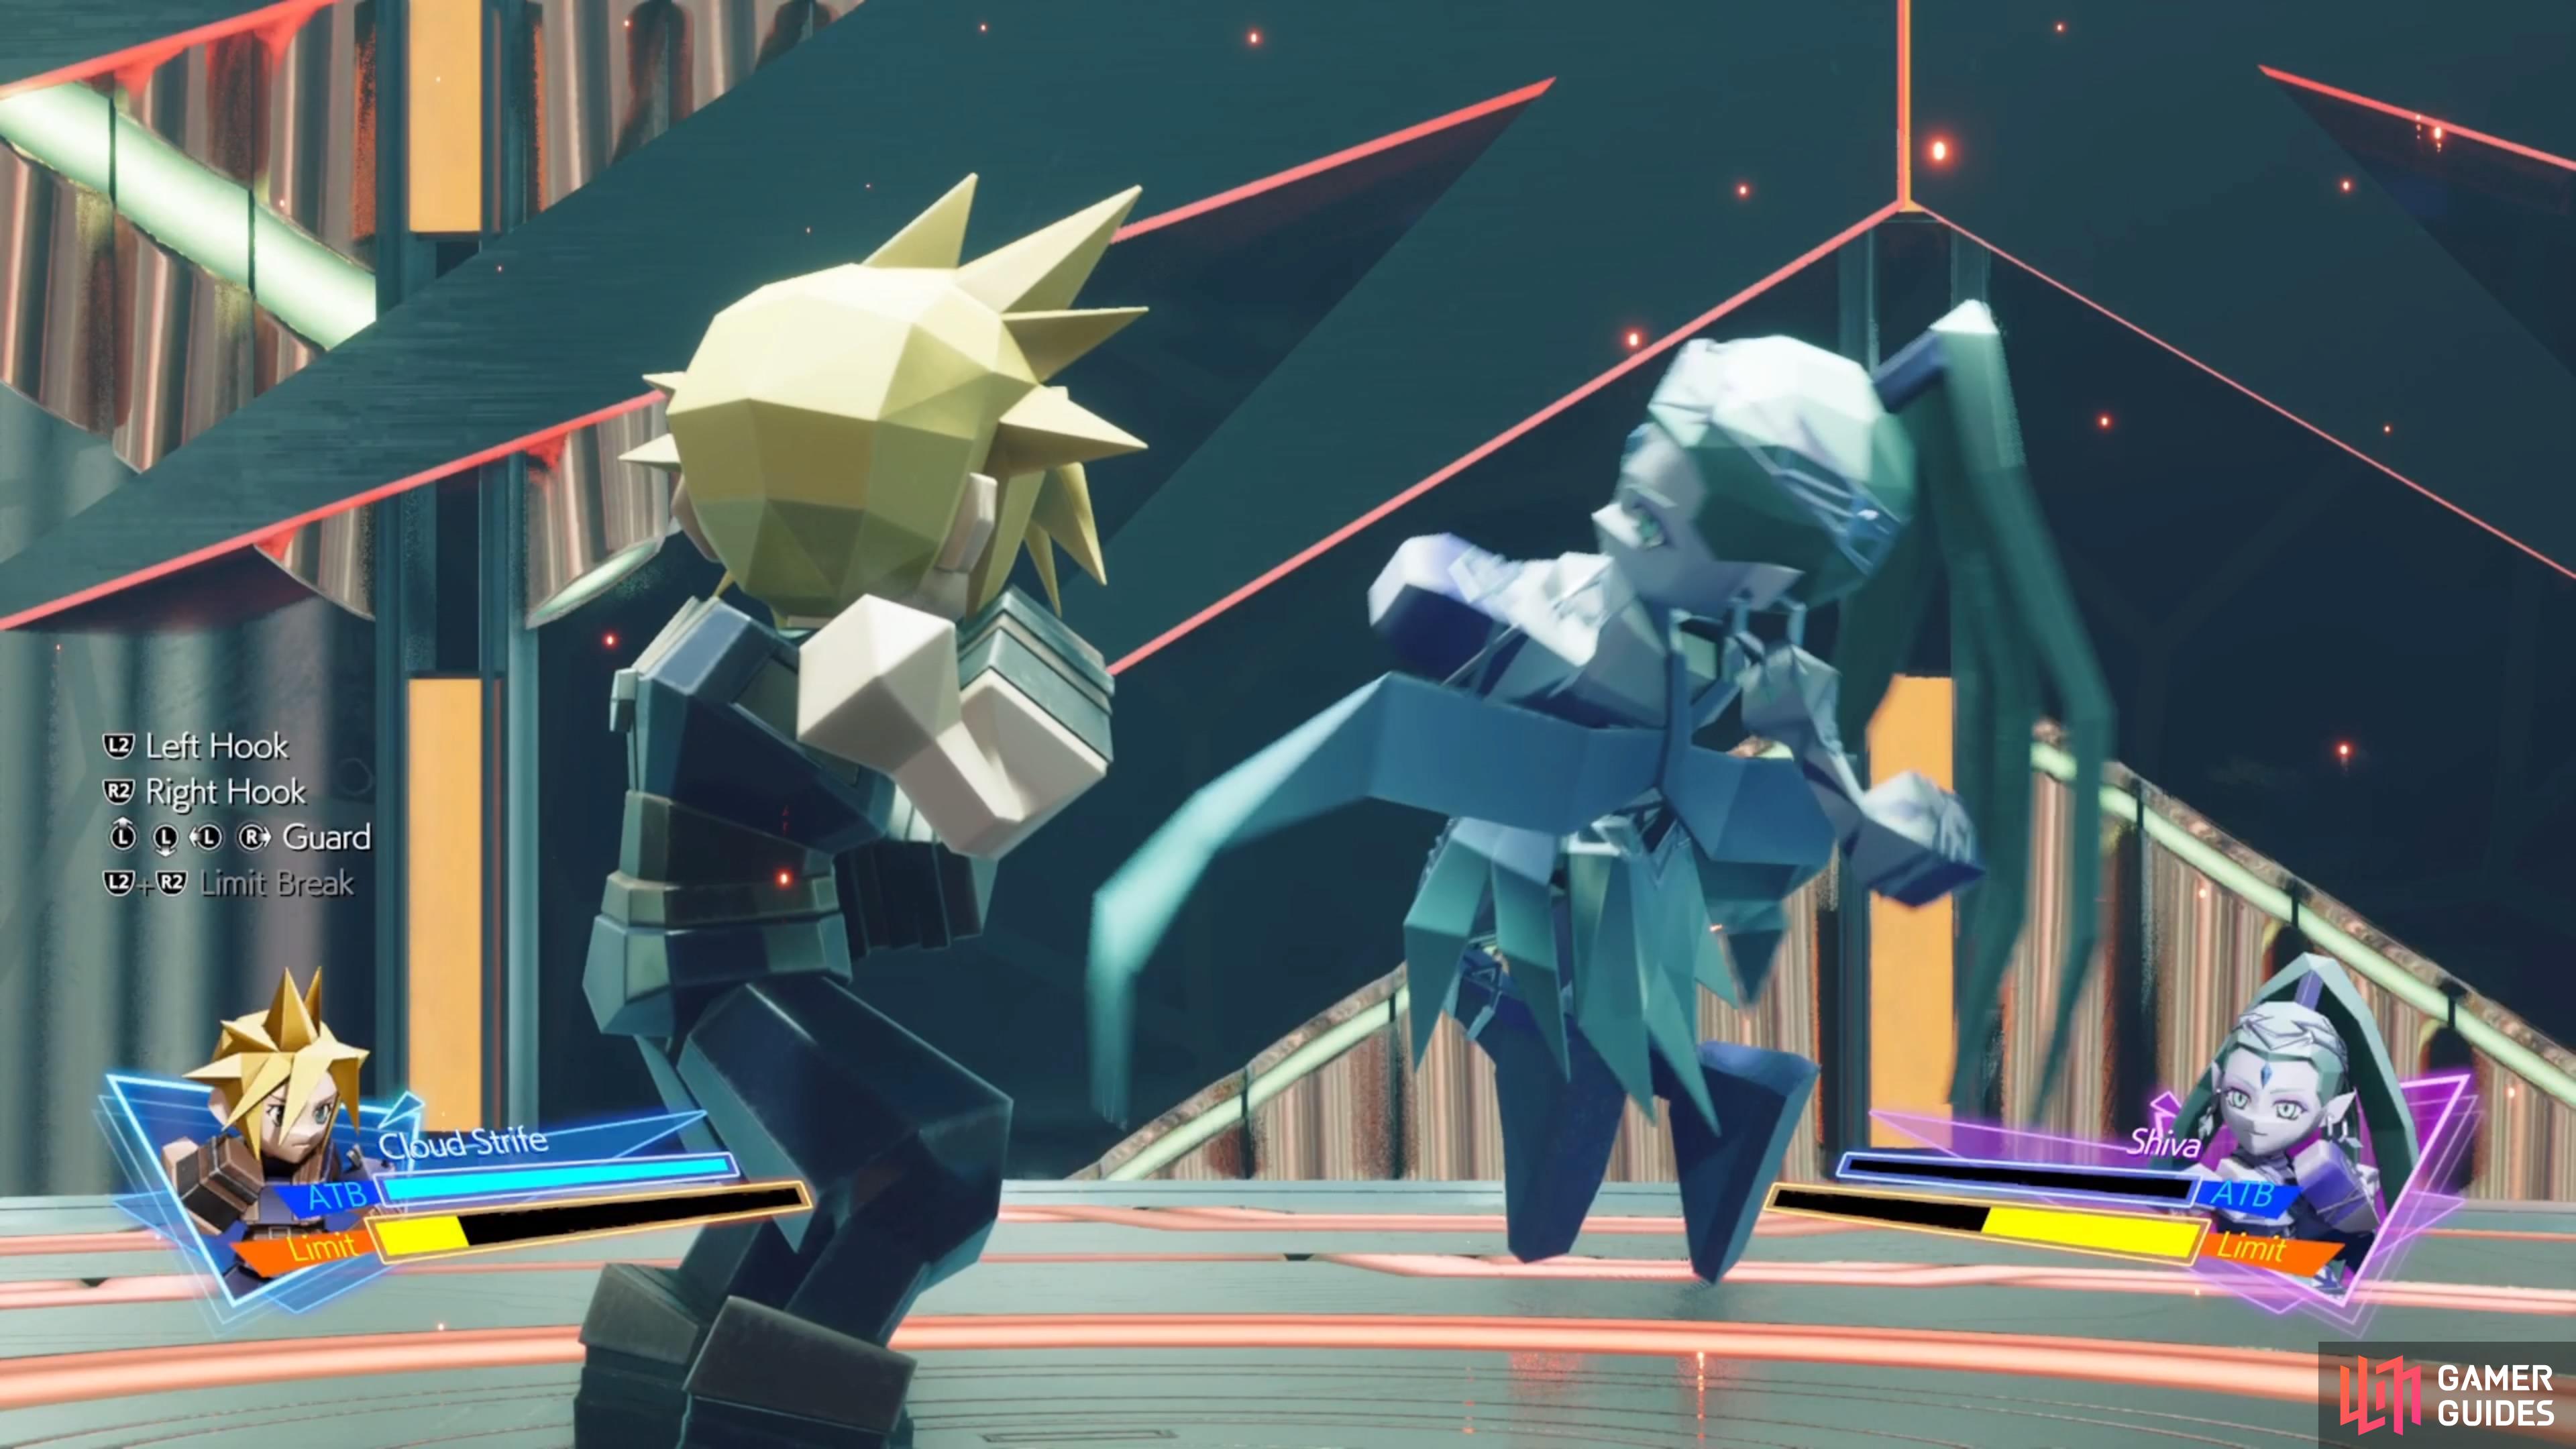
Shiva is the first of two Advanced opponents you will face in the 3D Brawler, which becomes available in Chapter 12. If you thought Dio was challenging, then Shiva is a slight step up in difficulty. First and foremost, the best thing about Shiva is she only has a single attack with her left arm (your right). This is the Left Hook, so you simply need to push the right stick to the right to avoid it. However, the problem with Shiva is that her Right Hook and Right Straight have very similar animations, so it can be tough to distinguish between the two.
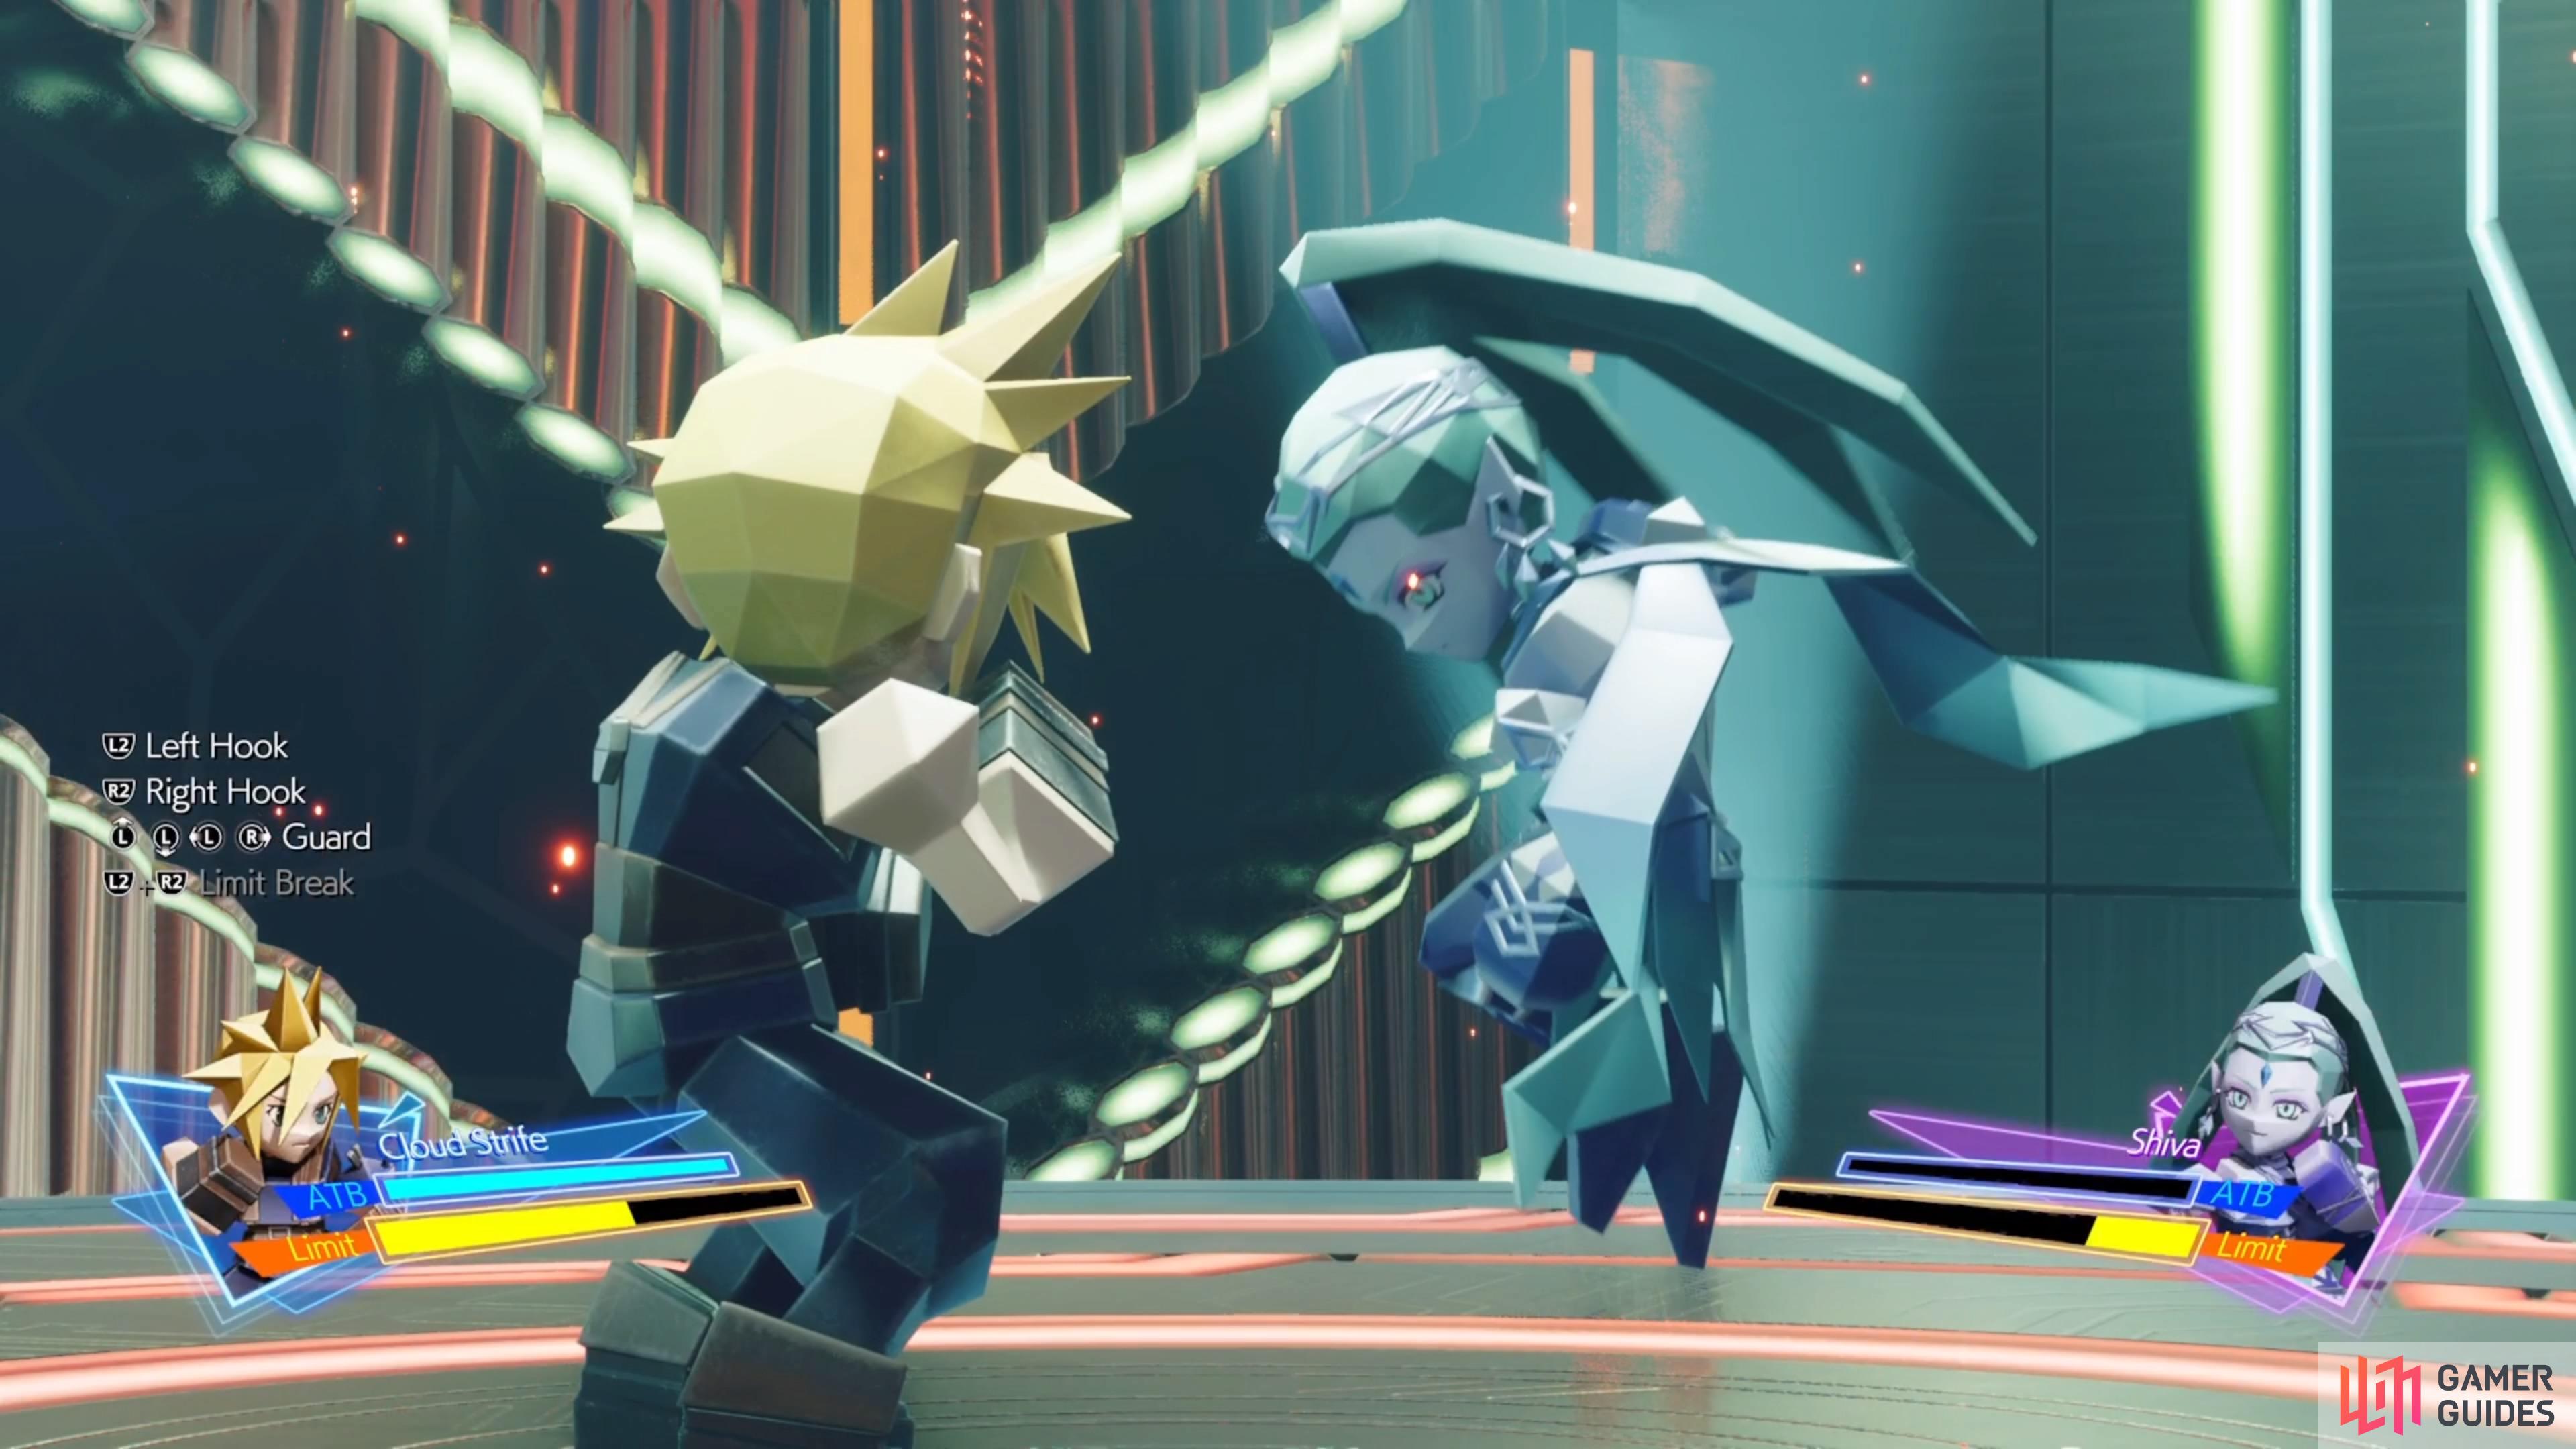
The Right Hook will occur when her arm is more horizontal, and the Right Straight is when you can see her hand being angled downward. This can be a pain to figure out in motion, so you may need to resort to pausing the game to see the location of her hand. She does seem to dip her head a little more, too, when using the Right Hook. Her Right Uppercut is a lot easier to notice, as the wind-up isn’t as big as either of the above, and her arm goes downwards first instead of off to the side.
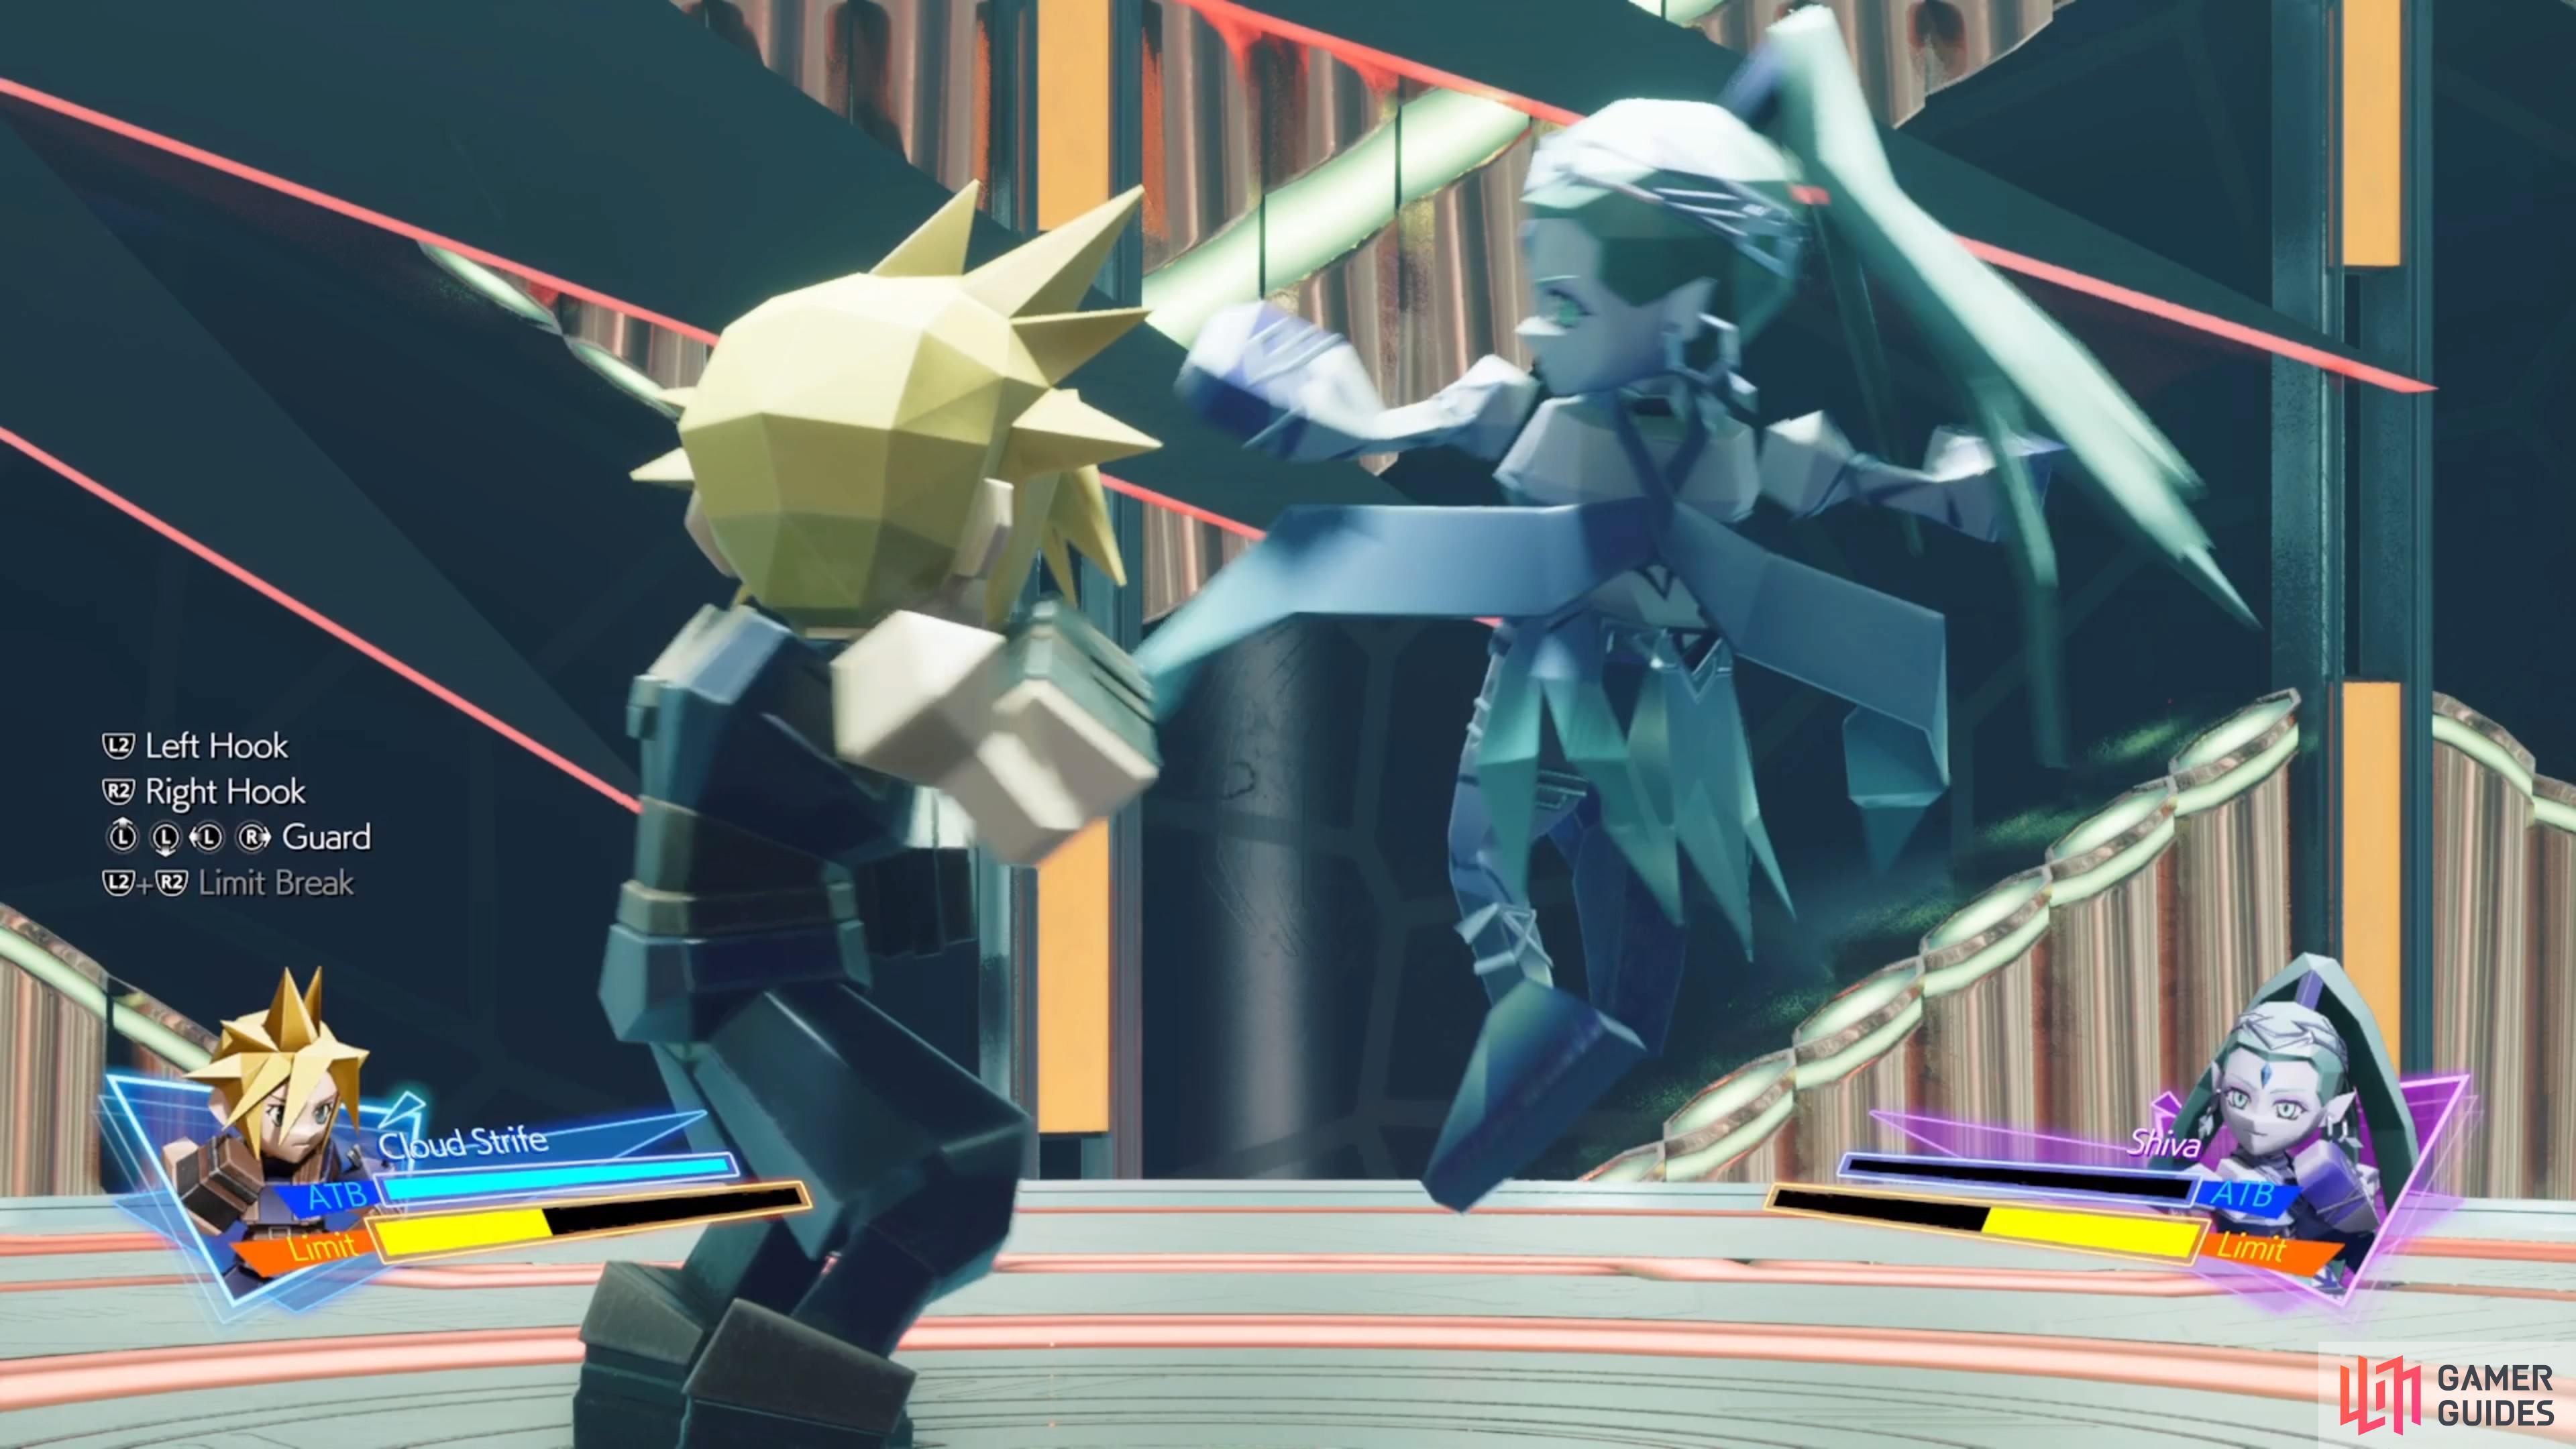
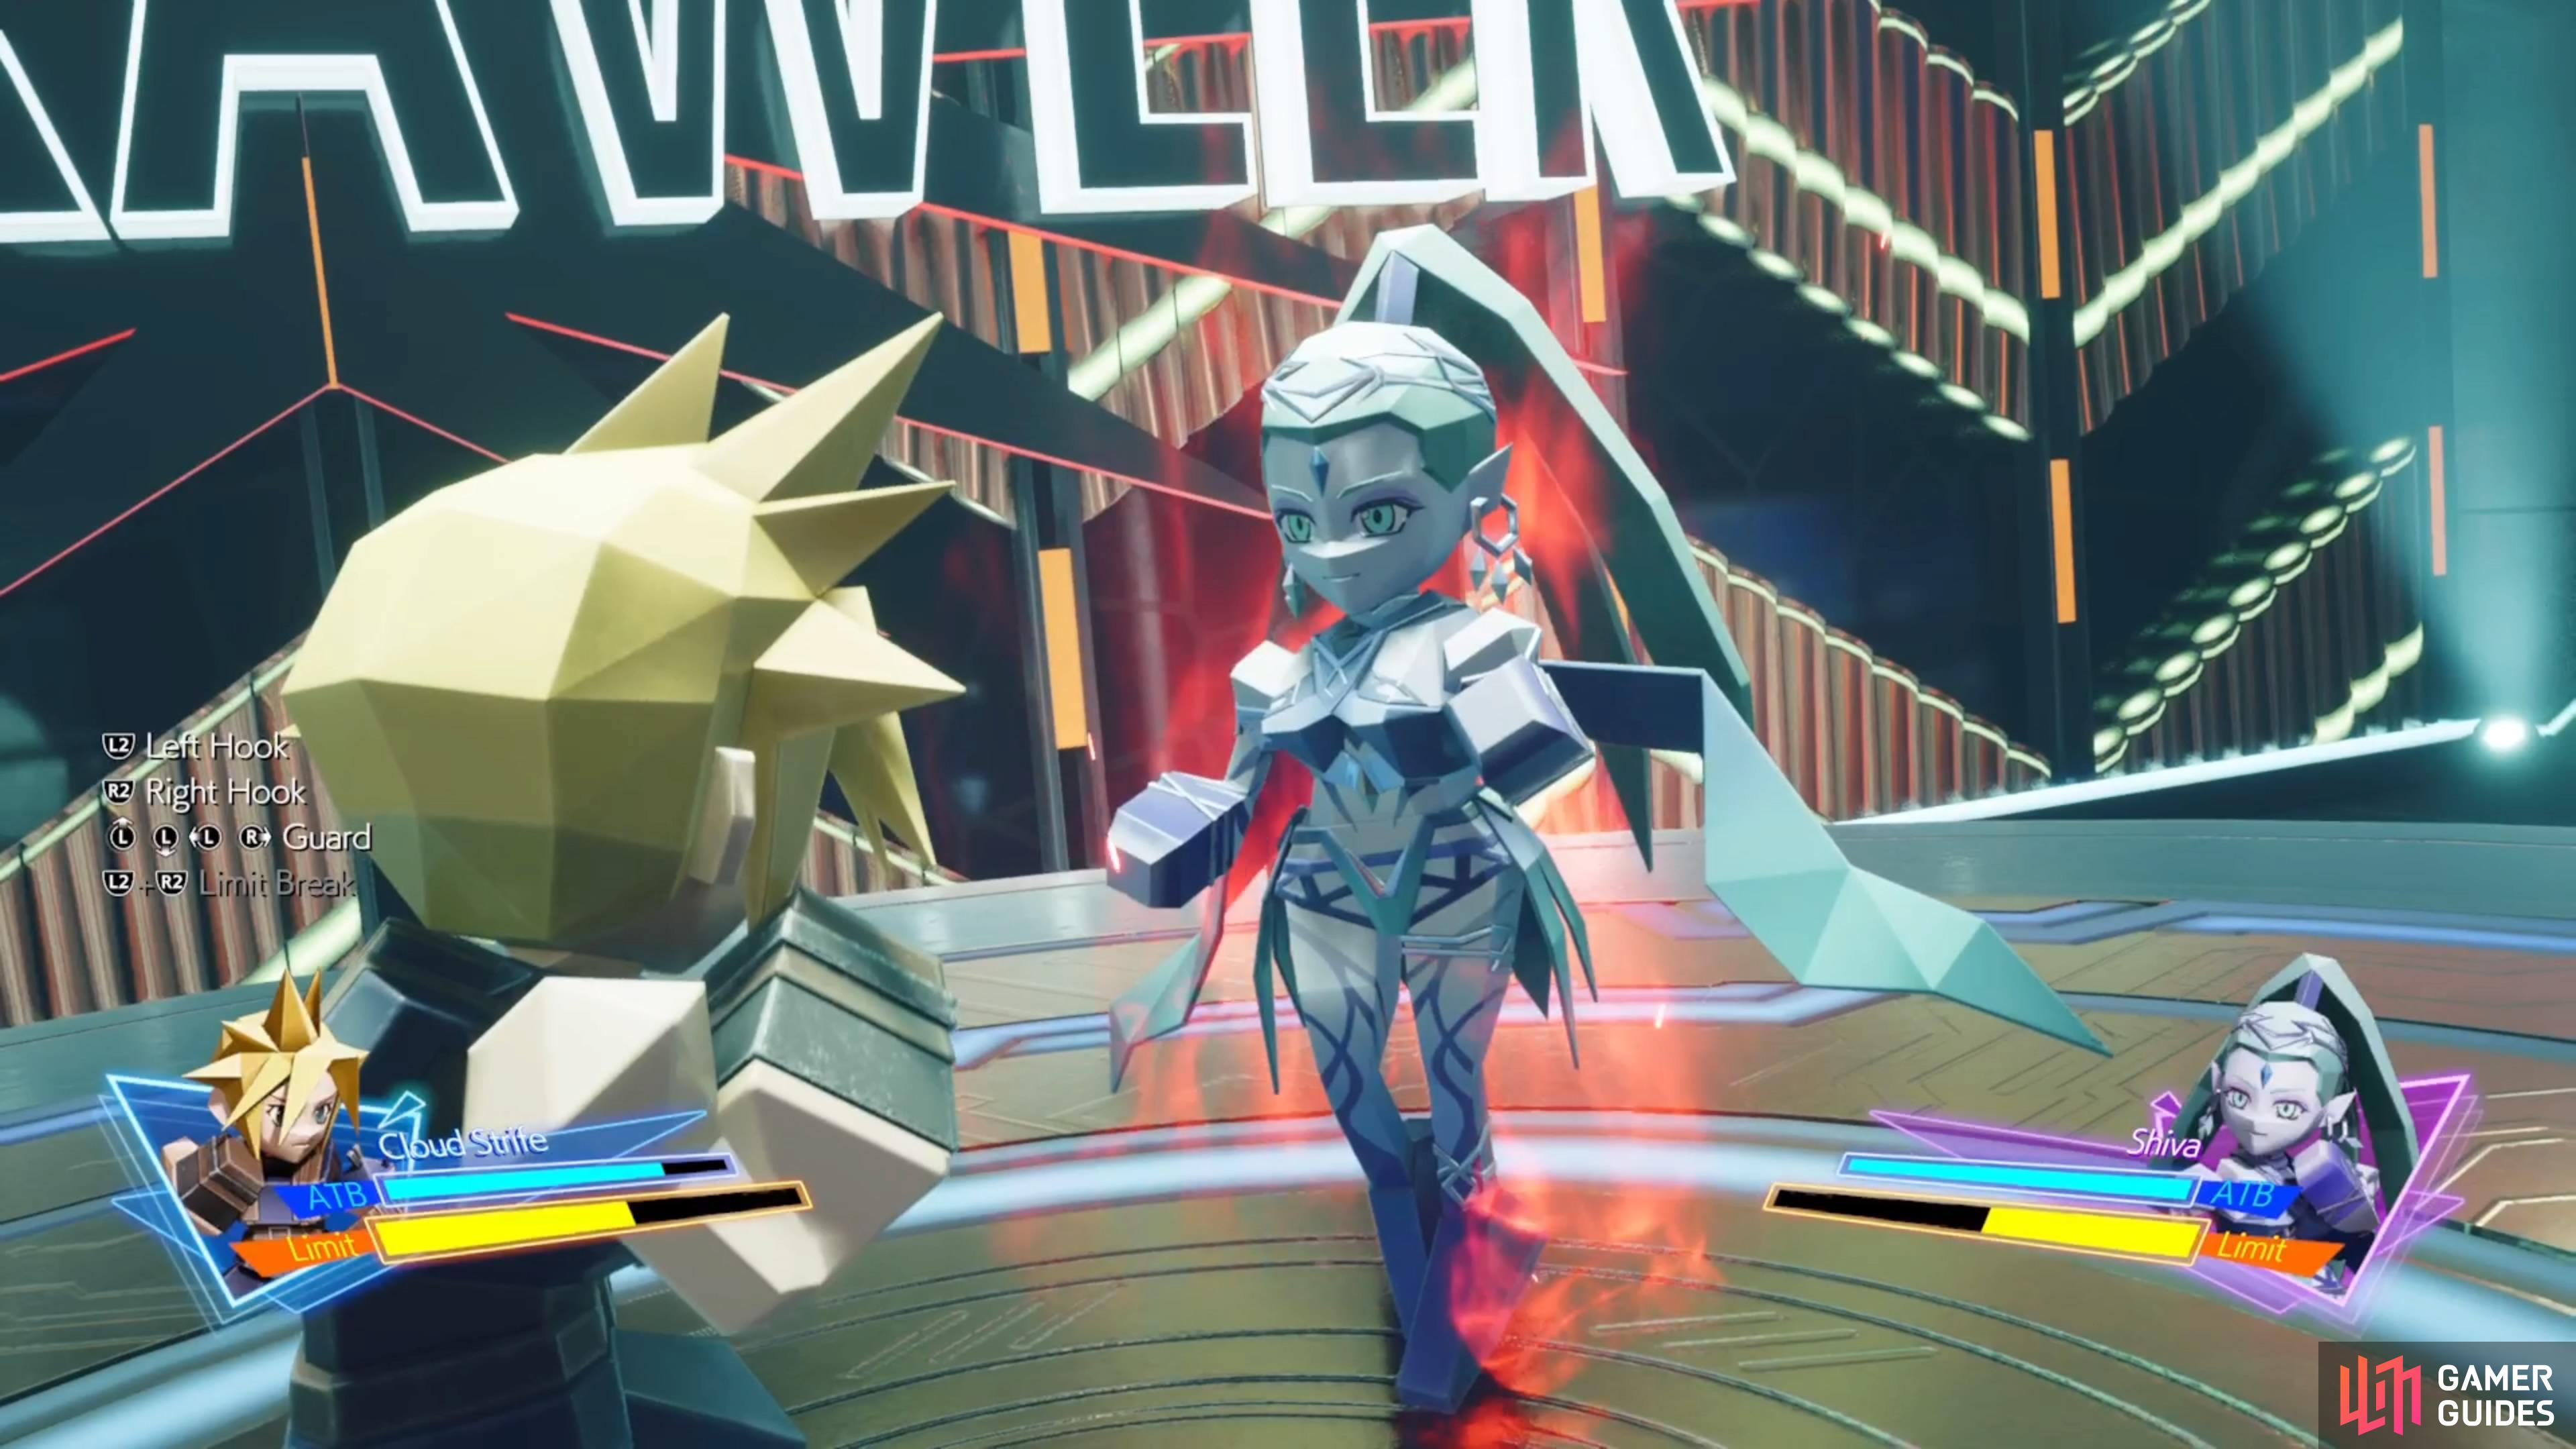
The big bottleneck with Shiva is that she will have two different combos, which will occur when you see the red aura around her. She can use either of these two at any time, usually after hitting her at least once. These combos will always be the same, though, so once you know the first move, you will be able to easily dodge without getting hit. Since she starts one combo with her right arm and the other with her left, you should never get hit by either one. Remember that you can strike back after the attacks have finished with either hook, since both work.
- Combo 1: Left Hook, then Right Uppercut
- Combo 2: Right Straight, then Left Hook
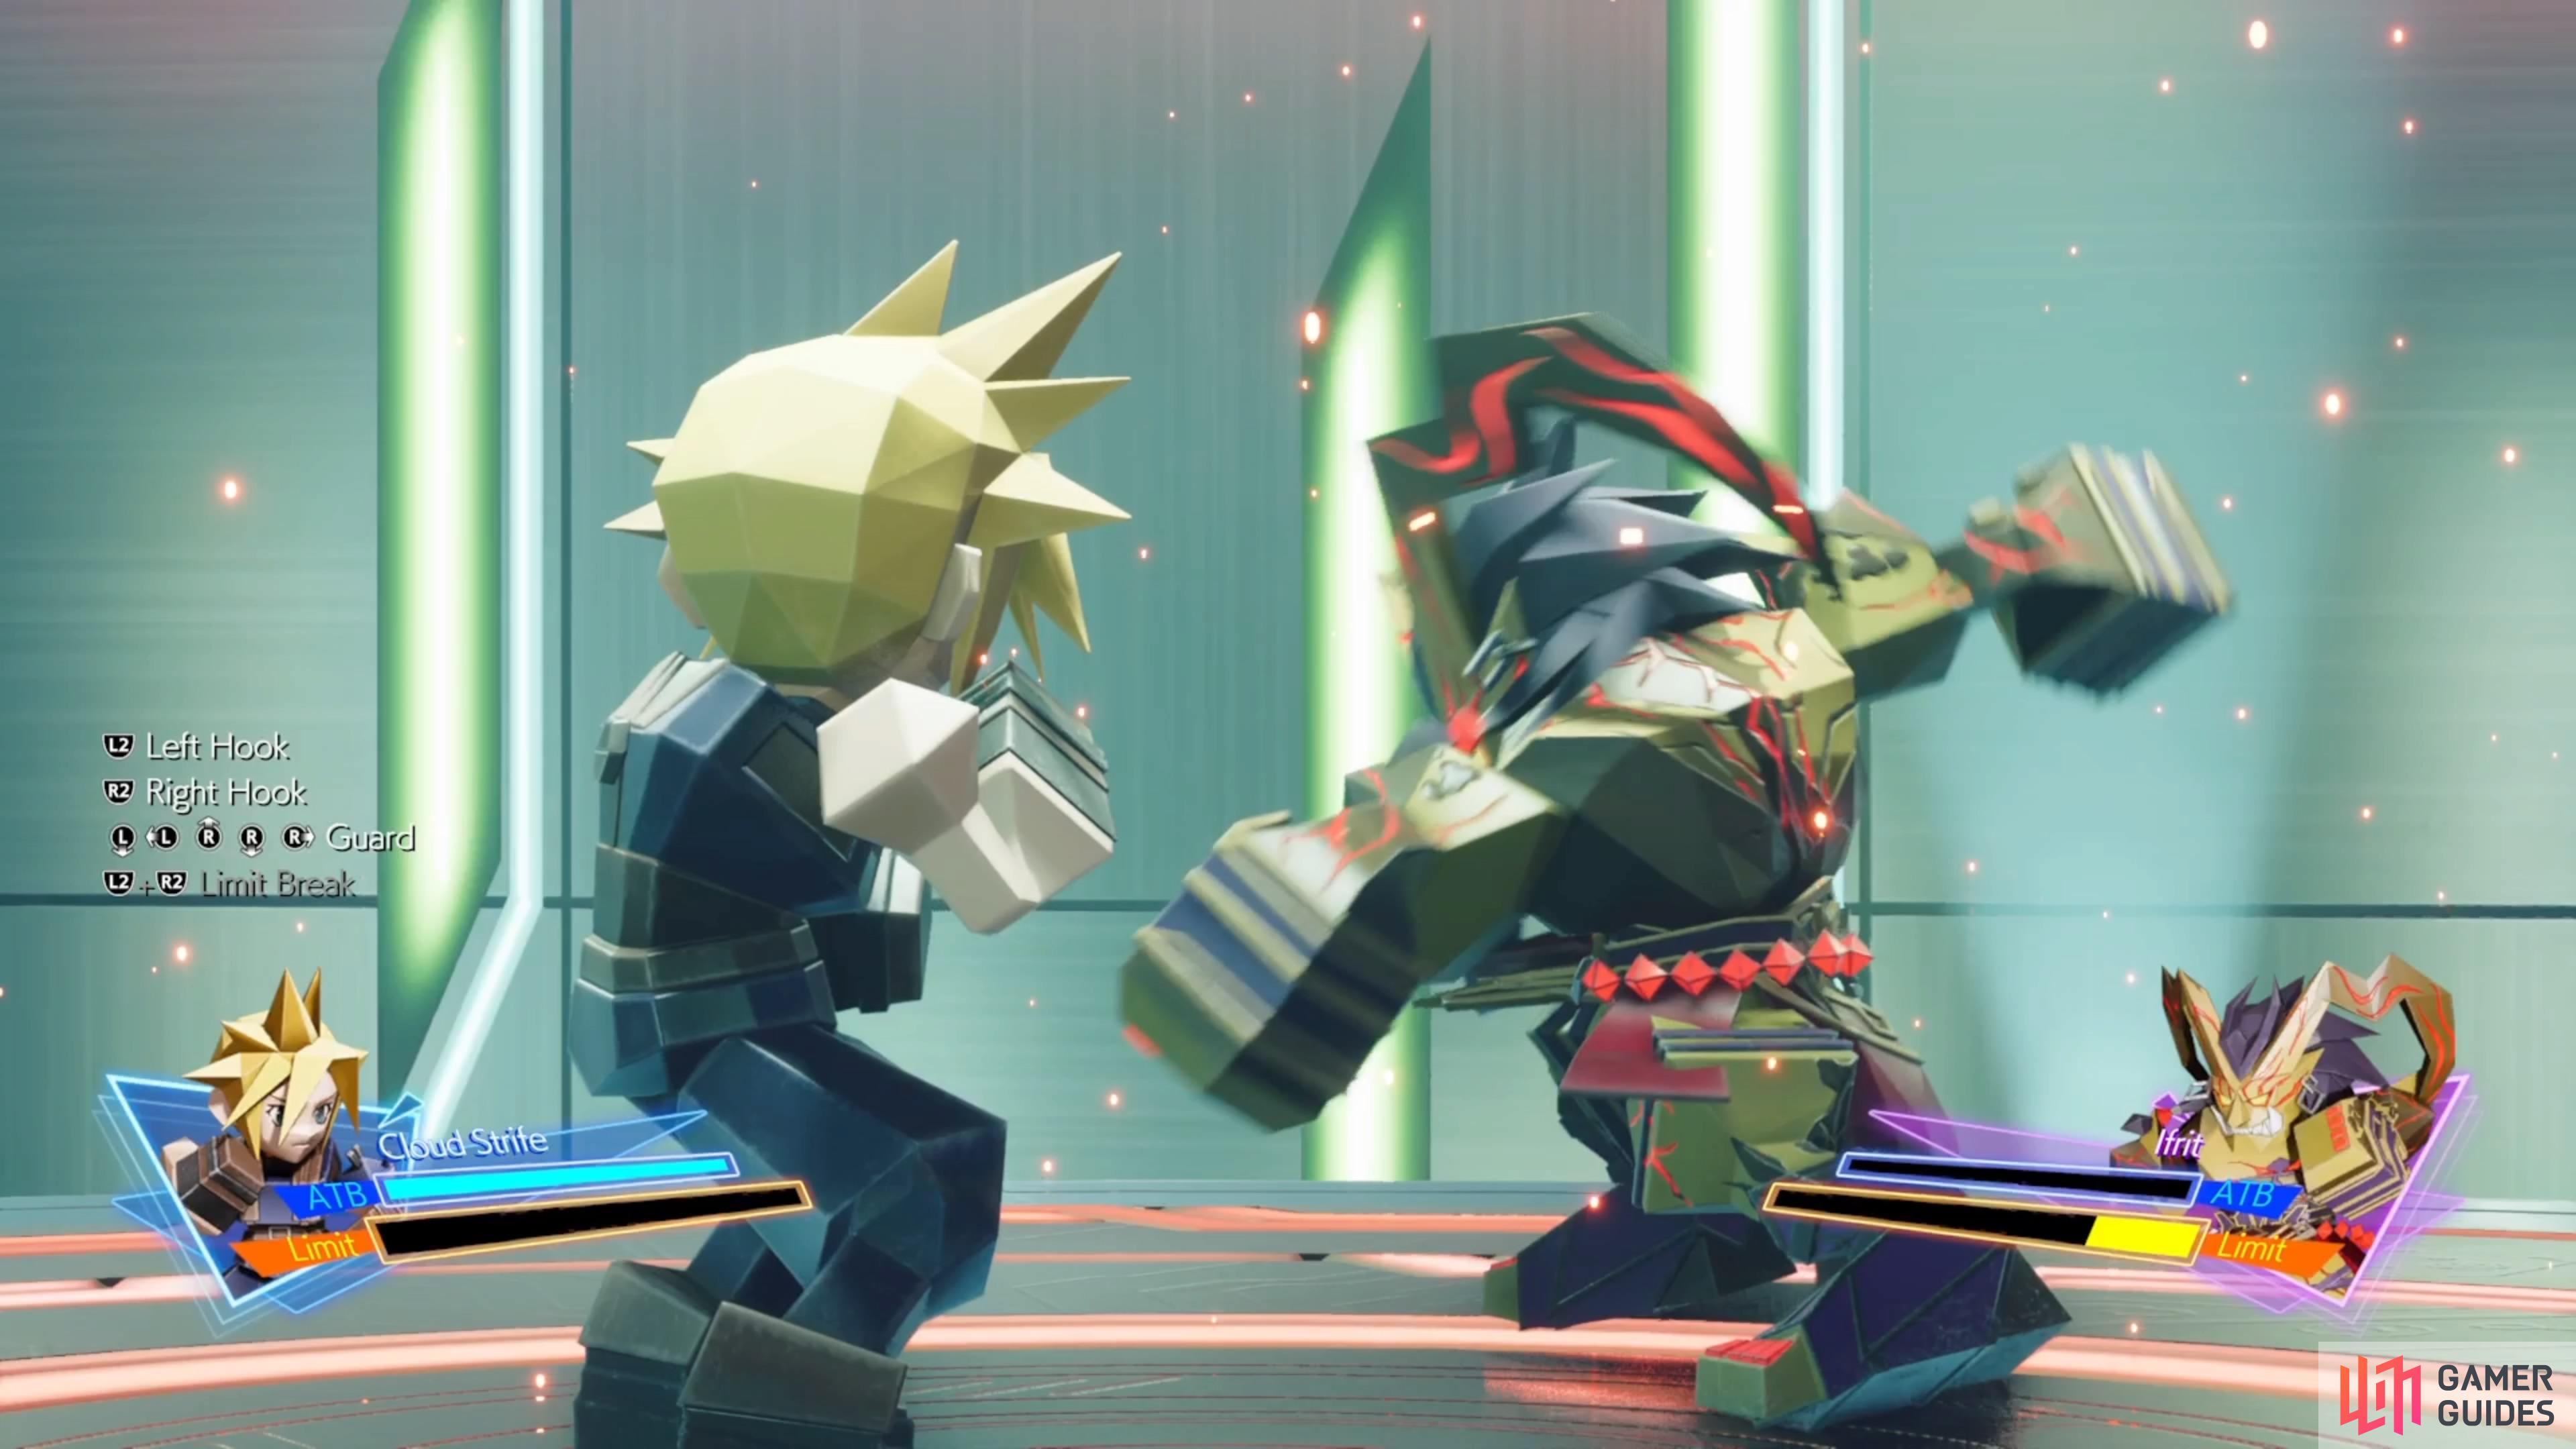
Ifrit - 3D Brawler
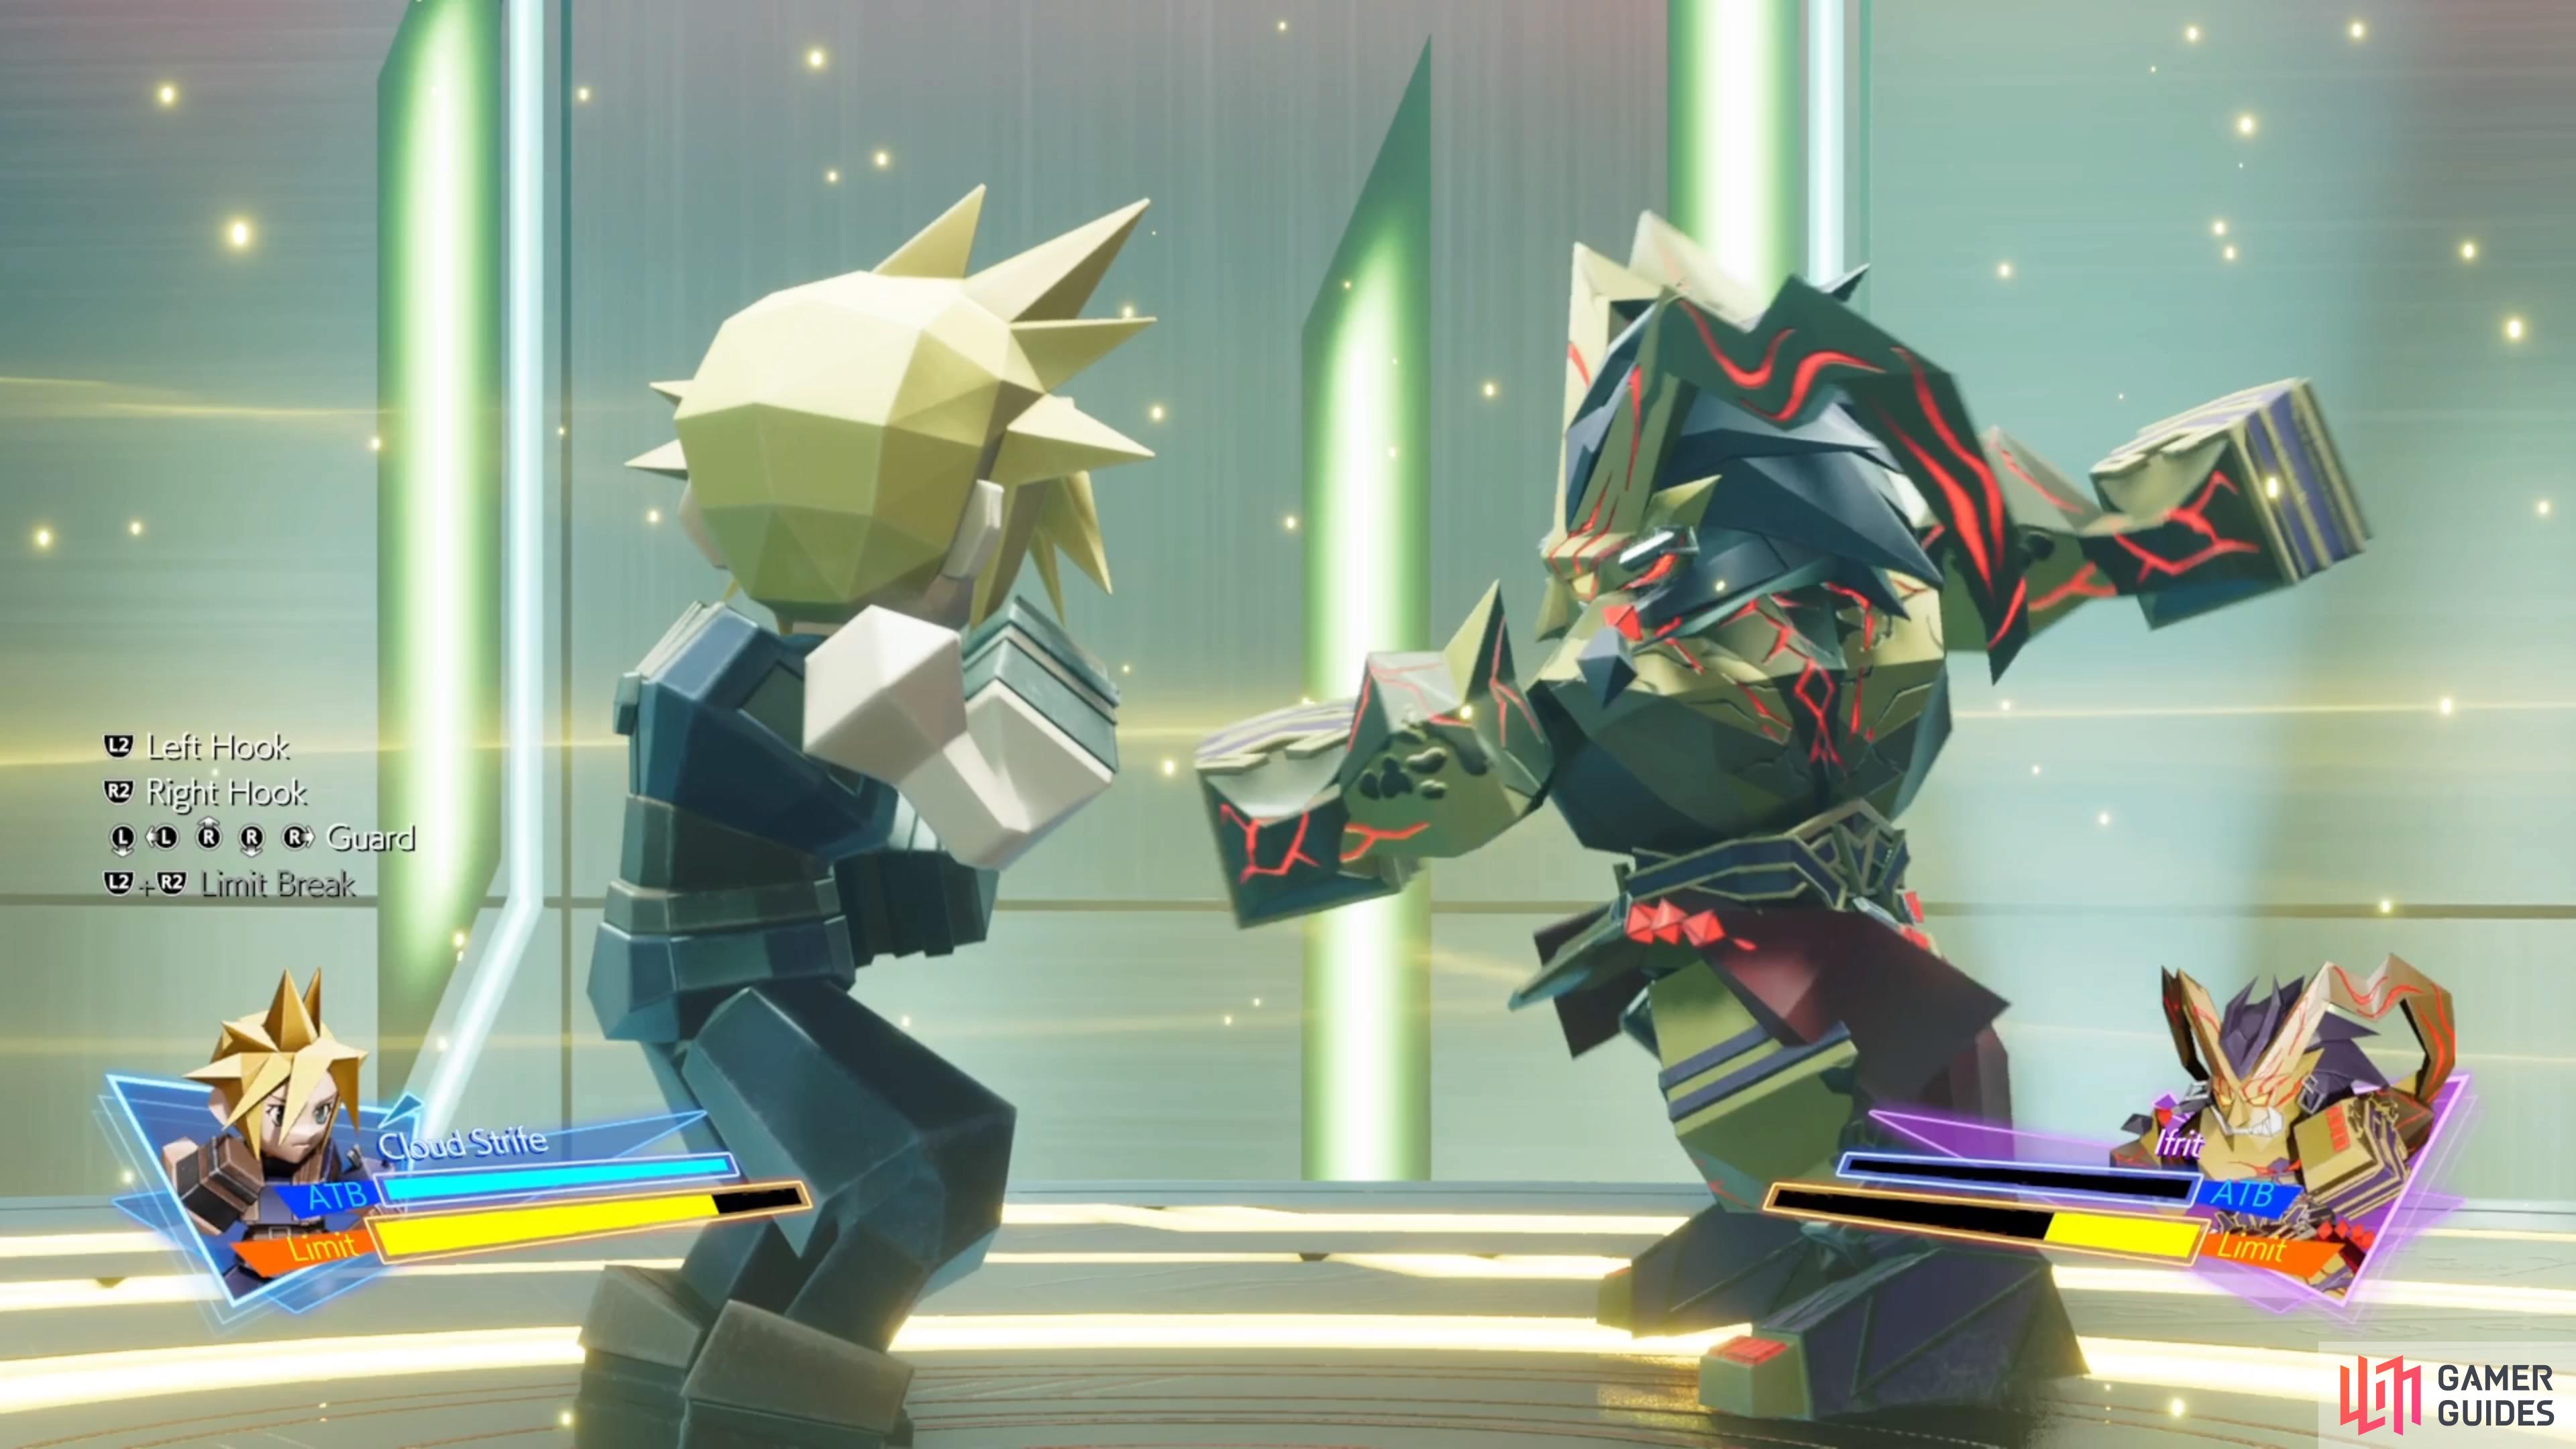
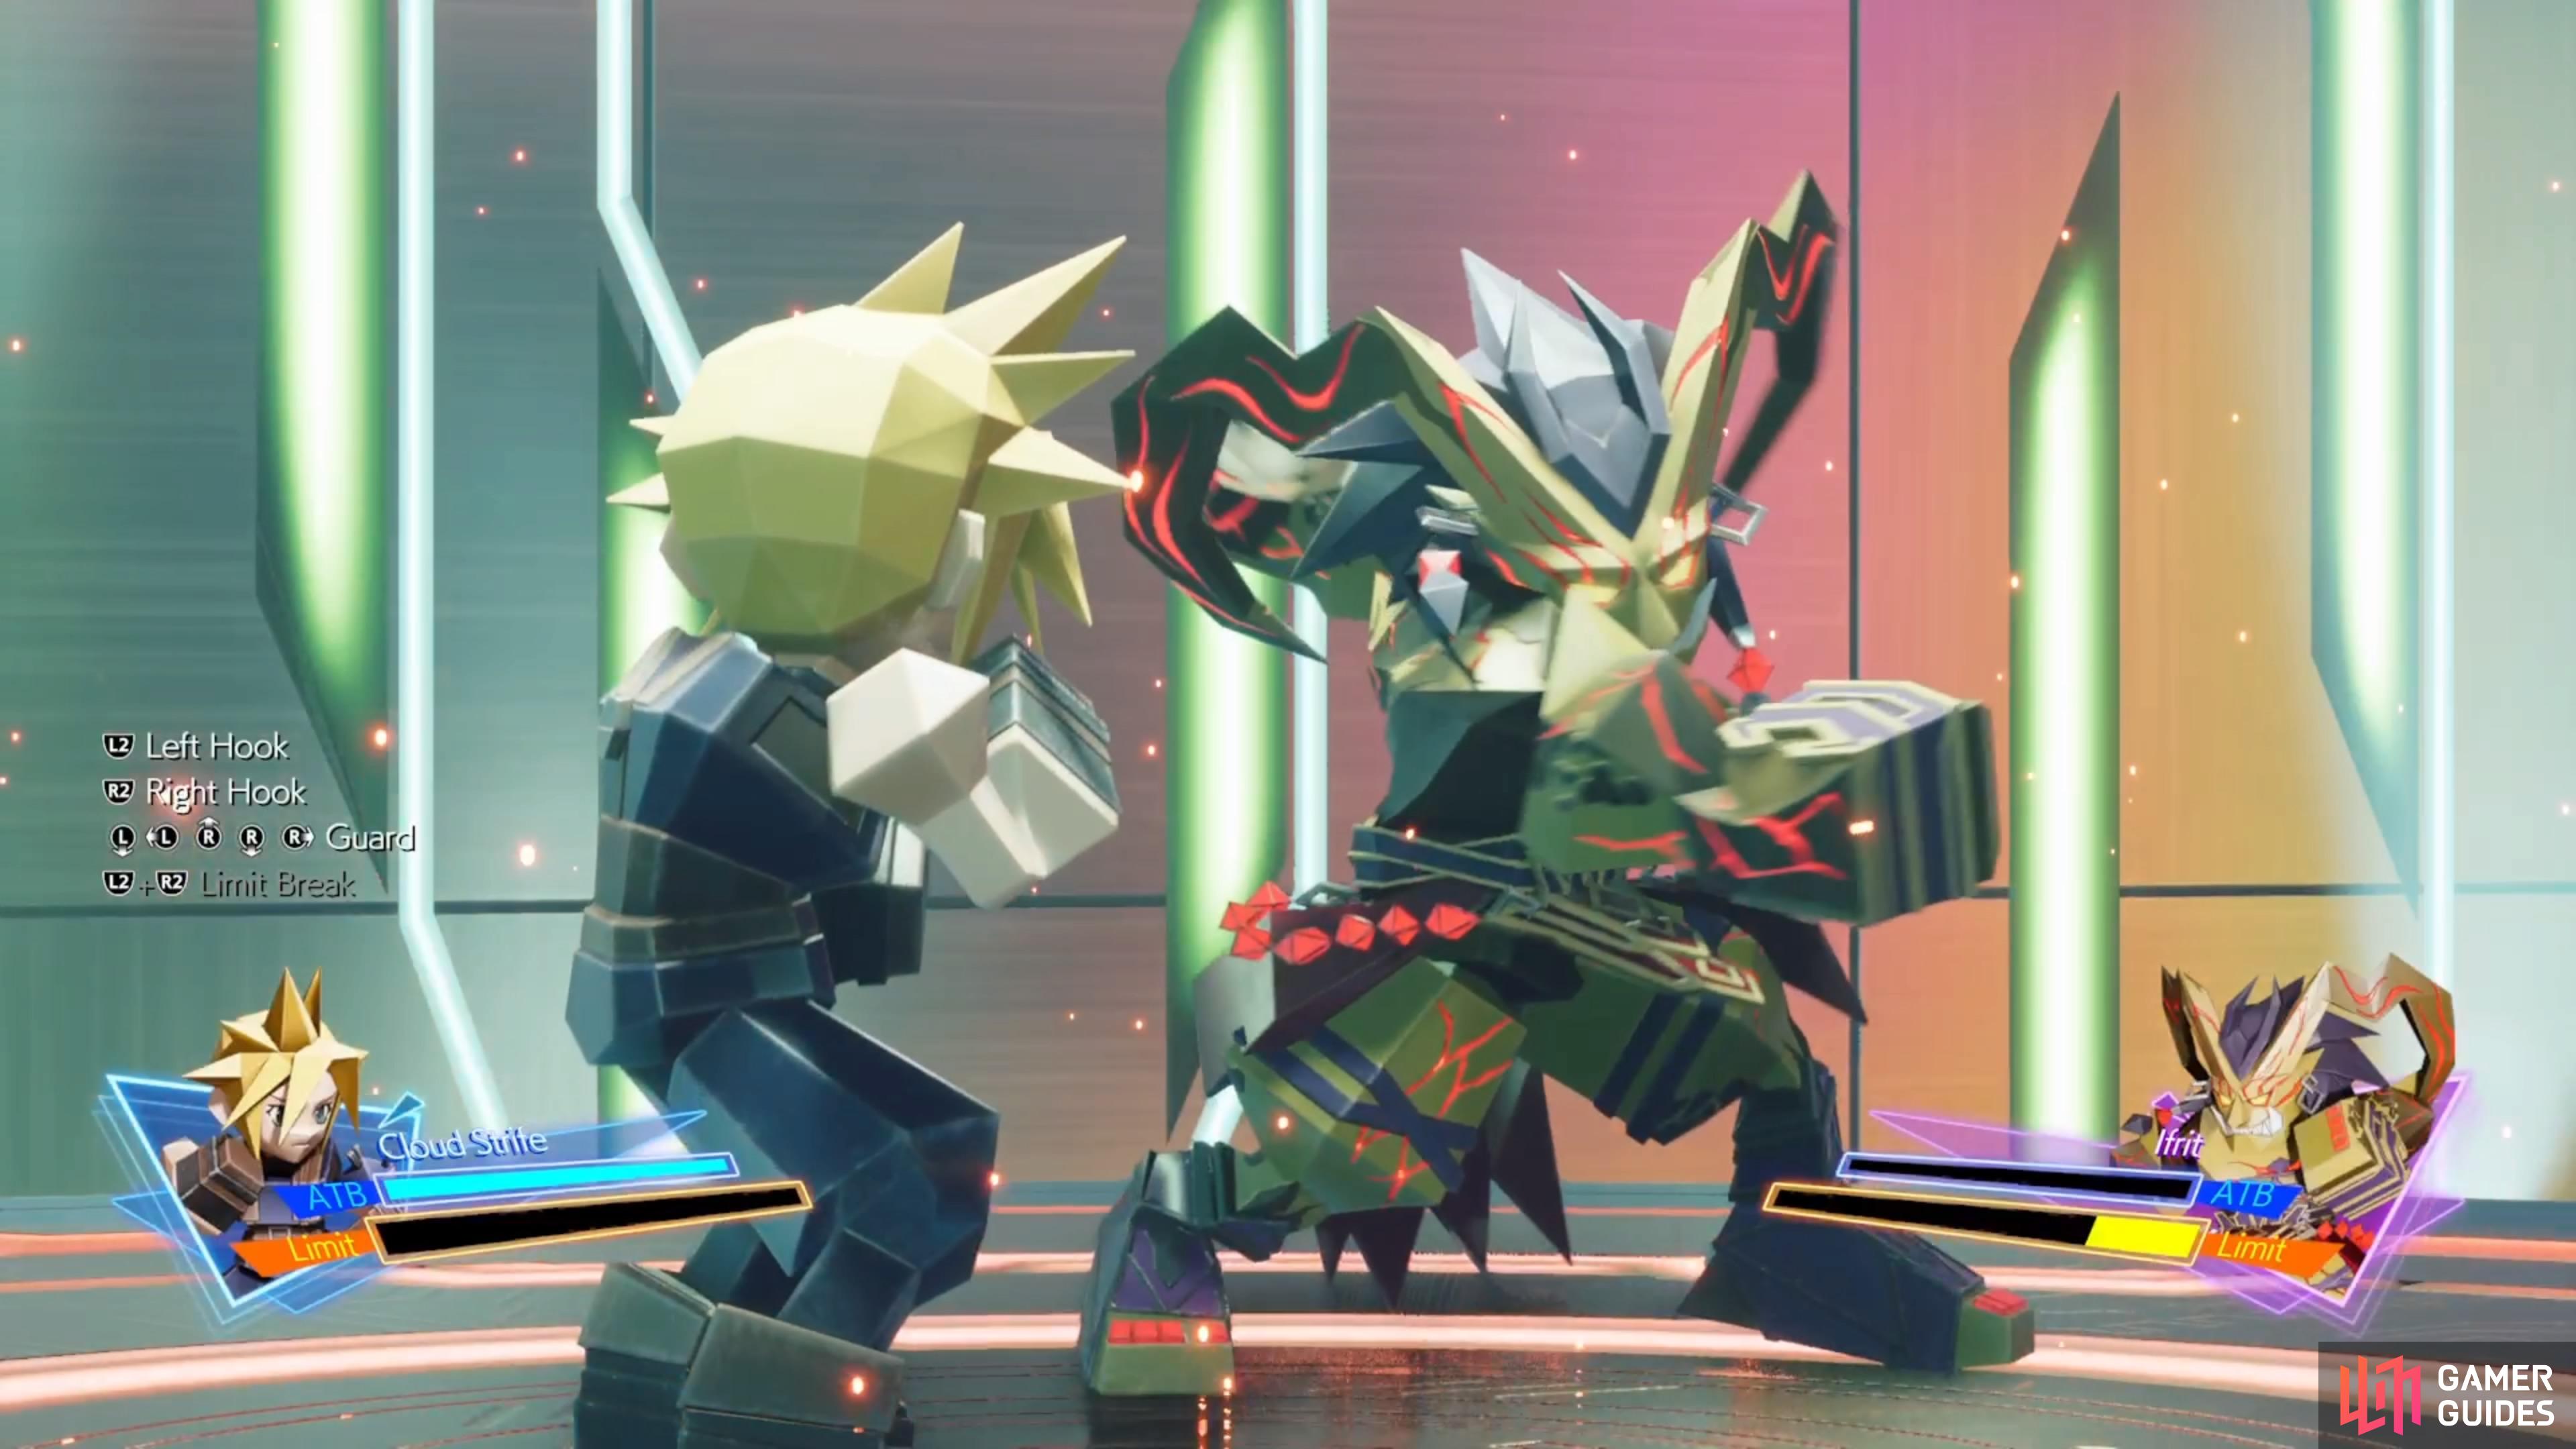
The second Advanced opponent will be Ifrit, who can be easier in some aspects but tougher in another way. His normal attacks seem to be simpler to read, so you can know which attack is coming. He has two with his right hand (your left) and three with his left. Let’s start with the easiest attack to handle, which is the Left Straight, as Ifrit has a great, big overhead wind-up for this move. There is a little similarity to the Left Uppercut and Left Hook, though, but once you can tell the difference between them, it’s easier to distinguish.
The catch is to watch the hand/arm that isn’t being used in the attack. The Left Hook will have Ifrit’s other hand being more horizontal, while the off-hand for the Left Uppercut will have it angled downwards. Also, Ifrit’s head will be lower when he’s doing the uppercut, so that’s another sign. The same can be said for the Right Hook and Right Uppercut, as his head is angled downward when doing the uppercut. Apart from that, the higher difficulty for Ifrit comes from his combos, as he has a total of three of them.
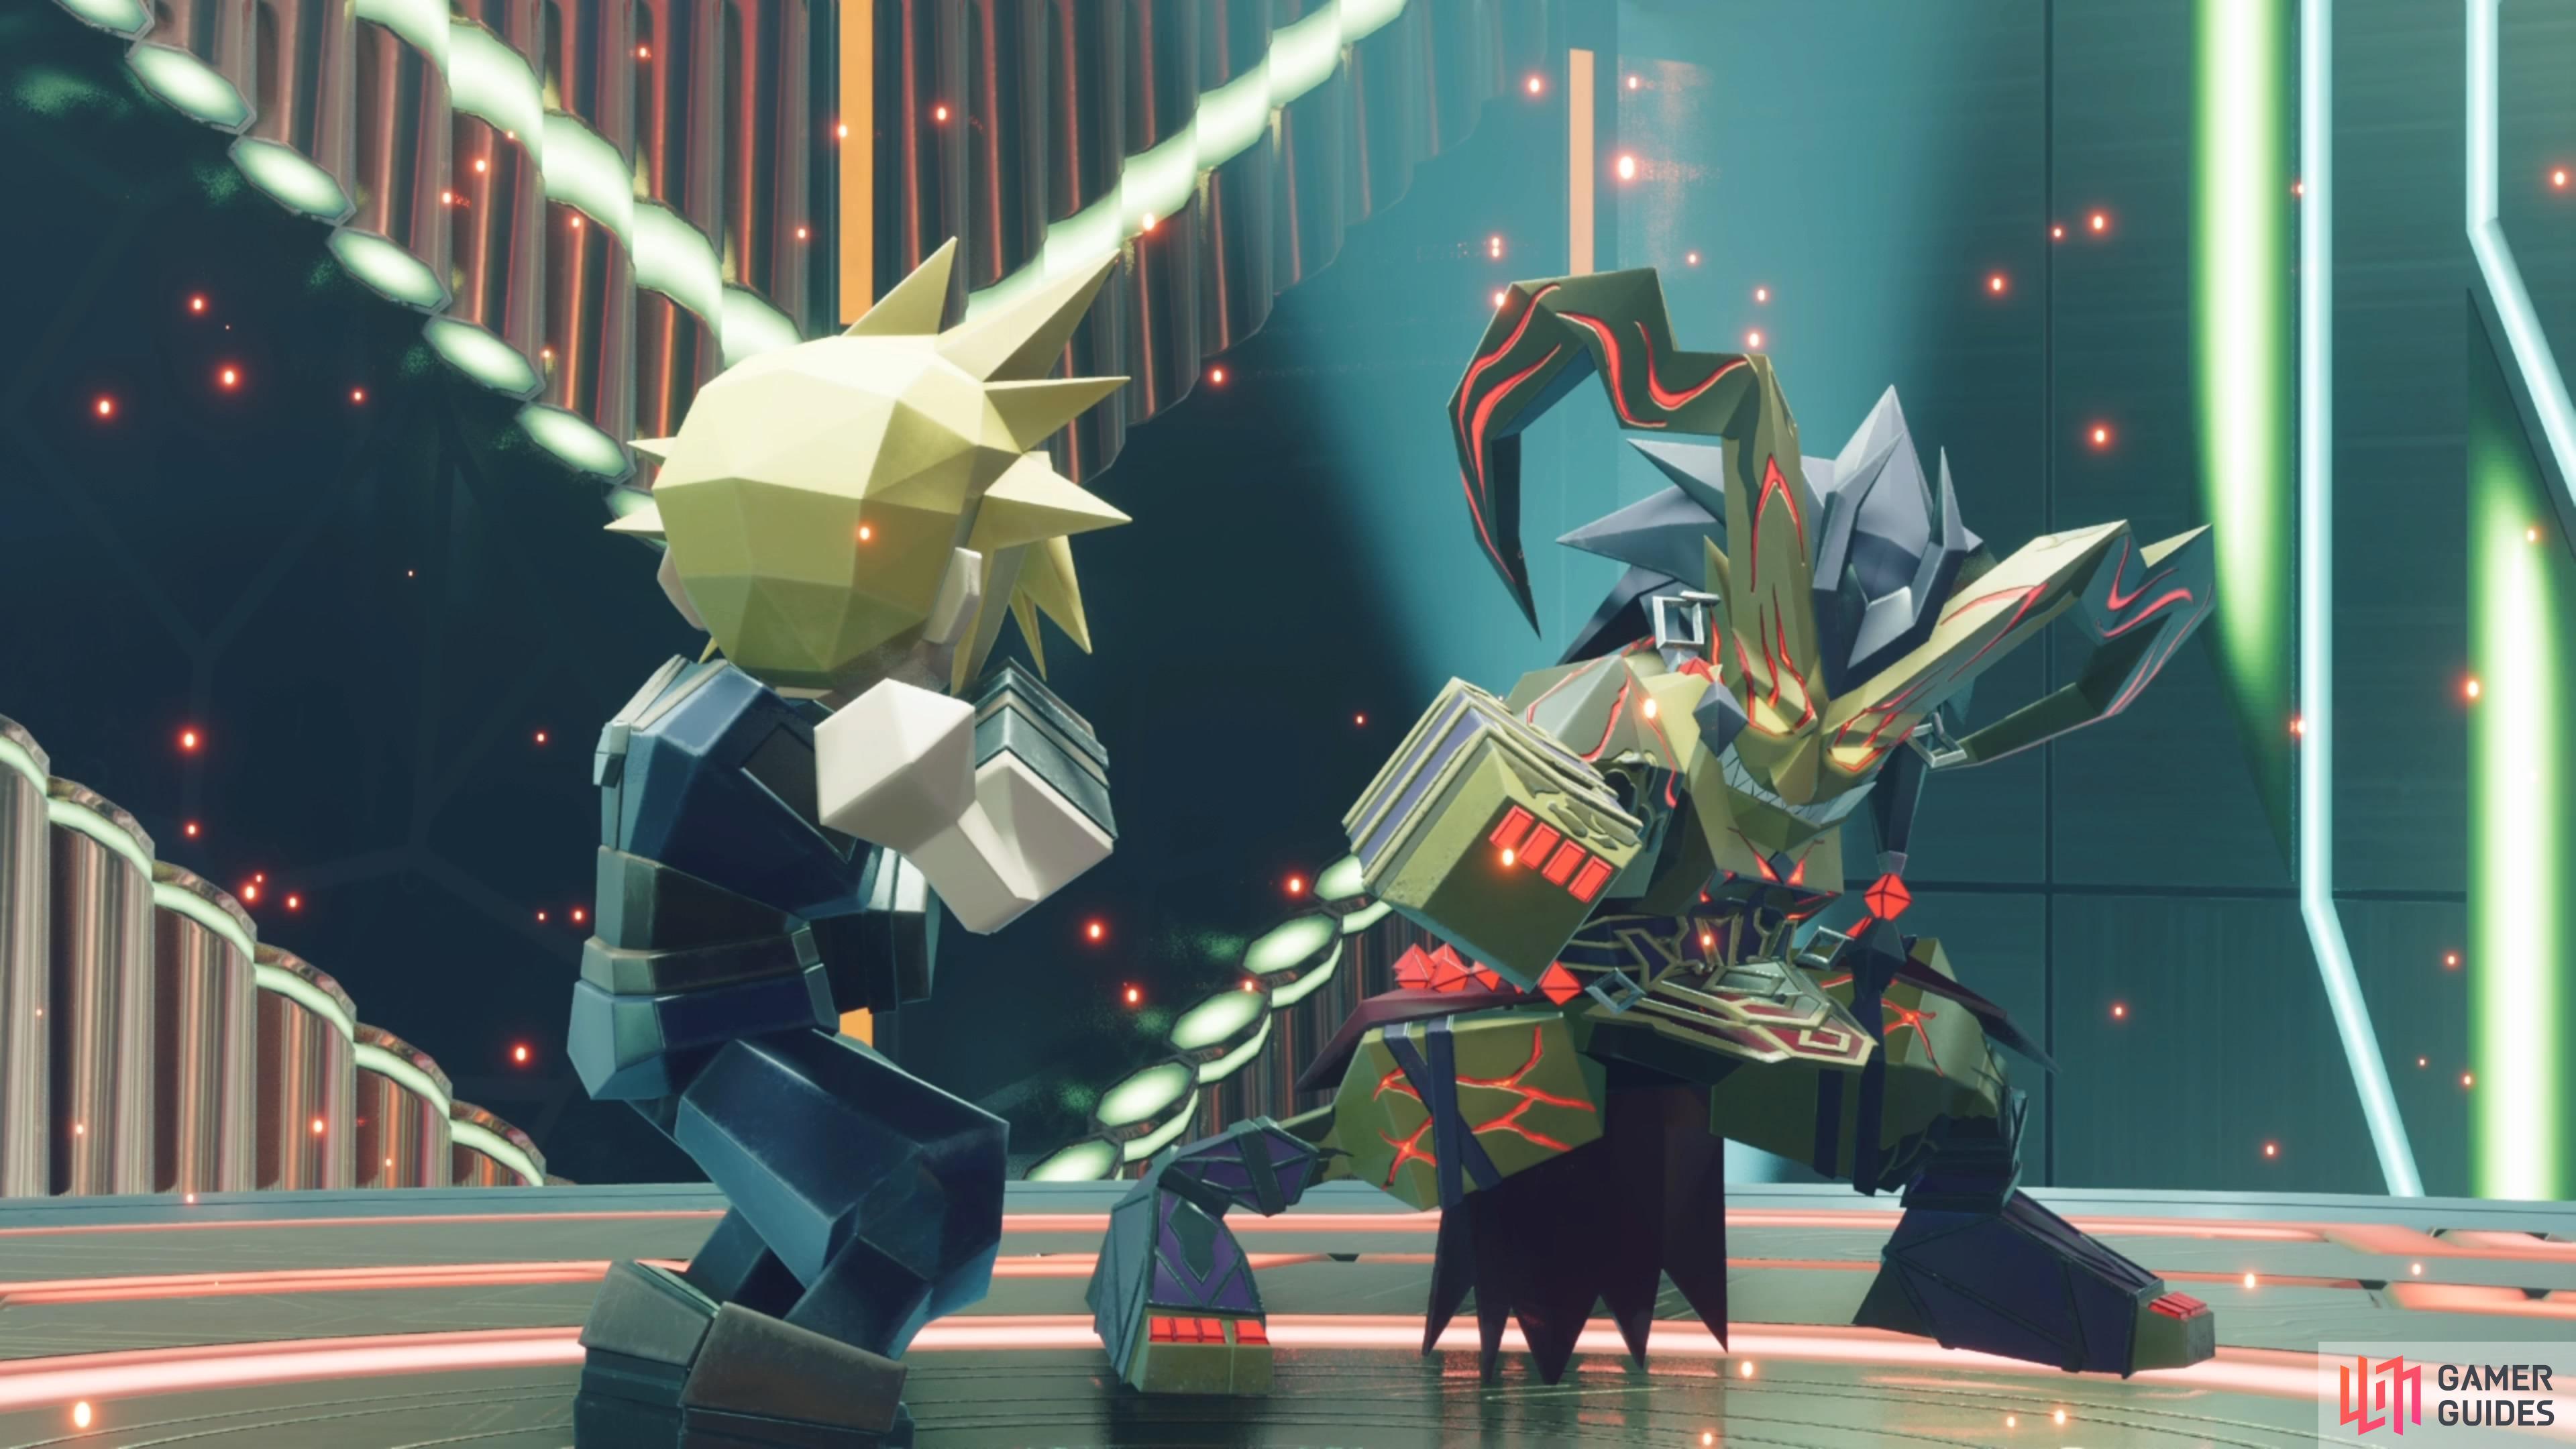
The first combo he will ever do will be Combo 1 below, which consists of four strikes, always in the order listed. The combos that occur later in the fight seem to be random, though. Note that the Left Straight punch that is part of the combo is super quick, so always be ready for that move whenever you see the red aura. As always, you can throw either punch after fully dodging a combo, but getting hit or blocking one of the attacks will cause the combo to end prematurely.
- Combo 1: Two Right Hooks, Left Uppercut, Right Uppercut
- Combo 2: Left Straight, Right Hook, Right Uppercut
- Combo 3: Left Hook, Right Uppercut
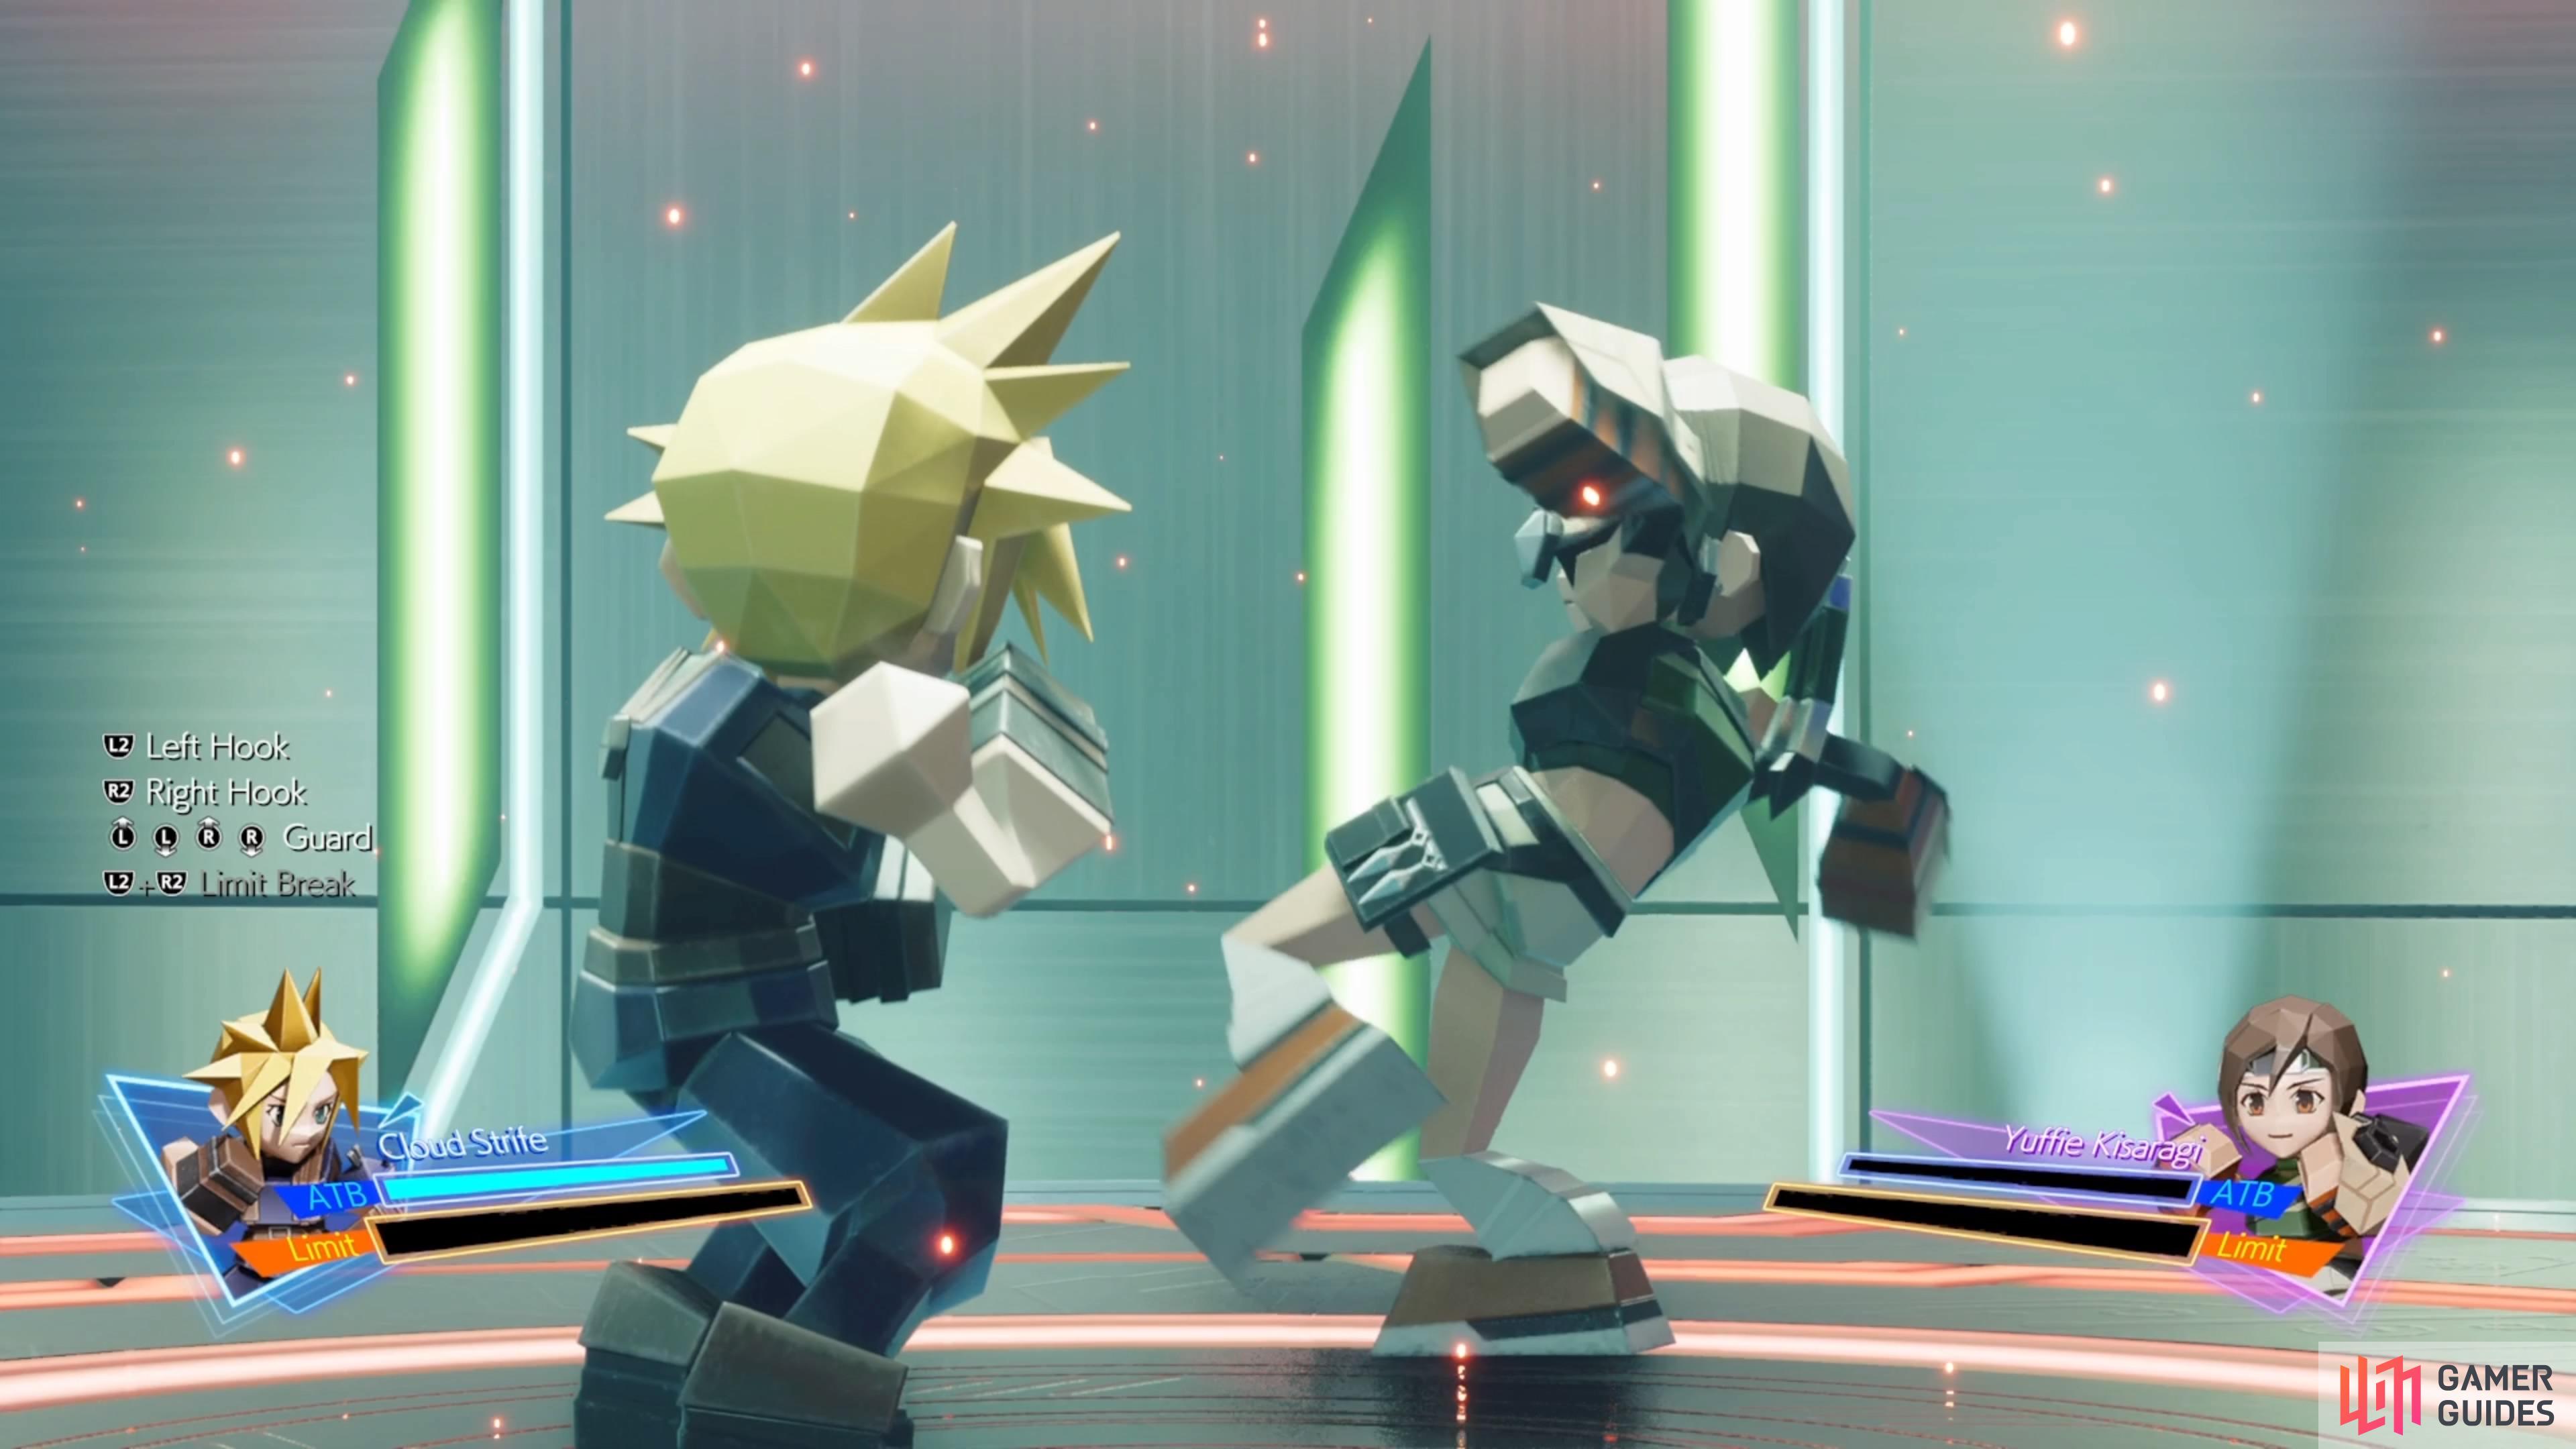
Yuffie - 3D Brawler
During Chapter 12, the party will split up at the Gold Saucer and you will be able to explore on your own a little bit, with ![]() Cait Sith in tow. If you go to the Wonderment Square and the 3D Brawler minigame, you will find Yuffie on the side, playing. If you speak to her, you will have the option to battle Yuffie in the minigame, which will earn you some affection should you defeat her. Overall, Yuffie can be pretty easy, simply because she only uses straights and uppercuts, giving you fewer options in dodging those.
Cait Sith in tow. If you go to the Wonderment Square and the 3D Brawler minigame, you will find Yuffie on the side, playing. If you speak to her, you will have the option to battle Yuffie in the minigame, which will earn you some affection should you defeat her. Overall, Yuffie can be pretty easy, simply because she only uses straights and uppercuts, giving you fewer options in dodging those.
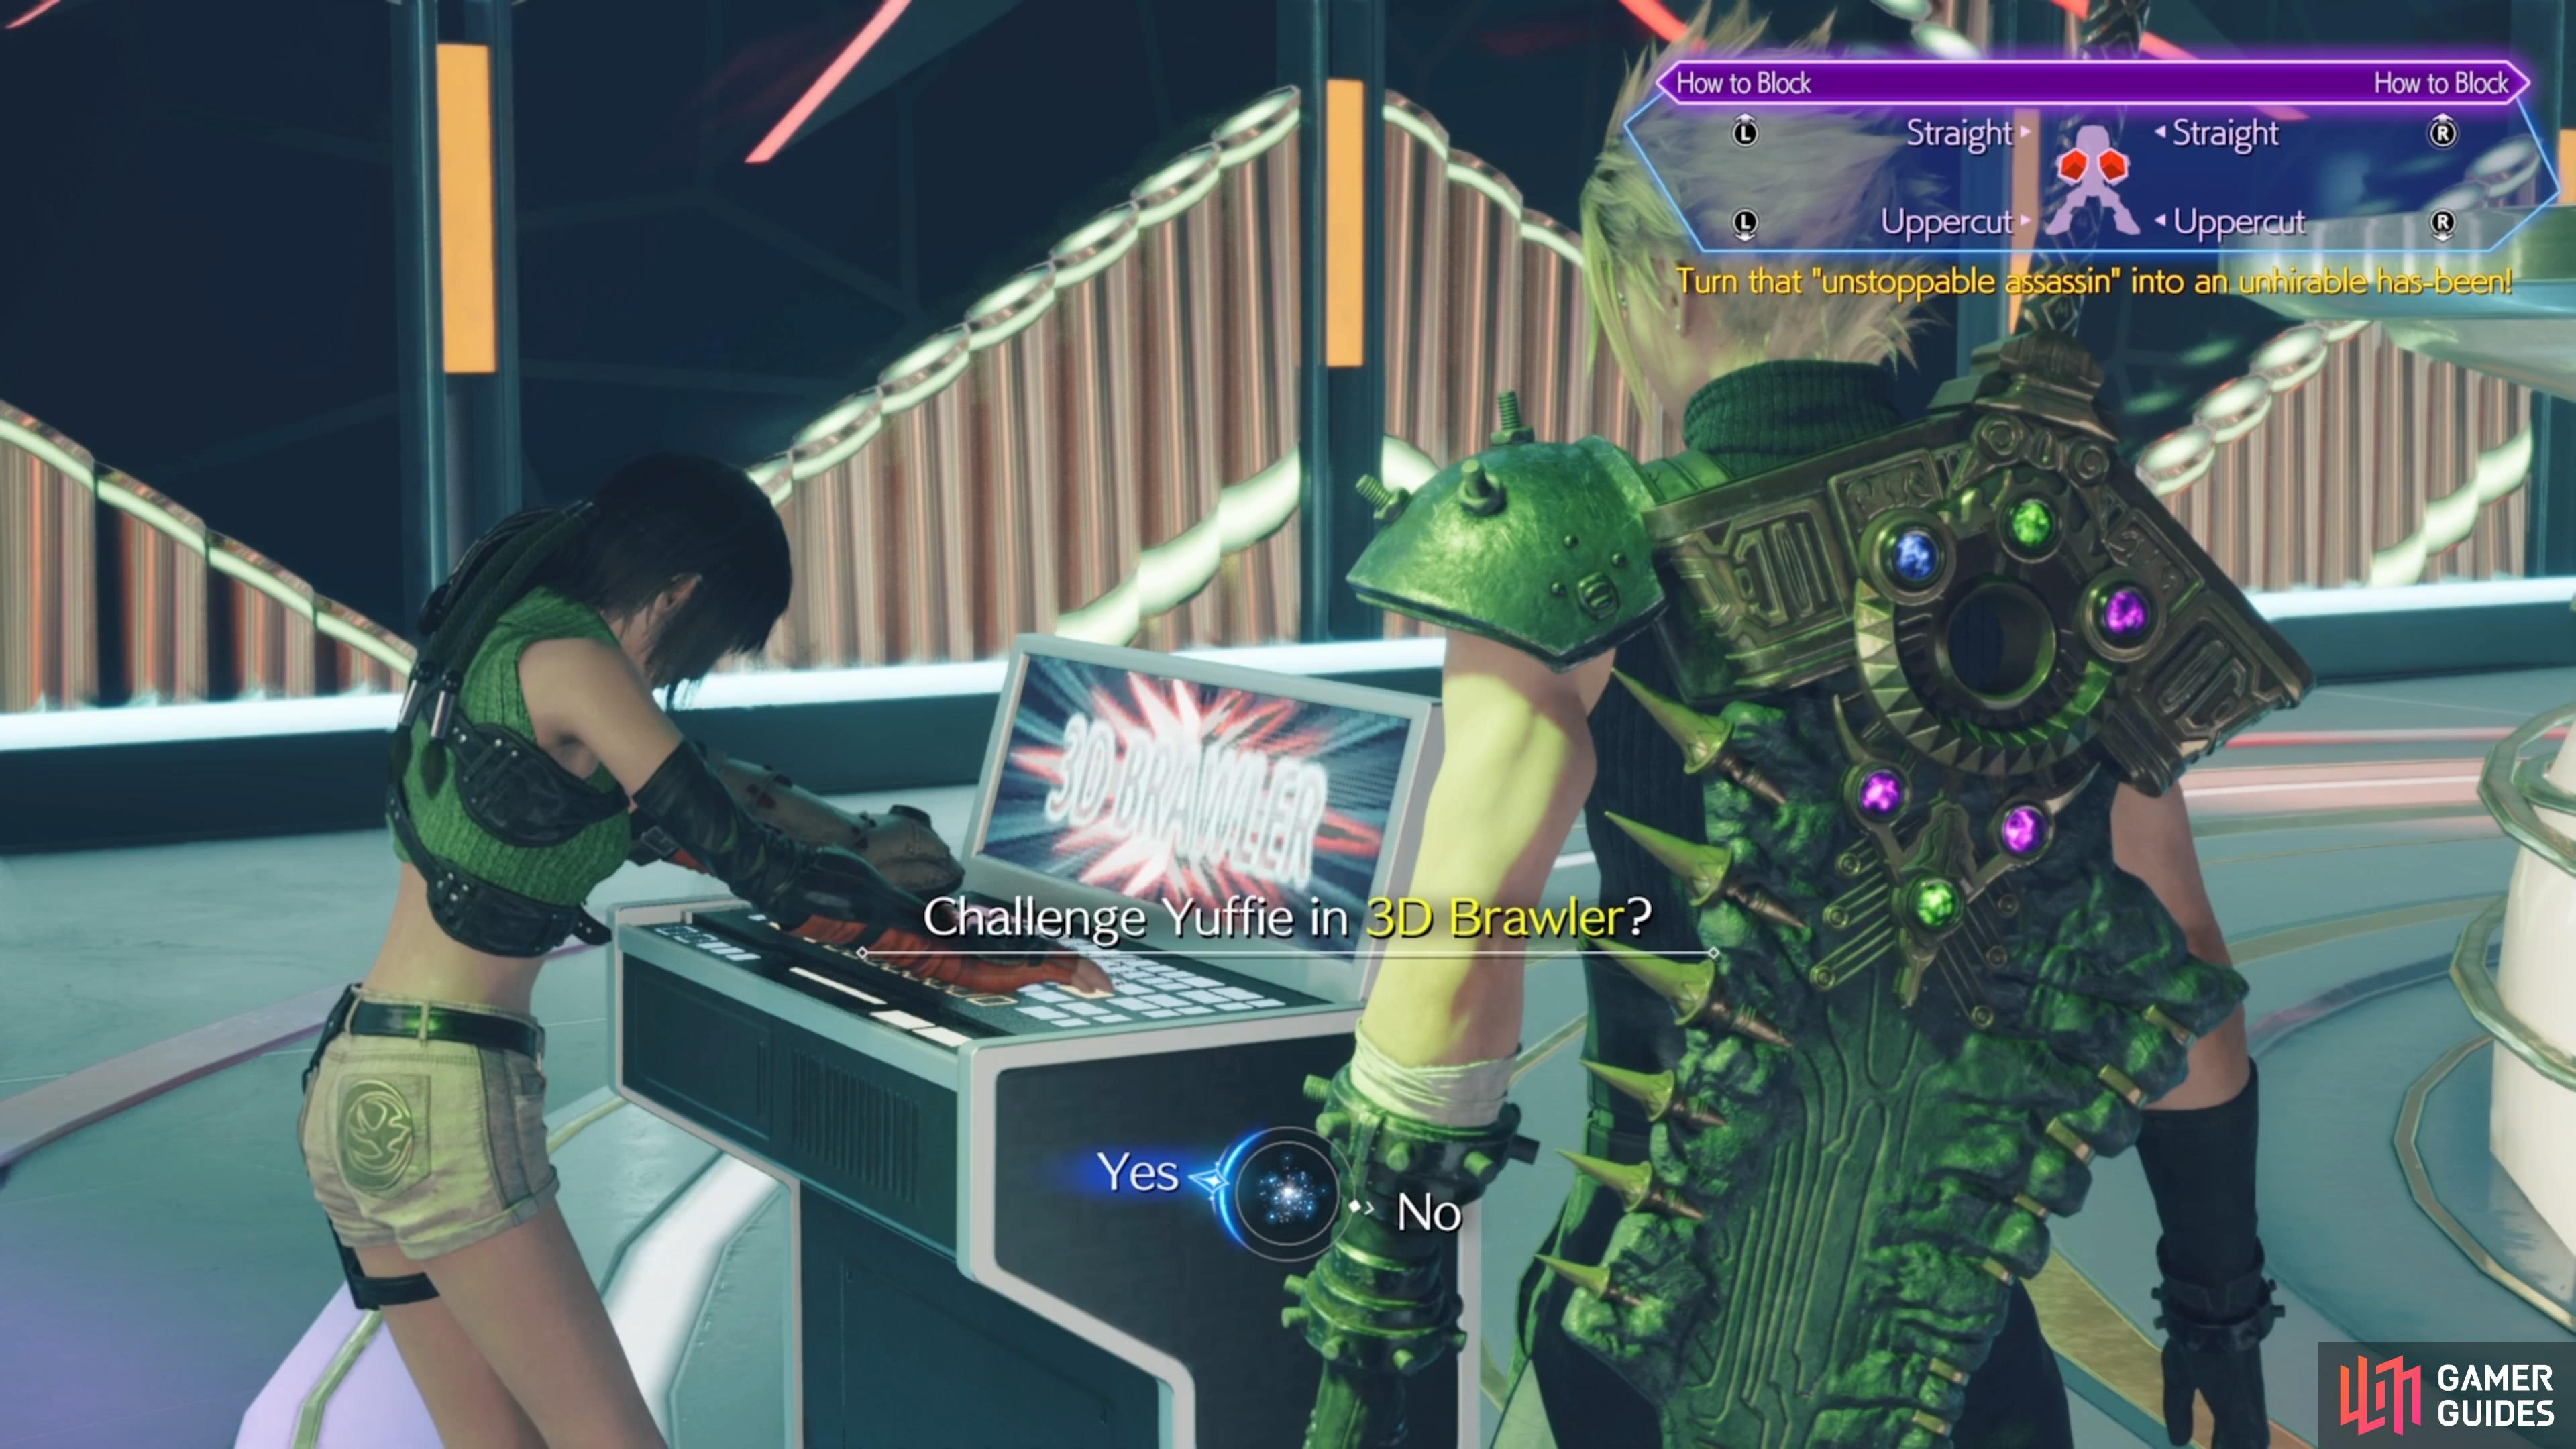
(1 of 4) You can find Yuffie at the 3D Brawler minigame at the start of Chapter 12.
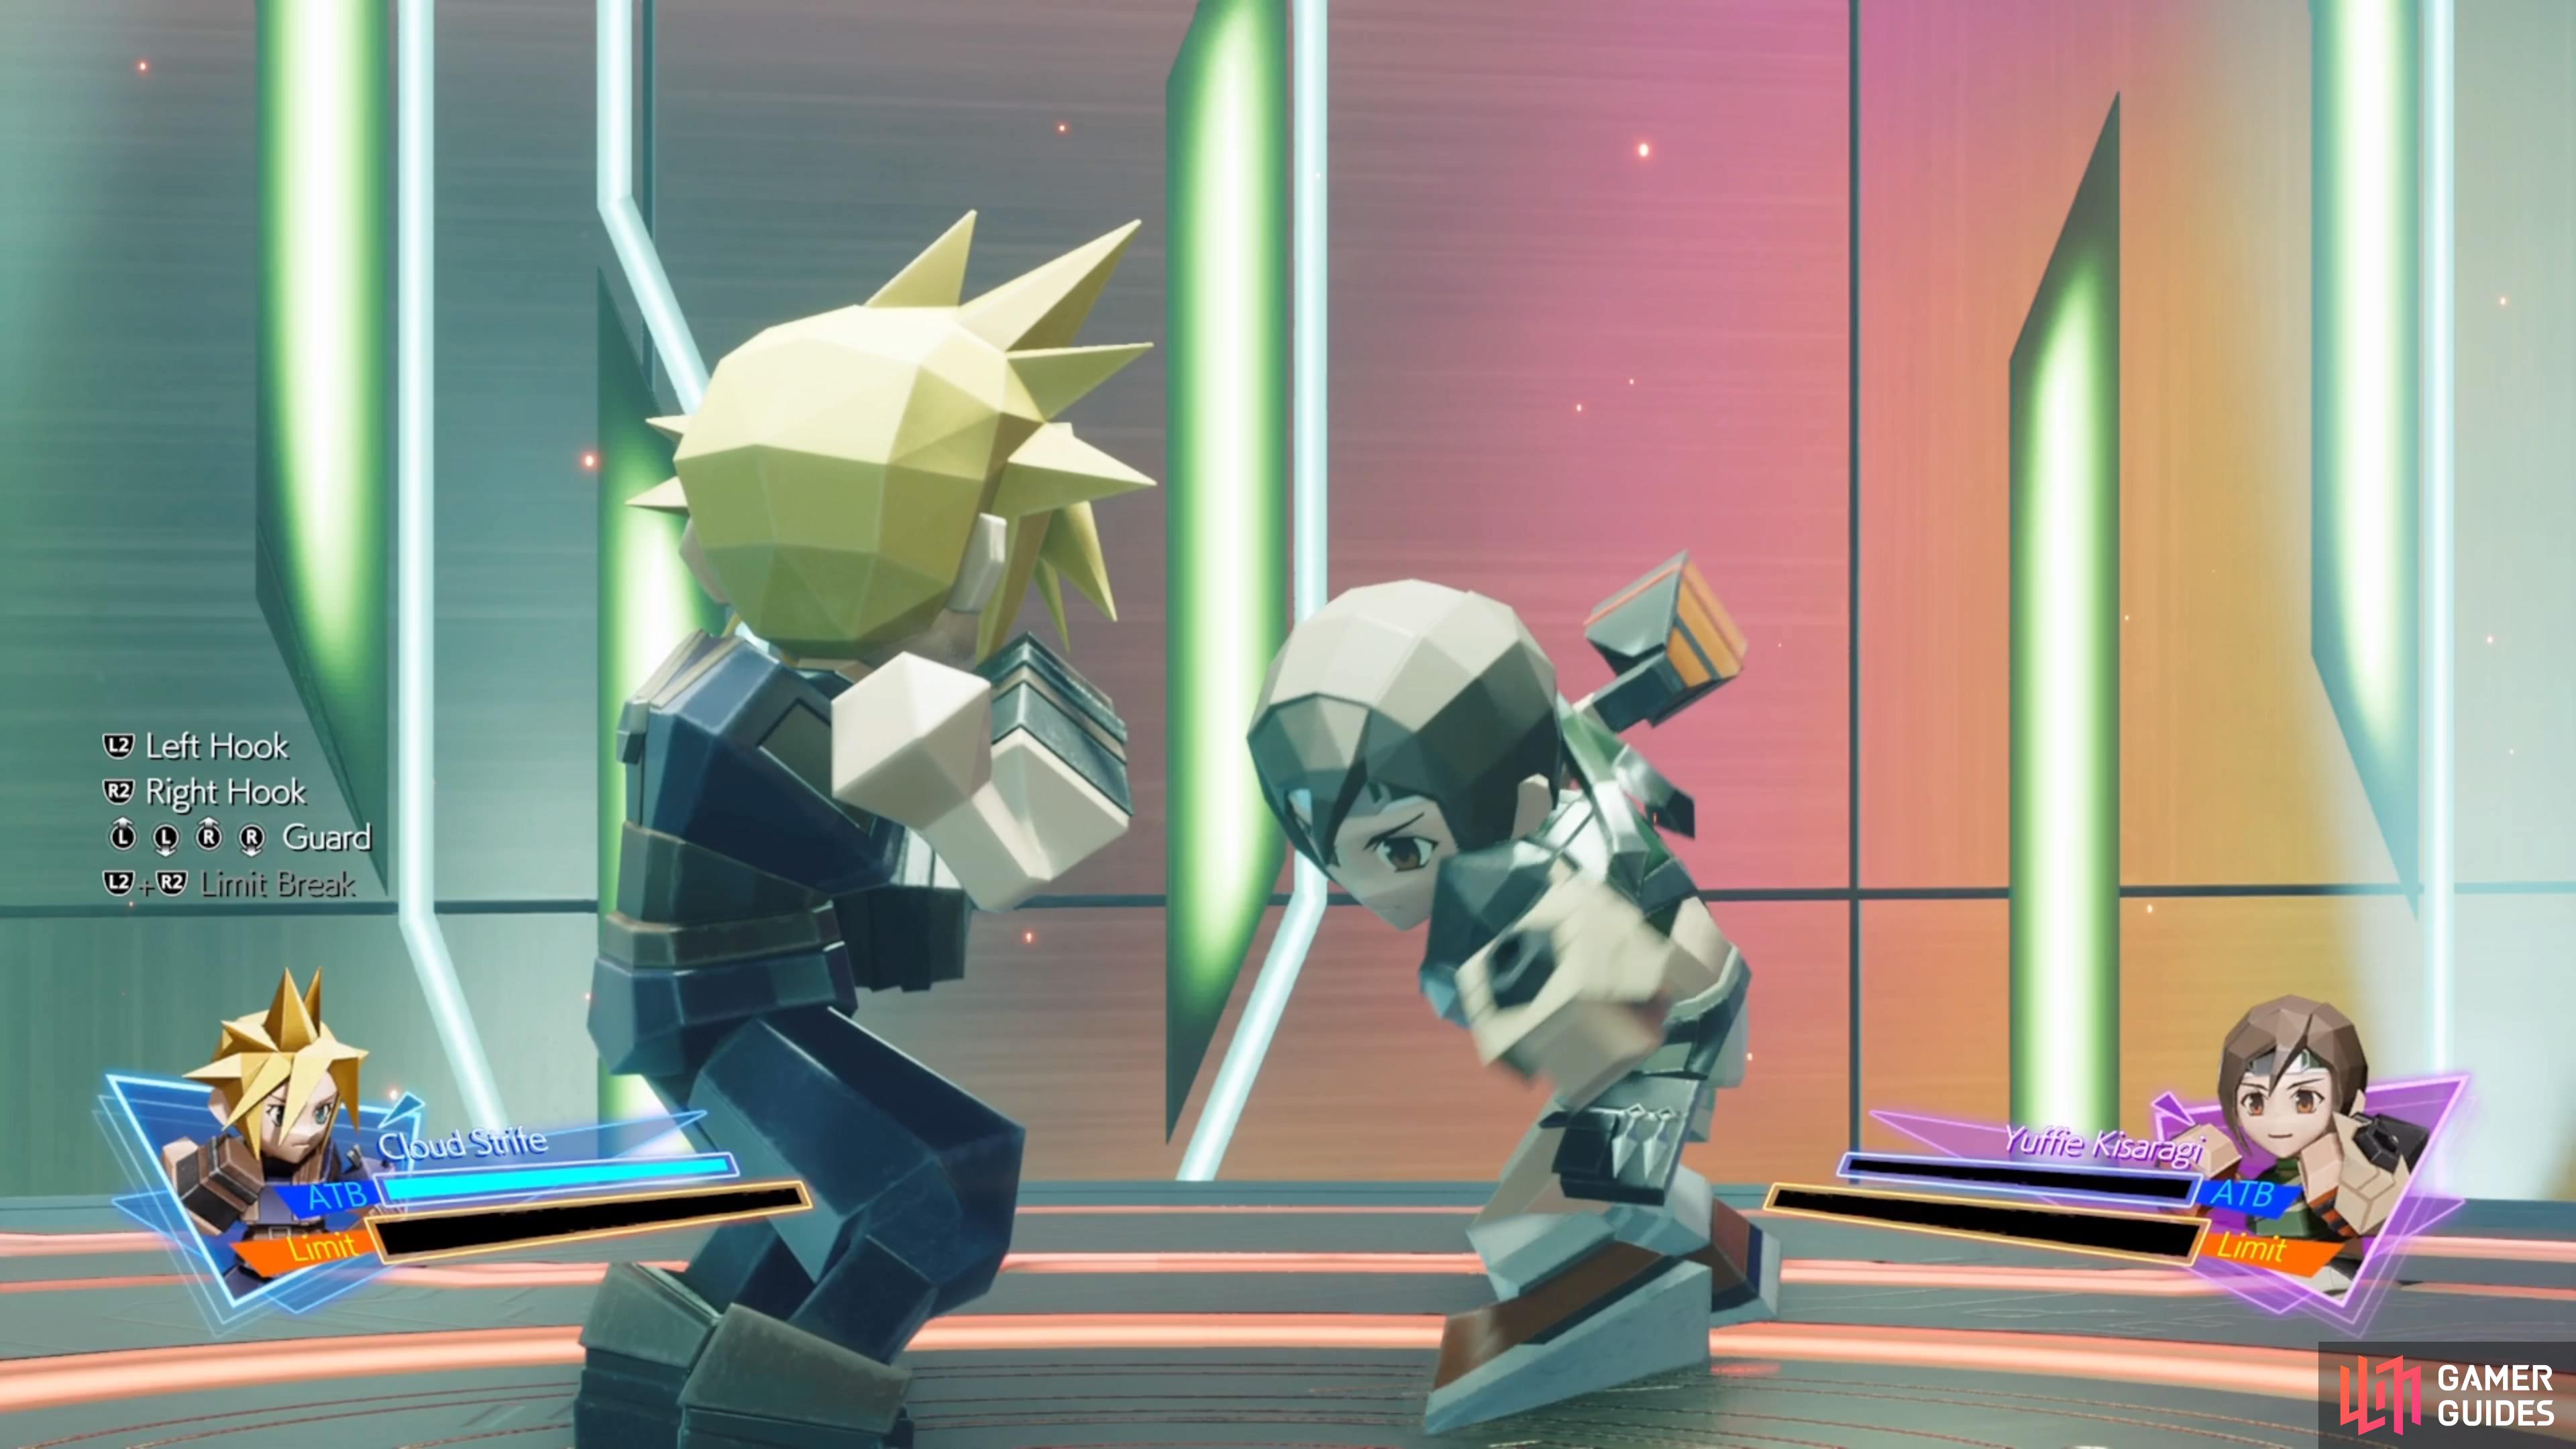
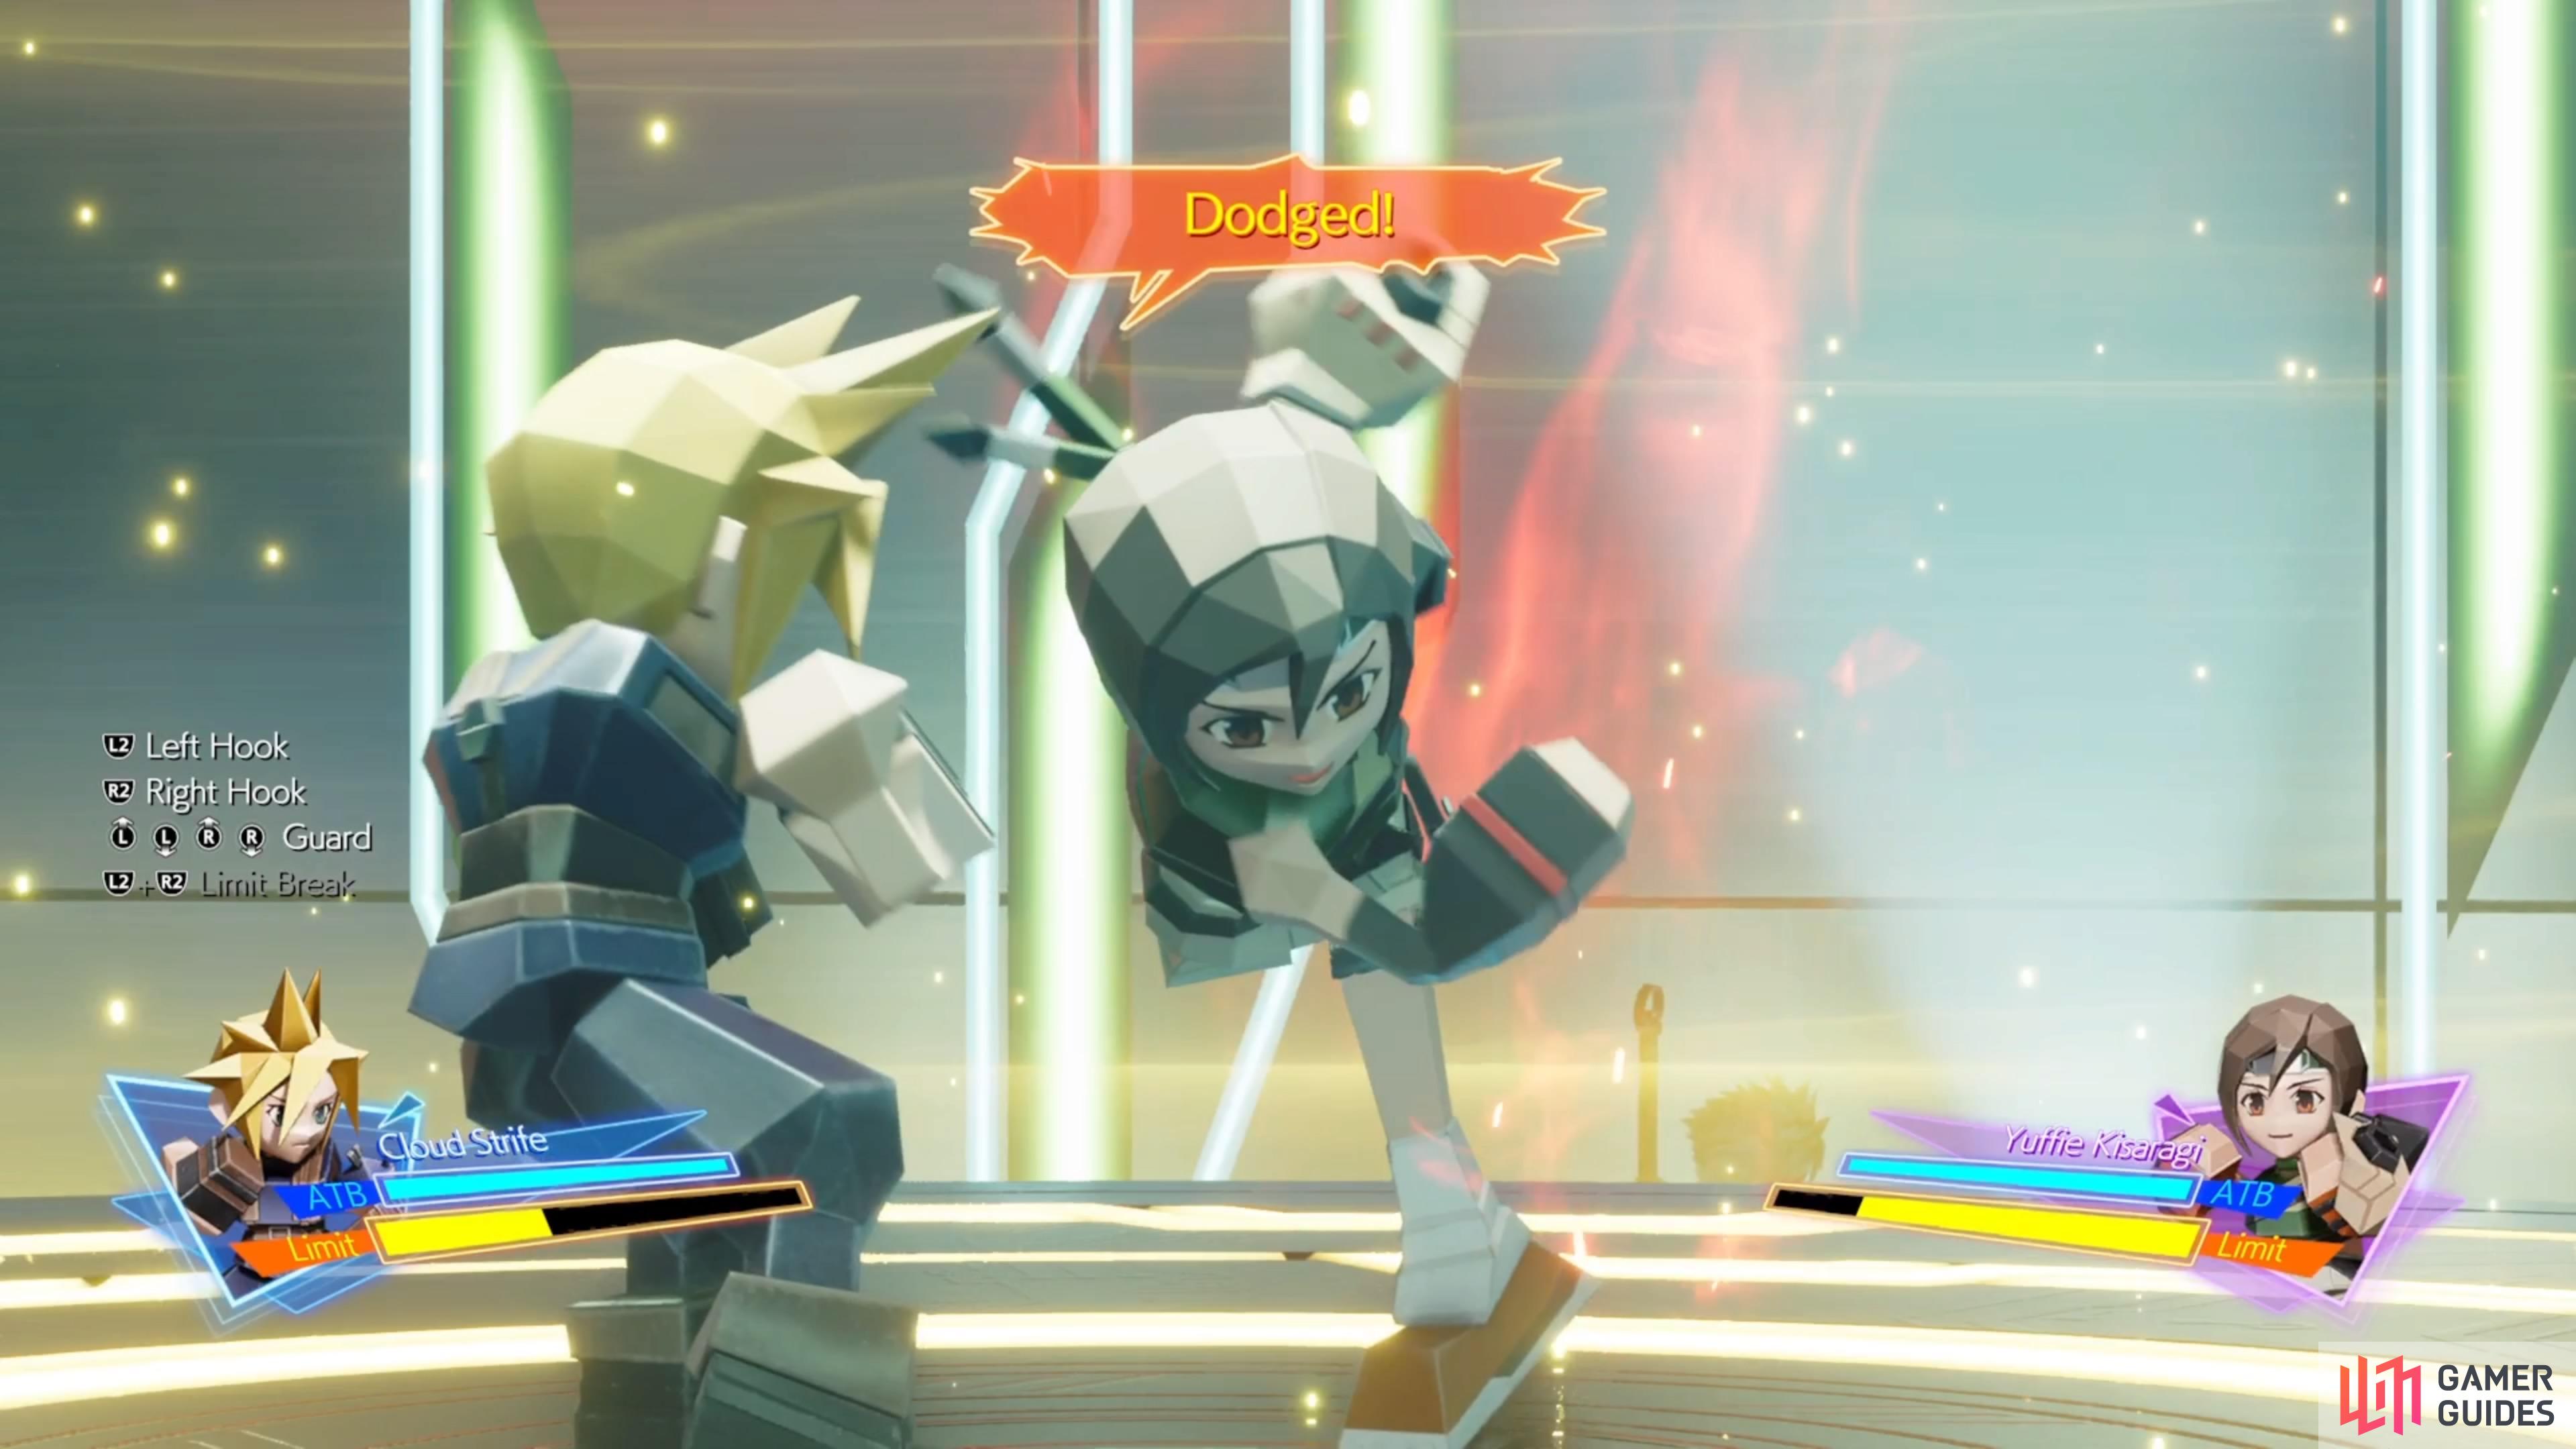
Basically, you will want to keep tabs on her head, as when she moves her head back, she’s about to do a straight. If you see her head moving downward, then she’s about to do an uppercut. She will do this with both arms, so adjust your dodges accordingly. She does have a combo, but she will always do the same attack pattern here. It consists solely of straight punches, starting with Right Straight (your left), then Left Straight, Right Straight, and finally two Left Straights. This is the only combo she will do and it’s always this pattern.
The attacks are quick, though, so that may throw off some people. You won’t get any actual items for beating Yuffie at 3D Brawler, but it will increase her affection towards you.

 Sign up
No Comments