
Chapter 12 will open up a lot of optional content for you in Final Fantasy VII Rebirth, from new quests and new difficulty ranks of previously done minigames. One of these is the Queen’s Blood Challenges at the ![]() Gold Saucer, as tougher challenges will become available. If you wish to get all of the Queen’s Blood cards and 100% the game, then you will need to complete these.
Gold Saucer, as tougher challenges will become available. If you wish to get all of the Queen’s Blood cards and 100% the game, then you will need to complete these.
Chapter 12 will unlock more challenges for Queen’s Blood at the Gold Saucer.
Best Deck to Use for Advanced Challenges
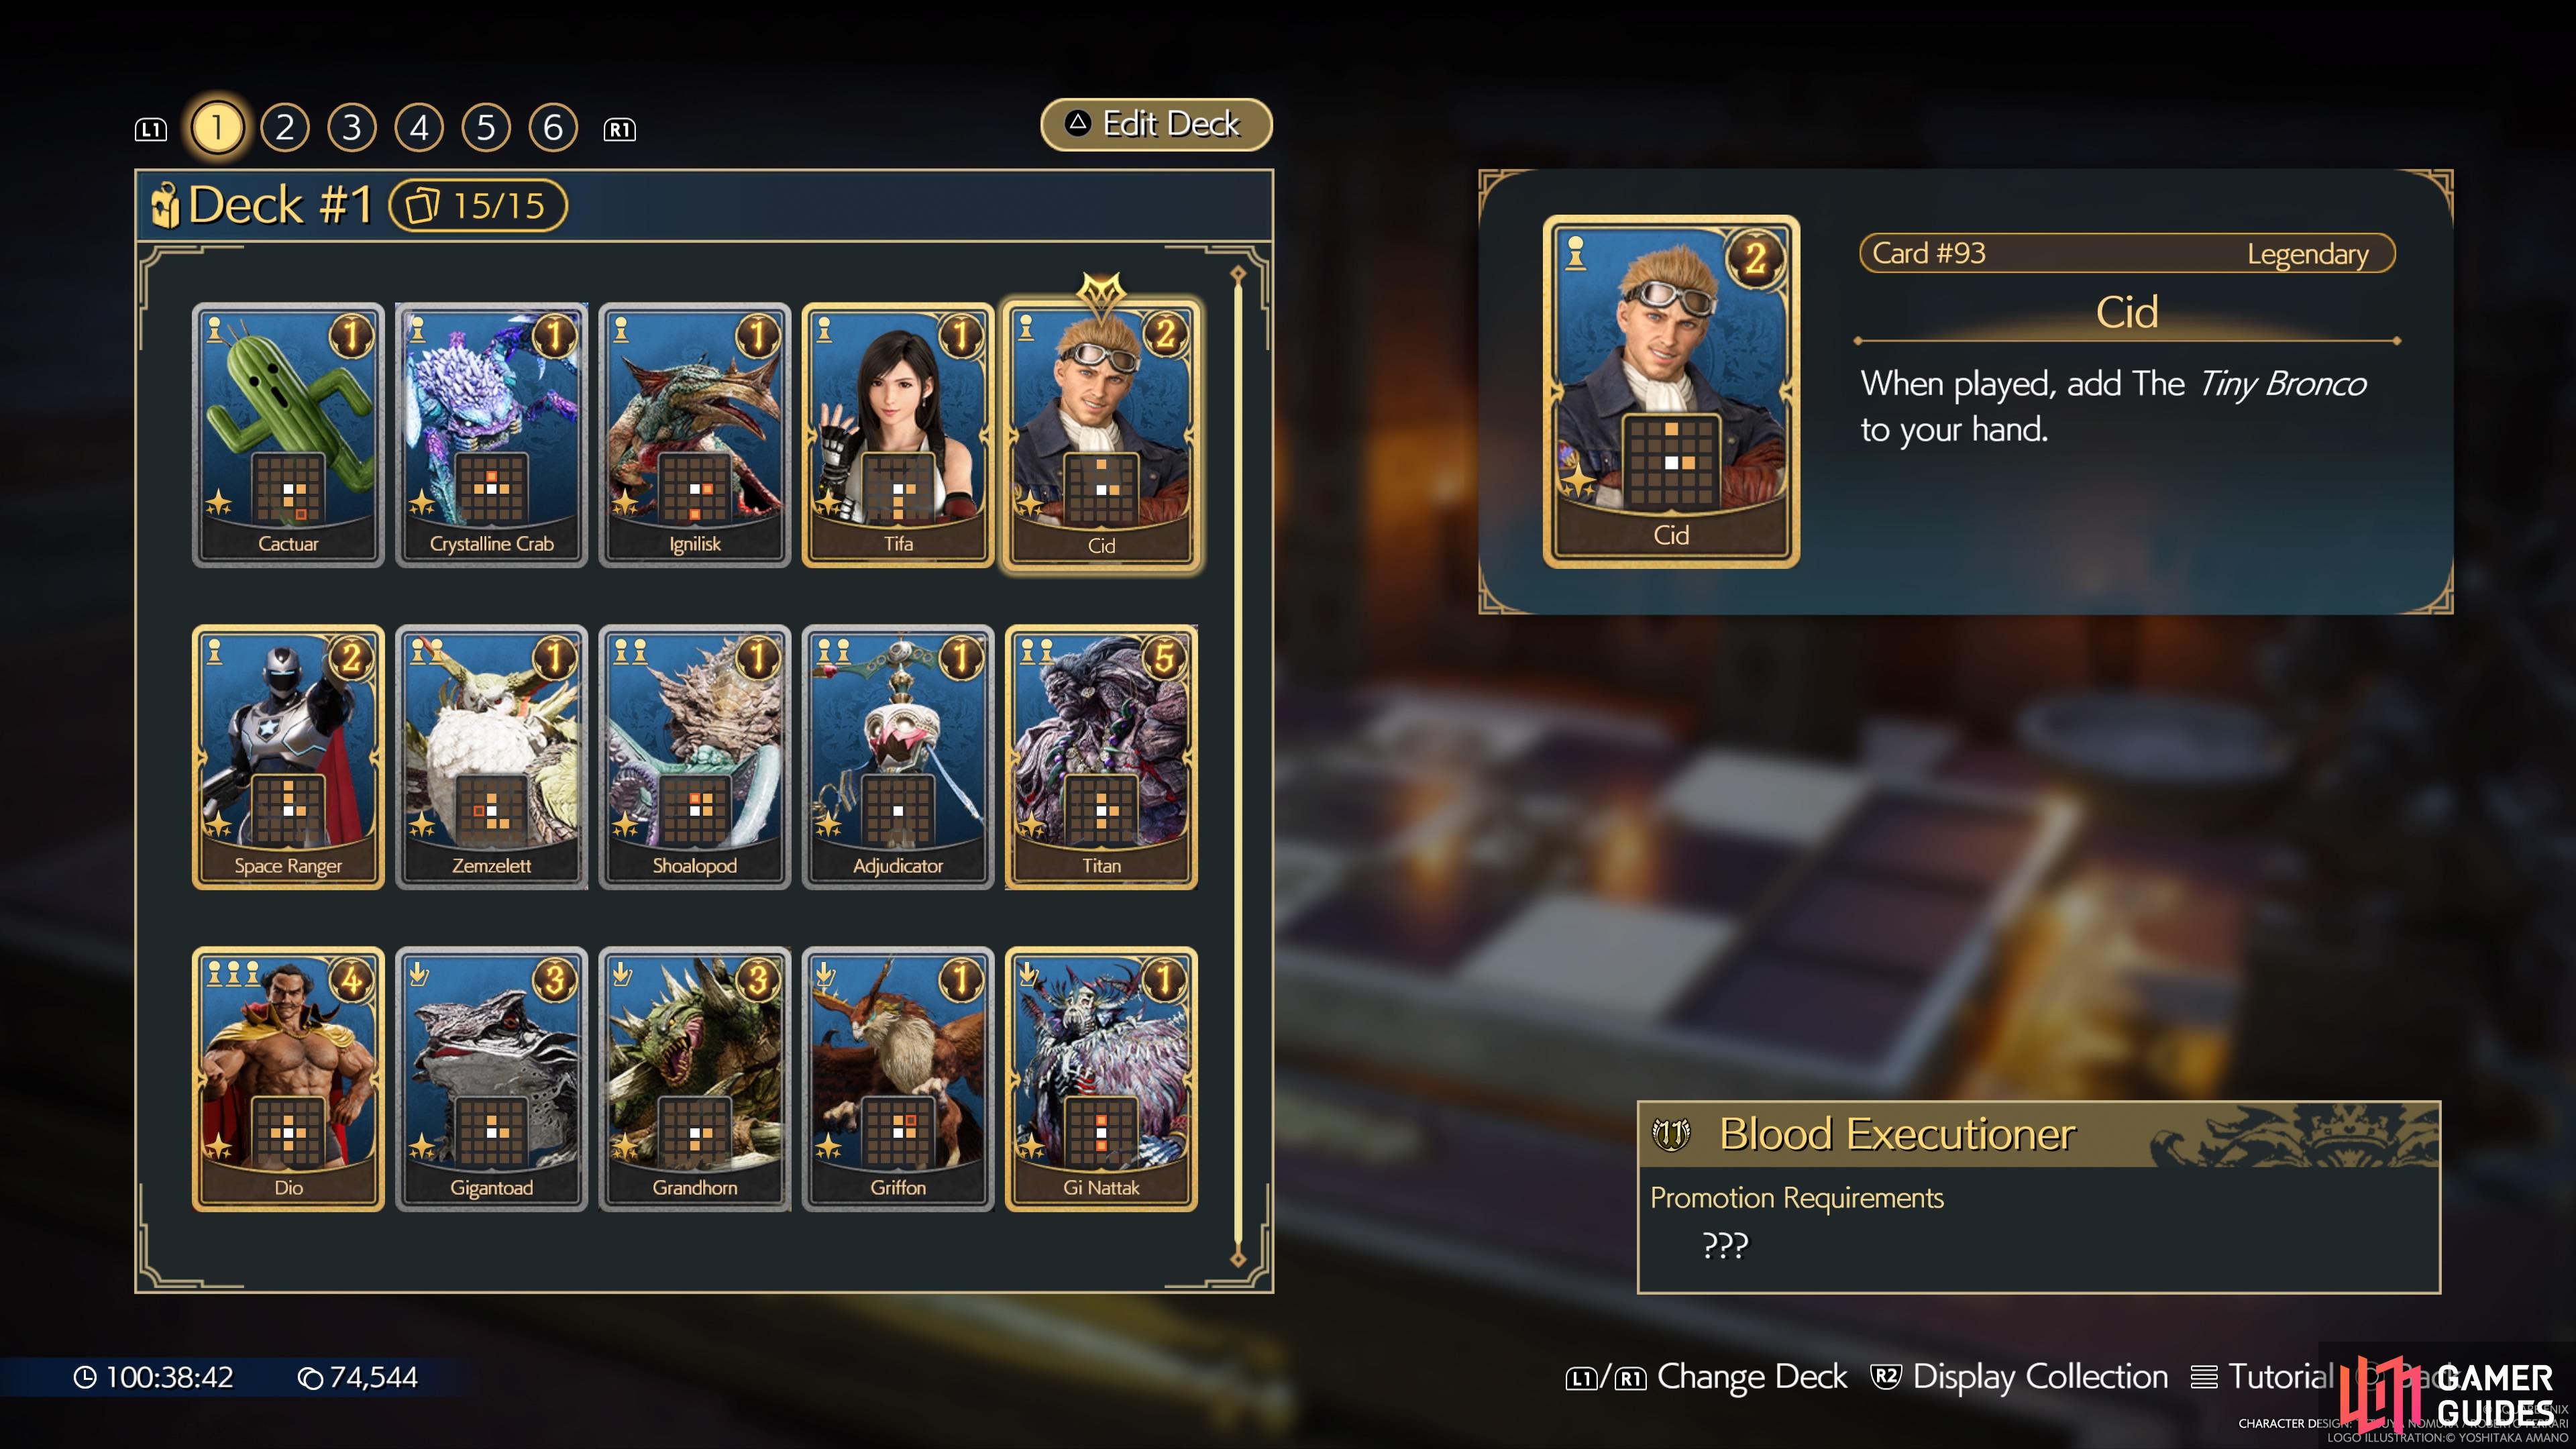
Now that you have reached Chapter 12, you may be wondering which deck you can use. There are many options here, depending on the strategy you want to use. Do you want to go with a deck that focuses on enhancing cards, or maybe one that steers towards enfeebling them? It’s entirely up to you, but some great cards to put into your deck will be the following:
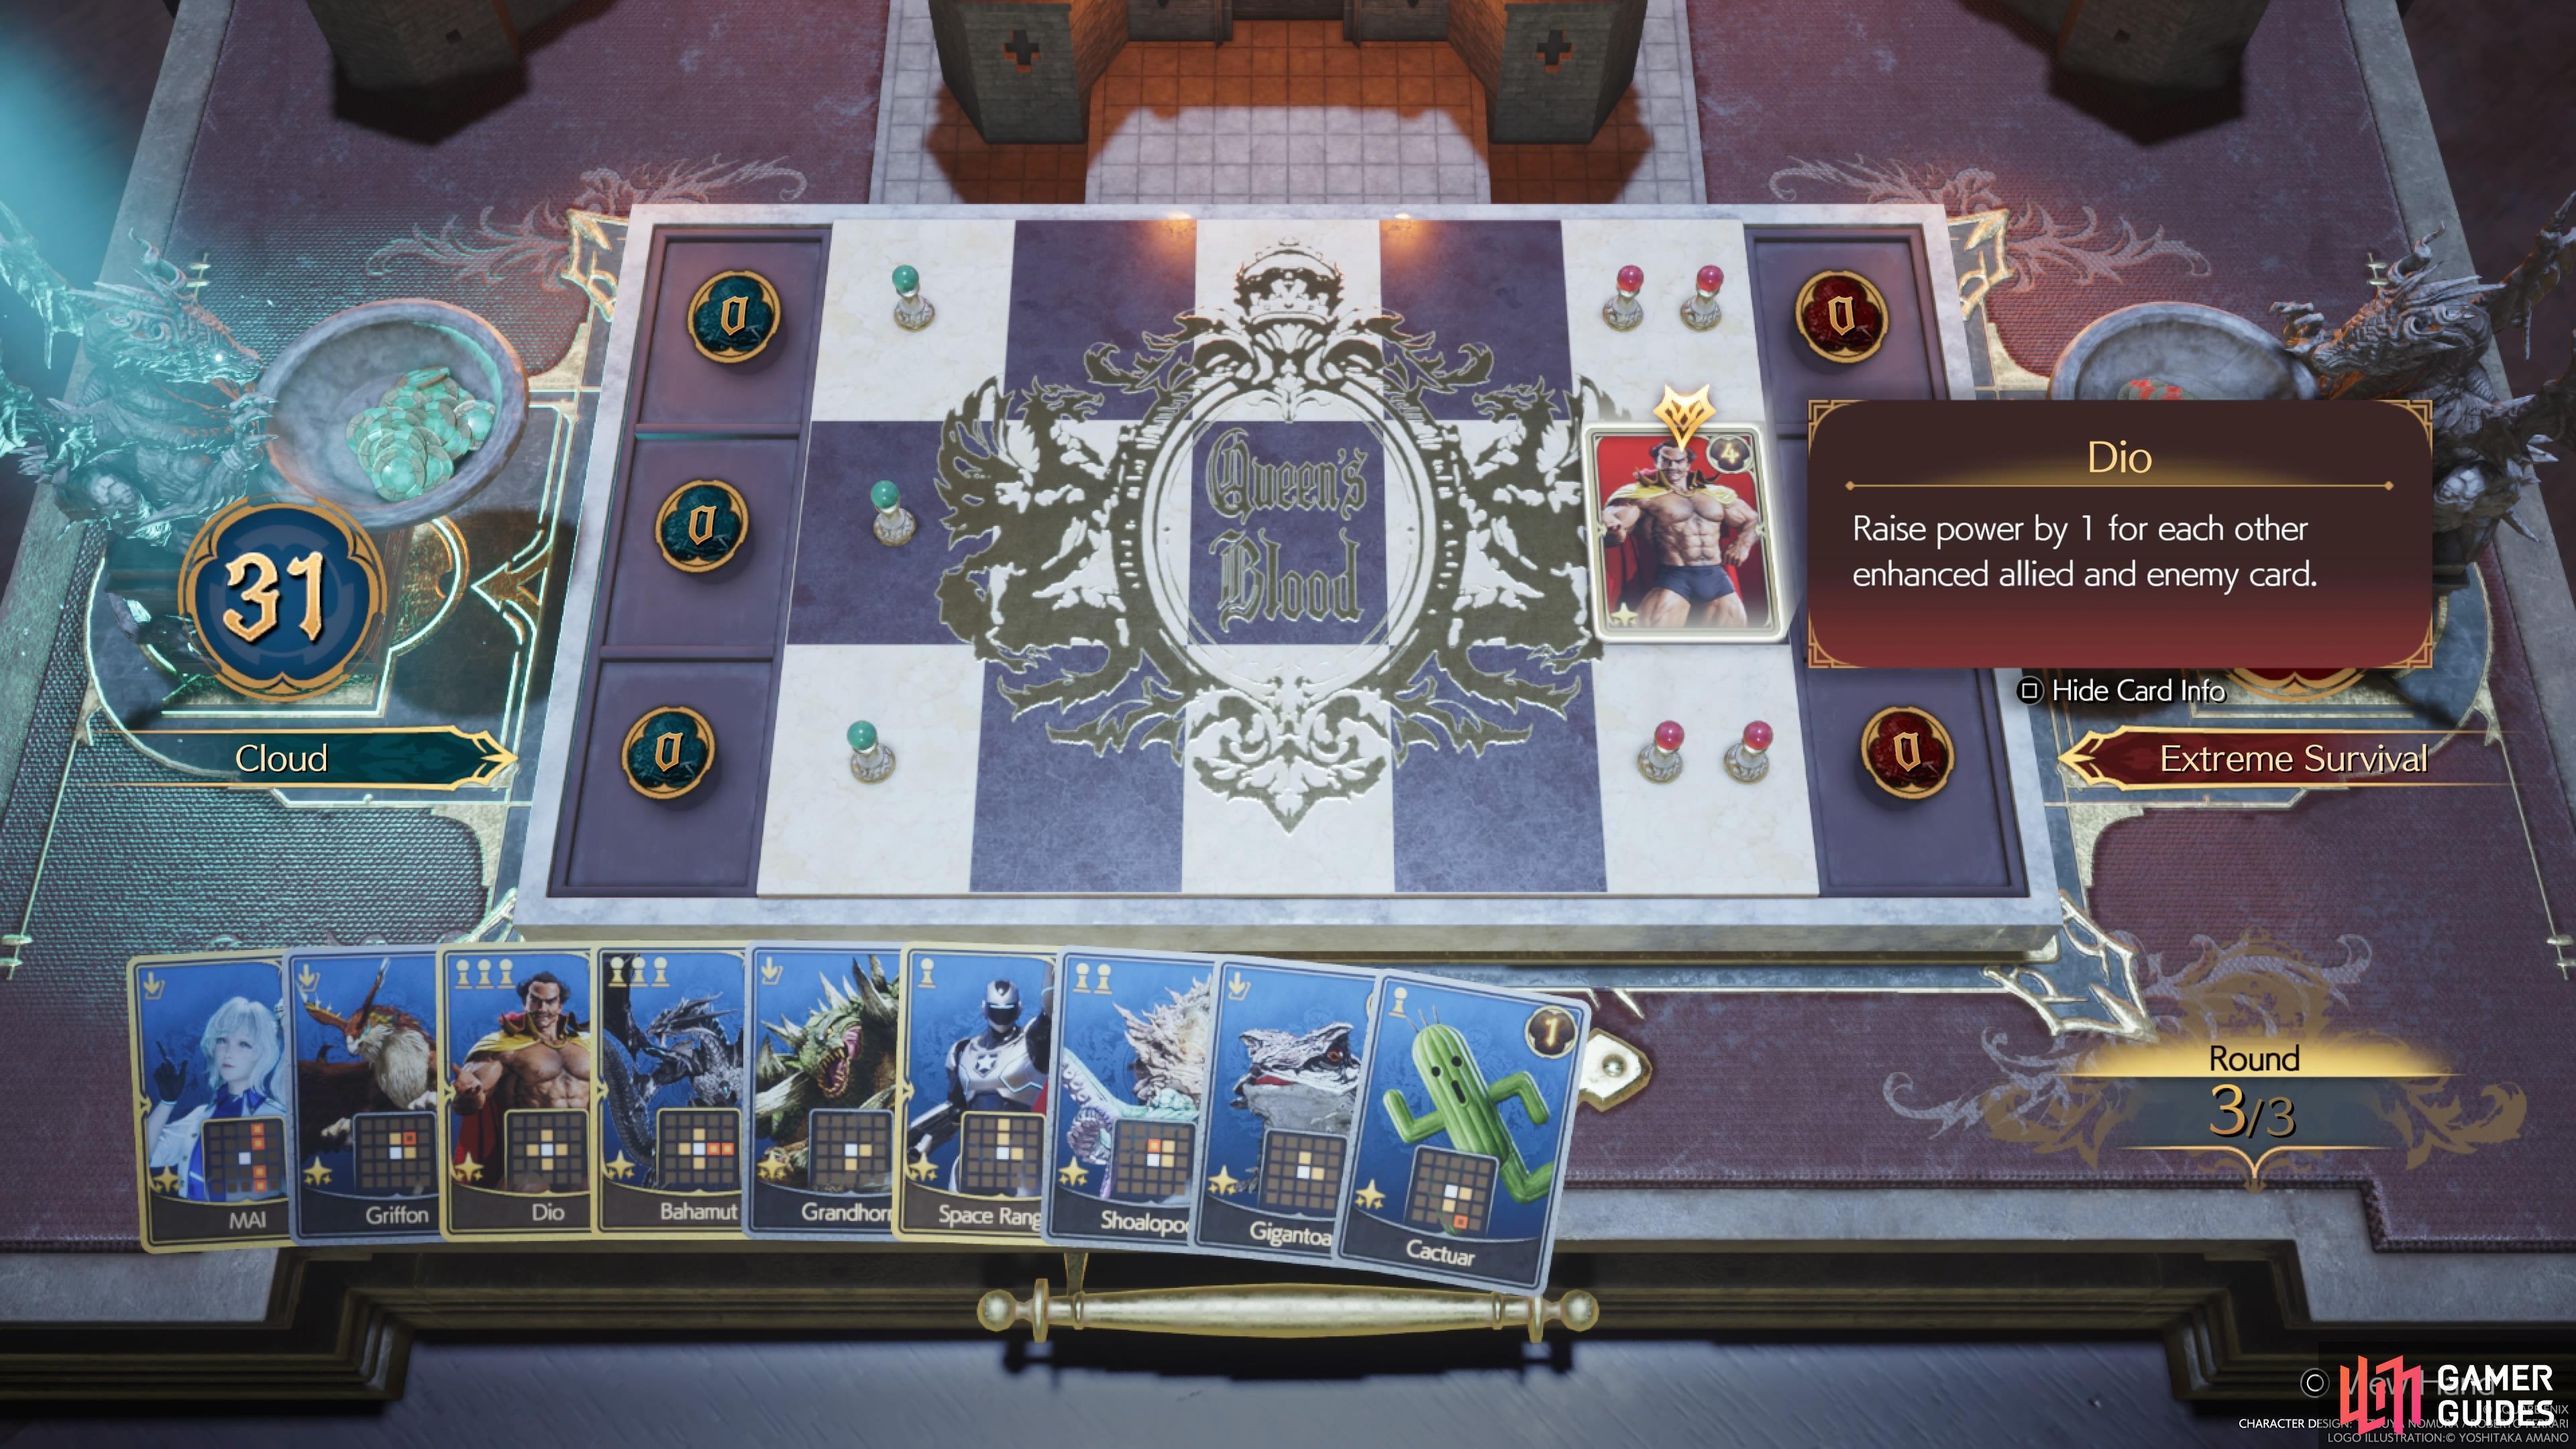
Dio Card
The Dio Card is gotten from the Gold Saucer, with you having to purchase it with Gold Saucer Points. While it needs three pawns to place on the board, it starts with four power and will gain an additional point for every enhanced allied and enemy card. So, if there are a lot of cards getting enhanced, then you will gain a powerful card.
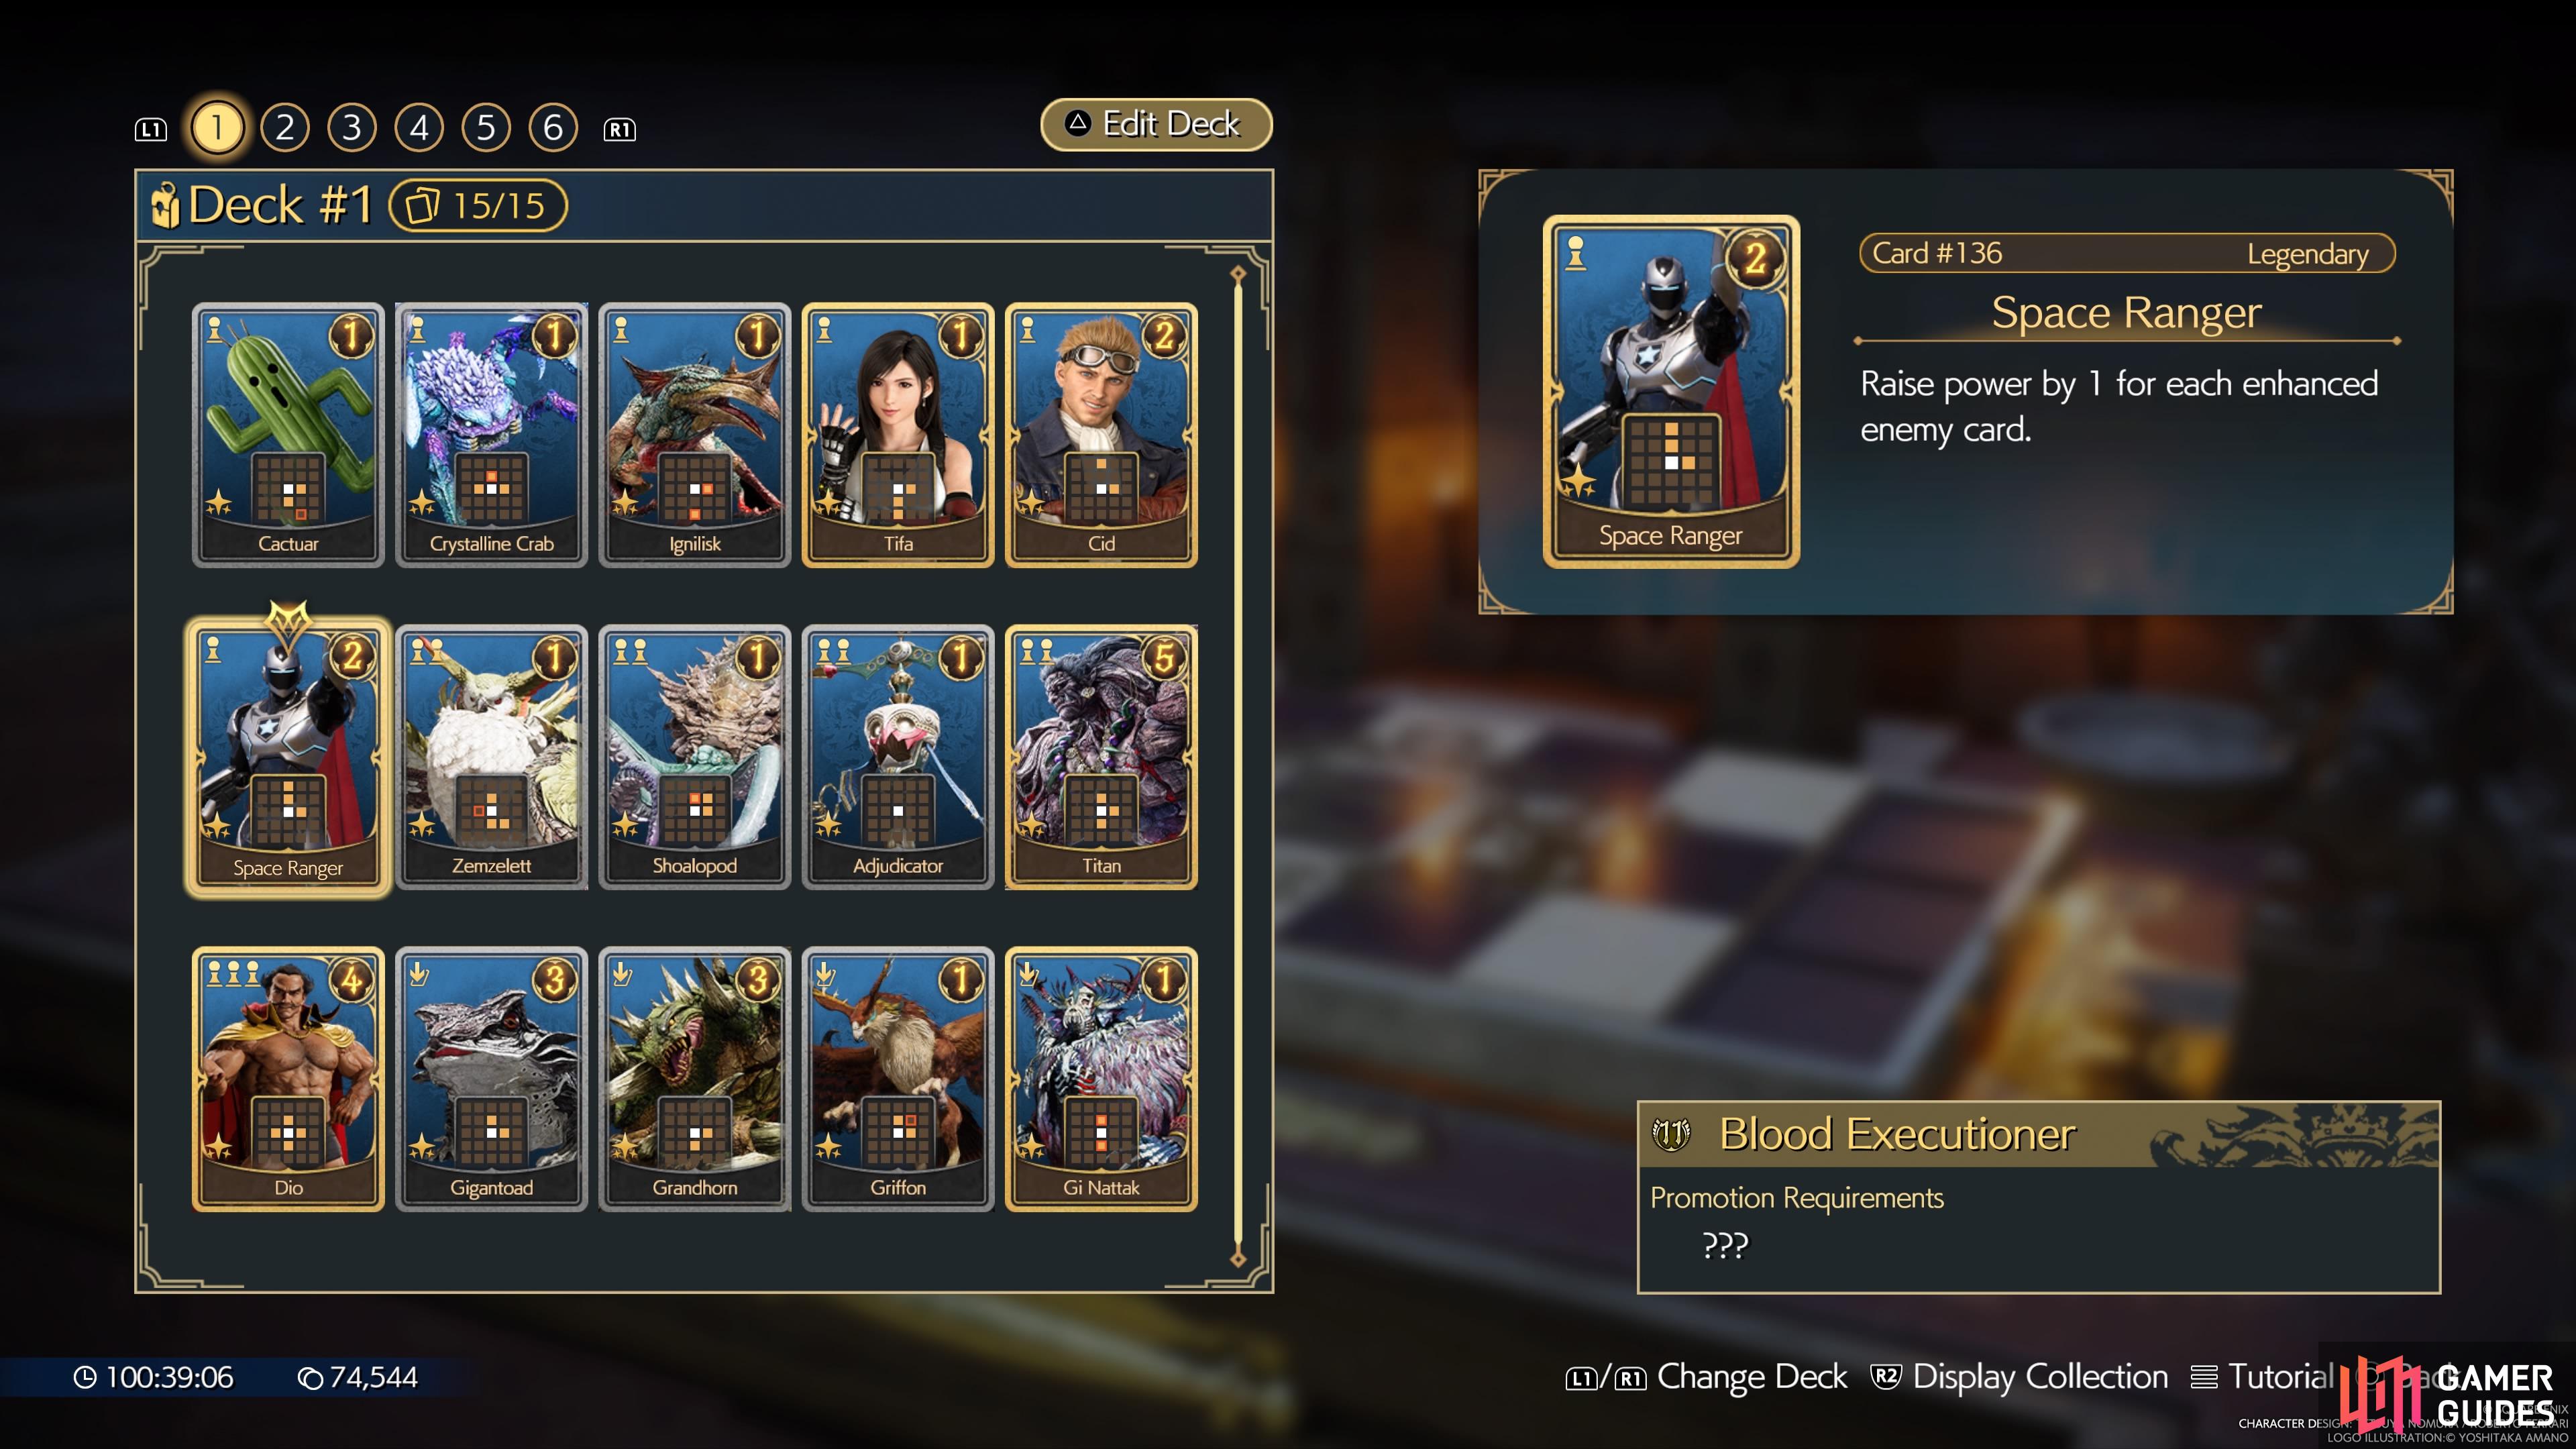
Space Ranger Card
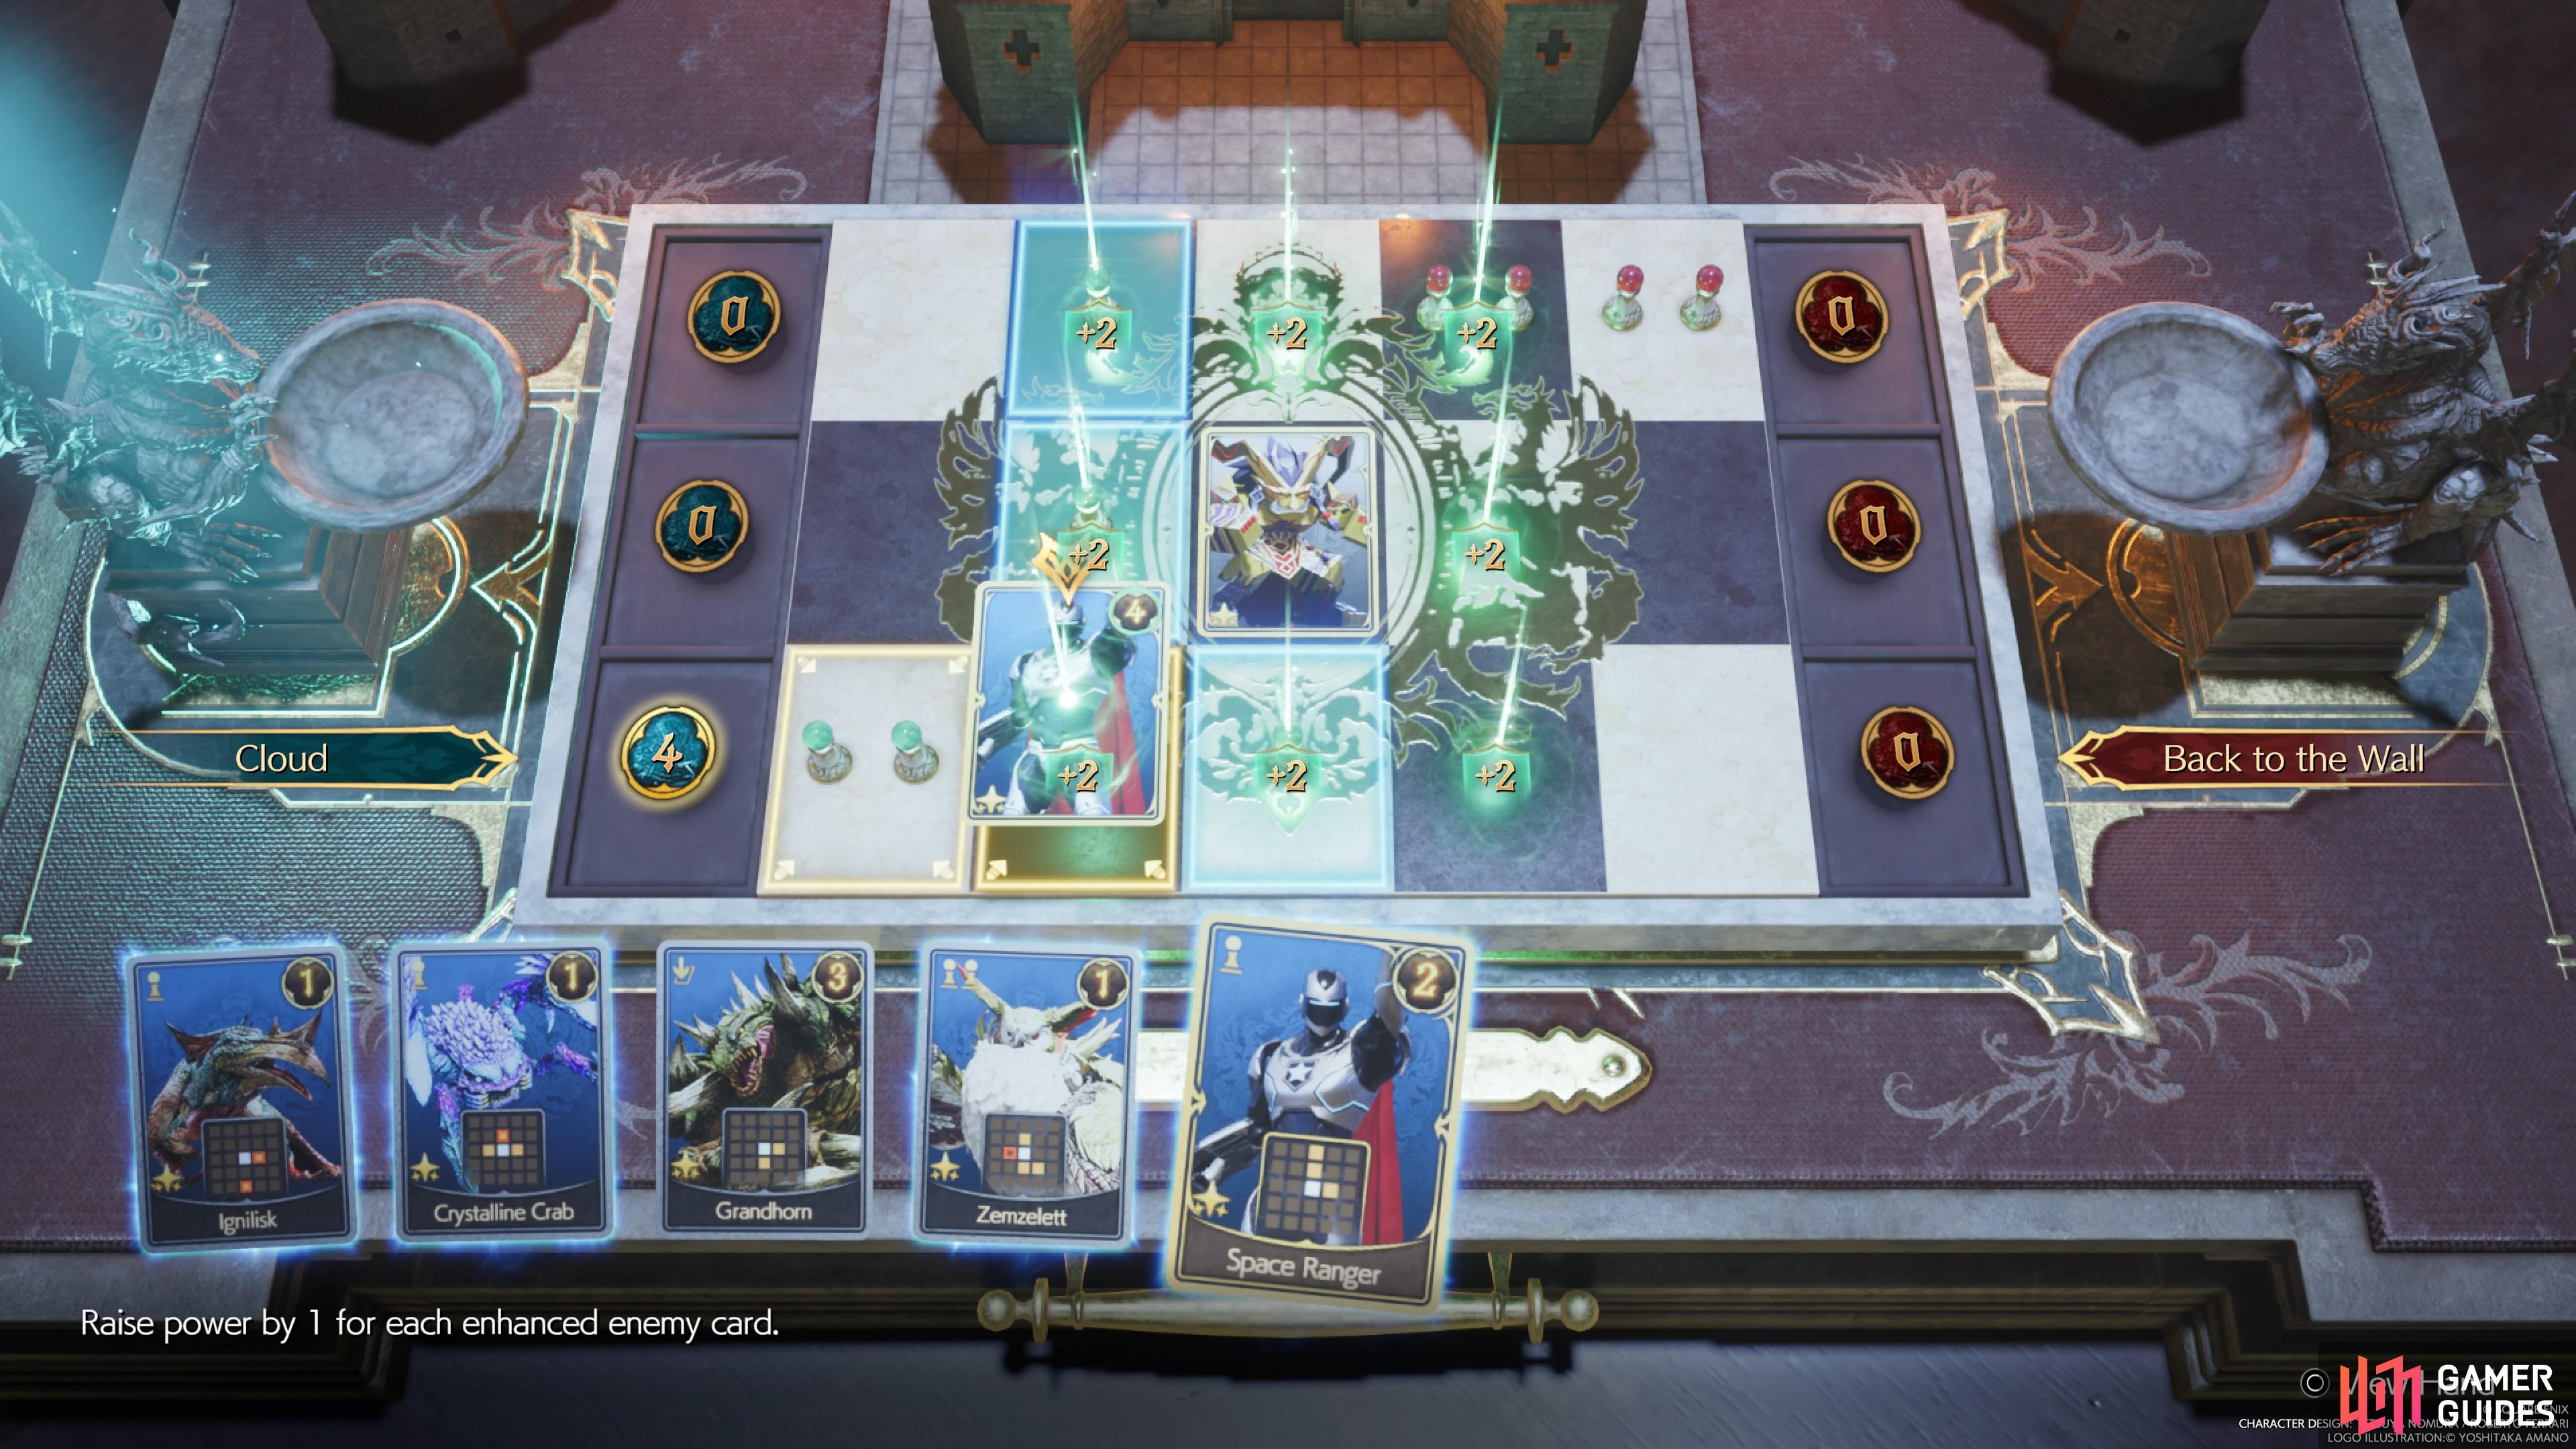
The Space Ranger can be bought from the Gold Saucer vendor at ![]() Speed Square, for a small amount of GP. It’s similar to Tifa, in its layout, but has one more innate power. Its special ability will boost its power by one for every enhanced enemy card.
Speed Square, for a small amount of GP. It’s similar to Tifa, in its layout, but has one more innate power. Its special ability will boost its power by one for every enhanced enemy card.
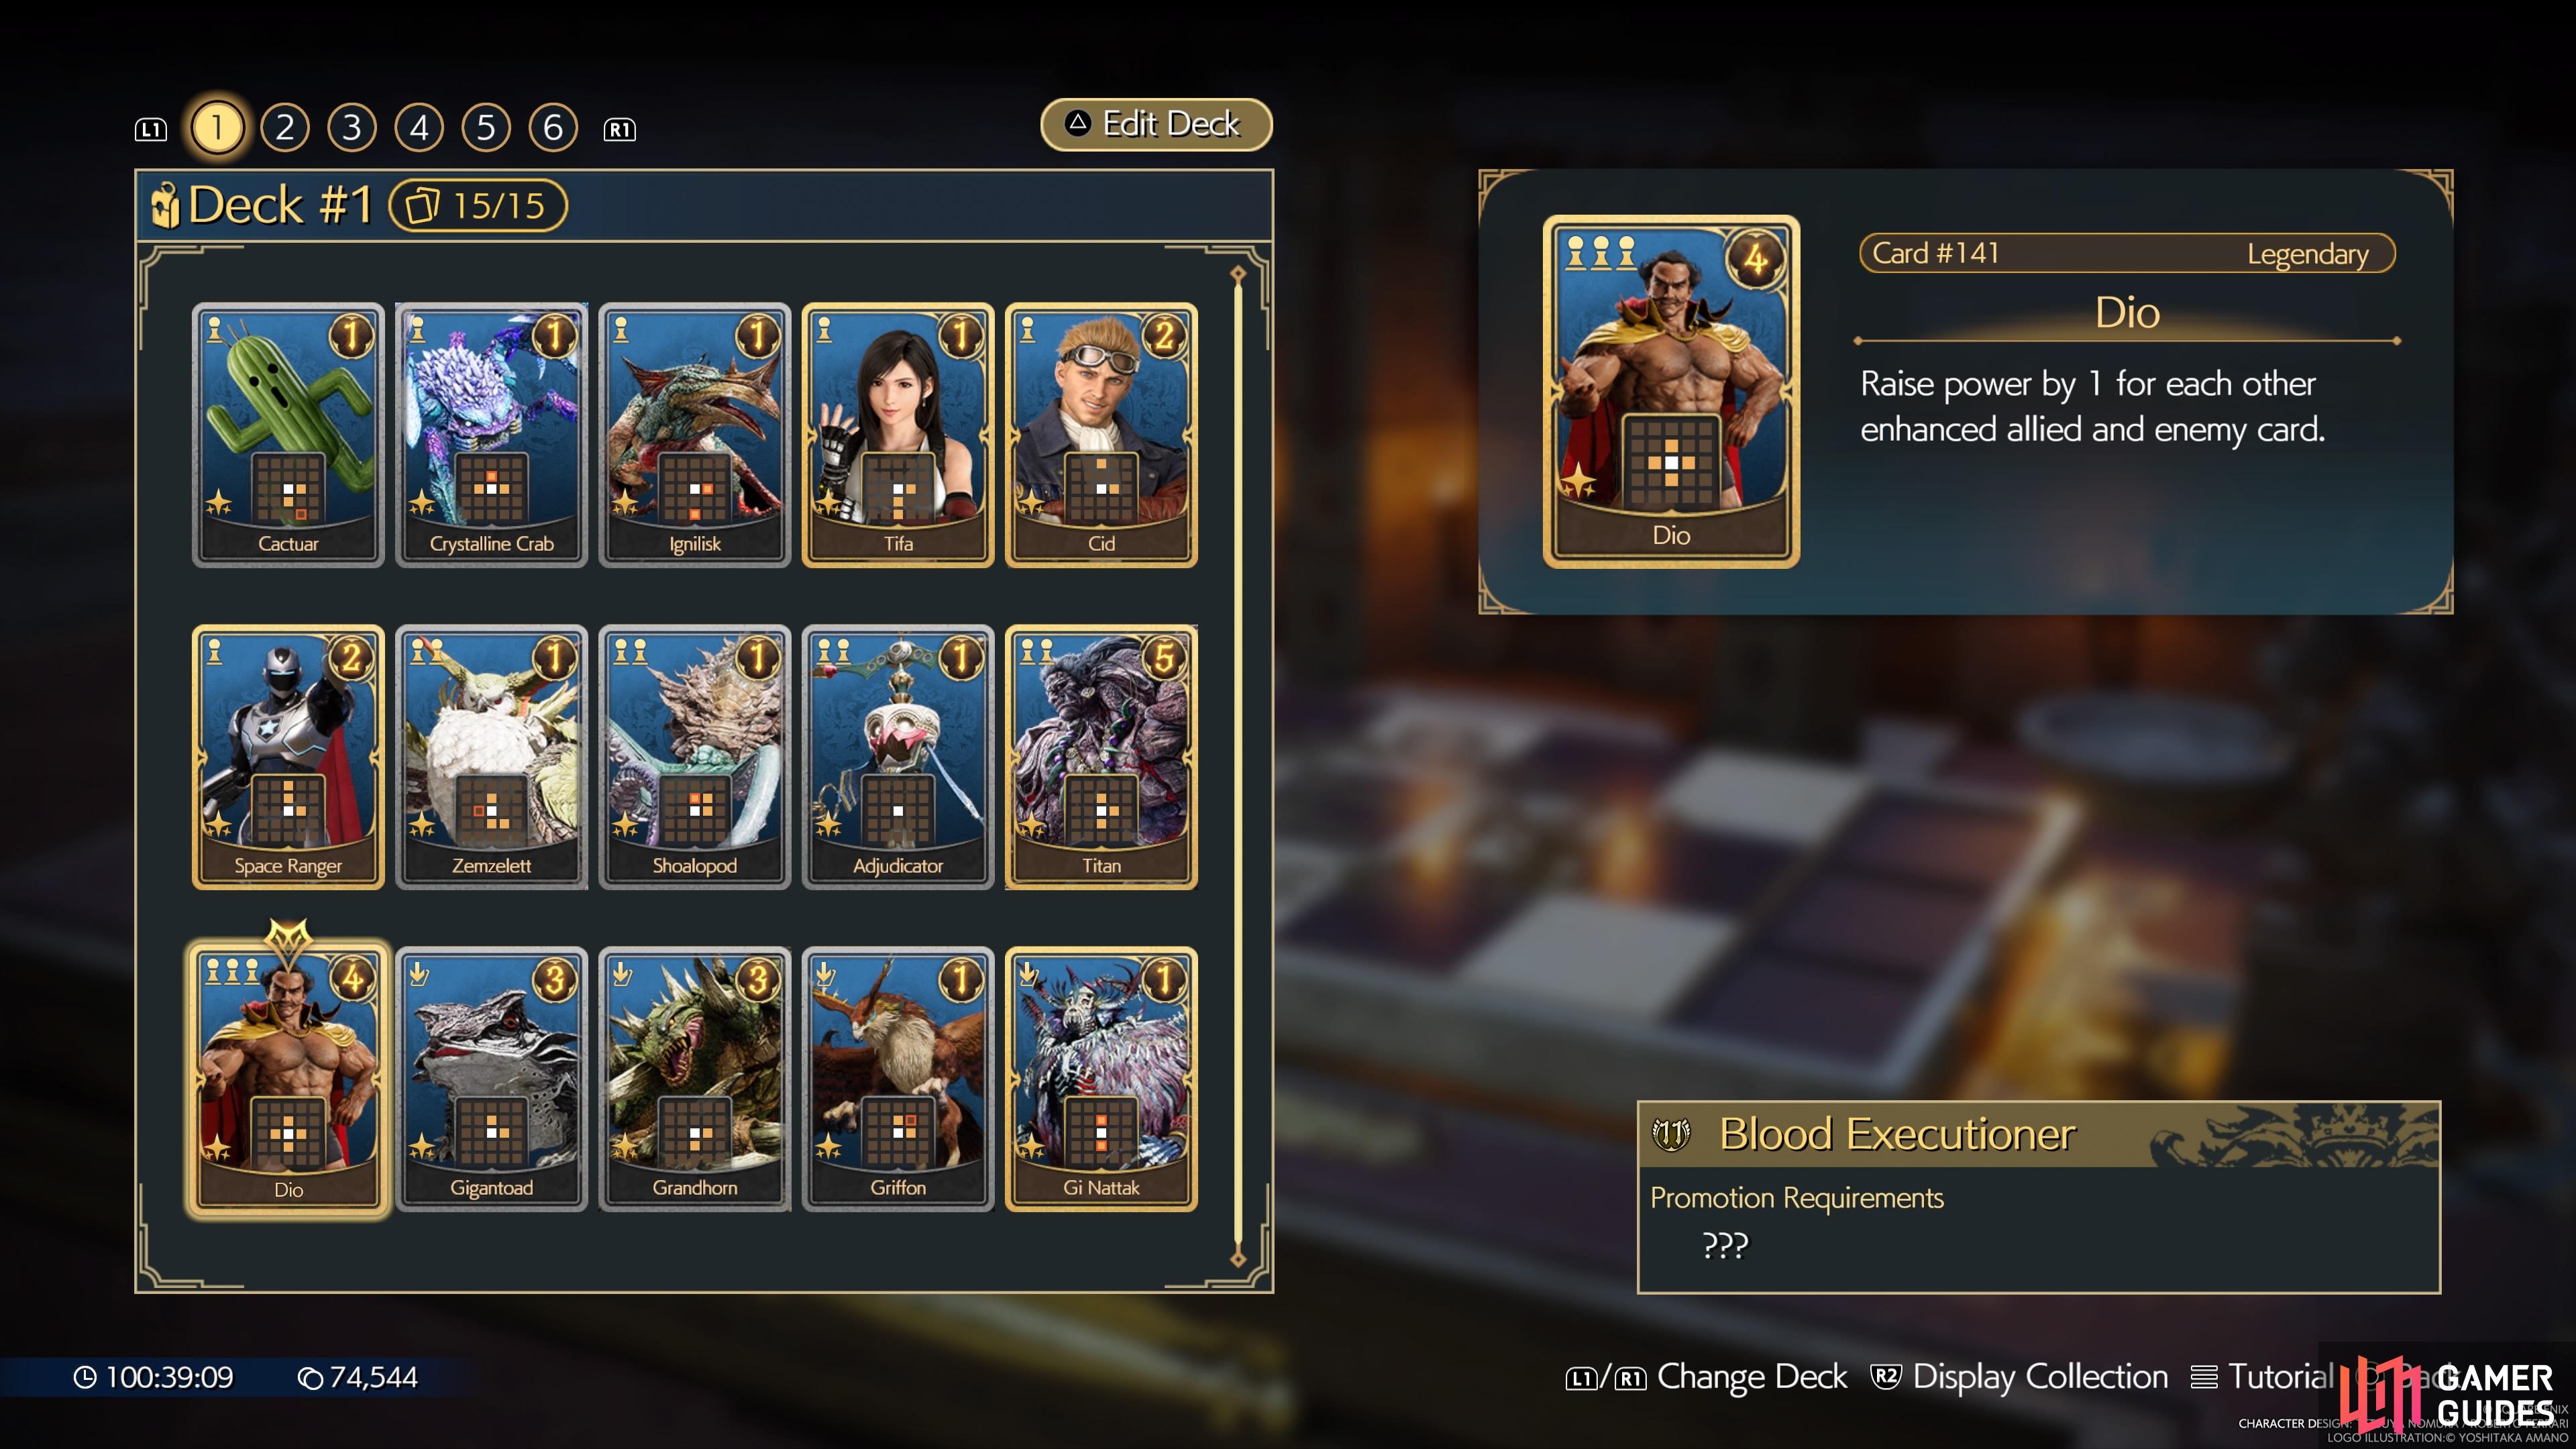
(1 of 2) Dio is a powerful card that should be a part of almost every deck.
Dio is a powerful card that should be a part of almost every deck. (left), Space Ranger has great pawn placements and gains more power when the enemy enhances cards. (right)
Gi Nattak Card
You will be able to get this card from the Curse of the Gi Card Carnival puzzle in Costa del Sol. This is one of the puzzles you unlock when you reach Chapter 12. This card will replace an allied card, raising the power of the cards above/below it by the replaced ally’s power. So, if you enhance a single card up to like 13/14 power, as an example, then replace it with Gi Nattak, then the cards above/below it will gain that power.
Tifa Card
The Tifa Card is great because it only costs one pawn, it has a great layout and if you win the row with her on it, you gain an additional five points for your score. You can use Tifa as a great start, if you manage to get her from the beginning. You’ll be able to get her from the Card Carnival puzzles that unlock in Chapter 12.
Yuffie Card
You will want to use this card in a deck that revolves around destruction, in conjunction with something like a ![]() Bomb card, as Yuffie will replace that card. Once she does, any card around her will have its power lowered by the power of the card she replaced. So, something like a Bomb card being replaced will first lower all cards’ power by four (from being “destroyed”), then Yuffie will lower their power by another two (the Bomb’s power). You can get Yuffie from the Card Carnival in Chapter 12.
Bomb card, as Yuffie will replace that card. Once she does, any card around her will have its power lowered by the power of the card she replaced. So, something like a Bomb card being replaced will first lower all cards’ power by four (from being “destroyed”), then Yuffie will lower their power by another two (the Bomb’s power). You can get Yuffie from the Card Carnival in Chapter 12.
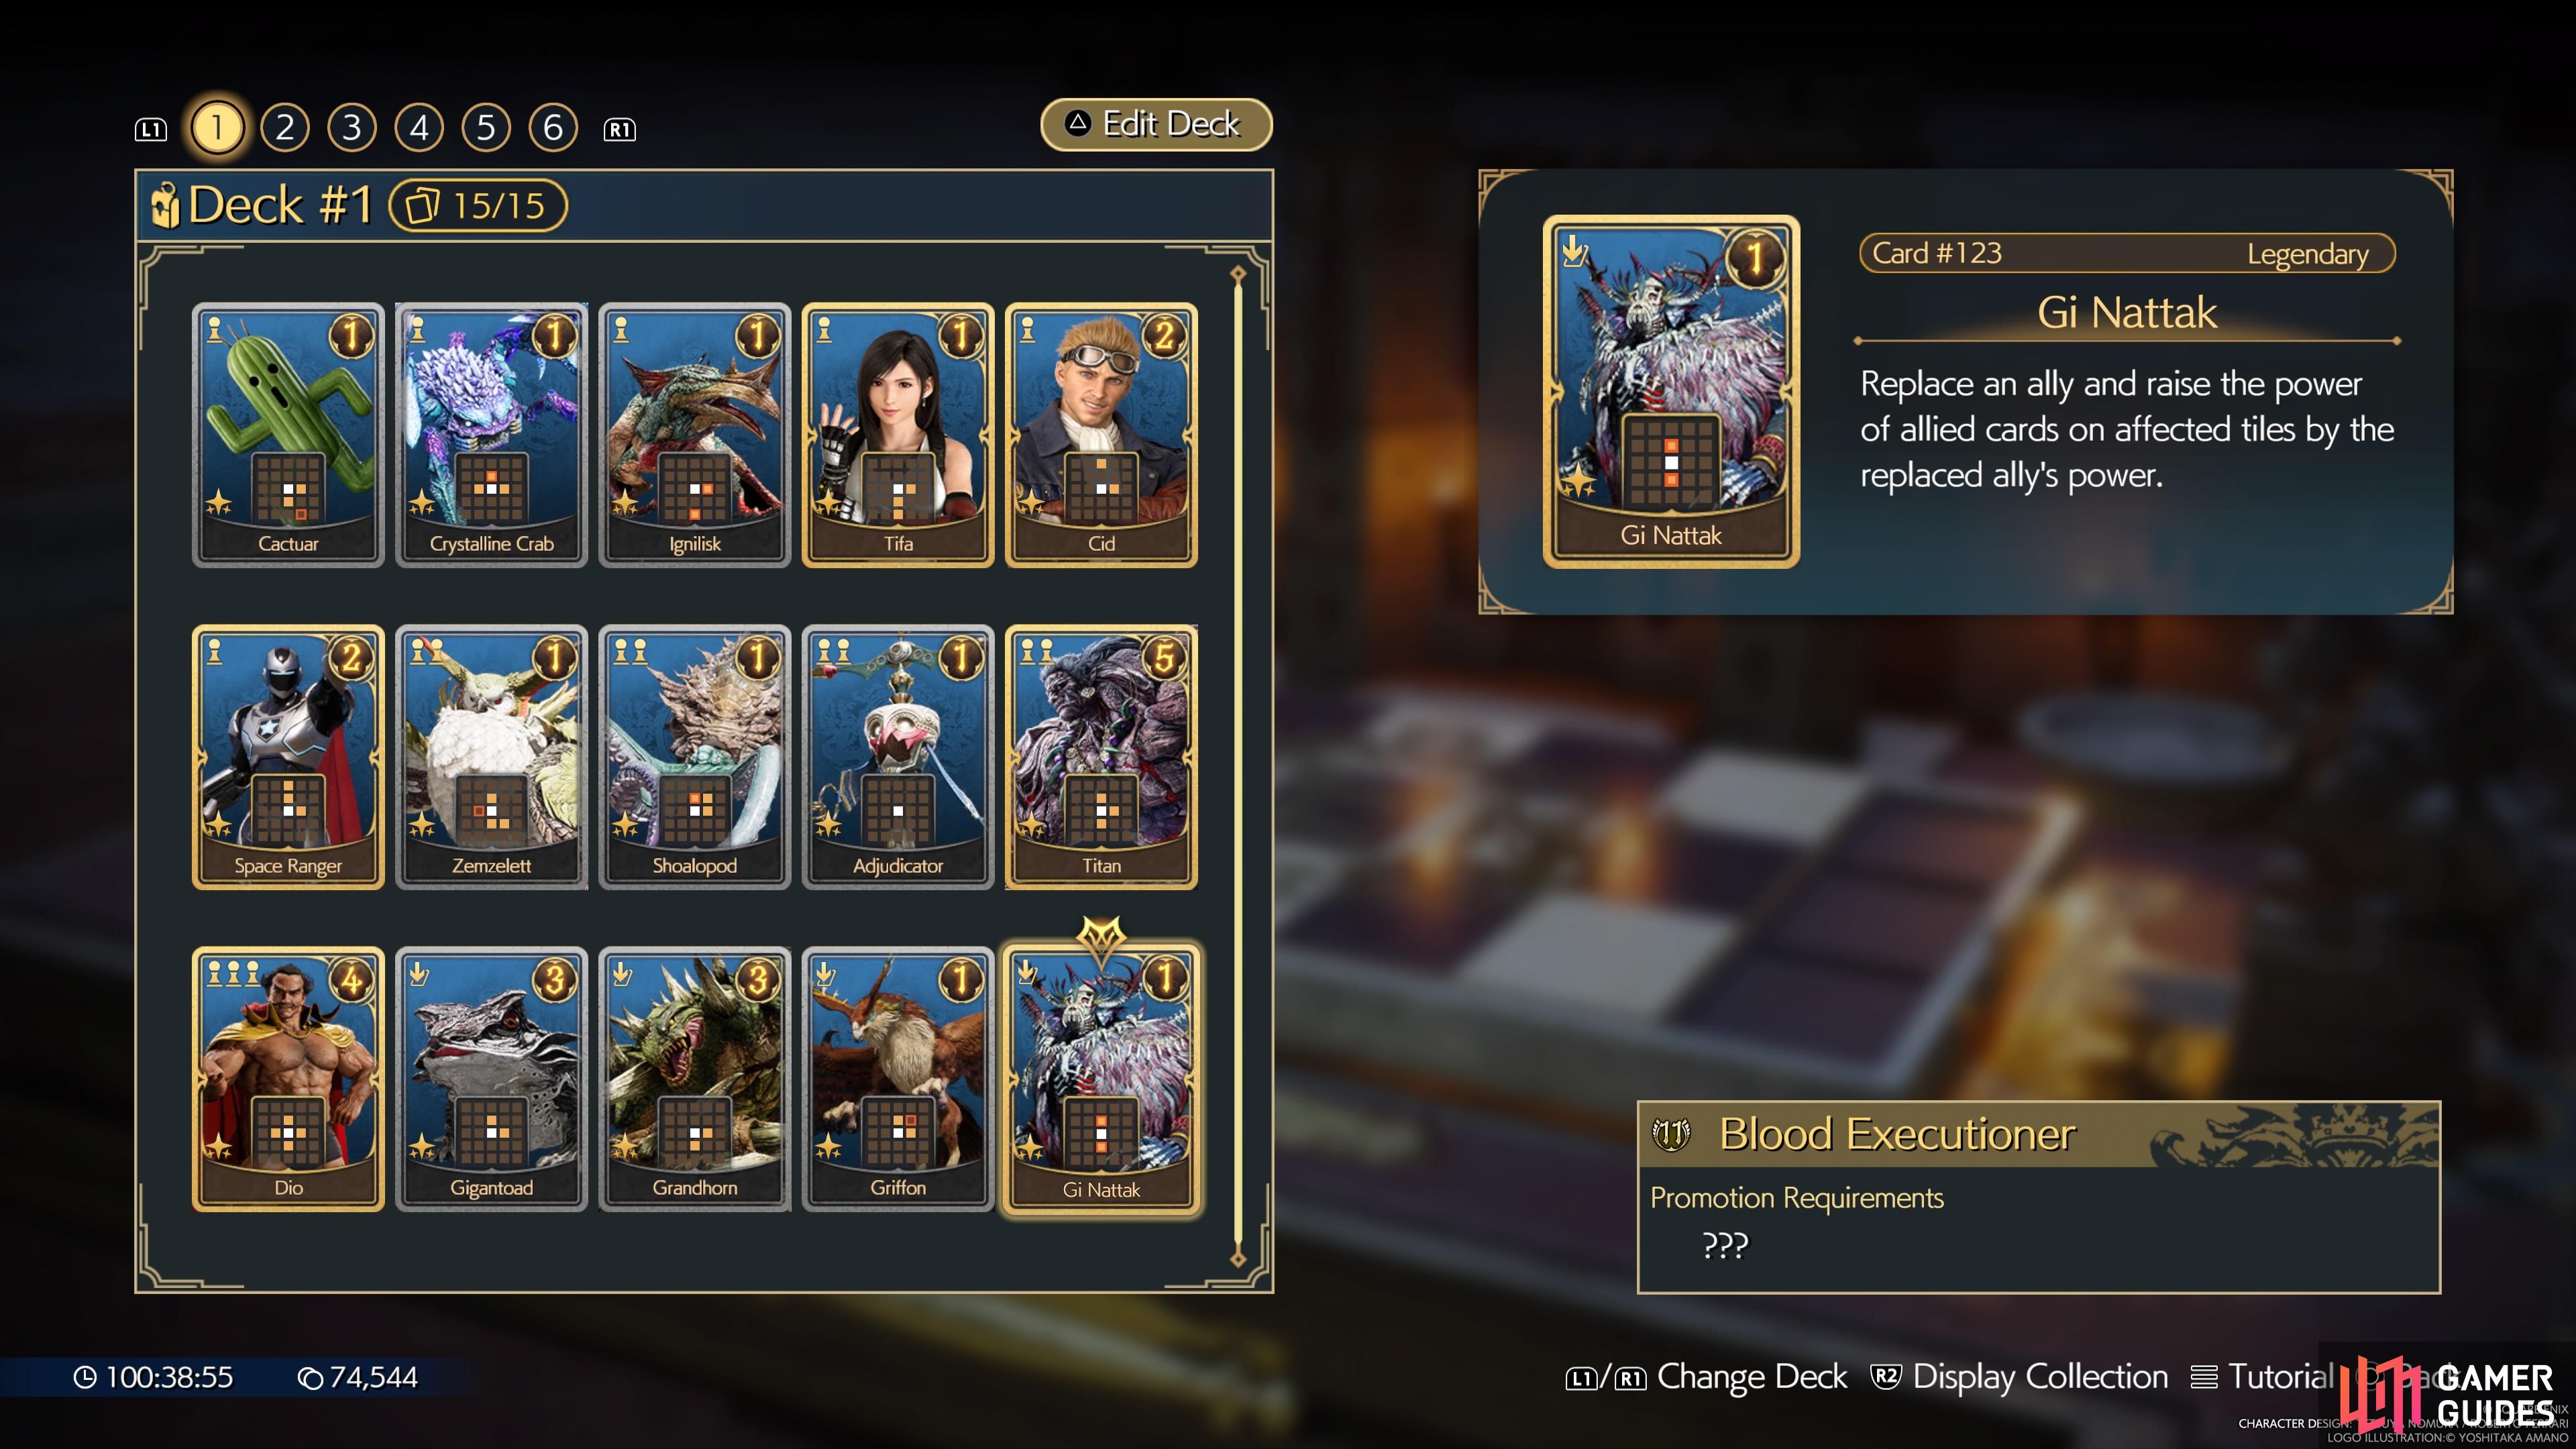
(1 of 2) Gi Nattak should be used when you’ve built up a single strong card.
Gi Nattak should be used when you’ve built up a single strong card. (left), Using Cid will give you Tiny Bronco, a great card for pawn placements. (right)
Titan Card
The ![]() Titan card can be gotten very early, but it has a lot of staying power even in the endgame. It has great pawn placement, its ability allows you to get more powerful cards on the board, and it has high power. You can buy this from Thorin in the
Titan card can be gotten very early, but it has a lot of staying power even in the endgame. It has great pawn placement, its ability allows you to get more powerful cards on the board, and it has high power. You can buy this from Thorin in the ![]() Grasslands, once you have access to the Titan battle. You will need to complete A Rare Card Lost before being able to access Thorin.
Grasslands, once you have access to the Titan battle. You will need to complete A Rare Card Lost before being able to access Thorin.
Replace Cards
Having a few cards that replace others in your deck isn’t a bad idea, as you don’t want to get stuck with having no cards to play at all. Gigantoad and ![]() Grandhorn are some nice ones that fall into this category since they both have three power and decent pawn placements.
Grandhorn are some nice ones that fall into this category since they both have three power and decent pawn placements.
You should always have a few replacement cards in a deck, just in case.
Enhance Cards
If you are going the enhancement route, then you will want some cards that offer a great boost to power. ![]() Spearhawk and
Spearhawk and ![]() Crystalline Crab are two great cards here, since the former is good along the top row, while the latter is great to use on the bottom row. Additionally, the
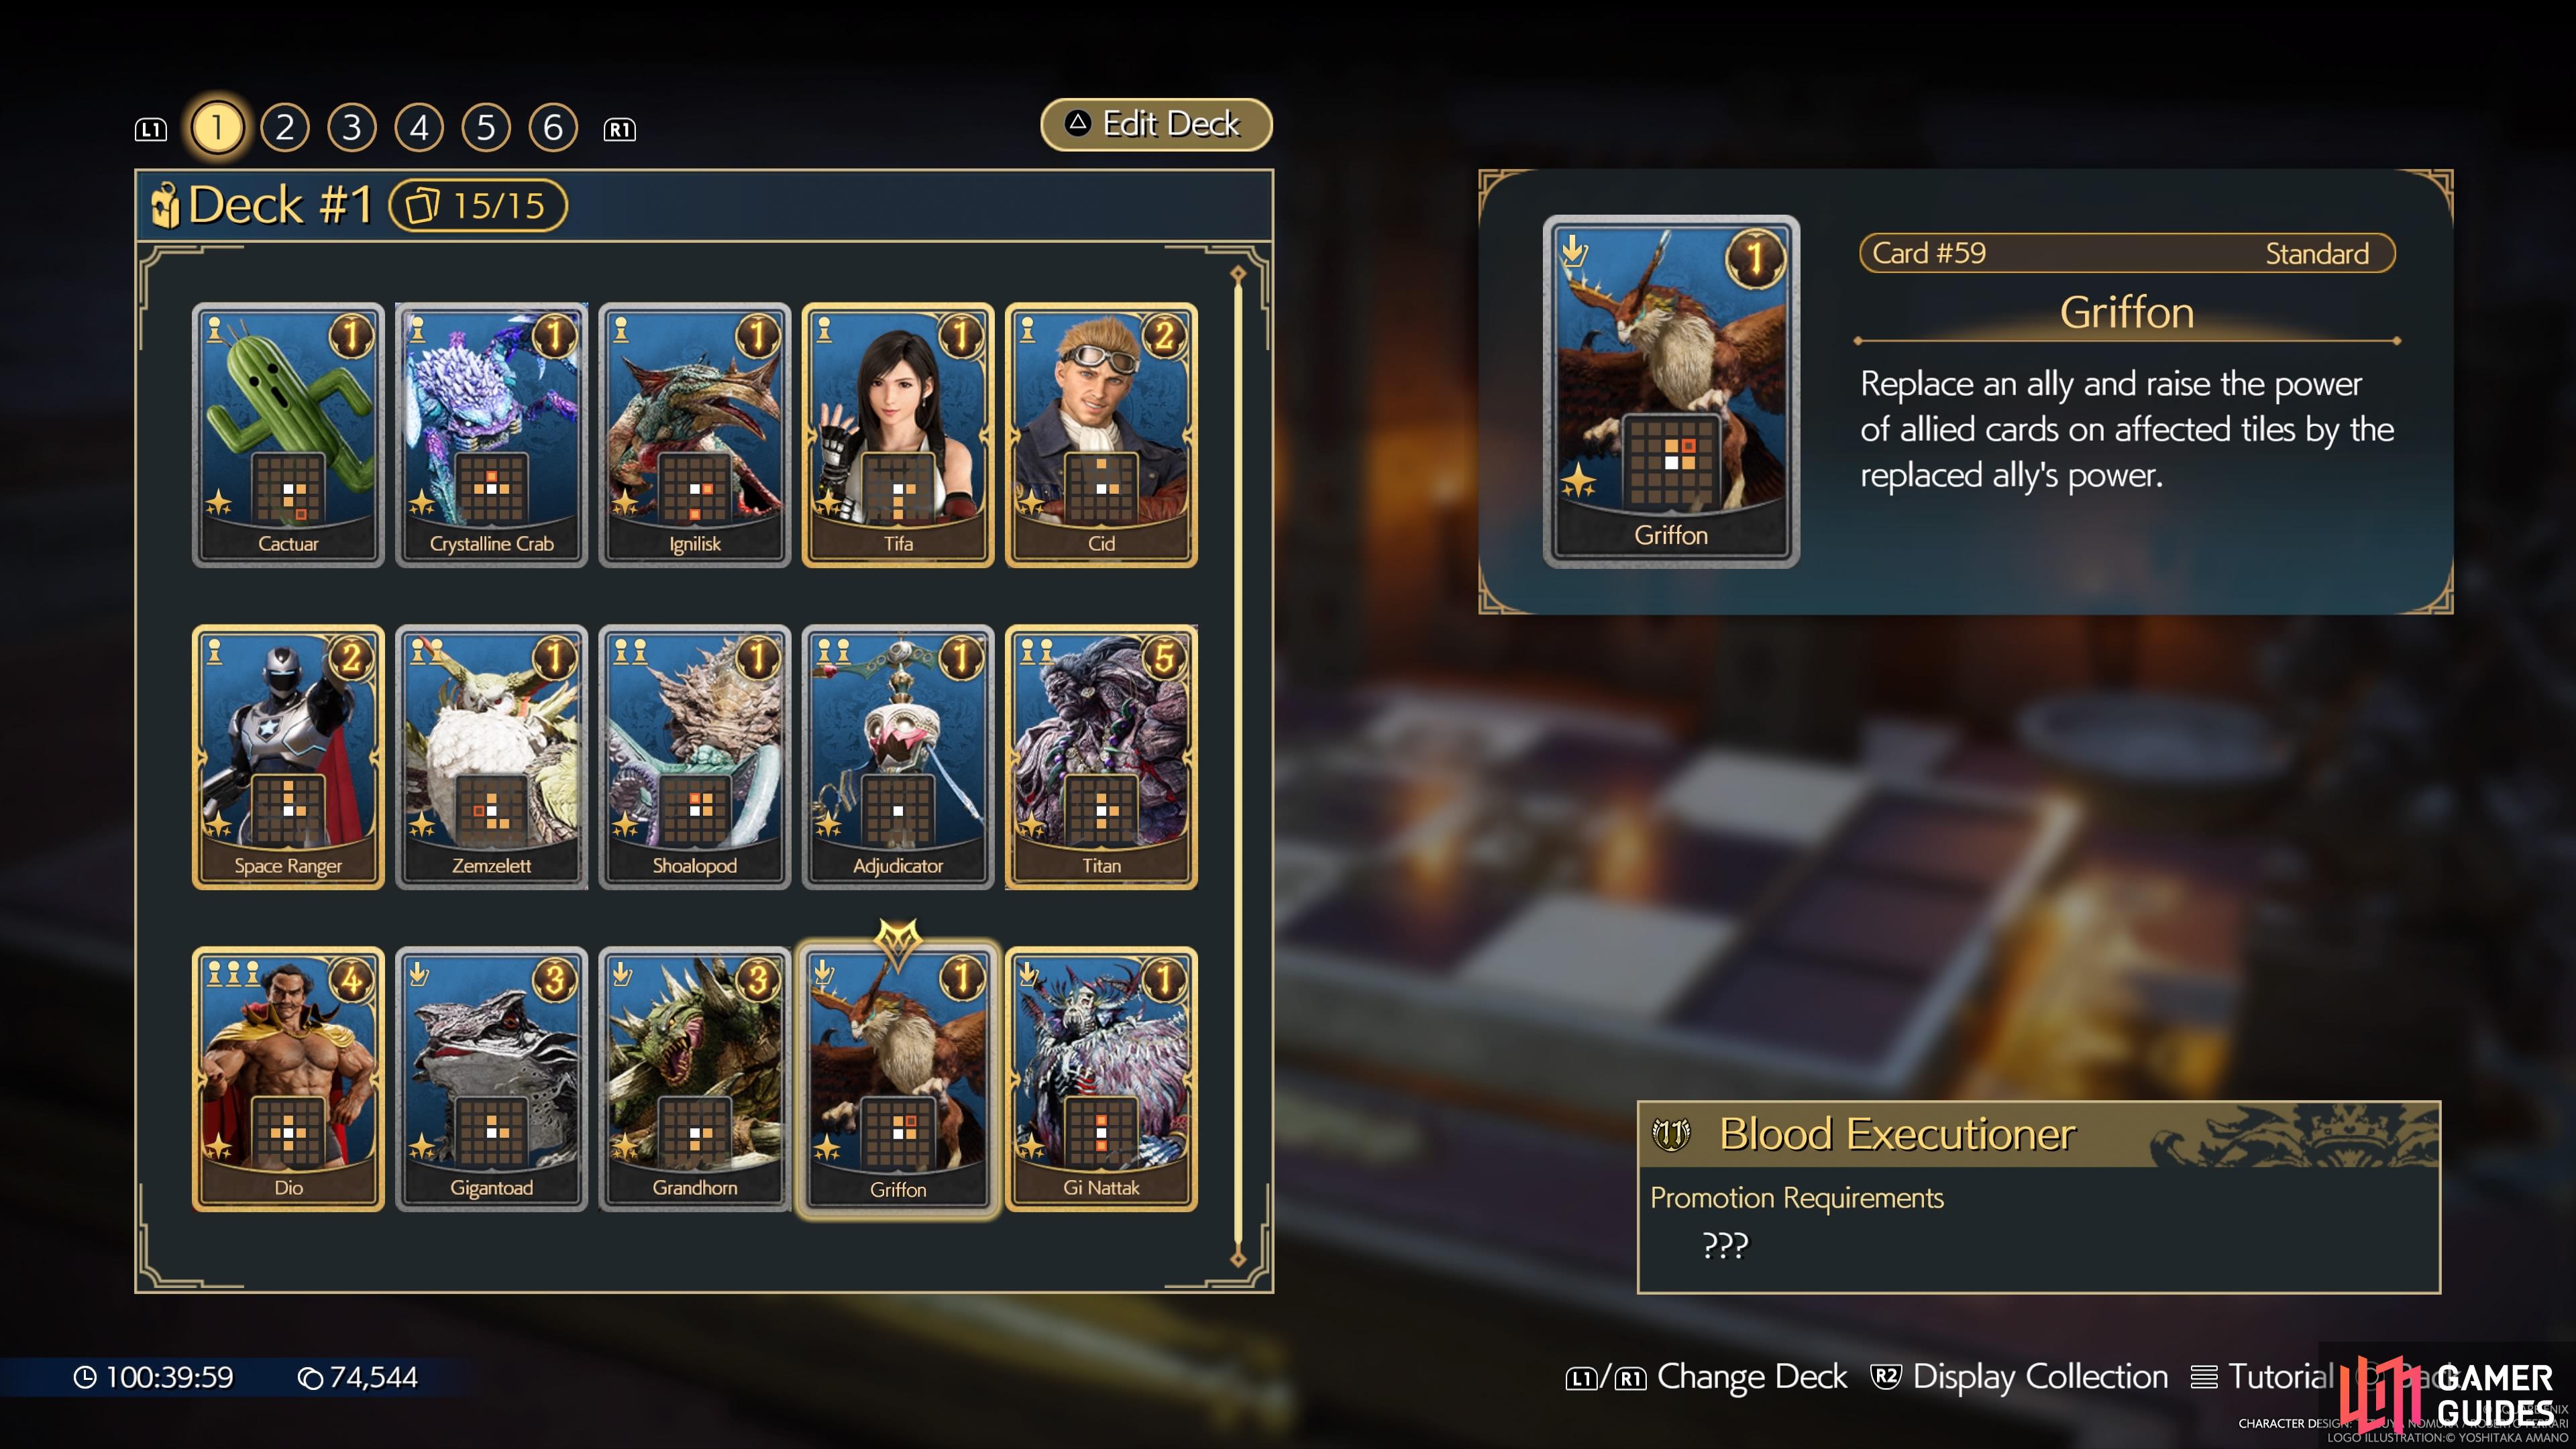
Crystalline Crab are two great cards here, since the former is good along the top row, while the latter is great to use on the bottom row. Additionally, the ![]() Griffon can replace a high-power card and boost the card to the top-right diagonally from it.
Griffon can replace a high-power card and boost the card to the top-right diagonally from it. ![]() Shoalopod is another great card for enhancing others, although that one requires a rank two position.
Shoalopod is another great card for enhancing others, although that one requires a rank two position.
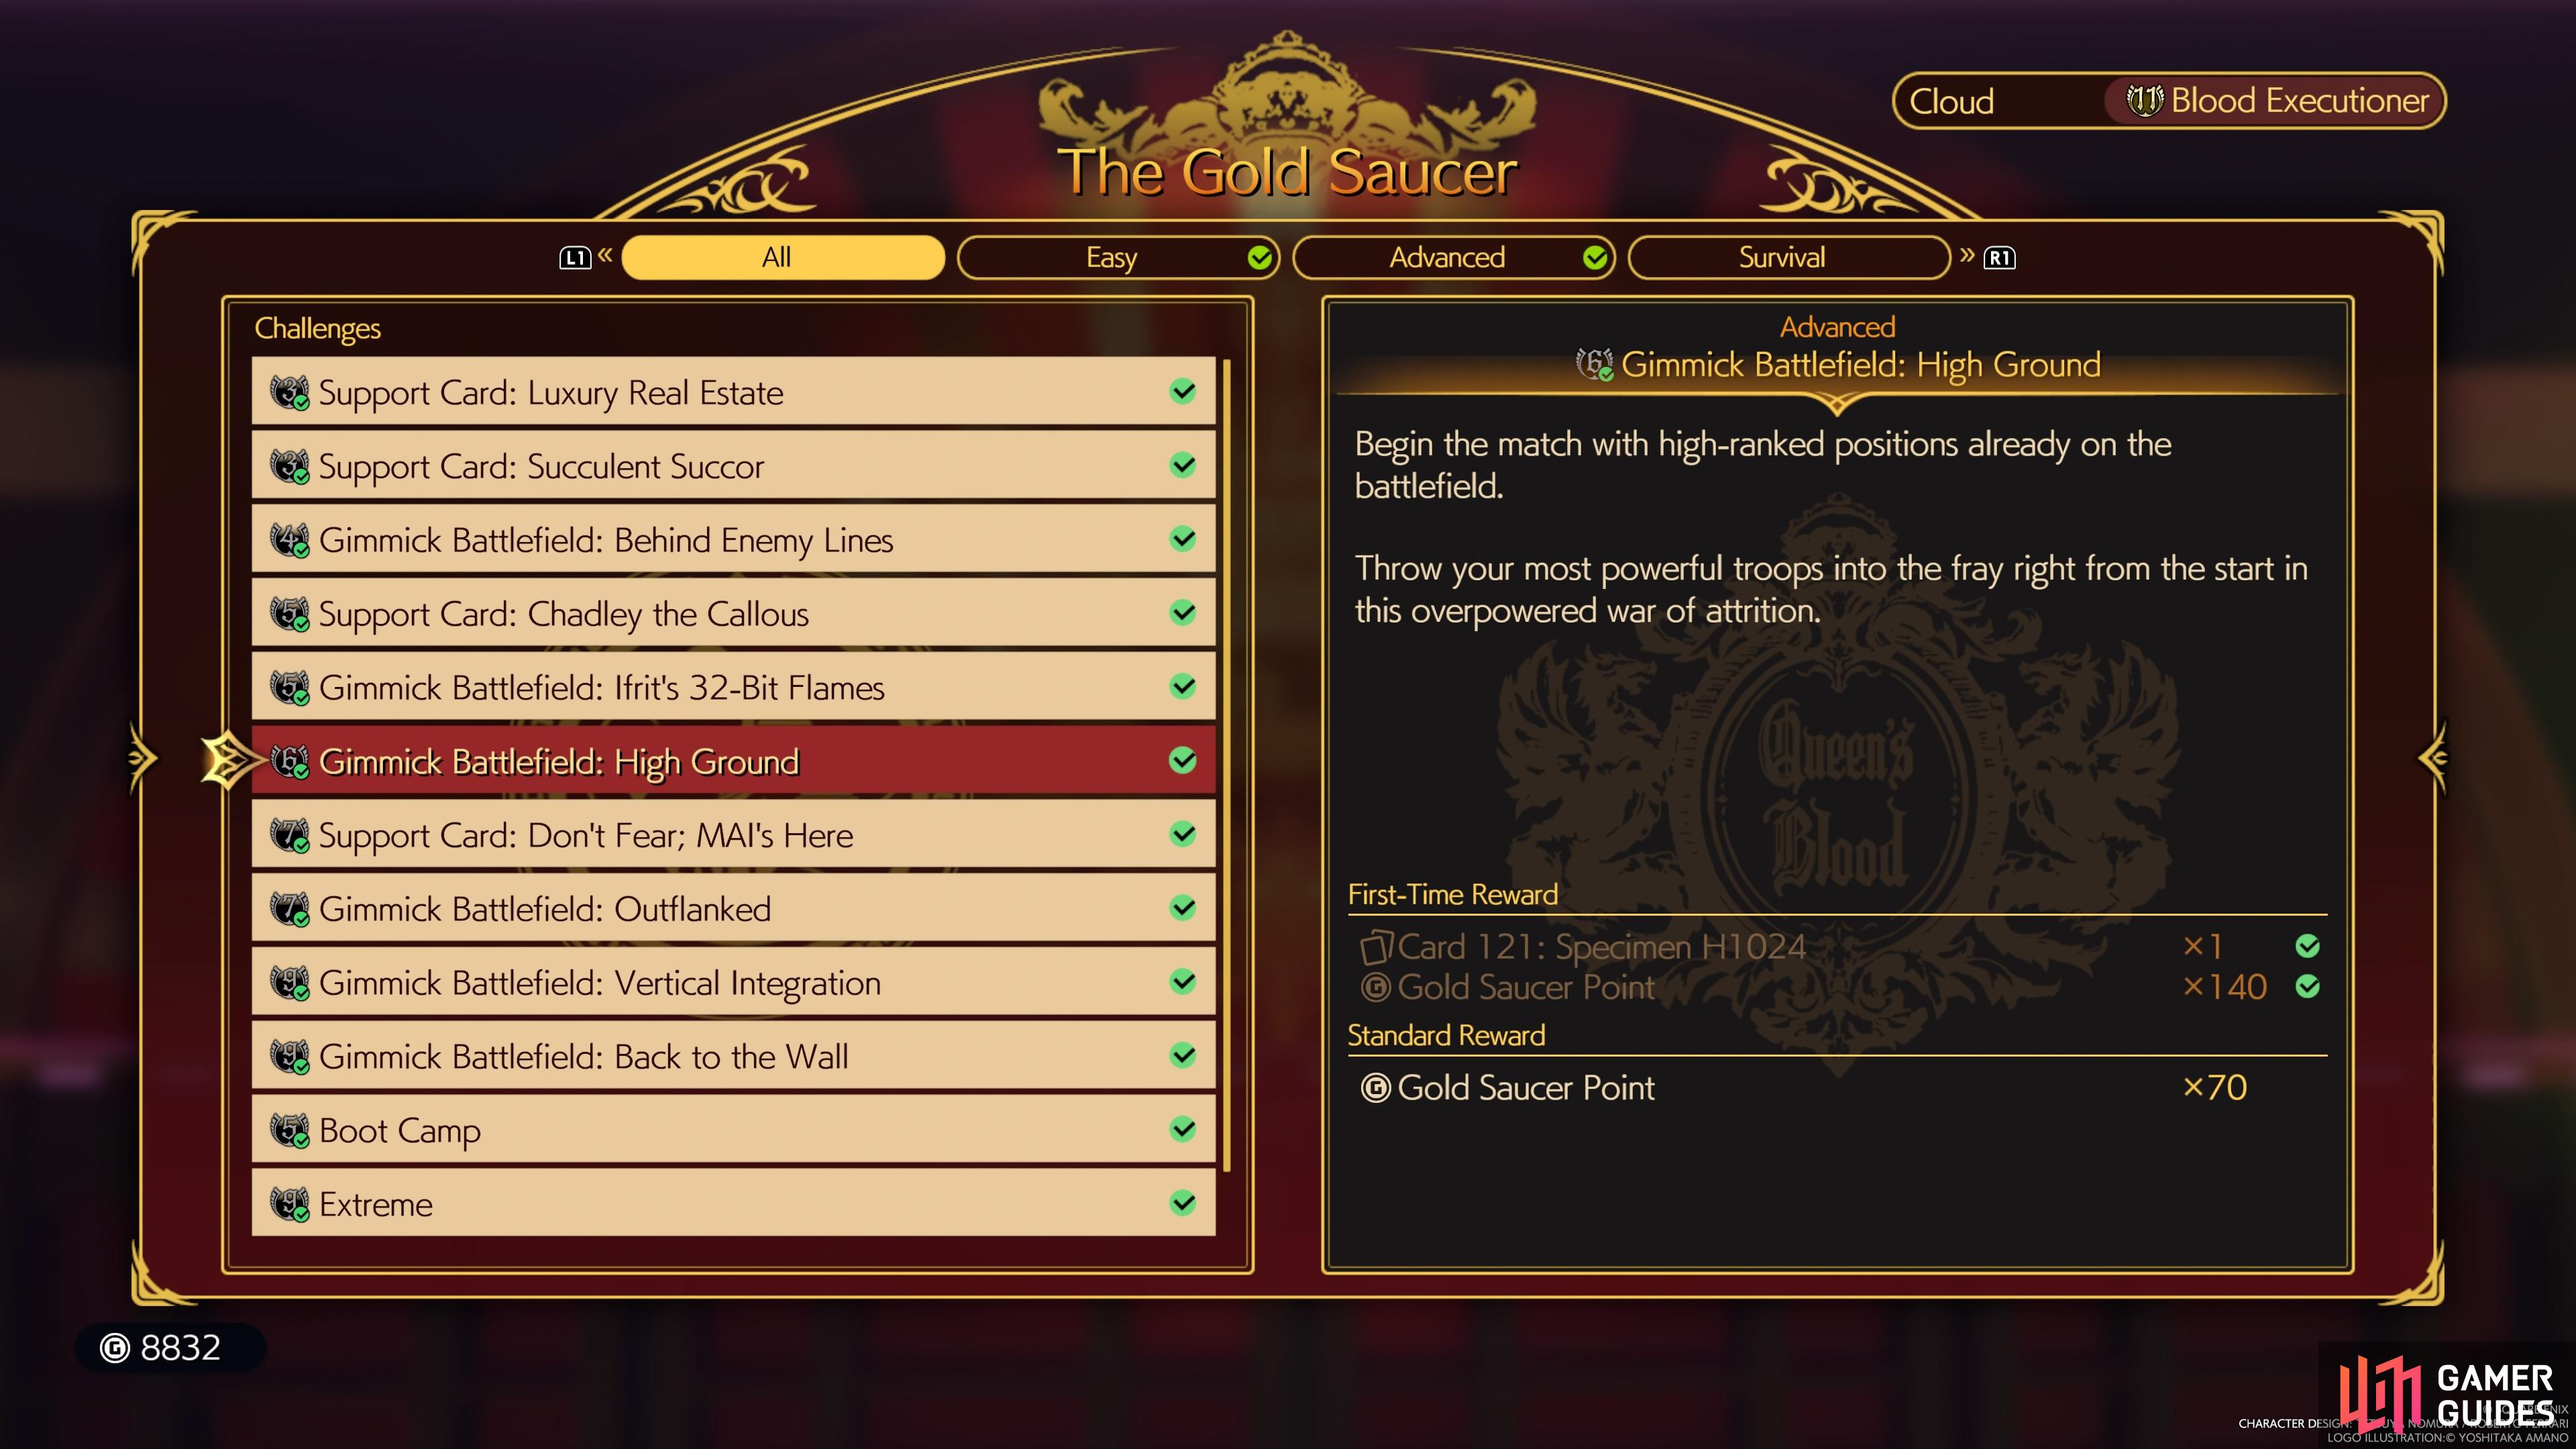
Gimmick Battlefield: High Ground
The first new challenge is called High Ground and it’s pretty close to a standard match. The only difference is that there will be high-ranking positions on the board from the start, so you’ll be able to come out of the gate with powerful cards. If you use some of the cards listed above, then you can try and get Titan or Dio as your first card to put down. From there, you can enhance them via the other cards, while trying to make sure you take over as much territory as possible.
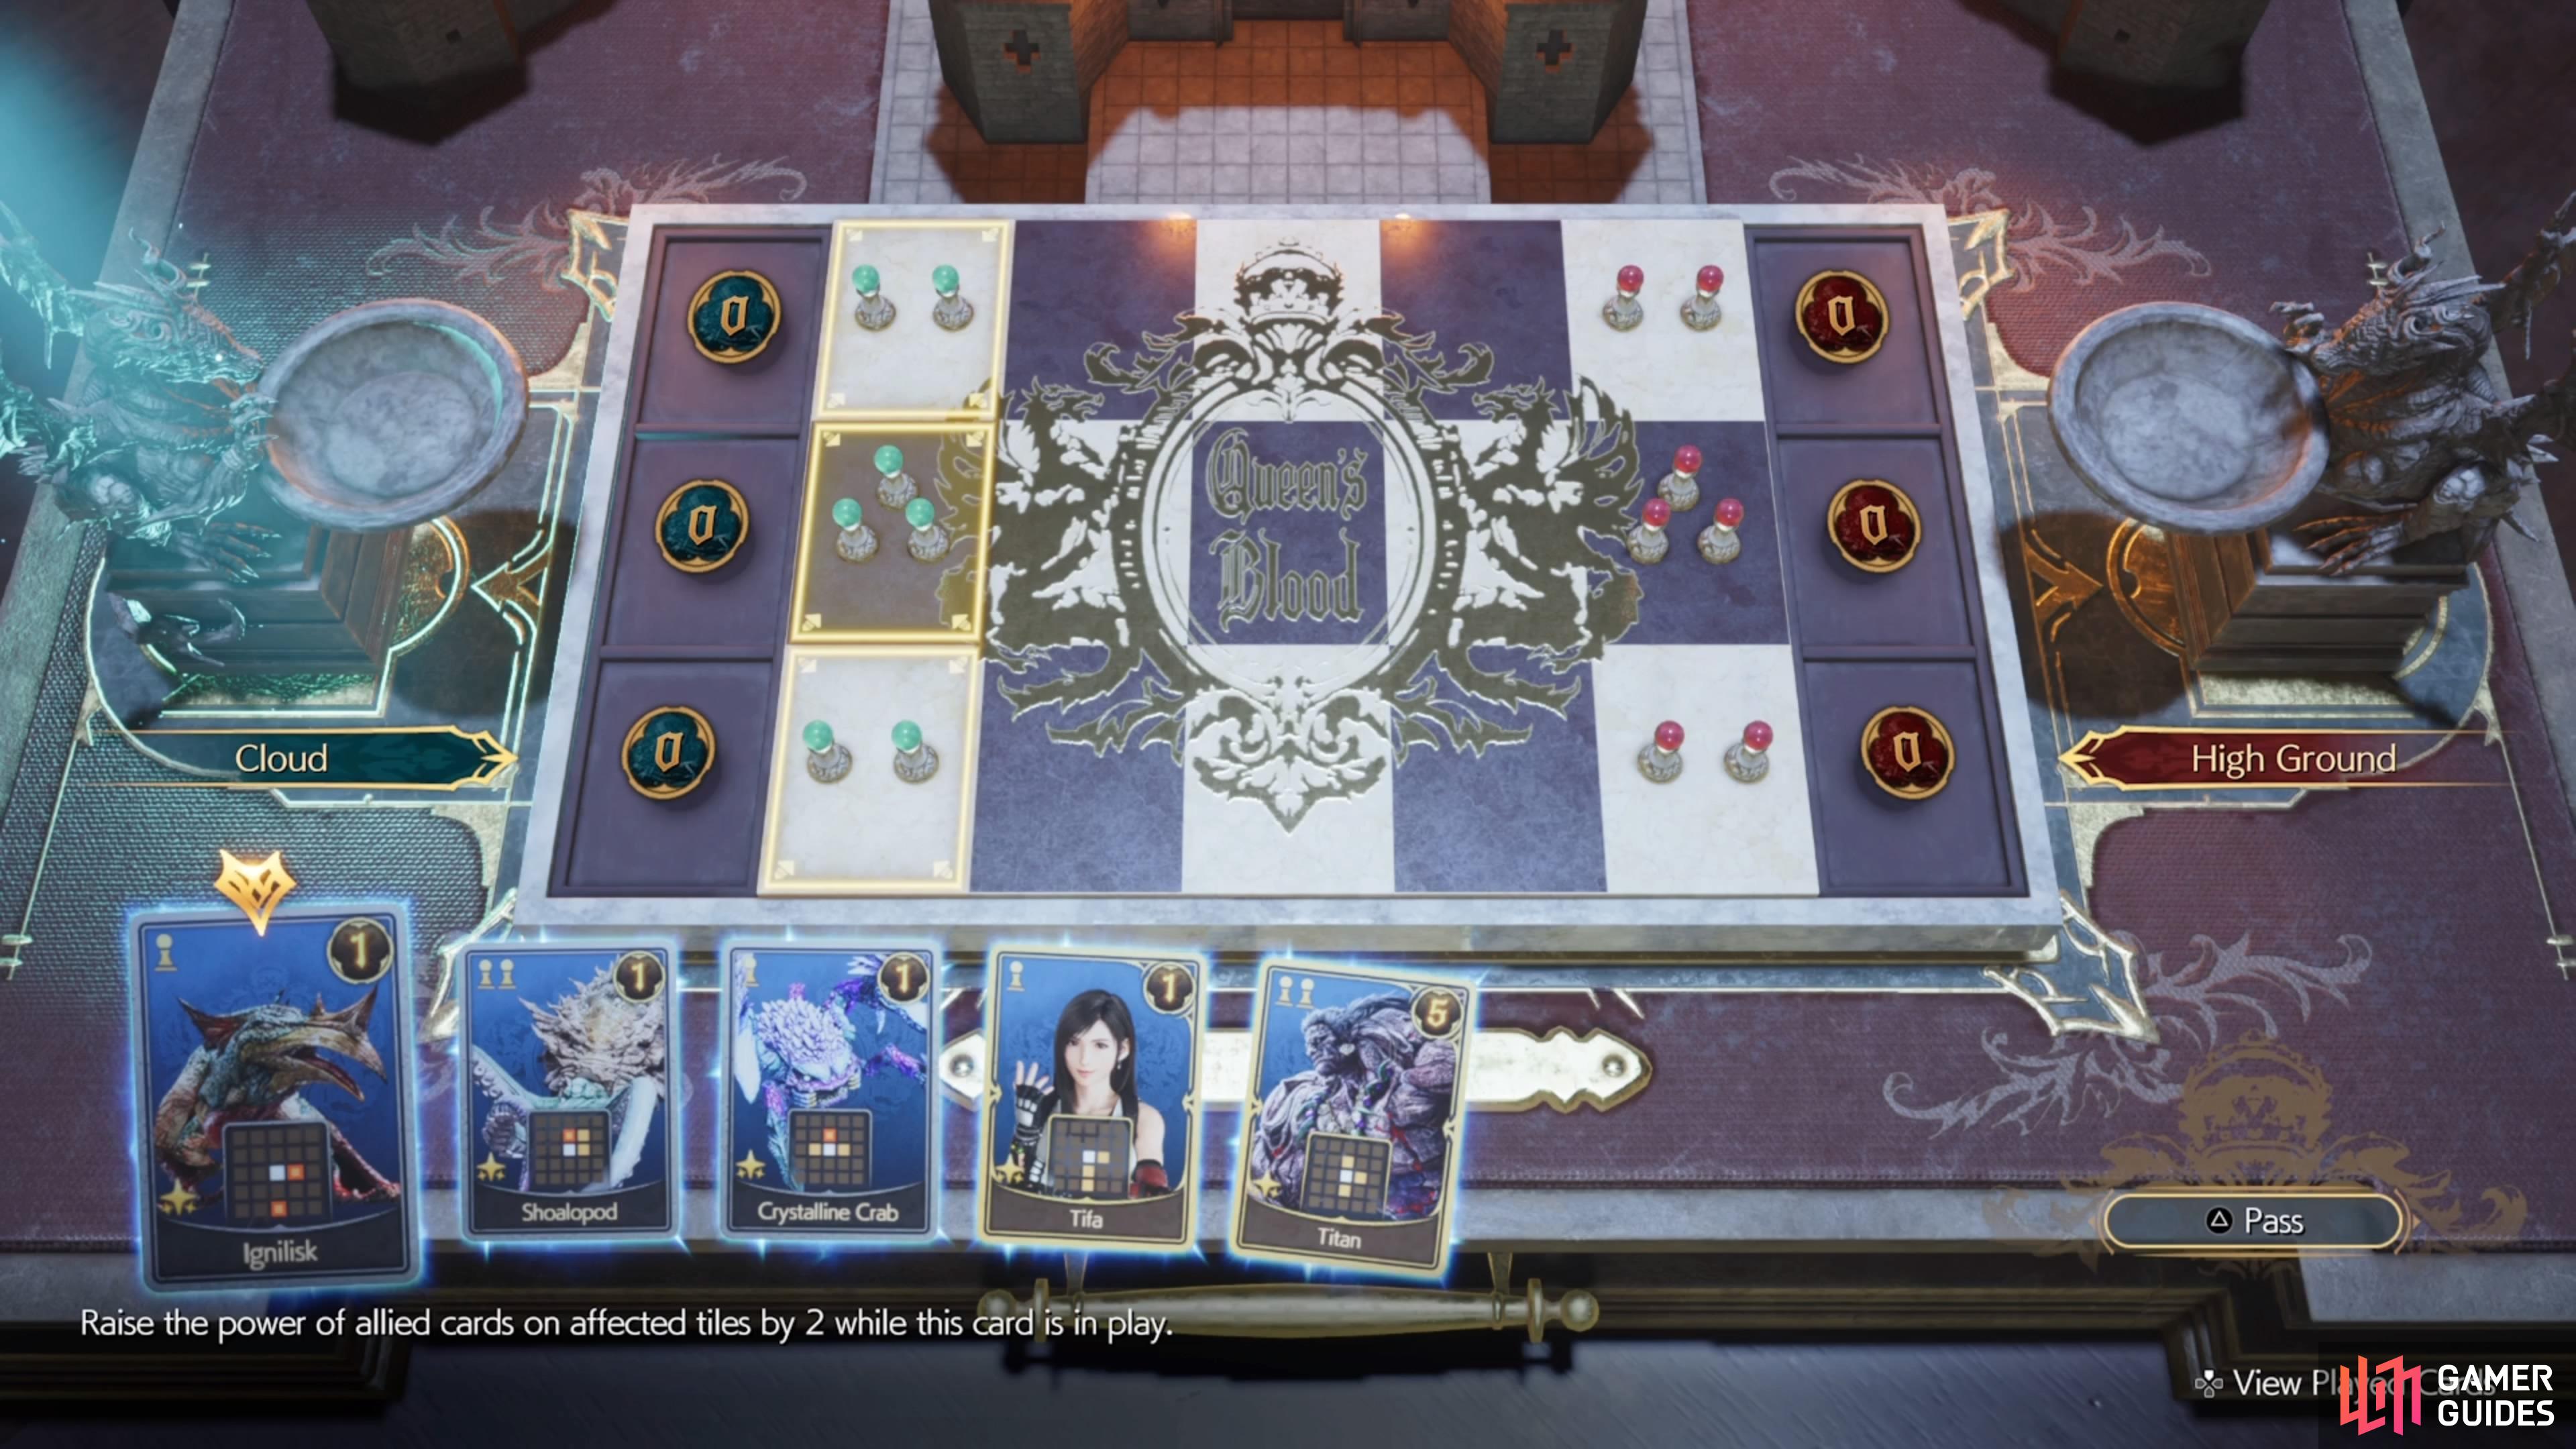
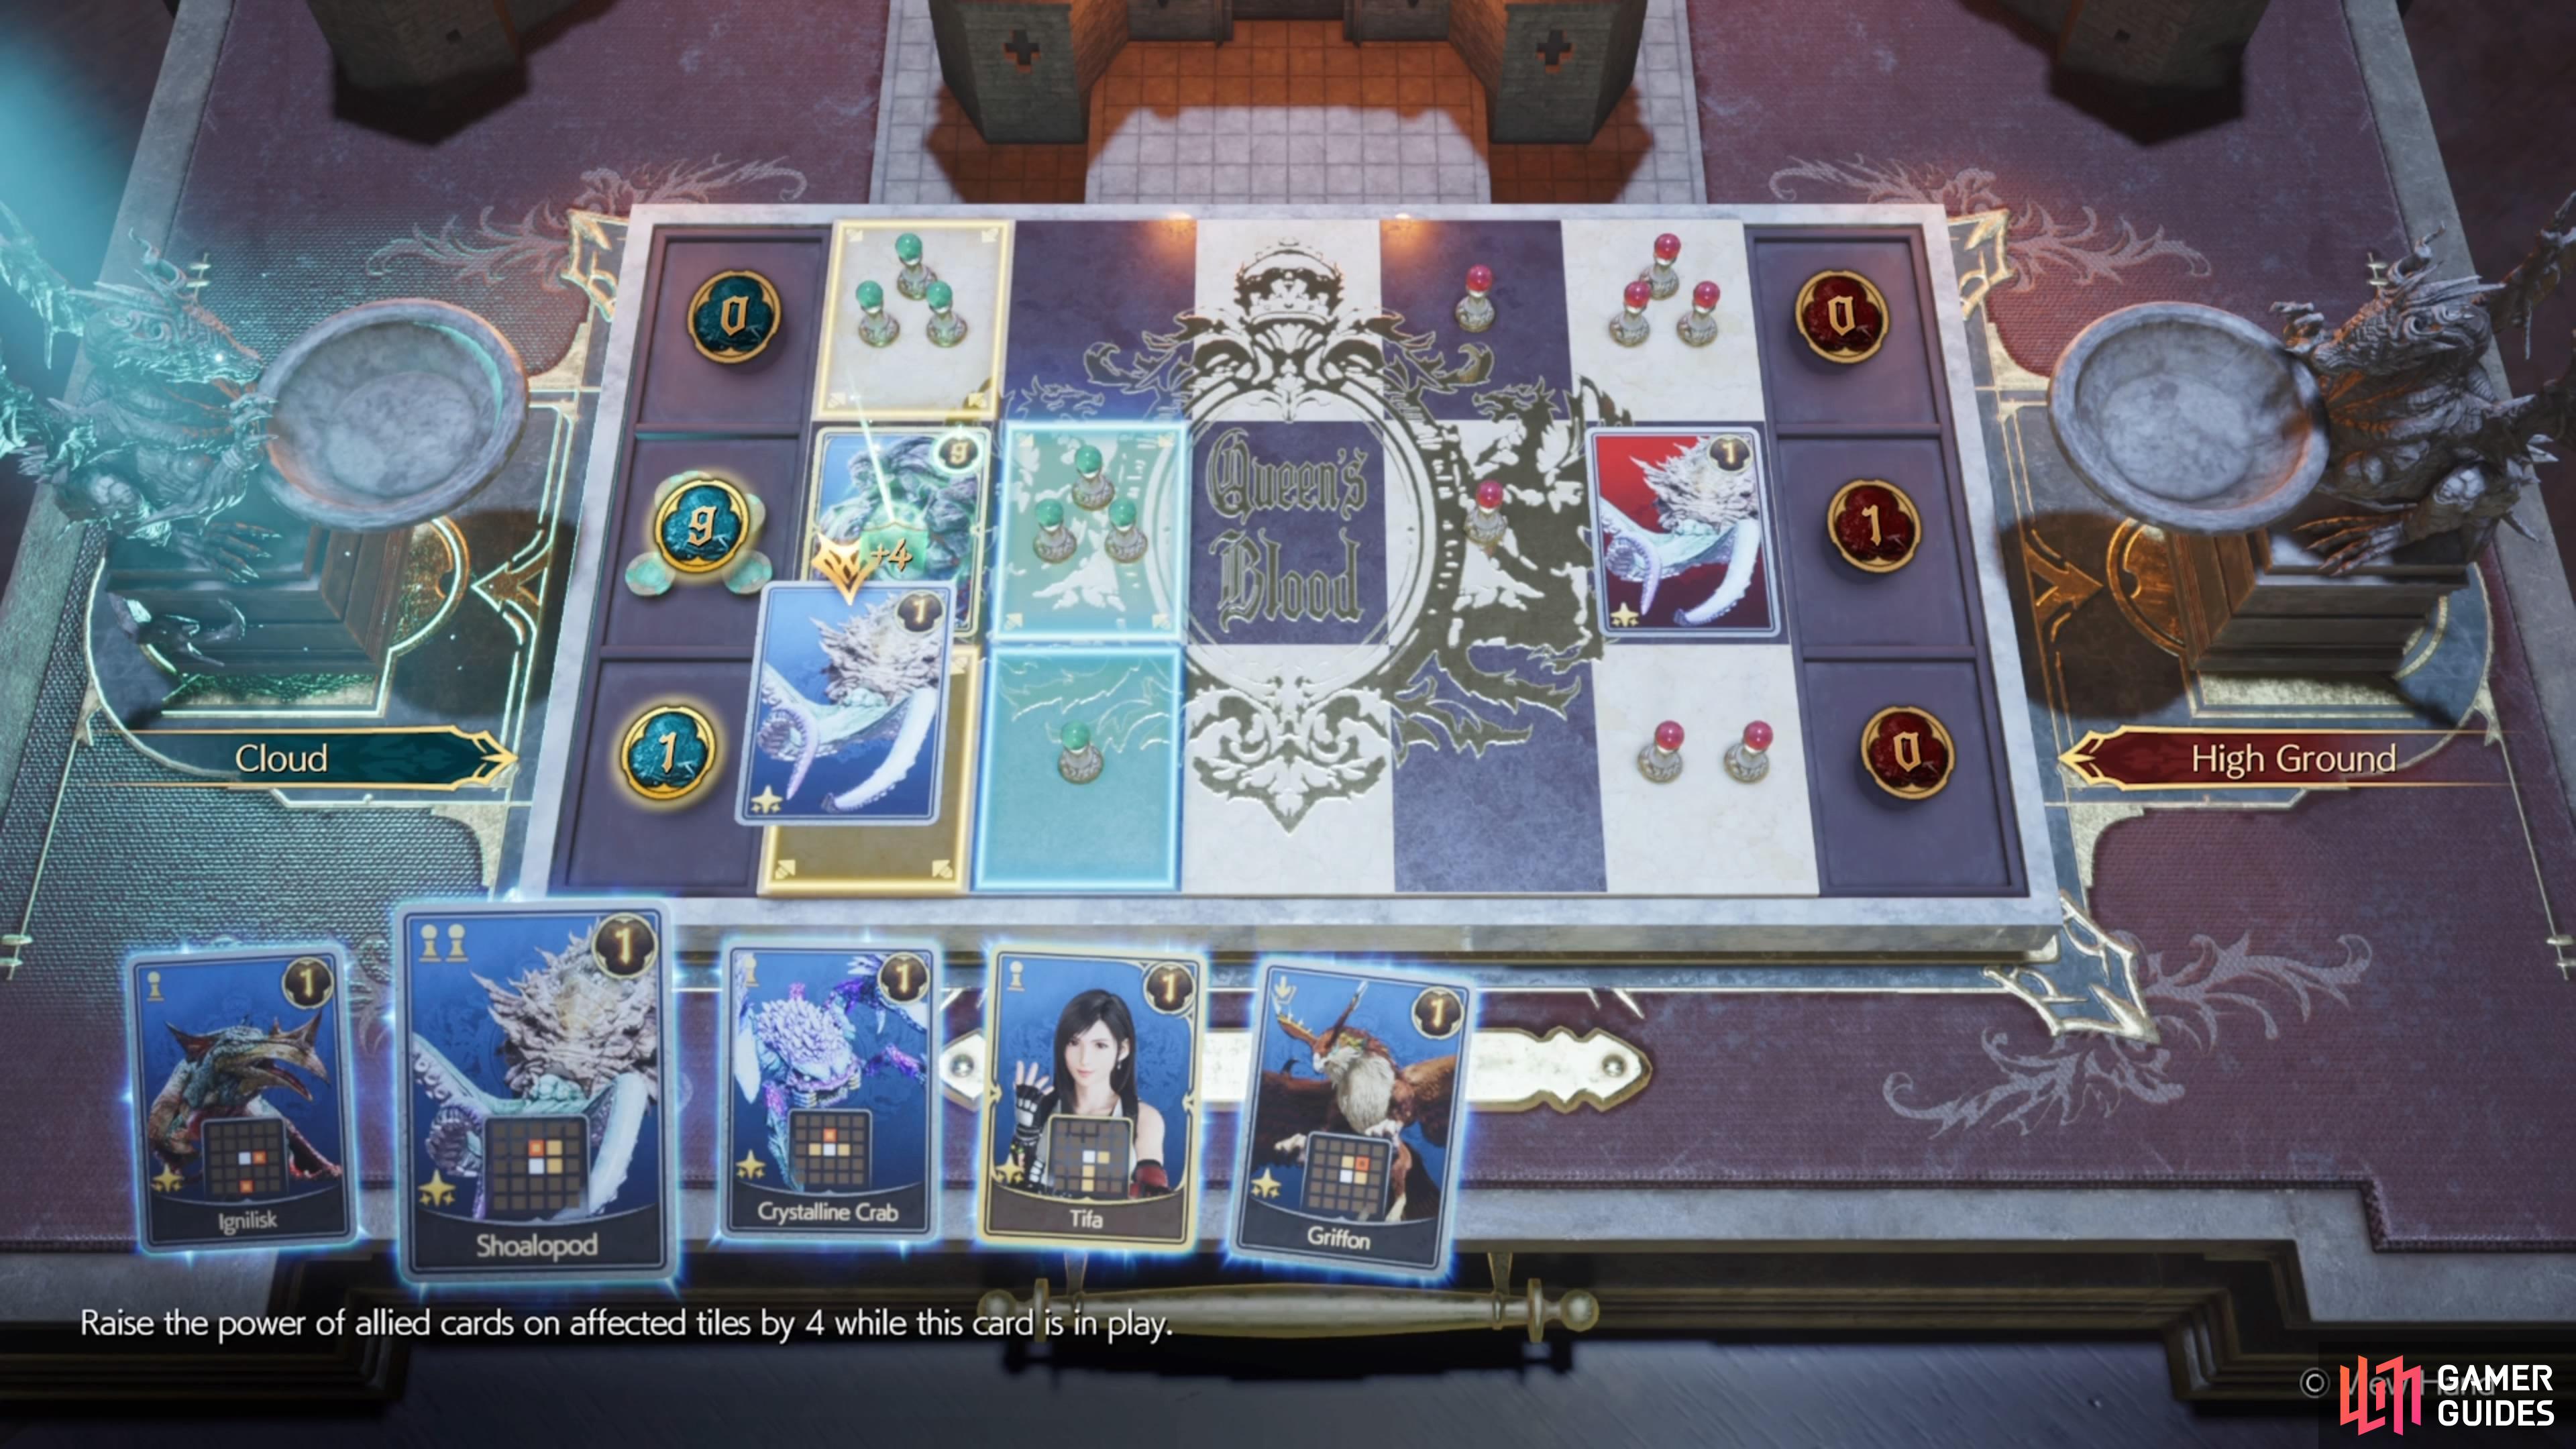
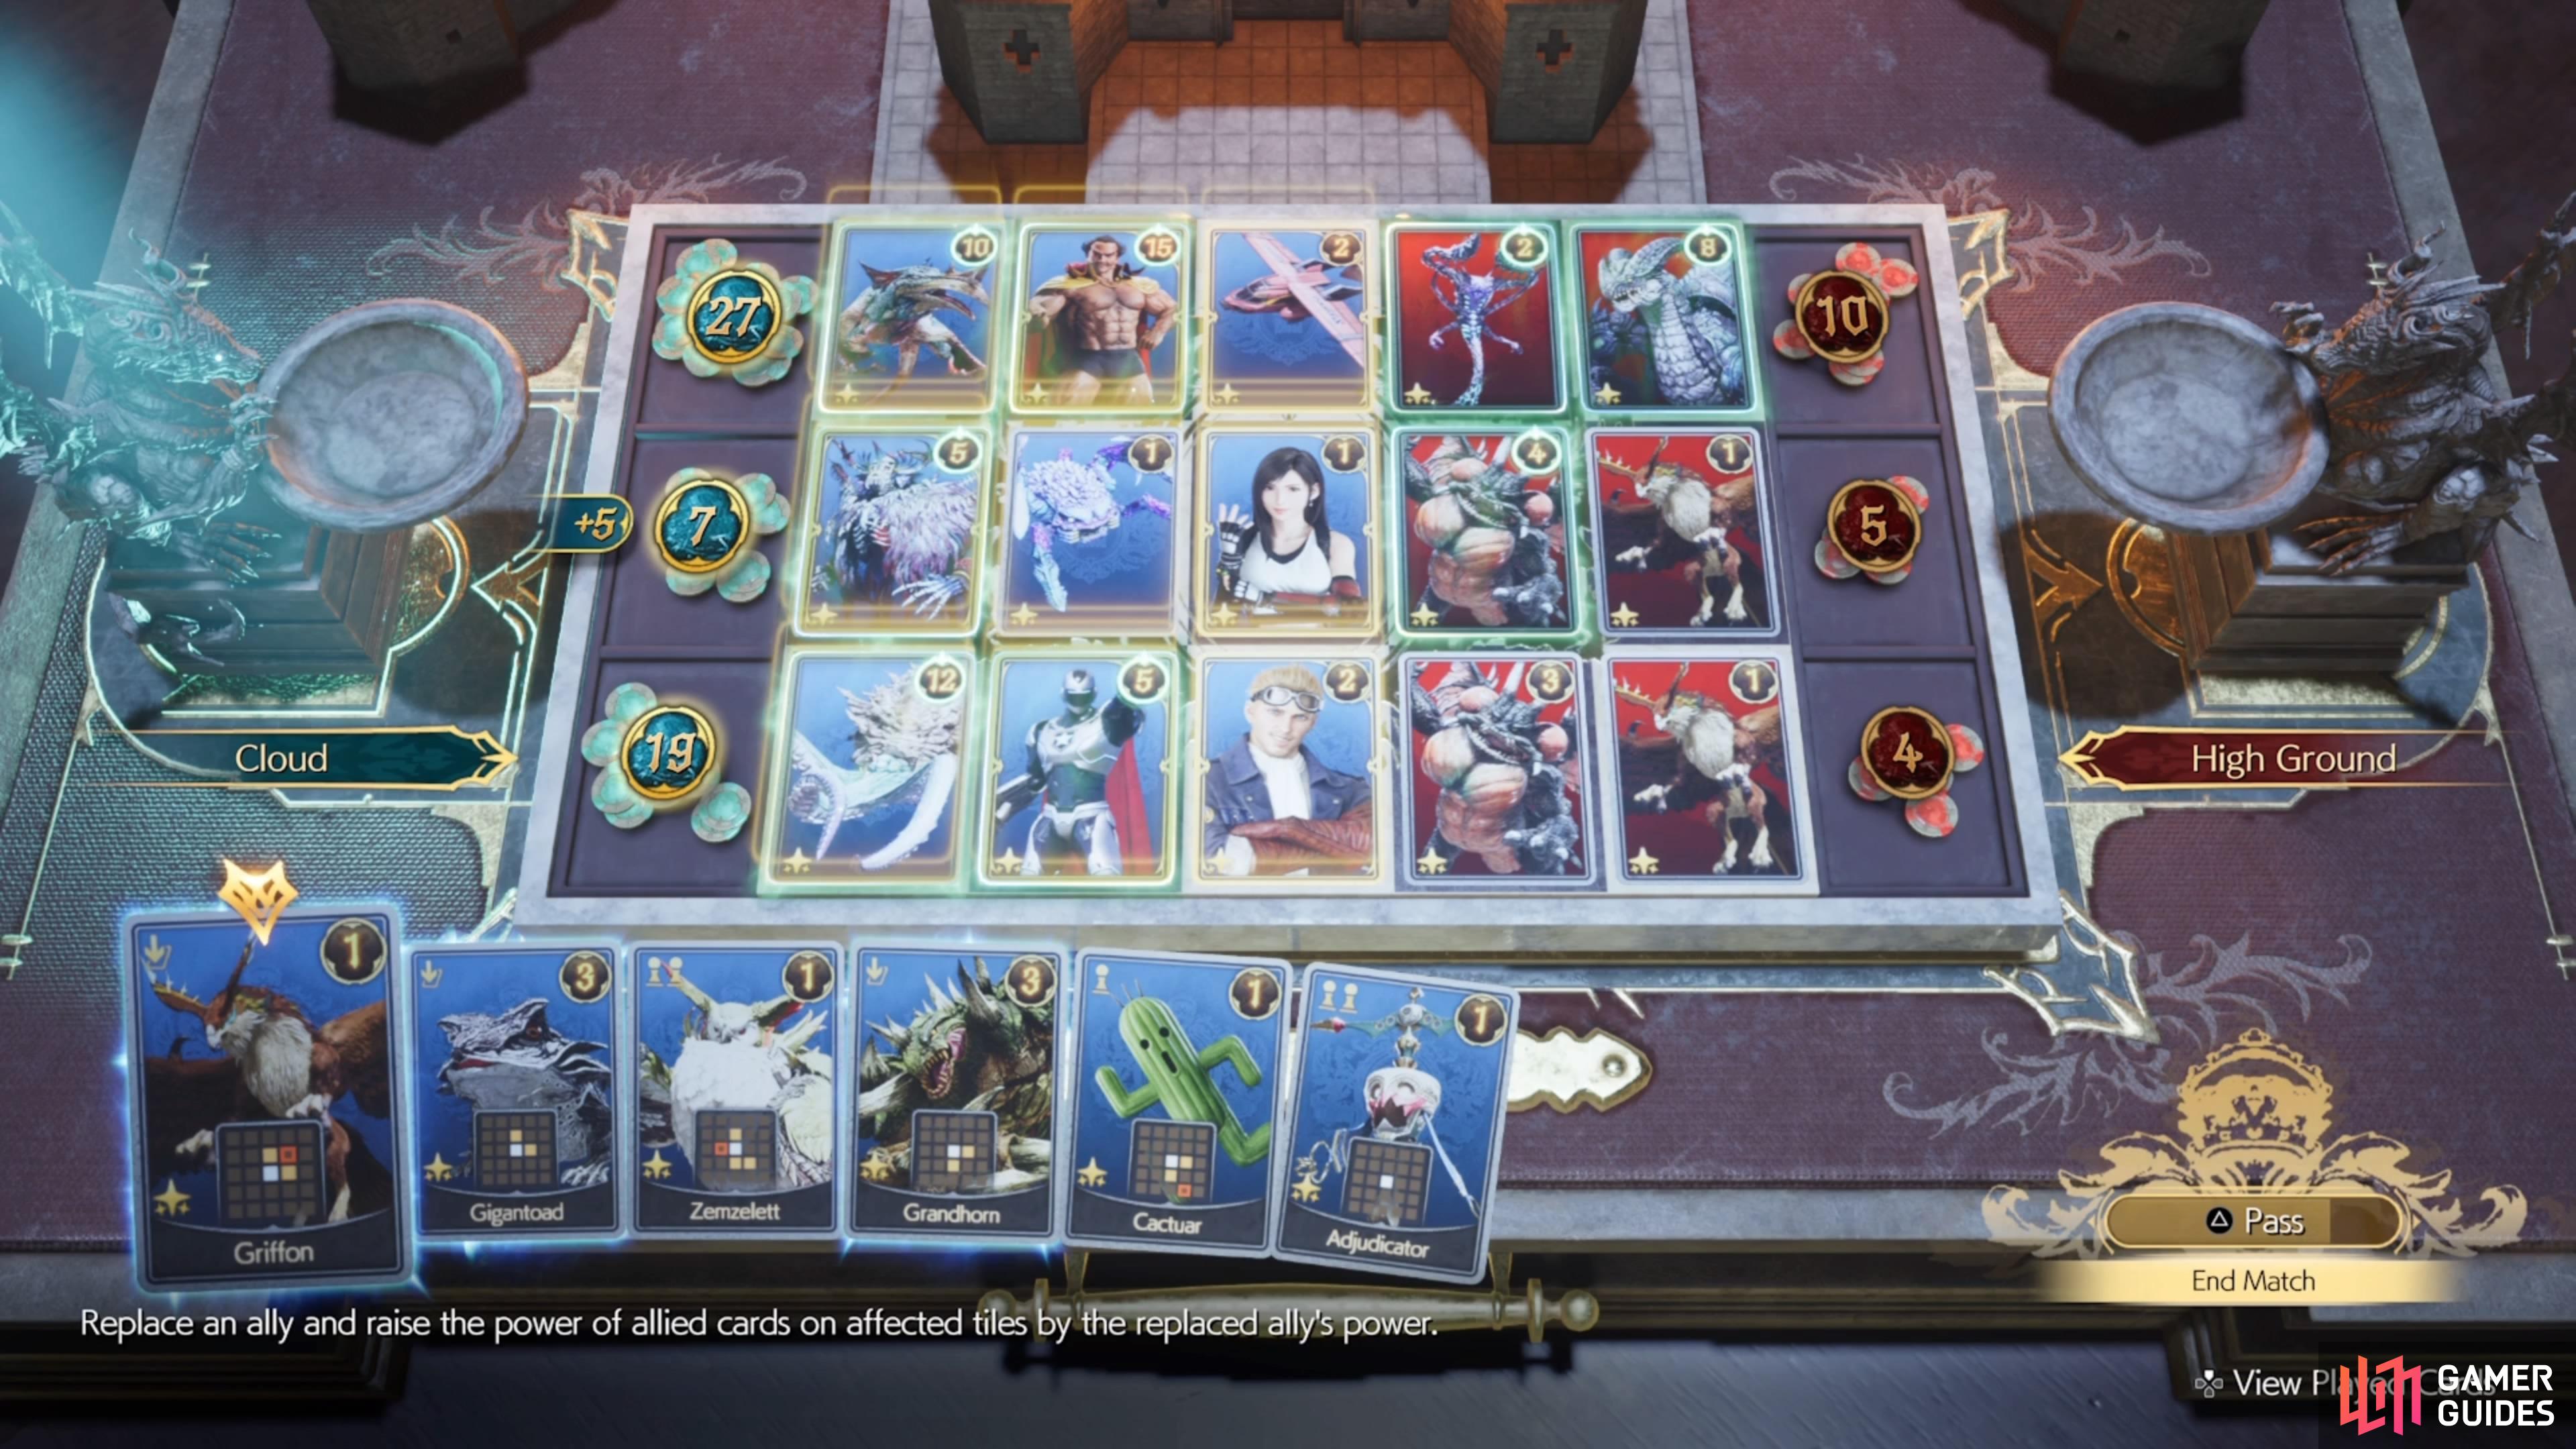
(1 of 3) You can start by placing more powerful cards in the High Ground challenge.
Your opponent does have a few replace cards, so be wary of that, like the Griffon. If you’ve been playing Queen’s Blood matches up until this point, though, and winning without much trouble, then this match shouldn’t be any different.
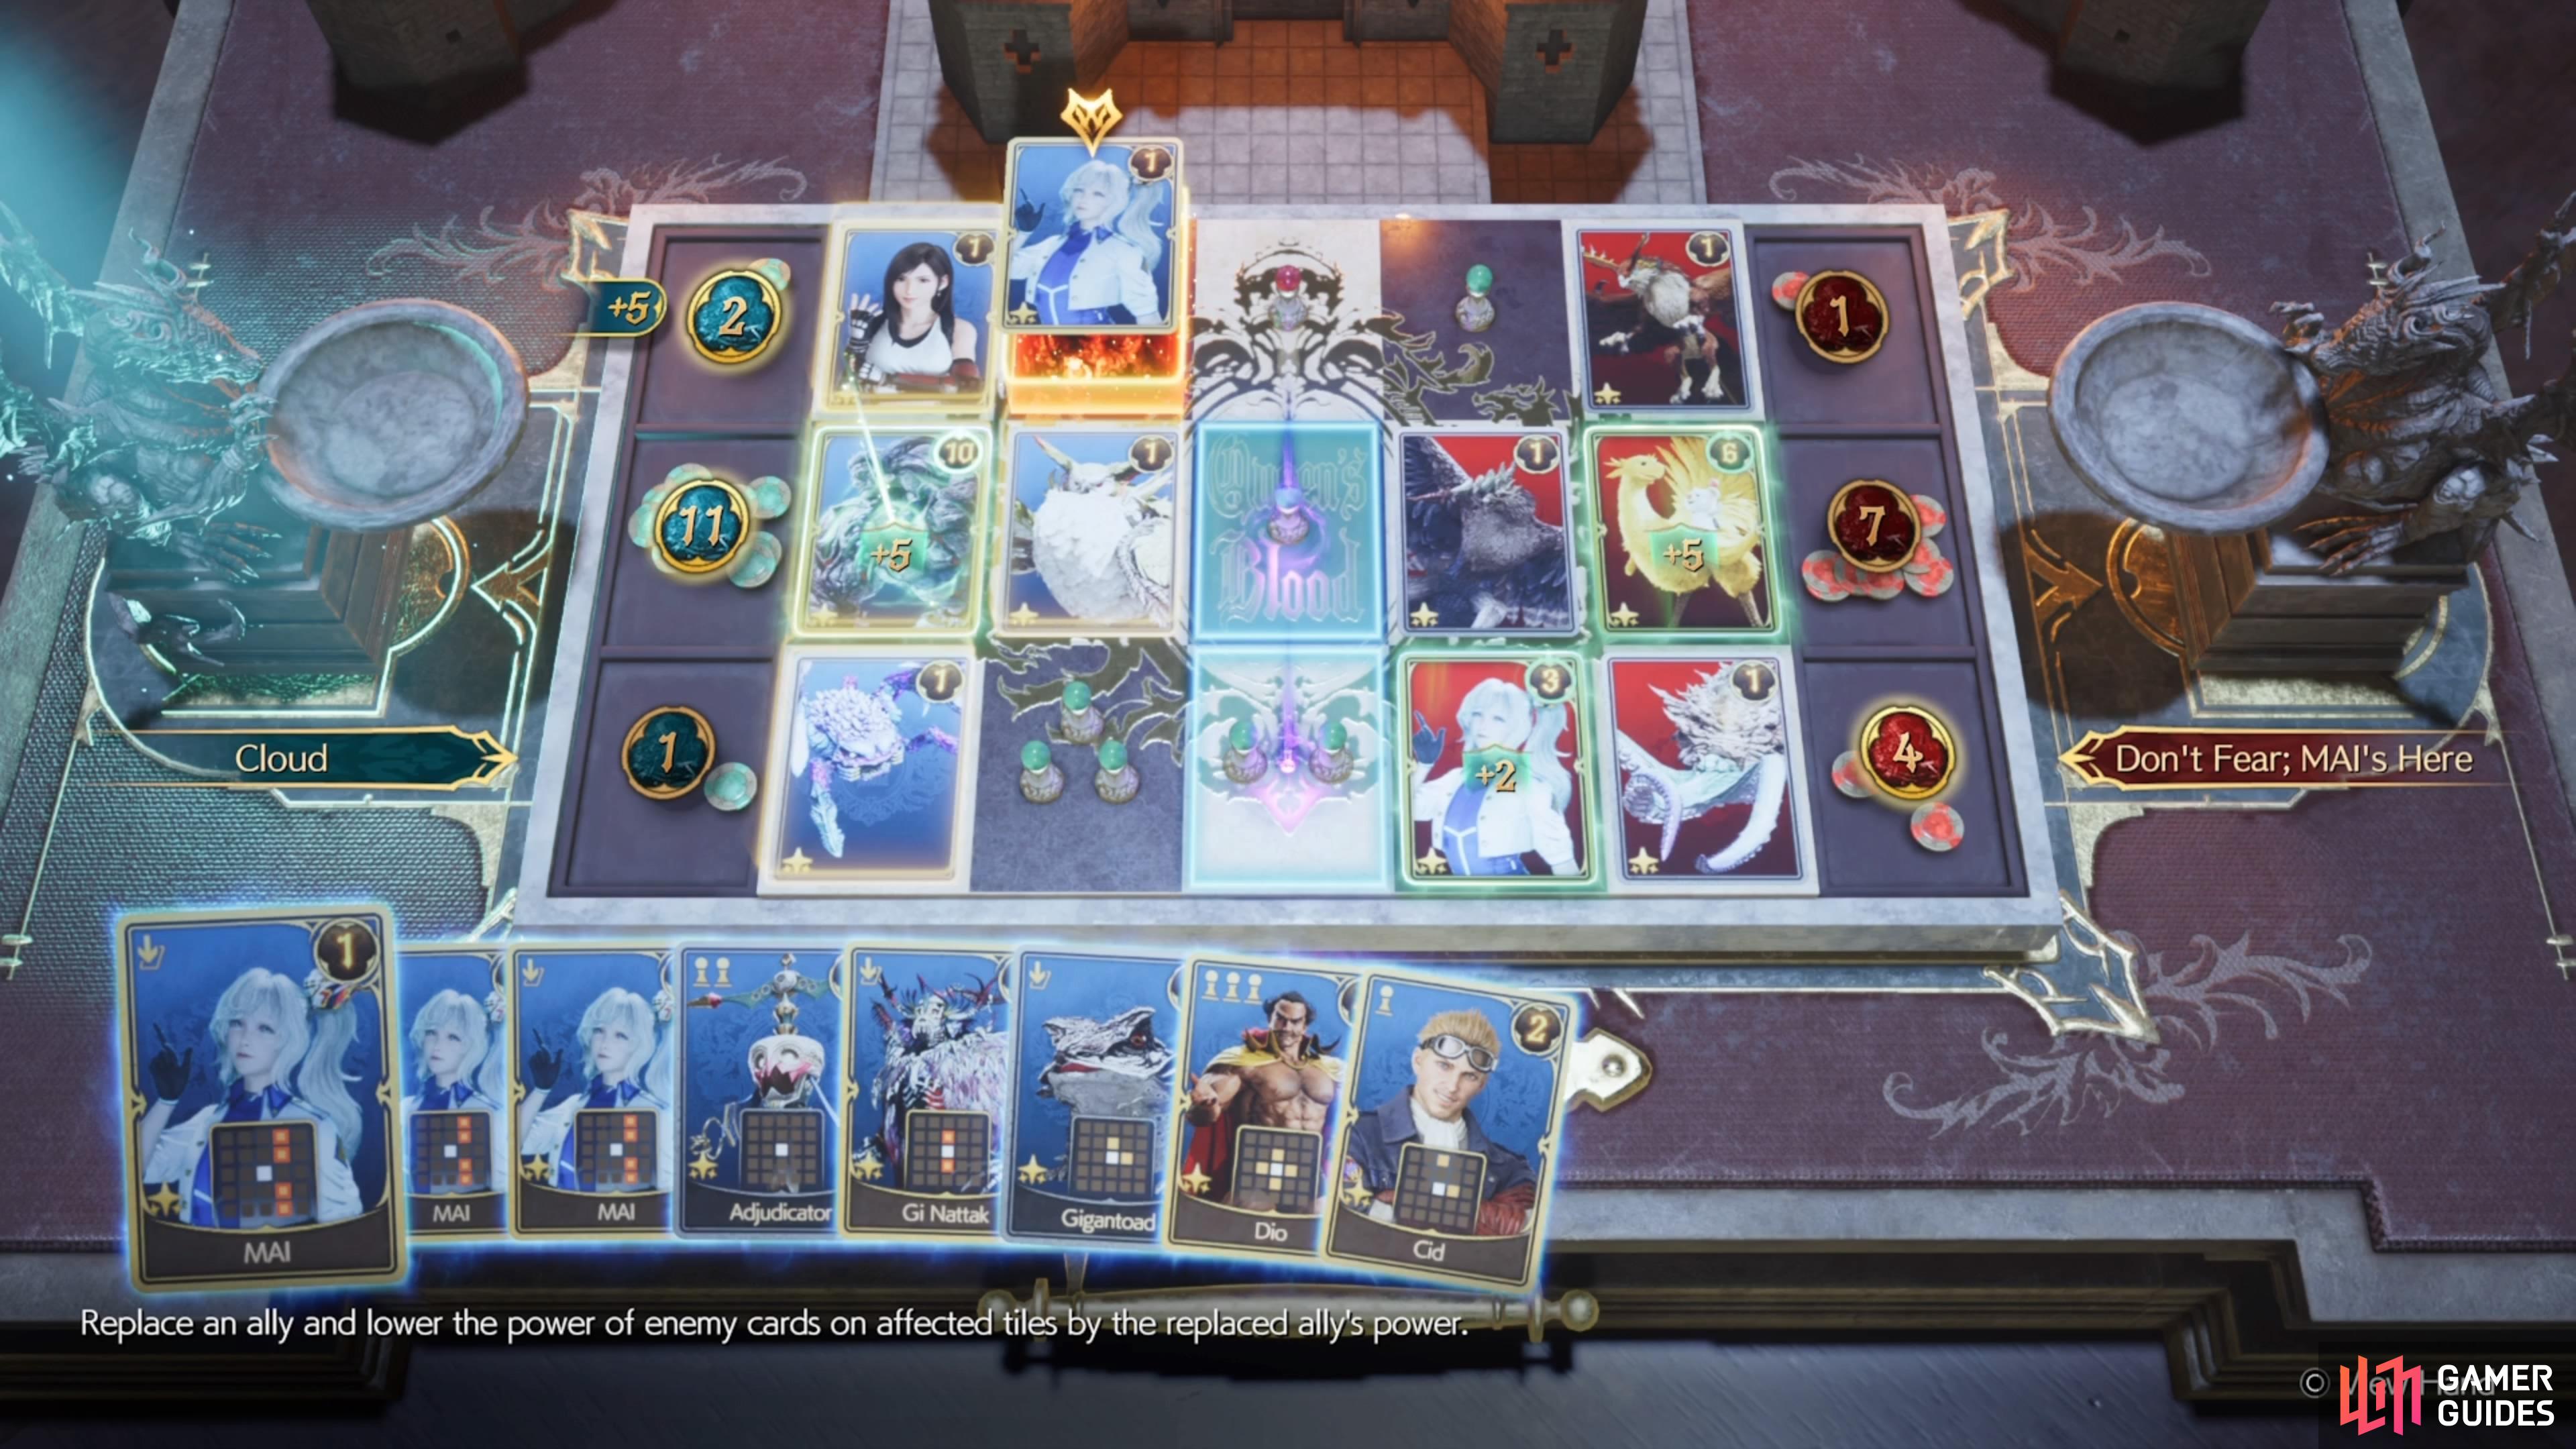
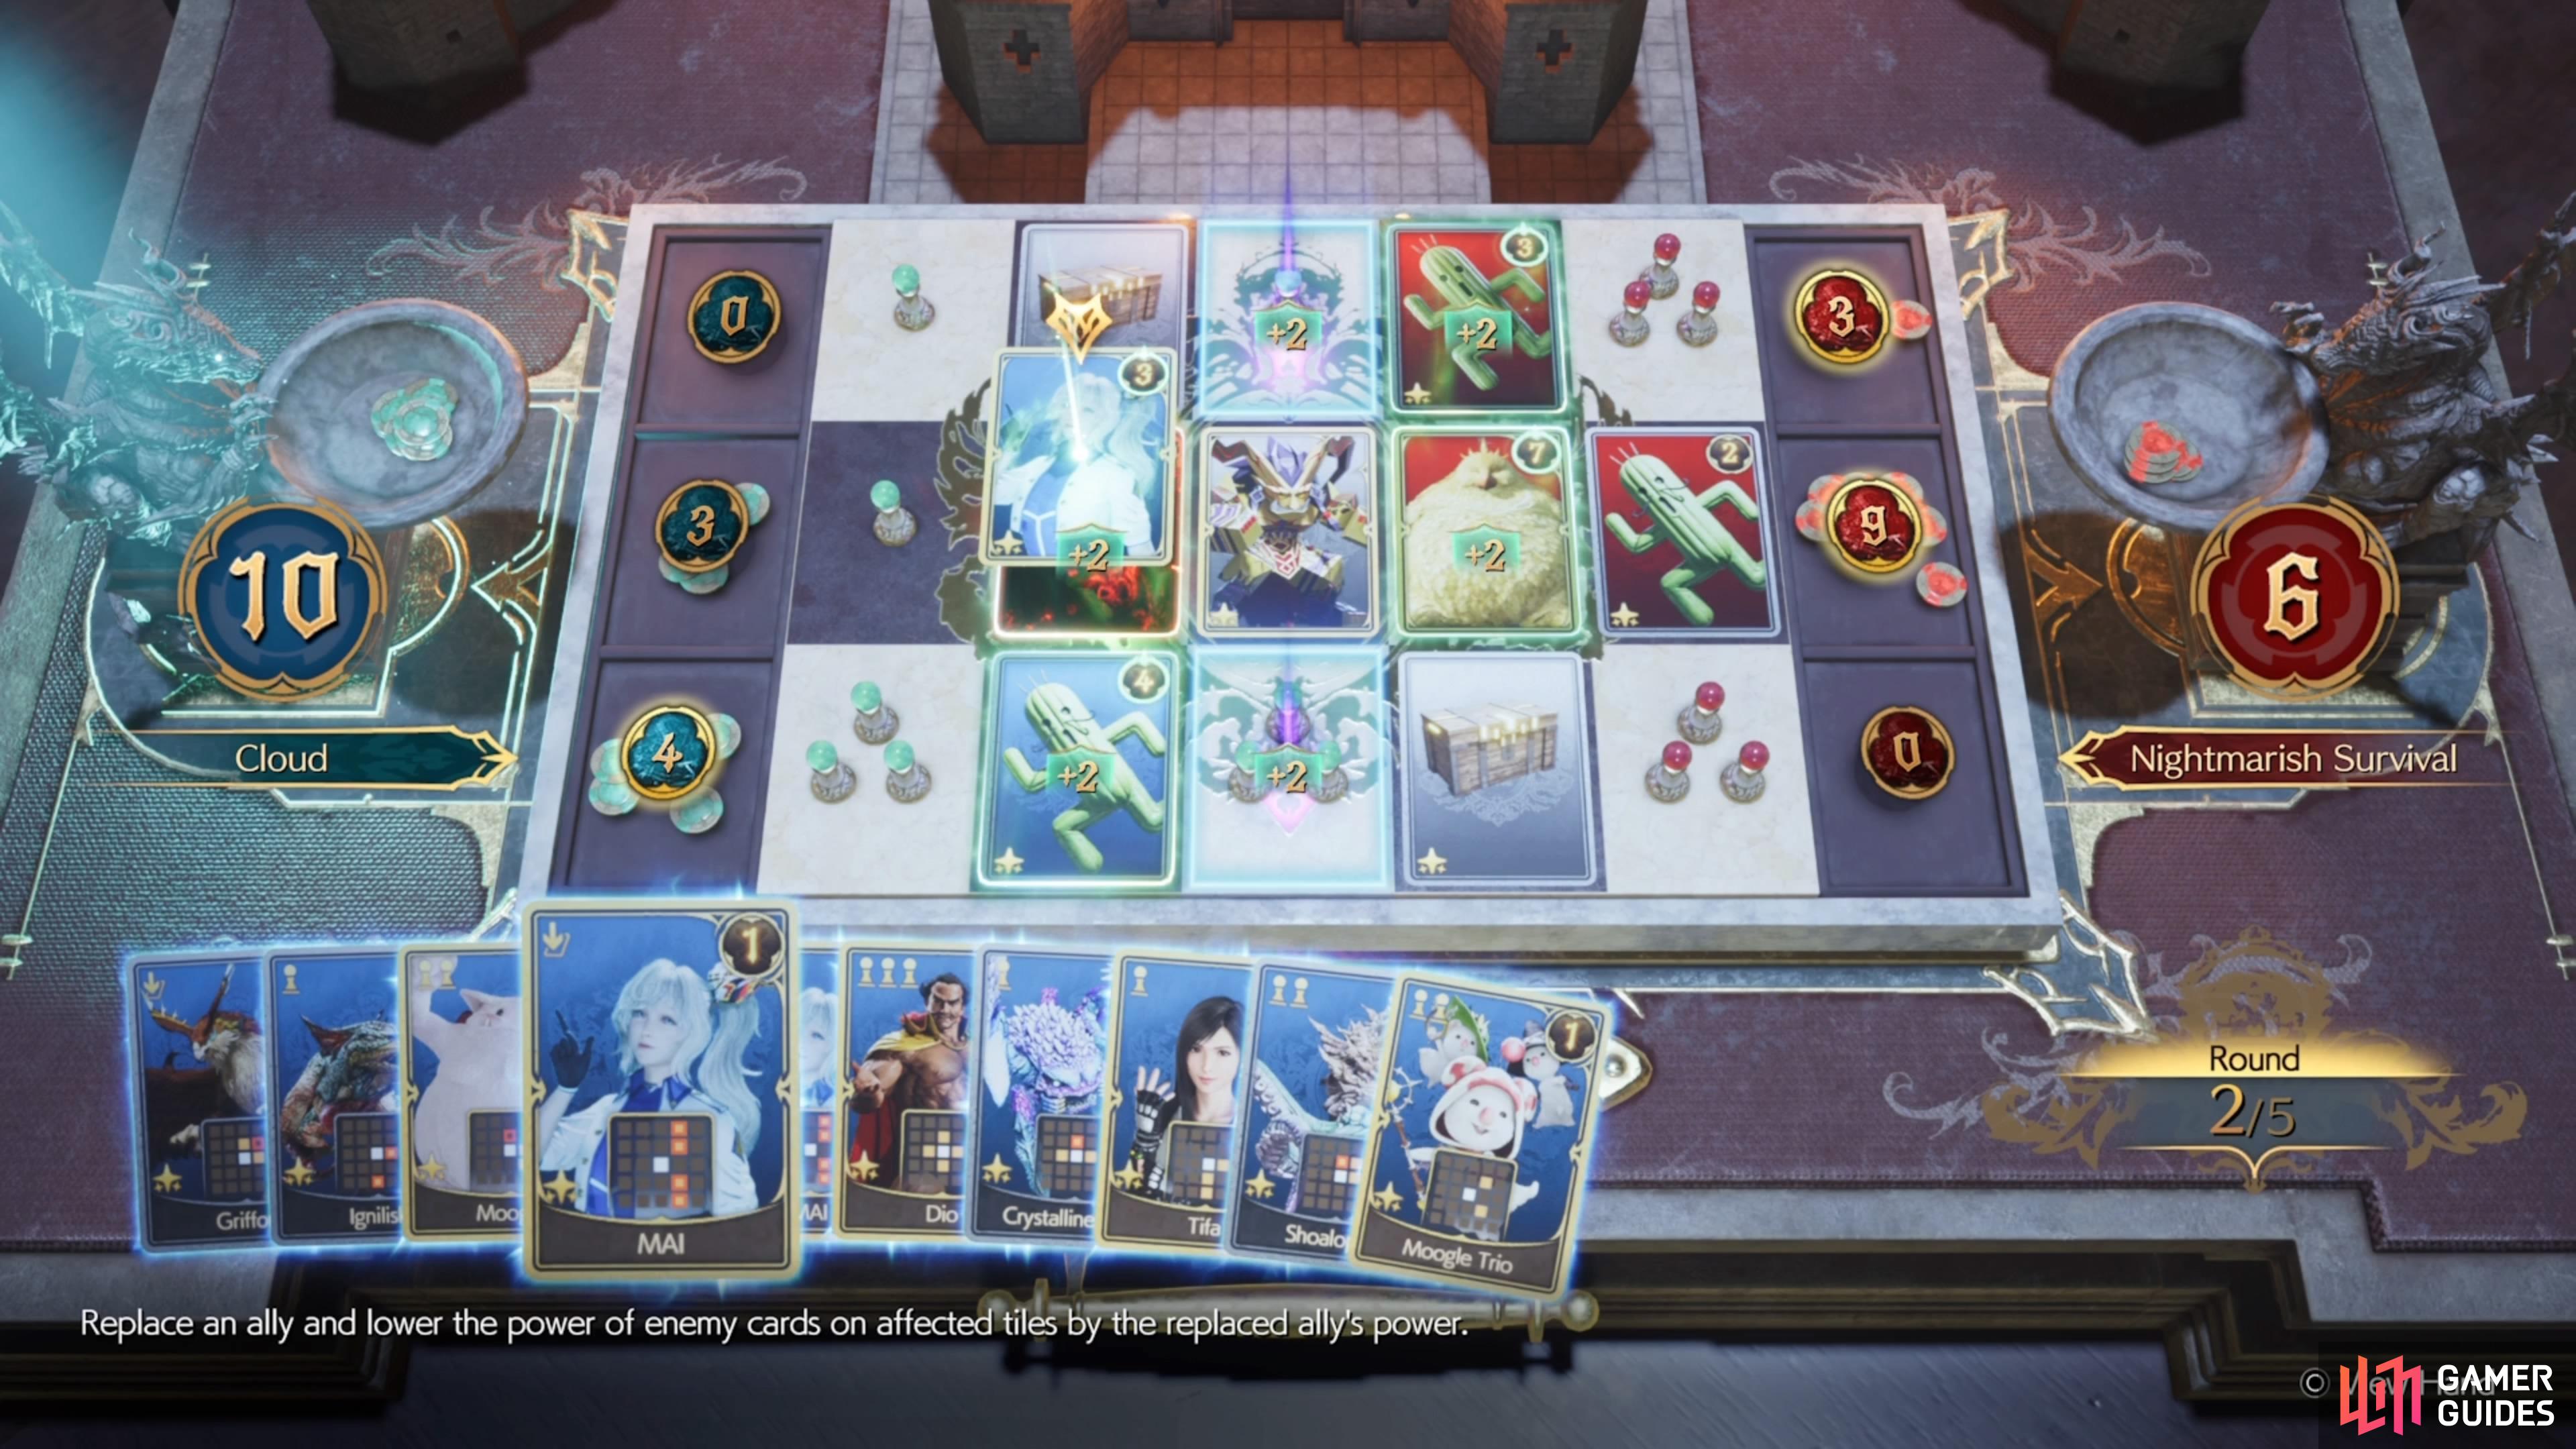
Support Card: Don’t Fear, MAI’s Here
The second challenge will have you utilizing some MAI cards, with you and your opponent getting three each. They are cards that replace your allies and lower the power of enemy cards on affected tiles by the replaced ally’s power. Basically, each of you will have three replacement cards, so you will want to take that into consideration when laying out your cards. One strategy you can deploy is to simply gain territory towards the right side, preferably with lower power cards, then replace those with the MAI cards.
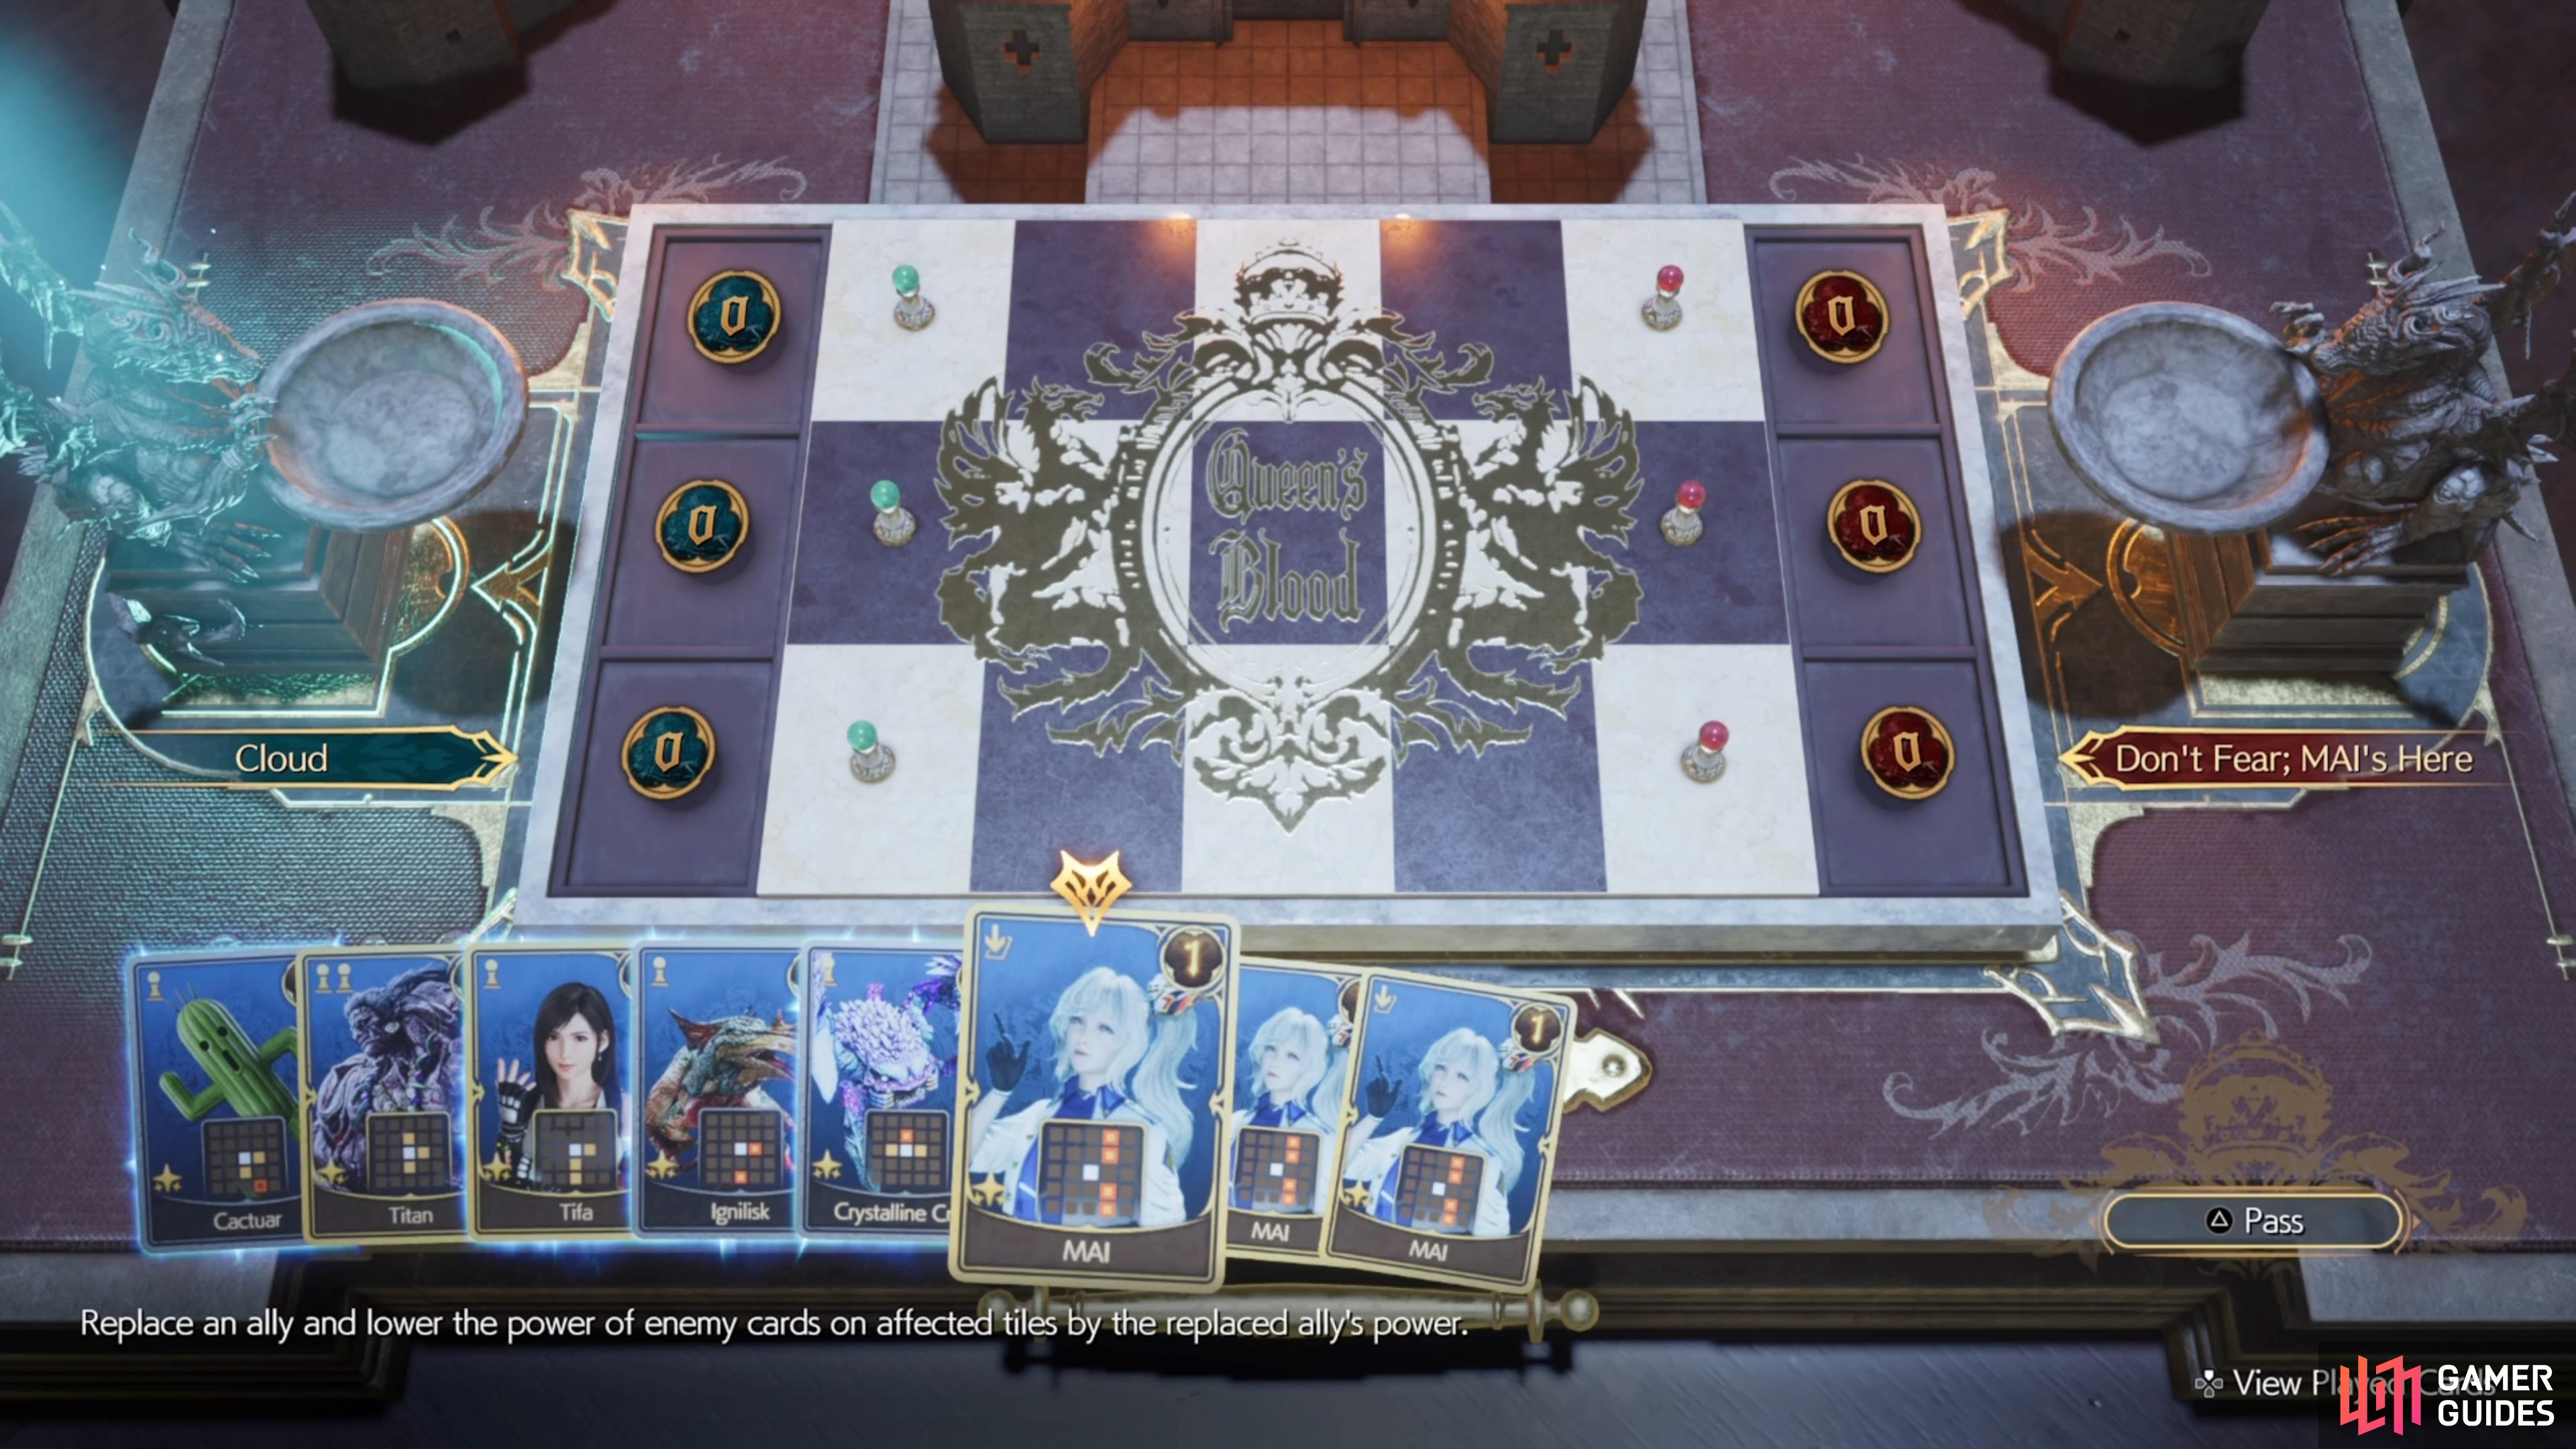
(1 of 2) Both you and your opponent will receive three MAI cards during this challenge.
Both you and your opponent will receive three MAI cards during this challenge. (left), They are replacement cards for debuffing enemy cards, as well as just capturing spots on the board. (right)
The problem that arises is getting enough points to secure the victory, as the MAI cards from your opponent can put a hamper on that. Doing something like securing a good portion of the board will allow you to focus on the back, so you can play cards like Dio, or even something like ![]() Bagnadrana can be useful here. The latter card’s ability gives it extra power every time an enemy plays a card, so placing it down early can boost it high since you know the enemy has replacement cards.
Bagnadrana can be useful here. The latter card’s ability gives it extra power every time an enemy plays a card, so placing it down early can boost it high since you know the enemy has replacement cards.
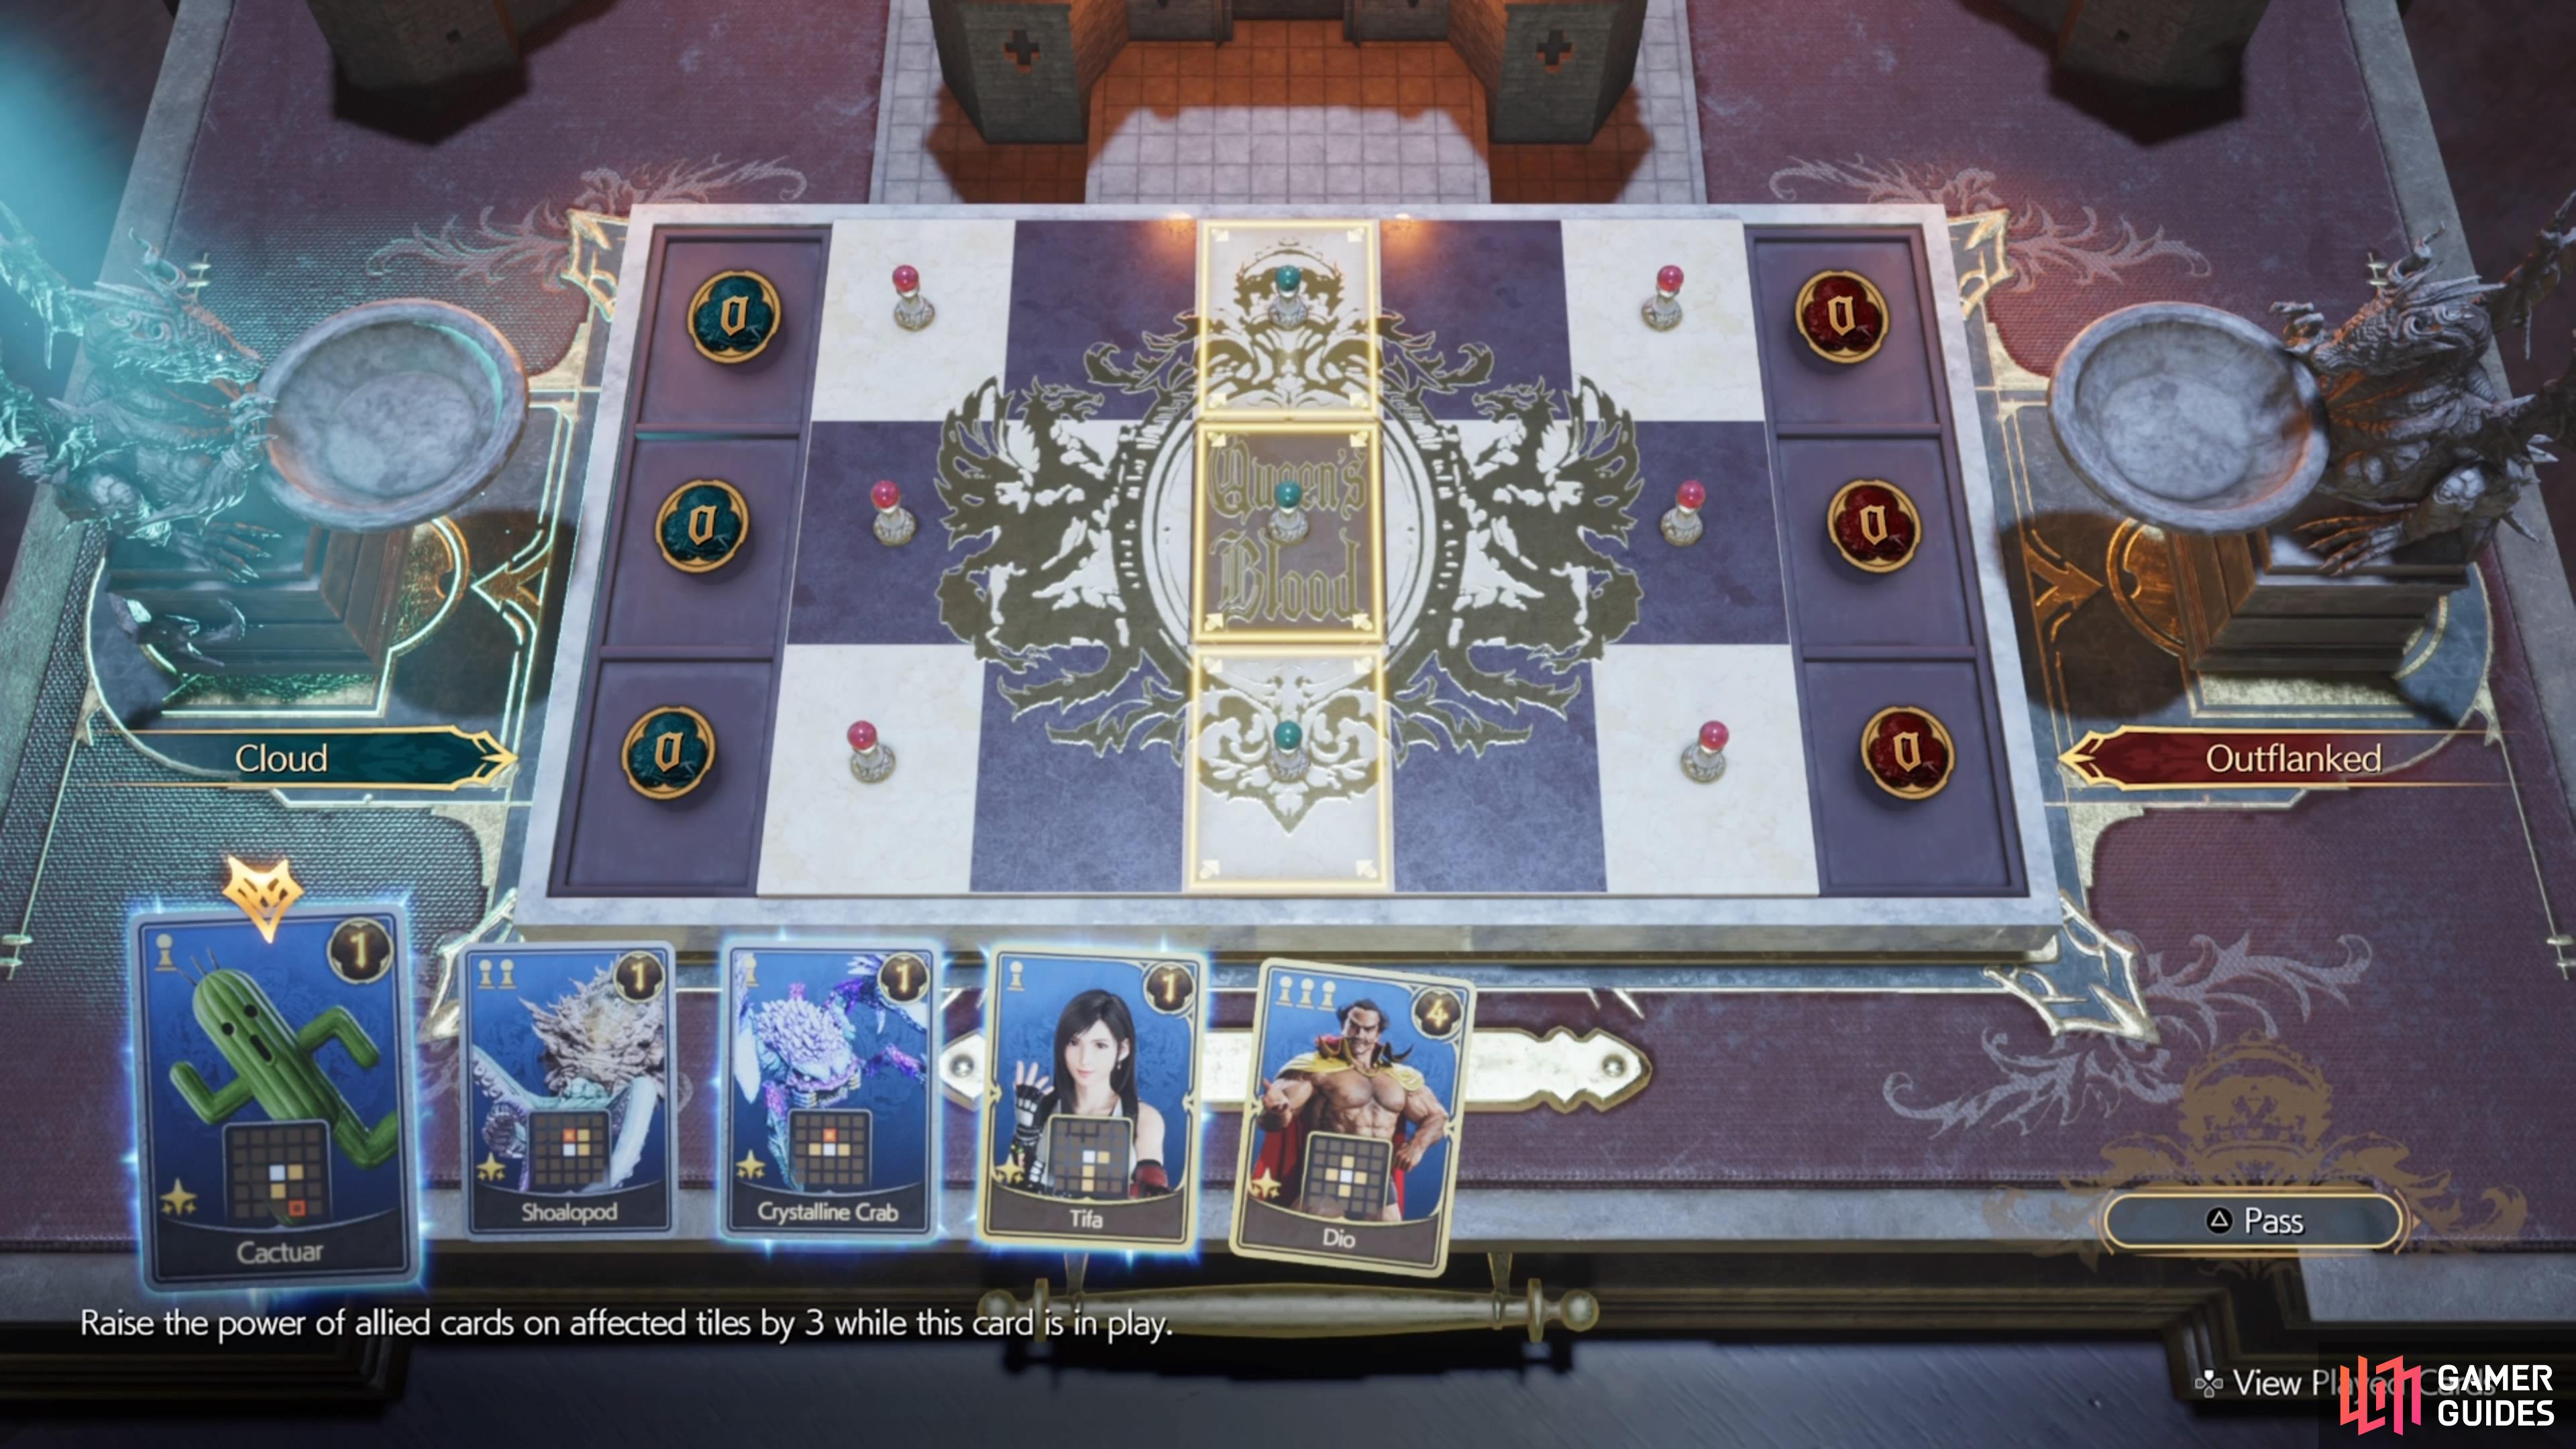
Gimmick Battlefield: Outflanked
This card challenge will be more difficult than the previous ones, simply because of how you start. You will start with your pawns in the middle of the board, while your opponent will have pawns on both the leftmost and rightmost columns. You might want to make a deck specifically for this challenge, as you will want some cards that can spawn pawns on both sides, instead of only one side. Spearhawk and Crystalline Crab are good here, simply because they also have abilities that benefit you while doing the above.
The difficulty of this challenge comes from the fact you don’t know how the opponent will play. Ideally, you’d want to focus on trying to take over one side of the board, so you have something to work with there. However, without knowing what you will need to do, you want to cover your bases. Using a strong card in the middle, like Dio or Titan, as an example, could be a good idea. You could also do something like getting Bagnadrana out as soon as possible, simply to play off the opponent laying down cards.
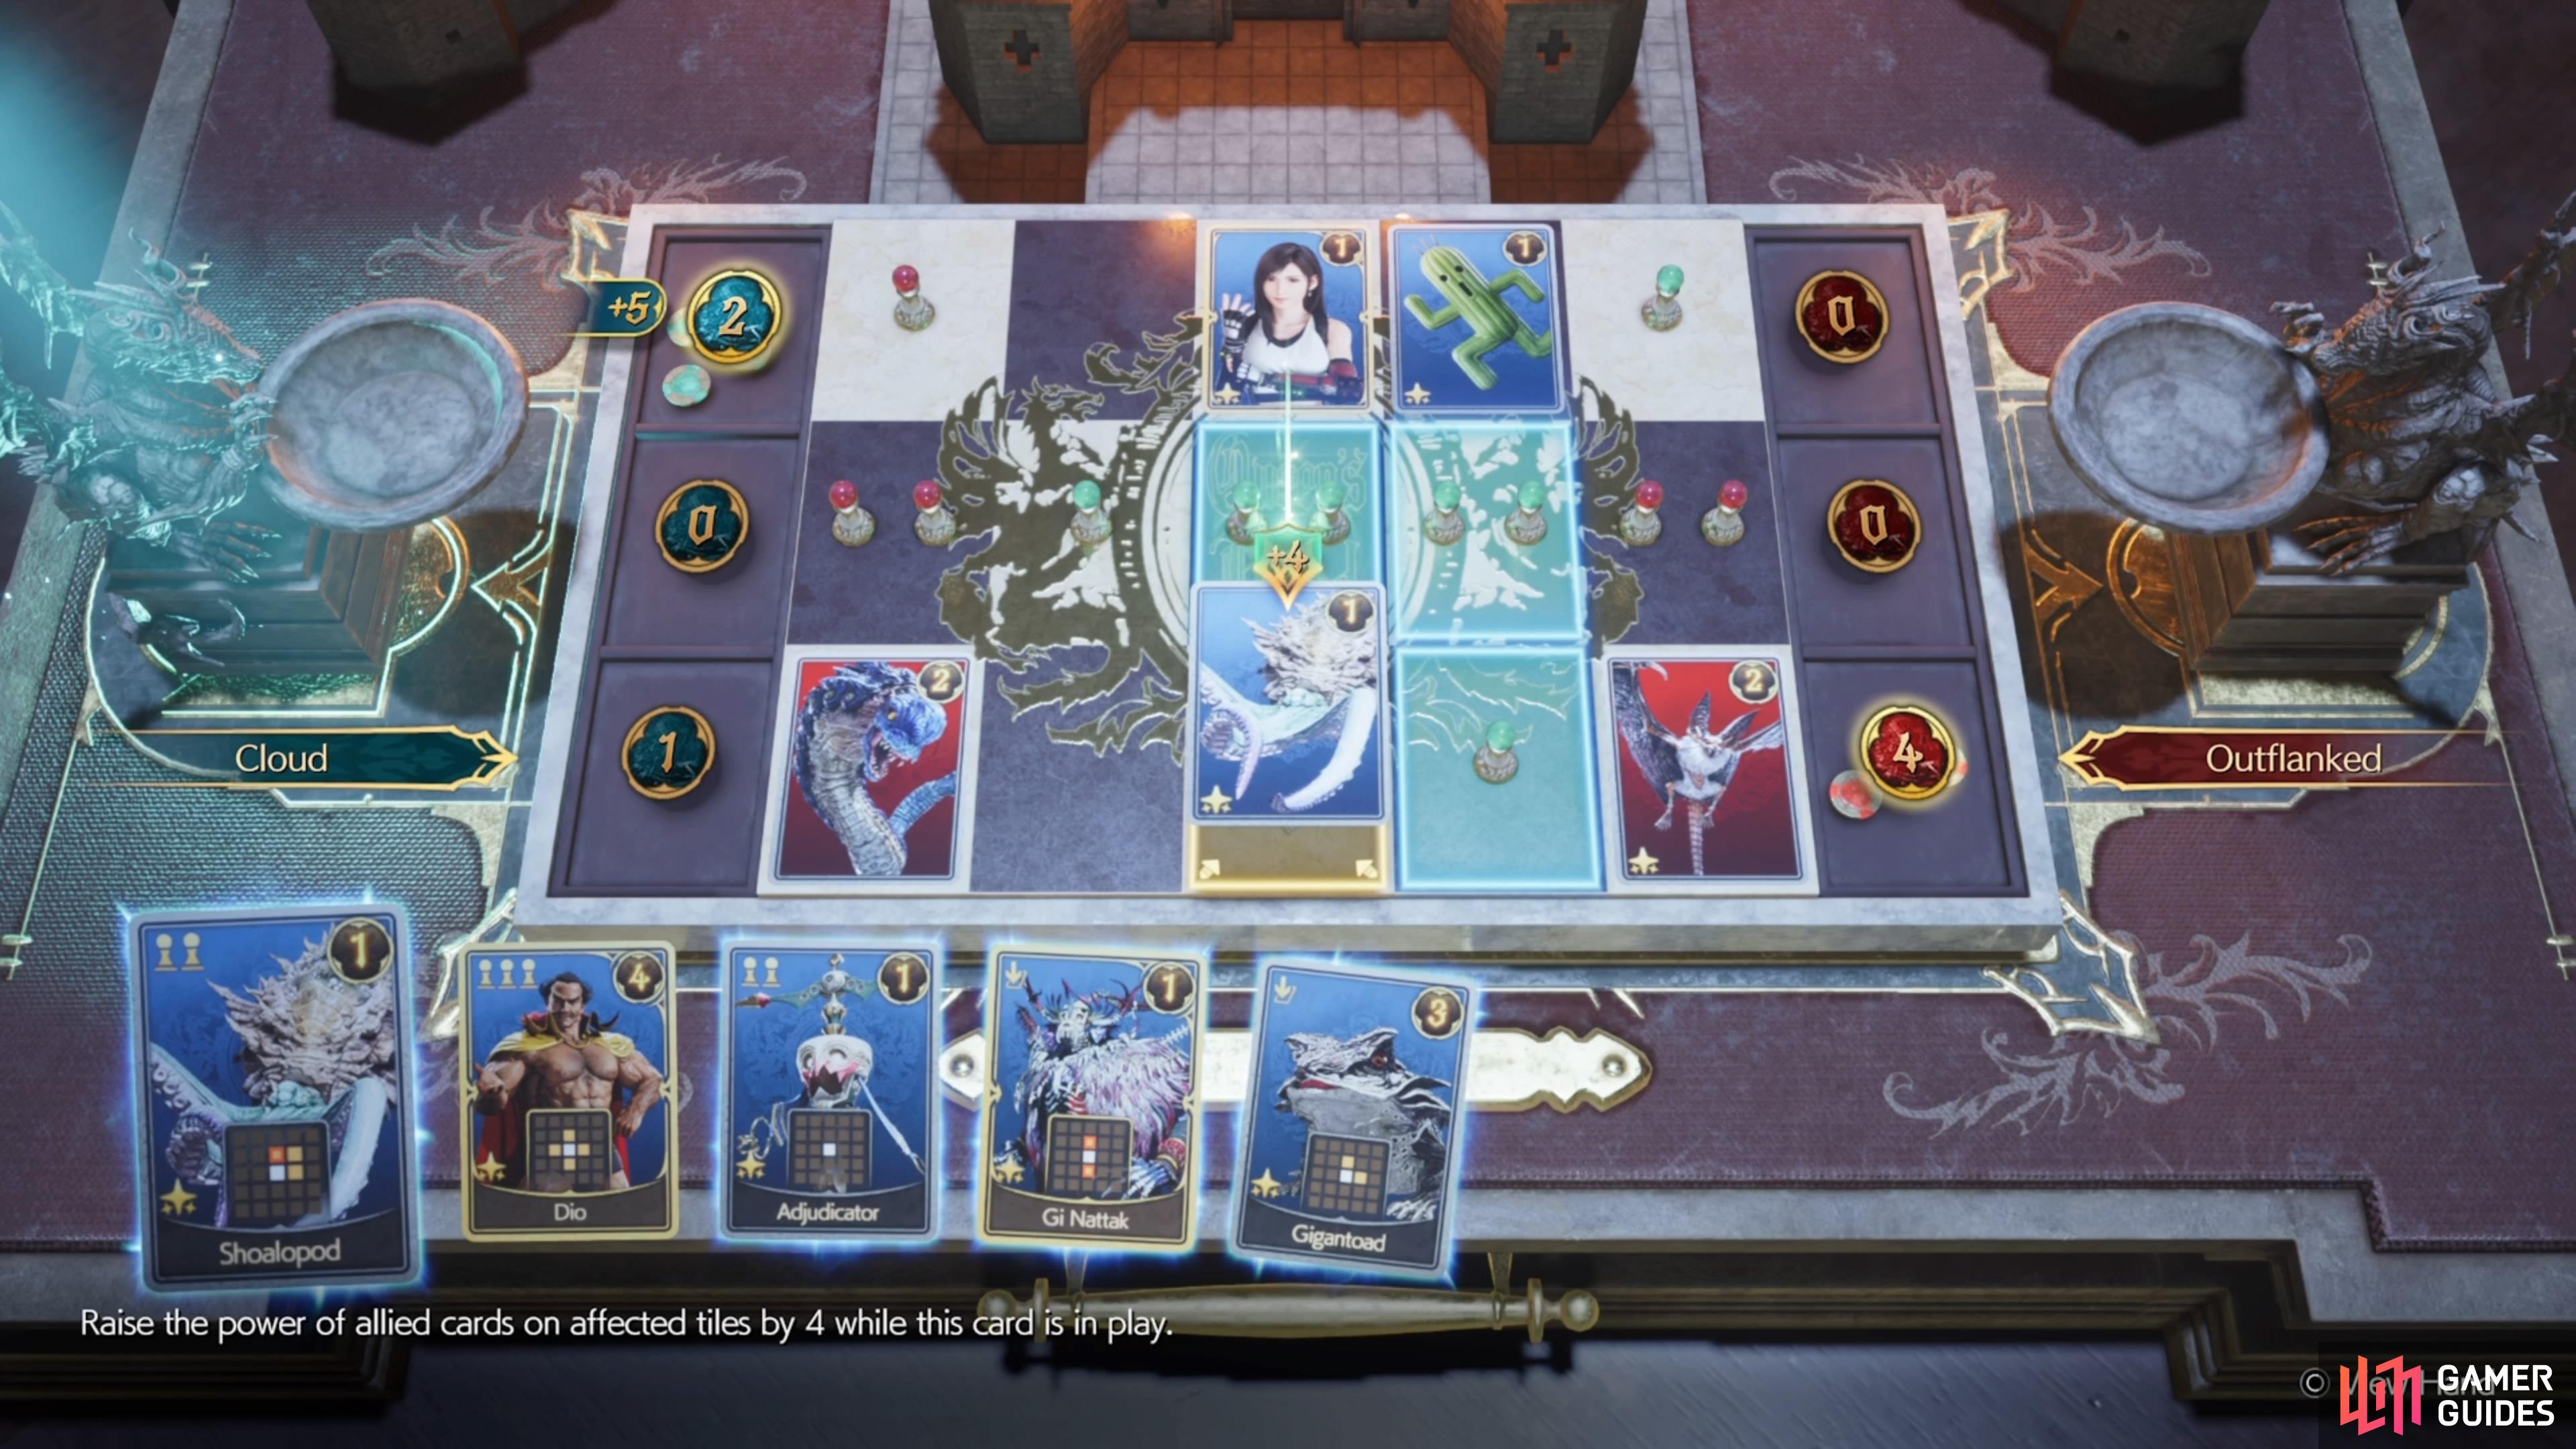
(1 of 3) Outflanked has your pawns in the middle of the board, surrounded by the enemy’s on both sides.
Once you have a strong card in the middle and have cards above/below that one, use Gi Nattak to replace the strong card. This should be a big boost to the top/bottom cards and hopefully be enough to win those two lanes. Of course, depending on the cards you draw, this might be a difficult challenge, or it might be an easier one.
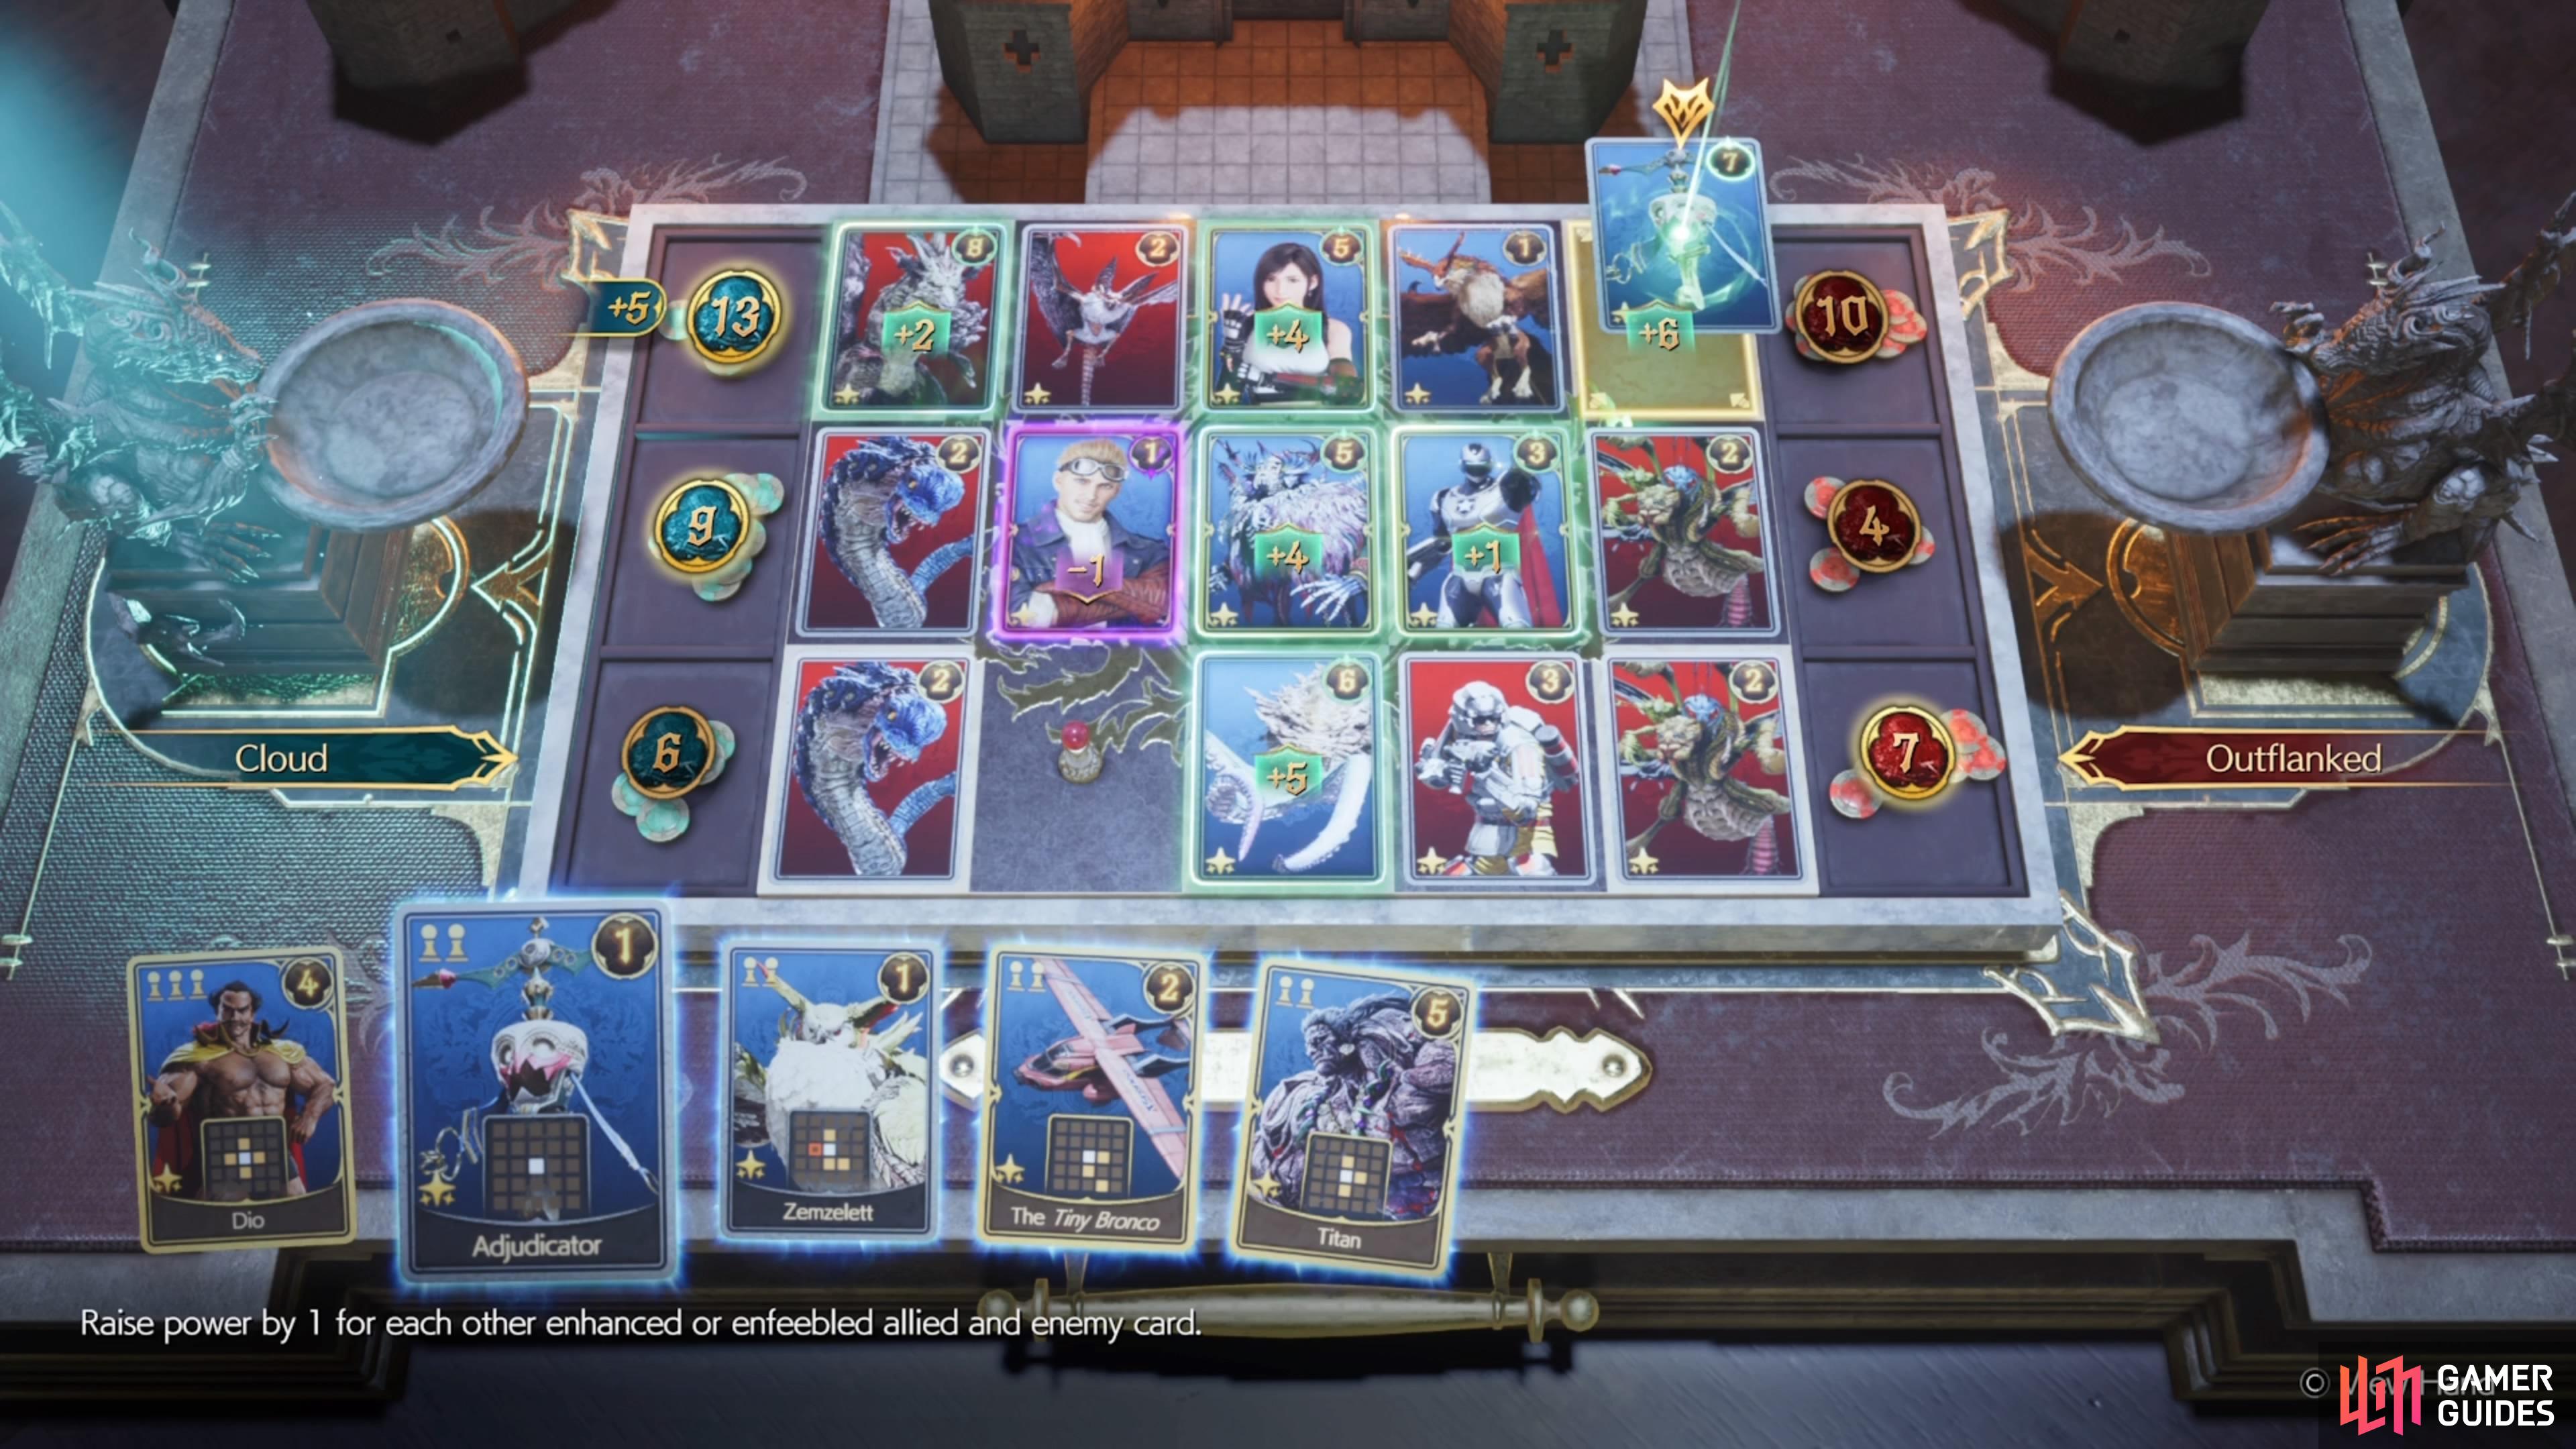
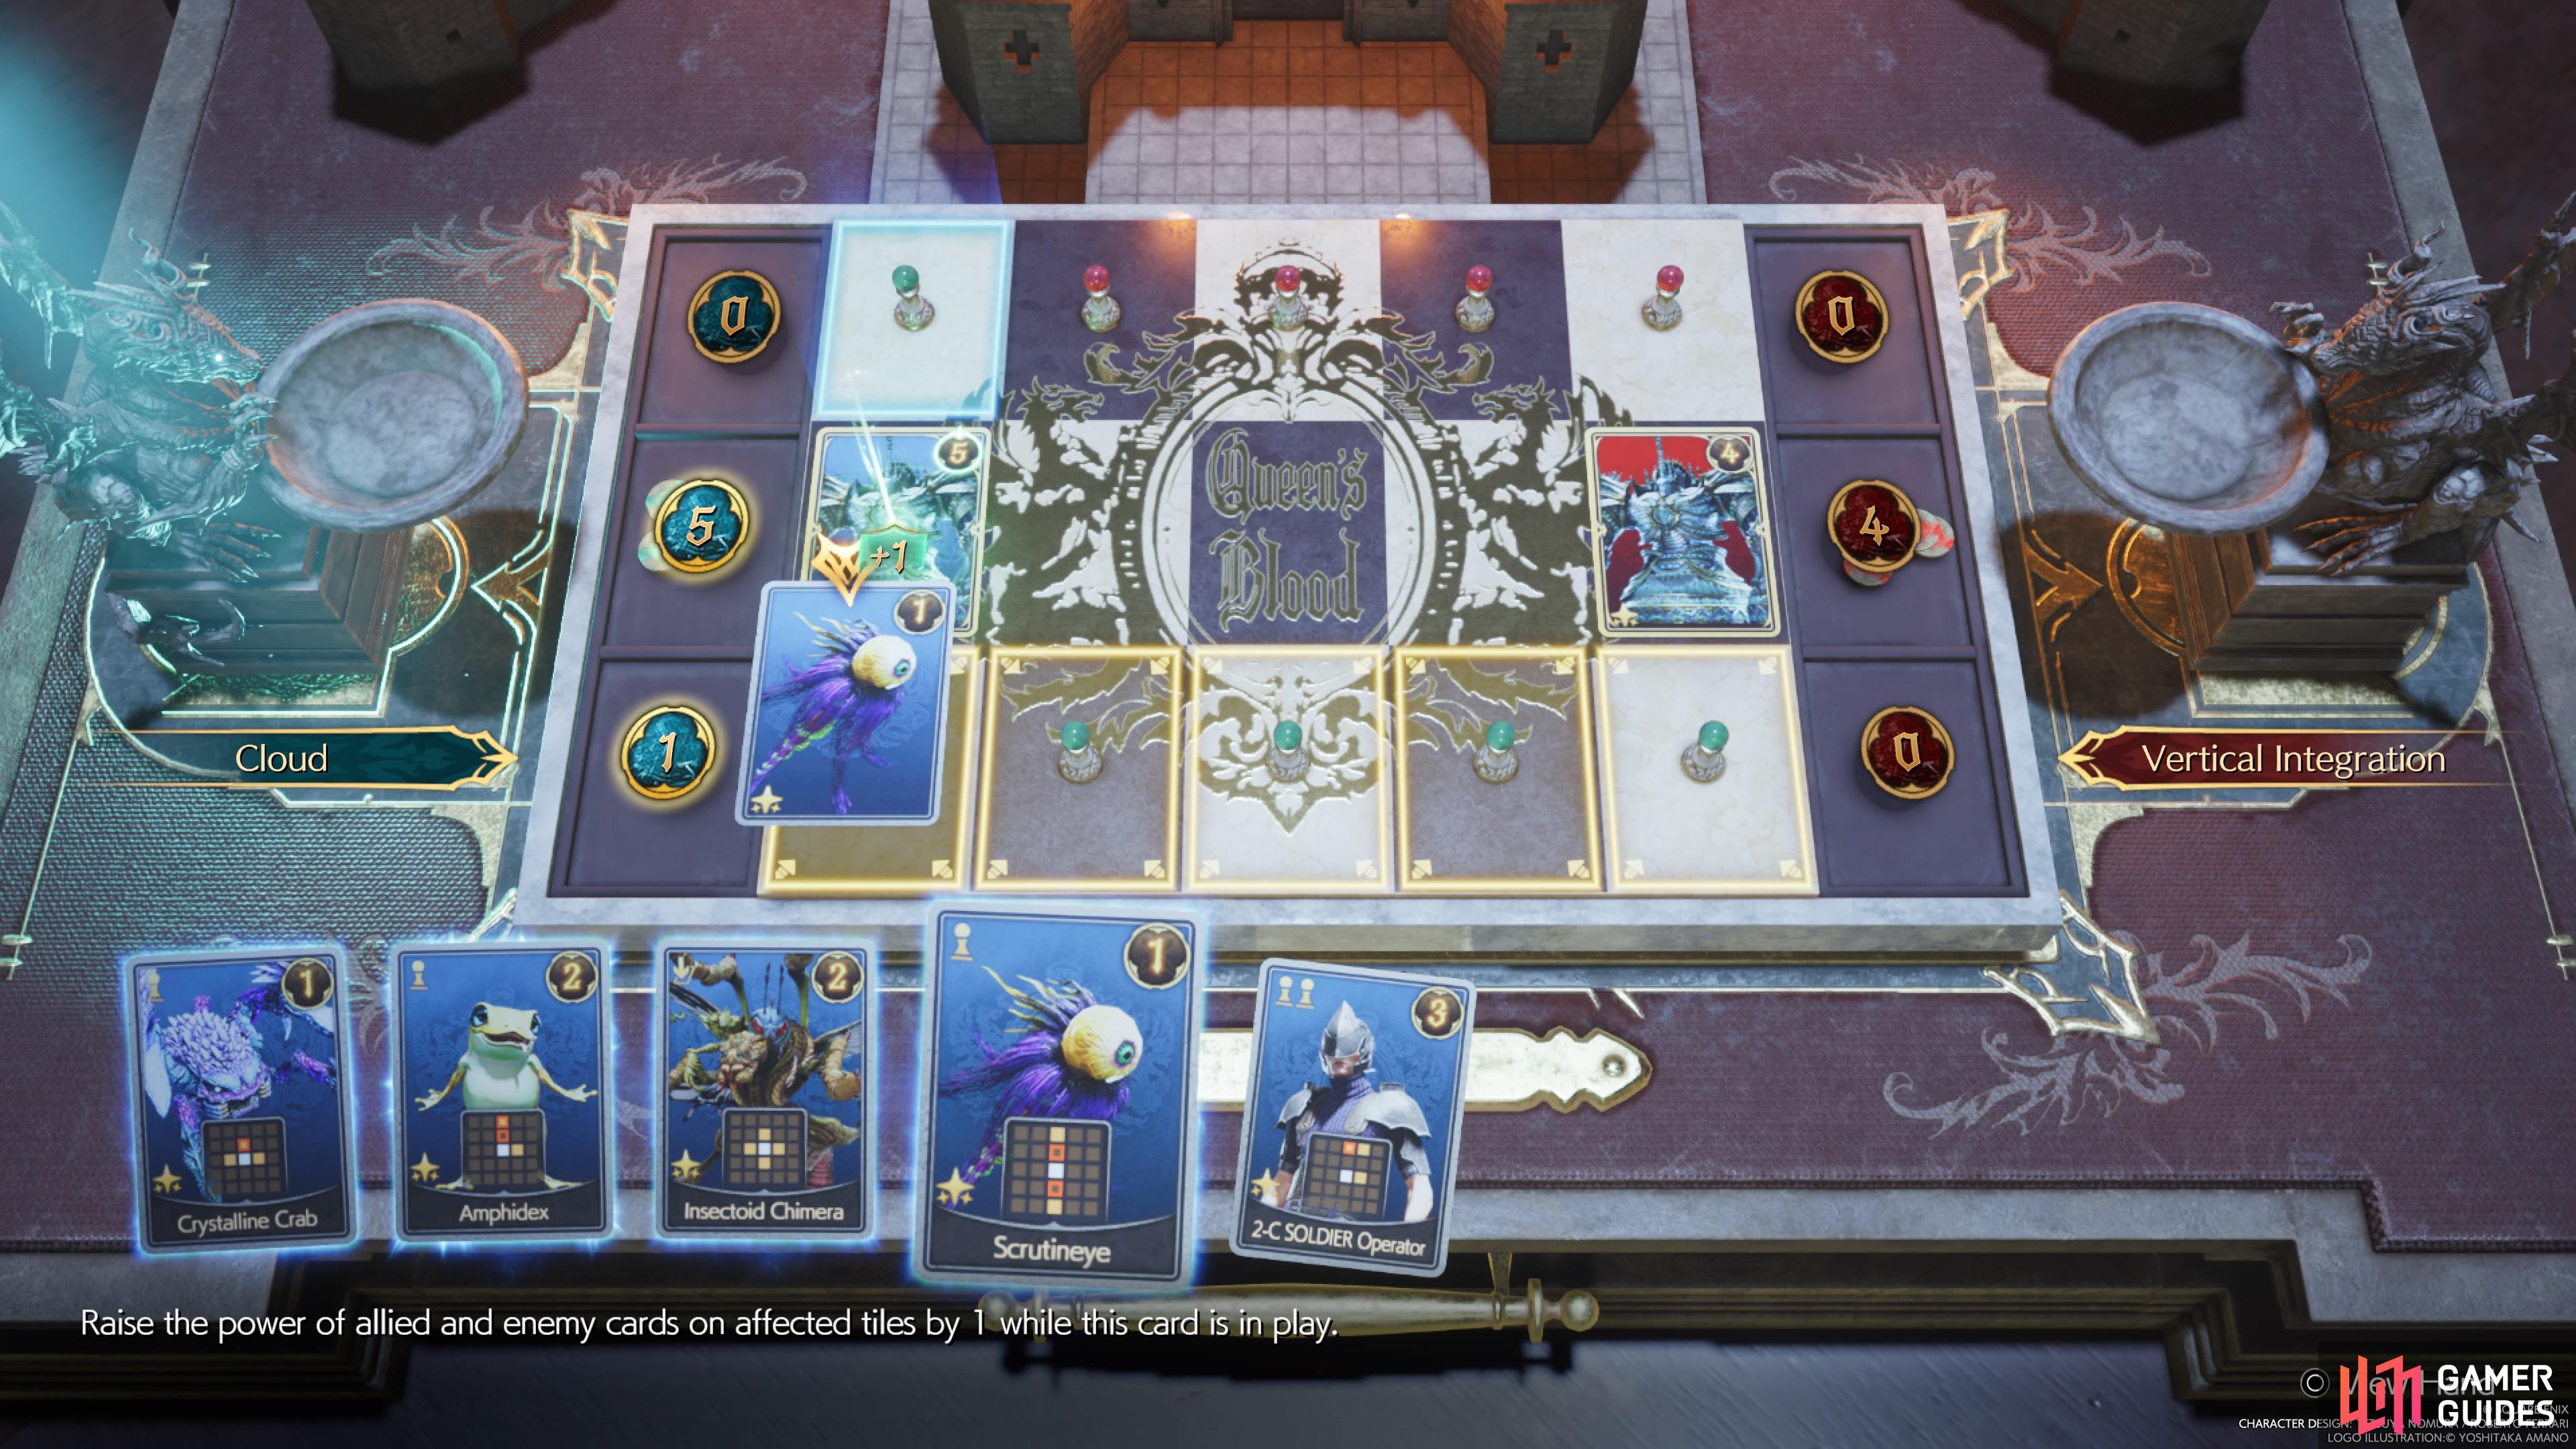
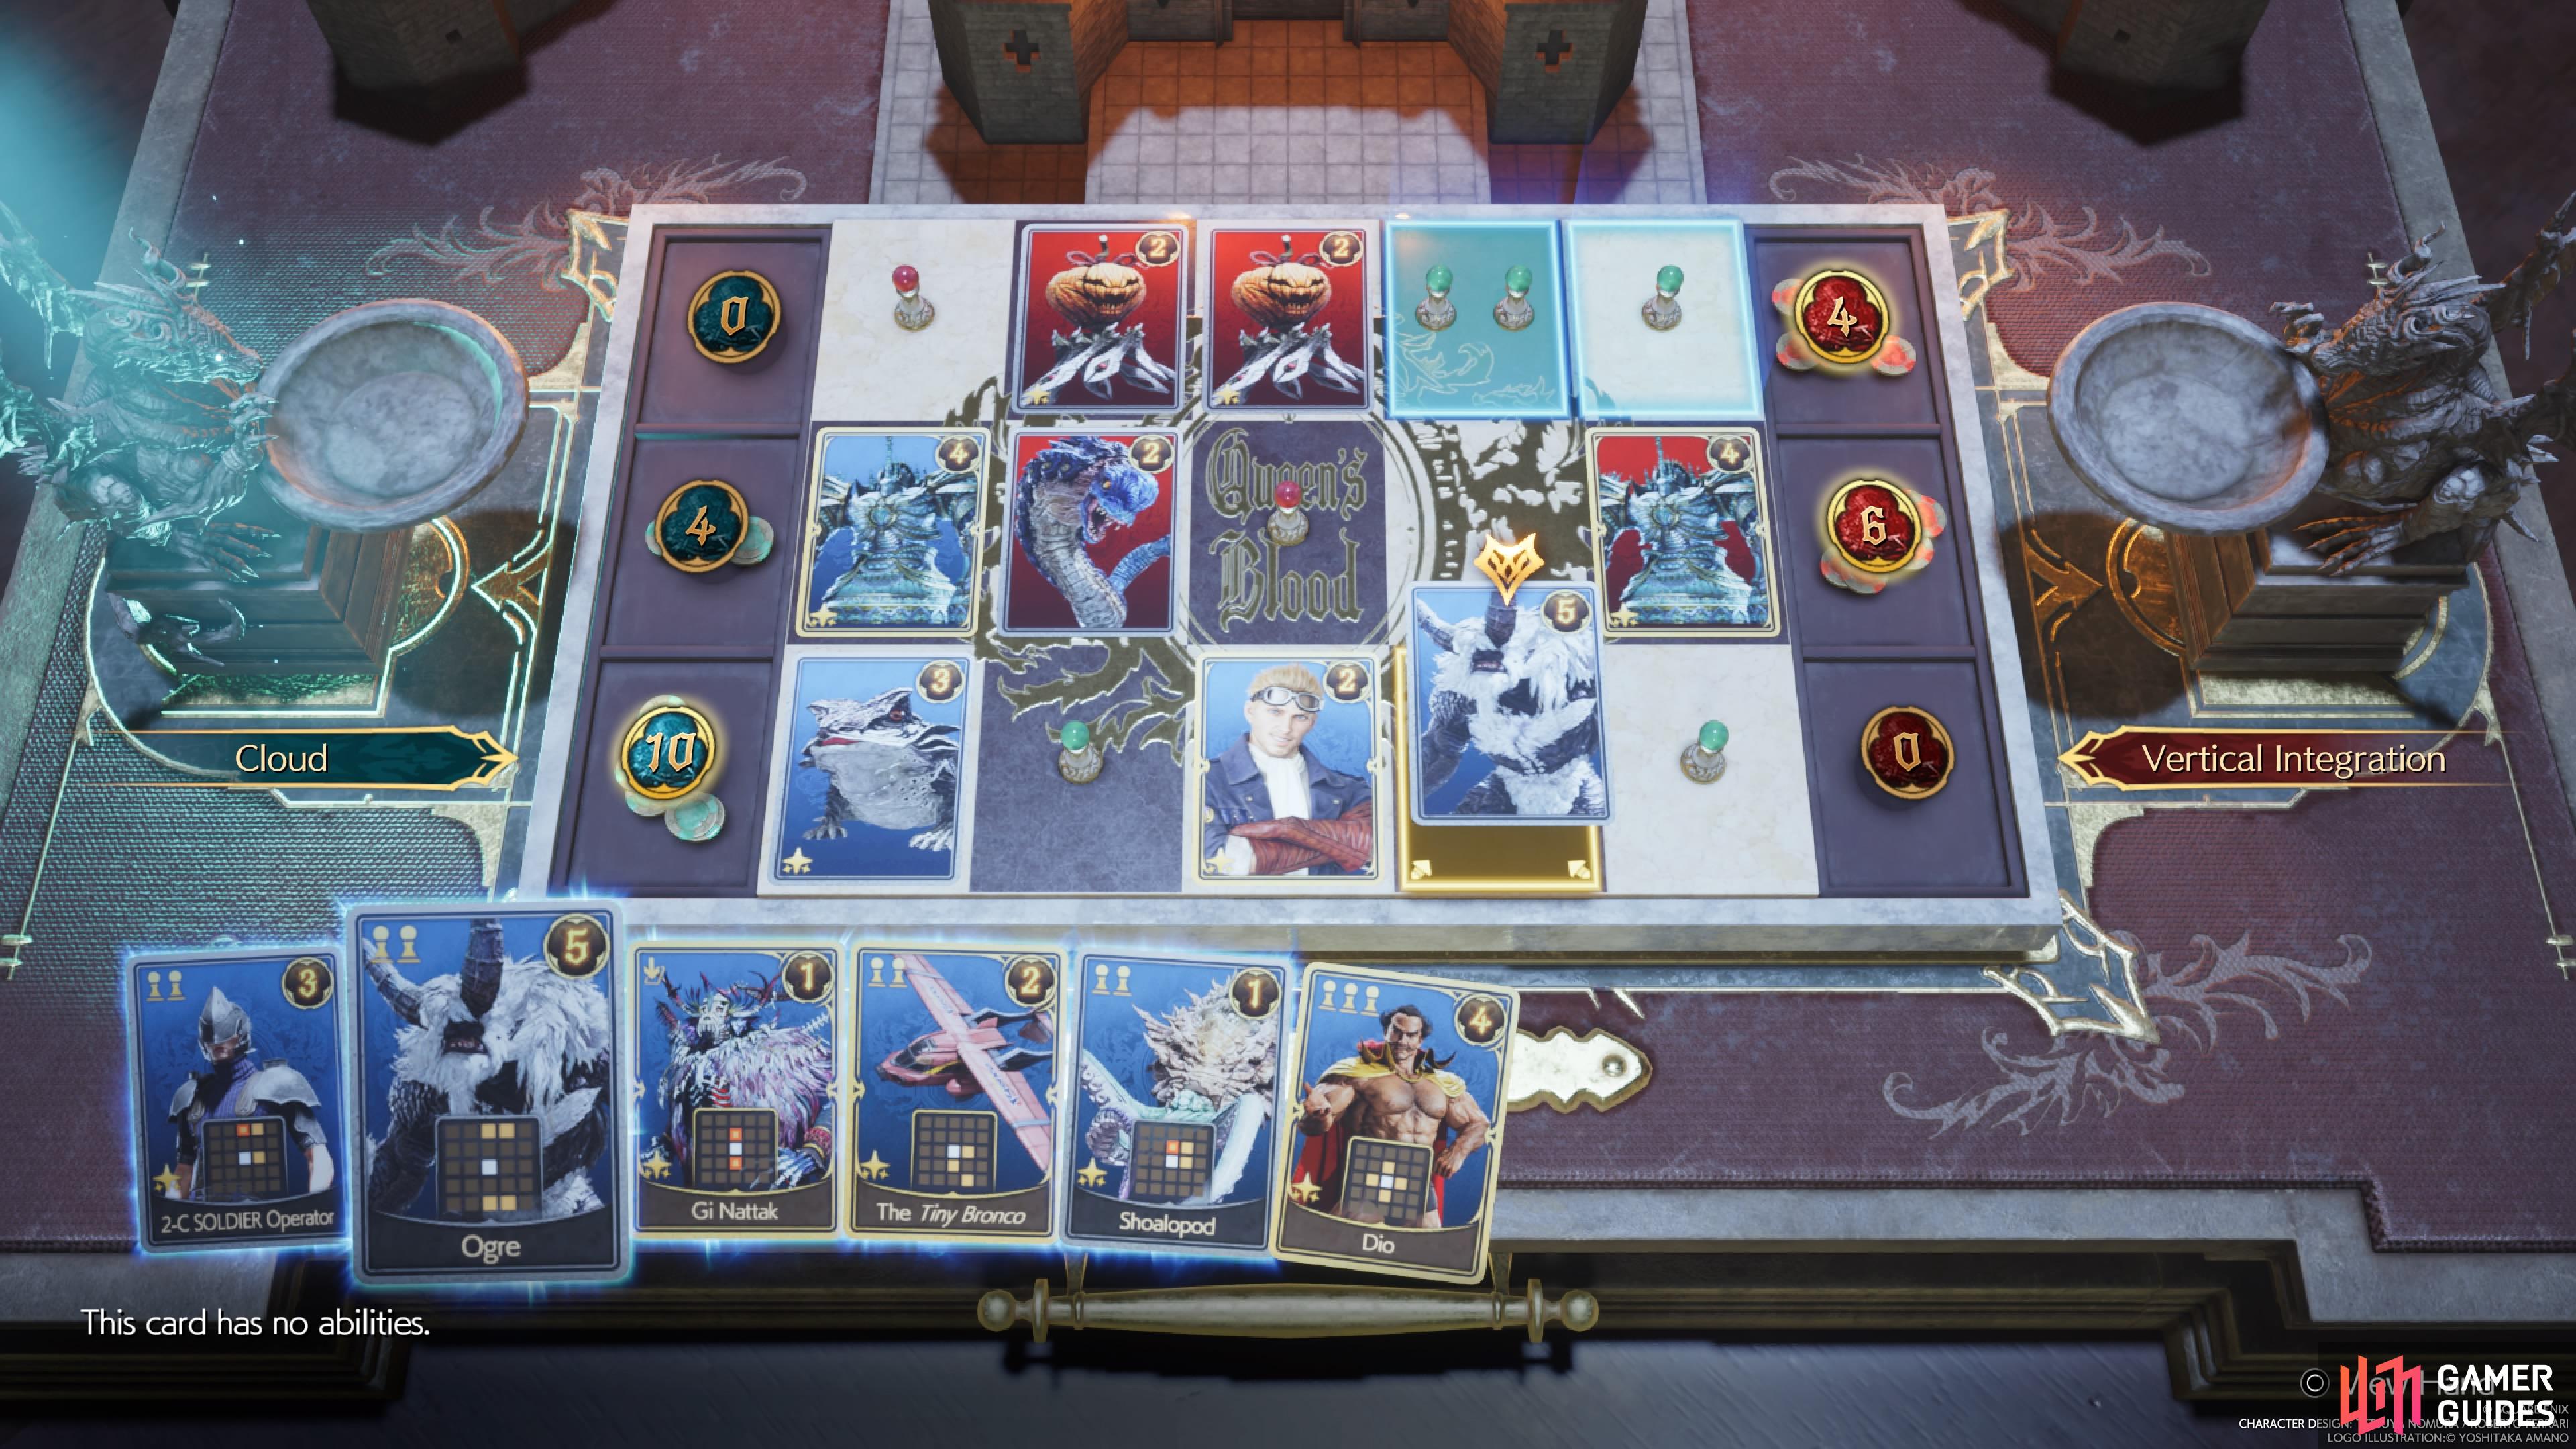
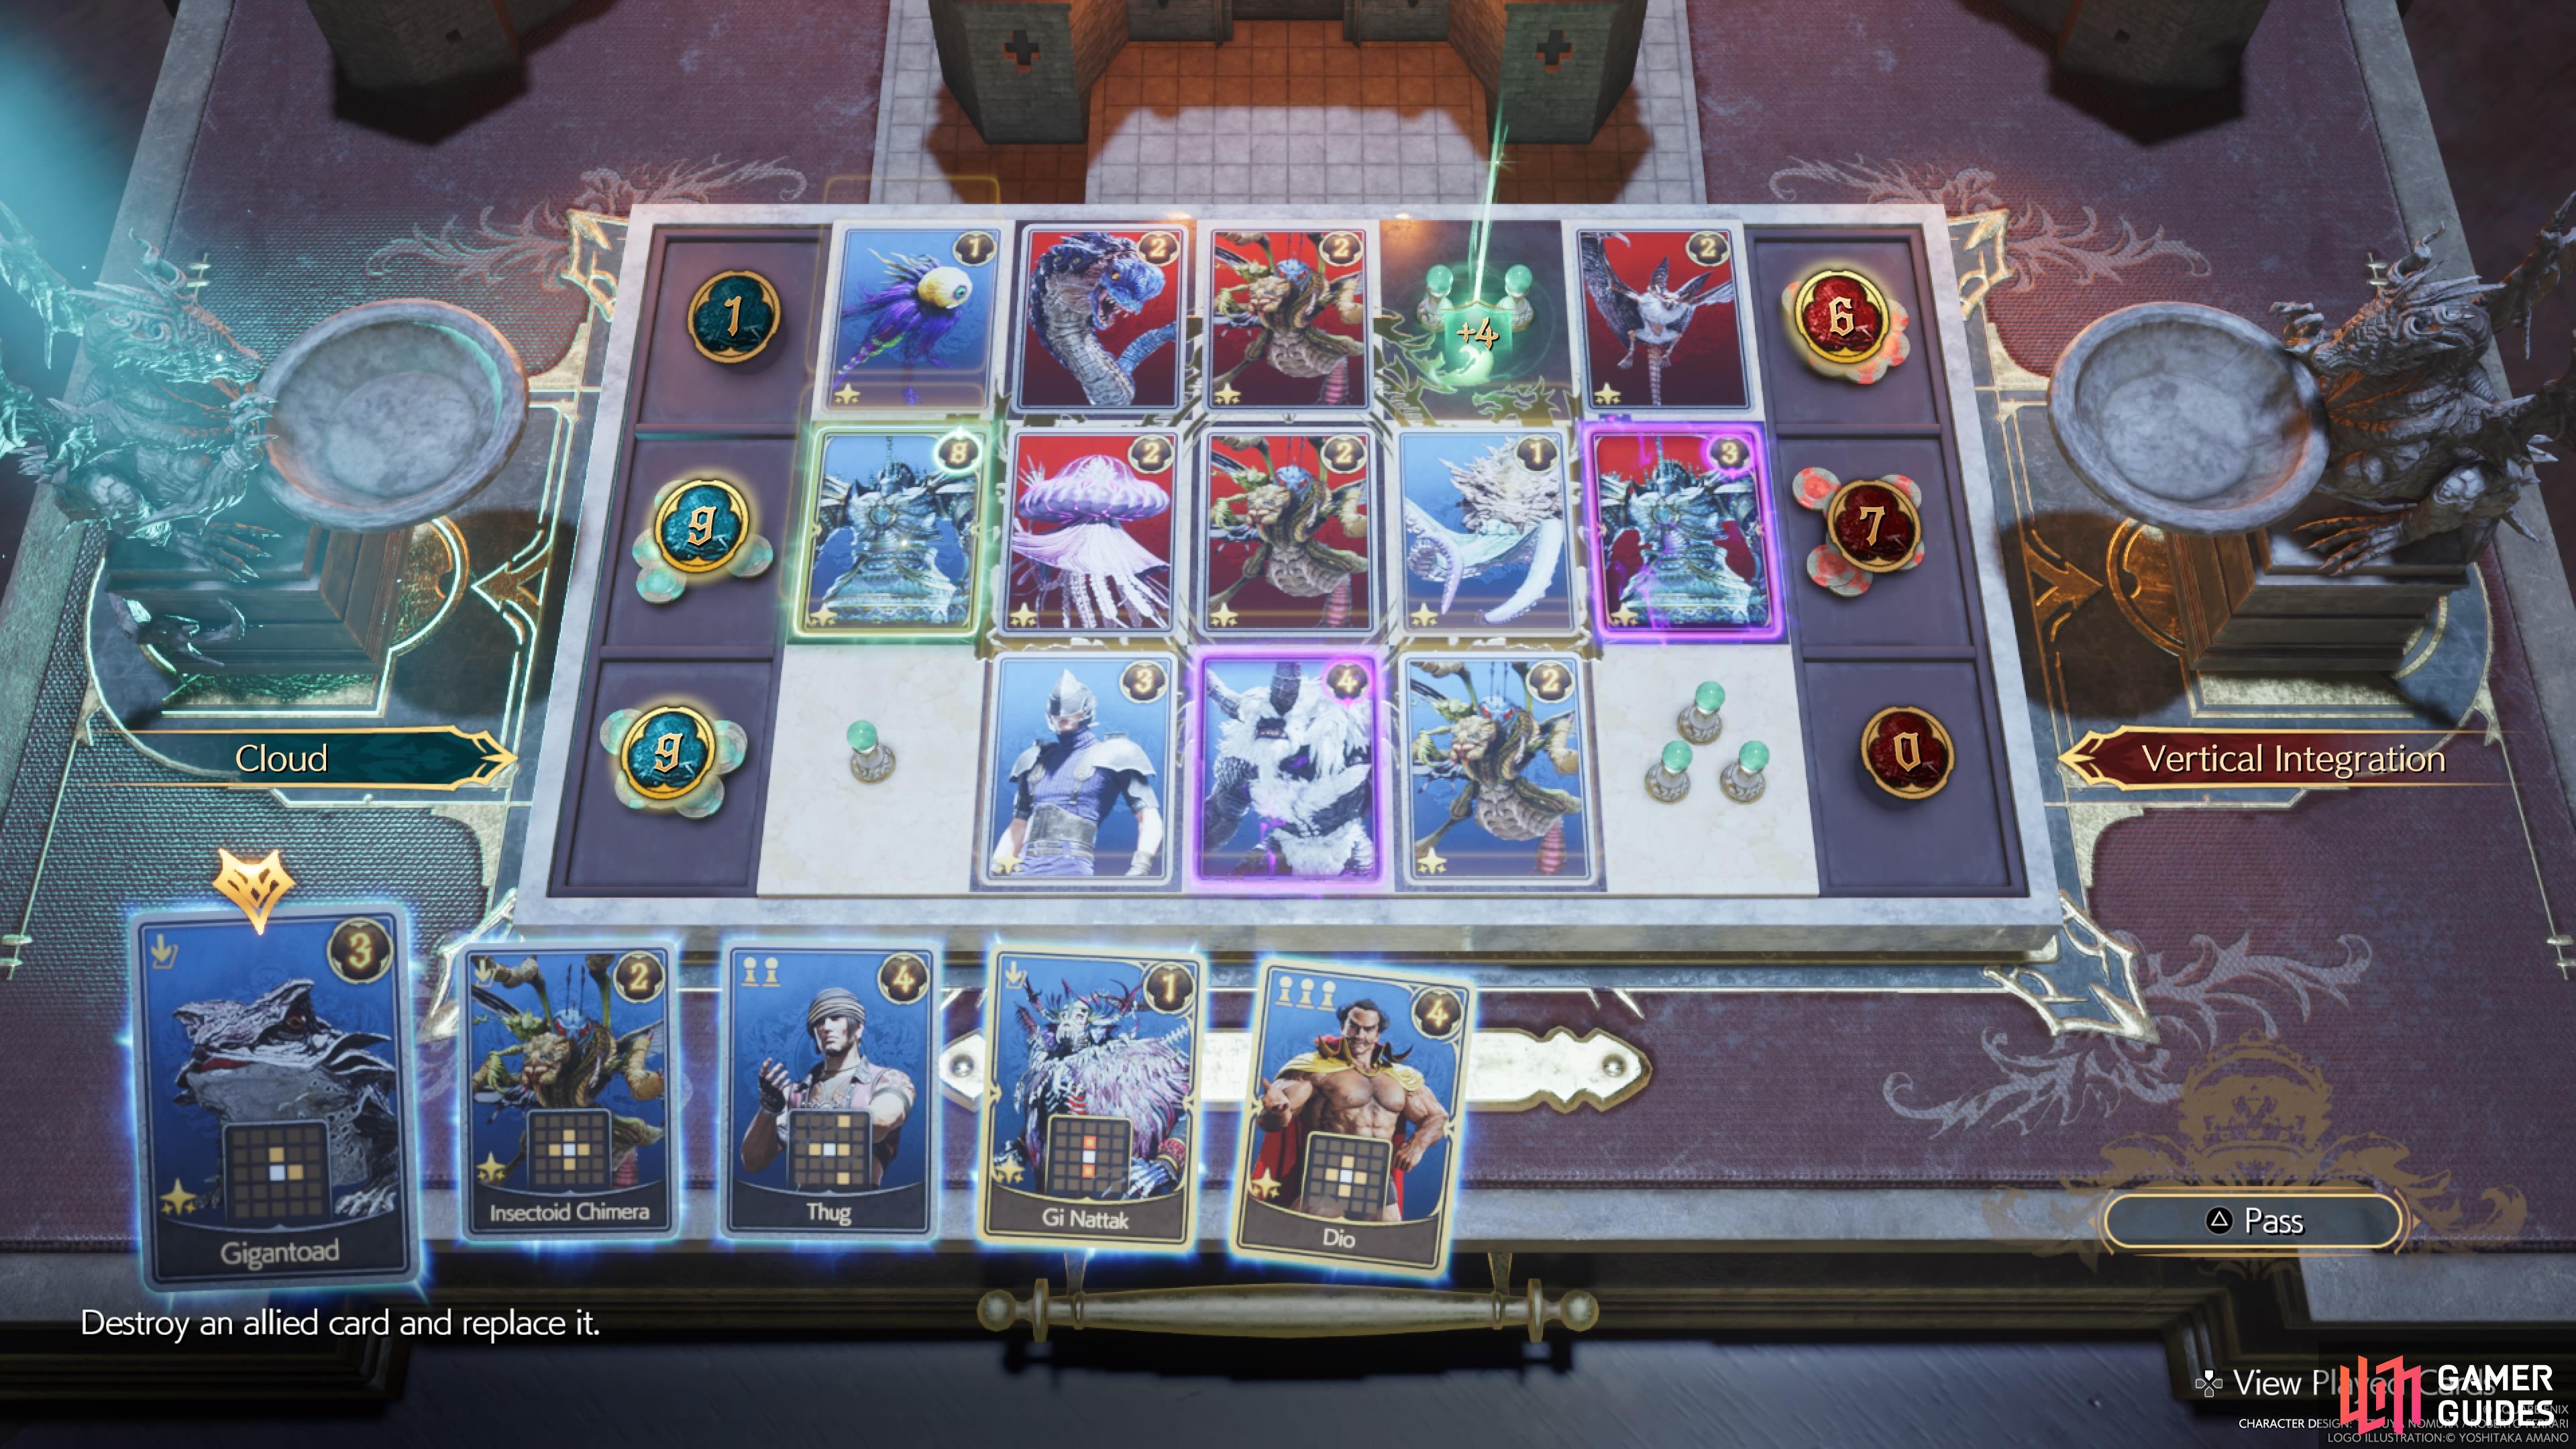
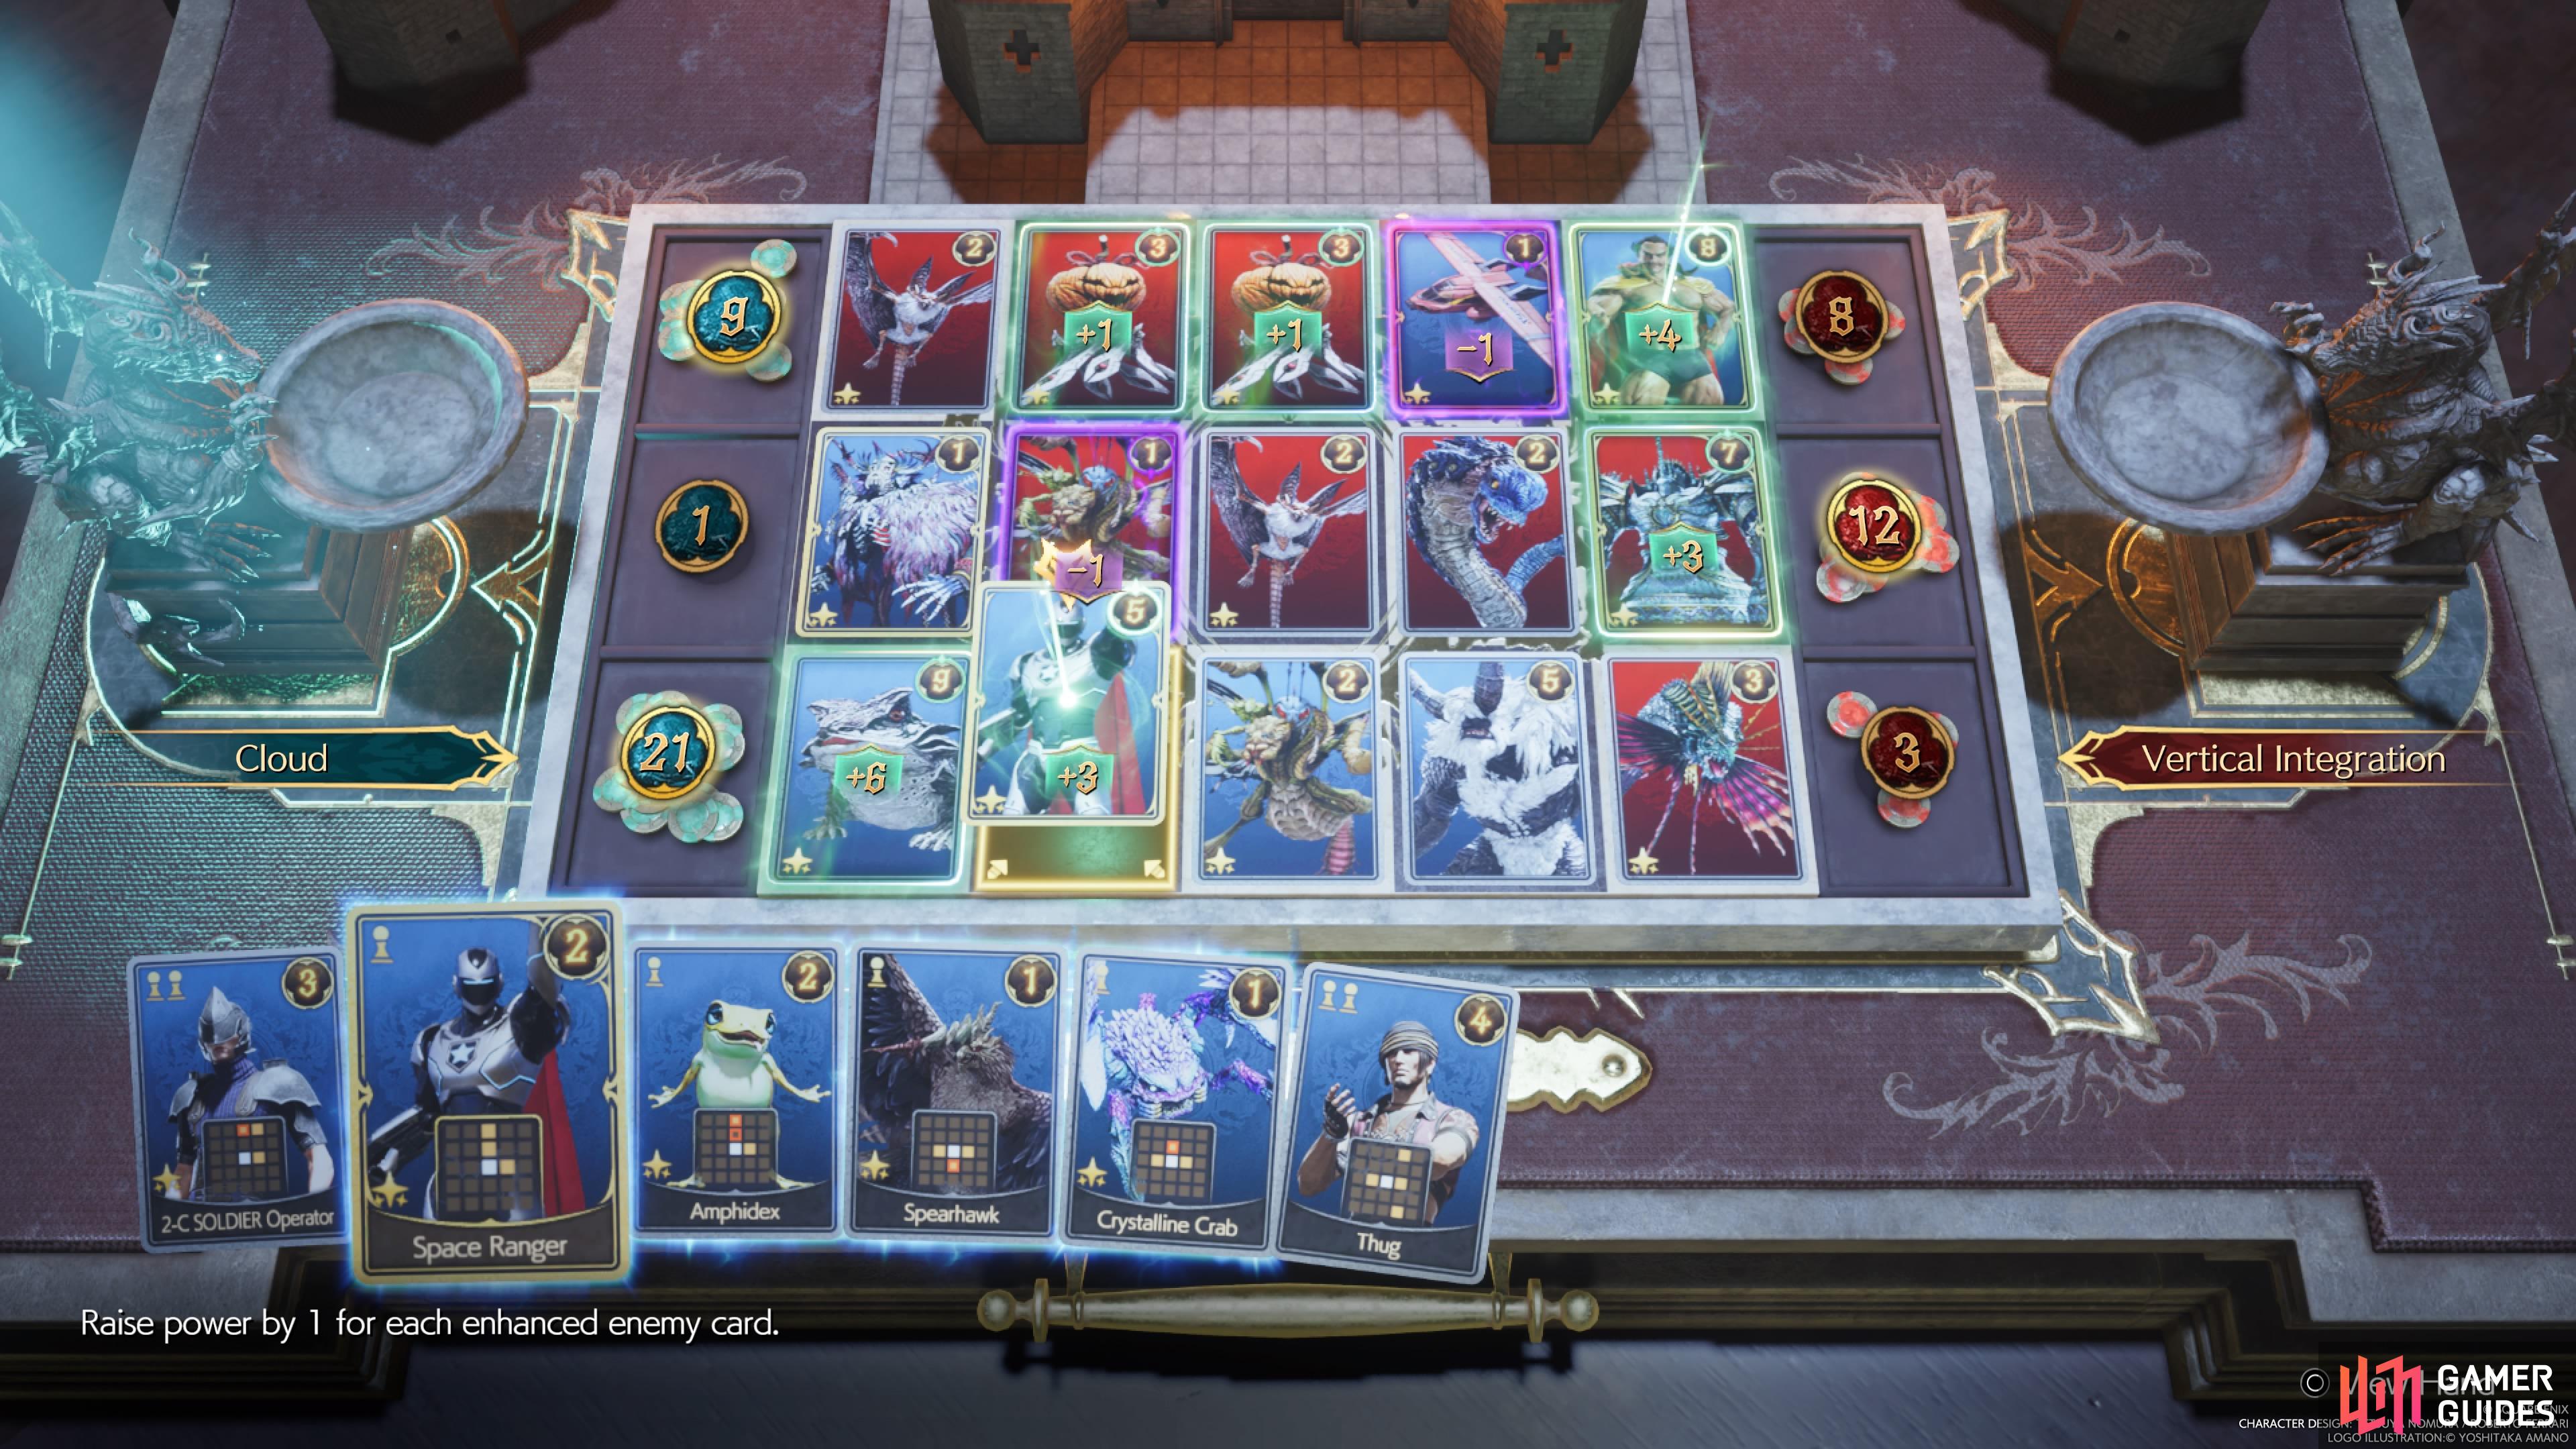
Gimmick Battlefield: Vertical Integration
Another challenge where things are thrown for a bit of a loop since your starting positions are changed. Instead of having your pawns on the left and right sides at the beginning, you will start with pawns along the upper (opponent) and bottom (you) rows. Thus, having cards that generate pawns vertically will be great for the beginning. Also, each of you will have an ![]() Alexander card placed on the sides of the middle row. If you haven’t seen this card before, then it will raise its power by three for each enfeebled allied card.
Alexander card placed on the sides of the middle row. If you haven’t seen this card before, then it will raise its power by three for each enfeebled allied card.
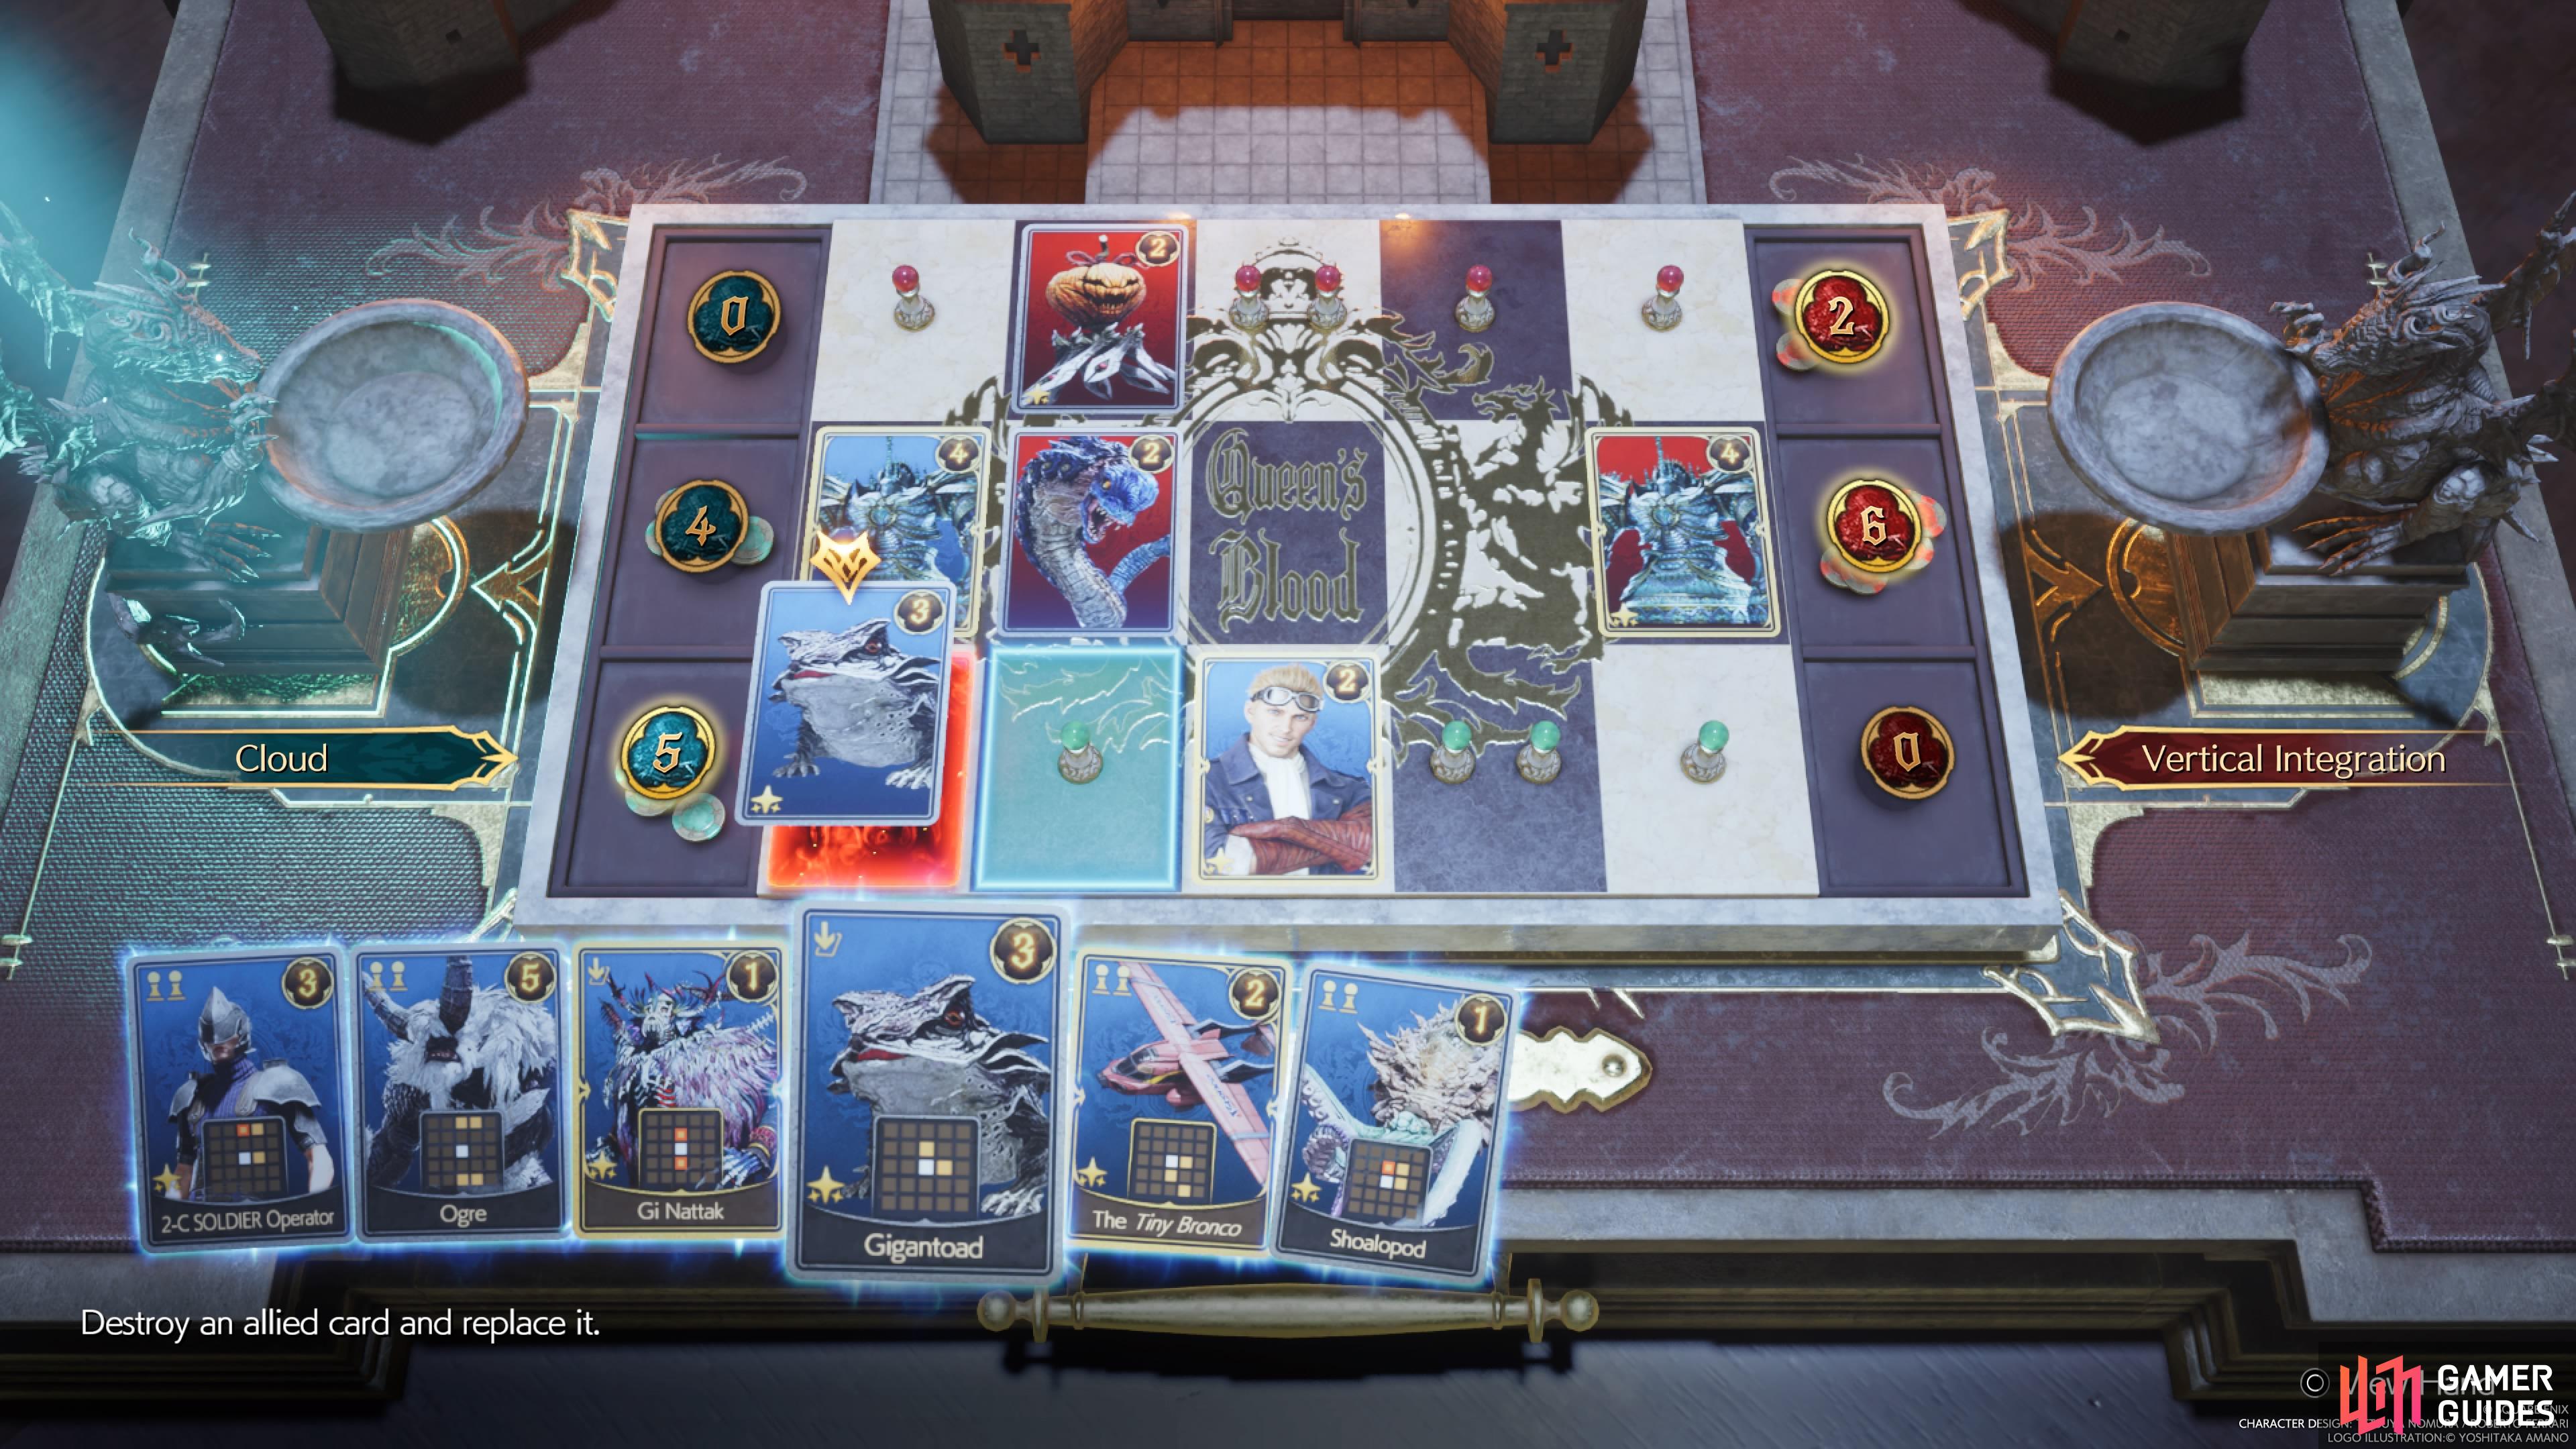
(1 of 3) The deck used for the Vertical Integration challenge at the Gold Saucer.
So, one tactic you could use is a deck that enfeebles your cards in some manner to simply boost Alexander. However, one bad thing about that is your opponent will likely be playing the board for their pawn placements. Since you are losing out on two spots because of the Alexanders, this match will really come down to how quickly you can take over spots and keep them. Your opponent will have some replacement cards, so you will need to be careful of them. You could try using the following deck, to see if it works for you:
 013 Crystalline Crab x2
 028 Scrutineye
 048 Amphidex
- 093 Cid
 136 Space Ranger
 021 Ogre
 033 Shoalopod
 042 Thug
- 079 2-C SOLDIER Operator
 141 Dio
 051 Insectoid Chimera x2
 052 Gigantoad
- 123 Gi Nattak

(1 of 4) The Ogre card is nice for pawn placements when played on the bottom row.
You’d likely want to start with something like Scrutineye or Space Ranger, to start capturing the pawns at the top of the board. It’s possible the opponent will retaliate by recapturing it, but this will allow you to start grabbing the middle lane. If the opponent starts getting more tiles than you, save your ![]() Insectoid Chimeras for then. You will want to start building up a card in the center row at this time, whether it’s the Alexander or another card. Doing this with one of your cards above and below will allow you to replace the middle one with Gi Nattak, giving a big boost to those other cards.
Insectoid Chimeras for then. You will want to start building up a card in the center row at this time, whether it’s the Alexander or another card. Doing this with one of your cards above and below will allow you to replace the middle one with Gi Nattak, giving a big boost to those other cards.
Gimmick Battlefield: Back to the Wall
A little easier of a challenge compared to the previous two, both you and your opponent start with only two pawn placements on the board, but both of those will have two pawns each. Additionally, there will be a card in the center, Polygonal Ifrit, which will give a two-power boost to any card played in that middle section. You can use your normal deck for this challenge, though, so you won’t really need to construct a new one.
A good start will be to get Space Ranger and play it on the right of your first two spots. Since the Polygonal Ifrit will be doing a lot of enhancing, the Space Ranger will get a nice boost throughout the entire battle. You can either play something like ![]() Ignilisk or
Ignilisk or ![]() Cactuar in the top row, to help secure your spots. If the opponent uses a replacement card to capture one of your tiles, then use one of your own to take it back. The opponent will have a few replacement cards, too, like Gi Specter and Yin & Yang.
Cactuar in the top row, to help secure your spots. If the opponent uses a replacement card to capture one of your tiles, then use one of your own to take it back. The opponent will have a few replacement cards, too, like Gi Specter and Yin & Yang.
(1 of 4) Placing your first card along the boosted tiles around Polygonal Ifrit is a good start.
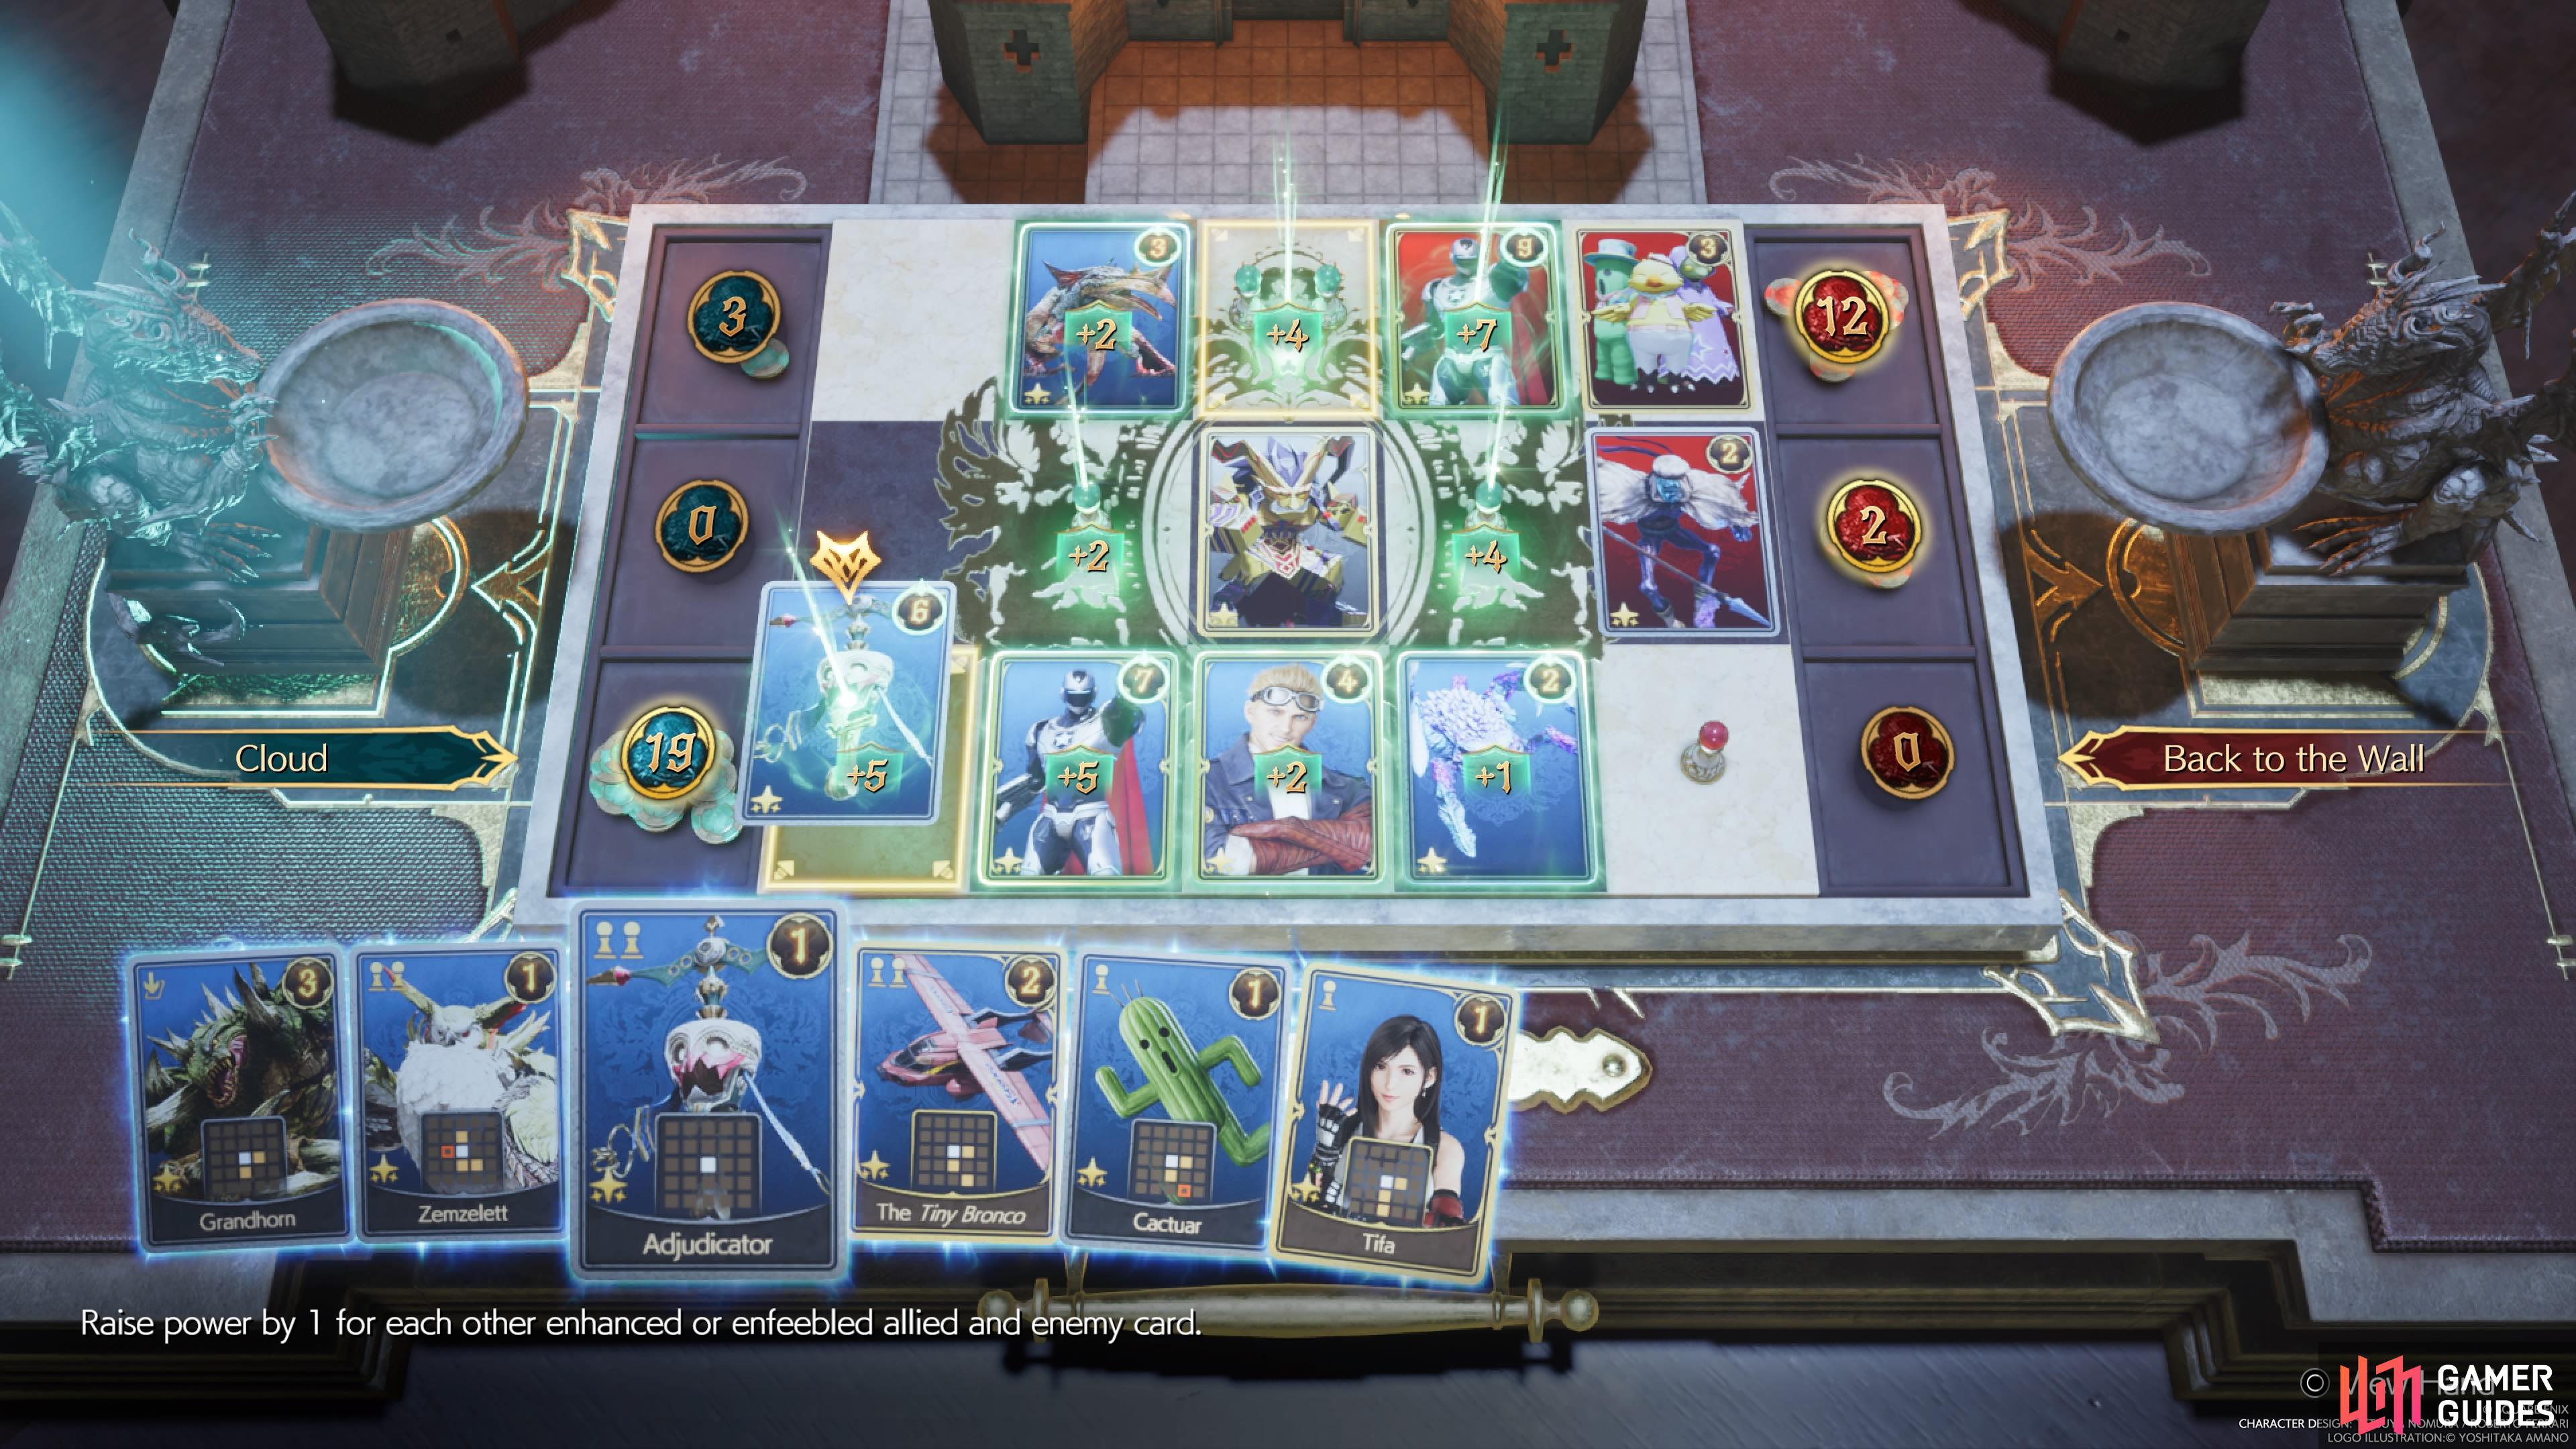
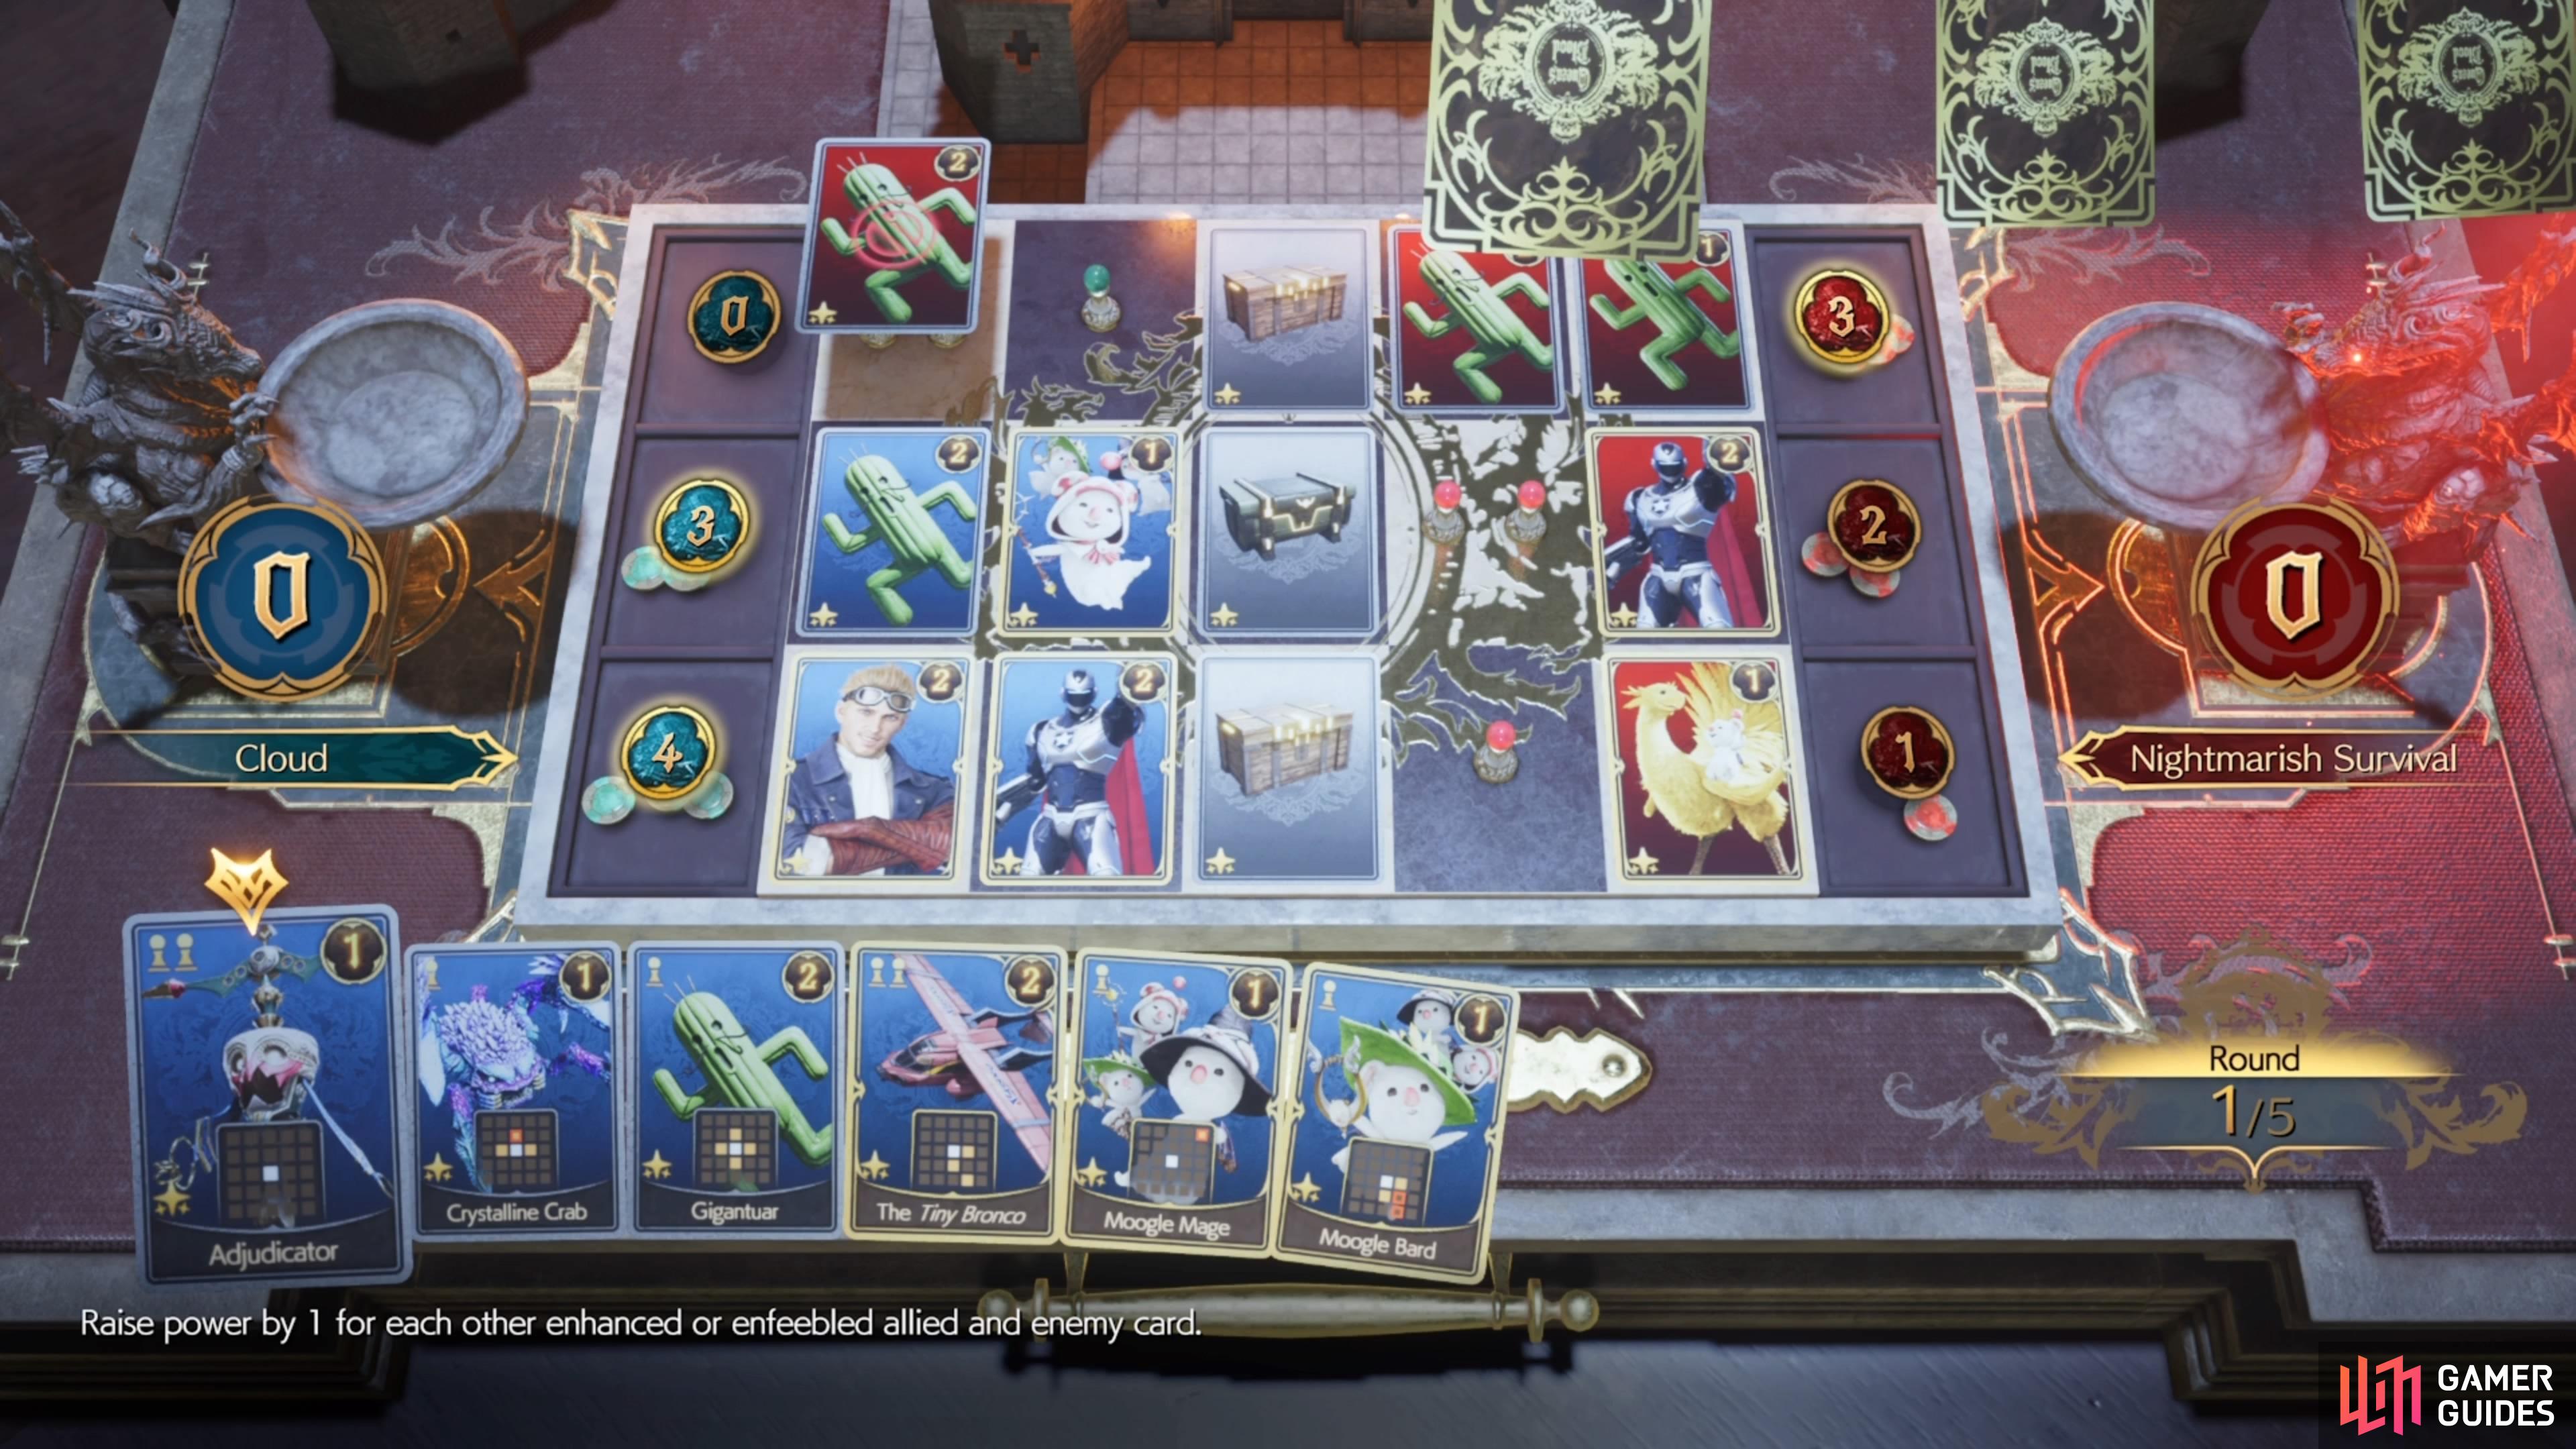
You will want to aim to control the central column, if possible, which will give you a lot of room to use other cards like Dio or Titan to build up a very strong card. Another card can be the MVP for this battle, too, which is the Adjudicator one. Play this at the end, due to it not producing any pawn placements, to get a big boost to it, since there will be a lot of enhancements. Note that the card won’t take the enfeeblements into count if you play it at the end.
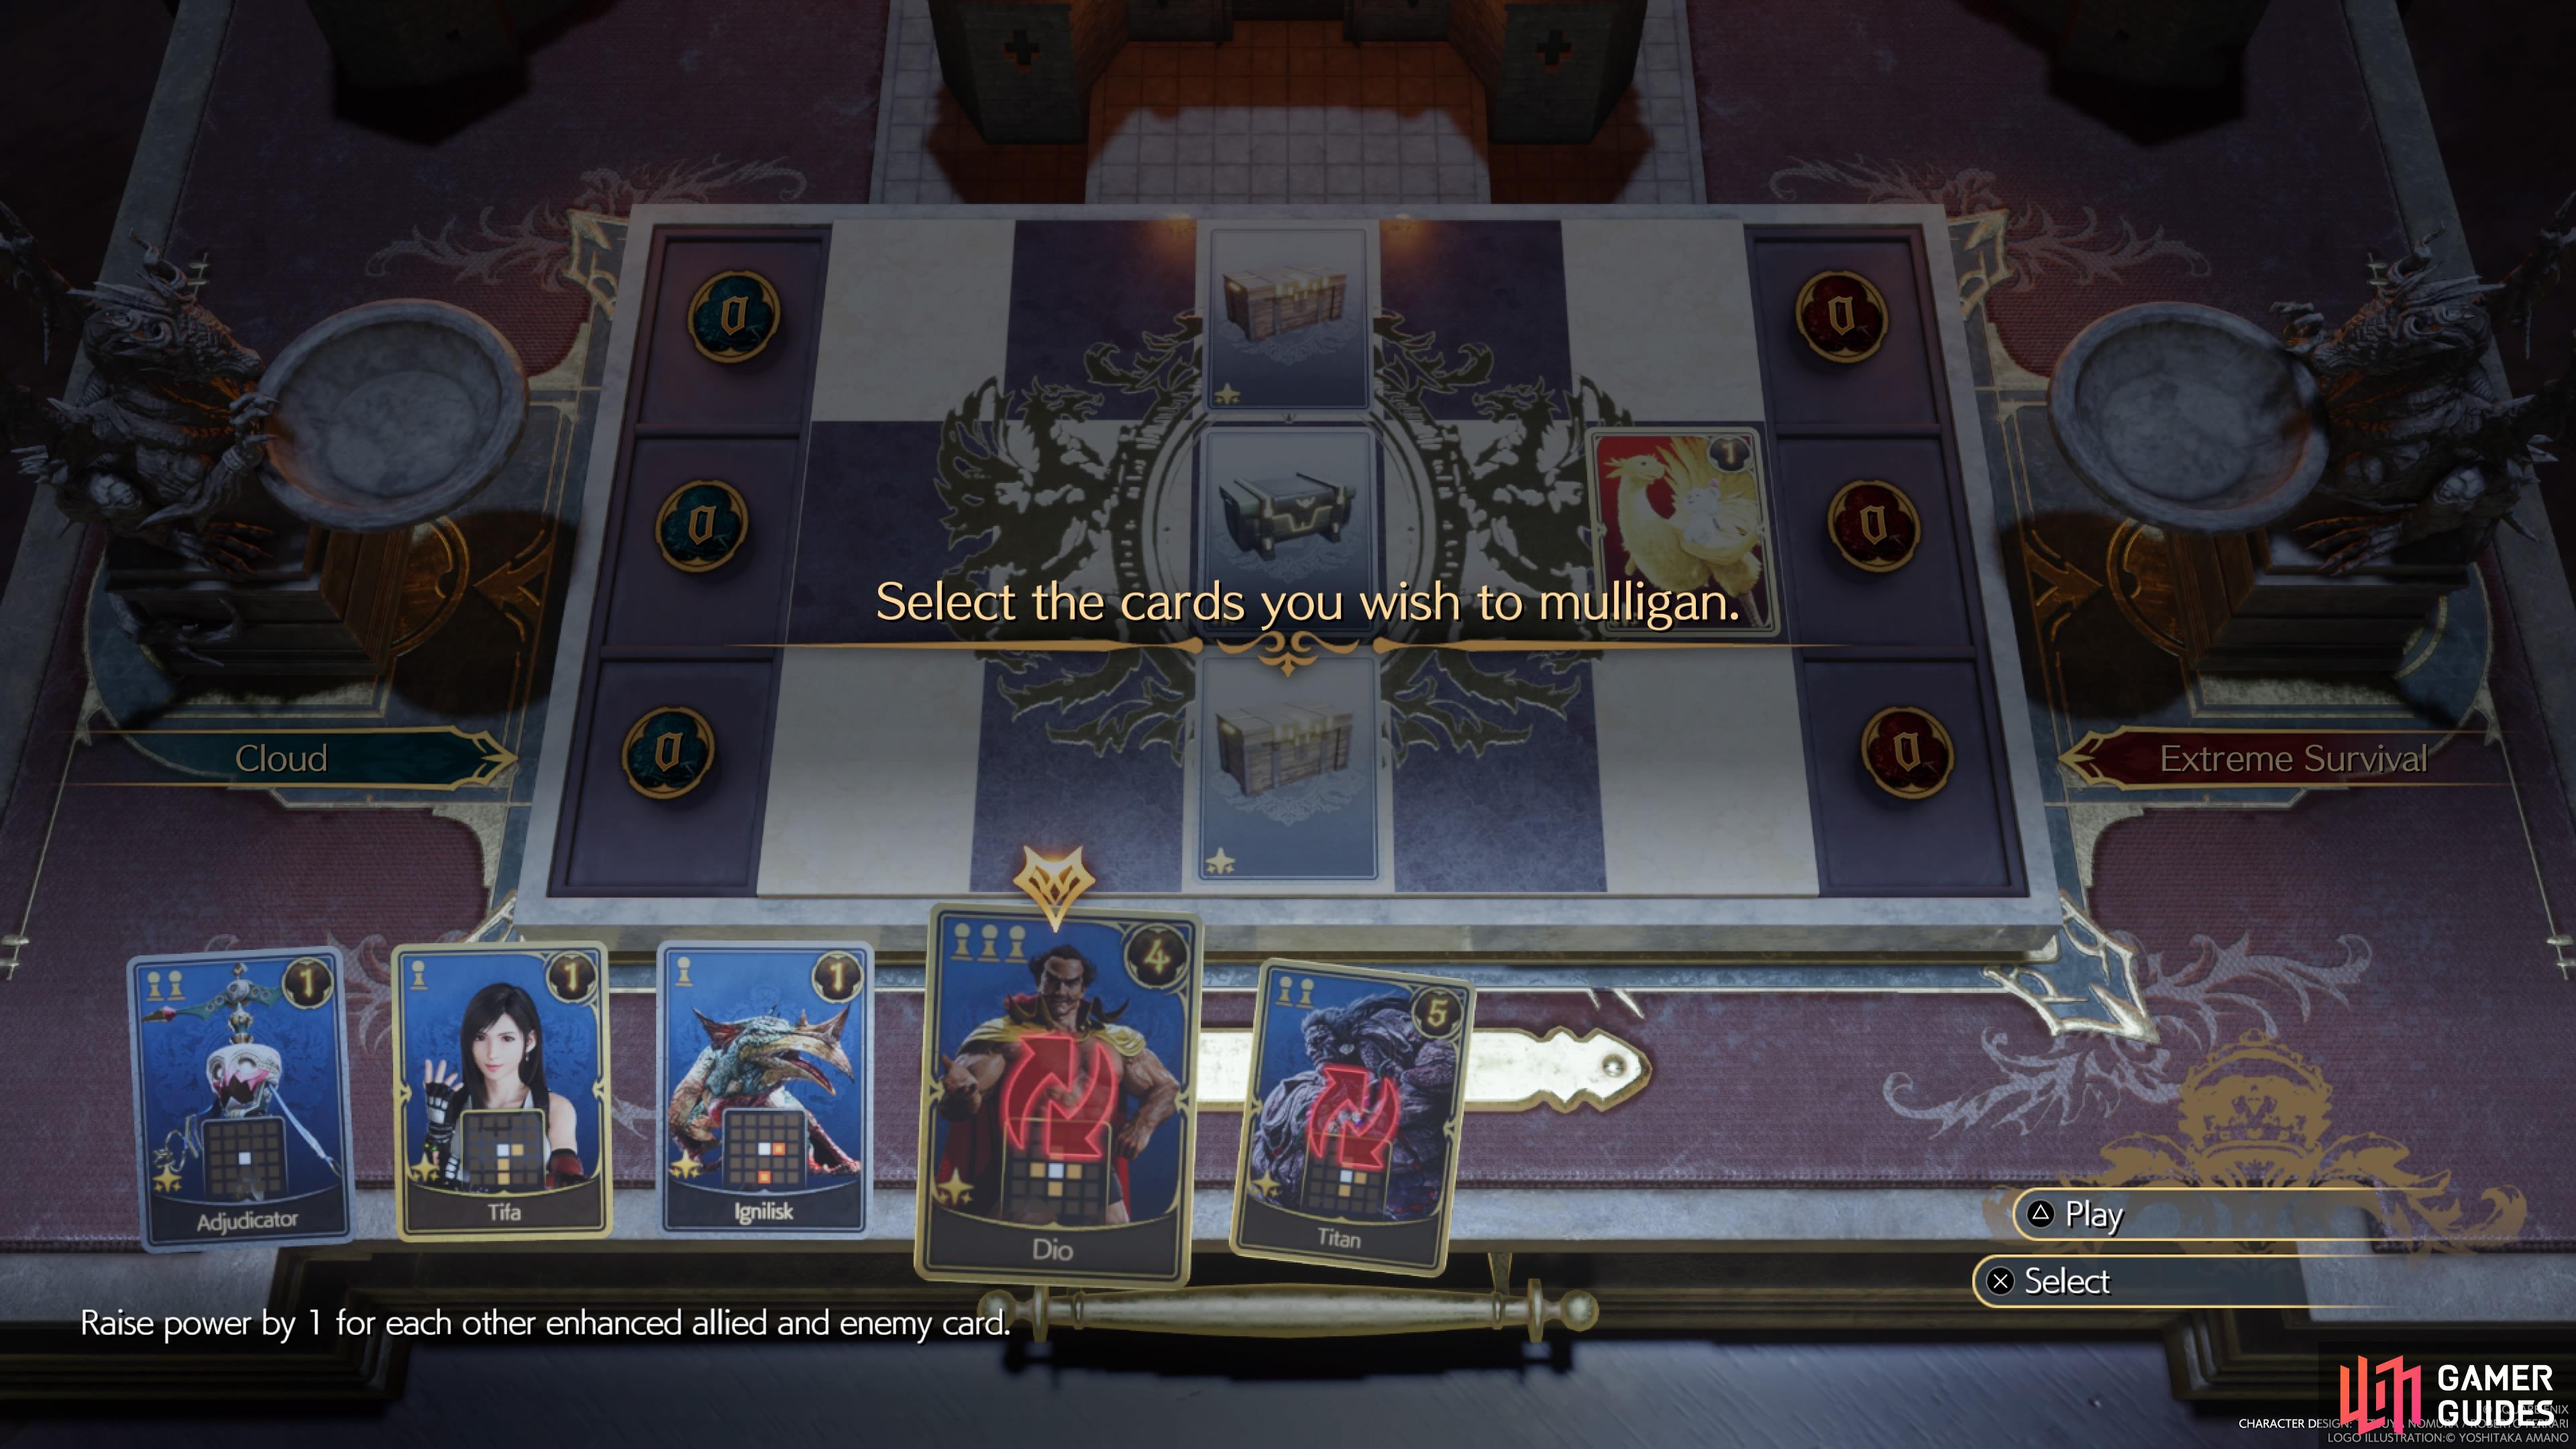
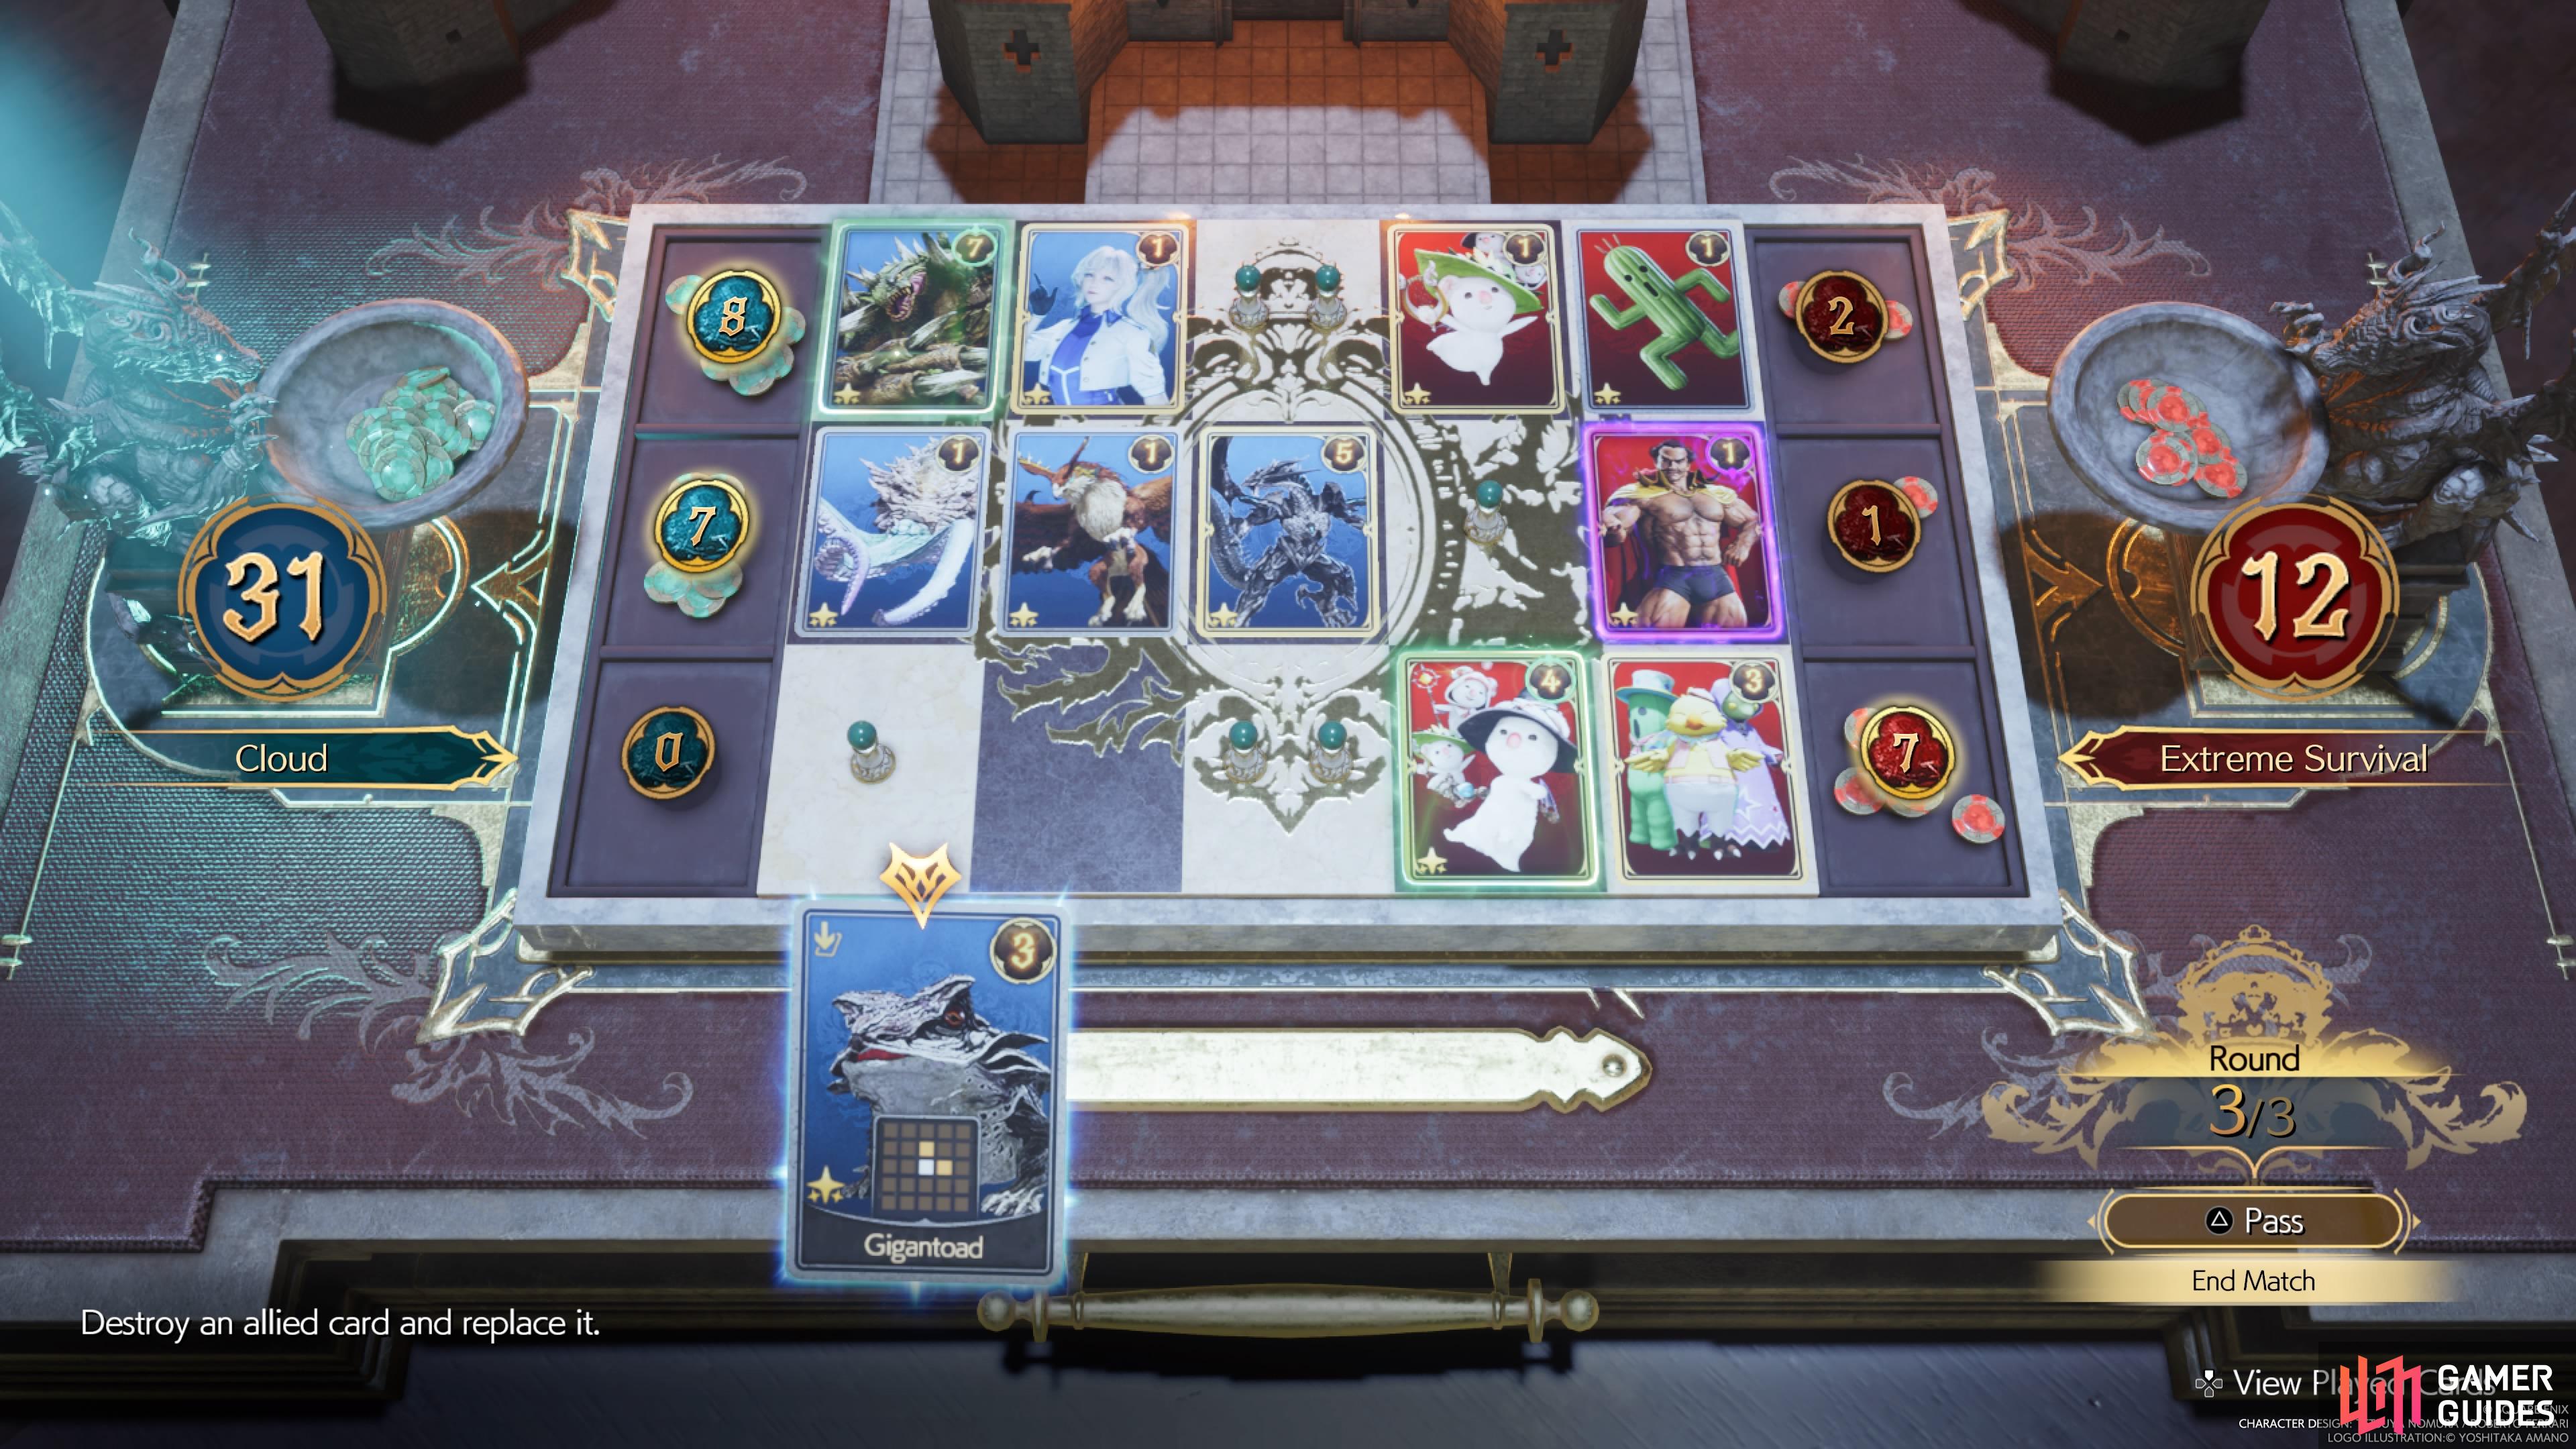
Survival: Extreme
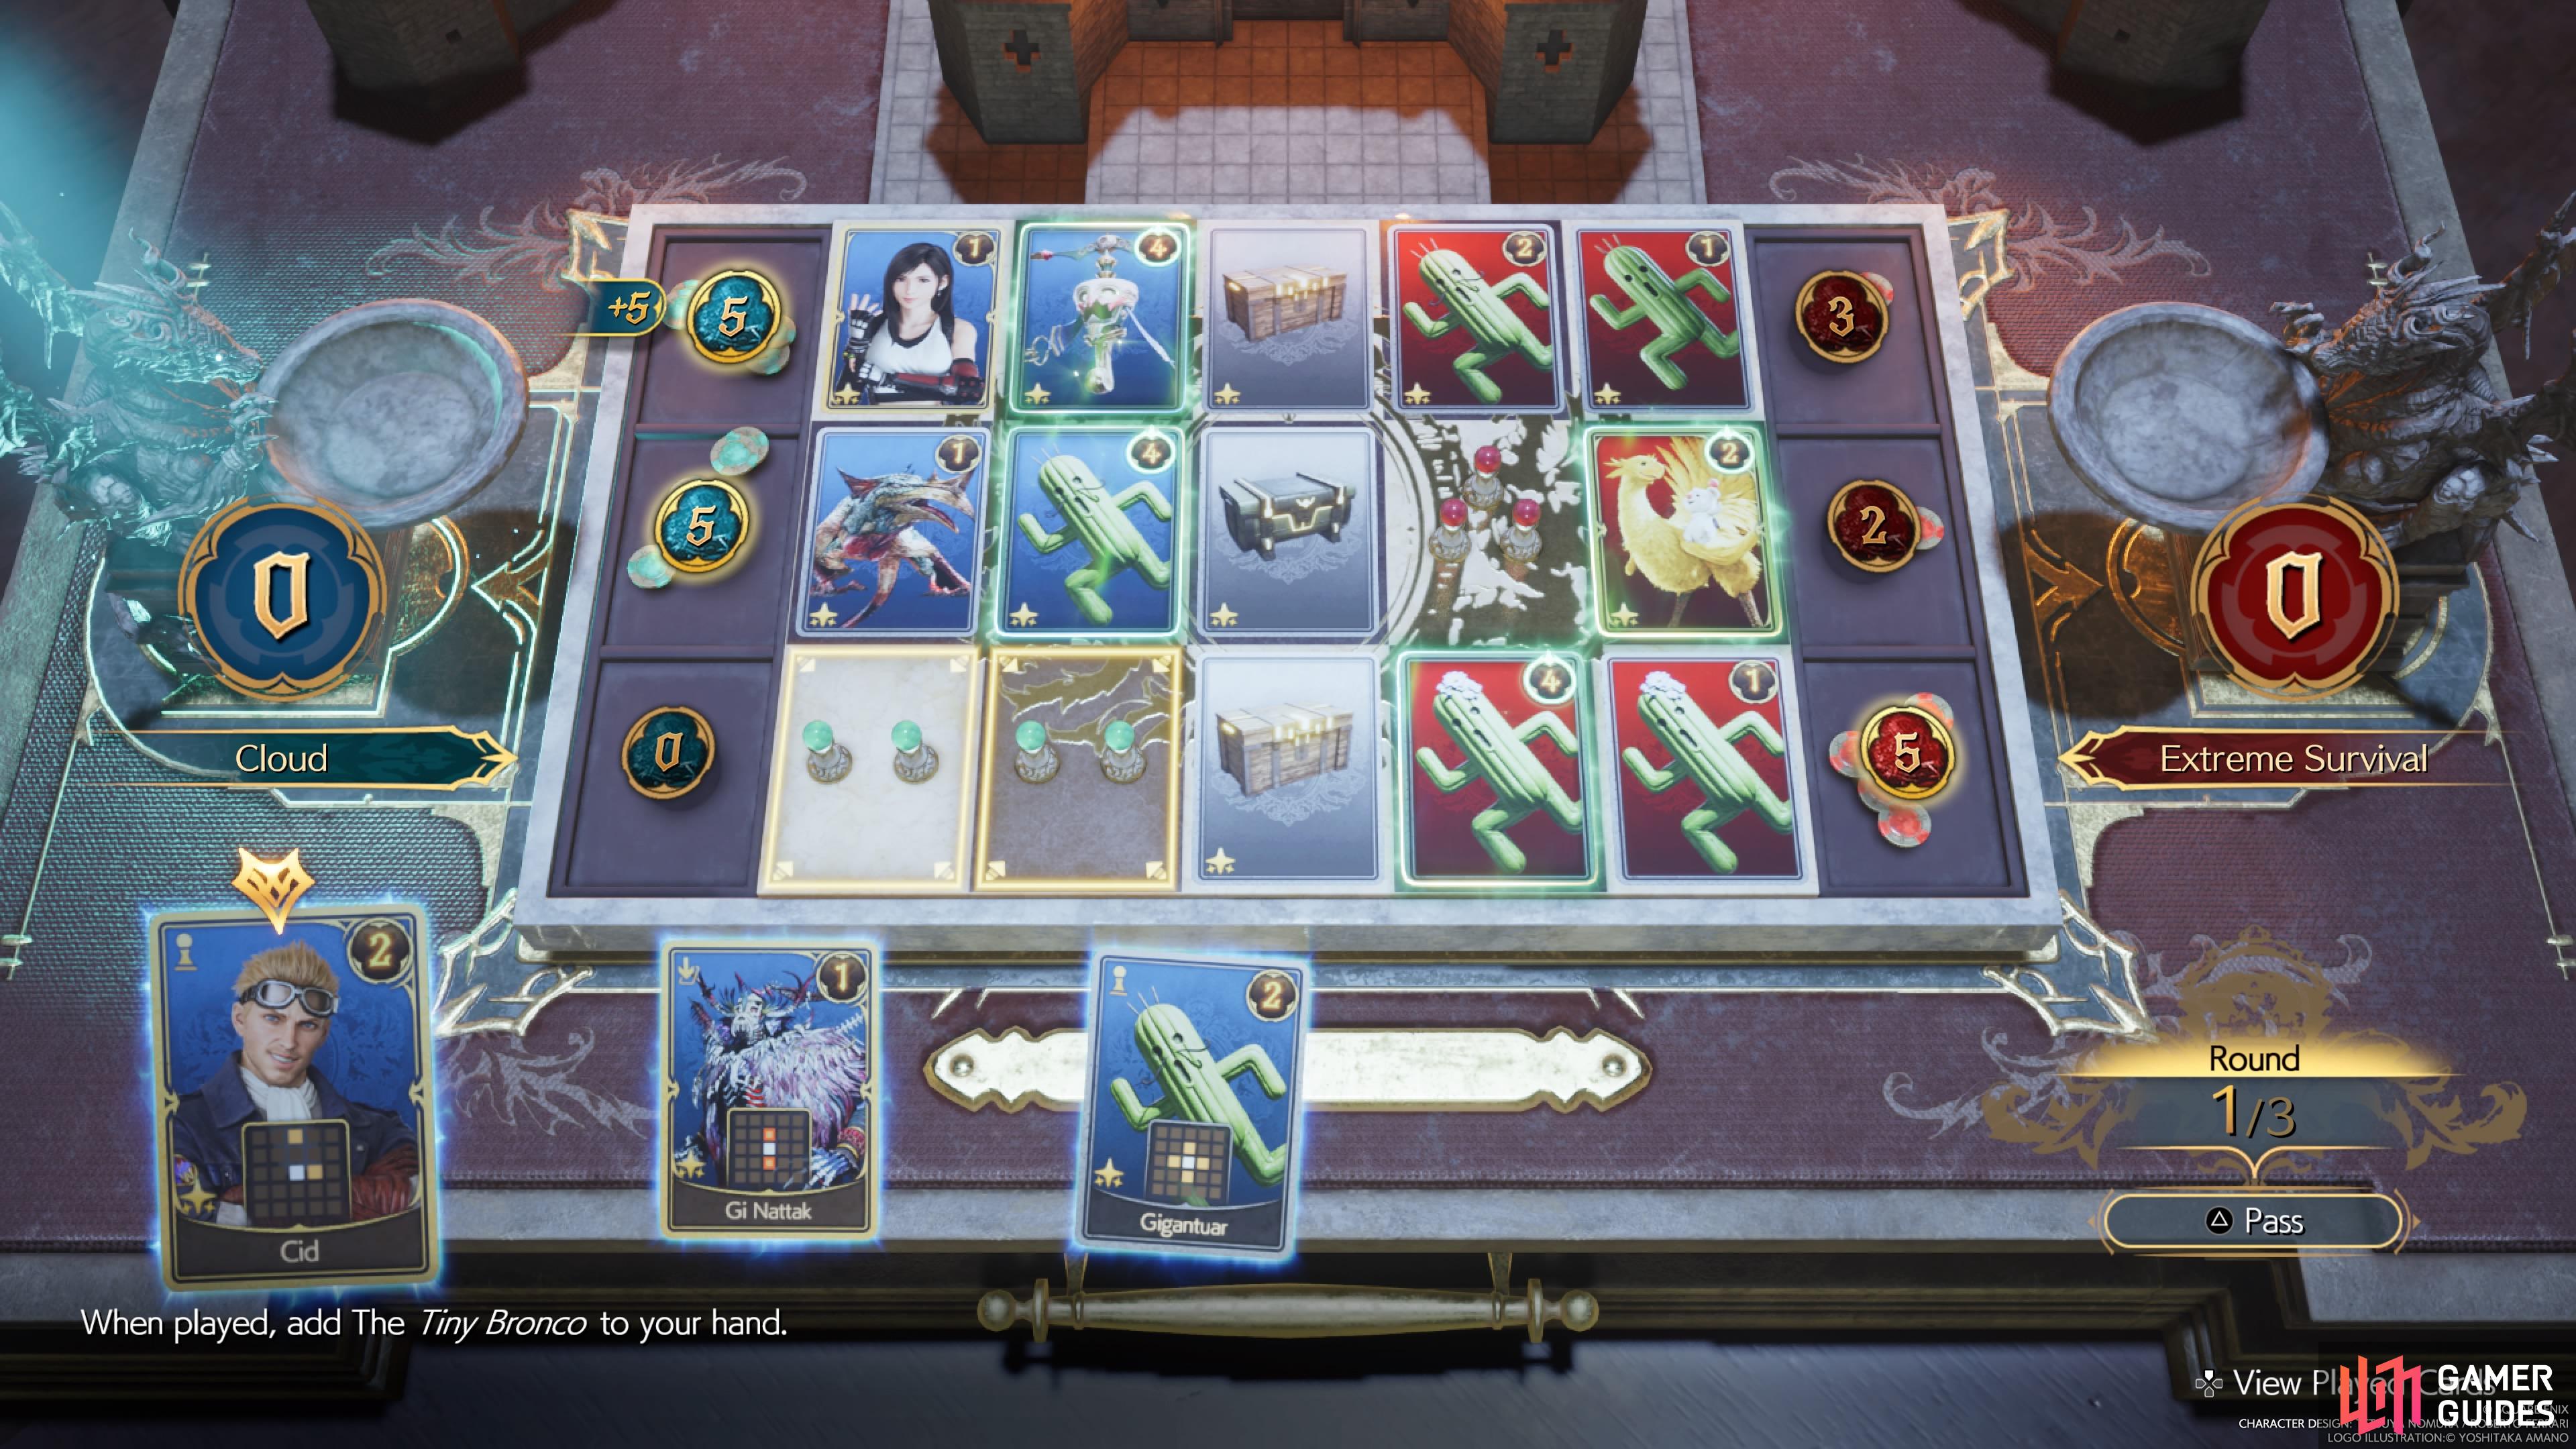
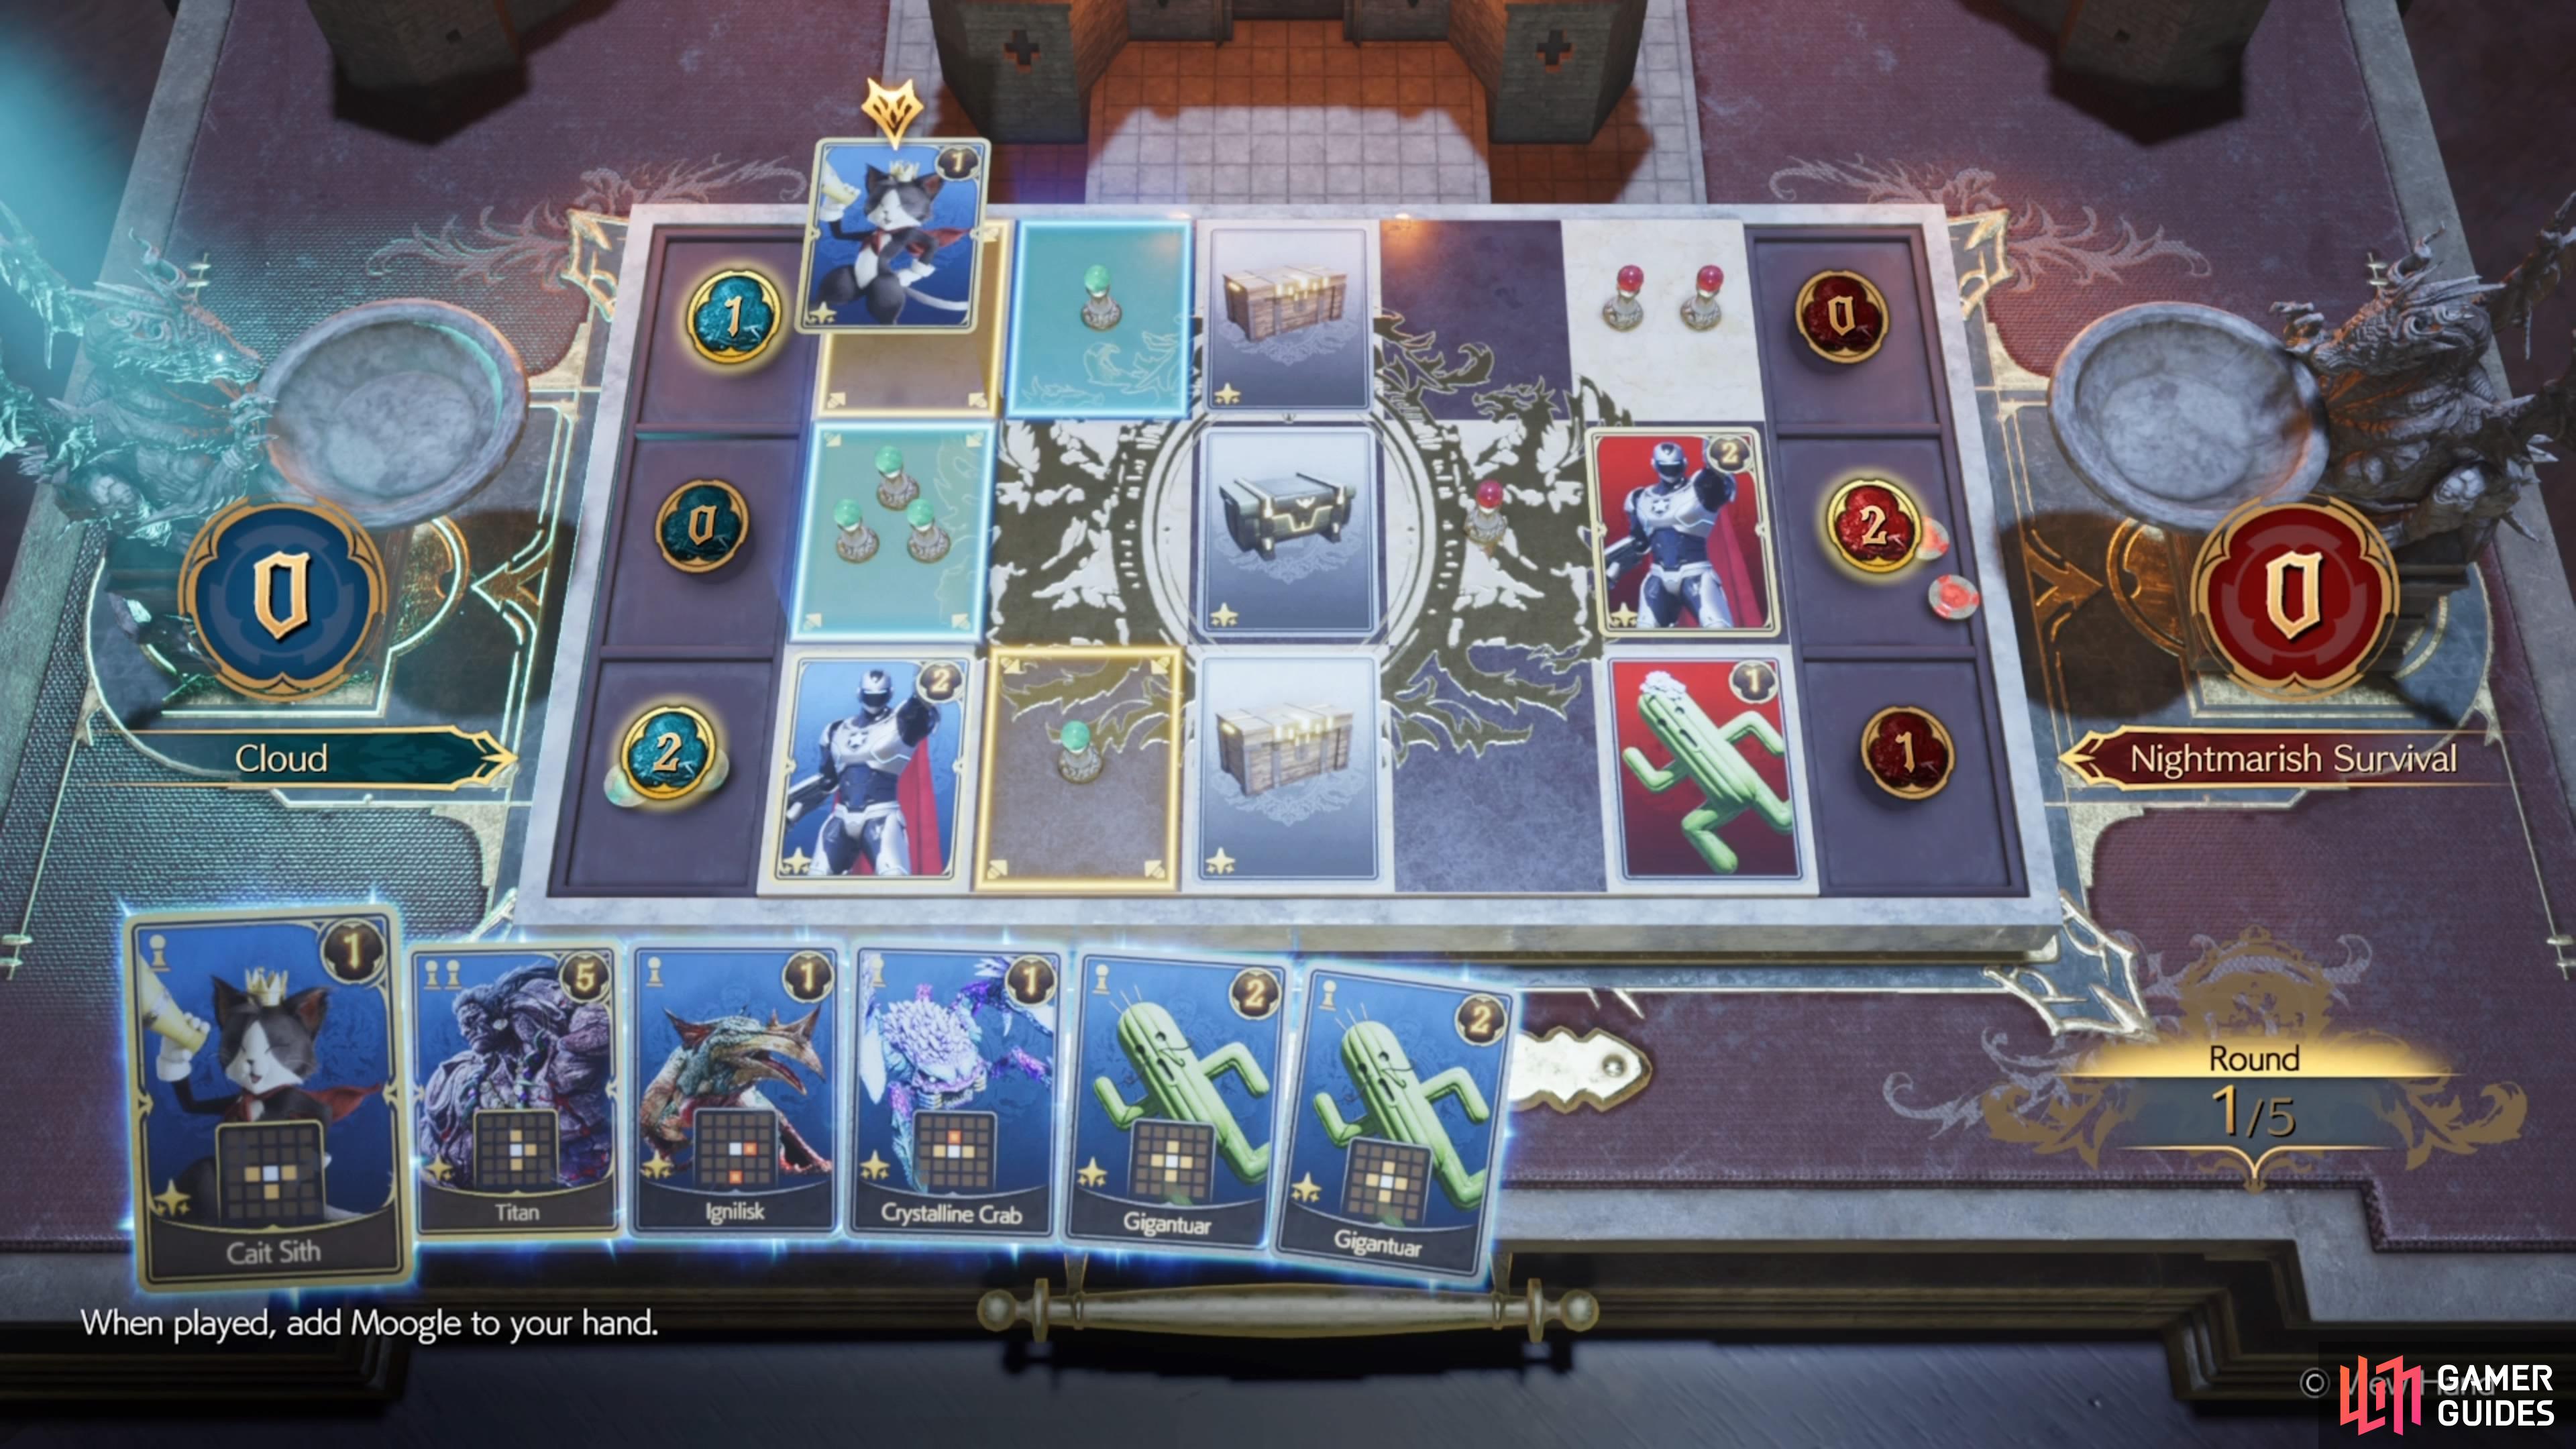
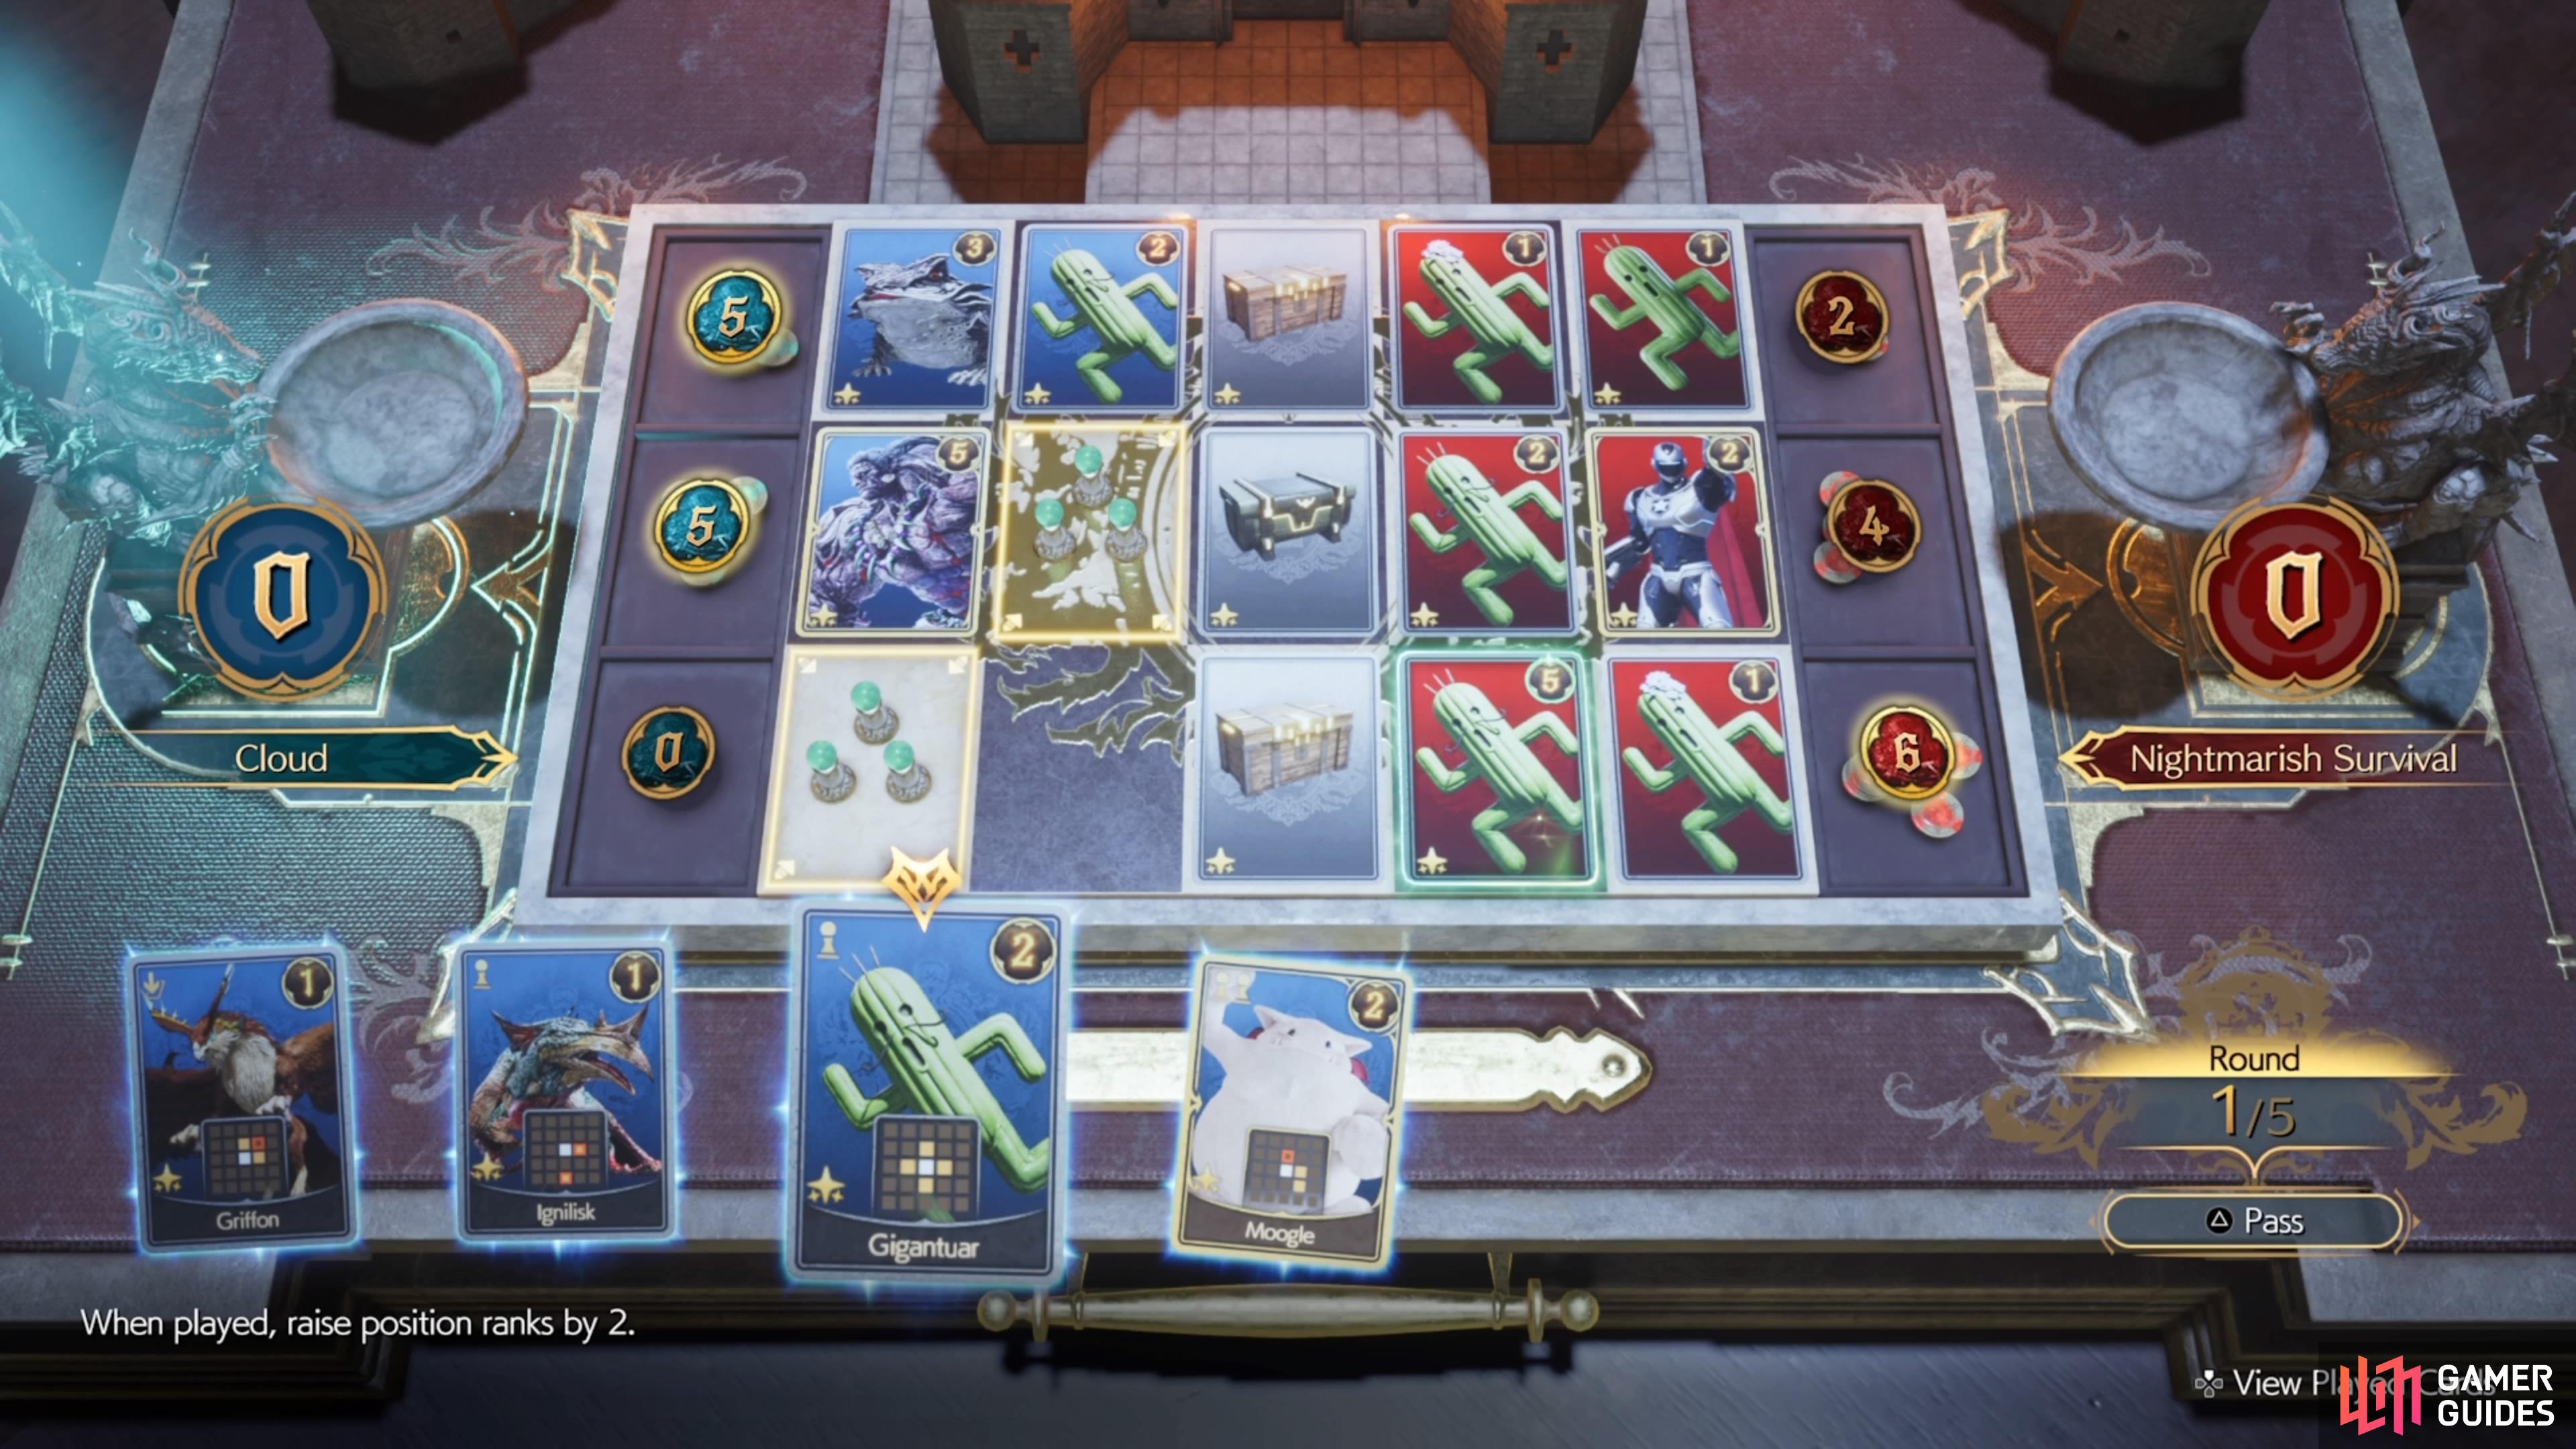
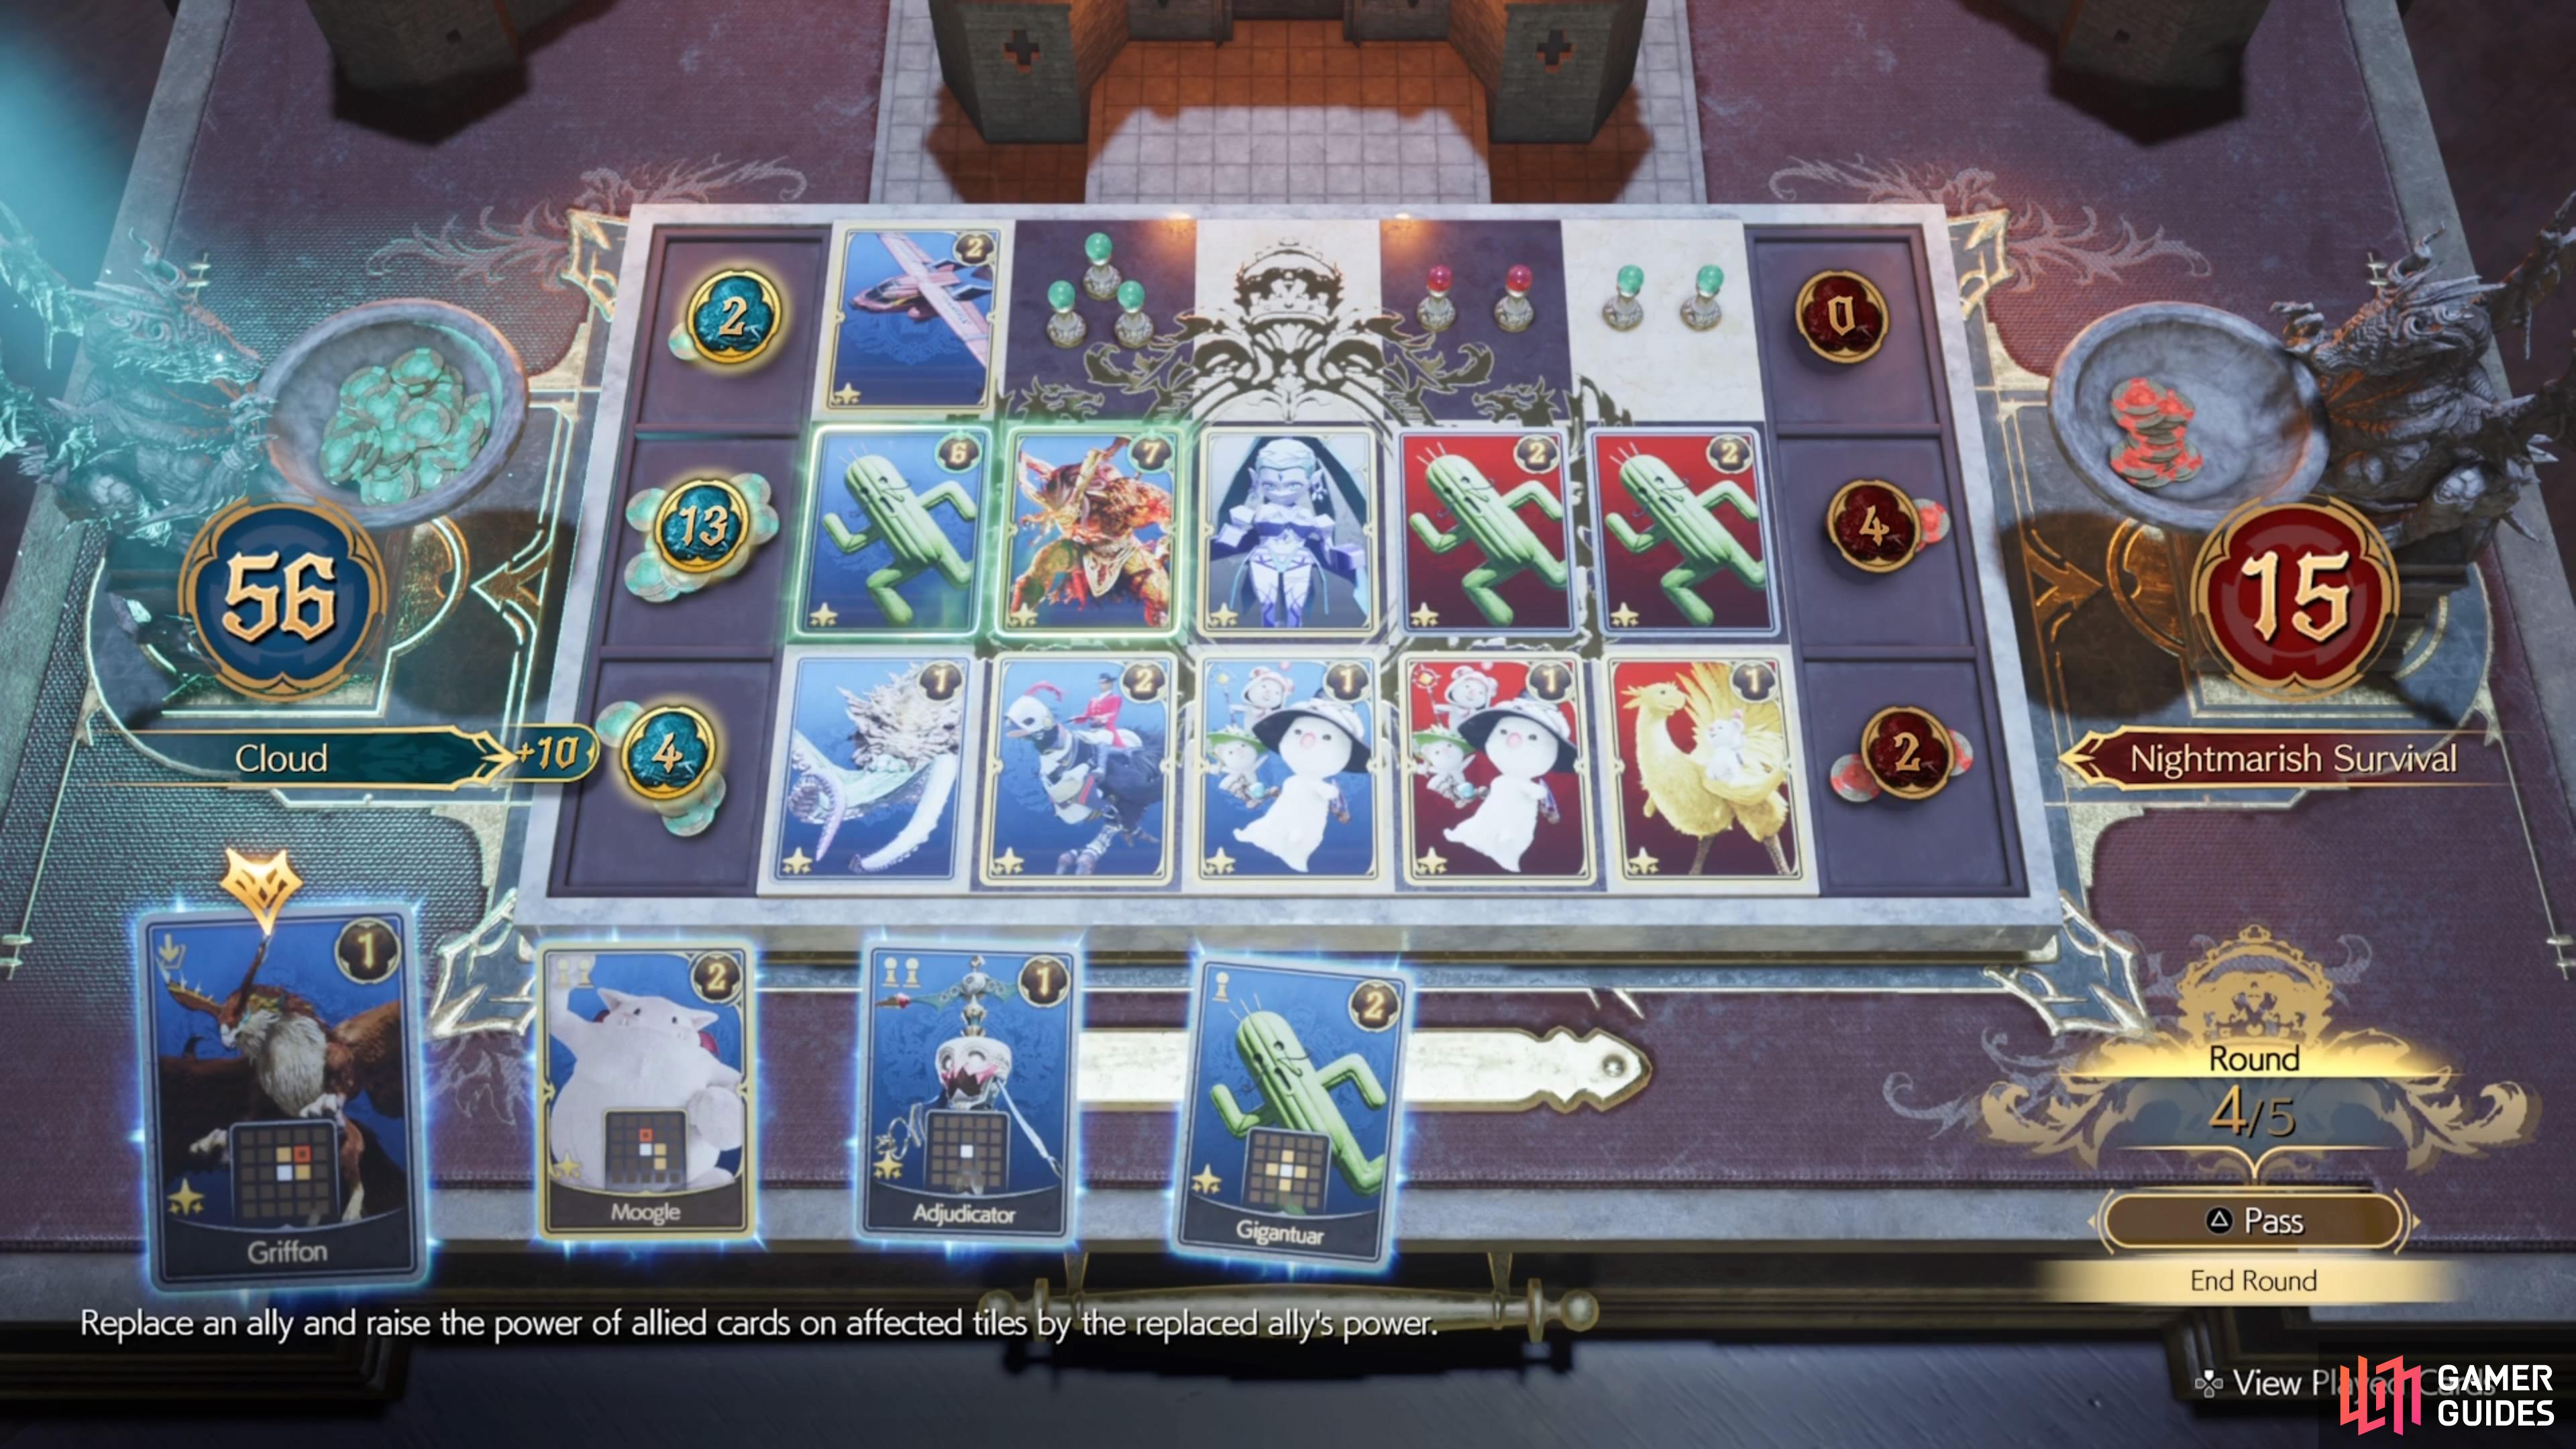
This is similar to the Boot Camp Survival battle, except that your opponent will have some cards placed on the board already for the second and third rounds. There are “chests” on the board in the first two rounds, enabling you to get more cards for your hand, should you win those rows. The only problem is that the cards are random, so you will never know what you’ll get from them. You will draw five cards at the beginning of each round, but you won’t be able to draw anymore during the actual rounds. For the first round, you will receive two Gigantuar cards to help.
So, the first round is where you don’t want to do too much, but you want to make sure you win the middle row, as well as one of the other rows. There is no need to go after all three since that will likely be a drain on your resources. There is also no need to use your big cards here, so try to mulligan for lesser ones for this round. The opponent doesn’t seem to use a lot of bigger cards for this round, so you should definitely be saving yours for later rounds. Winning the middle lane nets you either a Chadley card or two MAI cards, while the other two lanes will just get you a random Cactuar card.
(1 of 4) Try to avoid using your best cards right away.
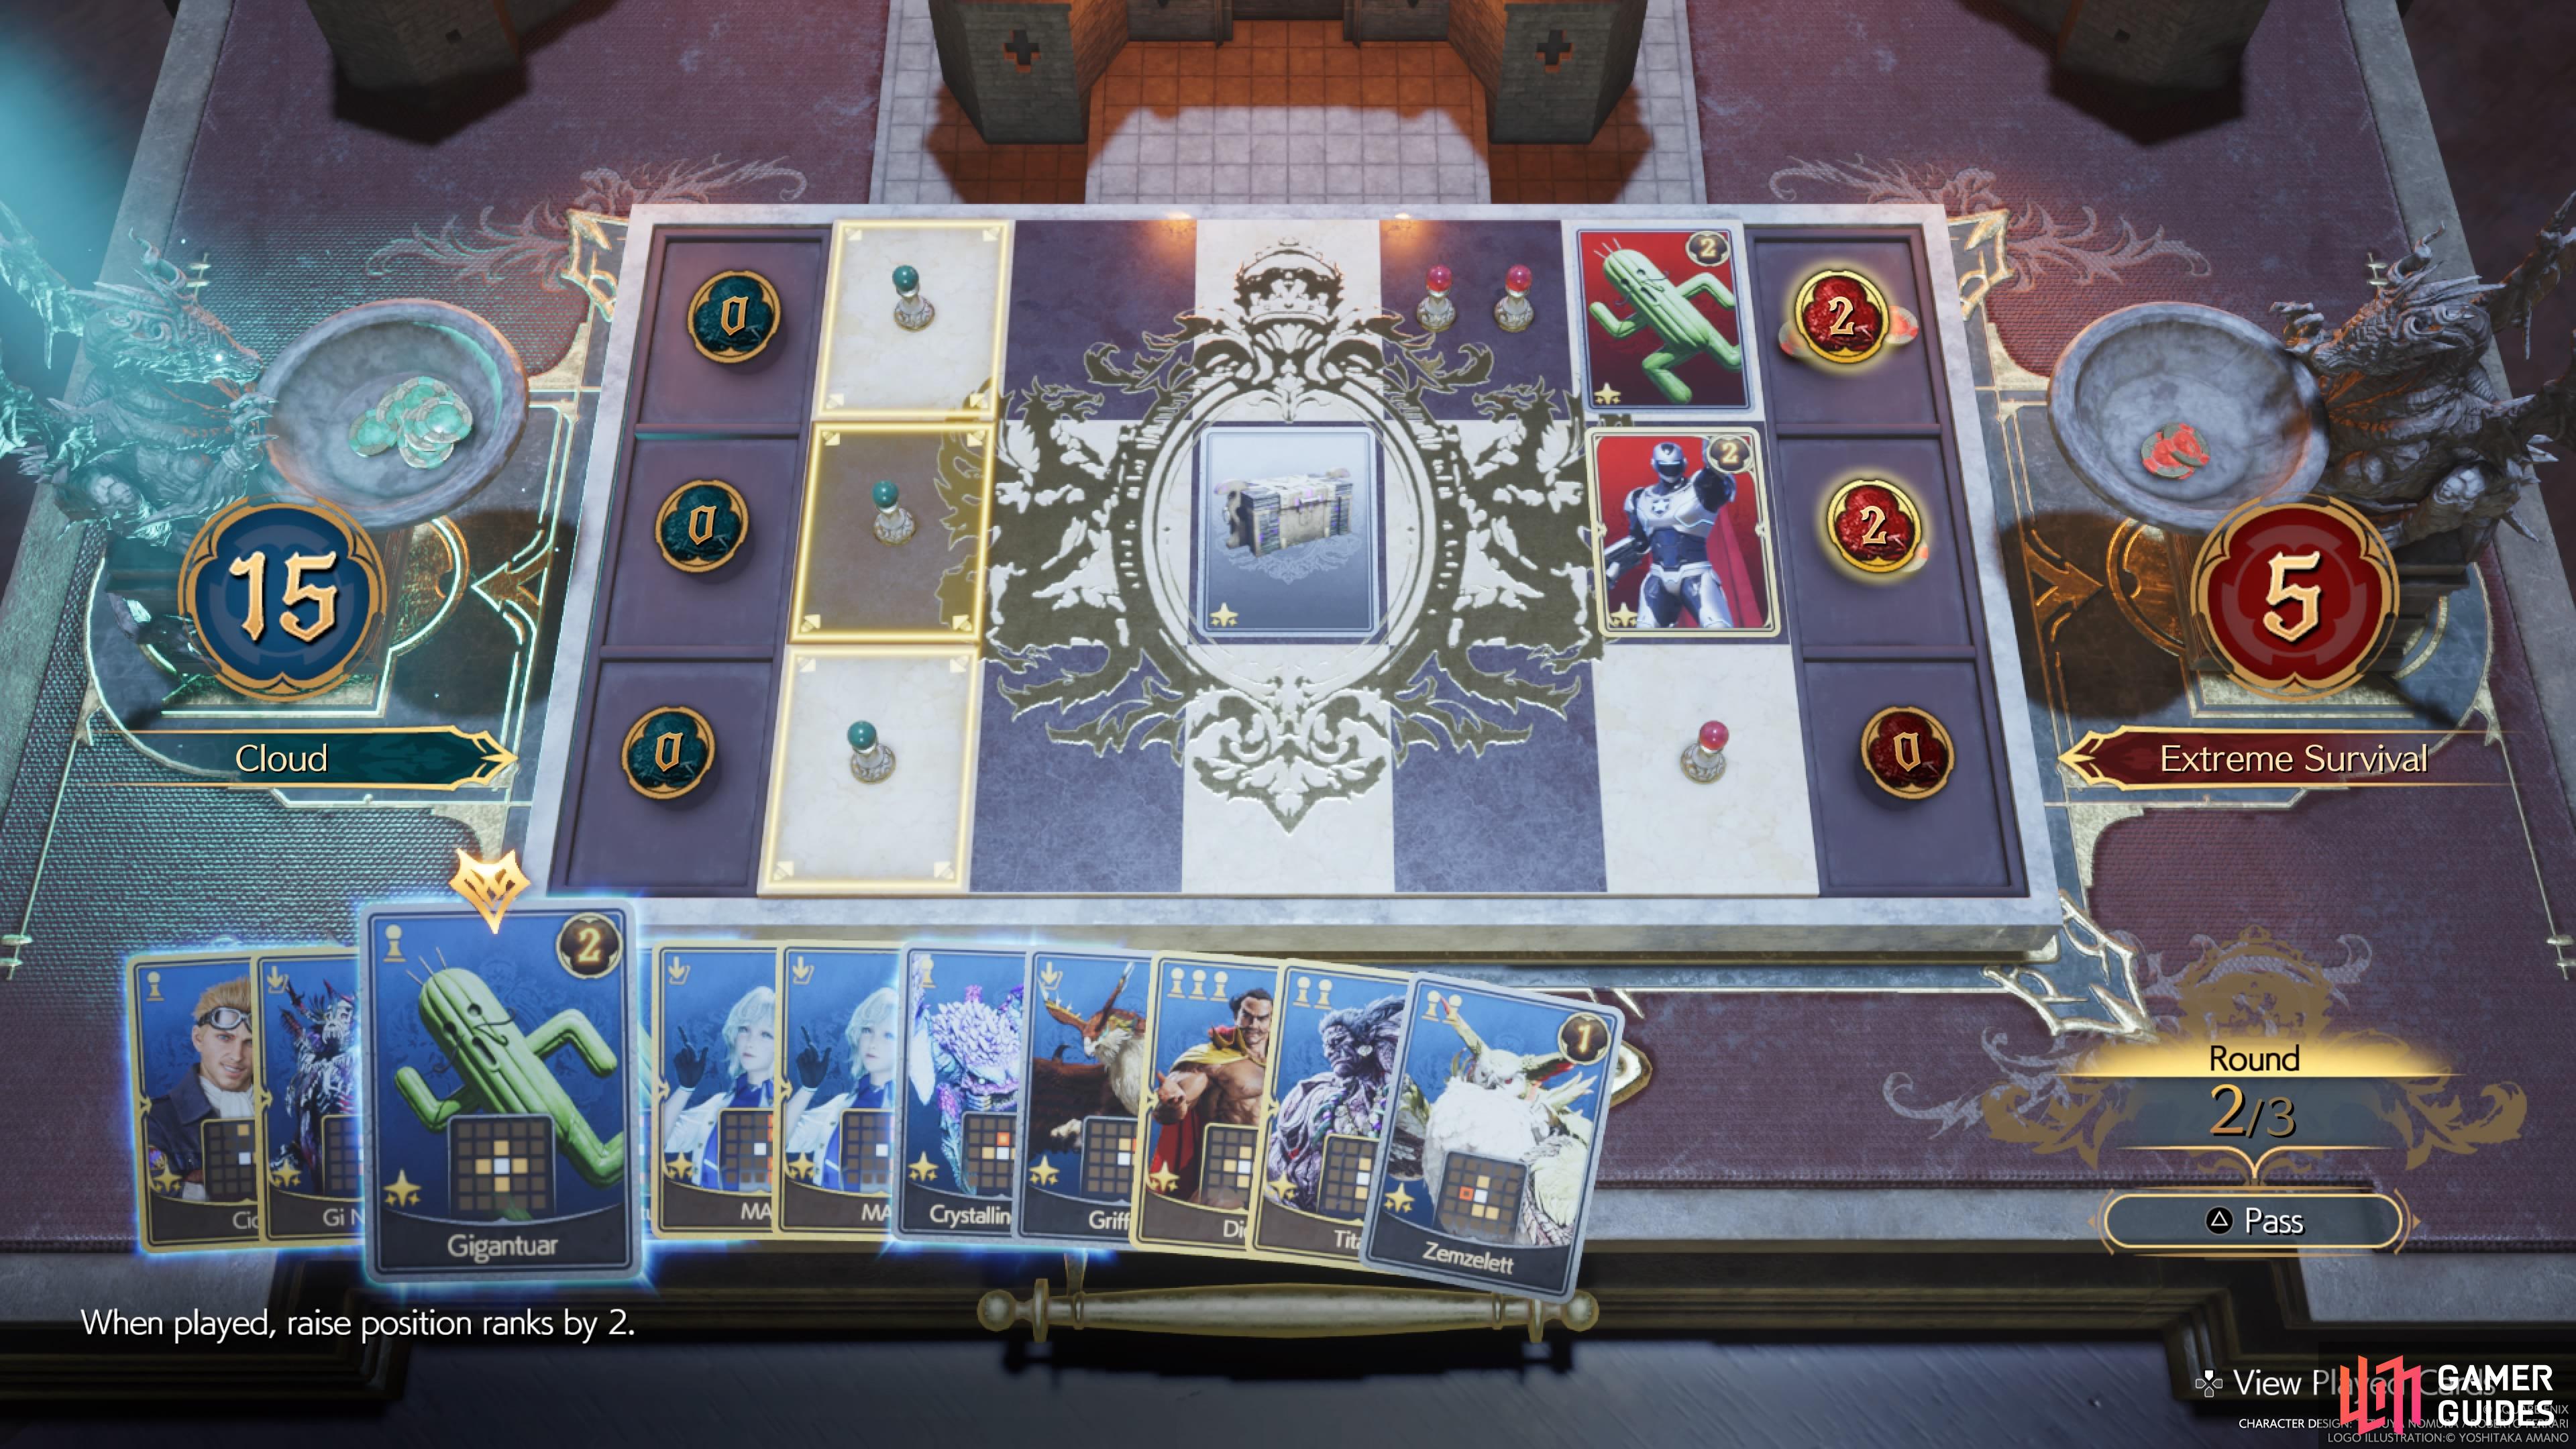
Survival: Extreme - Second Round
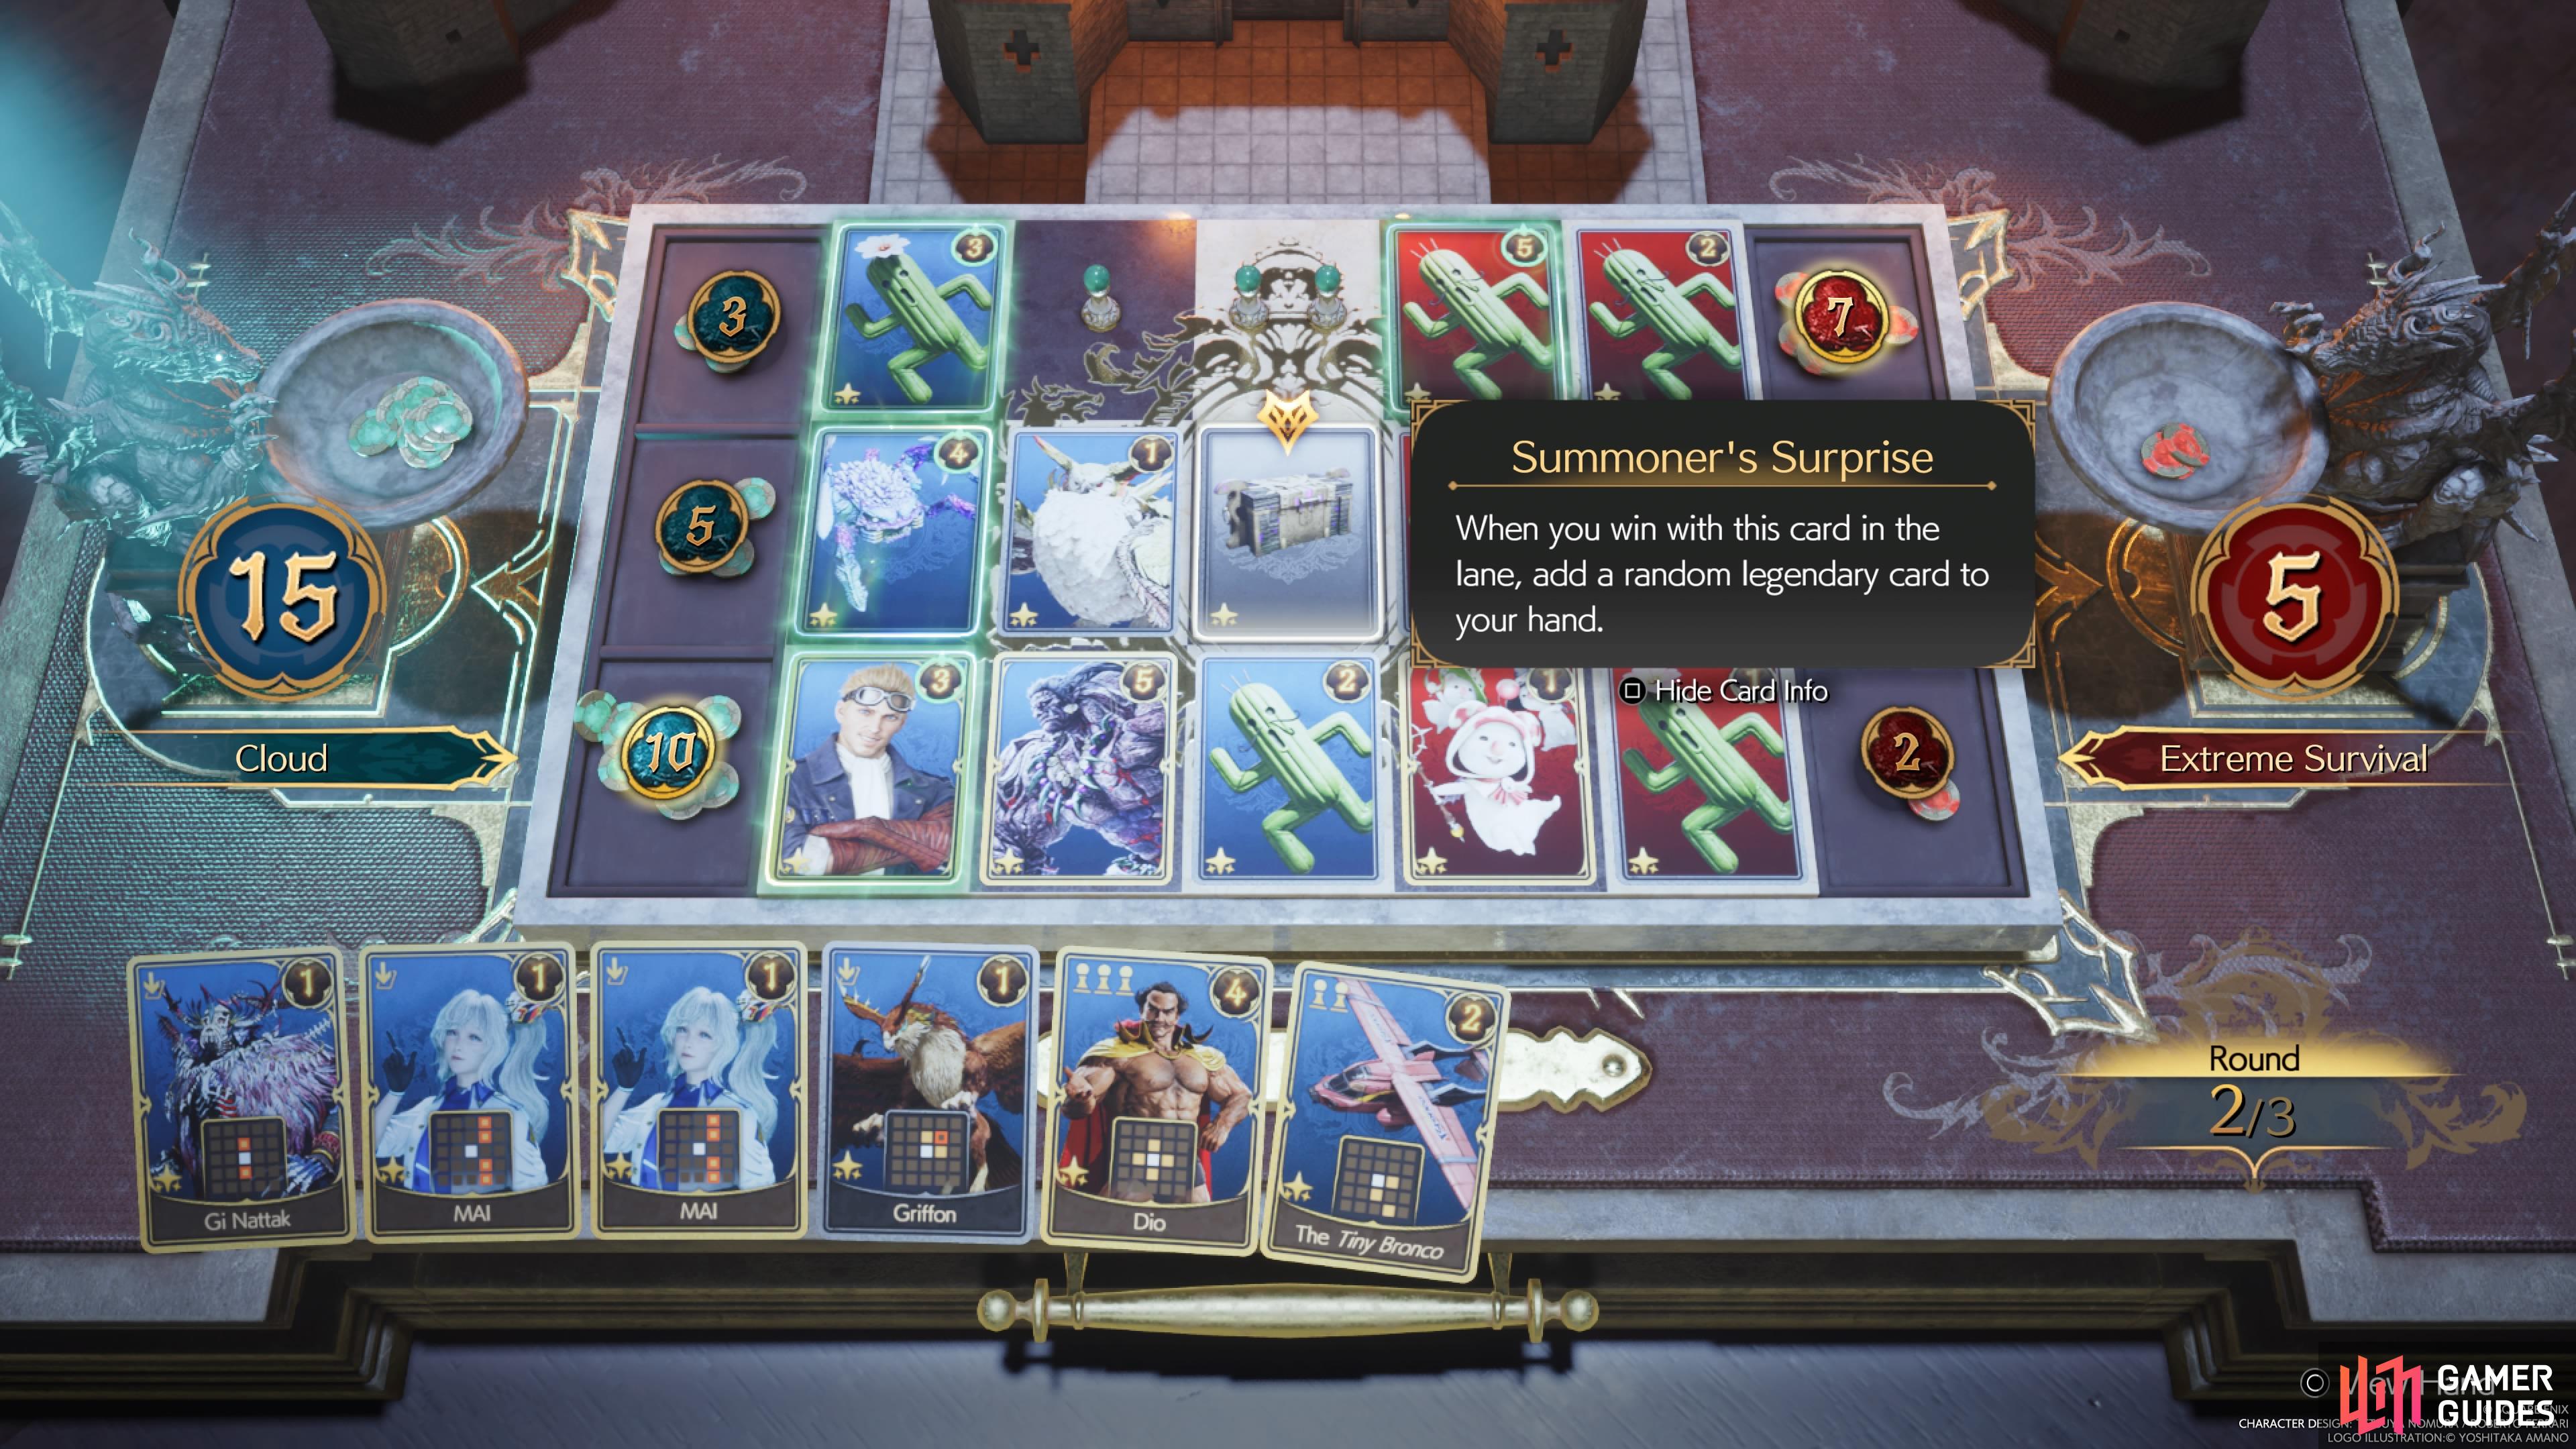
For the second round, you will have a chest in the middle of the board, which will grant the winner of that lane a Legendary card based on a summon. An extra card will be an extra card, so it doesn’t hurt to try and shoot for it, if possible. You also won’t know what card you’ll get either, so it could be something like Bahamut or maybe even a ![]() Phoenix. If you have both a Titan and Dio in your deck, it might be a good idea to use one of those in this round (preferably Titan, since Dio has more utility in the long run).
Phoenix. If you have both a Titan and Dio in your deck, it might be a good idea to use one of those in this round (preferably Titan, since Dio has more utility in the long run).
Your opponent will start with a Space Ranger on the board, as well as receiving the first turn. You will also receive five more cards from your deck in this round, so hopefully you get some decent ones. You might have a Gigantuar card from the first round, so feel free to use that here, if you want. It’s tough to really give a detailed strategy, though, as you won’t have the same cards every time, even if you play the match five times in a row. Just concentrate on winning the middle row for the summon card and should you lose the round, don’t lose too big.
Survival: Extreme - Third Round
The final round will see your opponent start with a Dio card on the board, plus you will draw your final five cards from your deck. This is where you will want to play big, so hopefully you have some cards to help boost up something like Dio, Titan, or another high-power card. If you are using Gi Nattak, then save that one for last and make sure you have some cards above/below the one being replaced.
(1 of 3) Your opponent will start with a Dio card on the board in the third round.
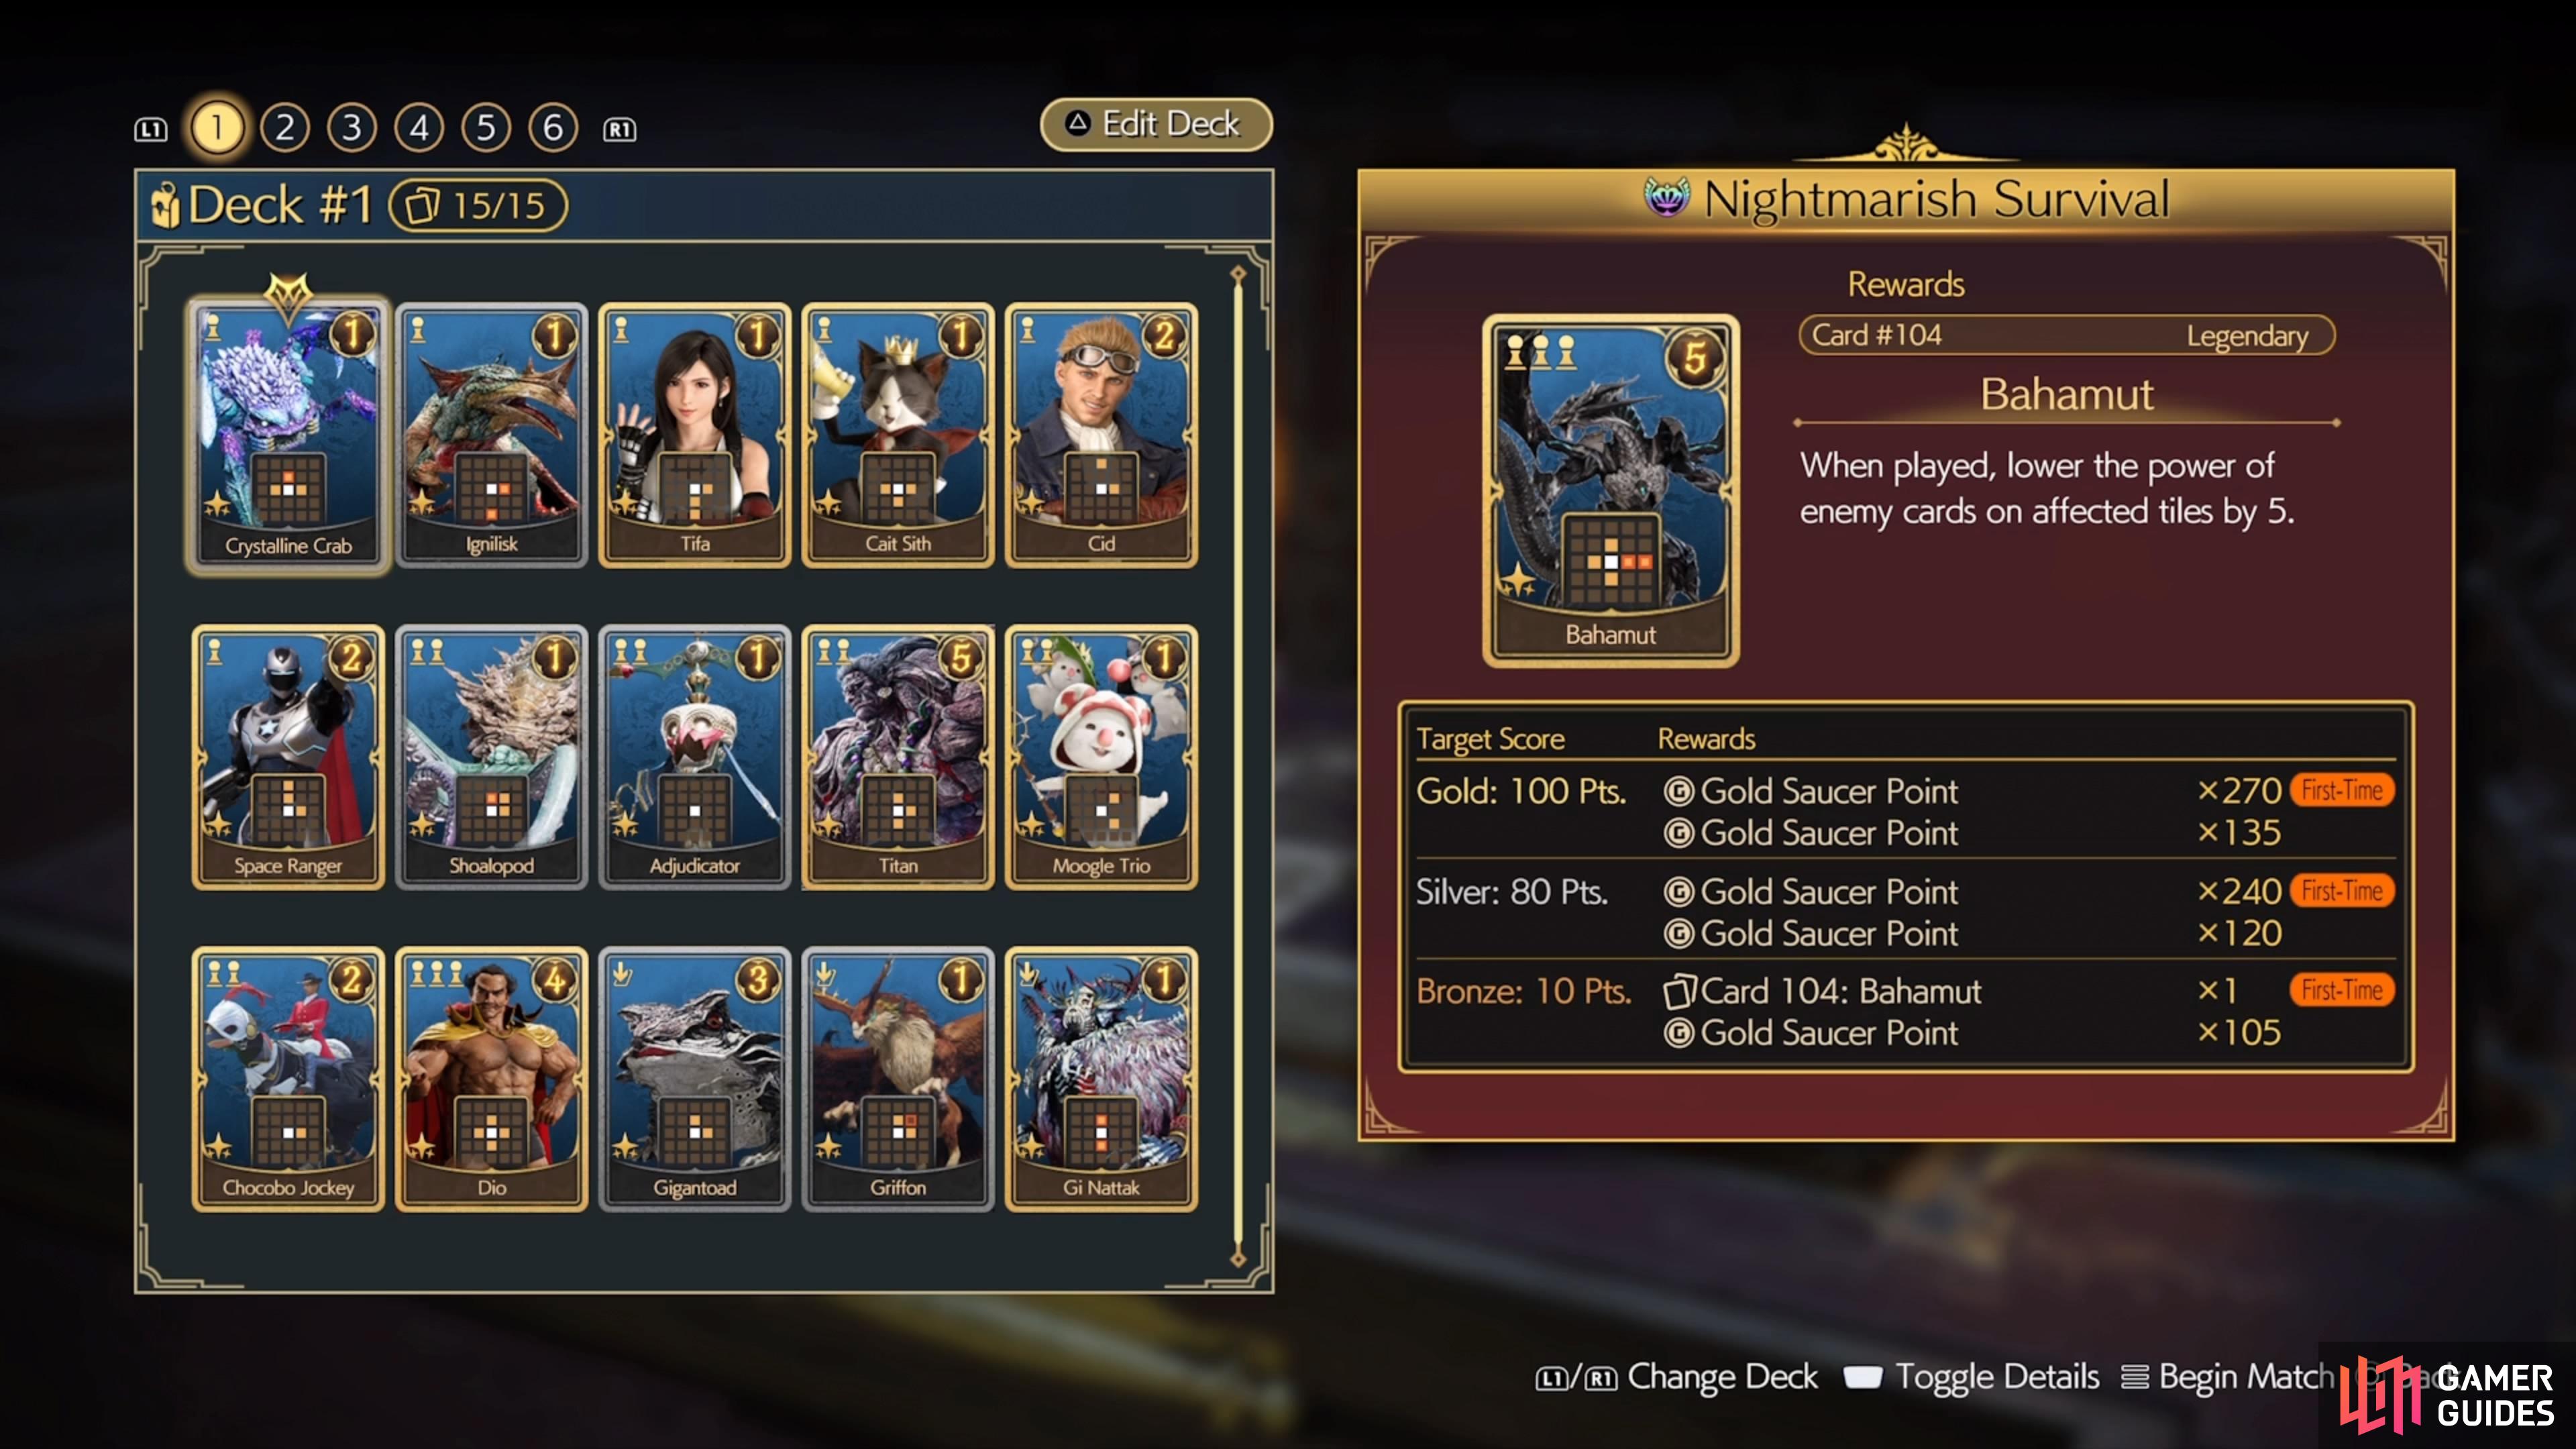
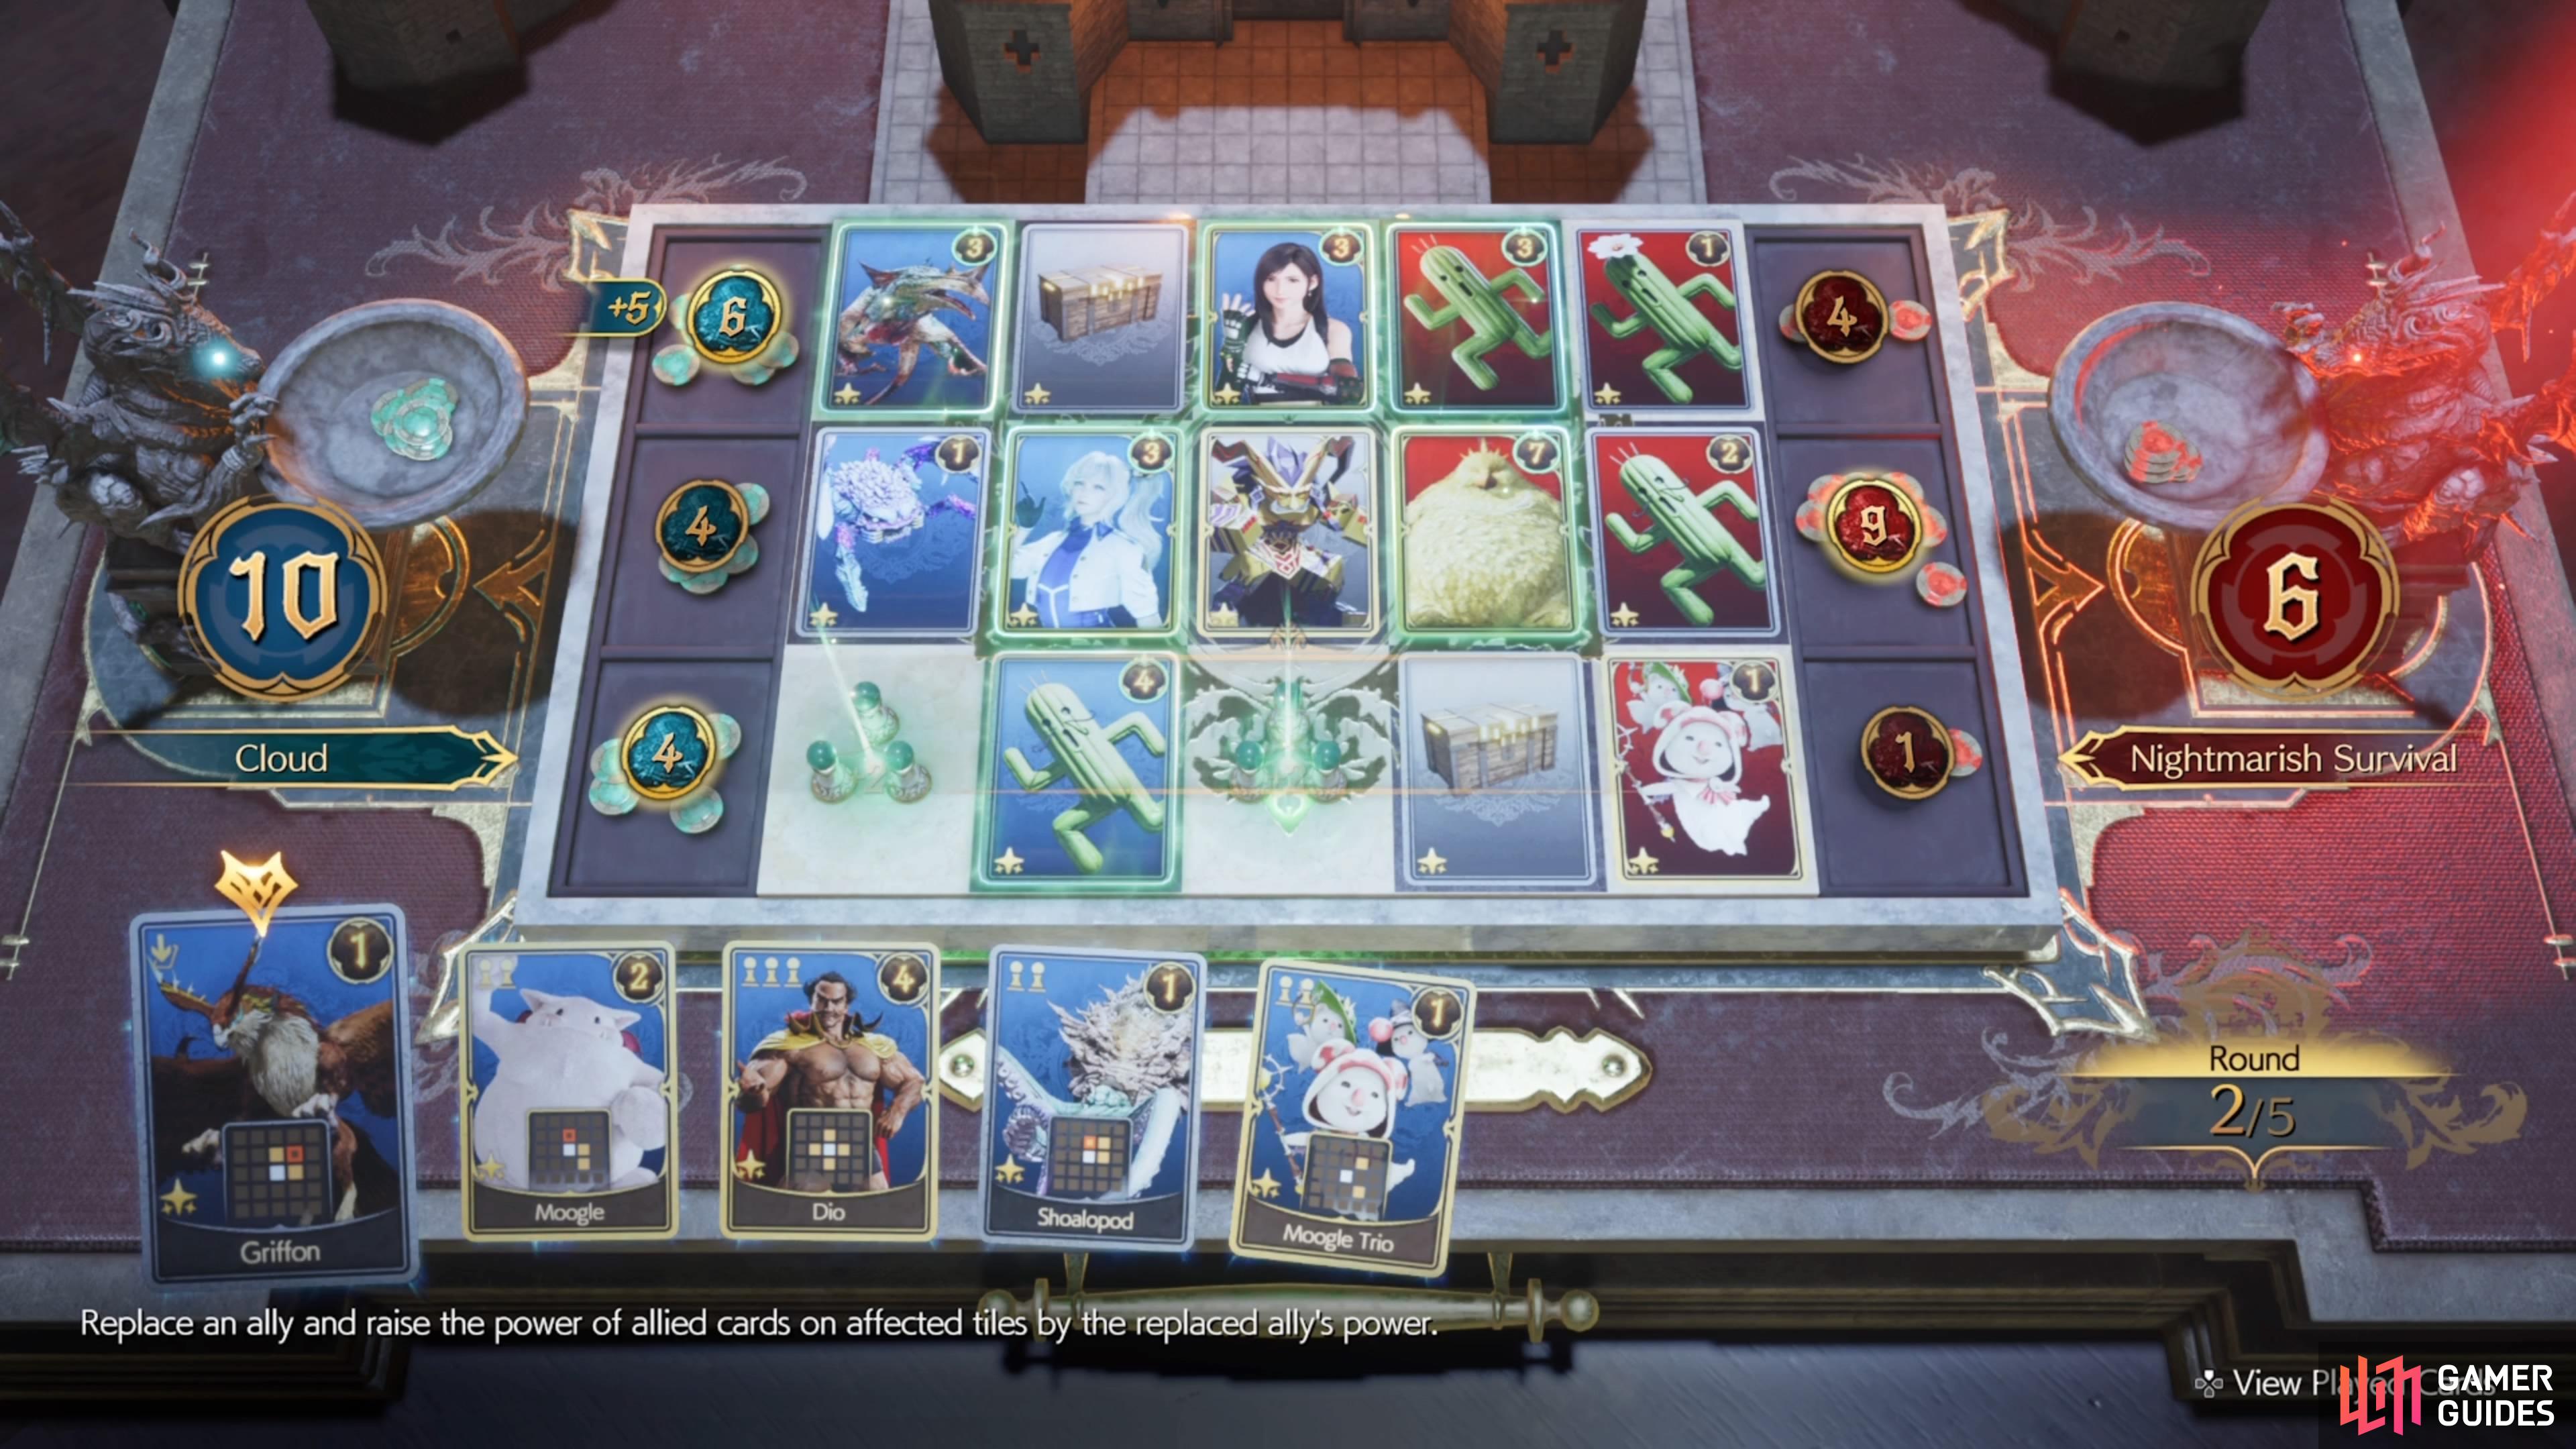
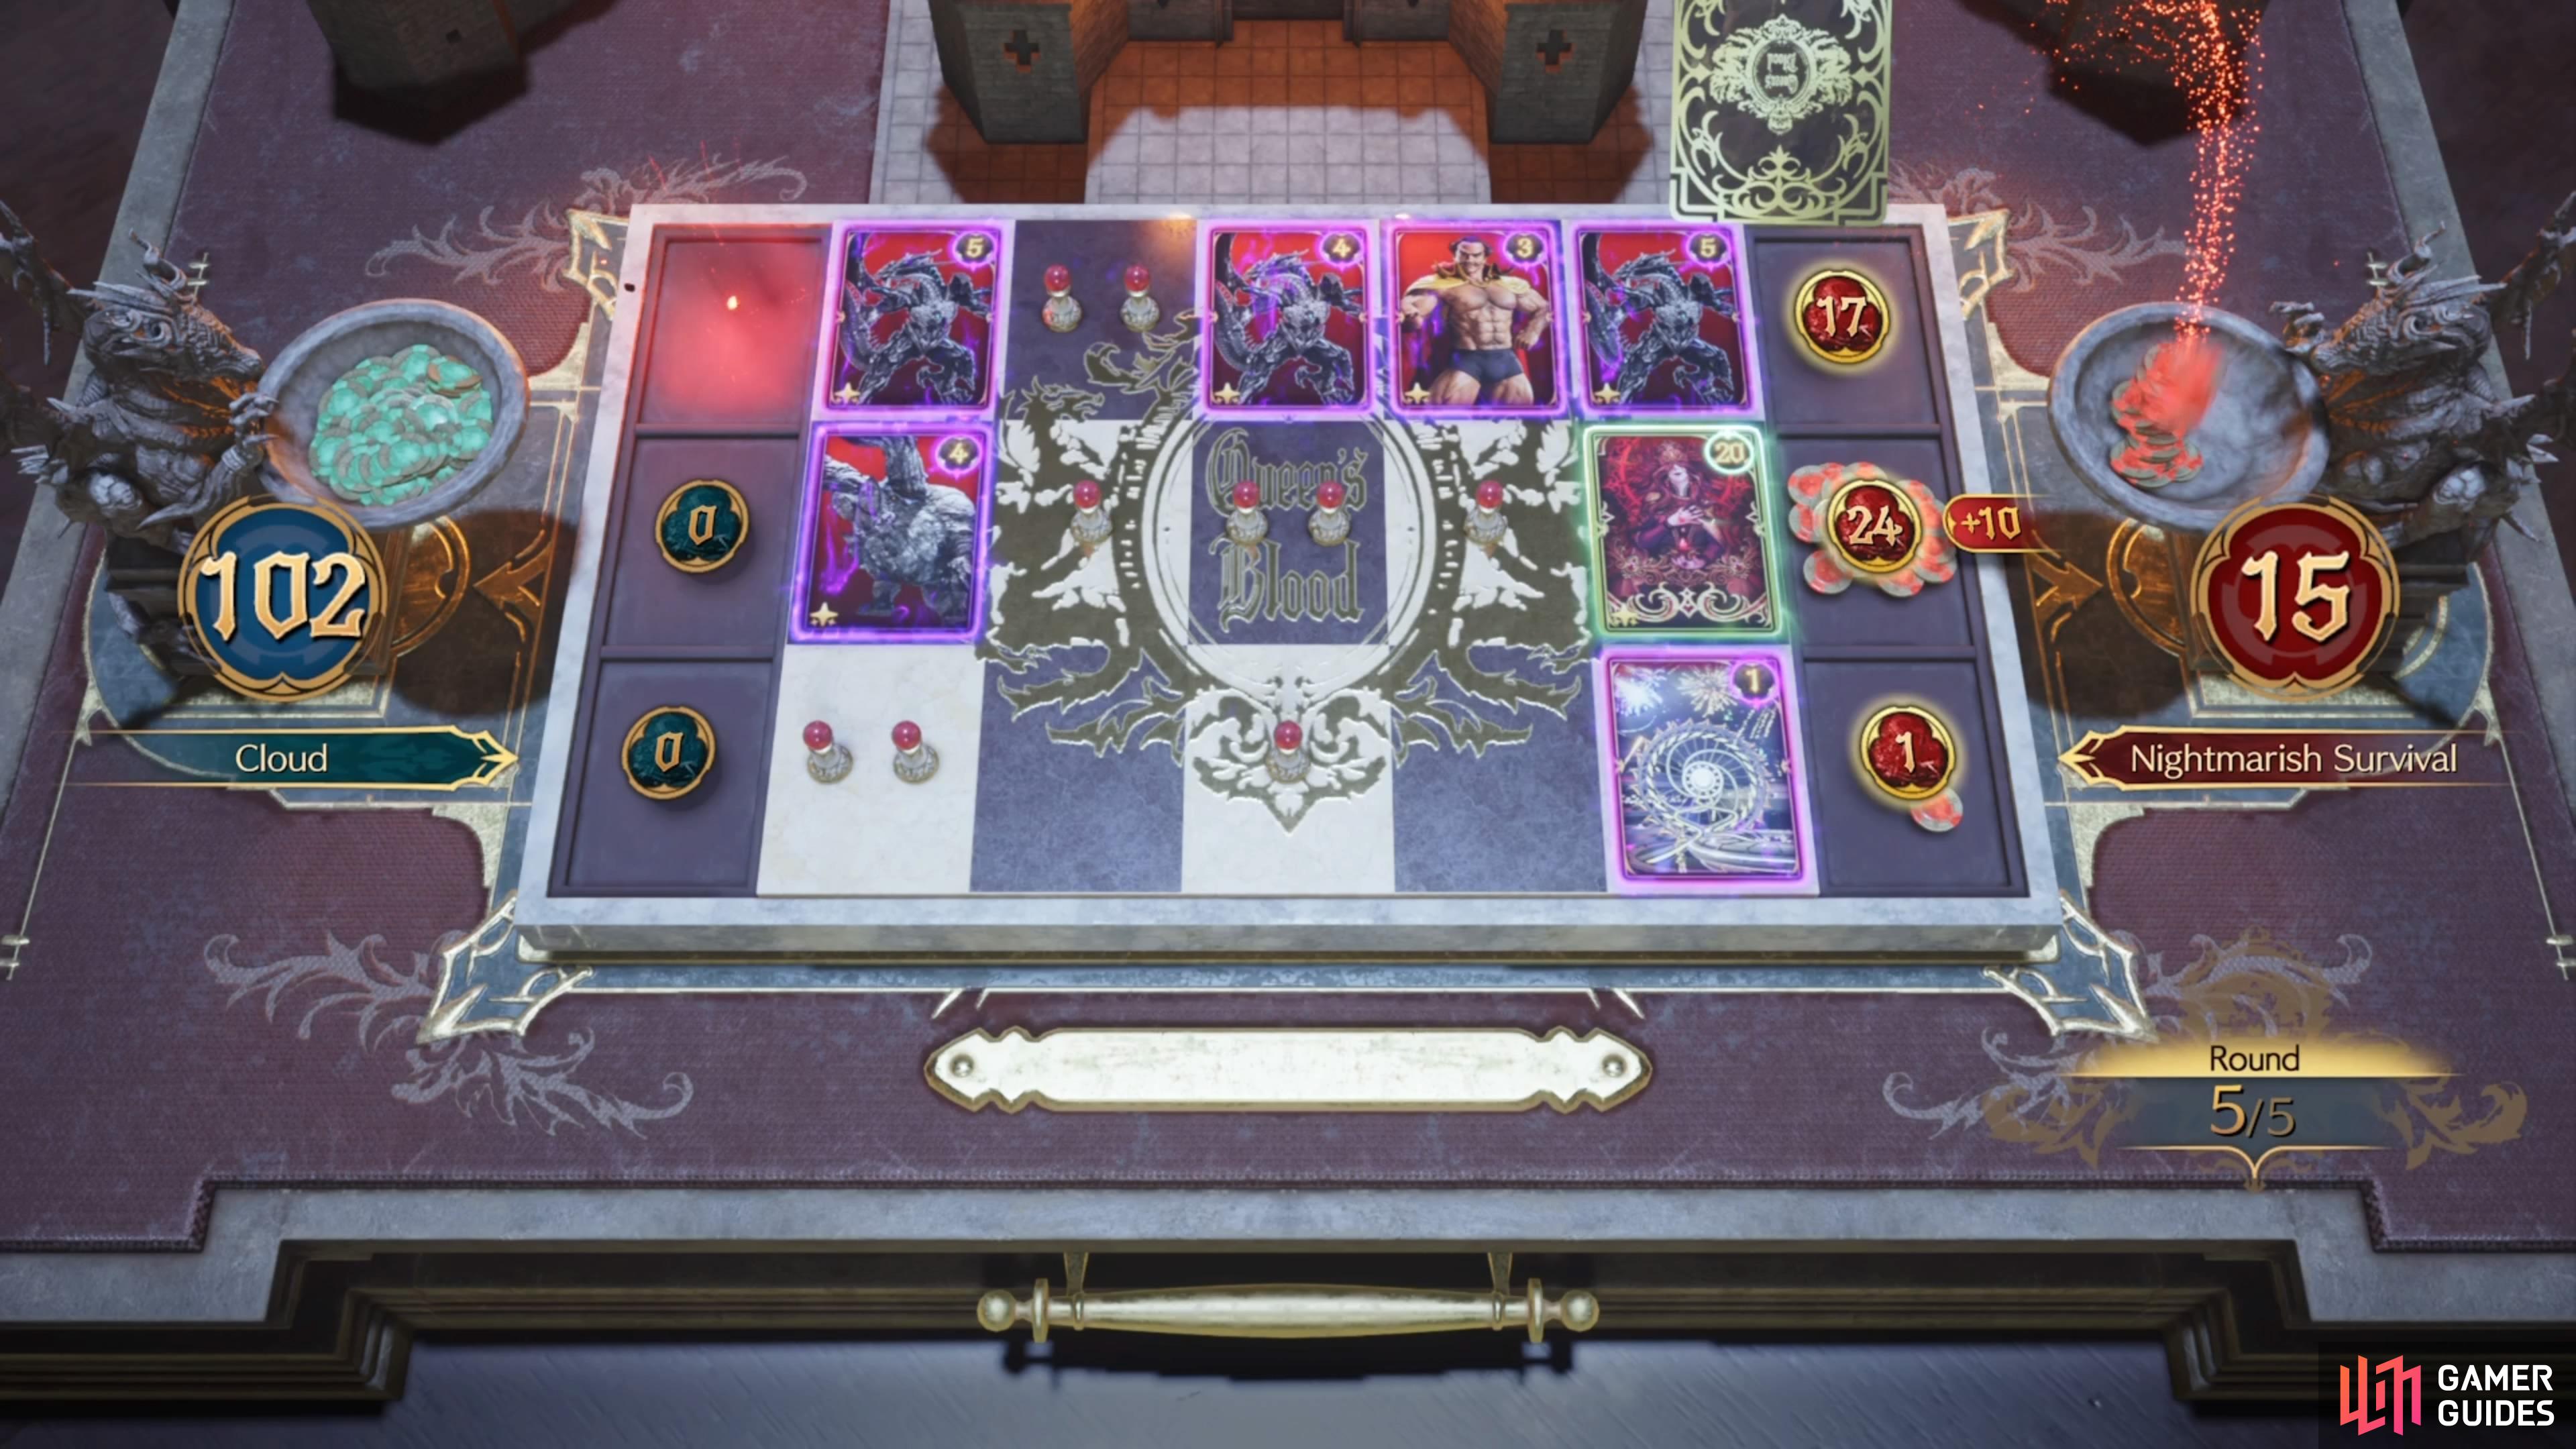
Survival: Nightmare
The last Survival challenge opens up after beating the Shadowblood Queen, so you will be just about done with most of the Queen’s Blood content. Note that you do not need to get the highest number of points here, since the last rank prize (Bahamut card) is enough to count towards any trophies. Unlike the previous two Survival challenges, you have five rounds of battles here, with the fourth and fifth rounds being the toughest. That’s because you won’t be drawing any more cards after the third round, so you will have to use whatever you have in your hand.
Because of that one thing, it’s a good idea to put cards in your deck that spawns more cards when used. This includes the Moogle Trio, Cid, and ![]() Cait Sith. You can try to do one of two things here, either concentrate on the first four rounds to accrue as high a score as possible or try to conserve the bigger cards until the end. If you want to play the Shadowblood Queen card, put it in your deck, but it does need a build that focuses on enfeebling. Of course, your opponent will be playing the same card in the fifth round, so if you use it, save it for that.
Cait Sith. You can try to do one of two things here, either concentrate on the first four rounds to accrue as high a score as possible or try to conserve the bigger cards until the end. If you want to play the Shadowblood Queen card, put it in your deck, but it does need a build that focuses on enfeebling. Of course, your opponent will be playing the same card in the fifth round, so if you use it, save it for that.
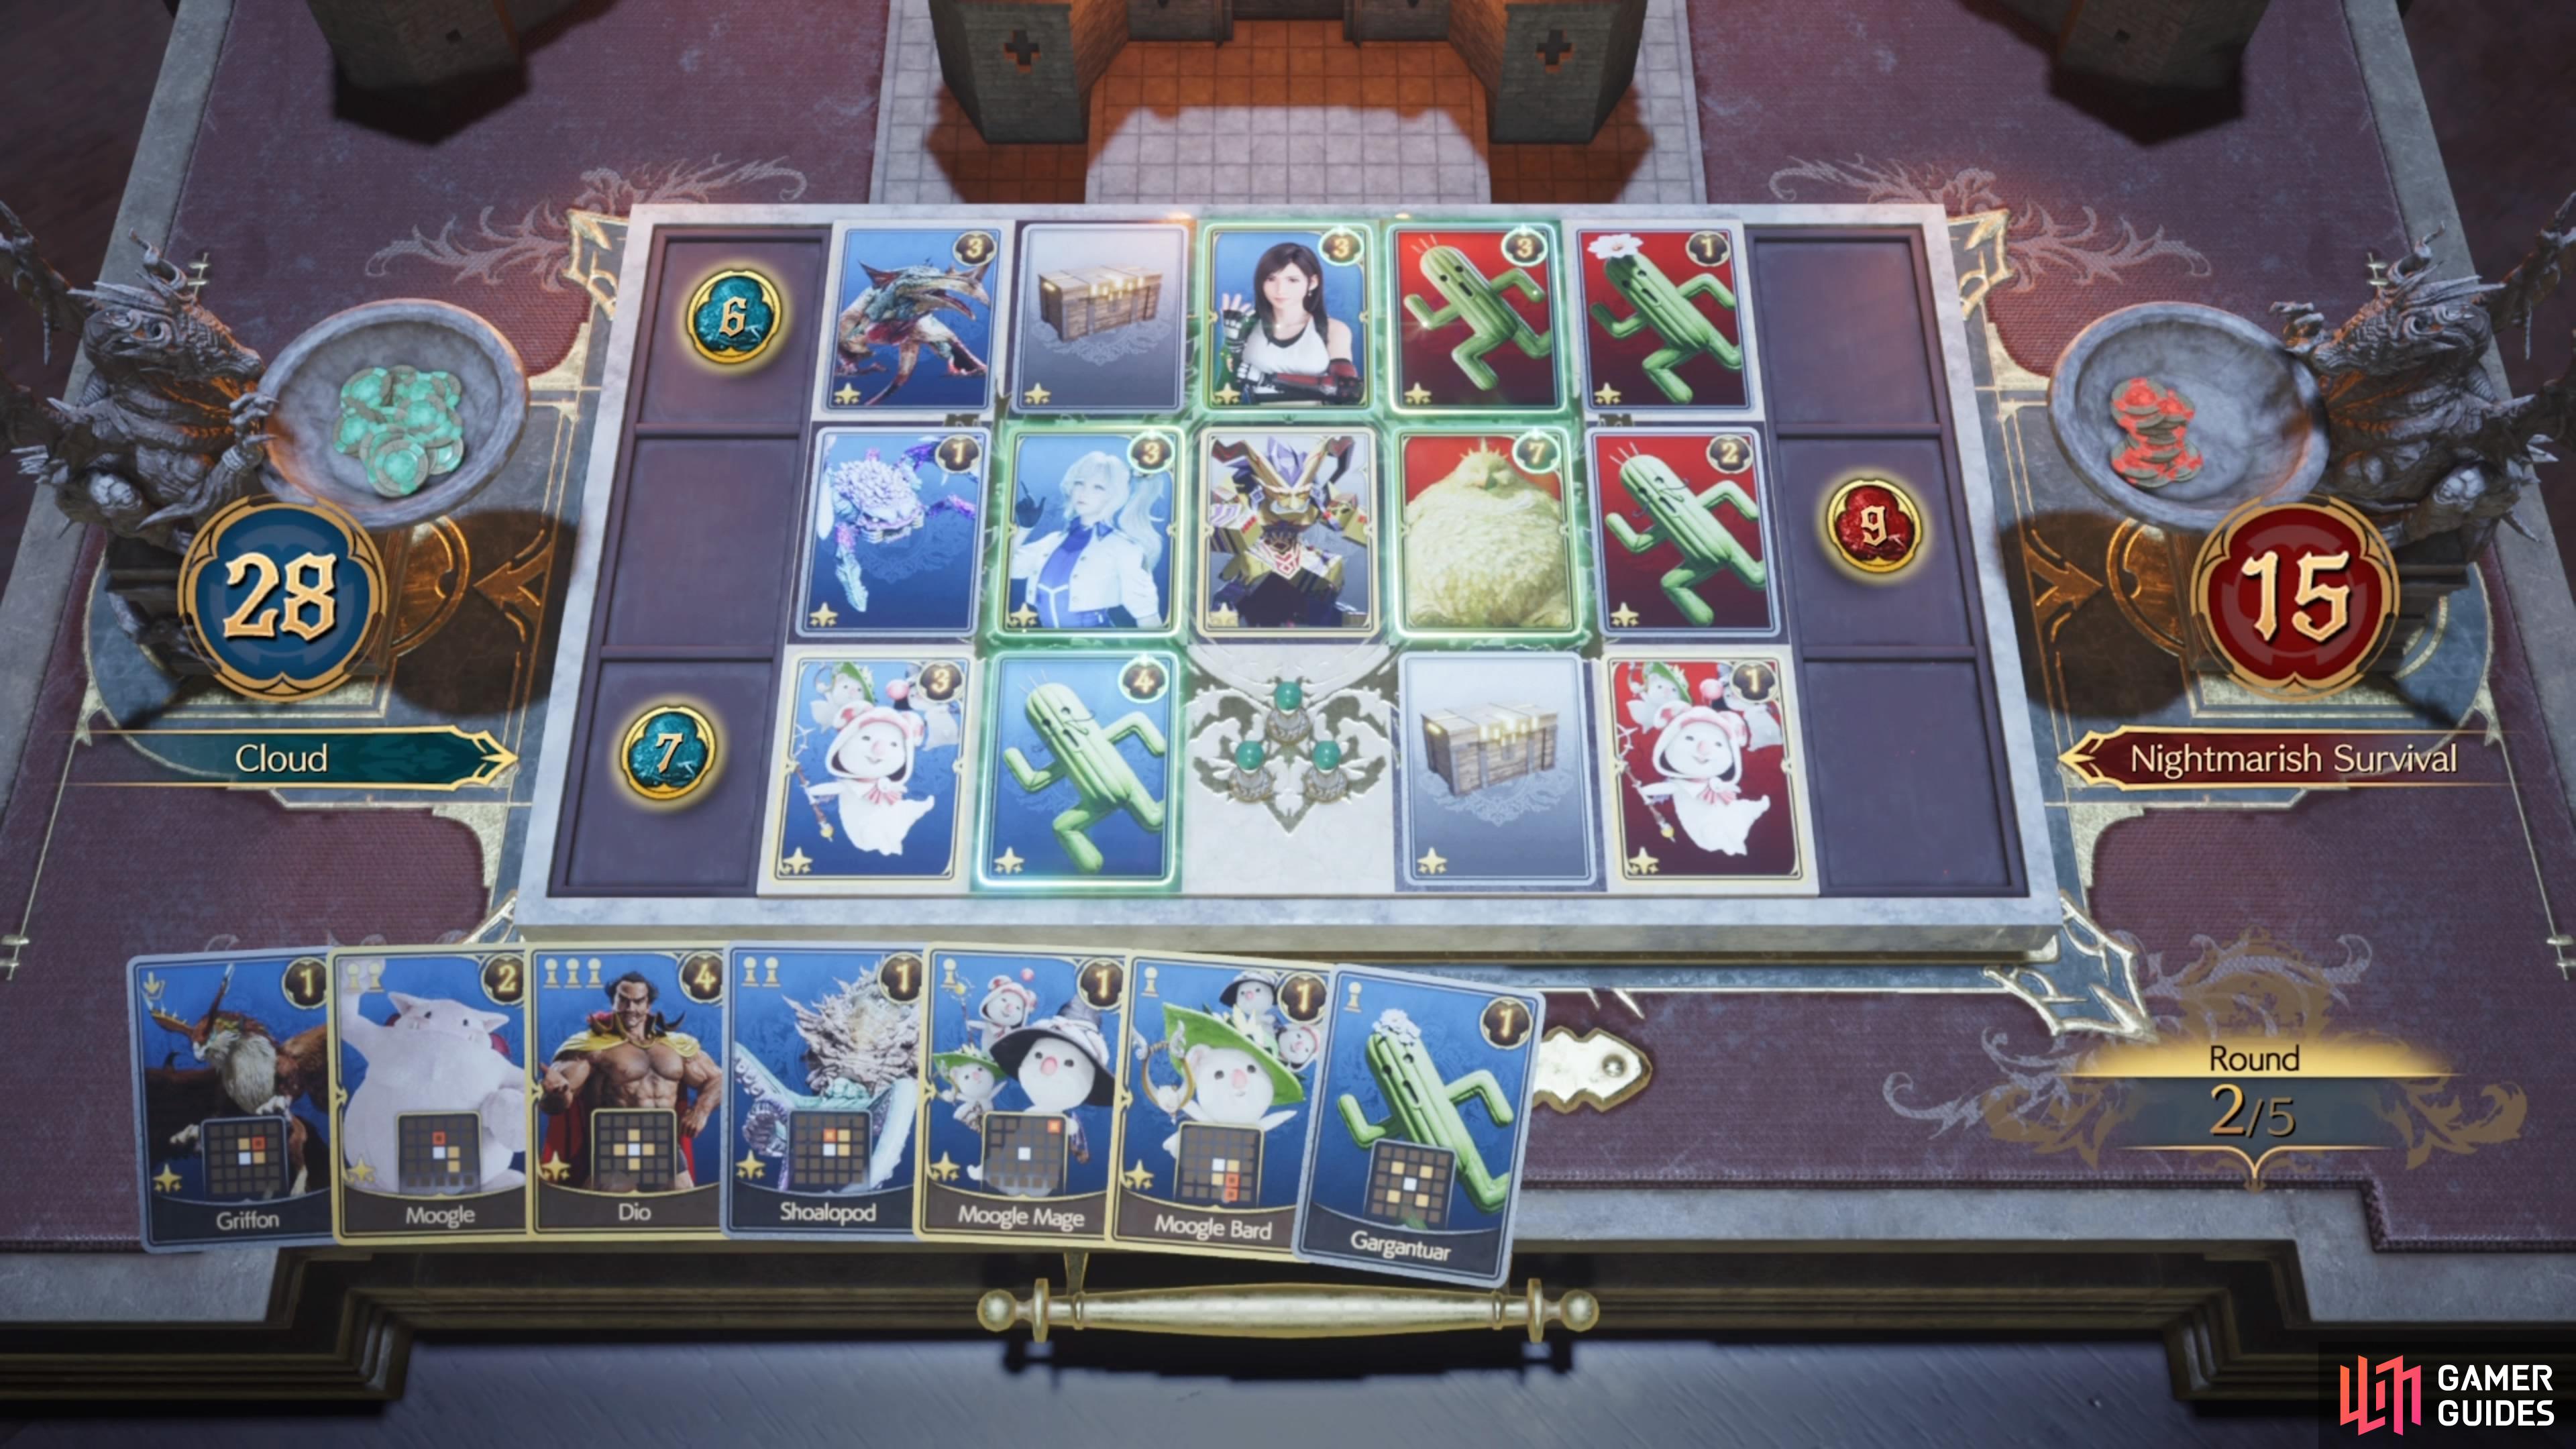
(1 of 2) The deck that was used to complete the Survival Nightmare challenge.
The deck that was used to complete the Survival Nightmare challenge. (left), Having cards that can spawn more cards in your hand is something you should use. (right)
Survival: Nightmare - First Round
The first round plays similarly to previous Survival challenges, as the field is split down the middle with some chests. The chests here will give a random Cactuar card (top and bottom) and Chadley/MAI cards (middle). You’d want to win at least two of the three rows, simply because having more cards is good, but the opponent starts with a Space Ranger on the field already. As said above, you don’t want to spend too many cards here, so if you get the rows without utilizing too many cards, there’s no reason to play more, so just pass to end the round.
(1 of 2) Try to avoid enhancing your cards, to avoid powering up the enemy’s Space Ranger.
Try to avoid enhancing your cards, to avoid powering up the enemy’s Space Ranger. (left), Ideally, you want to win the center row and one other in the first round. (right)
You will probably want the two MAI cards over the Chadley one, from winning the middle row here, so if you don’t get those, then you might want to start over. The opponent seems to play mostly the cactuar cards during this round, although they might also play Chocobo & Moogle. There’s not really much they will do to enhance their cards here, so just know that most of the cactuar cards have two power. Save your enhancement cards for later rounds, as you don’t really want to power up their Space Ranger.
Survival: Nightmare - Second Round
The second round will have two more random cactuar chests, along with the Polygonal Ifrit in the center. So, this means the middle three columns will receive boosts here, so this is a potential spot to earn some nice points. Playing something like Odin here, or even Dio, could be a good idea to accrue some points since both of those have an option to play off of enhanced enemy cards. One thing you really want to be careful about in the second round is if your opponent plays the Chocobo Jockey card.
(1 of 3) Having the MAI cards from the first round will help in later rounds.
This card will give them an extra 10 points if they win that row, which you don’t want, as you would like to keep their points to a minimum. Using the MAI card here will be ideal if you can reach the Jockey card with it. Of course, if you can win the row without doing that, then you won’t need to use the MAI card here. The only problem is if it is played on the top row, where you normally only have a single spot unless you manage to creep over to the opponent’s side.
Survival: Nightmare - Third Round
Similar to the first round, this one will divide the board into two halves, with three more chests in the middle. The top and bottom ones are random cactuar cards, while the middle is a summon card. Your opponent will start with a ![]() Mythril Golem card already on the board, which is sitting at eight power, so it’s going to be challenging to win that middle row. This will also be the last round in which you draw cards, although, for some stupid reason, your opponent isn’t restricted to that rule.
Mythril Golem card already on the board, which is sitting at eight power, so it’s going to be challenging to win that middle row. This will also be the last round in which you draw cards, although, for some stupid reason, your opponent isn’t restricted to that rule.
If you can’t win the middle row, then forget about it, as it might be difficult with the Mythril Golem there. You will still want to try and keep a decent number of cards, especially powerful ones, for the fourth round. If you happen to see the Chocobo Jockey here, then try and get rid of it, as you don’t need your opponent to get an extra ten points.
(1 of 2) Winning the middle row in the third round is definitely tough, due to Mythril Golem’s high power.
Winning the middle row in the third round is definitely tough, due to Mythril Golem’s high power. (left), You will also want to put a stop to your opponent winning a row with Chocobo Jockey. (right)
Survival: Nightmare - Fourth Round
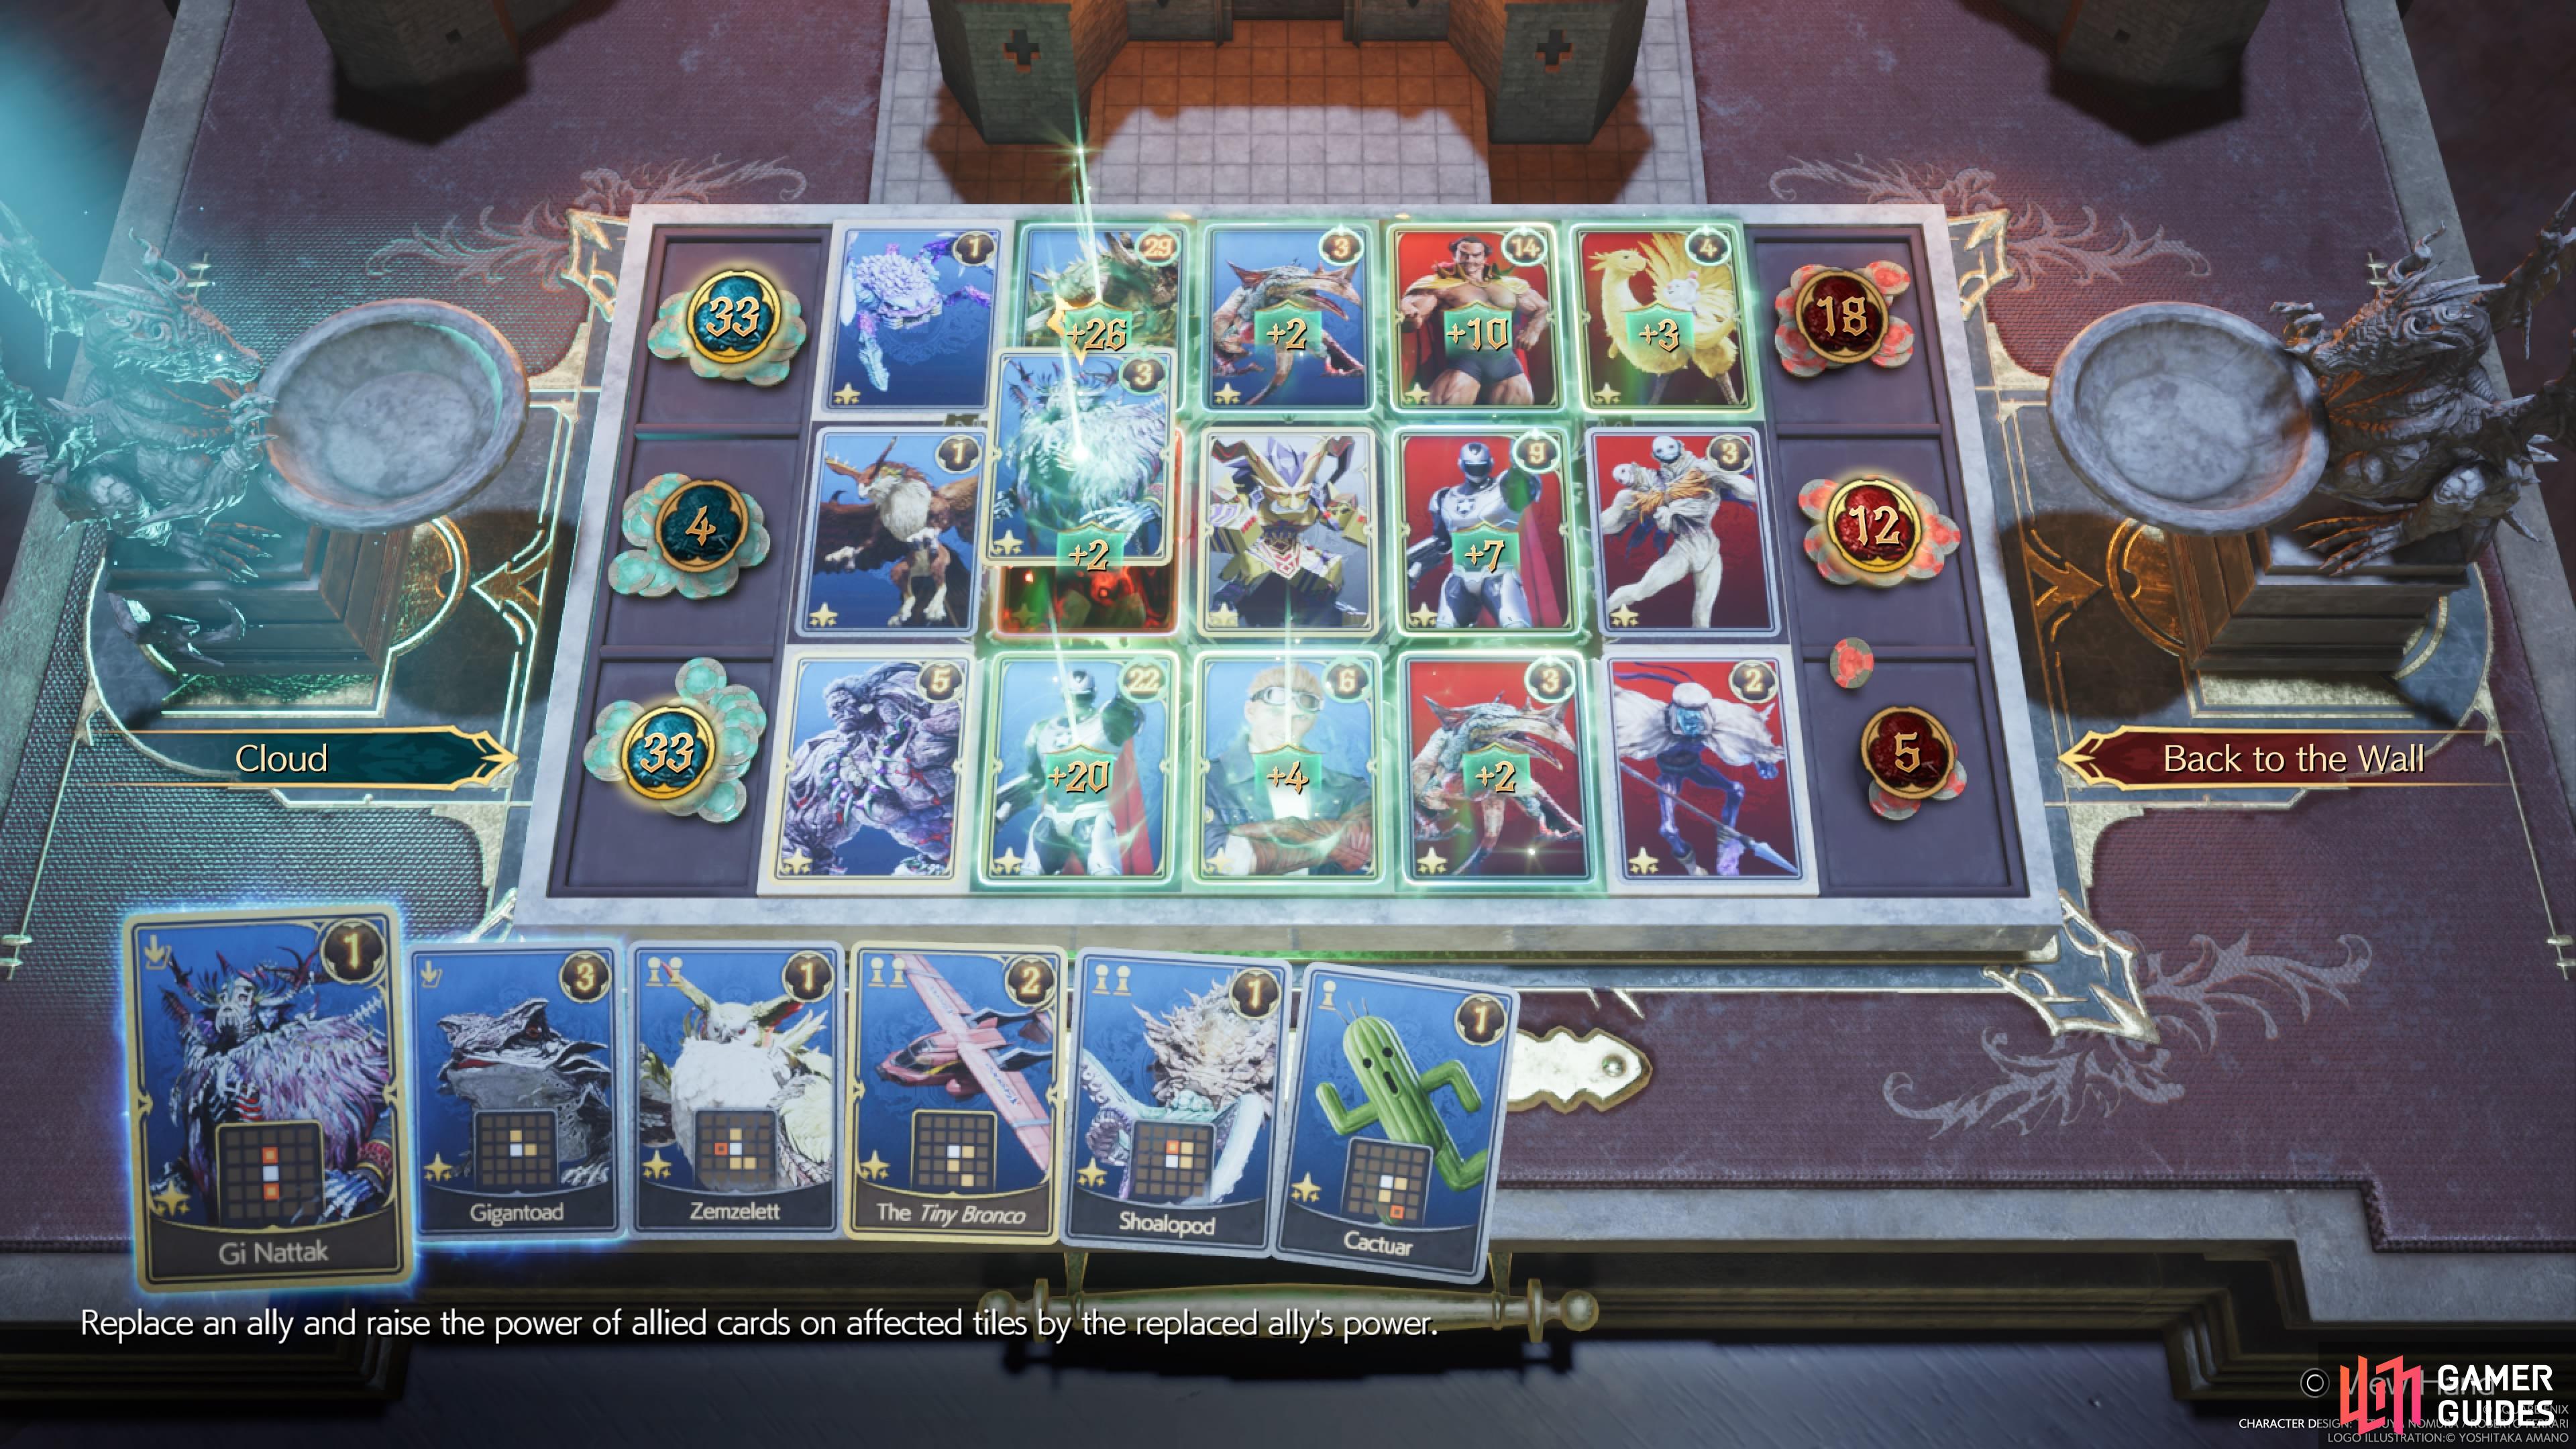
This is where you will be trying to get as many points as possible. There is a Polygonal Shiva card in the middle of the board, which will fill up any empty spaces with cards. The points you get for these cards (and your opponent) depend on the number of pawns on that empty spot, so a three-pawn empty tile will net you a six-point card. Because of this, you will want to make sure you take over as many spots as you can, as you don’t want your opponent to get those.
Of course, you can completely ignore that Shiva card if you want, instead opting to build up some strong cards with enhancement cards. Ideally, you have something like a Dio or other card that can be powered up, then put a card above/below it and replace it with Gi Nattak at the end. By the end of this round, at least according to this strategy outlined here, you should have a commanding lead over your opponent. If you do (around 70-80 points), then you don’t really need to play any cards (should you have any) in the final round.

(1 of 3) Using the strategy outlined in the guide, go for broke in the fourth round.
Survival: Nightmare - Fifth Round
The final round is definitely the most challenging, as your opponent will start with the Shadowblood Queen card on the board. They will play a lot of Bahamut cards that have a good area of effect, with these ones debuffing. If you followed the strategy above and did most of your points from the first four rounds, you shouldn’t need to do anything here. Playing cards will just result in the Shadowblood Queen getting more points, so don’t use any if you still have some left over.
There is still a lot of randomness involved, as you never know when you’ll get your cards during the course of the match. This also includes the cards you get from the chests you win, too, so things might play out differently for you. If you feel like you won’t win in the final round, then feel free to start over and try again. Remember that you only need the lowest tier reward, which will grant you the Bahamut Card.

 Sign up
No Comments